Bring History to Life with Realistic Weathering Effects
Introduction
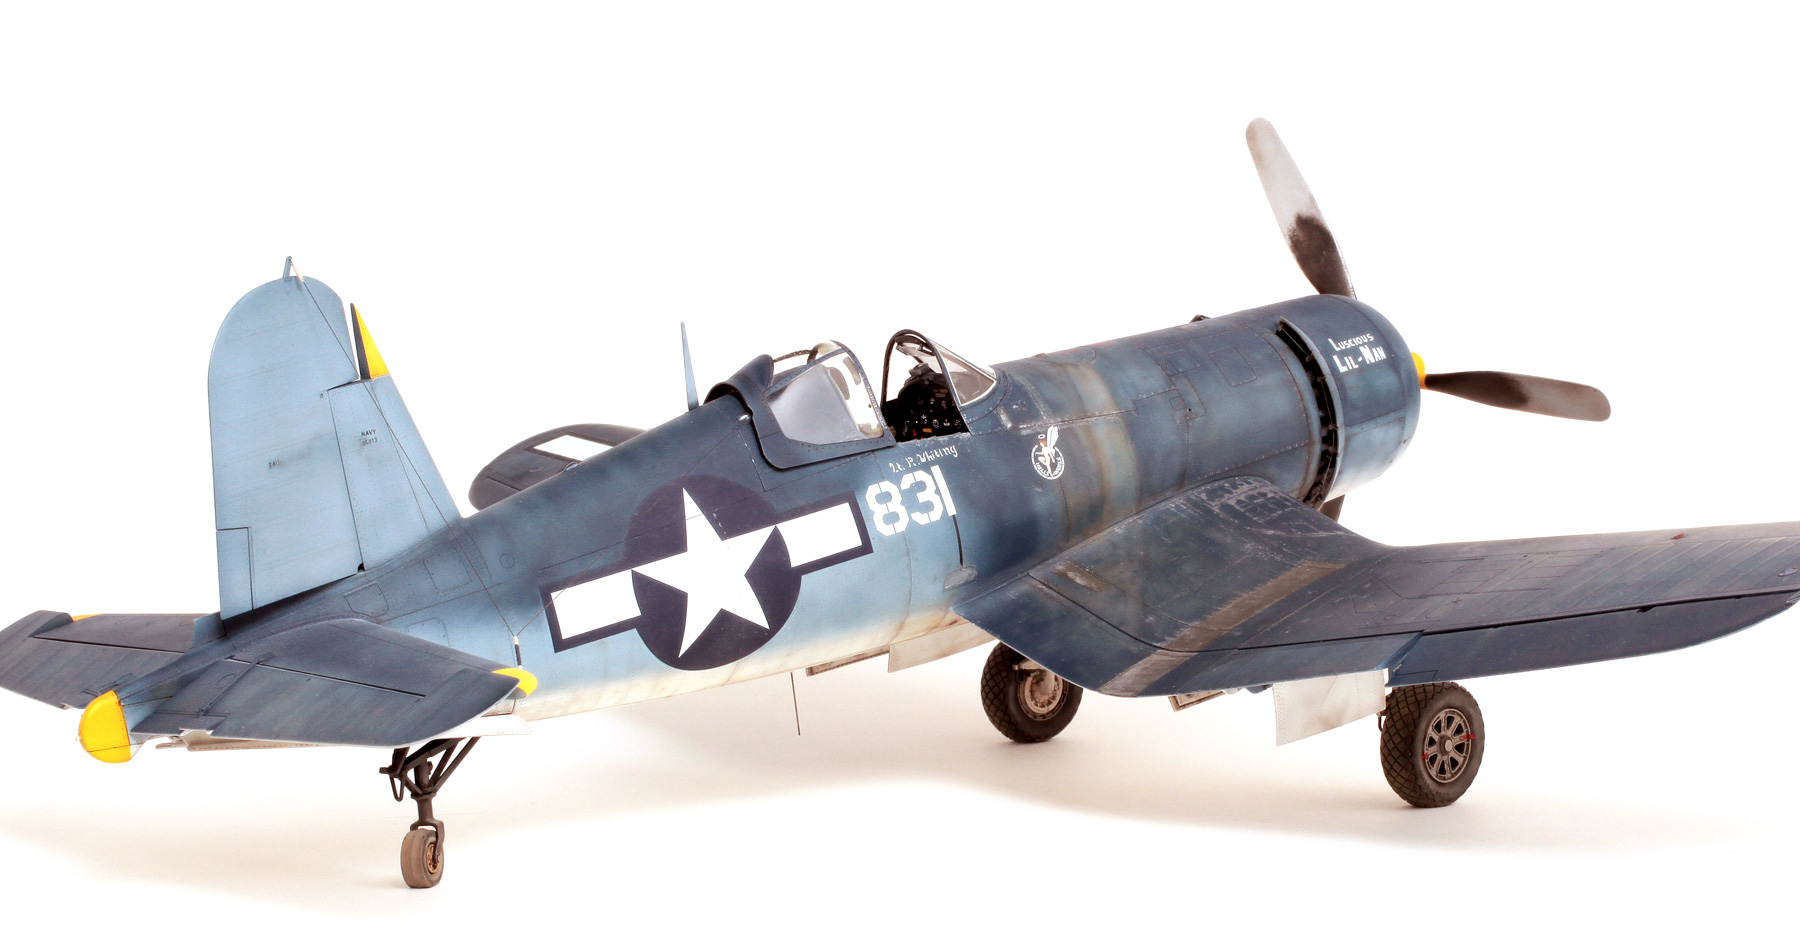
Weathering your WWII model aircraft is where your craftsmanship meets storytelling. It’s not just about dirt and wear – it’s about history, realism, and emotion. In this guide, we’ll focus on the scale, offering an in-depth breakdown of how to apply accurate, artistic weathering.
Why Weathering Matters
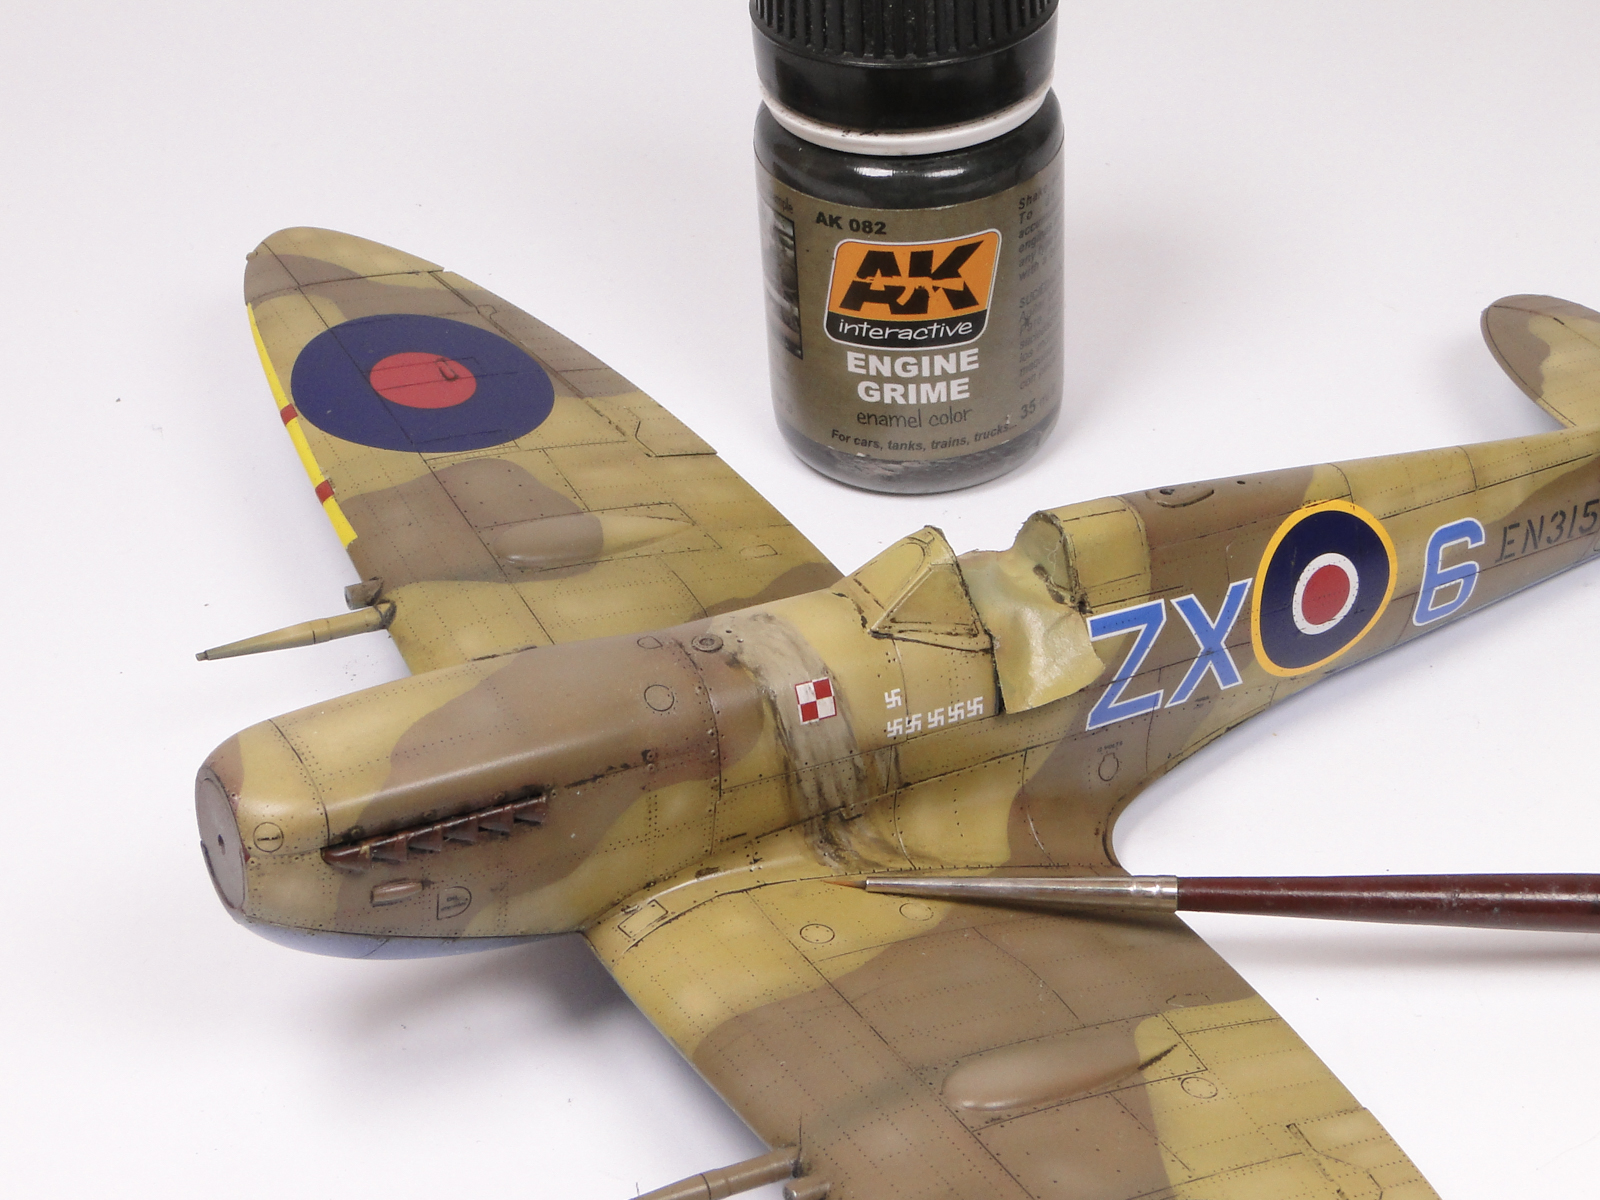
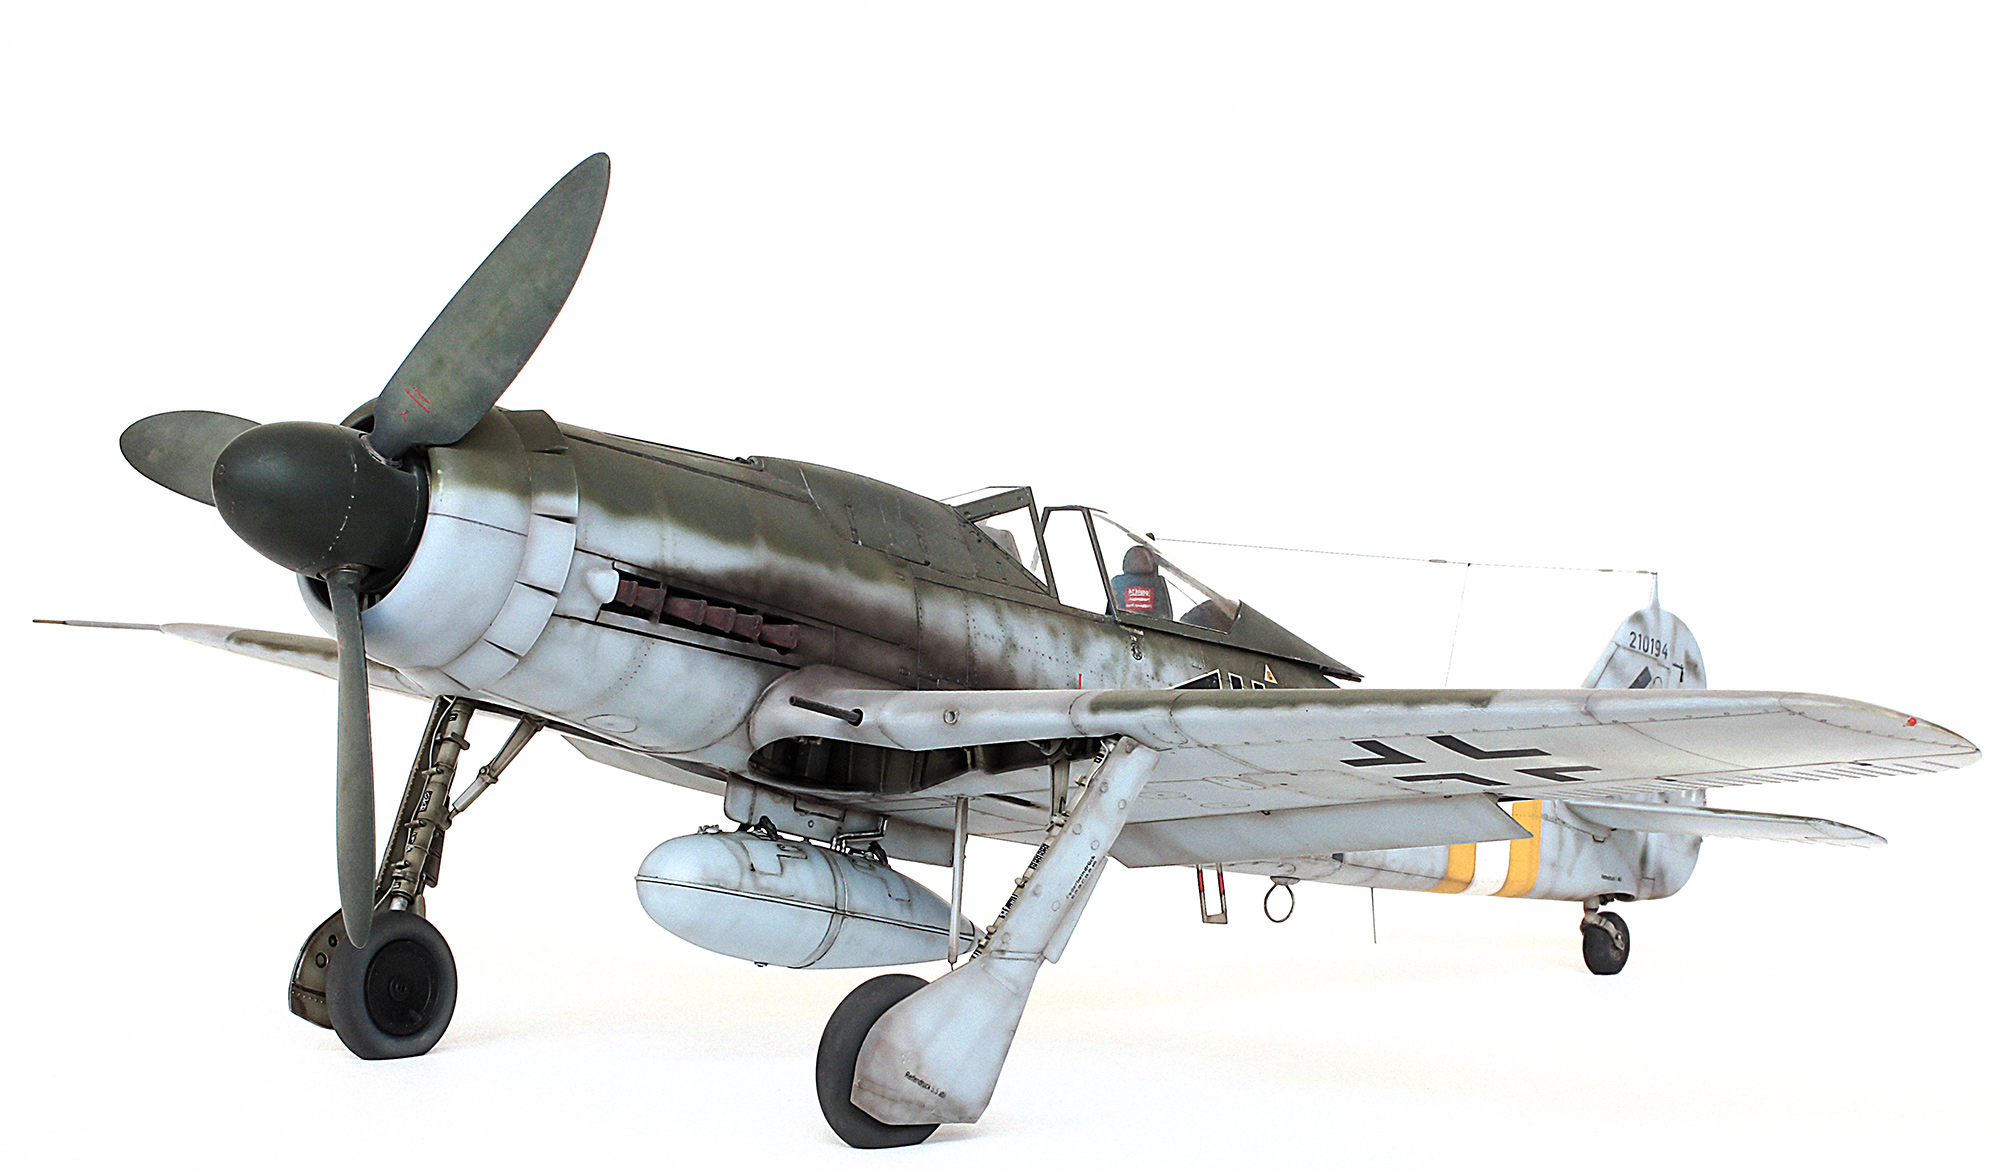
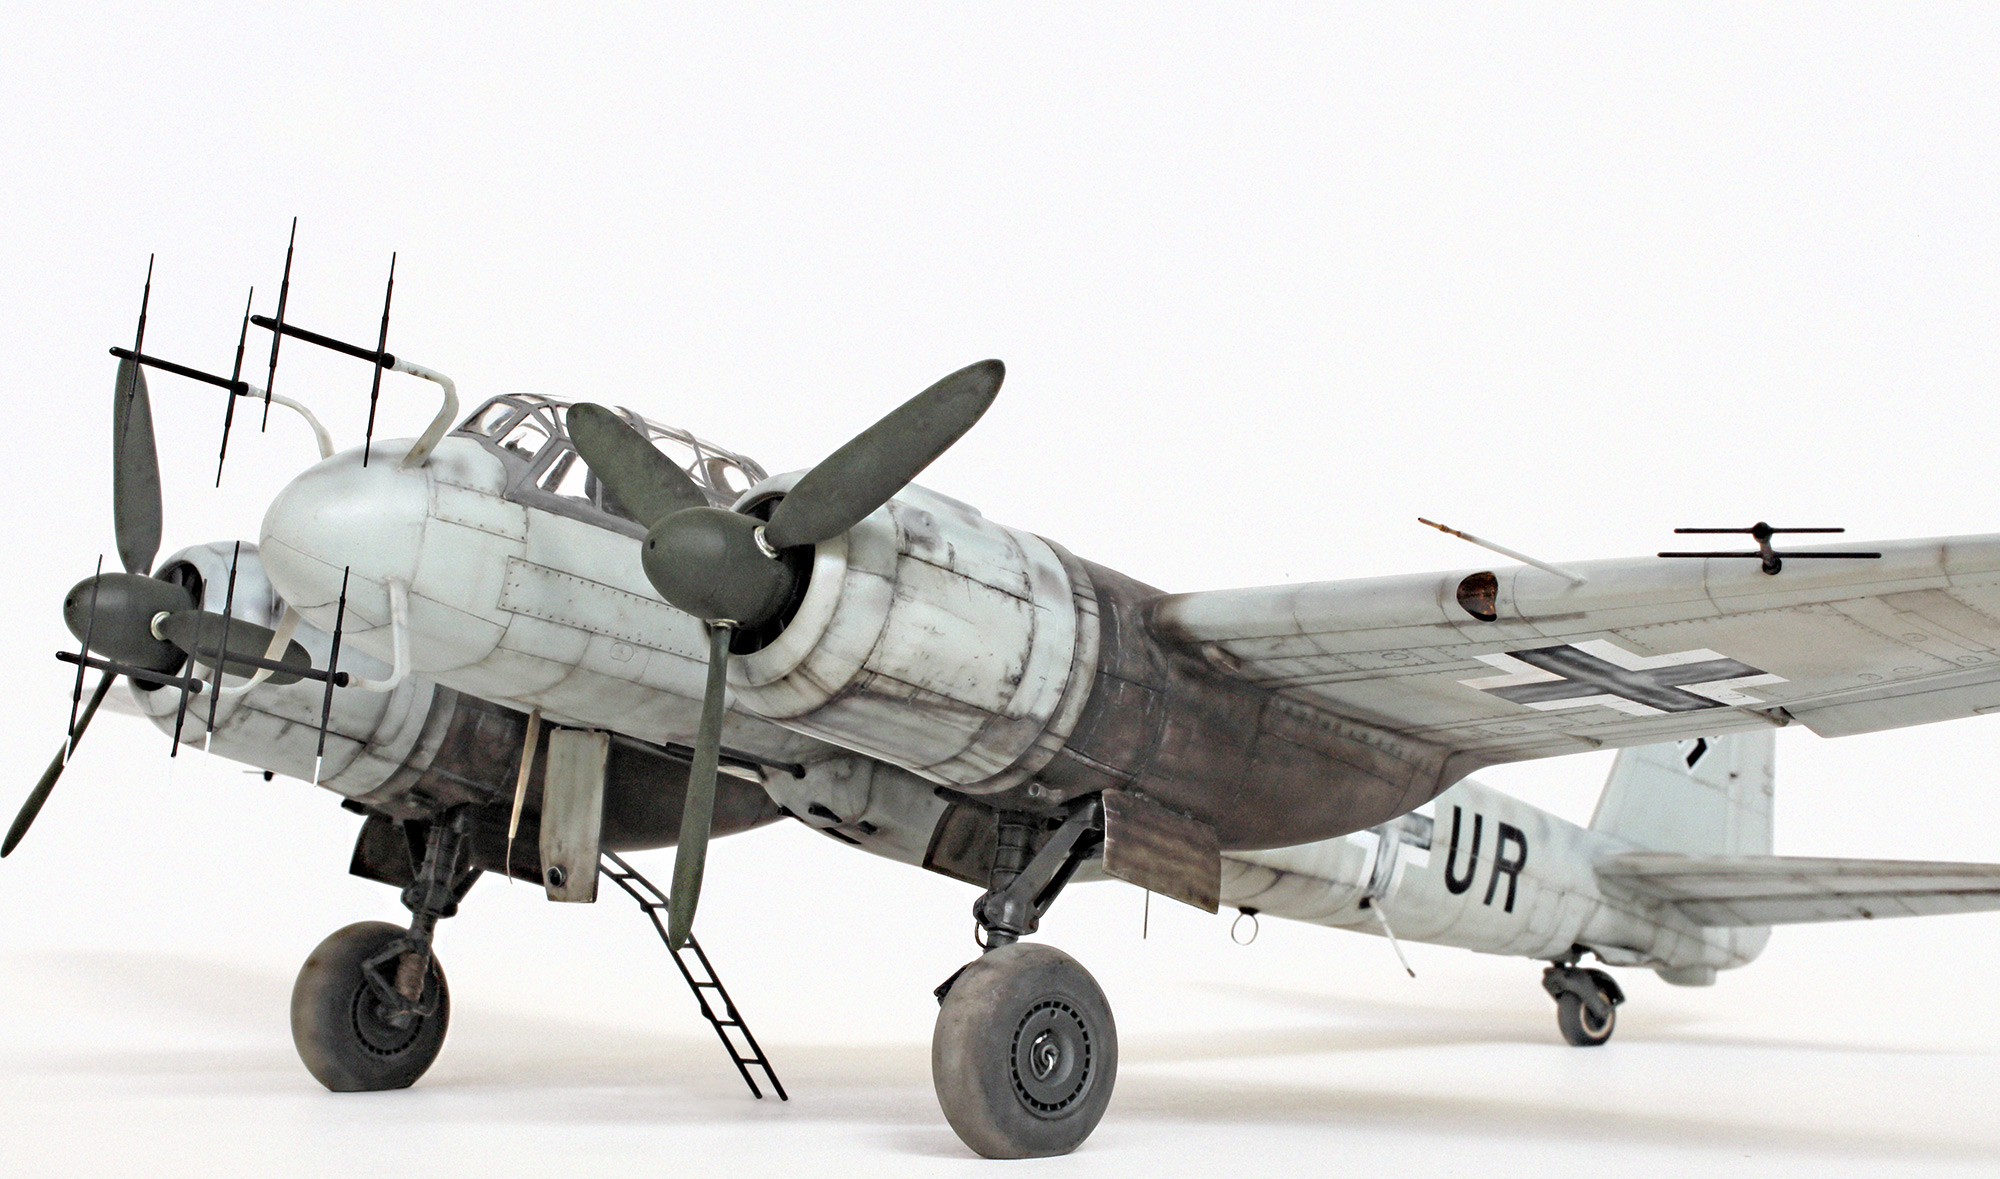
Realism: Real combat aircraft don’t look factory-fresh. Paint chips, oil leaks, and sun-bleached surfaces tell the story of missions flown.
Scale Effect: Weathering enhances depth and detail, giving your model the illusion of full-scale presence.
Artistic Expression: Every smudge or streak becomes part of a visual narrative.
1. Understanding the Weathering Zones
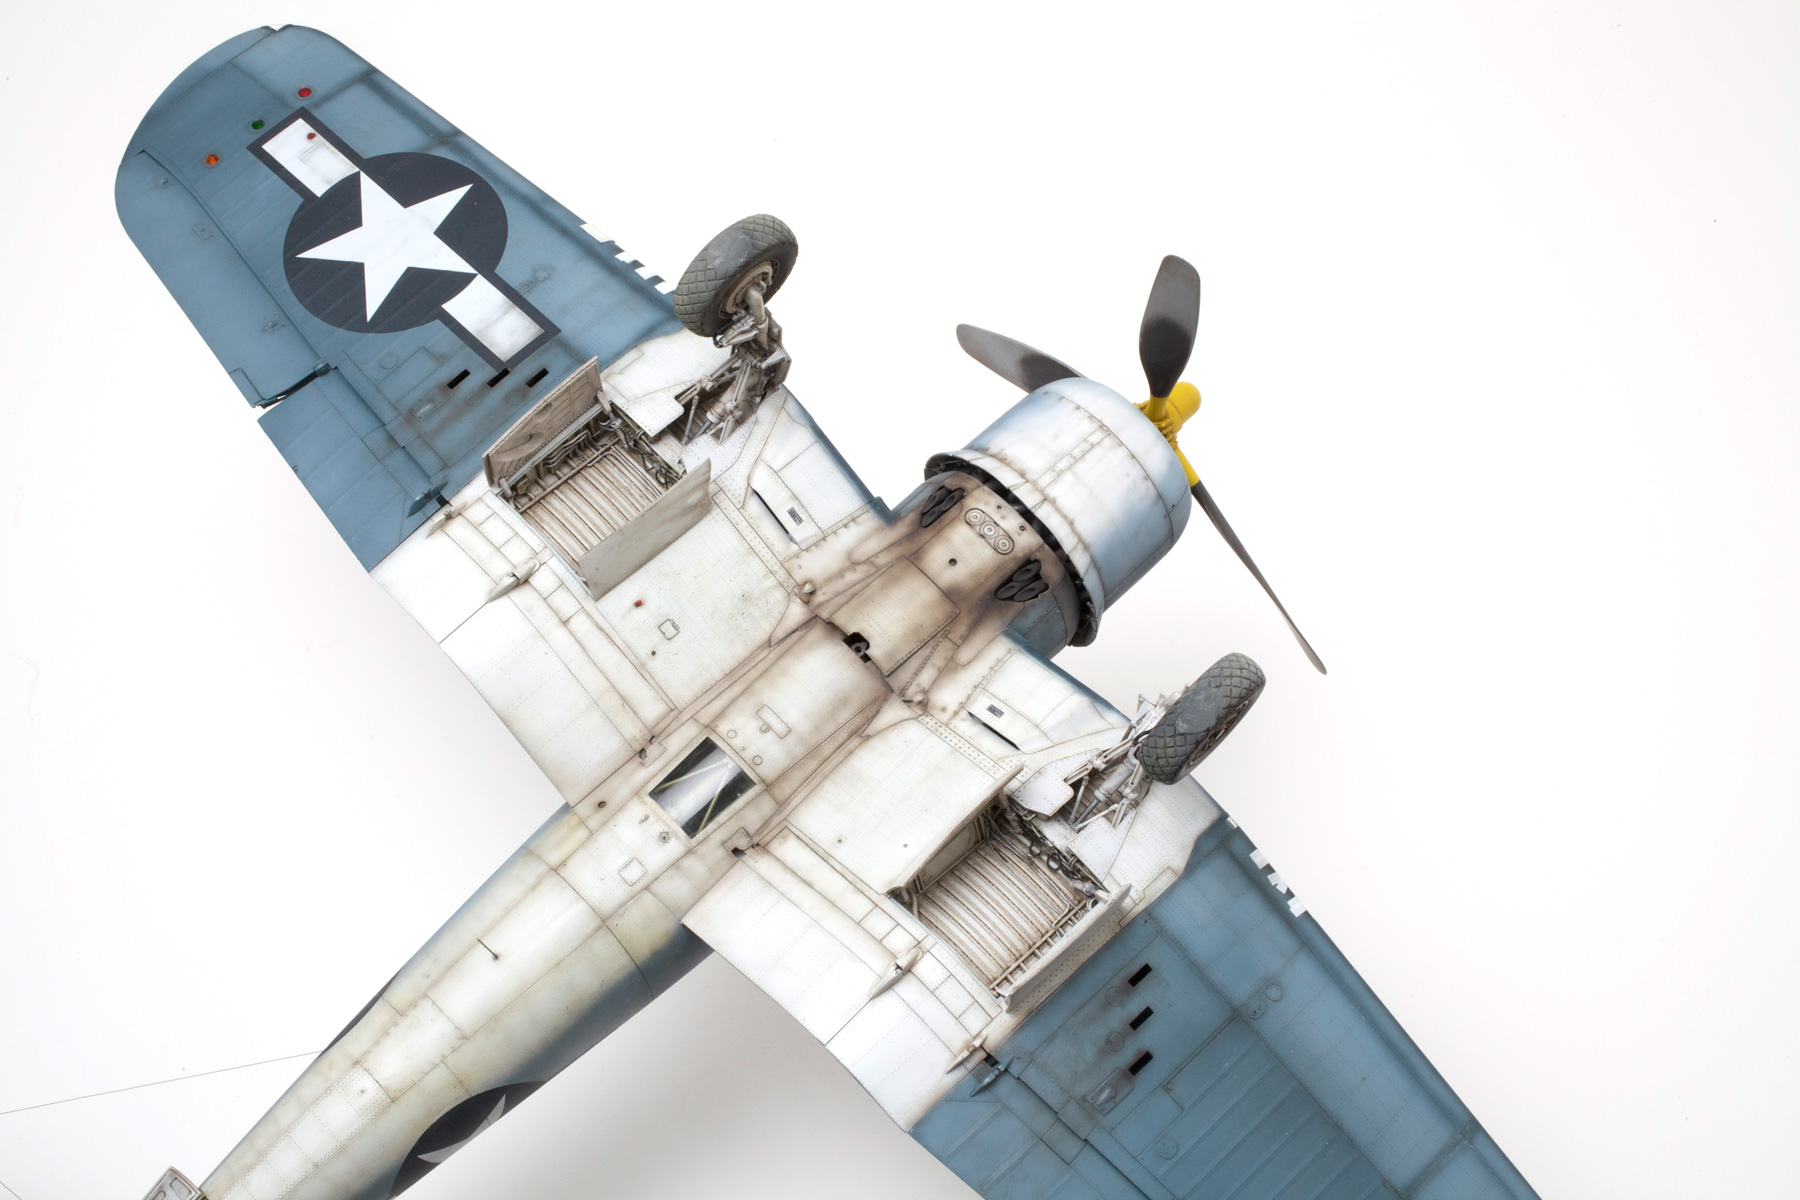
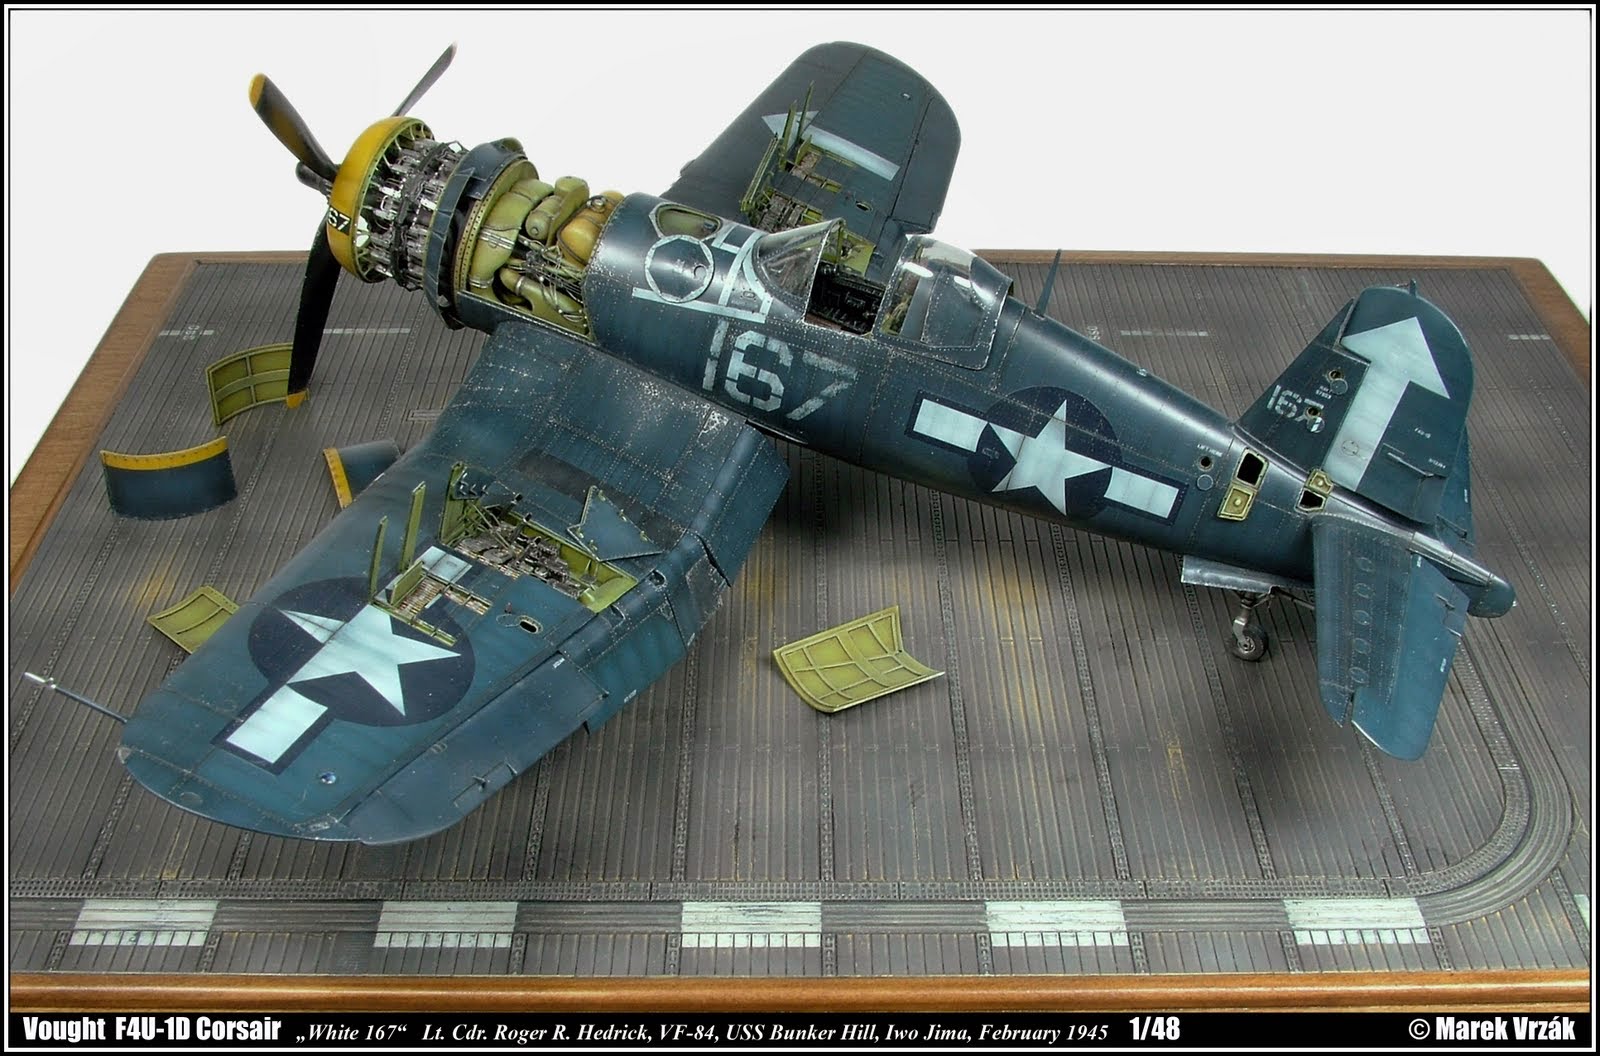
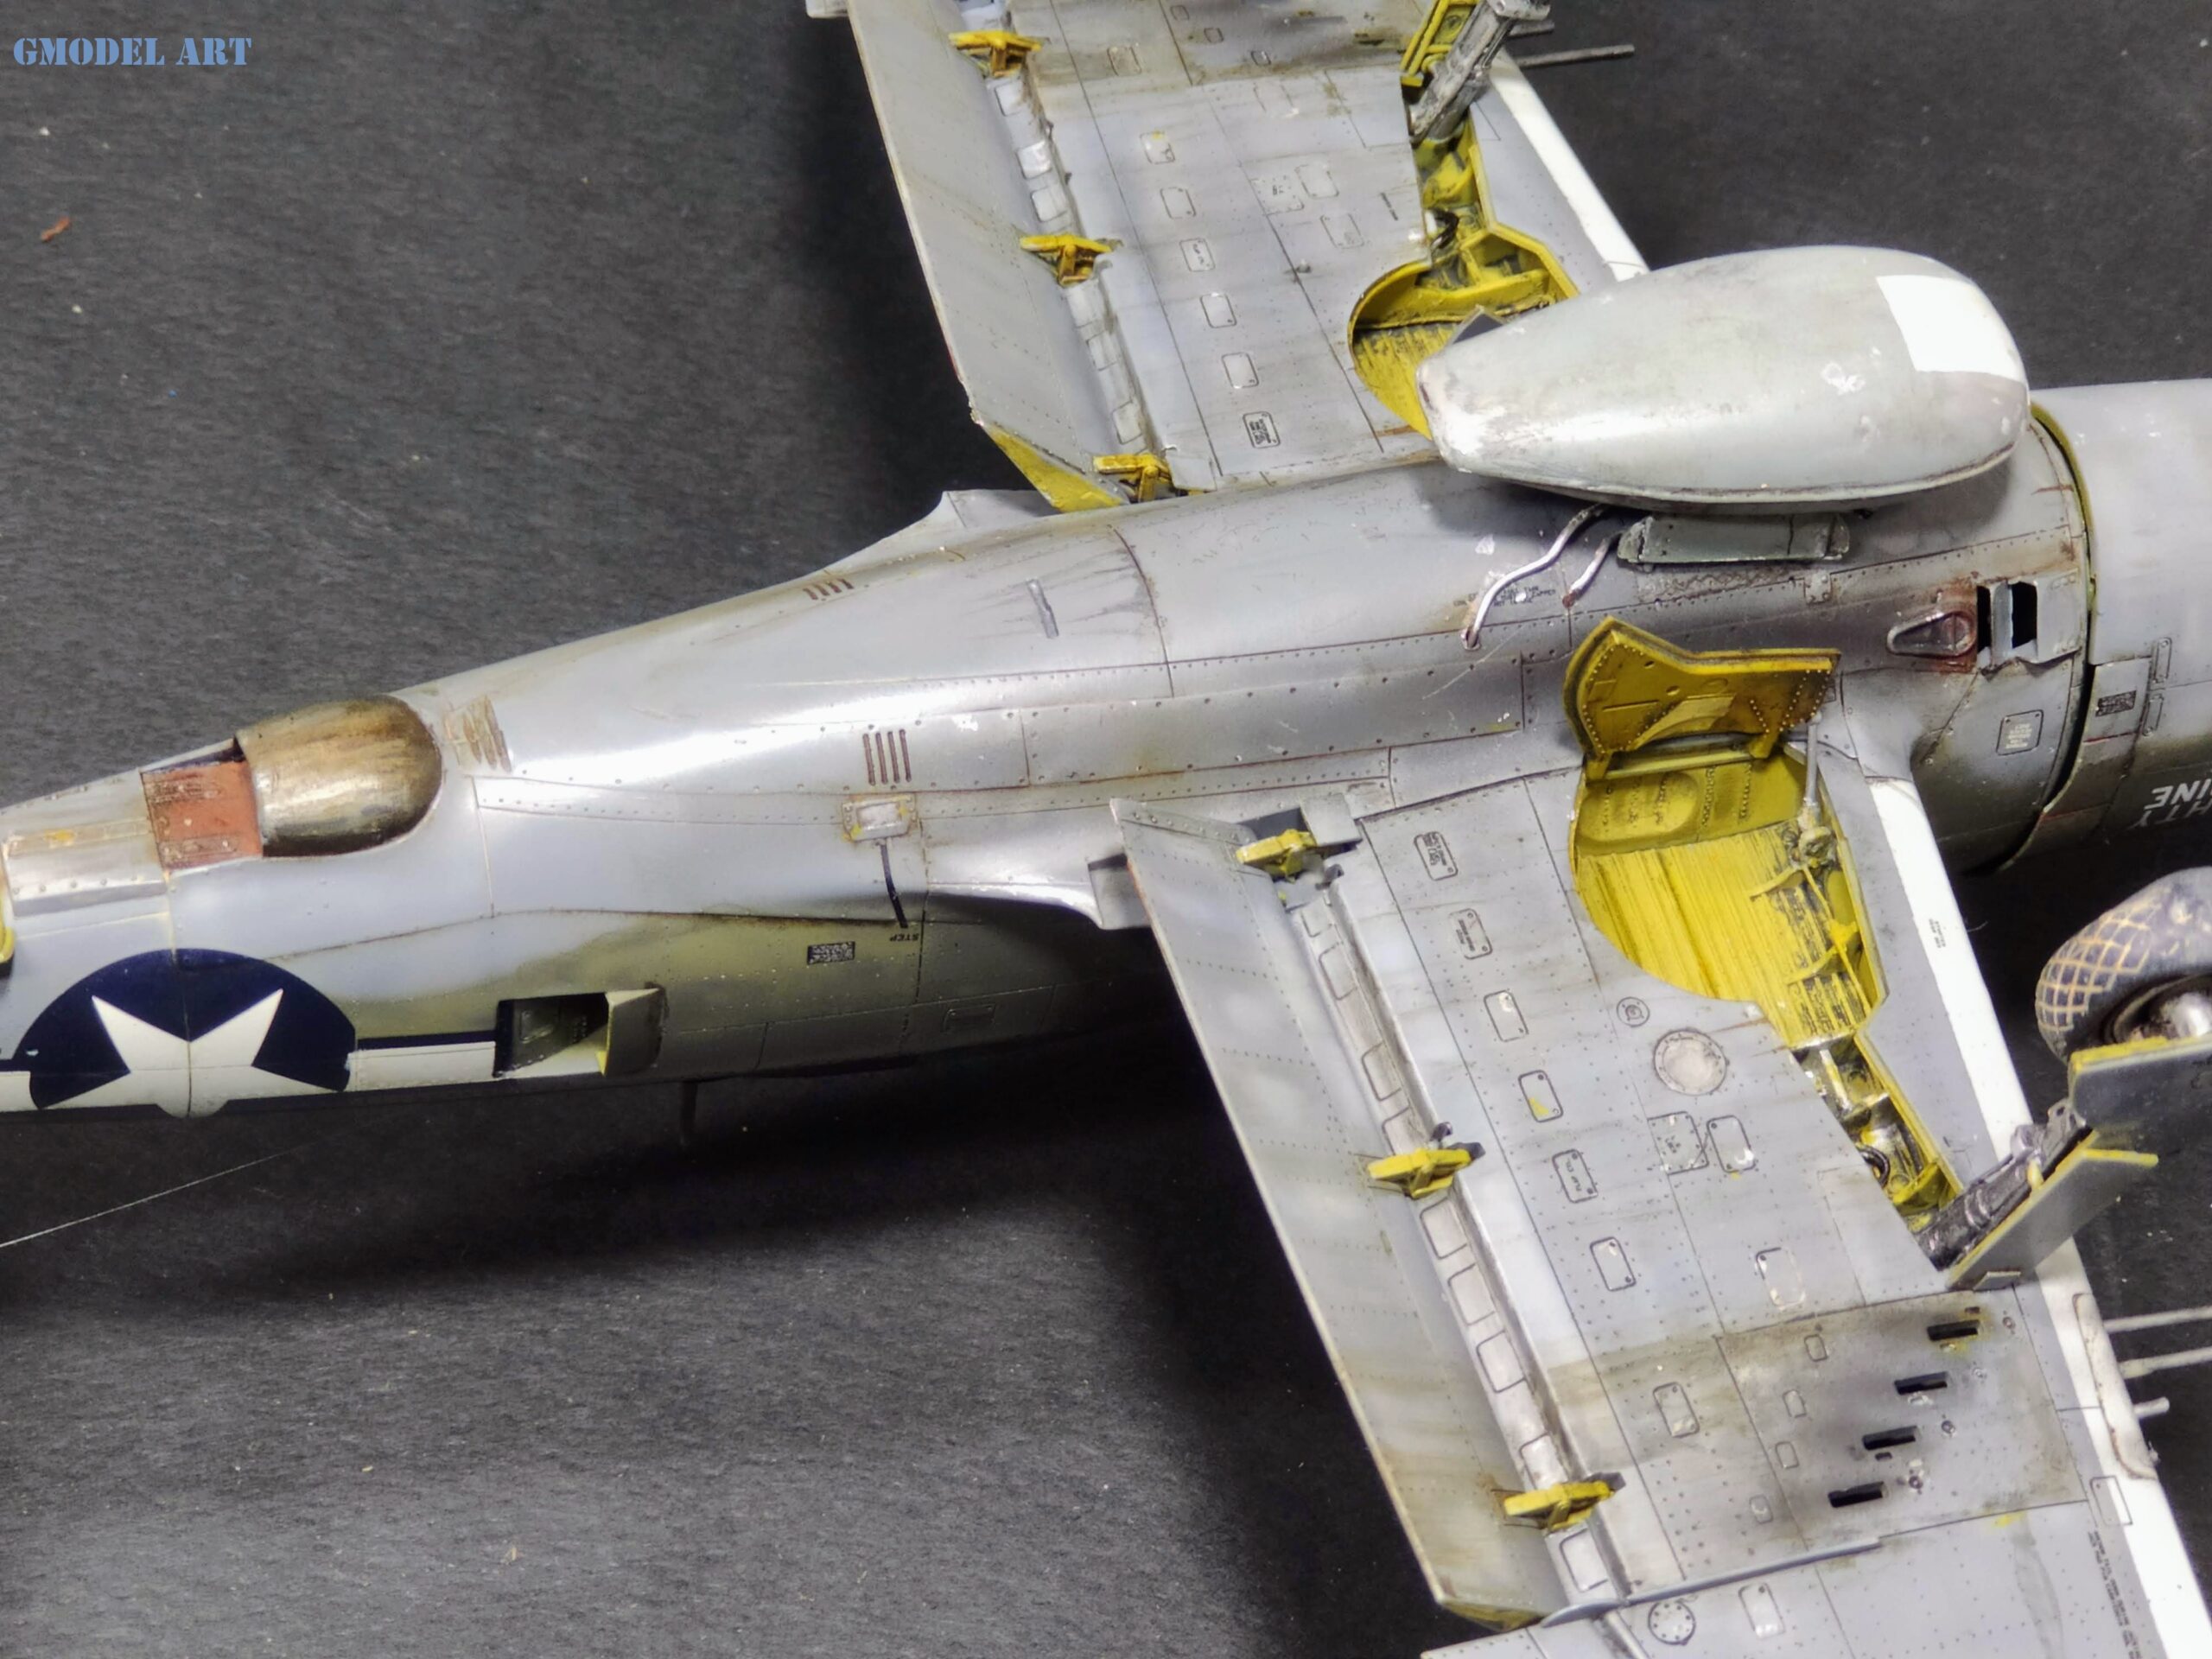
A WWII aircraft like the F4U Corsair has areas that suffer more wear due to operation and environment. Here’s a quick zone breakdown:
| Zone | Common Weathering Effects |
|---|
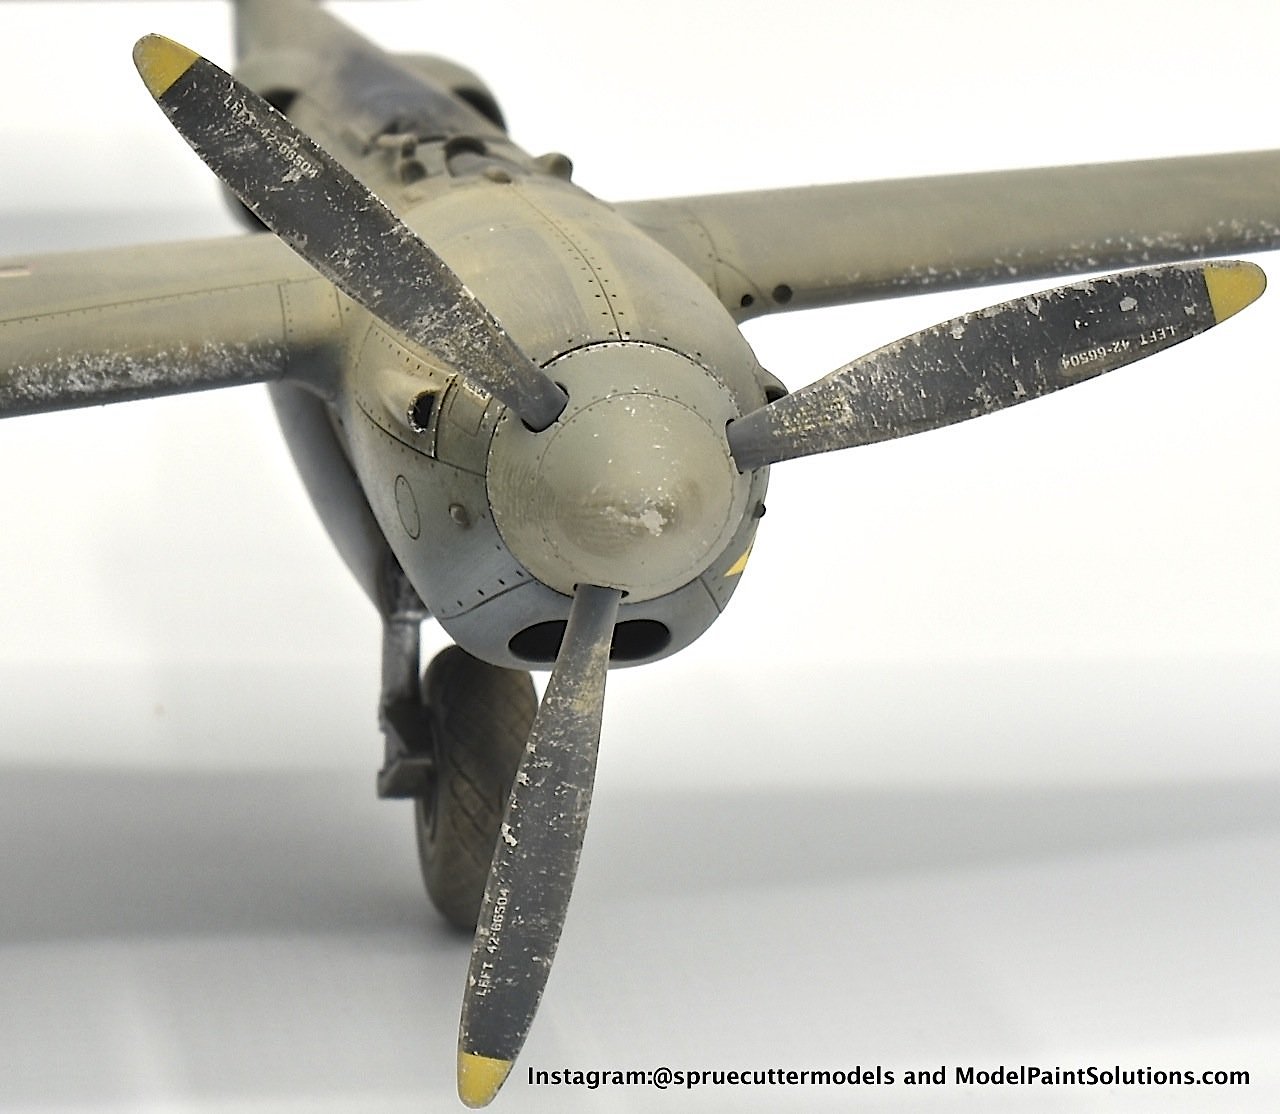
| Wing Leading Edges | Chipping, fading |
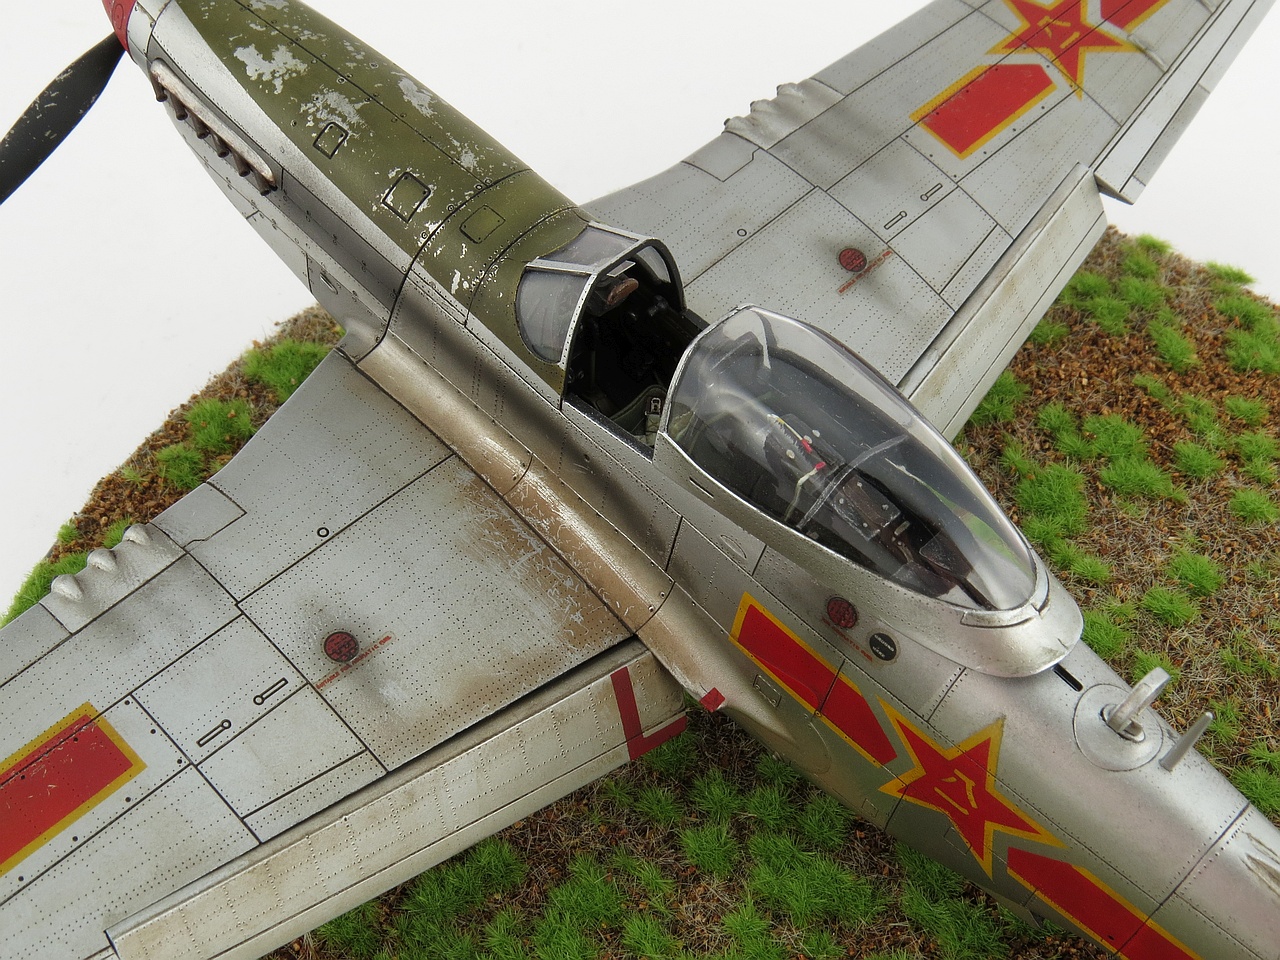
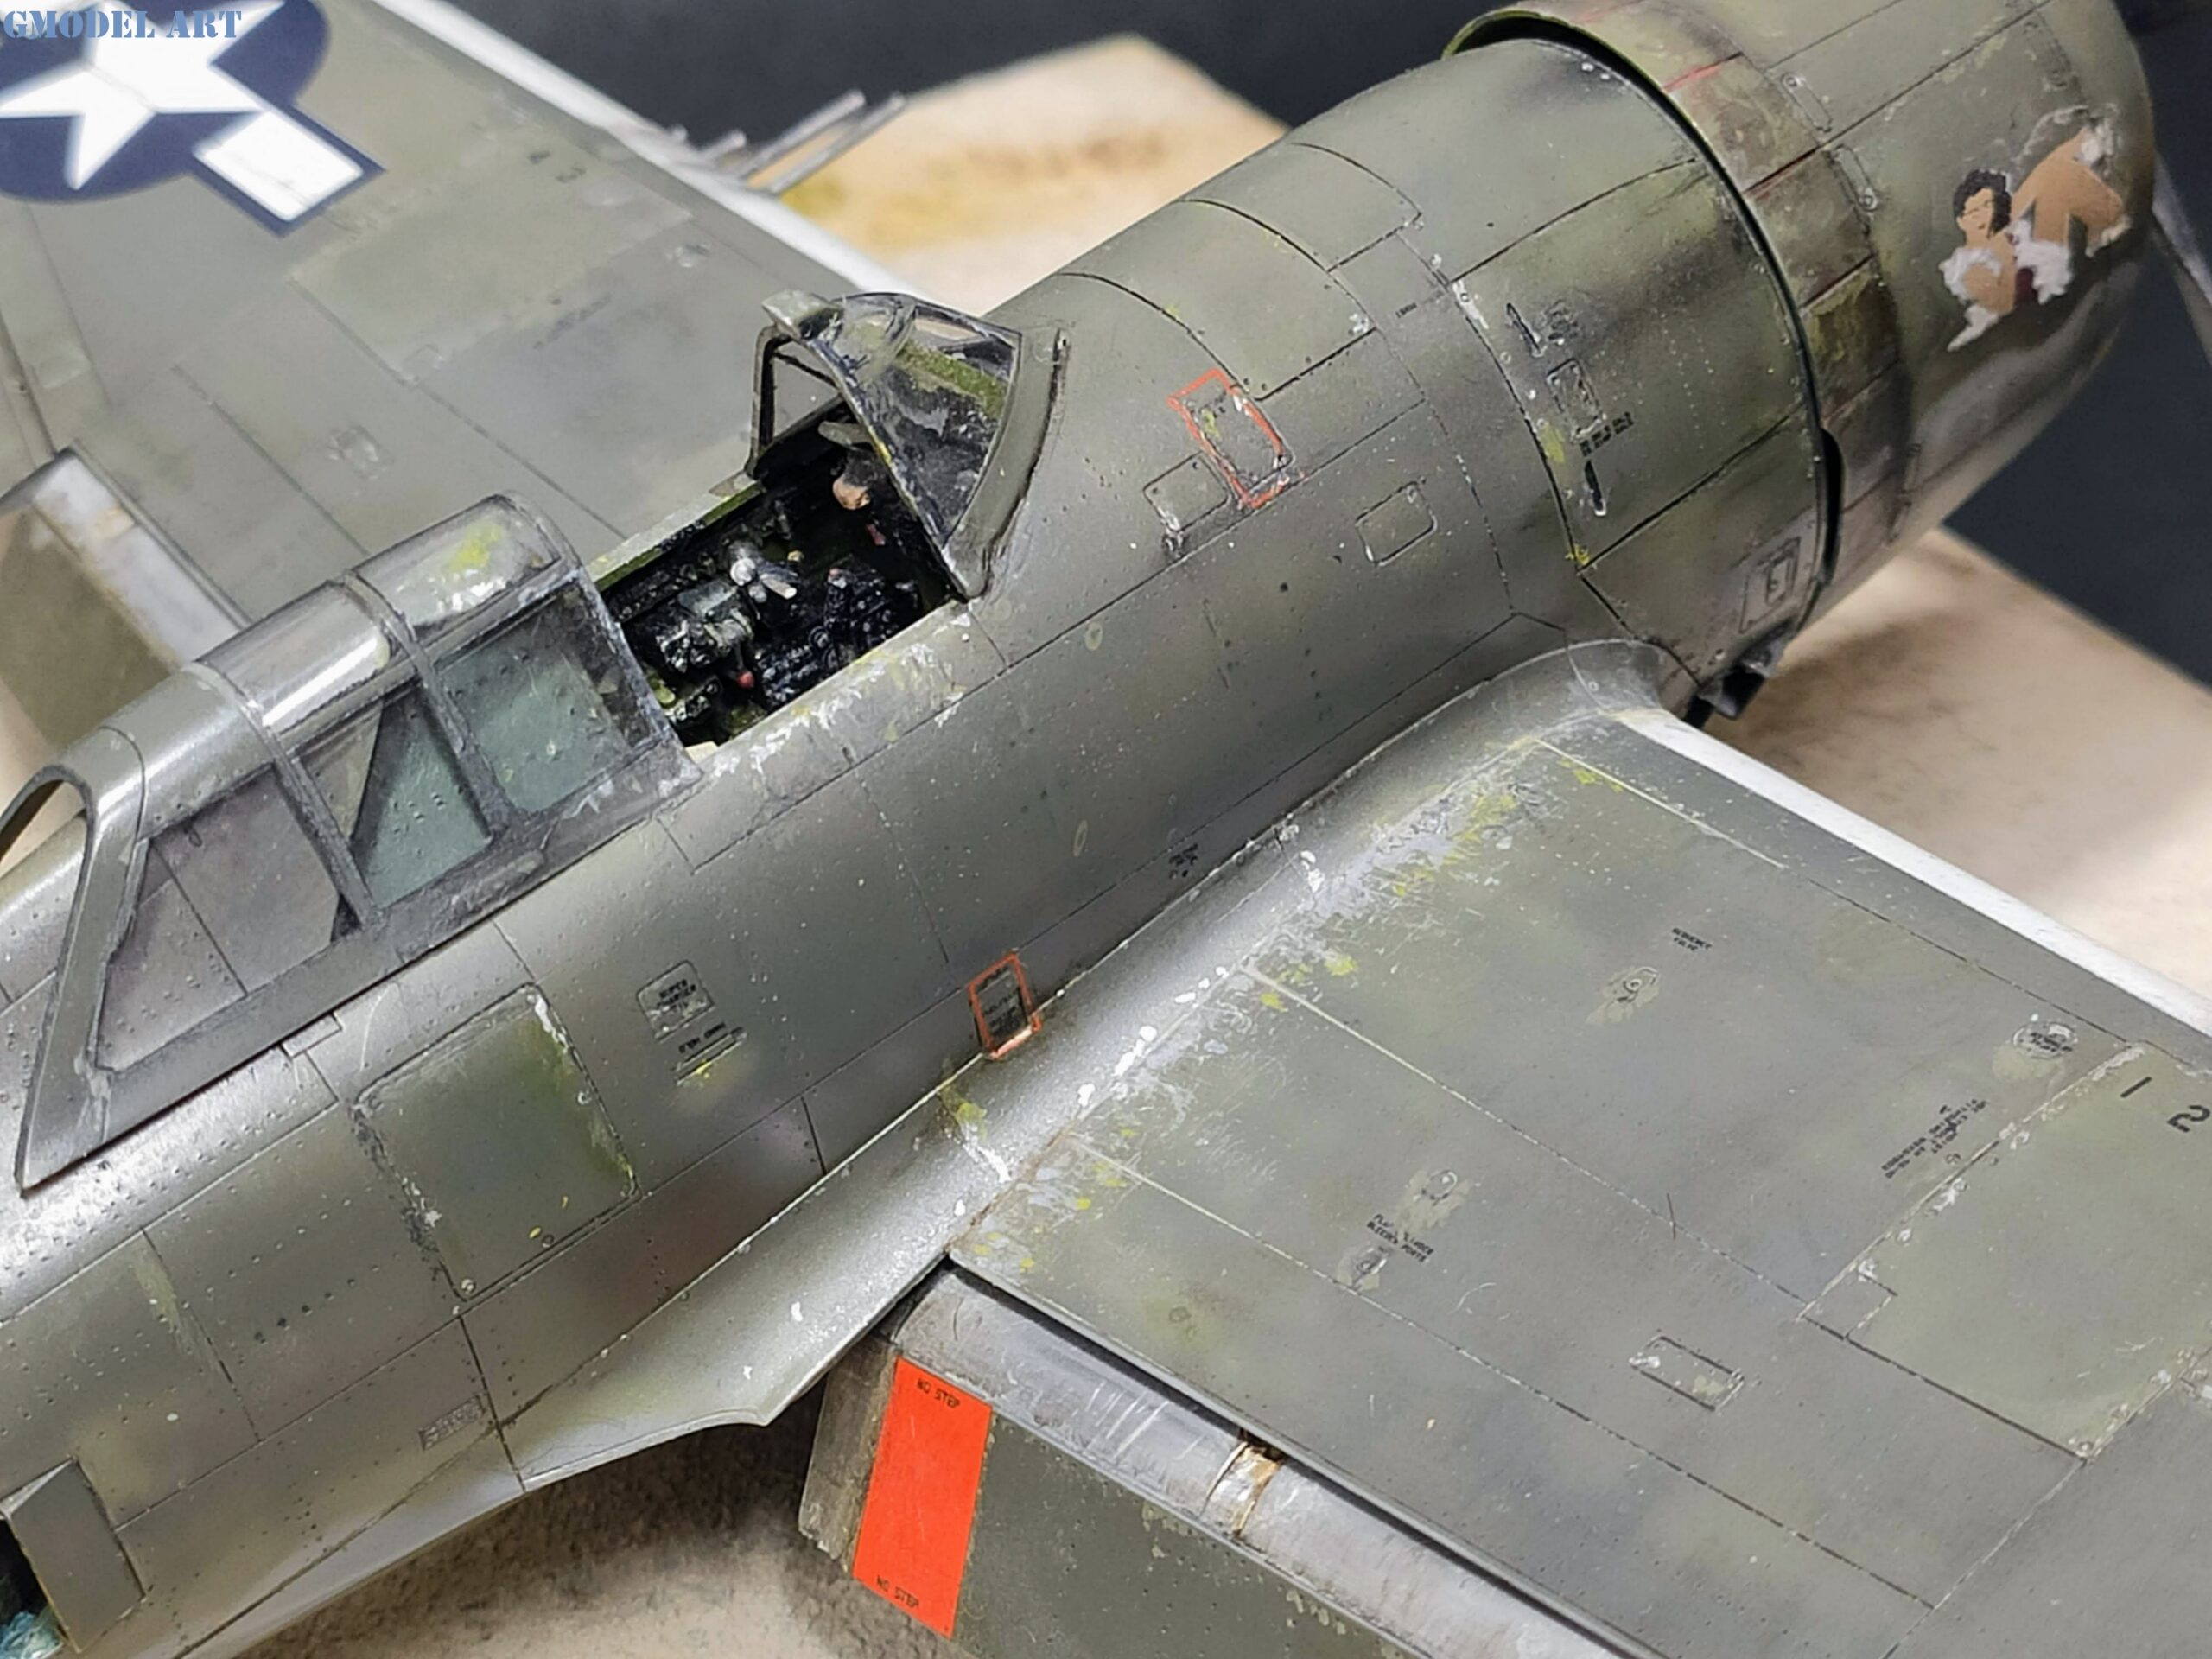
| Cockpit Canopy | Dust, subtle scratches |
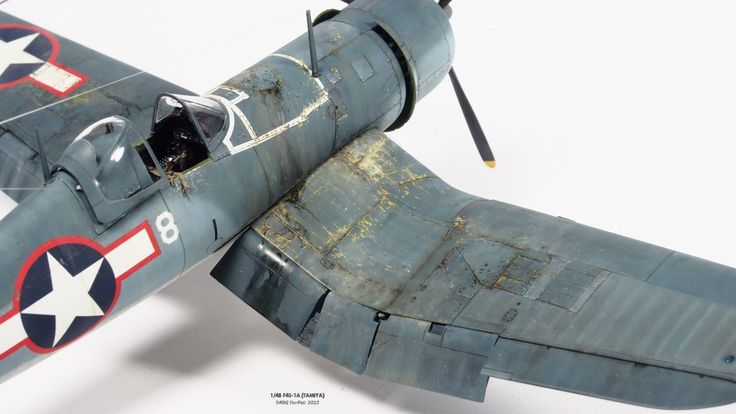
| Engine Cowling & Exhaust | Soot stains, oil streaks |
| Undercarriage & Wheel Bays | Mud splatter, grime, grease |
| Fuselage Panels | Fading, streaks, panel wash |
| Gun Bays & Wing Guns | Gunpowder soot, oil splashes |
| Wing Walk Areas | Heavy chipping, shoe scuffs |
2. Tools & Materials You’ll Need
Oil paints (for dot filters and streaking)
Enamel washes
Chipping fluids / hairspray
Fine brushes and sponges
Pigments (earth tones, black, rust)
Airbrush (optional, but ideal for gradients)
3. Step-by-Step: Weathering the Corsair
Step 1: Surface Prep
Apply a gloss coat after decals to protect them from the weathering process.
Step 2: Panel Line Wash
Use a dark enamel wash to enhance panel lines and rivets. Wipe off excess with a soft cloth or Q-tip.
Step 3: Paint Chipping
Use a sponge or fine brush with silver/grey paint. Focus on:
Wing roots
Edges of flaps
Access hatches
Walkways
Step 4: Oil & Fuel Streaks
Apply small dots of brown/black oil paint and drag with a damp brush in the direction of airflow.
Step 5: Exhaust & Gun Soot
Airbrush thin layers of black/brown near the exhaust ports and gun areas.
Step 6: Pigments & Dusting
Apply pigments to the wheel bays, landing gear, and underside for a dirty, used look.
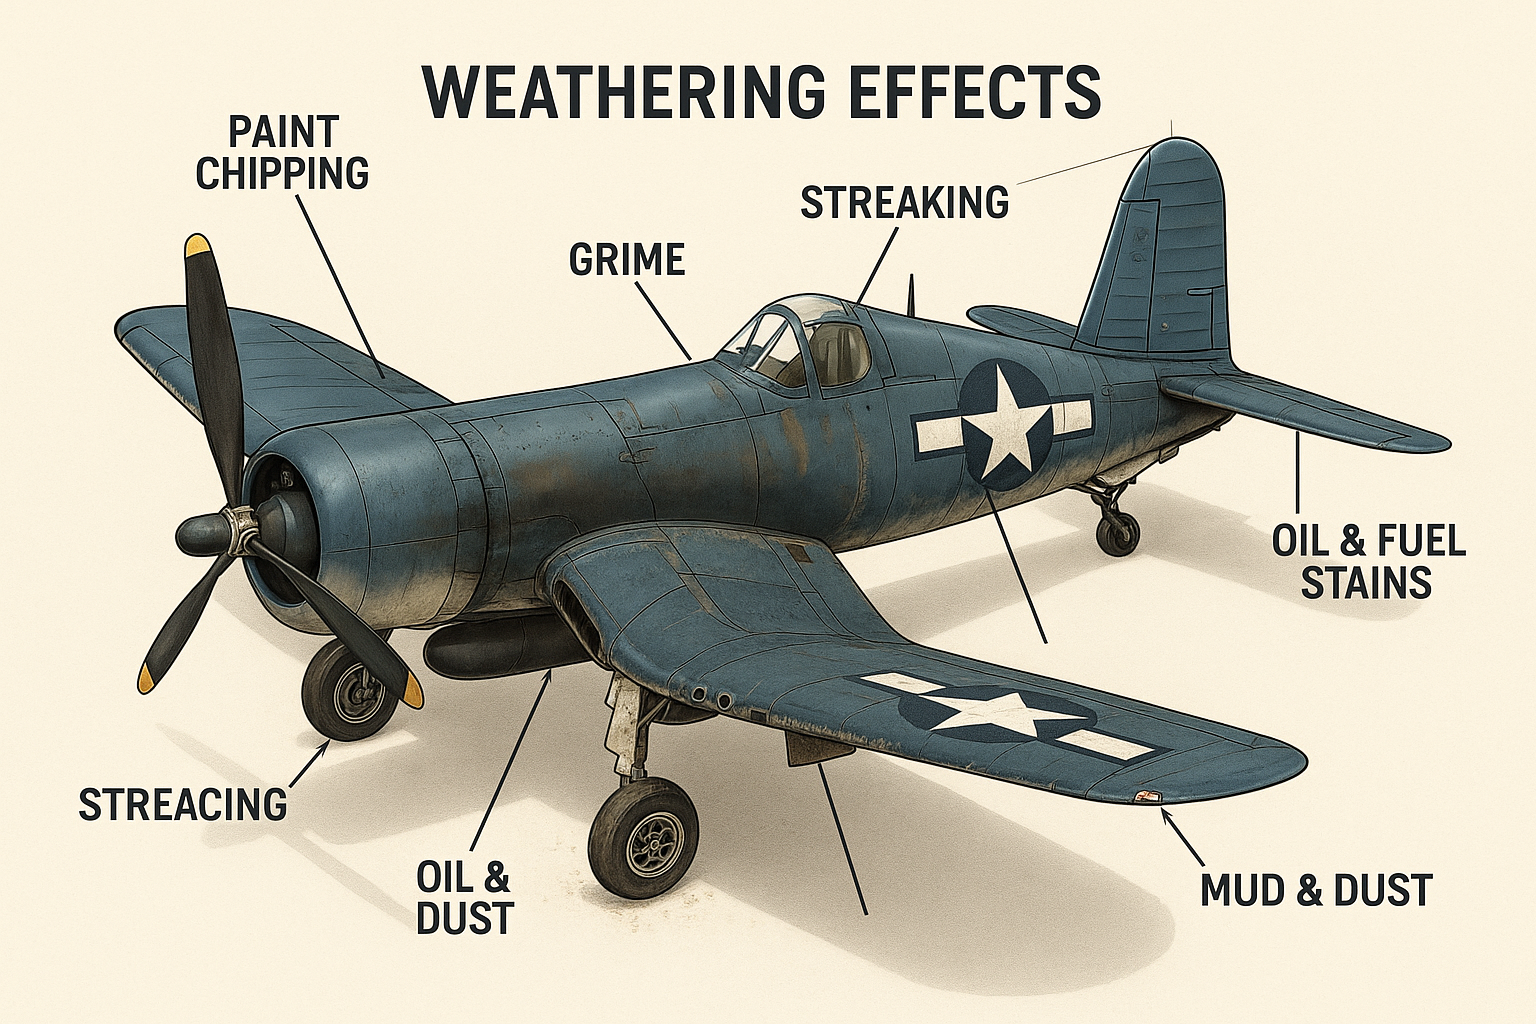
4. Highlight: 3D Weathering Map
Use our 3D Technical Diagram (see image) to identify exactly where and how to apply each weathering effect on the Corsair. Zones are annotated and color-coded for clarity.
“Annotated 3D Weathering Diagram of F4U Corsair – 1/48 scale”)
5. Pro Tips for Scale
Avoid overdoing chipping – less is more.
Use color modulation: apply slightly lighter/darker tones to panels.
Study reference photos from the Pacific Theater.
Conclusion
Weathering is a skill – but also a passion. Through careful observation and practice, you can transform a clean kit into a battle-hardened machine full of character.
Shop Weathering Tools & Corsair Kits at GModel Art
Let your models tell their story. One streak at a time.
Tags: weathering, WWII model aircraft, scale modeling, paint chipping, oil streaks, GModel Art