article
The Ultimate Guide to Building the Perfect Showcase for Scale Models
Creating a collection of scale models is a labor of love, patience, and dedication. Whether you’ve built aircraft, tanks, chariots, or fantasy figures, one question inevitably arises: Where do I store and display my models? A well-built showcase not only protects your models from dust, accidents, and time but also enhances their visual impact. This guide will provide comprehensive, step-by-step instructions to help you build or customize the ideal display case for your models.
1. Evaluate Your Space
Before purchasing or building a showcase, study the area where you plan to place it. Make sure it doesn’t obstruct movement, especially in tight rooms. Measure the available width, depth, and height. Remember to account for:
Sunlight: UV rays can fade decals and paint, so avoid direct exposure year-round.
Ventilation & Dust: Enclosed spaces reduce dust, but air-tight seals work best.
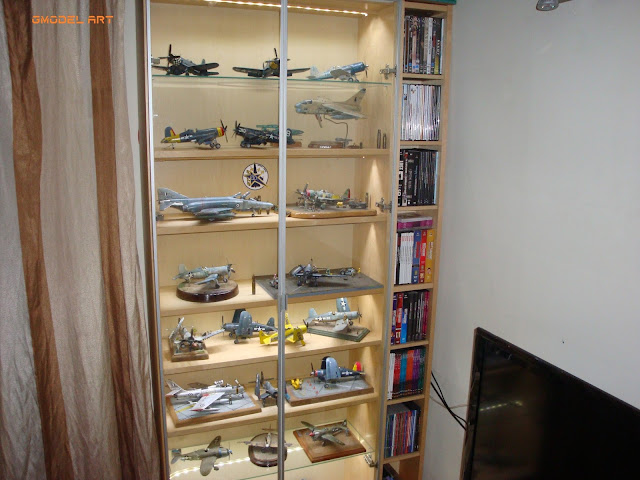
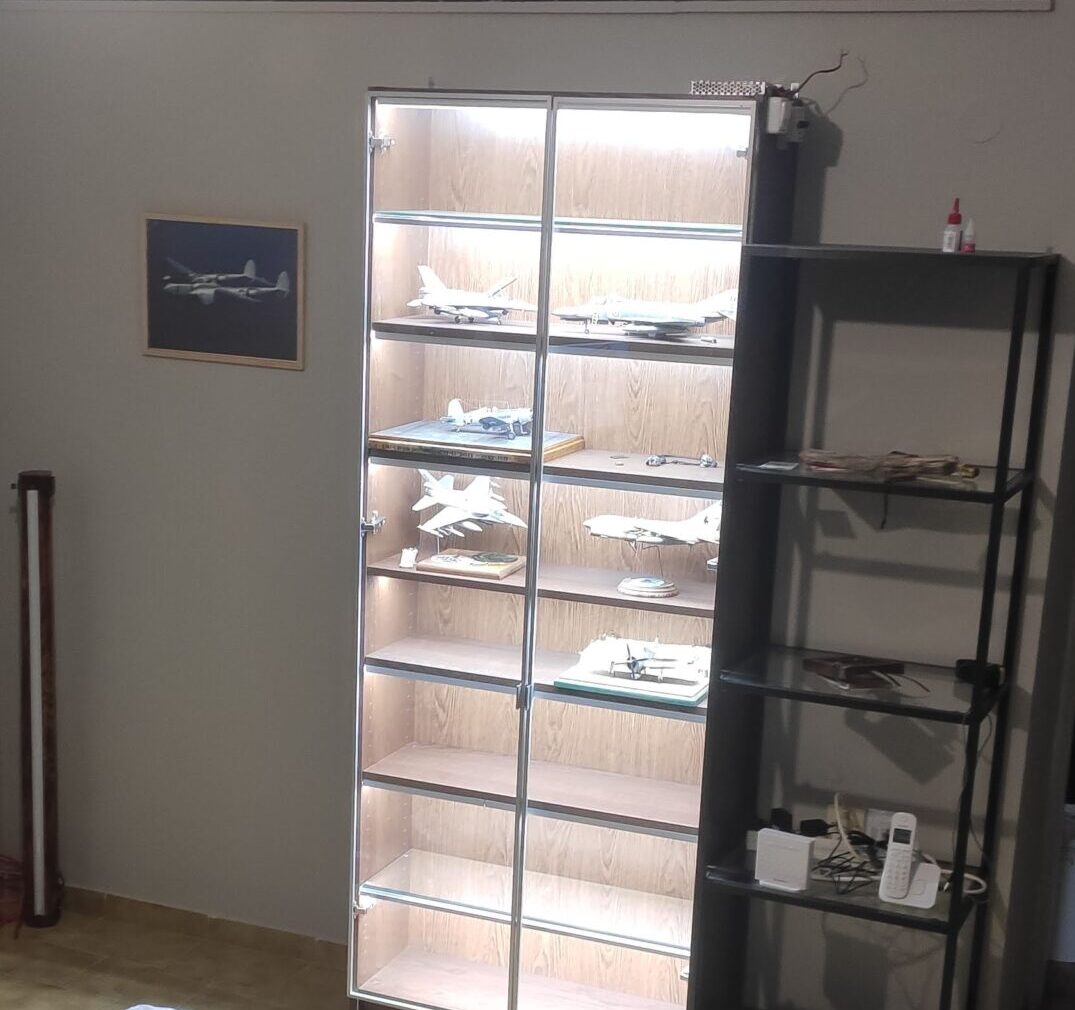
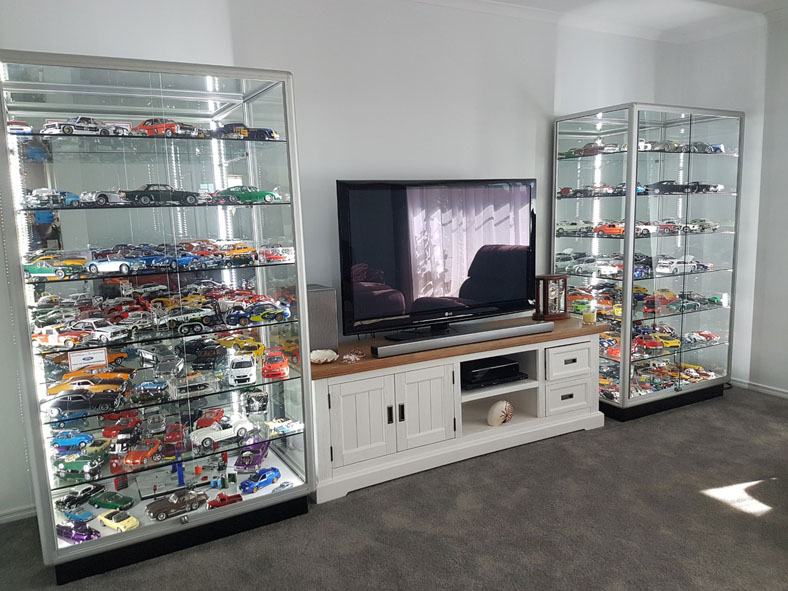
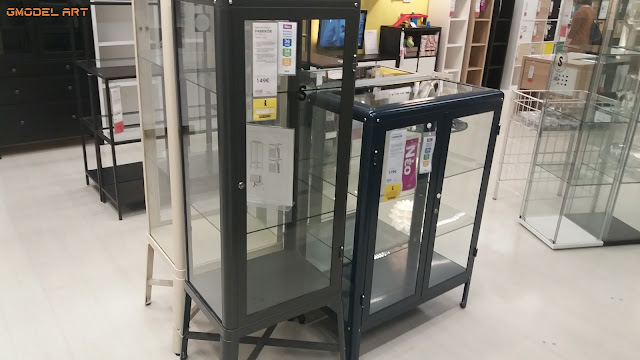
2. Choose the Right Showcase Material
Showcases come in different materials:
Glass: Best for visibility, but heavier and fragile.
Acrylic: Lightweight alternative to glass, scratch-prone but clearer.
Wood/Metal frames: Provide structure and aesthetic value.
Aluminum or wooden frames with glass doors are ideal for a professional finish.
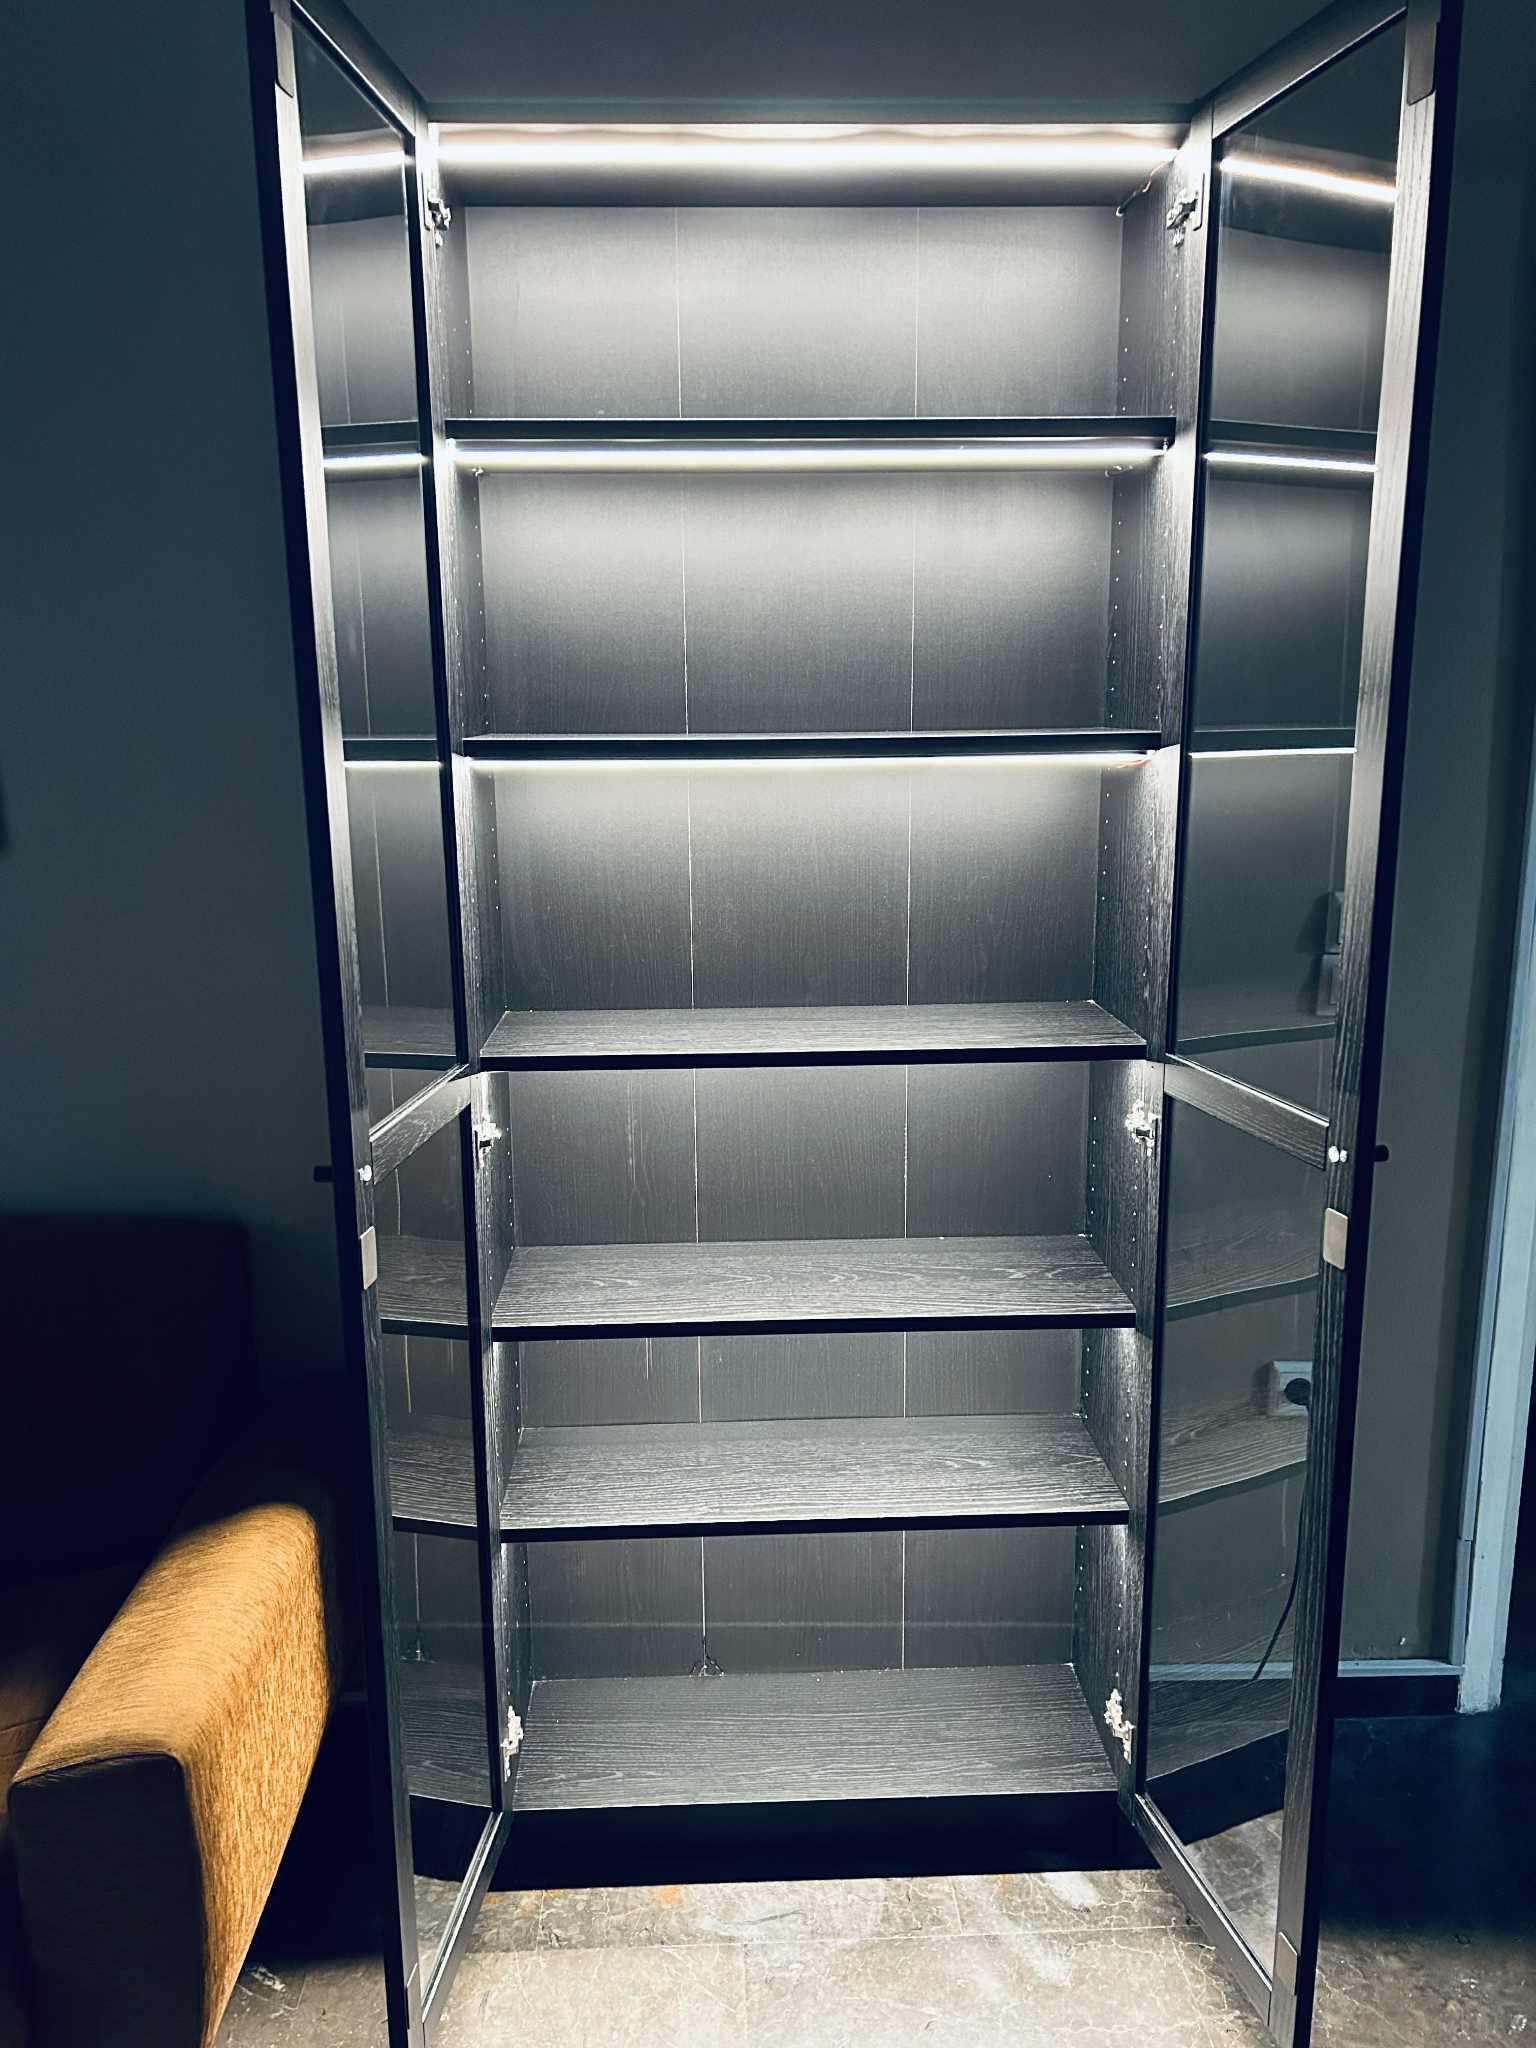
3. Layout and Shelf Dimensions
Standard shelf depth for 1:72 and 1:48 models: 20–30 cm
Shelf height clearance: Minimum 5 cm more than your tallest model.
Spacing between shelves: Adjustable shelves are preferable.
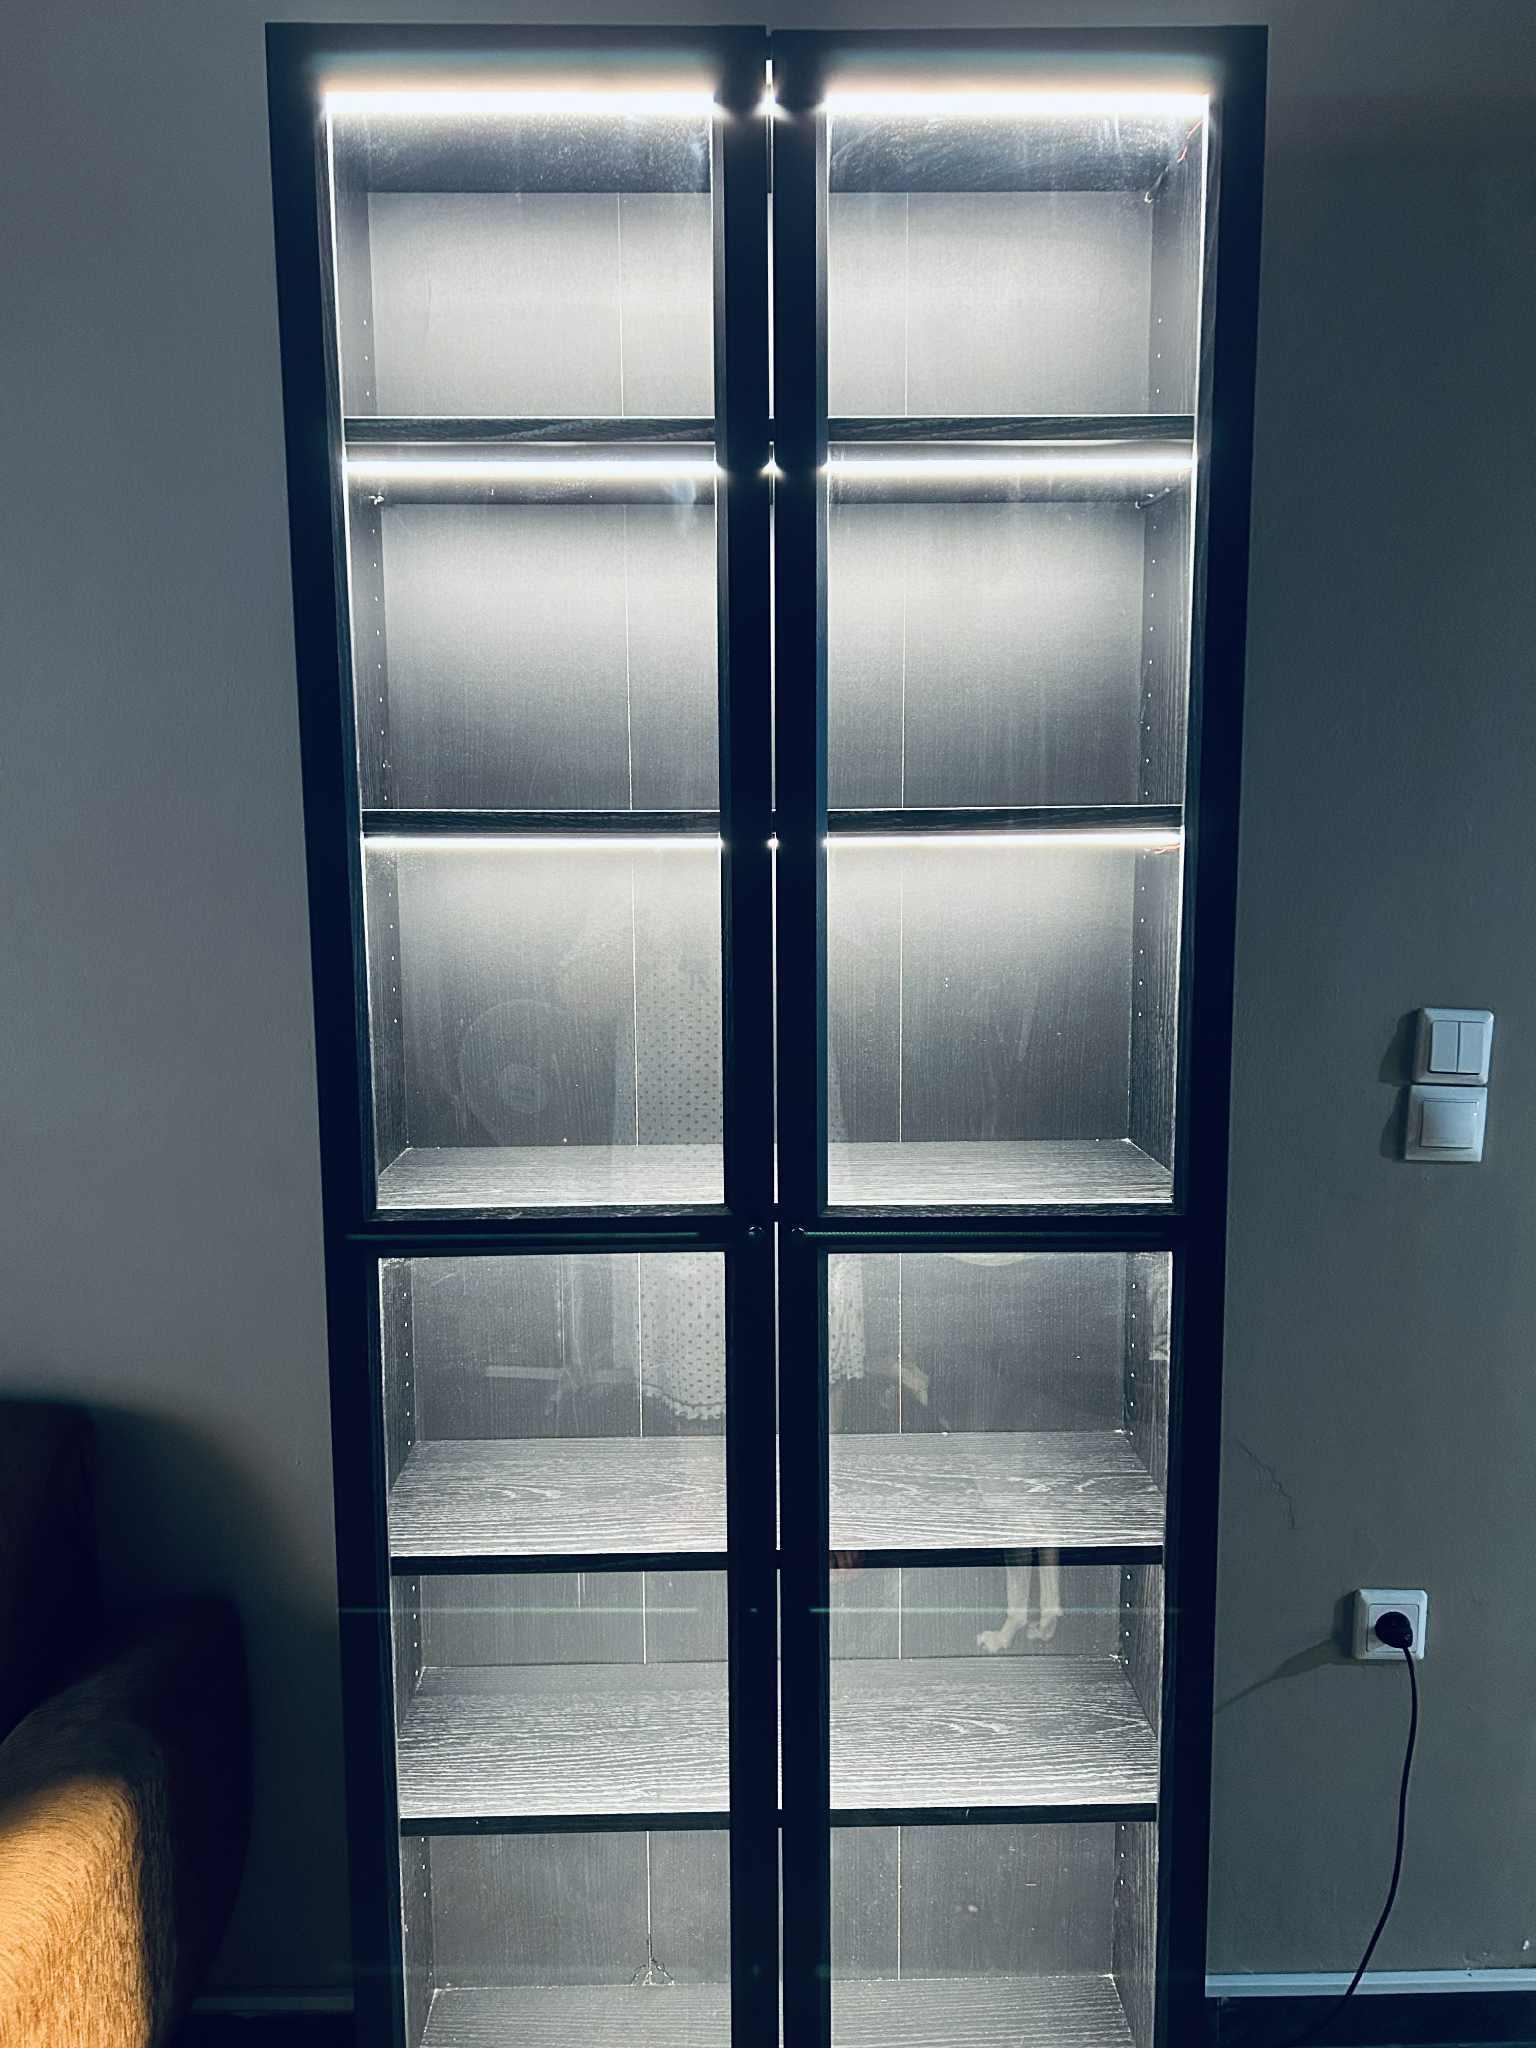
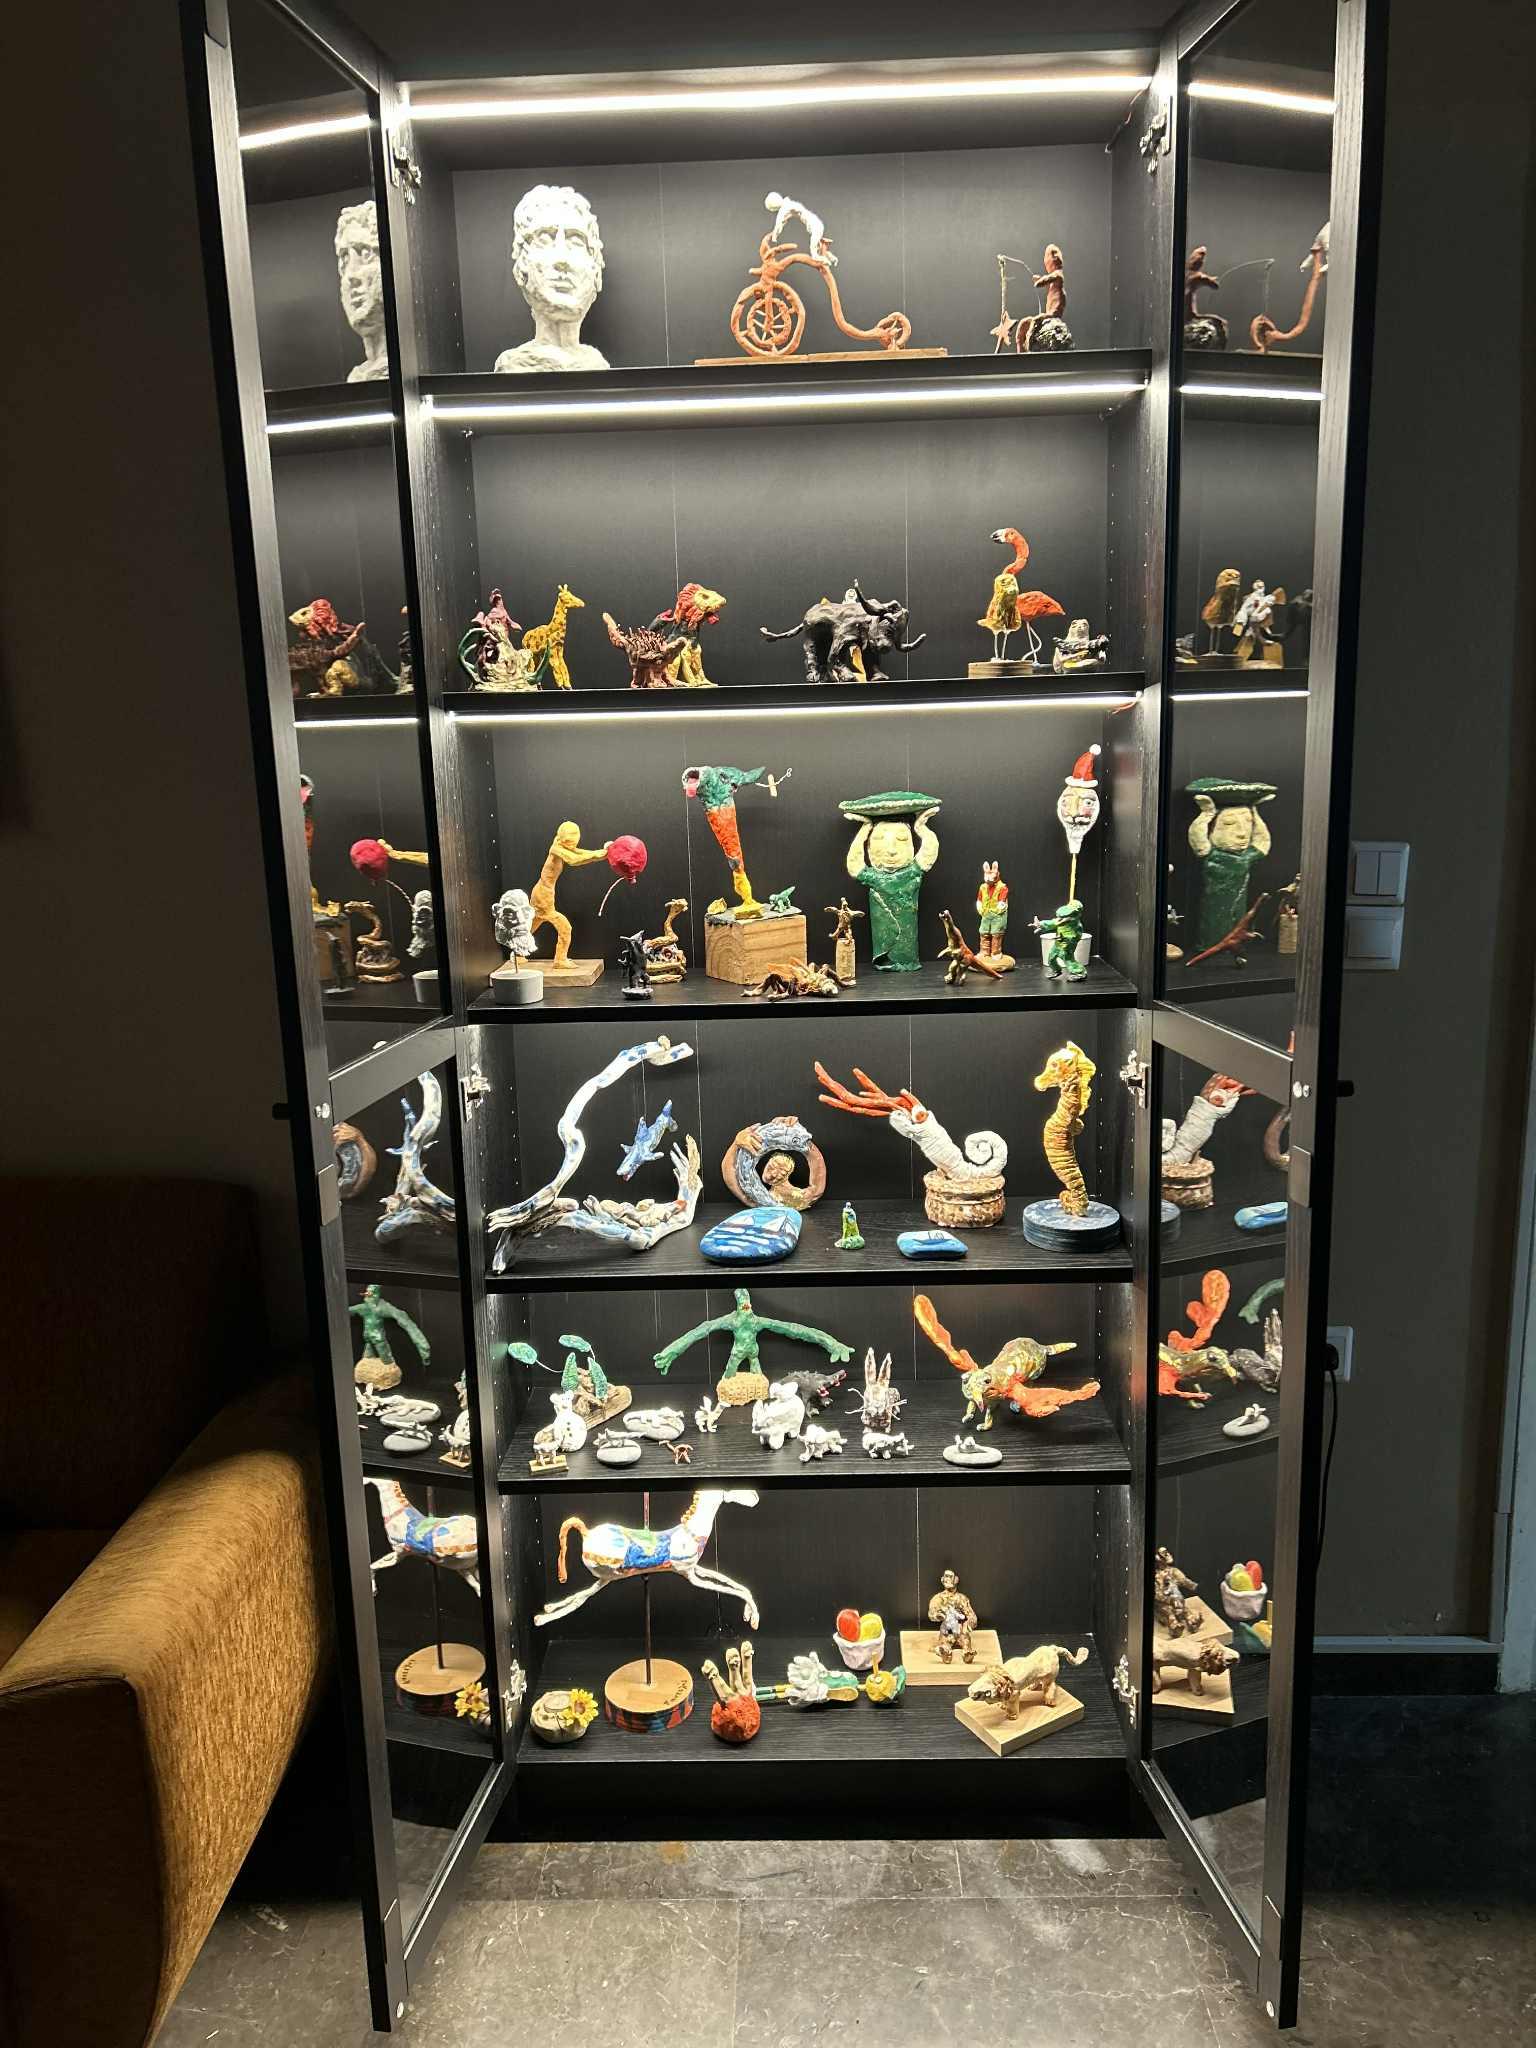
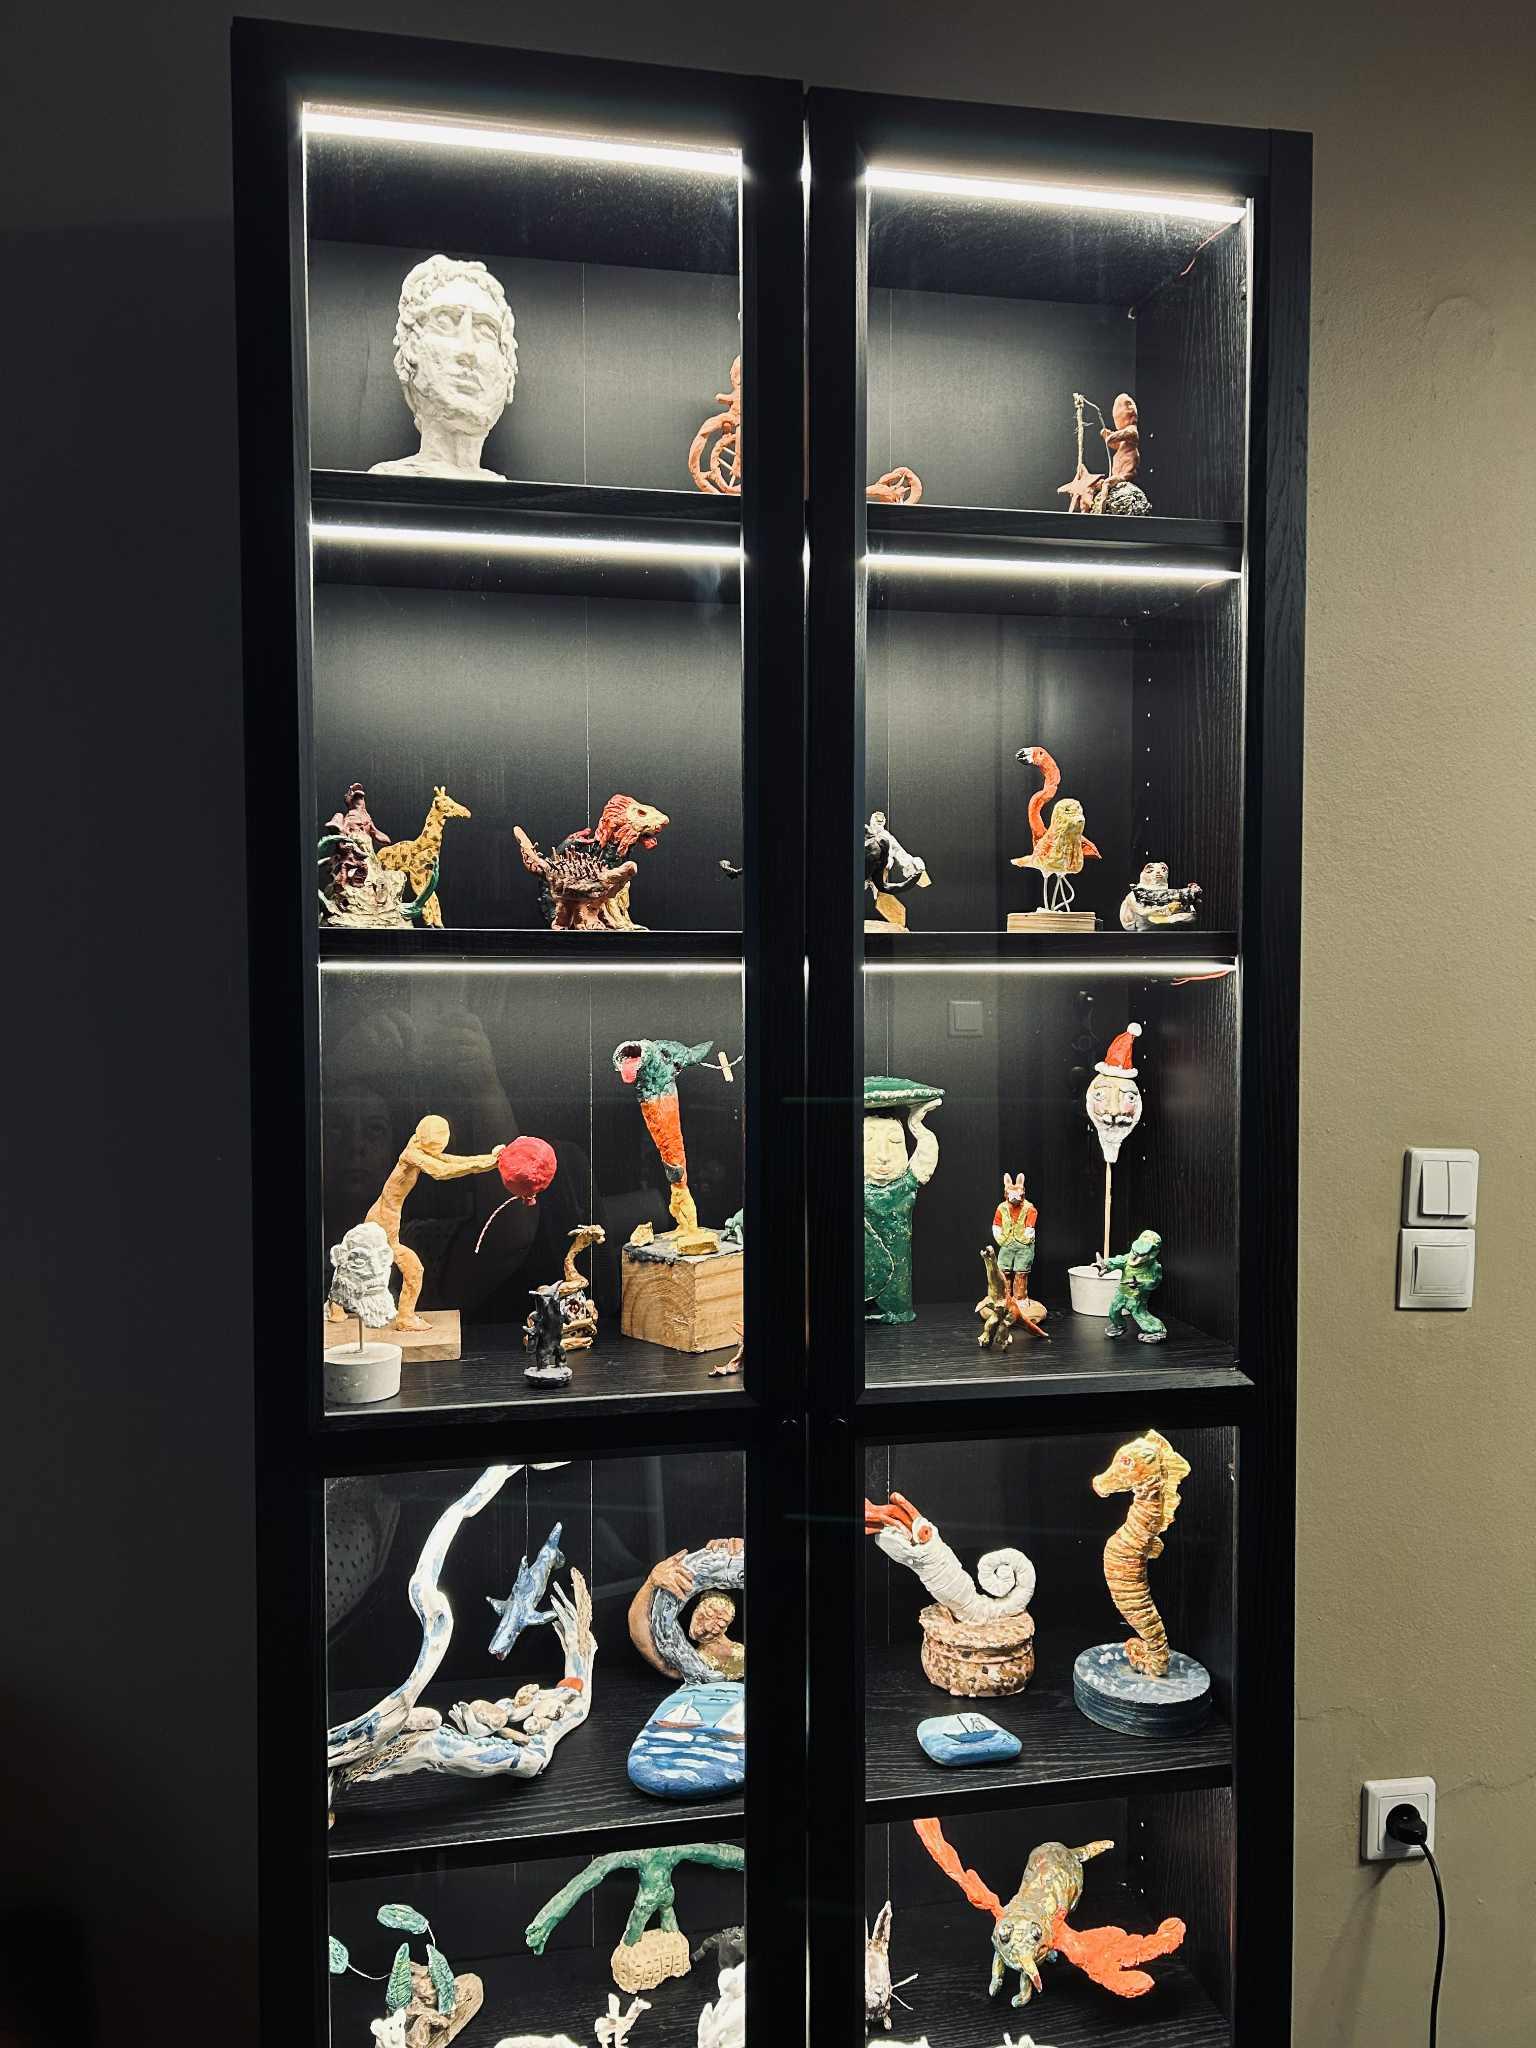
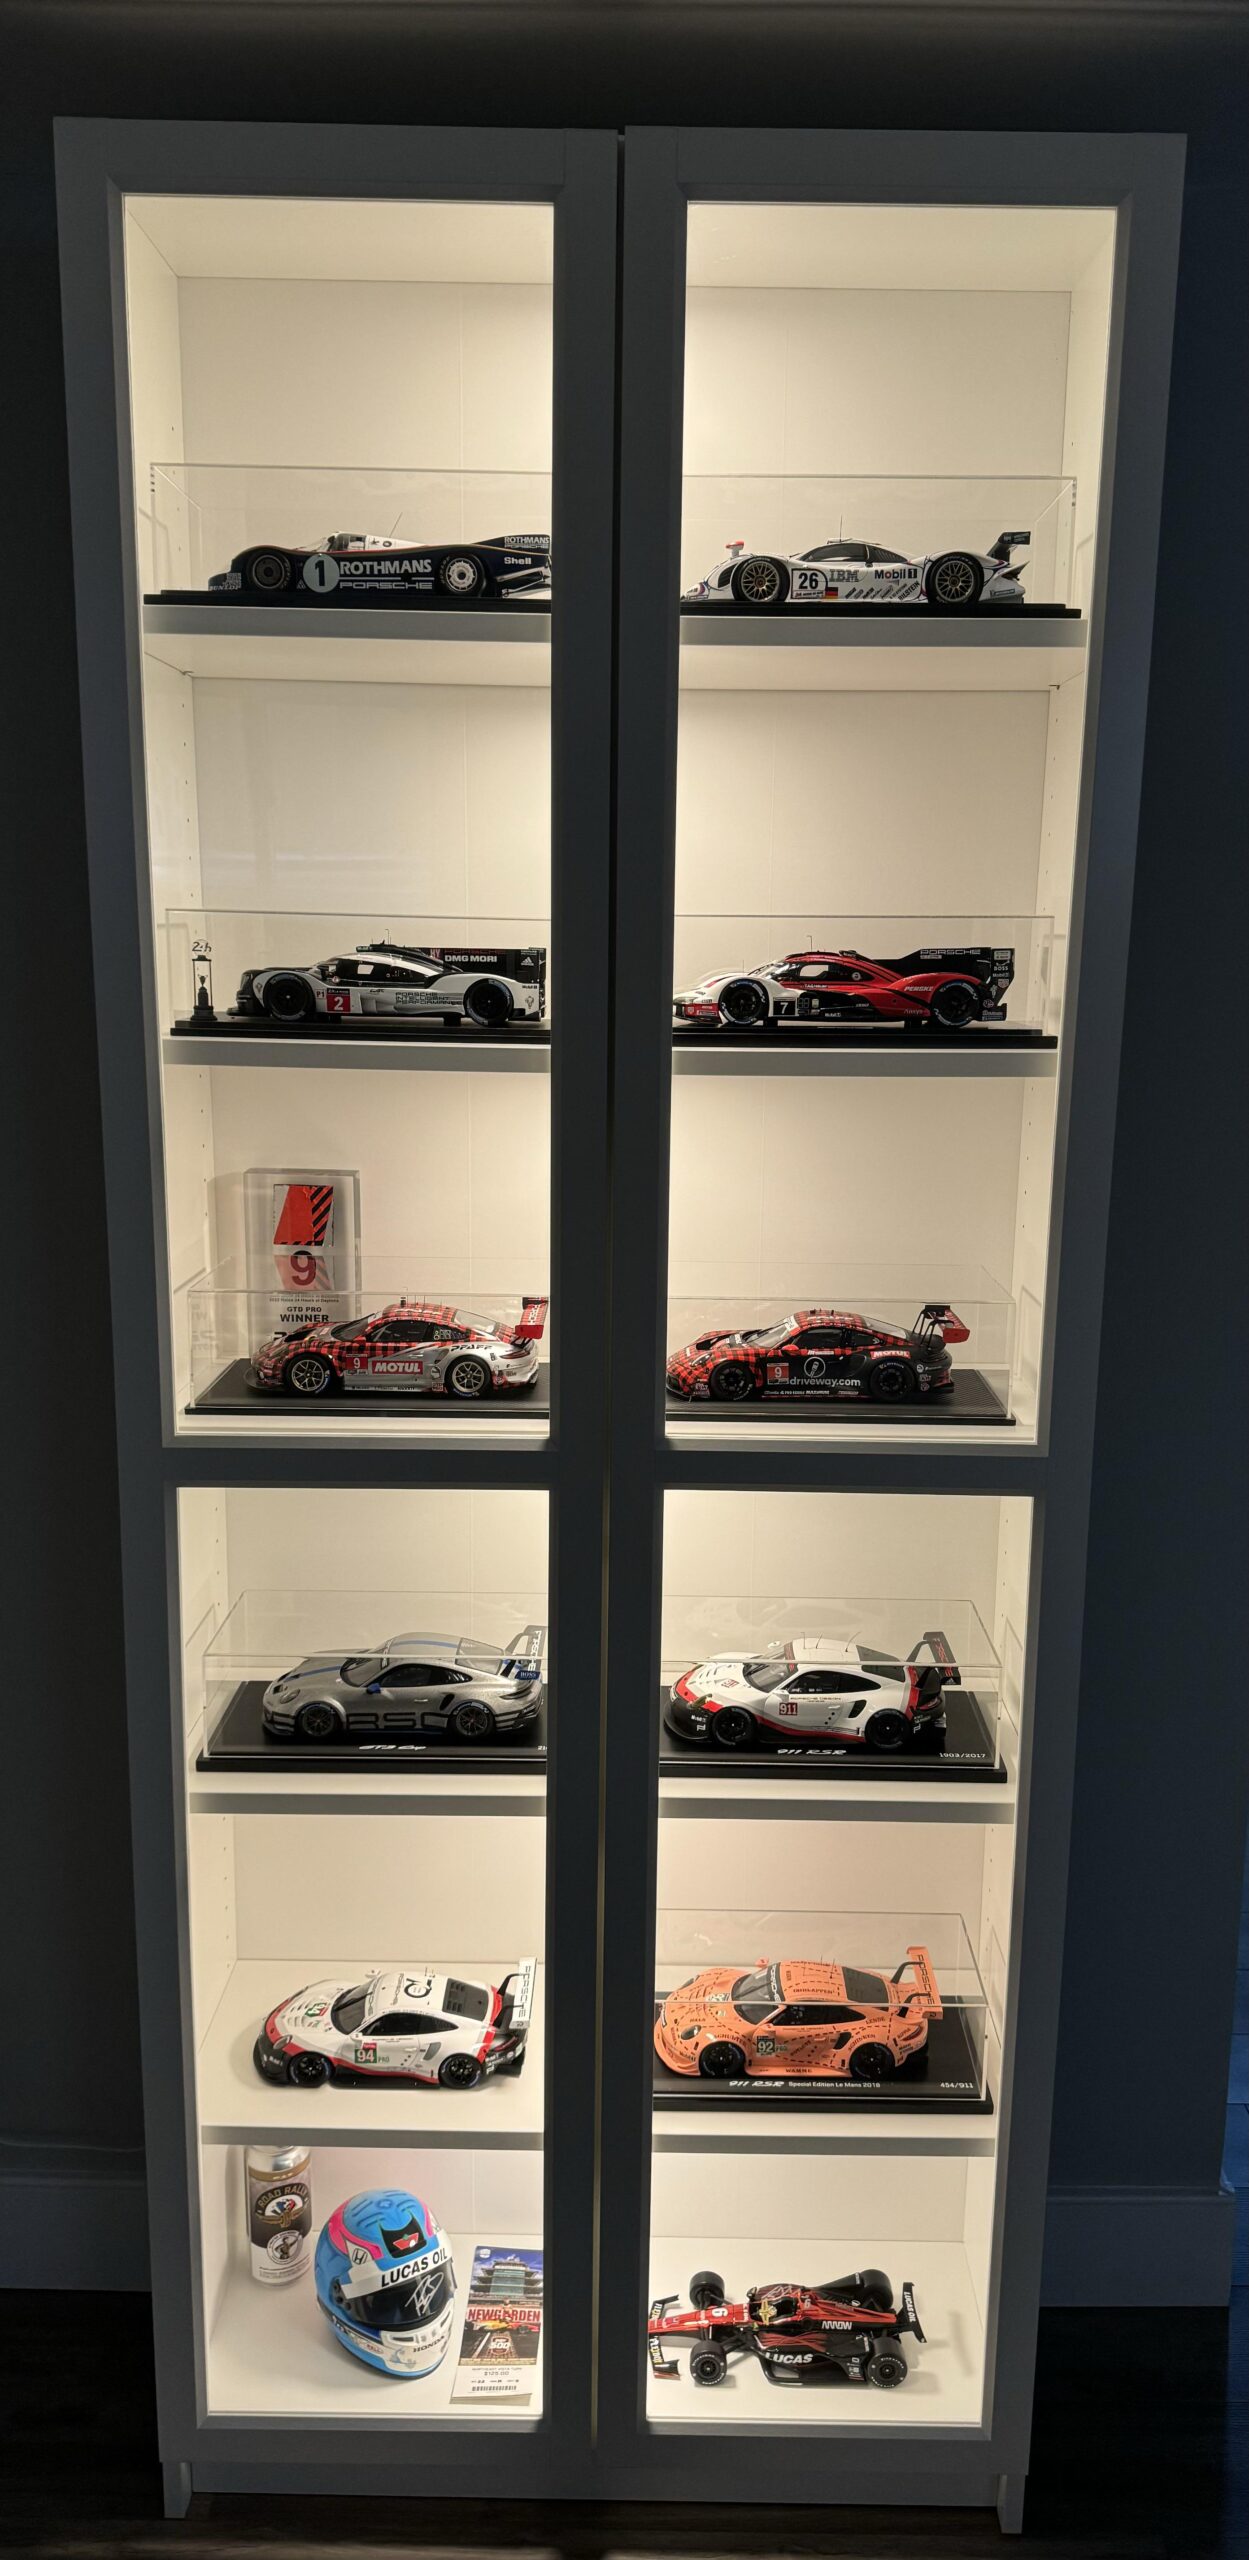
4. Lighting – Showcase Your Work
Lighting is what makes a good display great. For scale models:
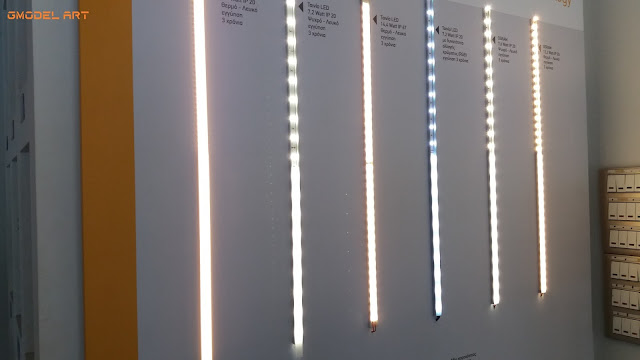
Use LED strips: Energy-efficient, low heat, long lifespan.
Ideal placement for 26 cm deep shelf: 3–5 cm from the front edge, facing inward.
Color temperature: Use cold white (around 5000K). Warmer lights distort colors.
LED Specs:
Voltage: 24V (preferred over 12V for stability)
Power: ~7.2W/m
IP Rating: IP20 (for indoor use)
Price: €4–€6 per meter
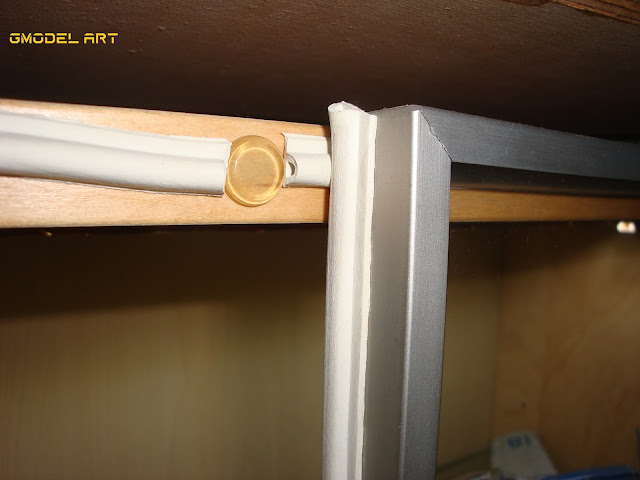
Aluminum LED channels are highly recommended. They provide:
Heat dissipation
Mounting stability
Professional finish
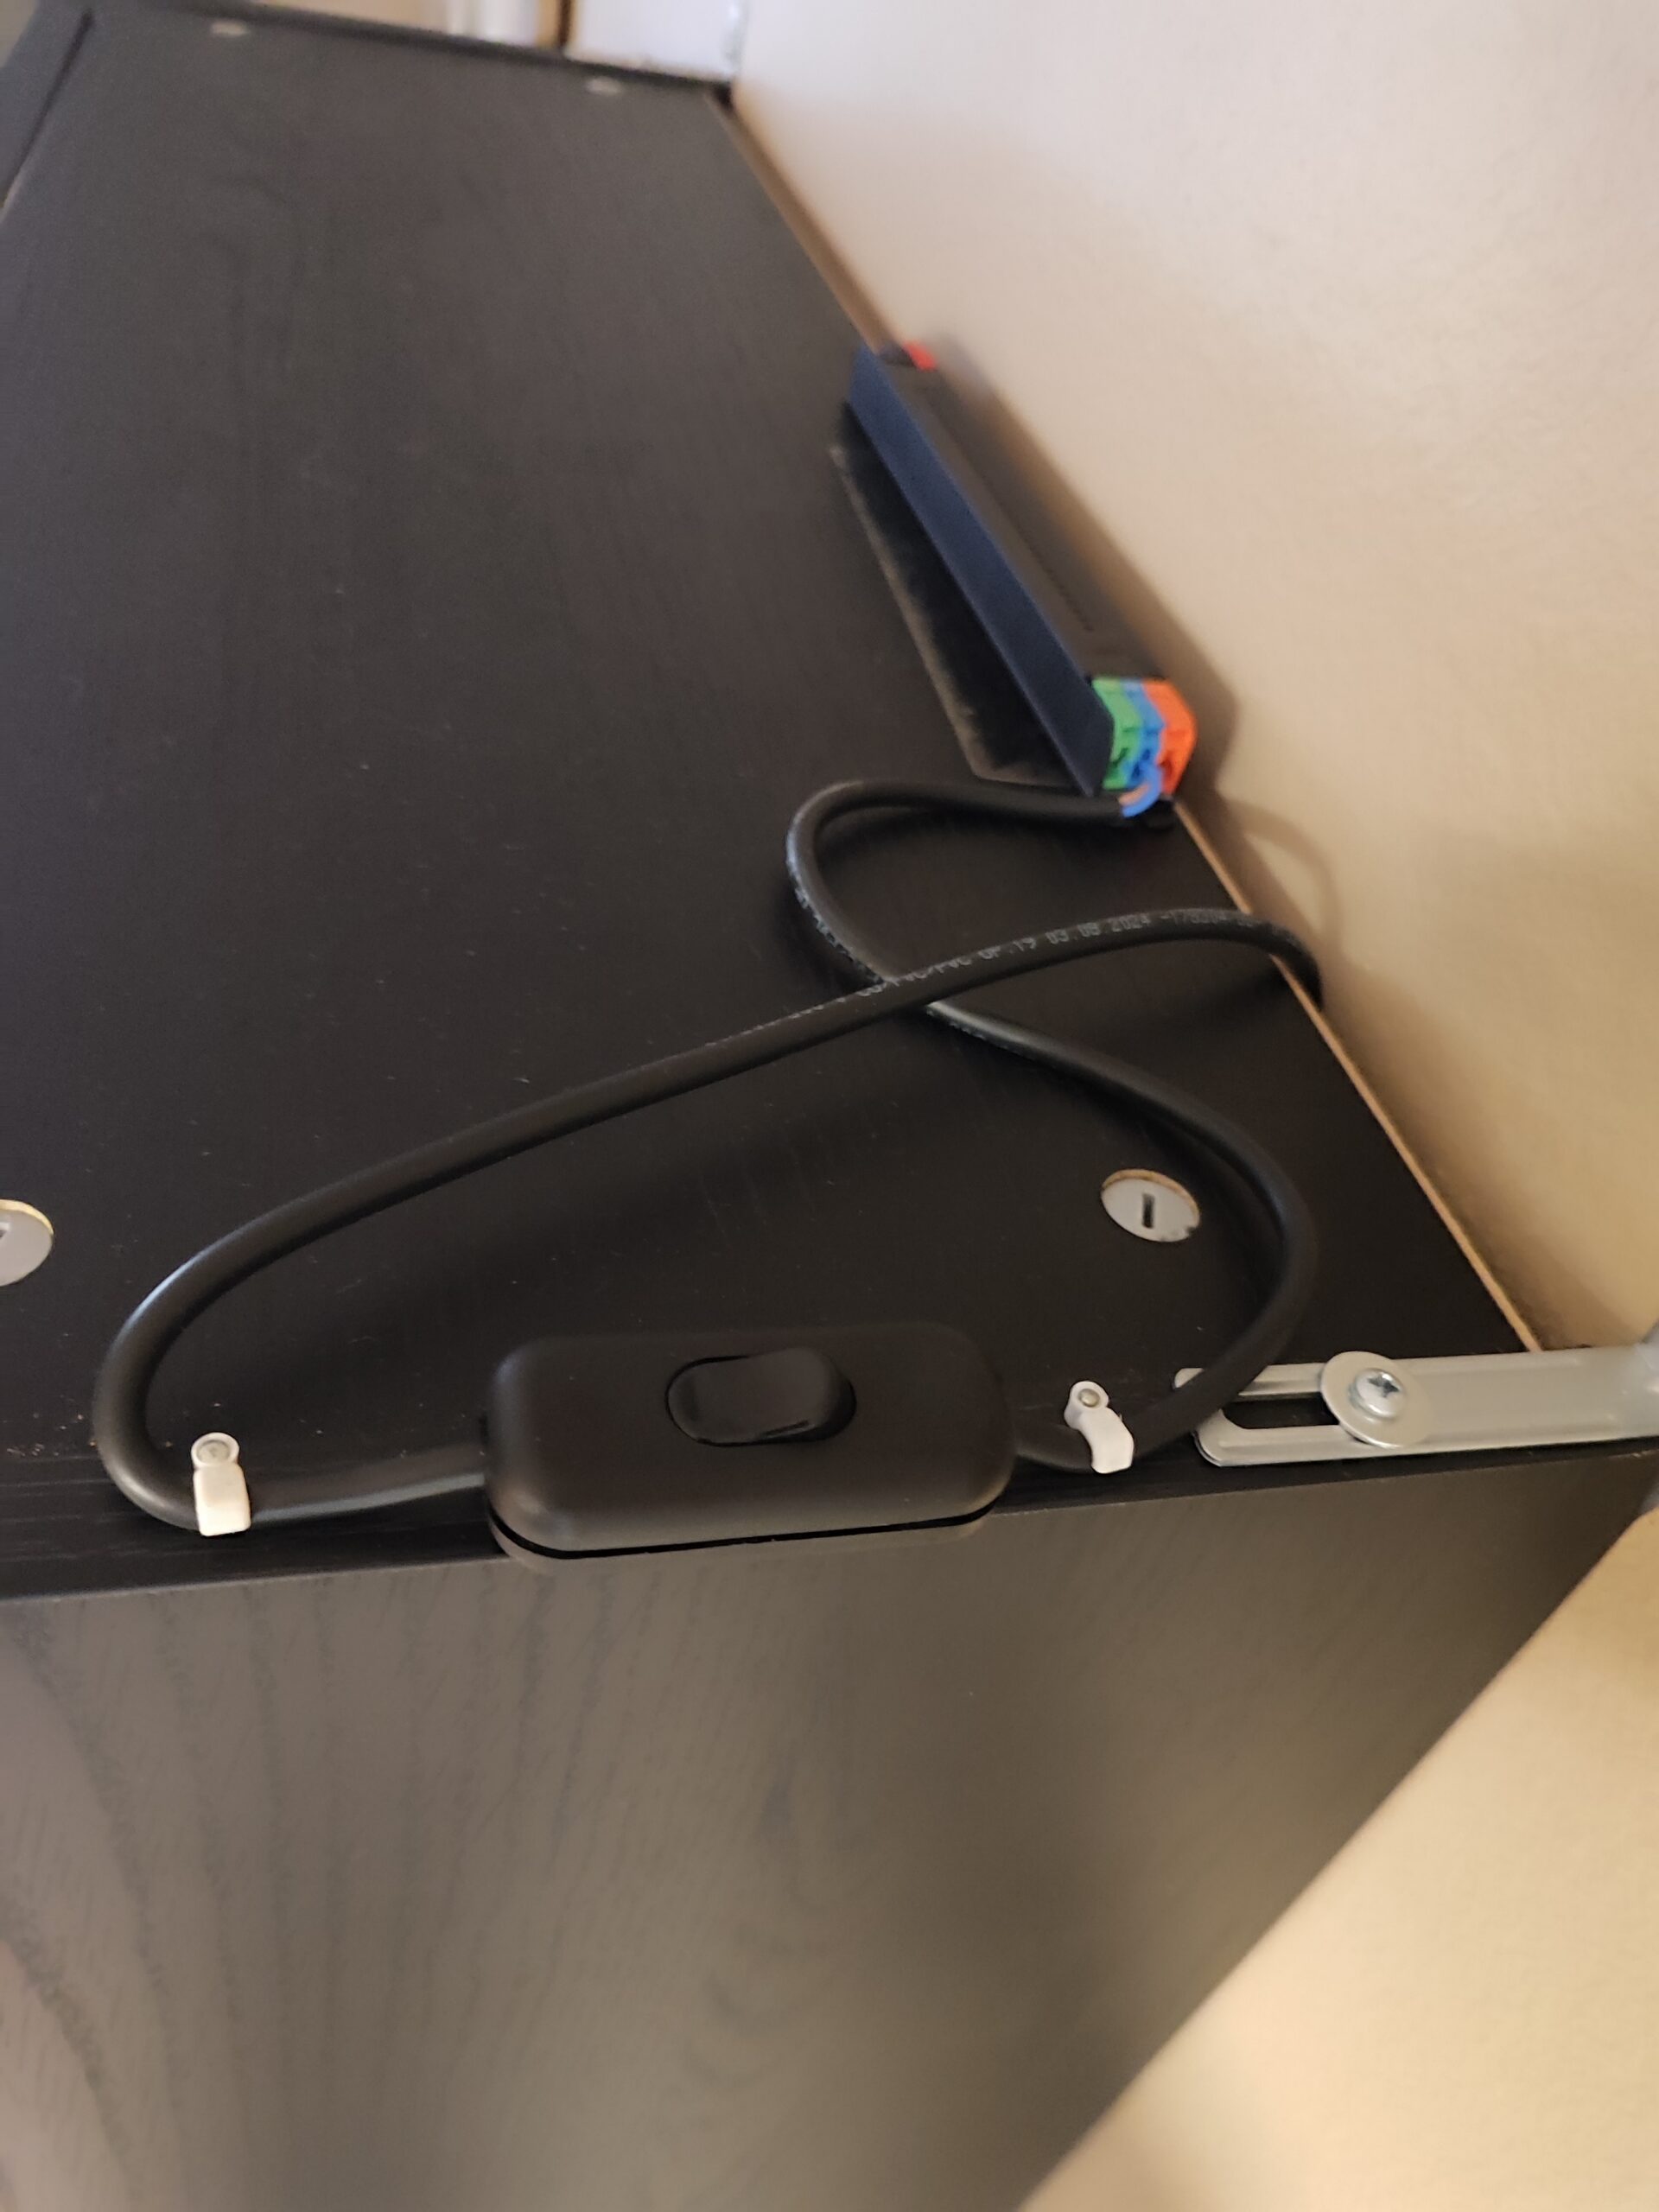
5. Wiring & Installation Tips
Power Supply: Match to total length (Watts per meter x total meters).
Switch: Install discretely inside the top panel.
Cables: Use bipolar (two-color) cable – helps distinguish + and -.
Hide cables behind or under the frame for a clean look.
Important: Screw the showcase to the wall to prevent accidents. Earthquakes or unbalanced weight can topple it.
6. Dust Protection & Airflow
Add rubber or silicone air-stop seals around the doors to block dust and exhaust fumes. Proper sealing can keep models dust-free for decades – as proven in personal experience.
7. Tools & Materials Checklist
Measuring tape
Screwdriver/Drill
LED strip (length as needed)
LED aluminum profile (with diffuser)
Power supply unit (24V)
Bipolar cable
Air-stop seals
Screws, wall plugs
Glass cleaner and microfiber cloths
8. Optional Add-ons
Motion sensors: Auto-lighting when opening doors.
UV-filtered glass: For added color protection
Mirrored back panel: Enhances depth and display impact
Rotating stands (for figures)
Conclusion
A great showcase isn’t just furniture – it’s the final step of the modeling journey. It protects, enhances, and honors your effort. With smart lighting, good sealing, and proper materials, your models can remain pristine and admired for generations.
The Hobby of Modeling Is Psychotherapy!
Happy modeling, and never let your creations gather dust!