article
Ultimate Weathering Guide for WWII Model Aircraft
Bring History to Life with Realistic Weathering Effects
Introduction
Weathering your WWII model aircraft is where your craftsmanship meets storytelling. It’s not just about dirt and wear – it’s about history, realism, and emotion. In this guide, we’ll focus on the scale, offering an in-depth breakdown of how to apply accurate, artistic weathering.
Why Weathering Matters
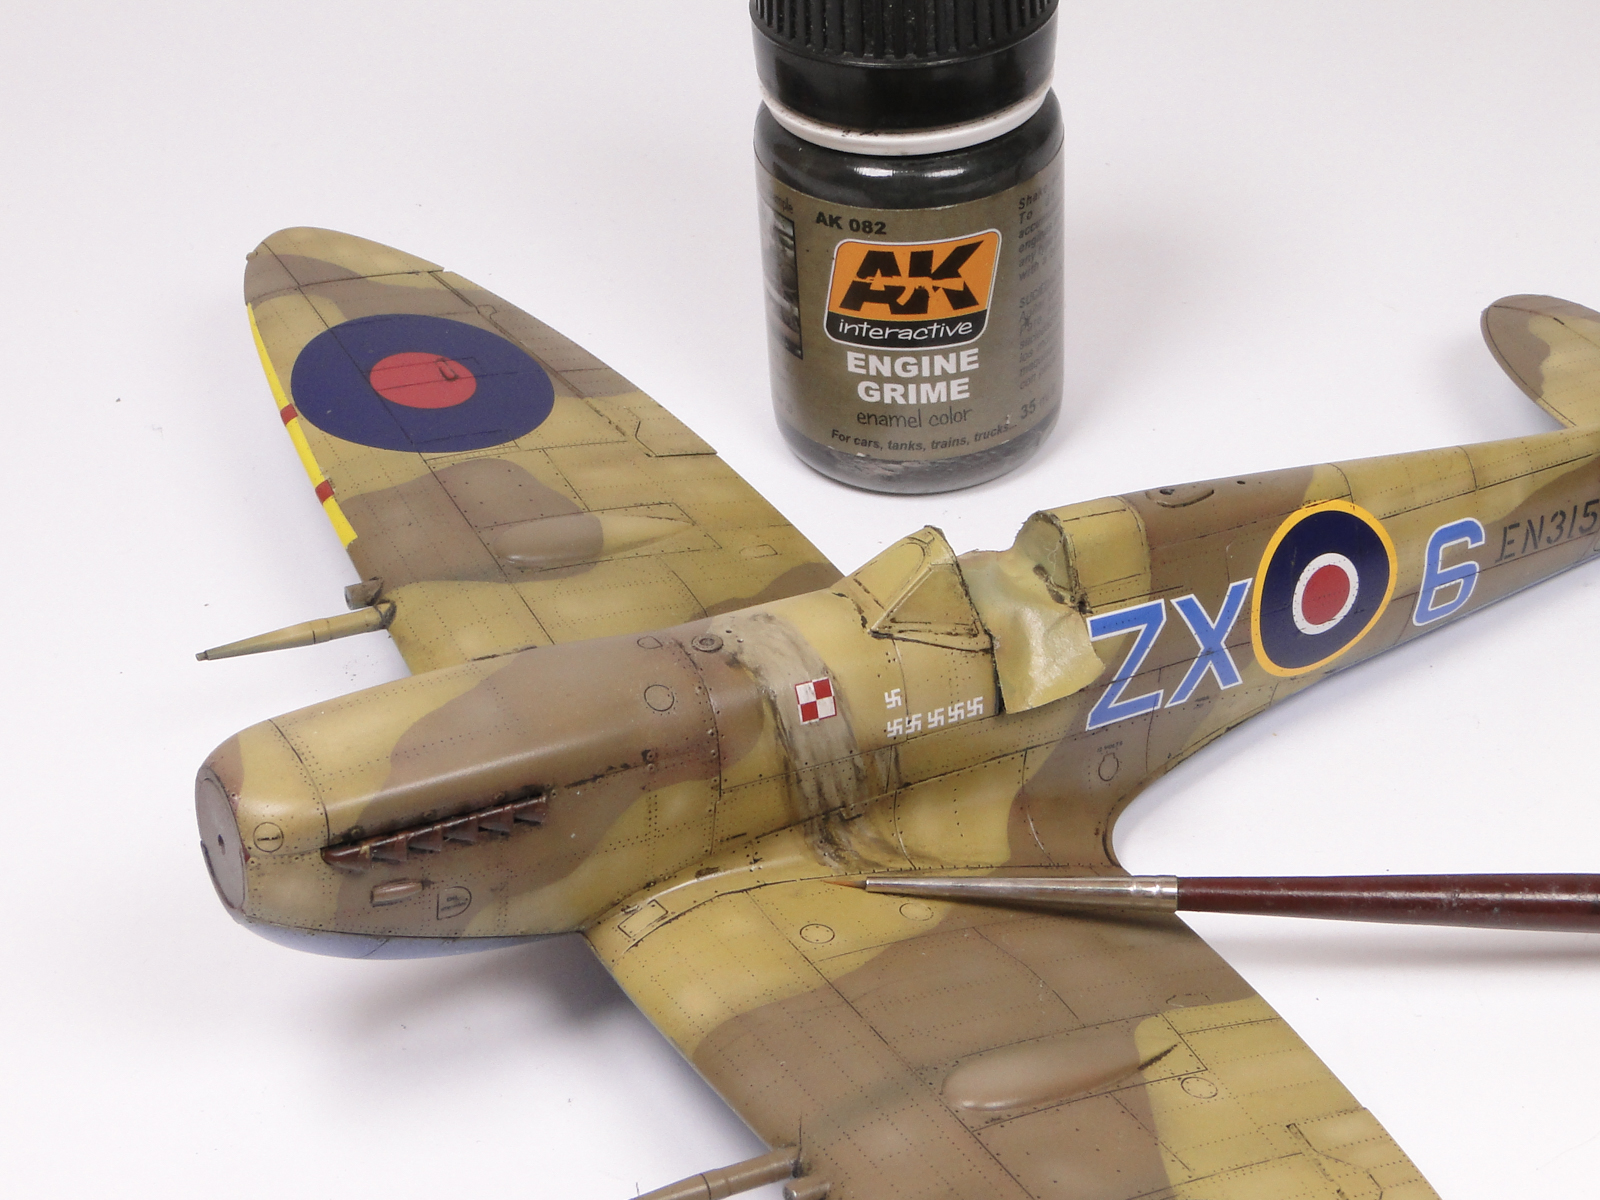
Realism: Real combat aircraft don’t look factory-fresh. Paint chips, oil leaks, and sun-bleached surfaces tell the story of missions flown.
Scale Effect: Weathering enhances depth and detail, giving your model the illusion of full-scale presence.
Artistic Expression: Every smudge or streak becomes part of a visual narrative.
1. Understanding the Weathering Zones
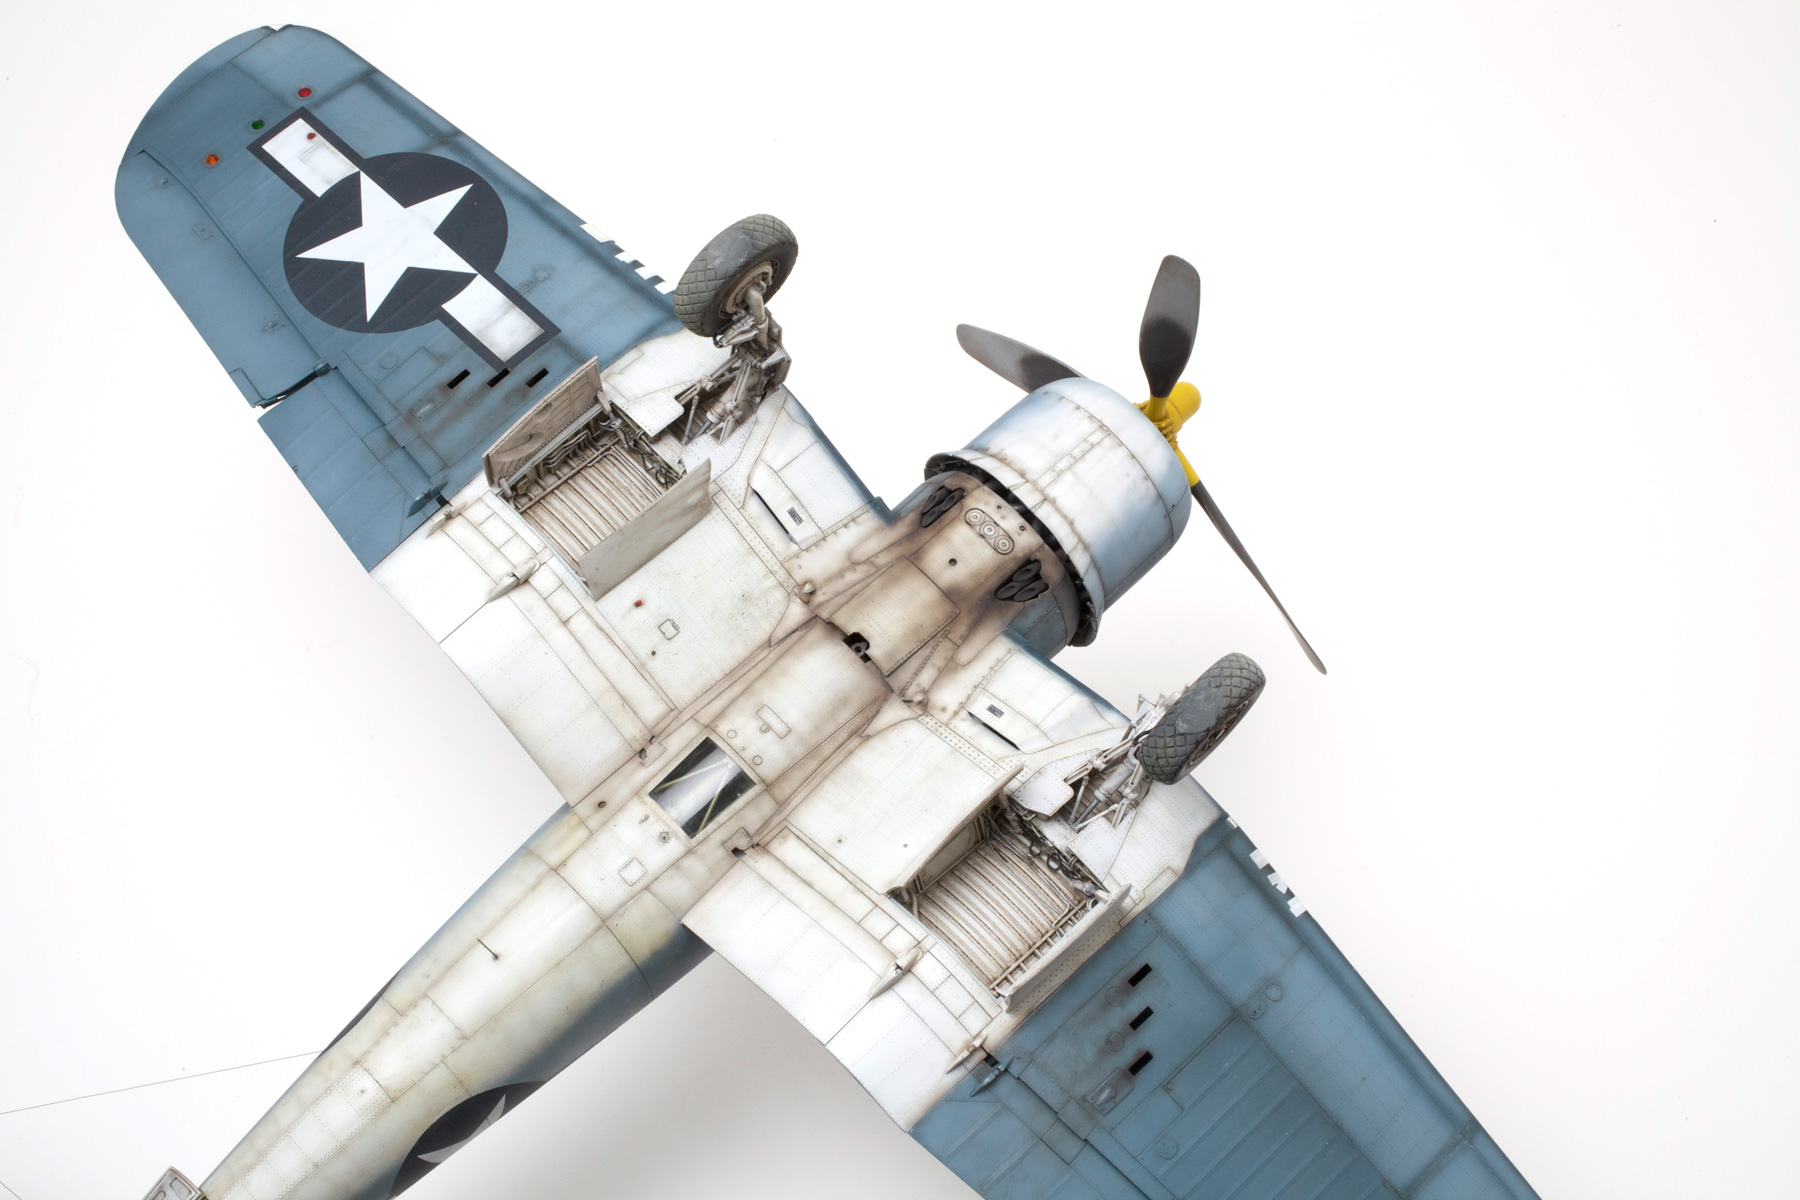
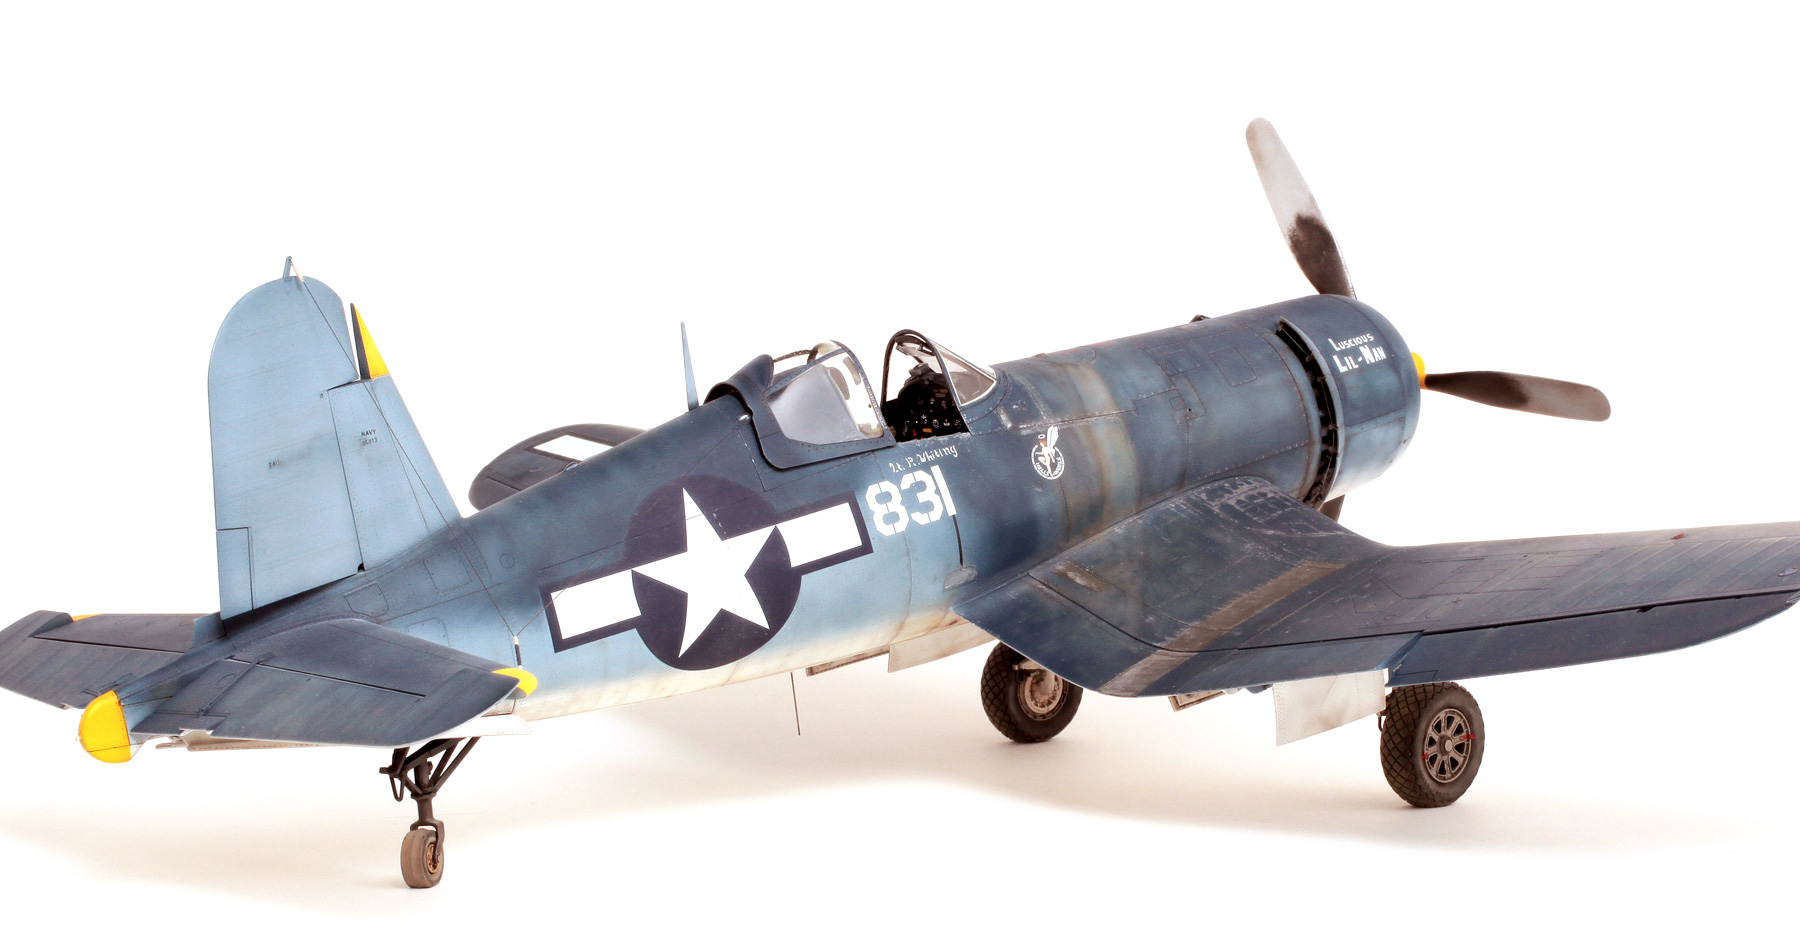
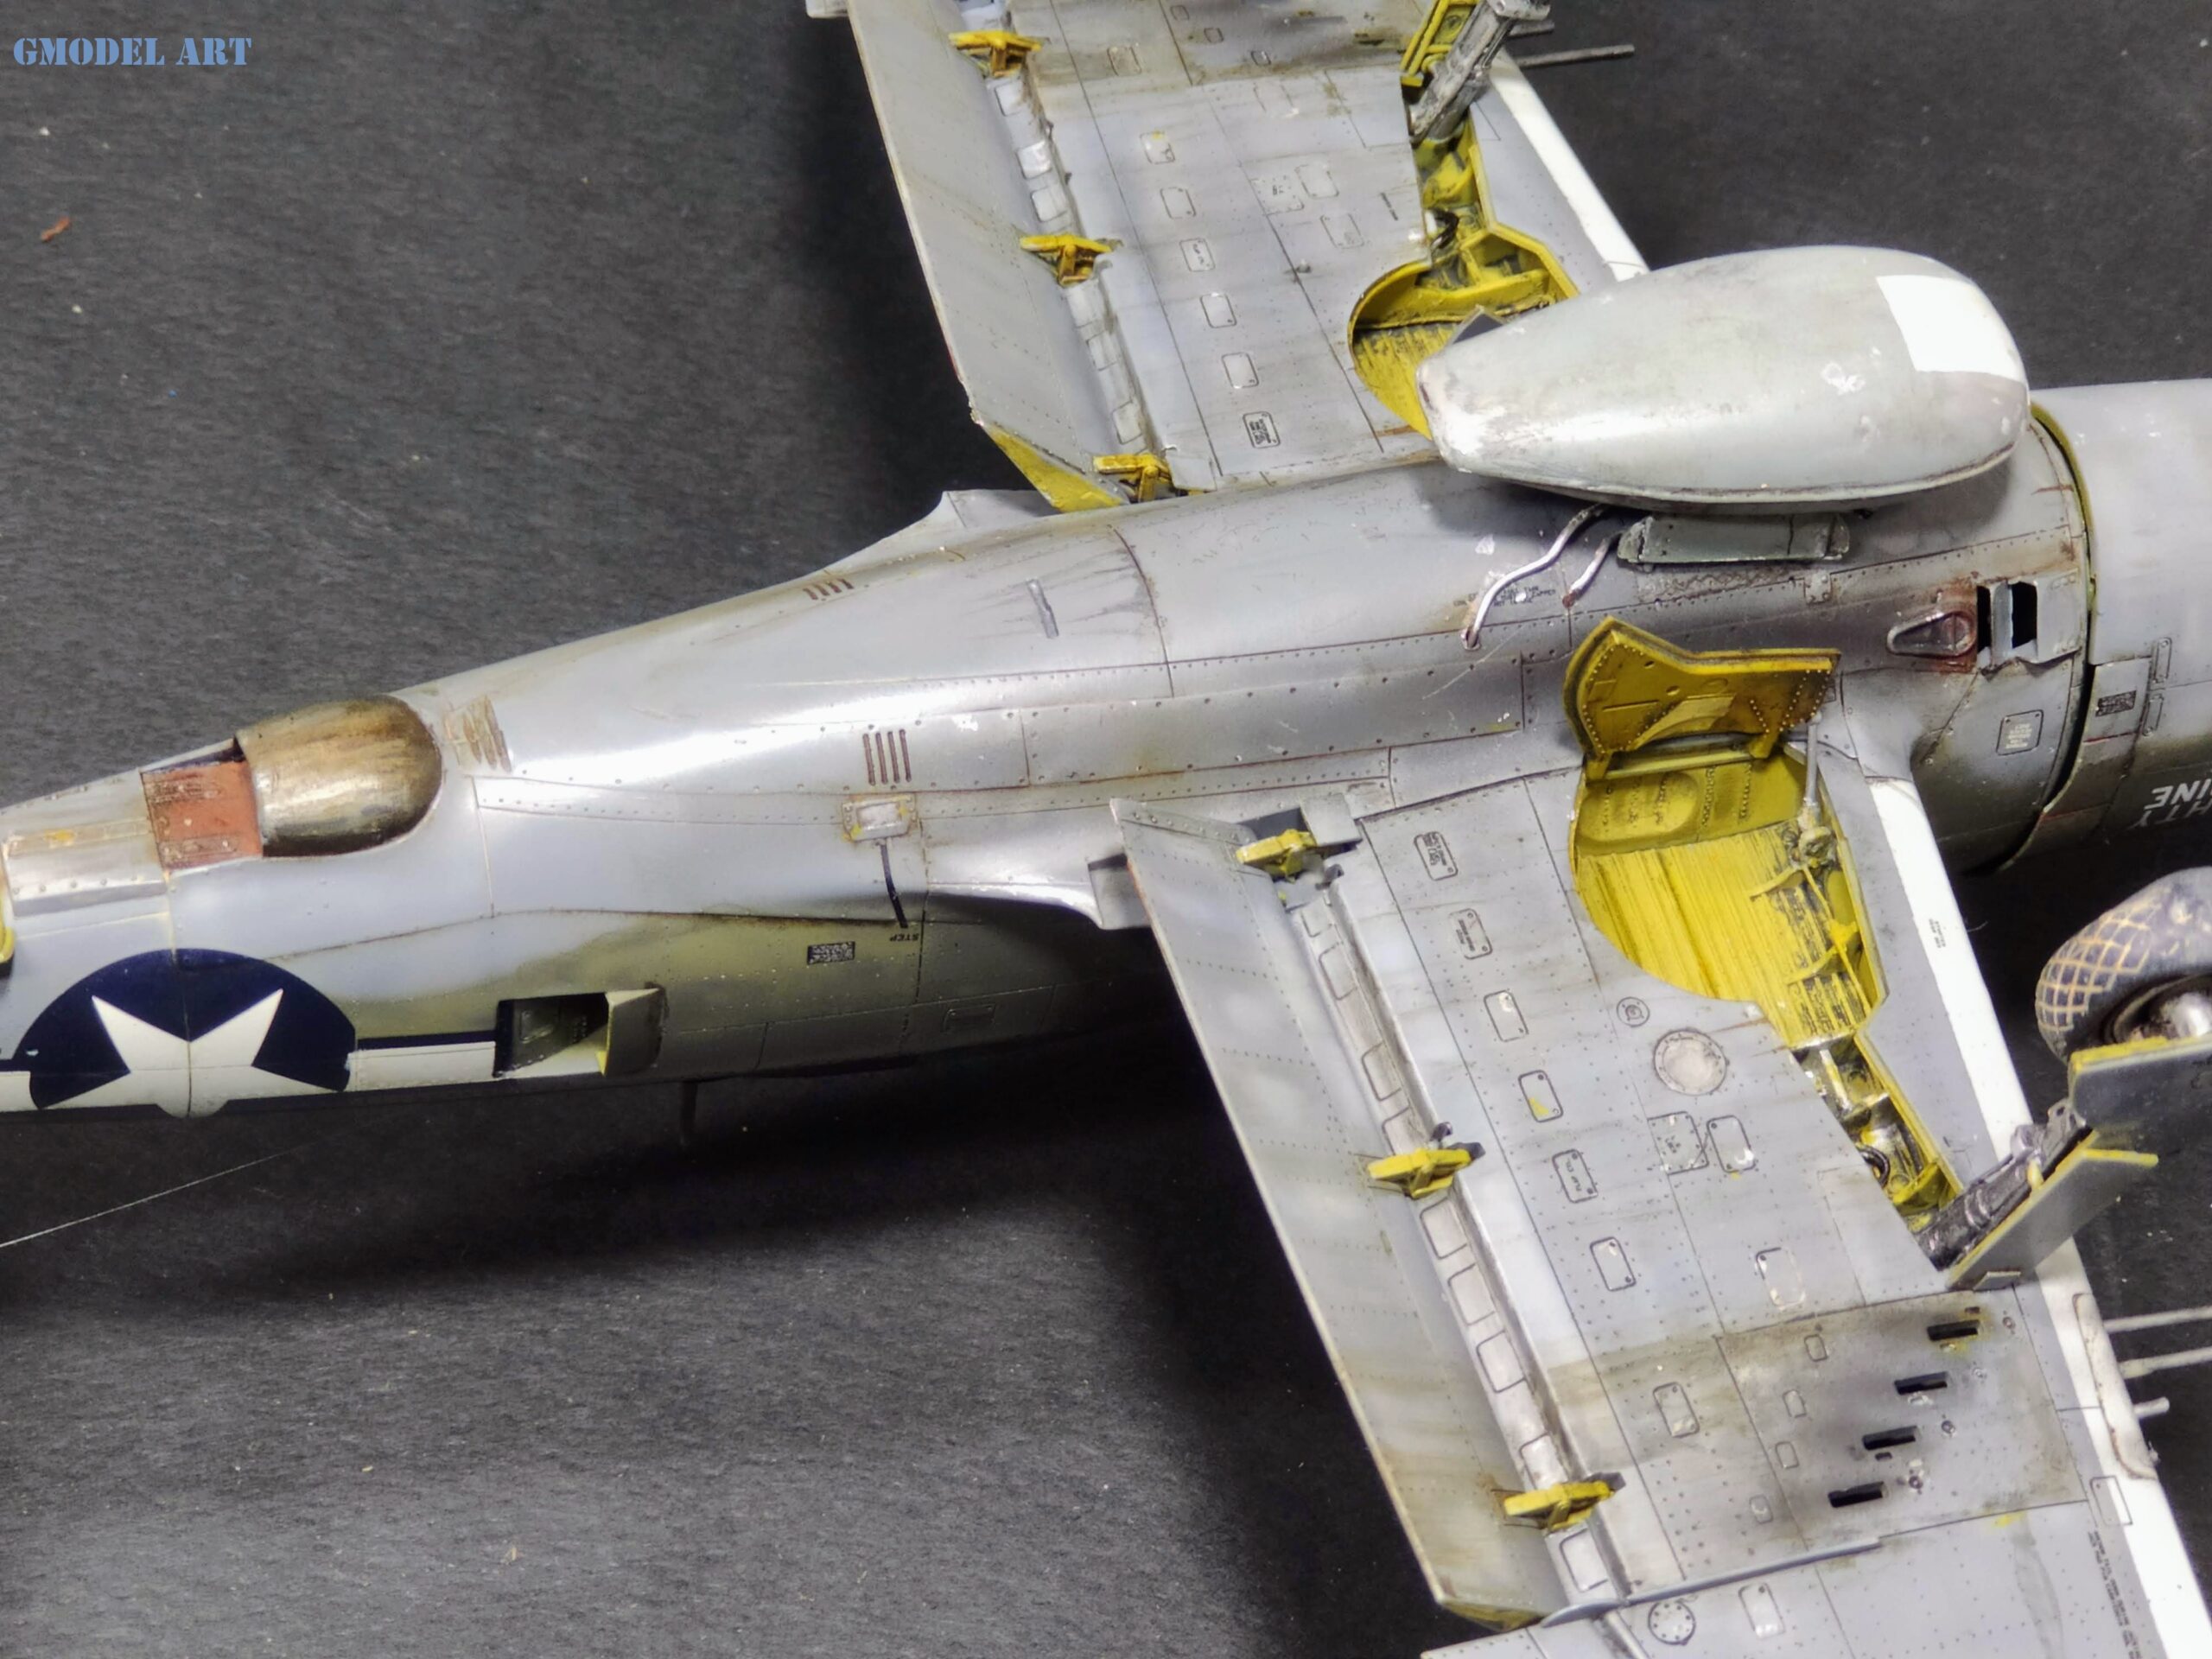
A WWII aircraft like the F4U Corsair has areas that suffer more wear due to operation and environment. Here’s a quick zone breakdown:
| Zone | Common Weathering Effects |
|---|---|
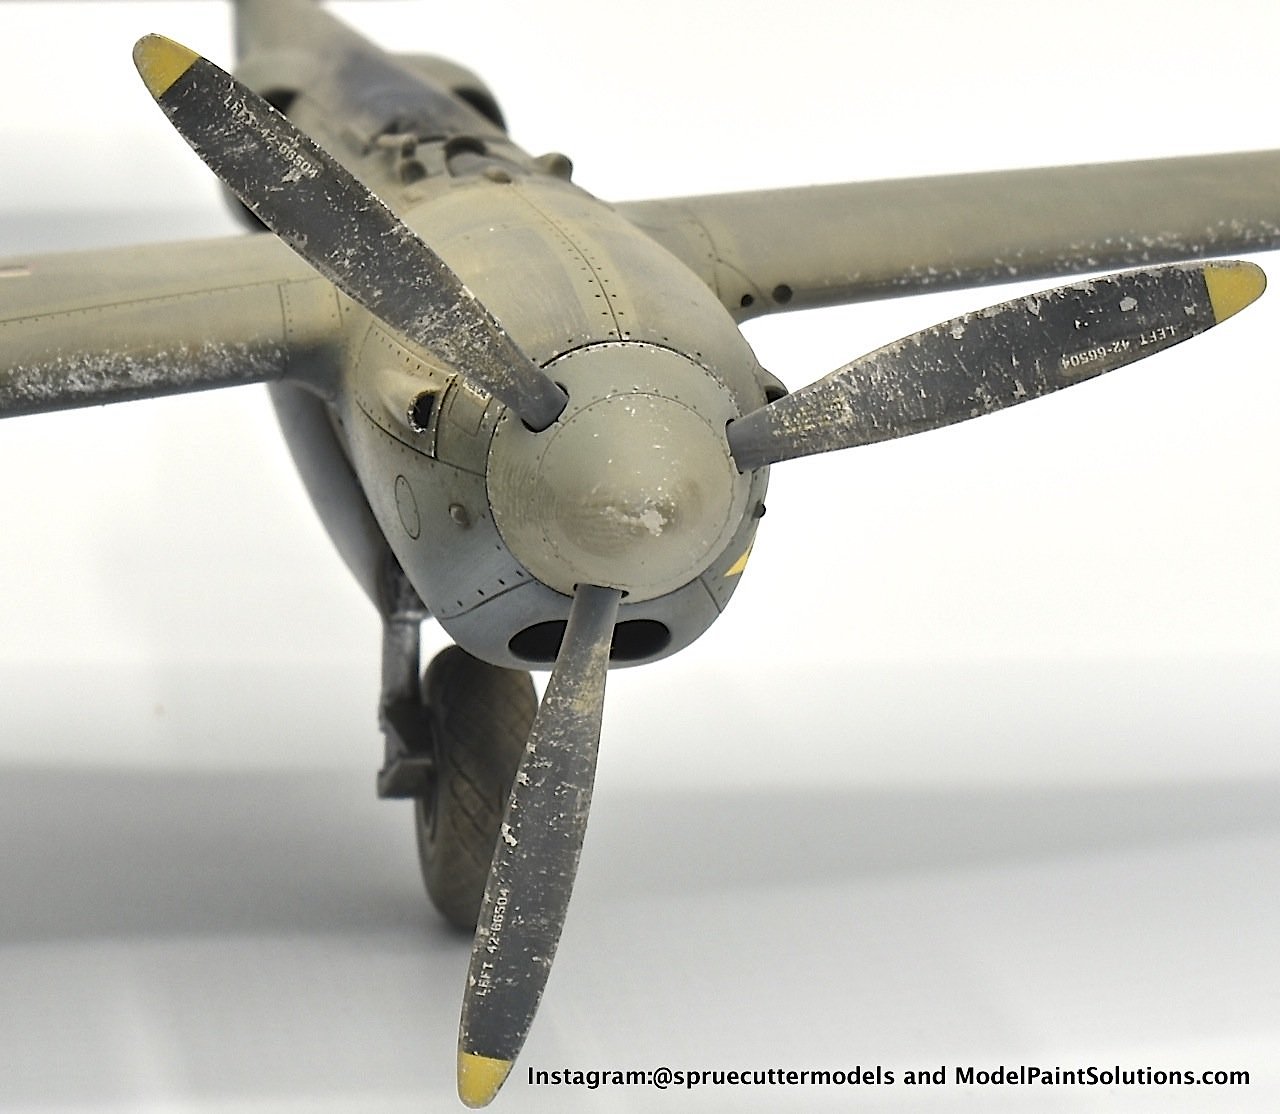
| Wing Leading Edges | Chipping, fading |
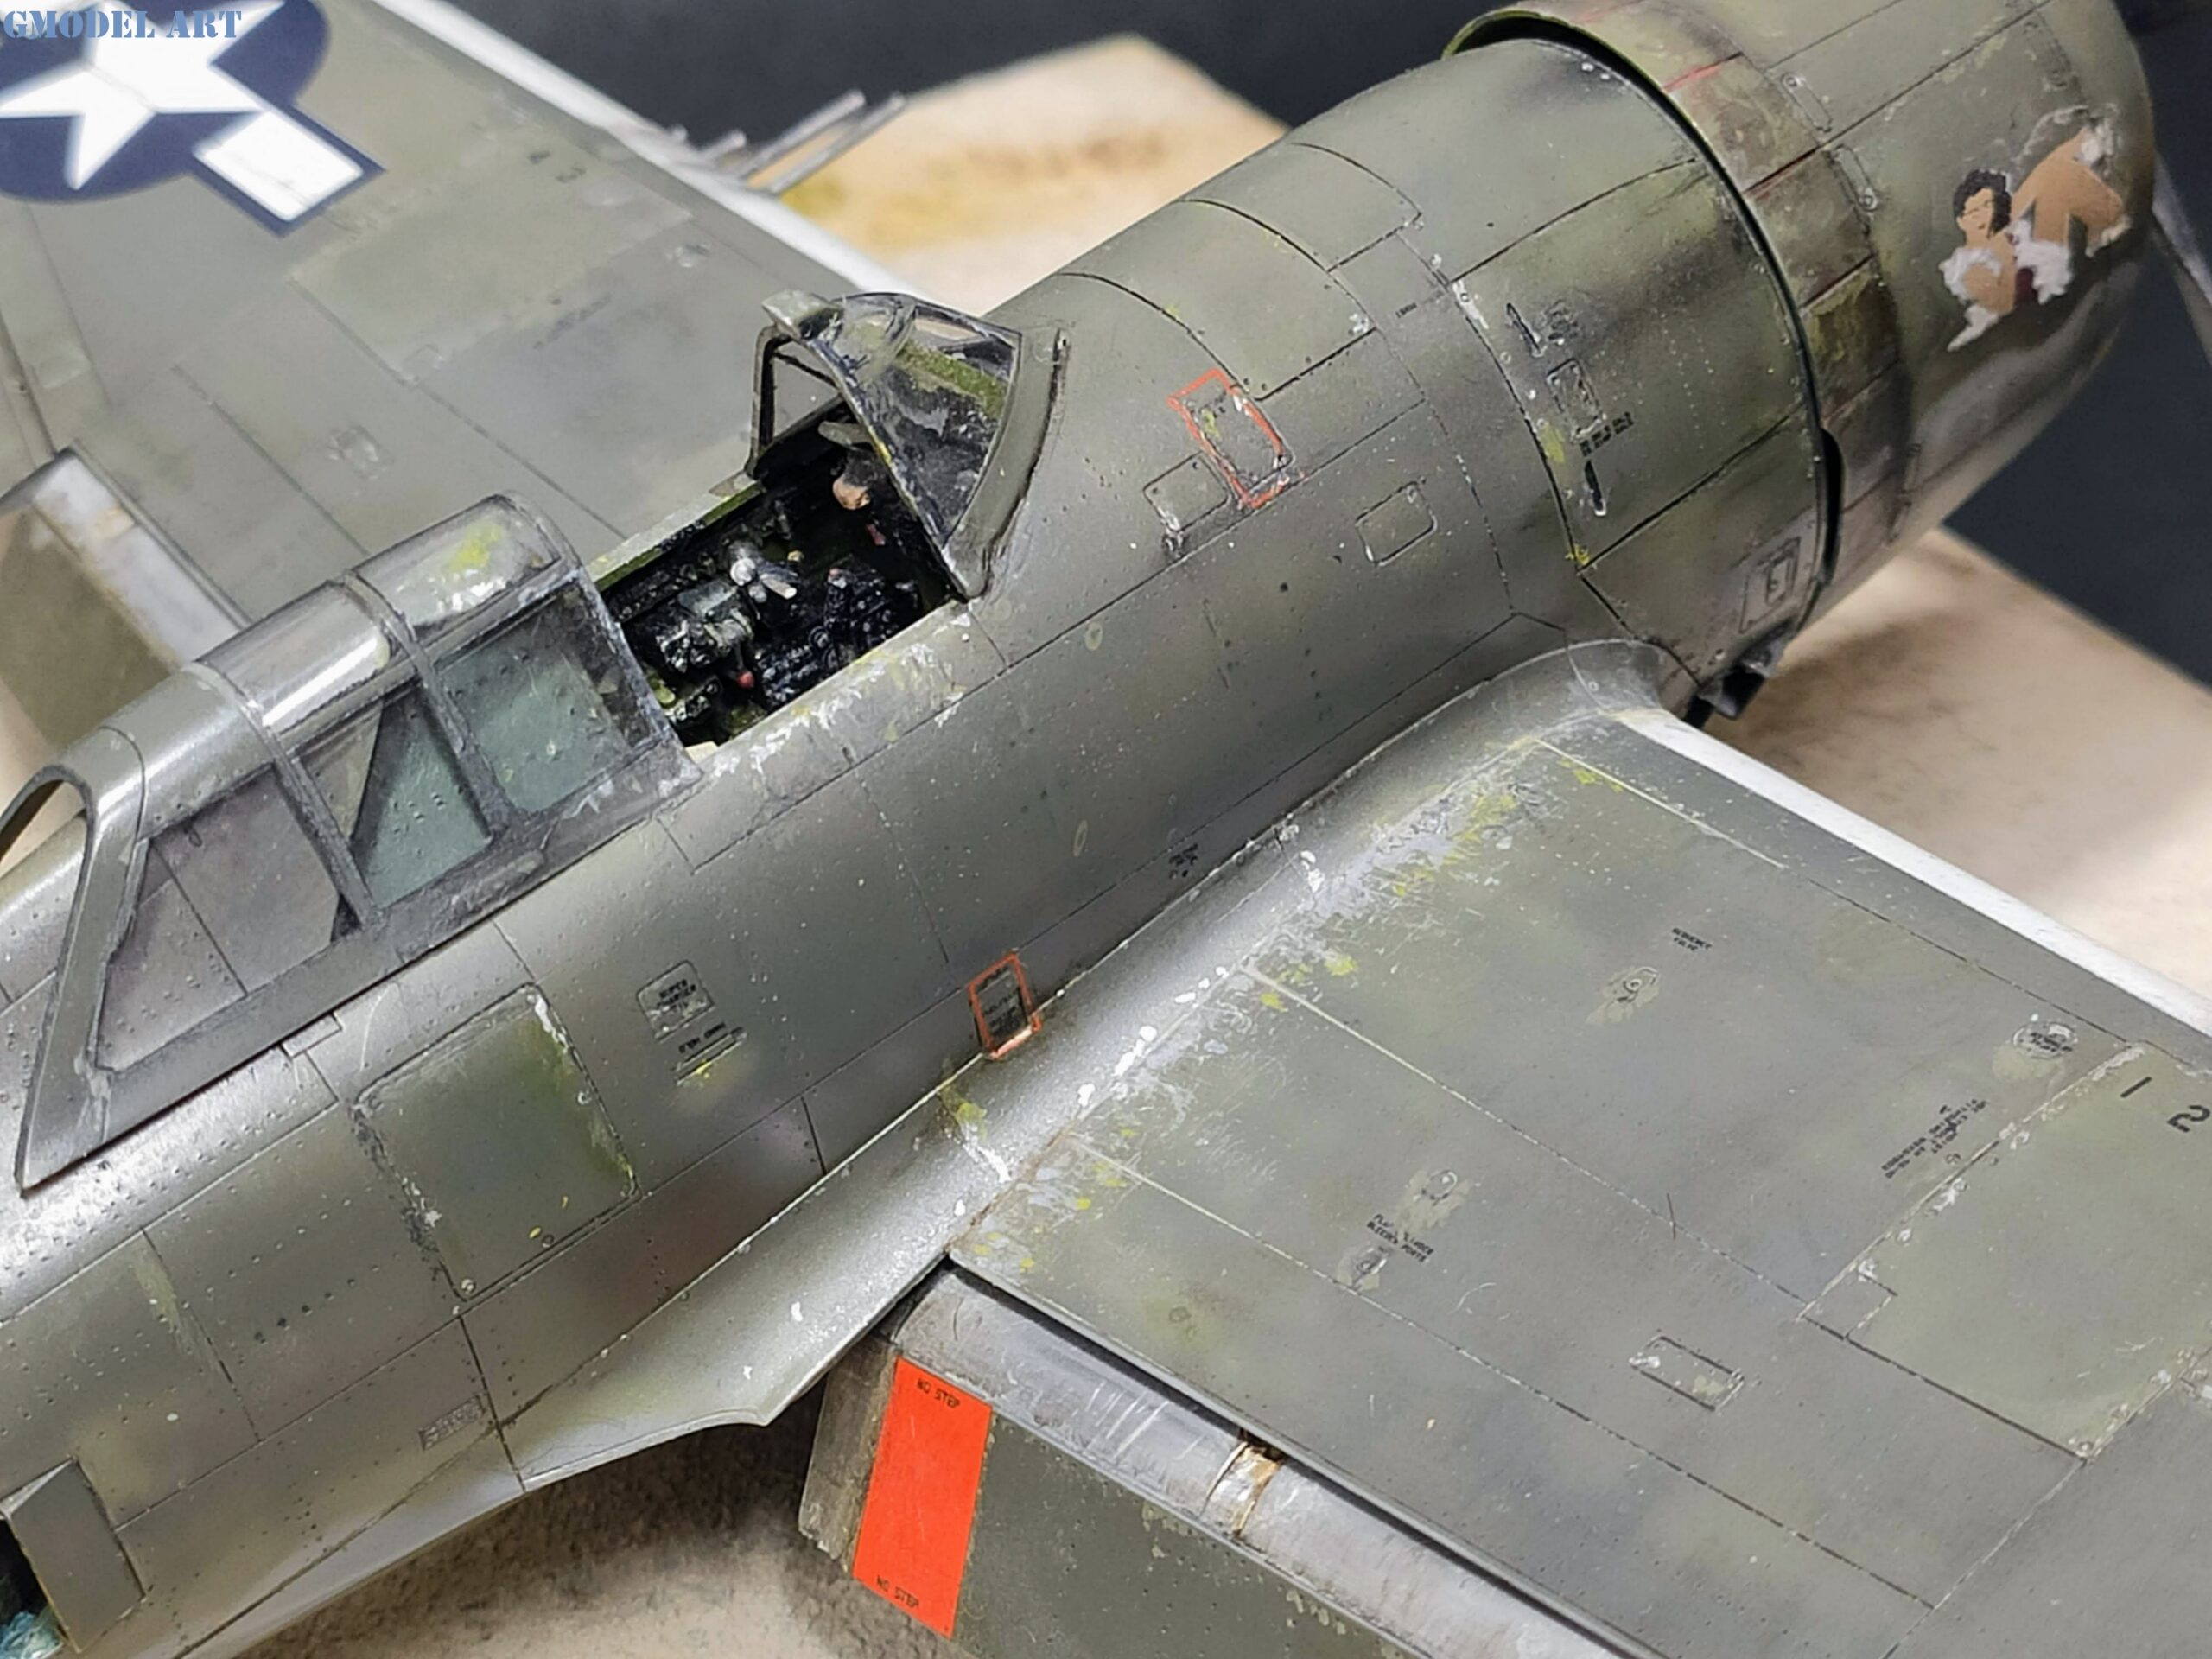
| Cockpit Canopy | Dust, subtle scratches |
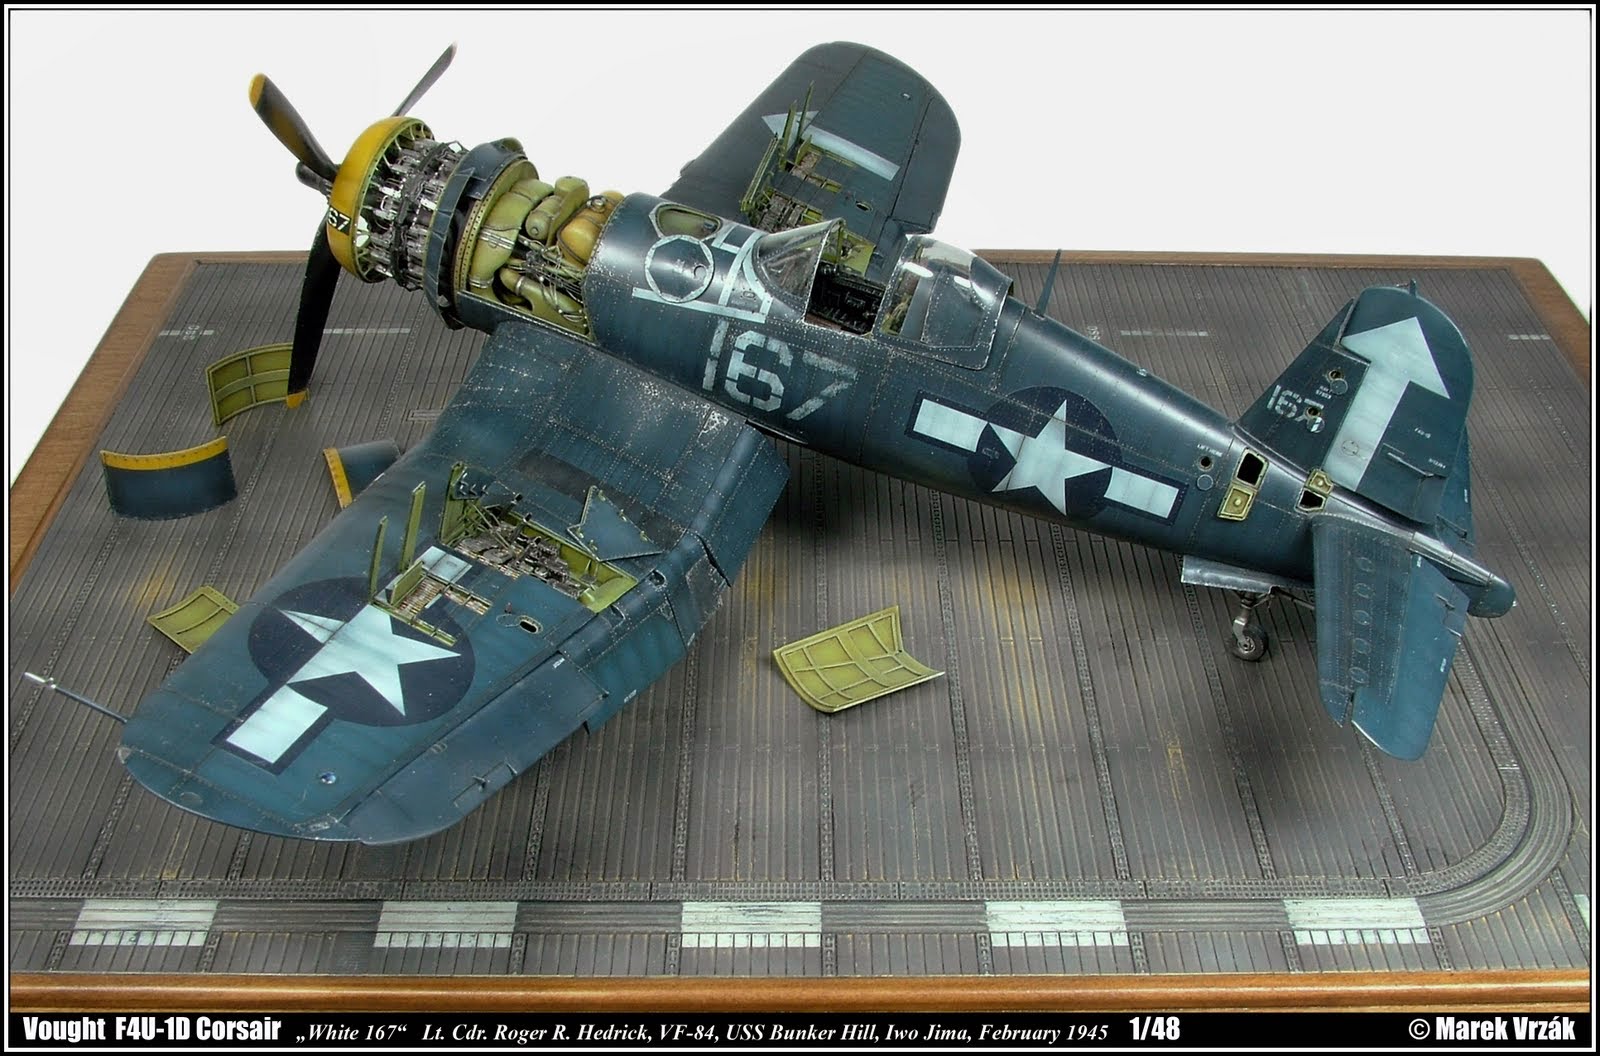
| Engine Cowling & Exhaust | Soot stains, oil streaks |
| Undercarriage & Wheel Bays | Mud splatter, grime, grease |
| Fuselage Panels | Fading, streaks, panel wash |
| Gun Bays & Wing Guns | Gunpowder soot, oil splashes |
| Wing Walk Areas | Heavy chipping, shoe scuffs |
2. Tools & Materials You’ll Need
Oil paints (for dot filters and streaking)
Enamel washes
Chipping fluids / hairspray
Fine brushes and sponges
Pigments (earth tones, black, rust)
Airbrush (optional, but ideal for gradients)
3. Step-by-Step: Weathering the Corsair
Step 1: Surface Prep
Apply a gloss coat after decals to protect them from the weathering process.
Step 2: Panel Line Wash
Use a dark enamel wash to enhance panel lines and rivets. Wipe off excess with a soft cloth or Q-tip.
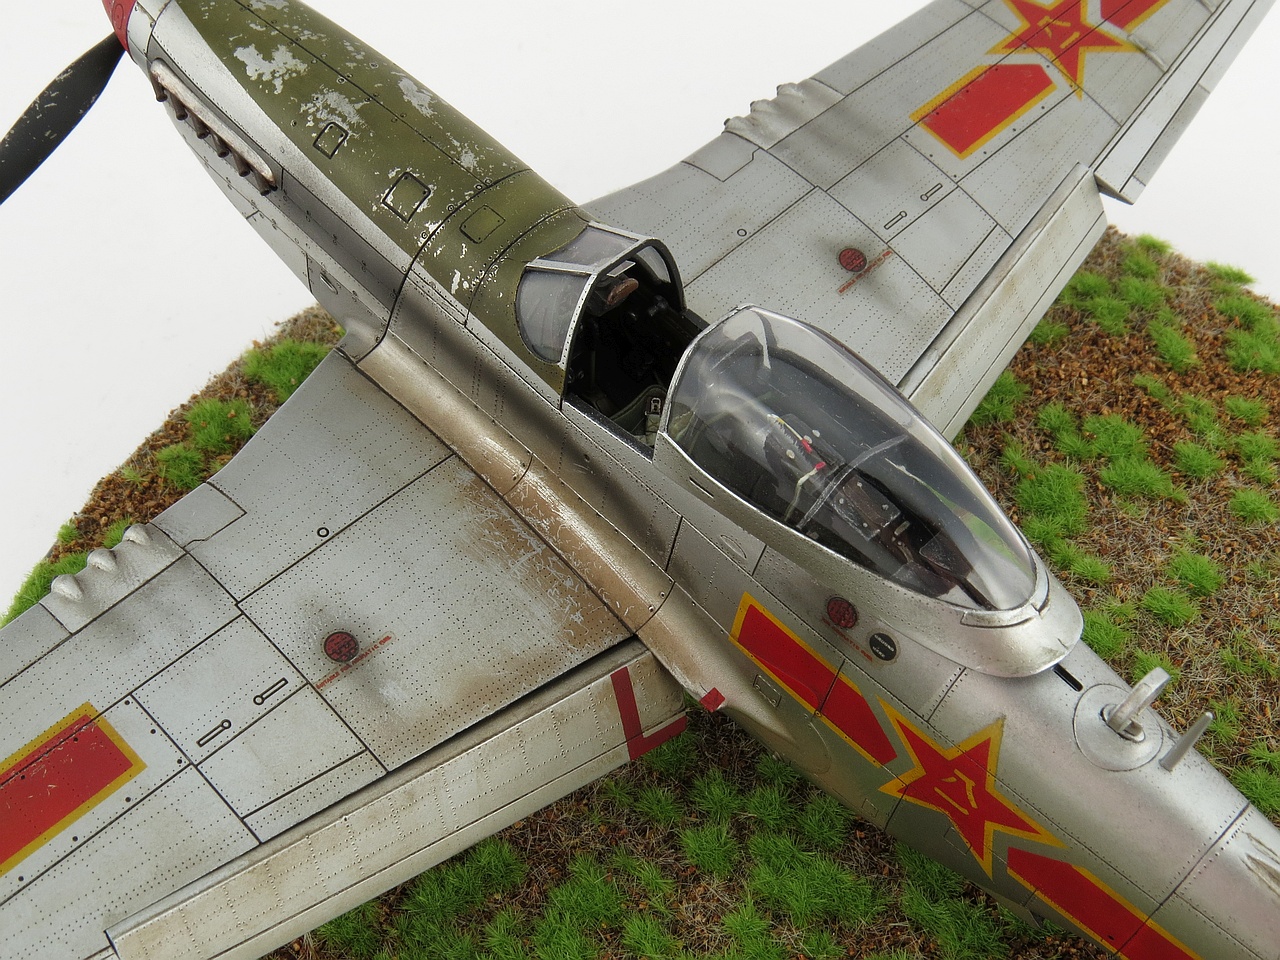
Step 3: Paint Chipping
Use a sponge or fine brush with silver/grey paint. Focus on:
Wing roots
Edges of flaps
Access hatches
Walkways
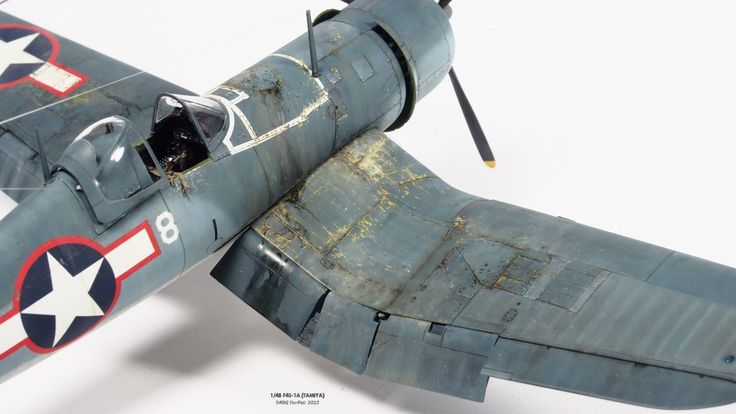
Step 4: Oil & Fuel Streaks
Apply small dots of brown/black oil paint and drag with a damp brush in the direction of airflow.
Step 5: Exhaust & Gun Soot
Airbrush thin layers of black/brown near the exhaust ports and gun areas.
Step 6: Pigments & Dusting
Apply pigments to the wheel bays, landing gear, and underside for a dirty, used look.
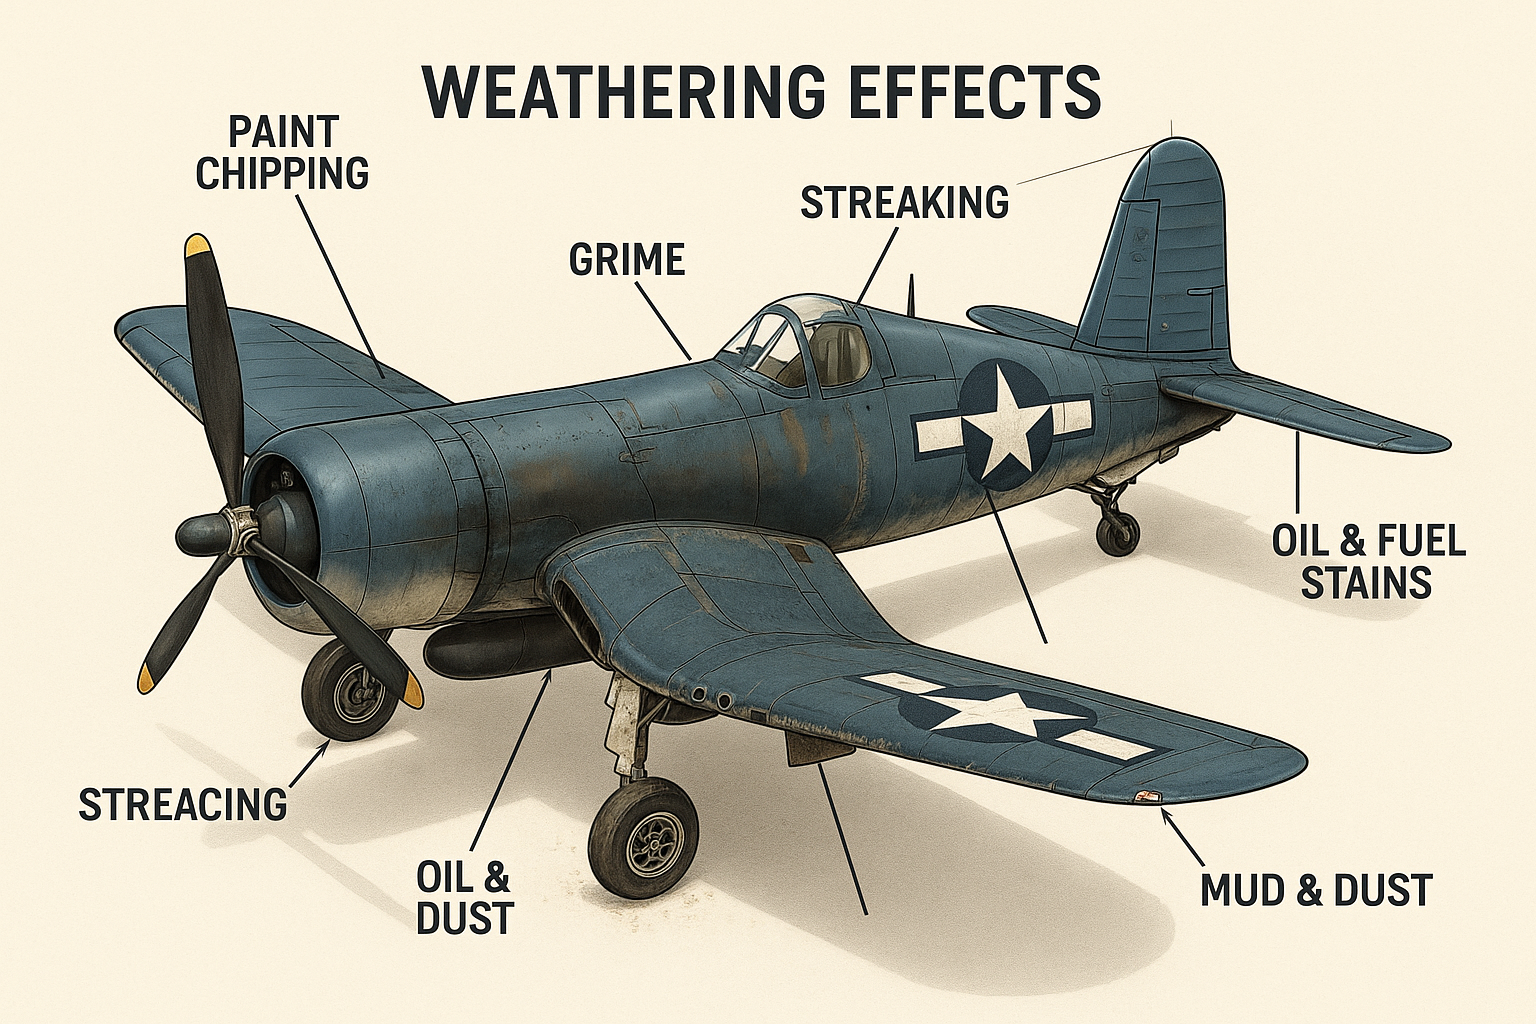
4. Highlight: 3D Weathering Map
Use our 3D Technical Diagram (see image) to identify exactly where and how to apply each weathering effect on the Corsair. Zones are annotated and color-coded for clarity.
“Annotated 3D Weathering Diagram of F4U Corsair – 1/48 scale”)
5. Pro Tips for Scale
Avoid overdoing chipping – less is more.
Use color modulation: apply slightly lighter/darker tones to panels.
Study reference photos from the Pacific Theater.
Conclusion
Weathering is a skill – but also a passion. Through careful observation and practice, you can transform a clean kit into a battle-hardened machine full of character.
Shop Weathering Tools & Corsair Kits at GModel Art
Let your models tell their story. One streak at a time.
Tags: weathering, WWII model aircraft, scale modeling, paint chipping, oil streaks, GModel Art
Colors US WWII. Aircraft and Camouflage of The U.S. ARMY-USAAF