article
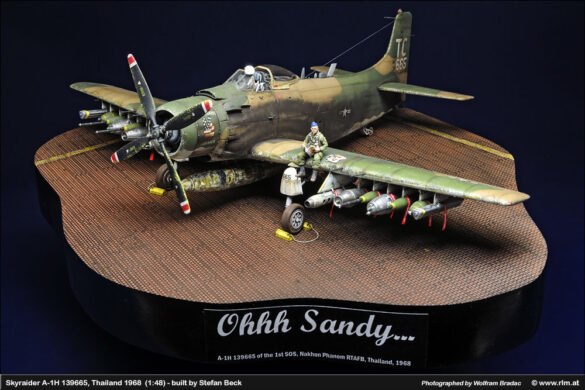
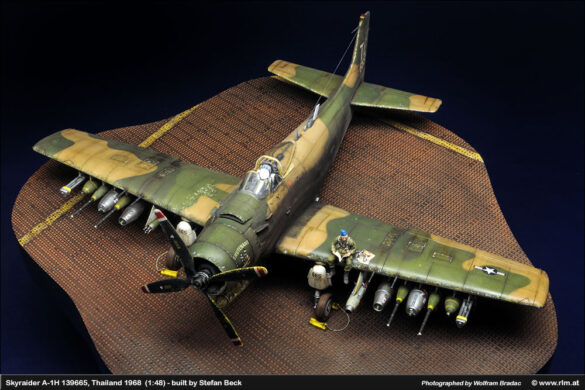
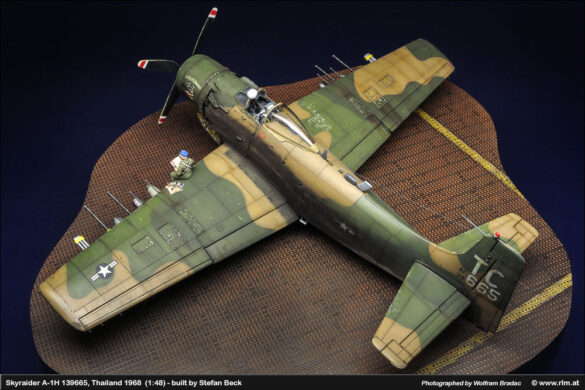
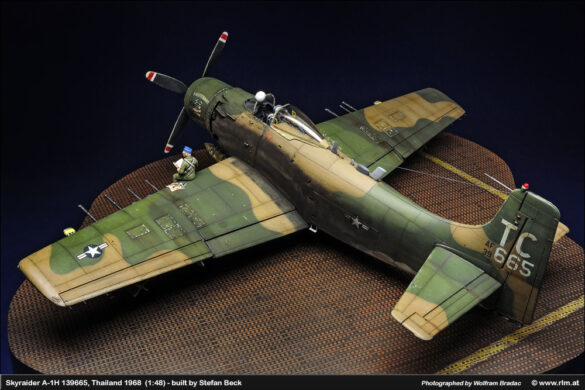
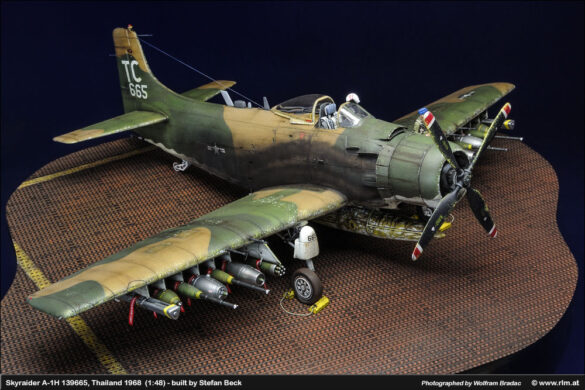
A-1H Skyraider Thailand 1968
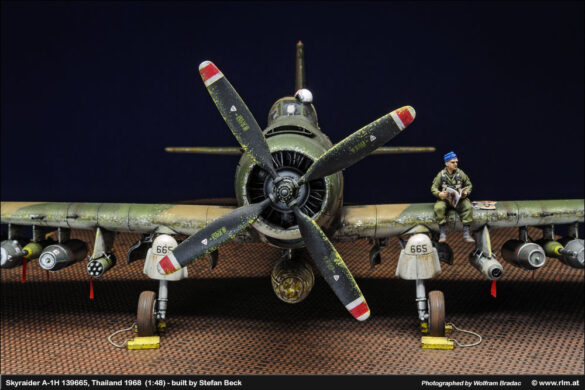
Its ability to carry a high payload (up to 3600 kg on 15 hardpoints) and 4 built-in machine guns (20 mm) were the right tools of the trade for this task.
Another advantage of this prop-propelled aircraft was its low speed, nothing better for escorting a slow flying hi than an A-1, the existing F-4 Phantoms simply would not do the job. Further advantages were the low-speed flight properties and the robust design. Thus, this type of aircraft was quite popular with pilots and soldiers in the country.
Building .
By the way, “Tamiya” is also quite popular with scale modelers and they offer a few variations of the Skyraider. I choose the 1/48 scale model of an Airforce bird, as is common practice, I looked for useful add-ons and many you can get, but first things first.
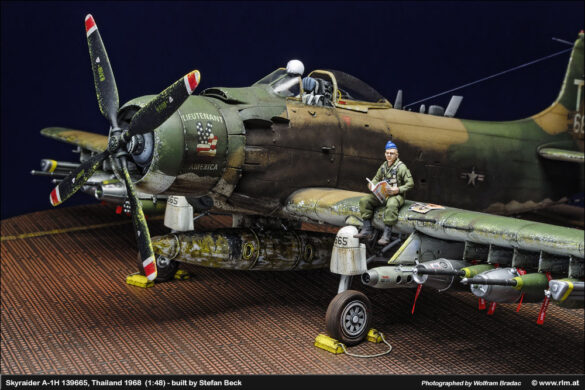
The most important thing is a prototype to get inspired, the “Osprey” is a sure bet. This time it was the Osprey Combat Aircraft 97 (USAF and VNAF A-1 Skyraider Units of the Vietnam War), recommended stuff with many interesting photos, including a nice shot of the A-1H 139665 (Lieutenant America), luckily you get the markings of this airframe in an “Iliad Sheet Design”. So let’s make some Skyraider!
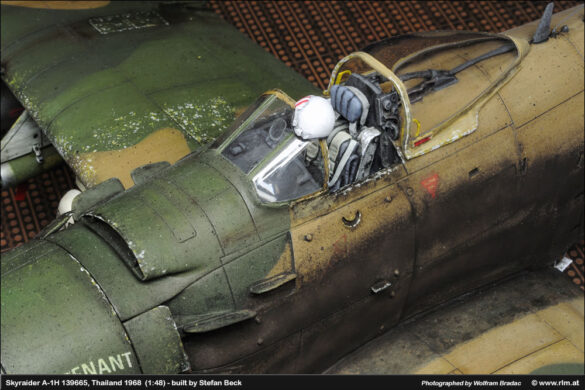
The “Tamiya” kit is obviously not state of the art, so all the goodies I bought would have helped, can’t resist the aftermarket. At first glance the biggest problem is the lack of riveting on the airframe, “Rosie the Riveteer” is handy for this tedious task, I didn’t expect “Tamiya” to do such a poor job on this. Next came the cockpit section, all “Aires” parts and some “Eduard” engravings were used. A typical Airforce feature was the Yankee ejection system that came from “True Details” (the Yankee ejection system is basically a rocket that pulls the pilot’s seat with a wire out of the fuselage, versus more conventional designs where the seat is pushed by a charge under or in the seatback).
Painting the cockpit section is not a challenge, “Vallejo” paints were used, easy enough with details like this to get nice results. The next step was to close the fuselage halves, a little filling and sanding later the front glass could be inserted. To get a clean nose line, you will have to, again, do a lot of puttying and sanding and then re-write the panel lines. On to the wings! The kit wheel positions are nice, but nothing on the “Aires”, so I used these resin parts and glued the upper and lower wings together… now you can notice the massive displacement of the panel lines (up to 2 mm), putty, sand, re-write, … AGAIN!
Painting
After the cockpit was covered, it was immediately primed (white). During the drying phase I devoted myself to the chassis. Here the set of parts with “Eduard” engravings is again very useful, the tires are from “True Details” and are highly recommended.
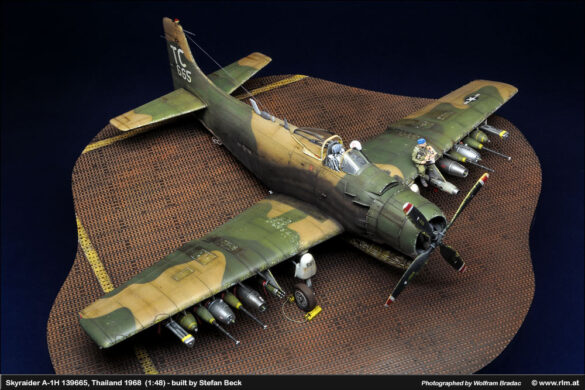
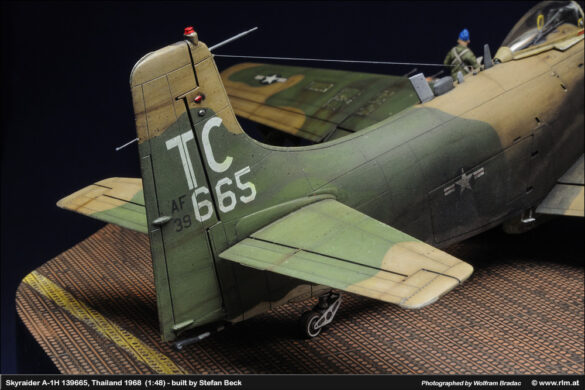
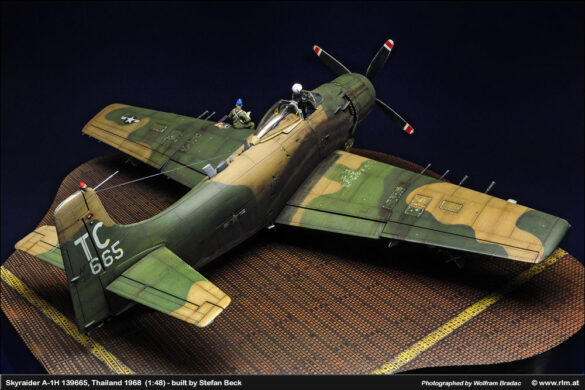
The choice of model and its markings naturally also determined the paint scheme. “Lieutenant America” flew to the 1st SOS (Special Operations Squadron) stationed in Thailand in 1968 and was painted in the classic SEA (Southeast Asia) camouflage pattern. This means light green (FS 34102, “Gunze” 303), dark green (FS 34079, “Gunze” 309) and brown (FS 30219, “Gunze” 310) with a white bottom (FS 17875, “Gunze” 316). The camouflage pattern is nicely illustrated in the “Tamiya” assembly instructions, so it’s best to create the templates from there. After black shading, the camouflage was painted and the white bottom was created. This was followed by a coat of clear varnish (“Gunze 30”) and a mixture of “Iliad Design” kits and decals, then another coat of clear varnish (“Gunze 20”) to seal and then dry.
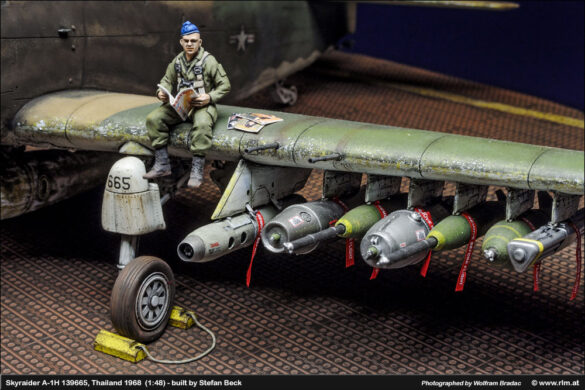
In the meantime, I was thinking about the armament. The tasks of the 1st SOS were mainly ground support and rescue missions, which meant that the armament had to be adapted to this. So, Mk.77 (“Eduard”) napalm bombs and BLU-10 (“True Details”) napalm bombs were mandatory. The LAU-3A (“True Details”) rocket launcher, which was used to launch smoke or incendiary rockets, was always useful. I installed CBU-14A7A launchers on the outermost suspensions. They are completely self-made, from “Albion” brass tubes and various plastic parts. In the prototype, these tubes launched bundle charges backwards and destroyed entire areas. The conventional bomb load then consisted of Mk.117 (“Eduard”) and Mk. 82 bombs (“Eduard”) with daisy cutter attachment.
Daisycutter – what does this mean again? This daisy cutter refers to the following: Vietnam is known for its clay soils, rice fields and jungle vegetation. Through this soft soil, a bomb penetrates far into the ground before its impact fuse is activated and ignited, thus losing much of its fragmentation effect. With the tubular extension at the end of which the detonator is mounted, the impact detonator still penetrates deep into the ground, but the bomb is not completely buried in the ground and can unfold its deadly effect. However, it is not known how the cynical name Daisycutter came about.
The last weapon station was equipped with a SUU-11A/A Minigun Pod from “Aerobonus”. Everything was painted in appropriate shades of gray and olive. The napalm bombs and the CBU-14A7A launchers were painted with “Alclad”. We continued with the aging and weathering.
Aging & Weathering
First of all, emphasize various details and engravings using a classic washing technique. Then highlight and paint the individual panels with oil paints. The bottom of the Skyraider was particularly dirty because the radial engine was losing huge amounts of oil. This was also a good opportunity to mount the additional tank (“Attack Squadron”), which is also very worn and dirty. These tanks were constantly filled and permanently mounted, so they did not fall off. That’s why it looks very worn.
After various lighting, shading and dirt, the final details had to be placed, such as: the dorsal antennas and cannon barrels from “Quickboost”, the signal light on the upper end of the rudder or the antenna cable from “EZ Line” and the pilot’s helmet from “True Details”.
Pilot & Base
Speaking of the pilot: This was designed from scratch and adapted during the construction of the shell. The head and fuselage come from “Aerobonus”. The arms, legs and lower body are modeled by himself, he of course reads appropriate Playboy magazines from the corresponding era and has obviously already discovered his Sandy. As a final touch, traces of exhaust gases and soot were carefully applied using various pigment colors (“MIG Productions”). Here too, the original recordings are important in order to realistically reproduce the course of these exhaust plumes. Finally, the aircraft was placed on a decorated and painted PSP airfield by “Eduard” and glued. Chokes from “Aerobonus” secure the Skyraider, the armament is also secured by removing the flight straps (“Eduard“).
Conclusion
Overall, this was a pretty demanding project. The resin and etched brass required a lot of time and preparation to get the basic kit to an acceptable standard. Overall, everything worked out fine and the Skyraider turned out great.
Vietnam Camouflage. TAC SEA Designs (1964-1996)

