article
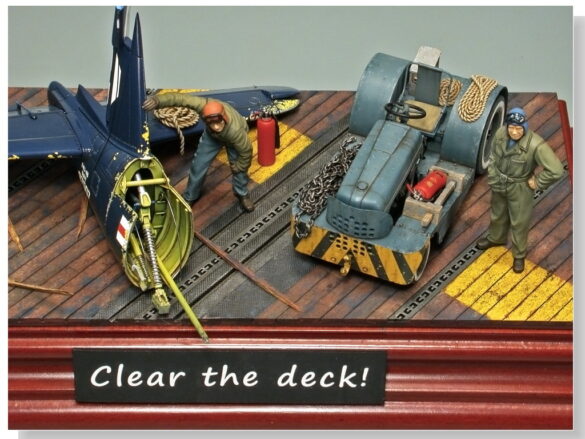
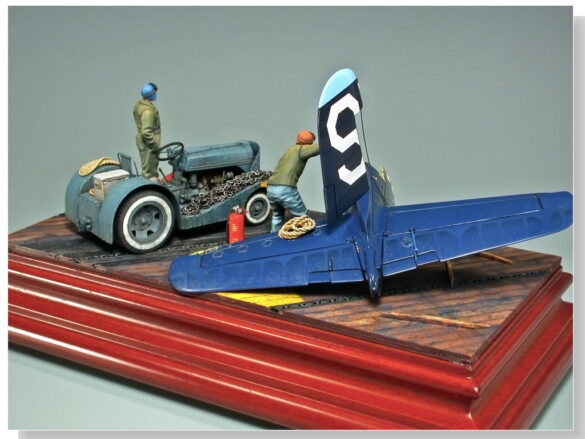
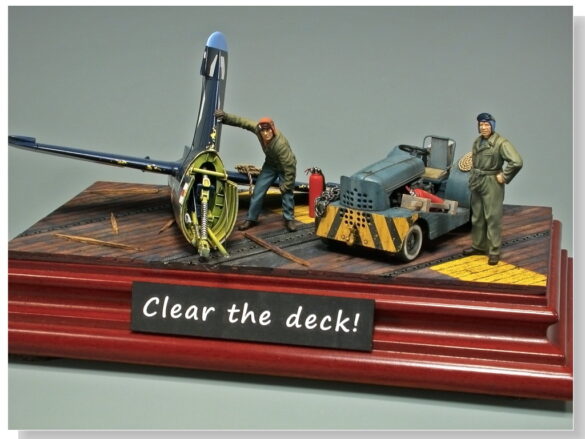
Clear the Deck
PREPARATION
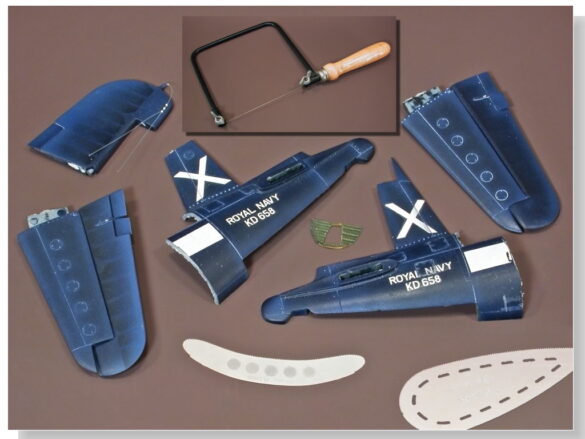
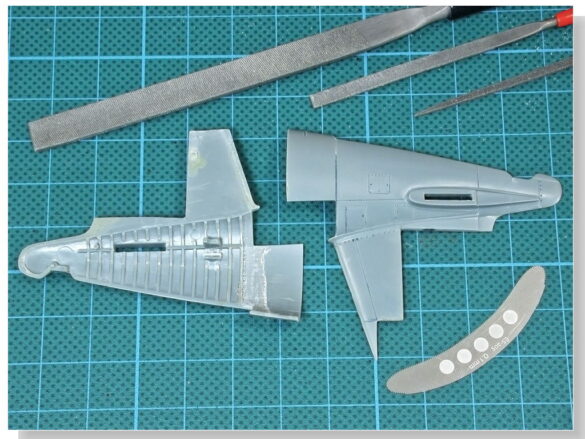
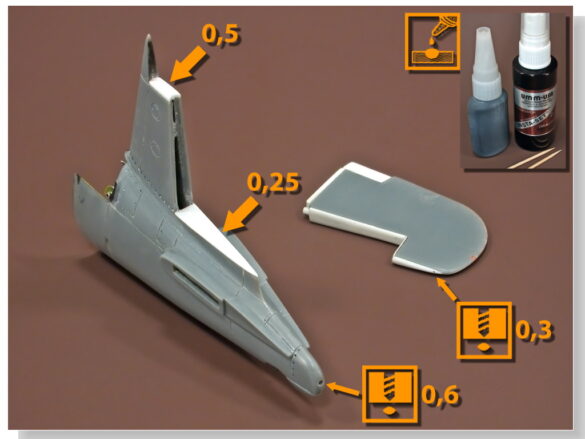
I had to rebuild some styrene pieces that had been damaged during stripping. I also found scratches and dents that I had to fill with cyanoacrylate. The level of surface finish I had years ago wouldn’t work for me now.
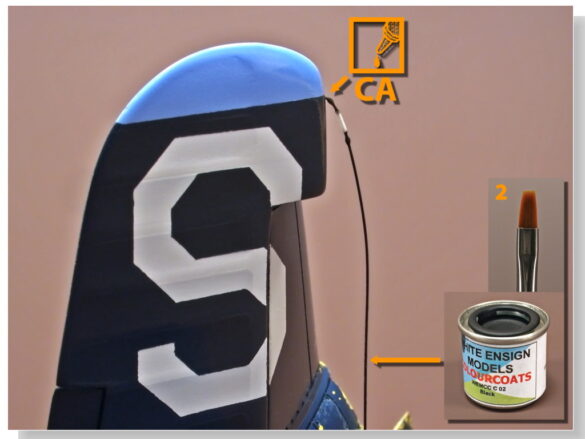
I replaced the antenna mast with a hole in the front end of the rudder. That’s the only difference I found. I wonder if it was annoying to have the cable attached there.
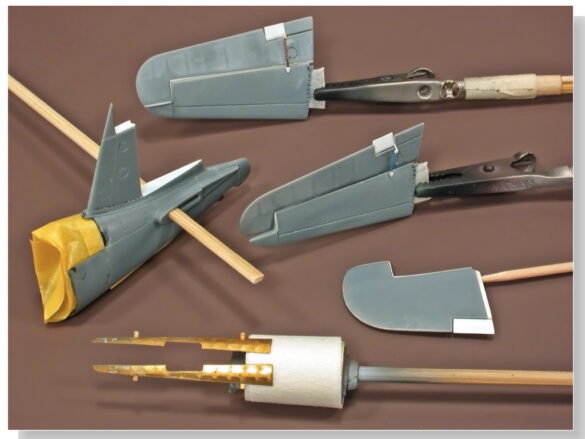
I prepared the parts so that they could be easily and safely handled during painting. It’s incredible how important it is to do this properly on any model.
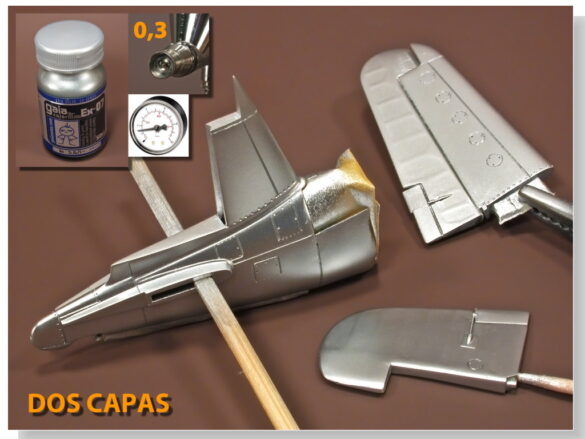
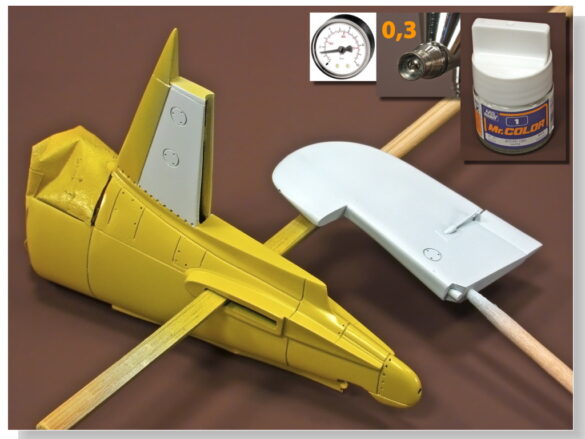
I covered the interiors and contact areas as best I could. I used Gaianotes silver lacquer as a primer. I did all the painting with lacquers.
A lacquer is as good a base as a primer can be. Silver paint has a good reputation for revealing the smallest surface defects.
However, my intention was not to correct small details but to have a metallic background color. Then, a thin layer of yellow paint, such as the Yellow Zinc Chromate primer. Following the same steps as in reality.
Working with lacquers, in this case from MrColor, the drying time is very short and we can quickly proceed with a paint scheme in which layers of color are placed. And as a final base color, white in the area of the steering wheel where the large white letter will go.
The white covers very well over the yellow.
Although I used lacquers from various brands, I always thin with Gaianotes Moderate since it is the lacquer thinner that gives me the best results.
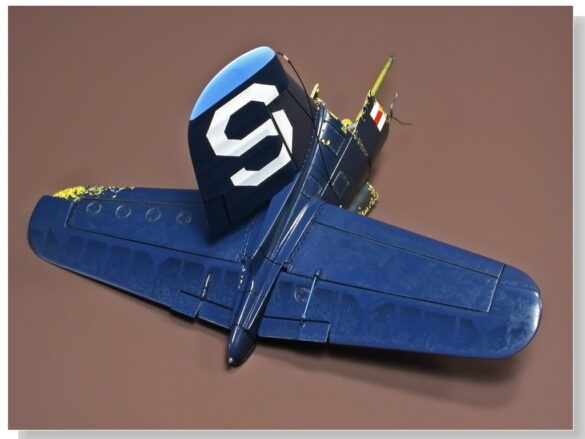
From the decal sheet I chose the only design that offered me a late rosette. It turns out that this particular aircraft was deployed to Korea with the USS Valley Forge. Those who have been following this cartoon from the beginning will appreciate the coincidence. Wow, man!
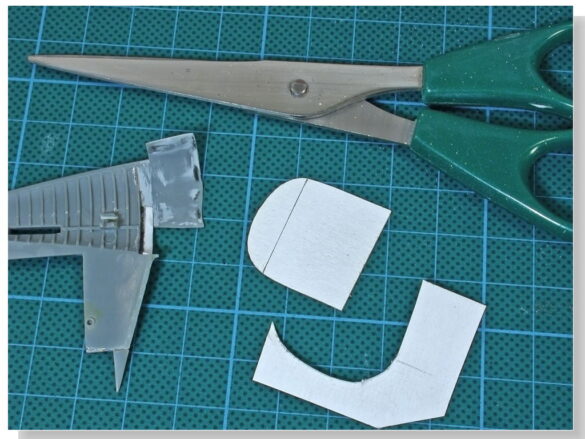
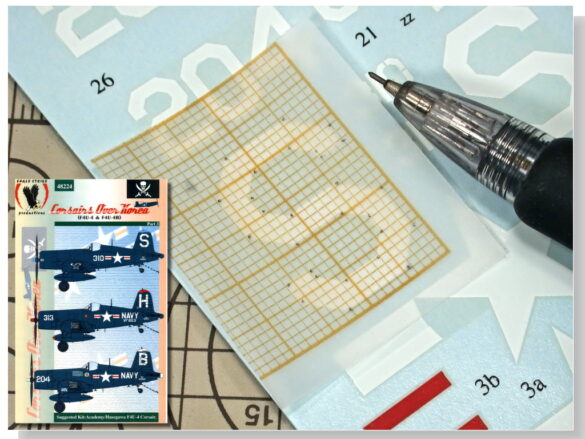
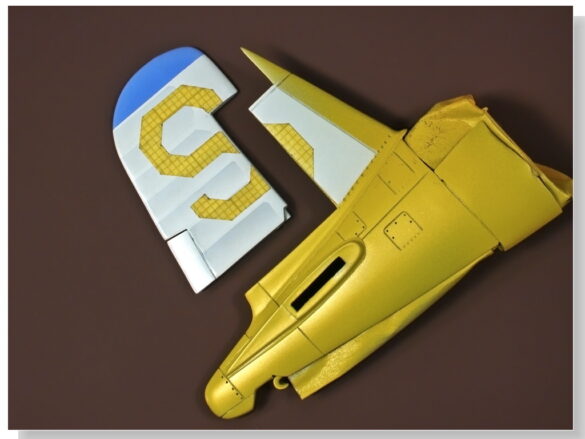
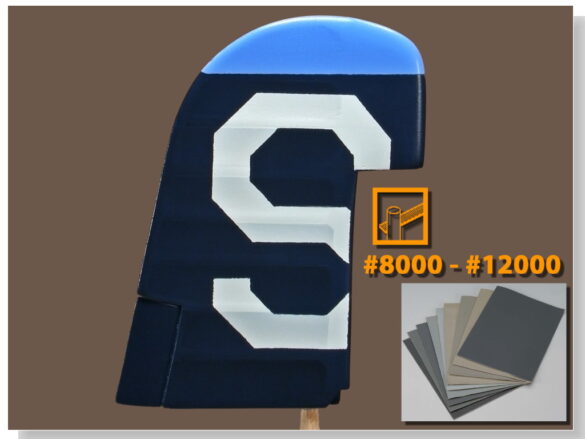
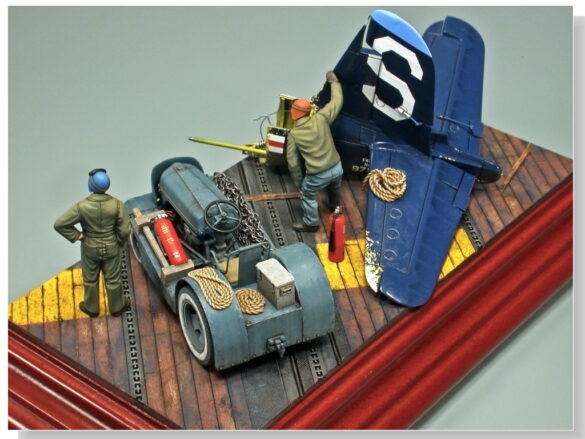
The Eagle Strike decals looked good, but I started painting the big S. First I transferred the decal measurements to graph paper. I transferred the plane from the graph paper to the new Tamiya graphics masking paper. All I had to do was mark the peaks. The graphics on both papers help a lot with alignment, tracing, and cutting. Plus, the letters need to be divided into several sections.
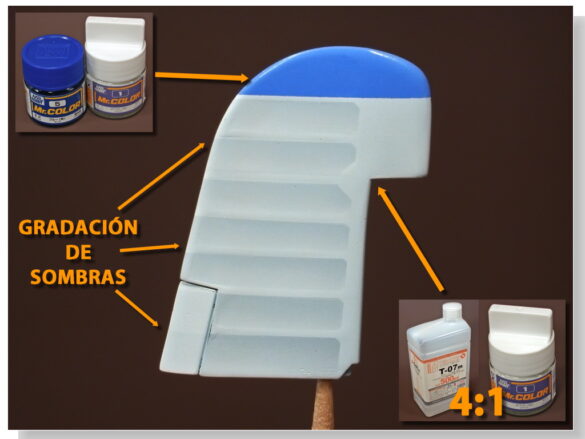
The Tamiya paper separates very well from its backing and is generally superior to regular Tamiya tape. But before covering the fabric part of the rudder, I applied a zenithal shading with Gaianotes clear black lacquer, following the relief of the model. Then I shaped it with a more diluted white as a shading, lightening the effect further at the top. One zenithal lighting effect within another.
For the medium blue identification color, I made a rough combination of basic blue and white. It looks like a lot of work for how little you will see in the letter. But it is easier to do it this way than shading the sticker on the back of it, and much more controlled than shading everything at the end, with decals and paints. Just as the white was for making a stencil, the yellow was for making the chips that would likely occur in an accident of this type.
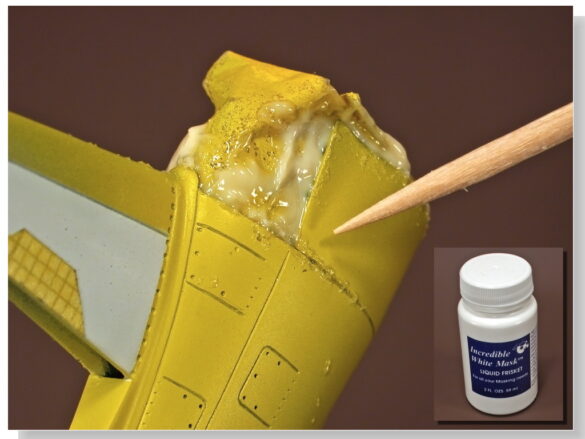
I used a latex masking fluid dissolved in ammonia, which in modeling is known as Maskol, but in this case it is colorless so it never stains.
Lacquer paint is never affected by ammonia.
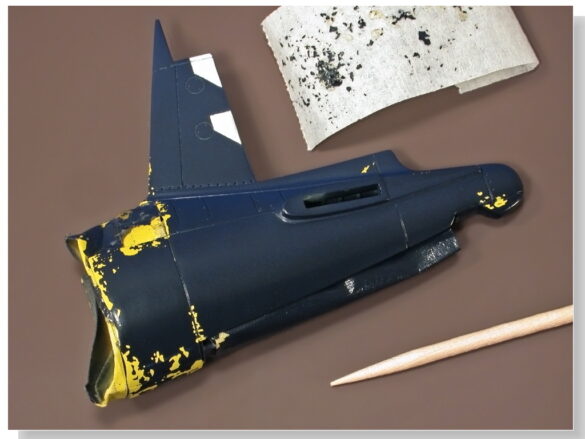
I used liquid masking to seal the interior spaces. I hadn’t planned on it but it came in handy. The excess masking is easily removed with a toothpick.
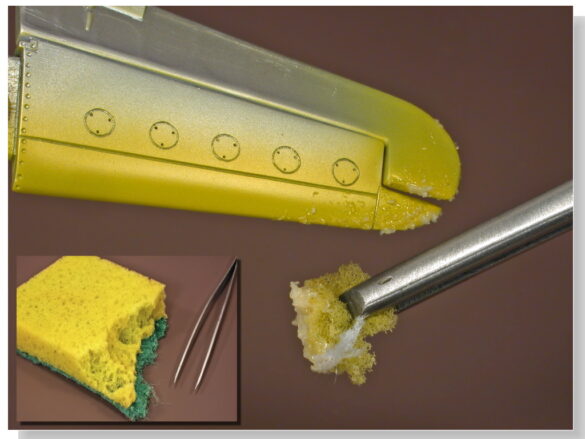
To apply uneven masking patches I used the foam part of a sponge and also the part of the cleaning pad.
PAINT
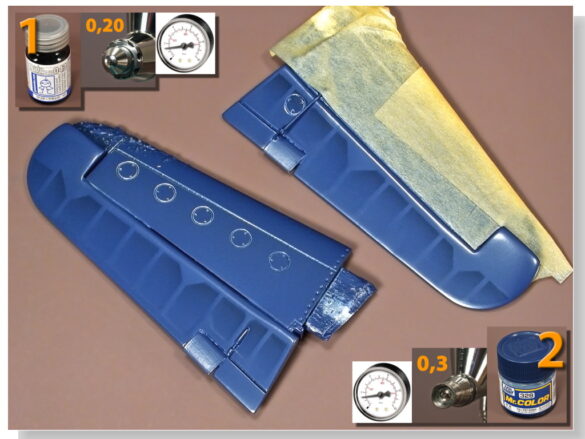
I didn’t have the right paint to paint a Midnight Blue design with lacquers. But using the aerial lighting technique, the exact shade of the color is of little importance.
I have a bottle of Blue Angels Blue that is a little lighter than ANA 623, which I used for the lighter upper surfaces.
I darken it with black for the intermediate areas and even more black for the lower surfaces. Two jars of mixtures in total.
The application was extremely simple, starting with the intermediate tone A, followed by the light tone B and finally, the dark tone C. I did several tests and experiments before painting the glue. From the results I drew several conclusions, which I will try to summarize with graphs. But I warn that these are my assumptions and I cannot guarantee that they apply in all cases.
Until now I thought that the best way to paint with lacquers and semi-lacquers like Tamiya or Gunze, when using lacquer thinners, was to apply one or two thick, wet coats of paint.
However, on this piece I painted the blue with four thin, very thin coats, applied at 15 minute intervals. I didn’t achieve the desired opacity until the 4th coat. In tests, I found that the lacquer thinner in the final coat of paint can penetrate several layers of paint until it reaches the plastic. Immediately after applying a third coat of paint, the first and second coats, applied days earlier, were as fresh as if they had just been painted, only to completely harden the whole thing in just a few minutes.
With thin coats, I tried to reduce the penetration of the solvent, since in a thin layer, the solvent evaporates more easily. When the lacquer layer is thick and the solvent penetrates the primer or lower layers of paint, the surface of the model can seem completely dry to the touch, while underneath the surface is not fully consolidated.
This can lead to peeling of the paint if the masks are removed too early.
I also have a theory that this is the reason for my complaints about the long curing time of Gunze and Tamiya paints when used as lacquers. In addition, lacquers can penetrate any paint. I always read that painting with lacquers over other types of paint is not recommended.
I have tried it with Gaianotes in nail polish with… bad results. The paint remains sticky. Although it may be possible with very thin layers.
In any case, I recommend not considering painting processes involving lacquer on enamels or acrylics, or doing tests beforehand.
RESULTS
The liquid coating is easily removed from the glossy paint using a little masking tape.
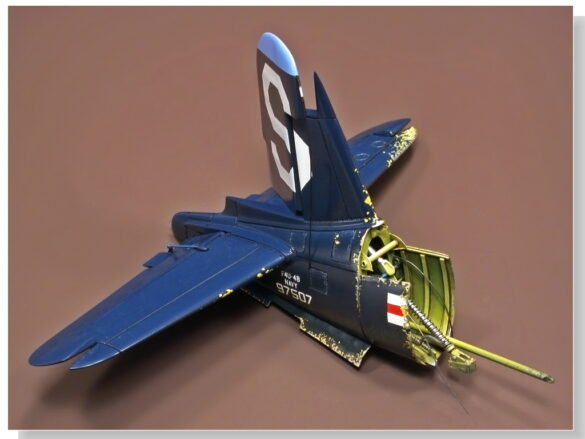
The relief of the paint is an advantage and the chips do not need polishing.
I immediately regretted not doing a zenithal light treatment on the yellow.
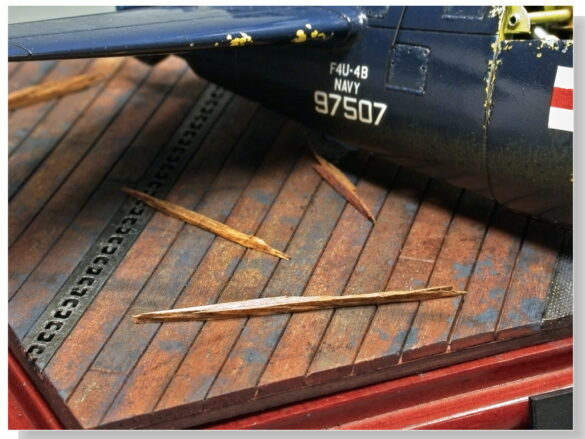
The shapes of the potatoes and their abundance also disgusted me. As usual. The little I used from the sticker sheet served at least to identify the aircraft as a F4U-4B model. I used the usual method.
The white Eagle Strike stickers are perfectly opaque, matching the tone of the white painted part. This is achieved at the expense of a certain thickness, of course. Number decals have a large amount of clear film. Clear film is especially dangerous on dark colors due to the silvering problem.
Large pieces can be cut one by one, but I don’t complicate things as much with these small decals.
My method for hiding transparent backing is to cut the outline of the lines, separate groups of characters, and eliminate, whenever possible, vertices of 90 degrees or less, which become particularly visible.
Only in some cases do I split a group of characters in two. Another type of decal is the 3D decals for replicating reliefs. These Archer hinge lines are perfect for replacing the plastic hinge relief that I removed when sanding. The idea behind this type of decal is to apply them before painting. They blend better under the paint.
But this time I wanted to see if they could be painted with lacquer first and placed on top of the board. For cases where a model had to be masked over these decals, with a real risk of them being removed along with the paint that covered them.
The result was not bad, especially after the oils.
I then shaded the remaining fabric relief that came with the model. Same process as with the white.
Meticulous coverage of the entire contour of the reliefs is essential.
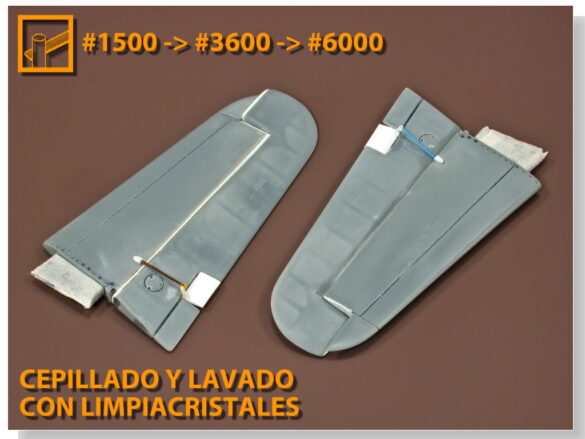
The cavities are then shaded one by one following a zenithal lighting pattern. After shading with Clear Black, a thin layer of blue is applied to balance the effect. After removing the mask, I buffed the paint. Despite the multiple thin layers, the piece needed almost no polishing. All the colors were bright and the glossy lacquer was top shelf. I used the tip of a very sharp, curved blade to scrape away the blue paint and reduce its rounded appearance, which was caused by the viscosity of the liquid masking compound.
With a little more pressure I removed some of the yellow paint to reveal the first layer of silver.
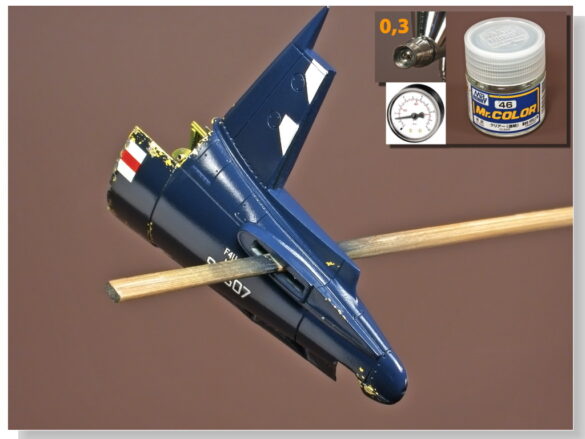
It’s not difficult and the result is very good, but you have to assume that there will always be retouching to be done later. To seal the decals, I applied a coat of MrColor gloss varnish to the center section of the tail. I decided to go for a soft worn effect or salt dirt (or whatever) on the horizontal planes, doing a first practical application of the lacquer (combing) technique.
I empty the lacquer into a bottle and let it breathe so that the more volatile compounds evaporate and the propellant gas is lost. Then I apply it with an airbrush.
There are also those who use it directly from the spray can without any problems. Better for them.
After half an hour I applied ModelAir satin varnish. A thin layer.
Vallejo paint is the worst for the lacquer technique because it forms a plastic film and disintegrates very badly. However, this also gives it a different look than other chips. After wetting, I used a stiff, cut brush and toothpicks to remove the varnish.
Then I polished to reduce the roughness and to clean.
In the end, the satin part looks a little lighter than the glossy.
It’s a strange little effect. On the F4U-4, the position of the exhausts allows dirt to reach the end of the tail.
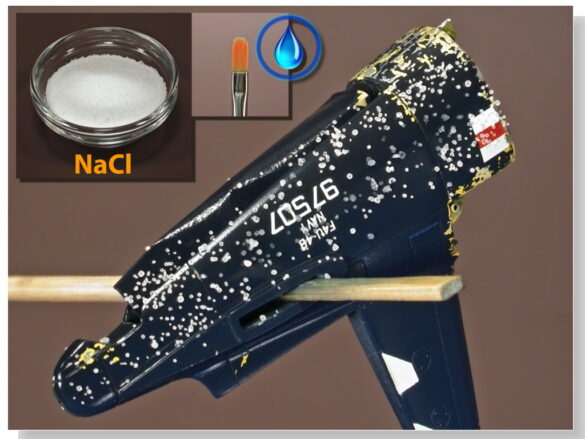
To apply this dirt with a specific weathering effect, I also decided to try the salt technique for the first time. Let’s not miss the fun.
I found it very easy to stick the table salt to the paint once it was wet. And it can be wetted with a brush or airbrush. For the dirt, I airbrushed a thin line of ComArt acrylic natural fabric.
It is a paint that has low adhesion in the first few hours. With a bristle brush I wiped the grains of salt. By doing this in vertical passes, I added a second annoying effect to the dirt thanks to the low adhesion property of this paint. And finally, an even thinner airbrush pass, to stain the narrow space with dirt.
It can wear dirt and grime to infinity.
After a day, the ComArt paint gains strength, but since the base is glossy, it is best not to touch it.
I liked the salt trick for its simplicity, but it was only for adding subtle tonal textures to a color. After removing the grille from the interior, I regretted the small amount of green I added to the yellow. Lesson for the future when I encounter yellow primer again.
I did some profiling and highlighting with Vallejo, changing the tone towards Deep Yellow.
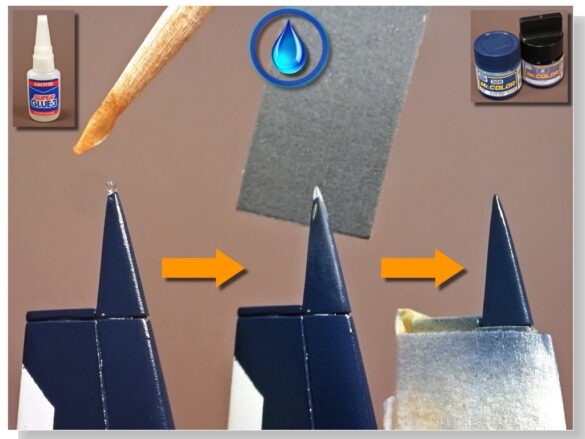
For the shock absorbers I used silver marker diluted with Humbrol Thinner. FINISHING Something as delicate as a drift tip is easy to break and lose.
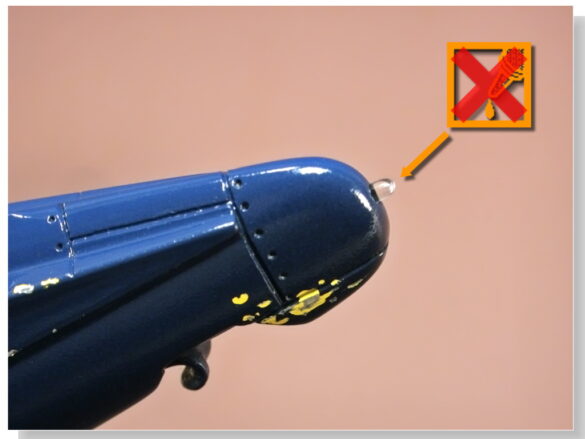
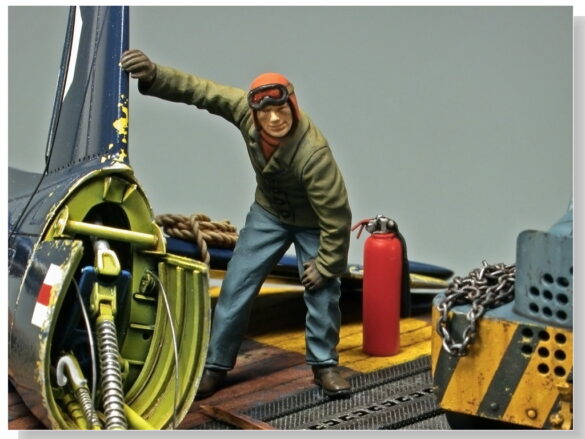
These cyanoacrylate and gas repairs are very easy if done with patience and gentleness. For the taillight, I stretched clear plastic, placed it in the mini drill and shaped and polished it with sandpaper.
Because the stretched plastic is tapered and I cut it using the hole in the model as a guide, I was able to snap it in place without glue.
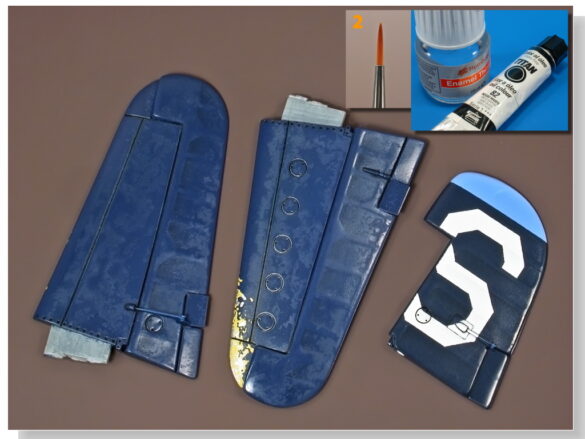
Without glue, there is no risk of stains. You can safely apply enamel and oils over the lacquer. I used a brown tone to shade the interiors.
For marker varnish you should use acrylic. Tamiya smoke dissolved in water has always been ideal for shading metal parts. It looks very natural. This time I painted it with black oil. There was very little on the panel and oil is the most powerful way to do this. No varnish is needed after this small coating.
I reduced the oil content of the oil by placing it on absorbent paper before thinning it. This makes it less shiny and less dust sticks afterwards. On the outside, I touched up the chips with a brush using Vallejo and then applied a glossy varnish for touch-ups. Mainly to reduce the spread of peeling, which I am still not happy with. For the insulation of the antenna wire, there are two very useful materials: Kristal Klear to form balls and the stretched hollow tube of cotton buds to make small tubes. Since the part of the wire had to be hung, I made it with copper wire to give it shape.
I painted it with enamel, as it is the best way to cover a potentially greasy piece of metal, using a brush without sticking. Although watercolor pencils are very transparent on these smooth, shiny surfaces, they can create an interesting effect in certain areas that we want to differentiate or emphasize, with minimal effort.
There is nothing specific that can be done about glossy paint, but it is amazing how much they can stain the paint. There is no question of varnishing. The final elements are a few pieces of control cables and conductors, twisted to give the scene more credibility.
Lead wire is easy to twist but also very brittle. Stretched flexible plastic has exactly the opposite properties.
The flexible plastic was already a dark metallic color and did not need painting. These kinds of remains are very interesting.
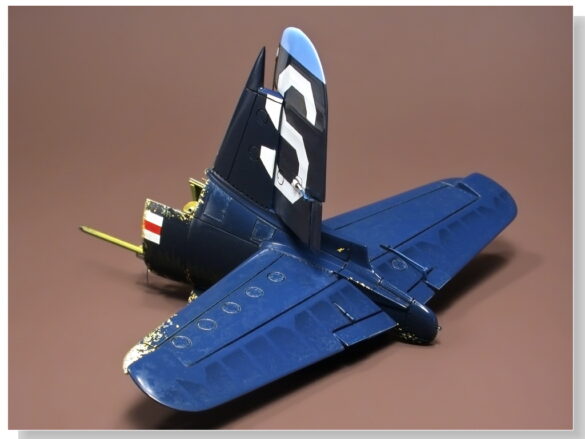
VF-84 Fighter Squadron 1944–1945

