article
Fw 190 Focke-Wulf Access Ladder
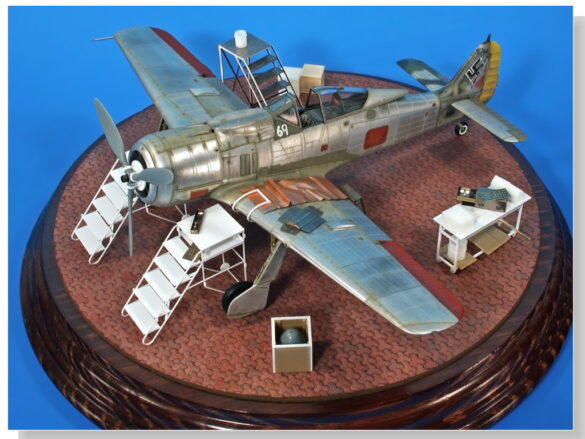
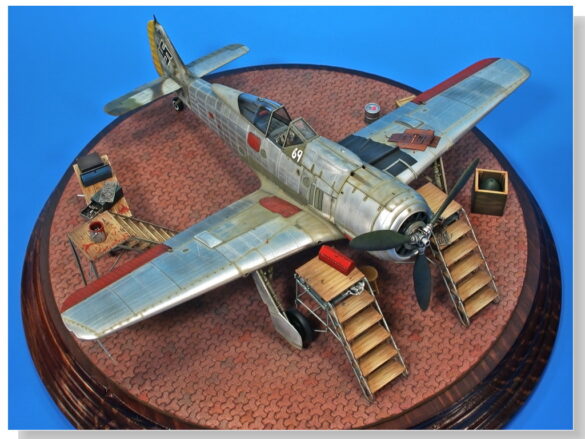
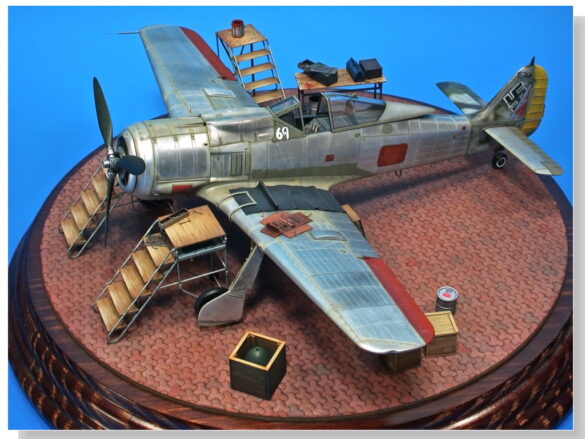
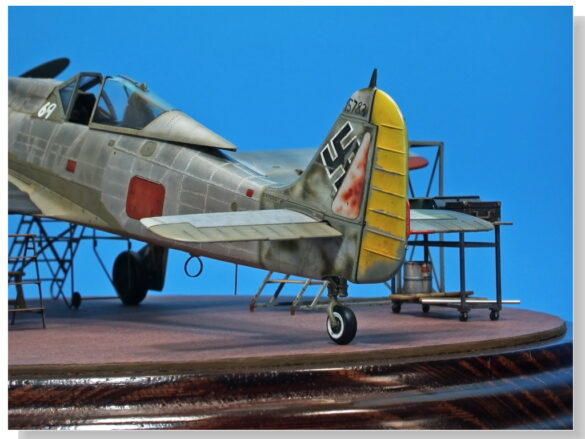
This time, I will test all my training this year in creating tiny elements and possibilities and edges for cutting models with a more complete project than the previous ones, a project that incorporates the different themes of my recent articles.
But this time I surpassed myself in malice and shame because not only did I take advantage of an “old”, familiar and well-known model, but I also saved myself from having to make it myself.
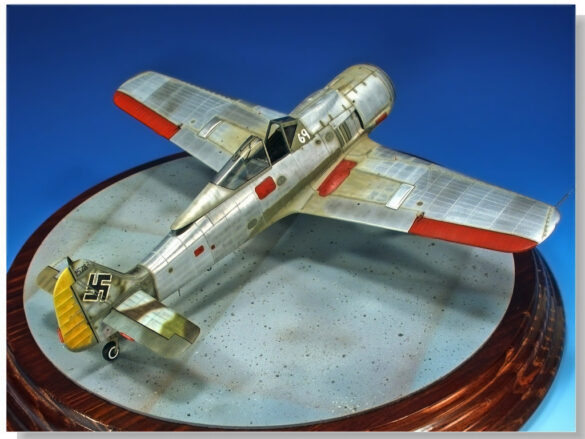
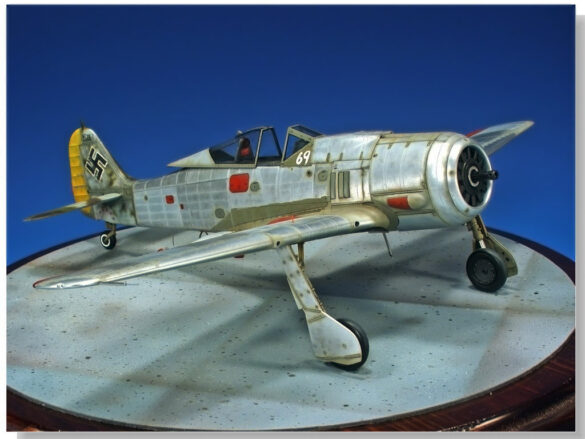
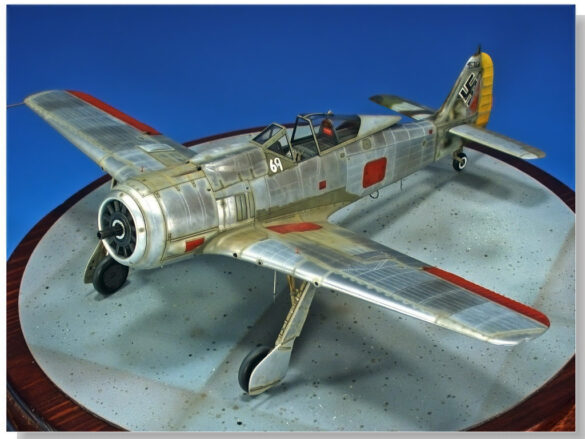
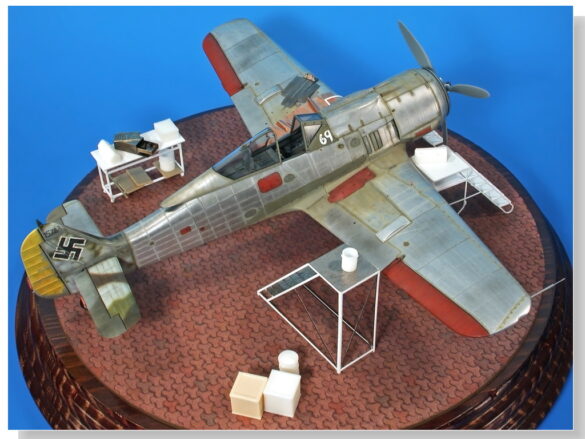
Kidnapping models from Diego Quijano is very profitable, especially if it is my favorite model of this famous character. The FW-190 “White 69” is the Diego model that I would like to make. In fact, it is a model of the type that I make, or would be if I were to bring out the painting techniques that come in “Q”.
Working around this plane is great because no matter what I do, the model will be in the background in the photos, so I look good 100% of the time.
This 190 always gave me a strong sense of provisionality, of unfinished work. And that’s because of the various factors that influenced its execution: if it’s done “cheaply”, if it’s impossible not to
change something after all, if it has to be painted quickly because the competition is ahead of us, if you painted the wings while I was sleeping… And the worst of all is that horrible gray cement base, made by some idiot in half an hour. It was clear to me that it had to be replaced with something better, and with this excuse and other tricks I managed to get hold of the model and some limited “exploitation rights”. A similar case with the Klimt that I have hanging in the bathroom, but that’s another story.
The base itself would have been a better choice as it would have shown off the paint more. But it is a model that tells too many stories in its own painting to not have a complete set.
Now I show you a selection from the documentation that served as inspiration for both Diego and me for our respective participation in this project.
Let’s start with a step by step. I will try to limit the discussion to a minimum.
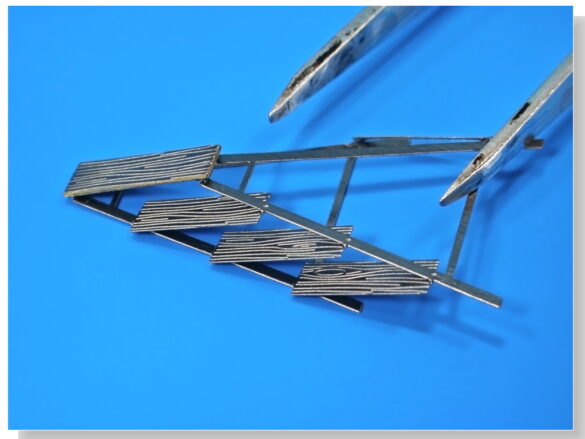
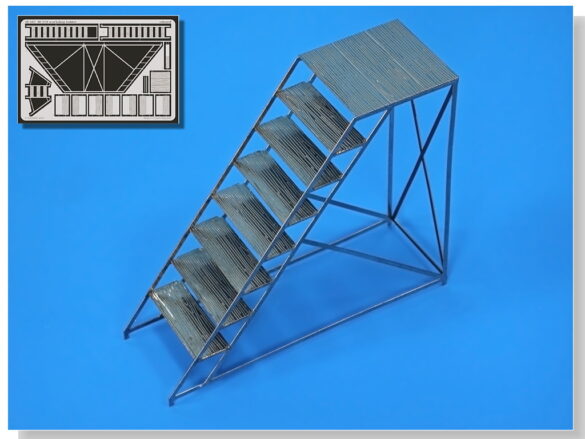
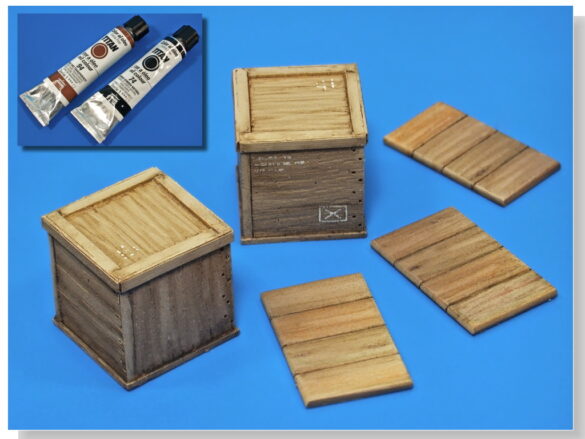
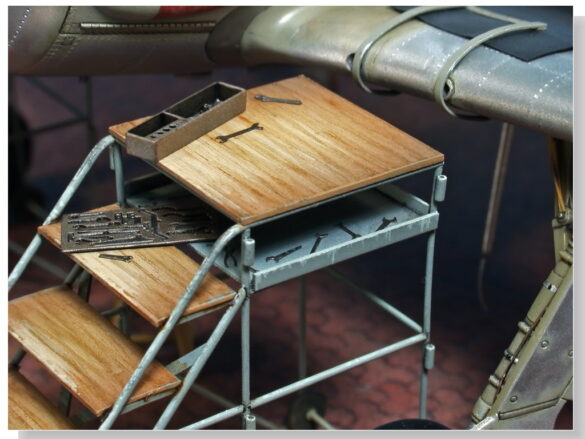
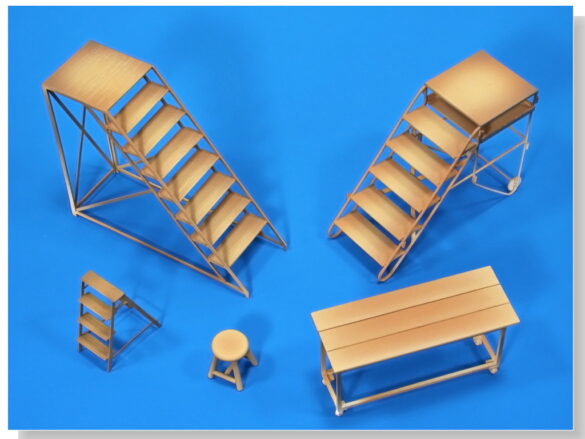
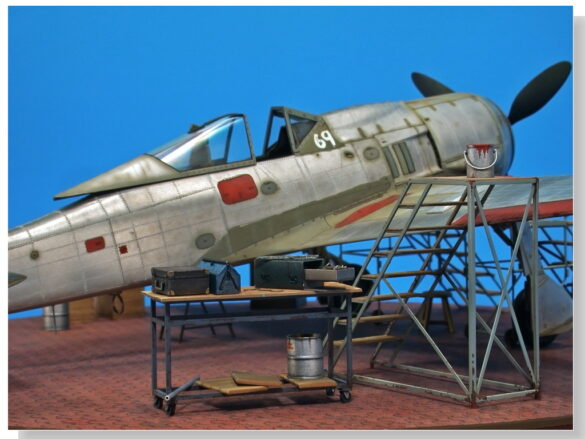
My first step was to get whatever I could find pre-made: two Eduard photo kits, one with ladders for the Bf.110 and another with tools for the Fw.190 in which no indication of colors is given. The ladder kit was very disappointing. Numerous excessively thin elements. I had to add thickness with Evergreen strips. Of course I used Gator Grip acrylic resin to mount the photo-etched parts. One of its advertised advantages is the flexibility of the joints, which allows the photo-etched parts to yield to pressure without loosening. I learned this when I accidentally crushed the small ladder with a toolbox. The piece folded completely without breaking or deforming, and I was then able to “unfold” it back to its original shape. With cyanoacrylate it would have gone to waste. What a great publicity for this brand.
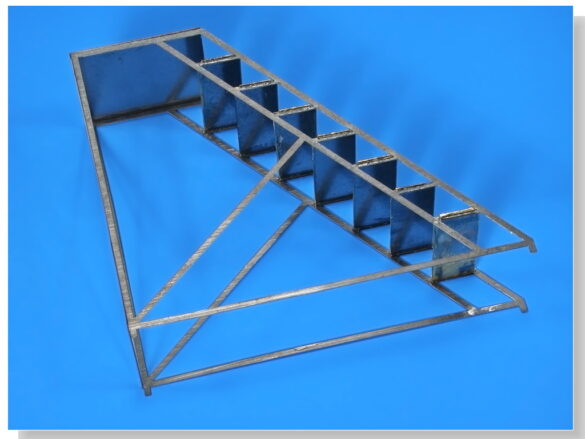
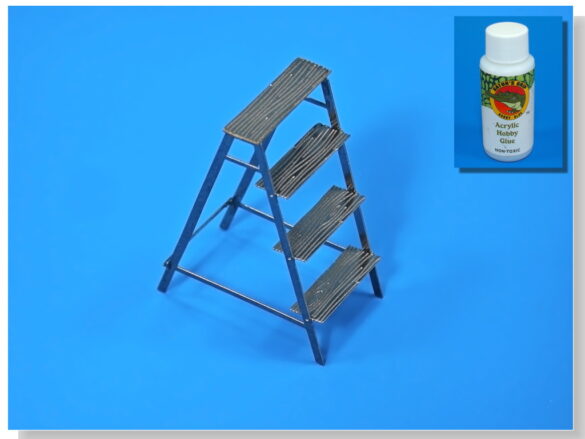
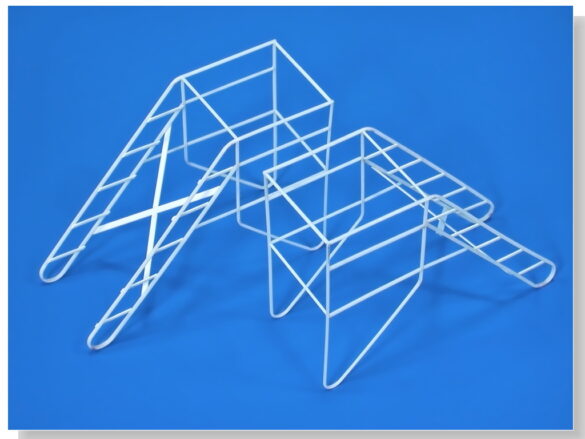
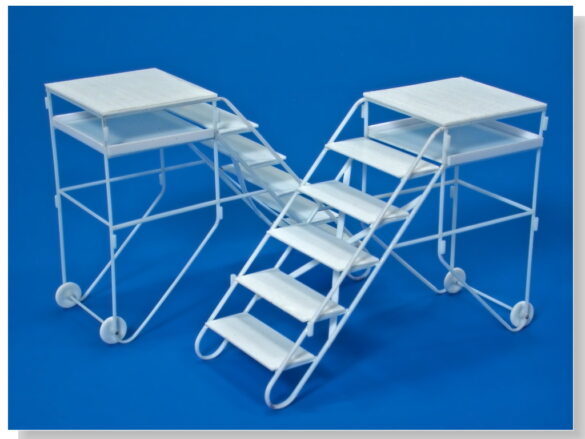
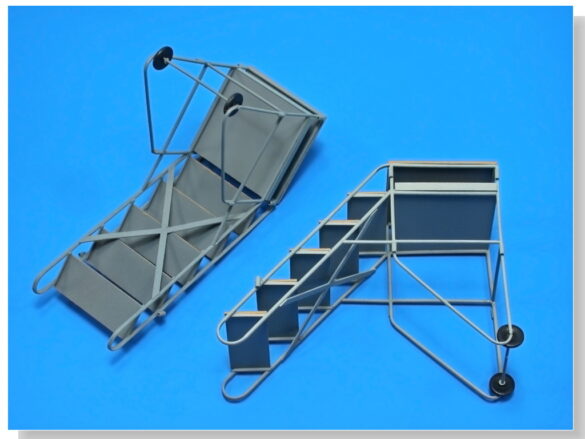
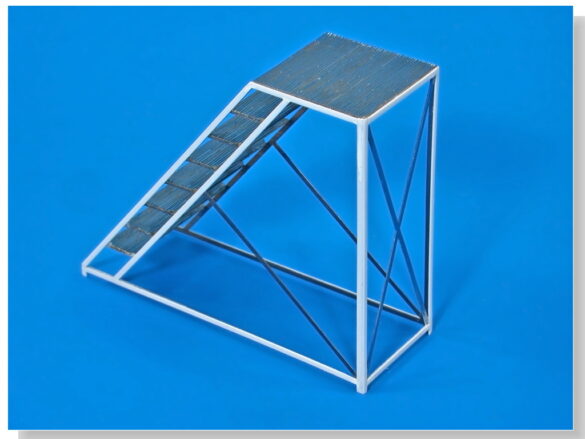
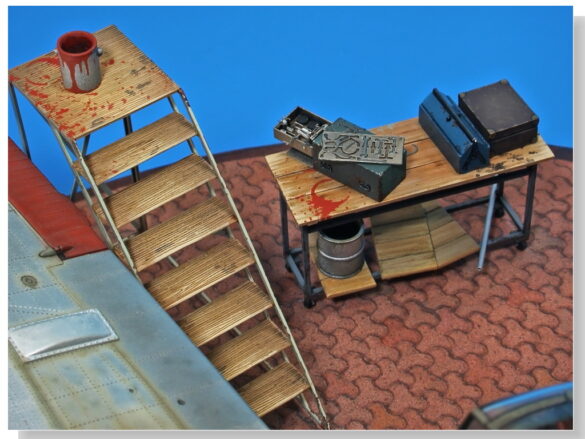
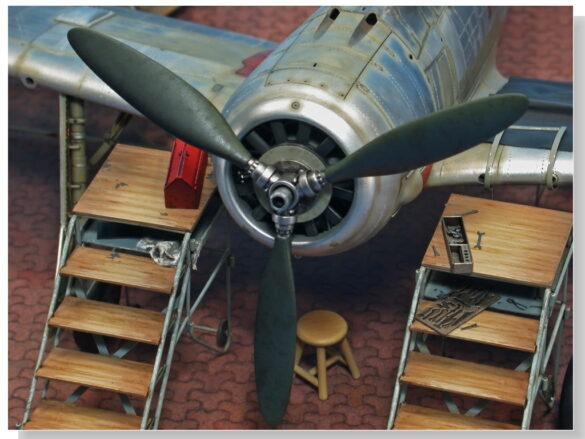
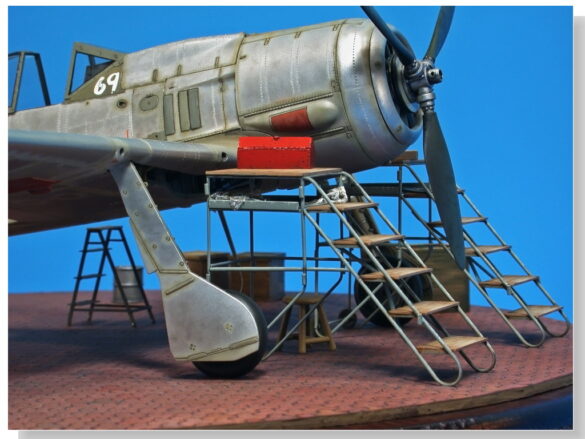
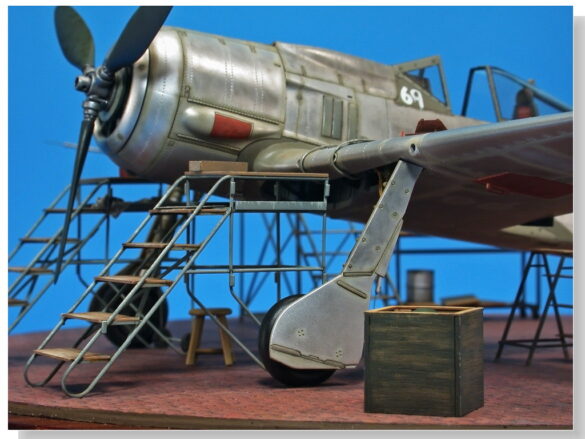
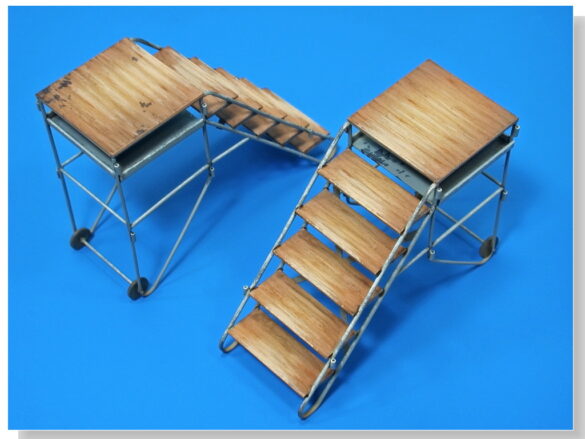
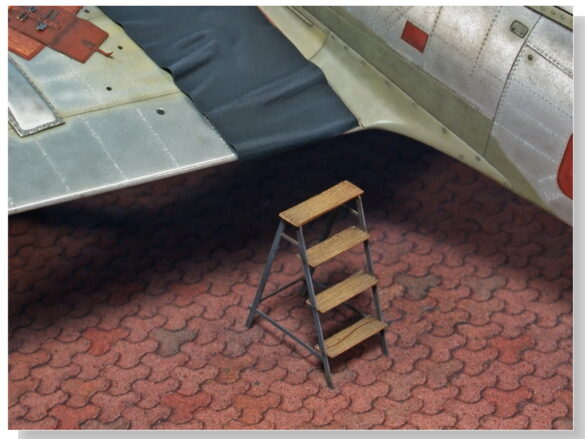
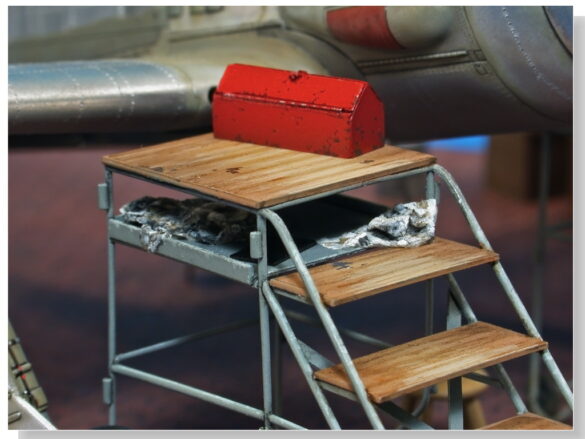
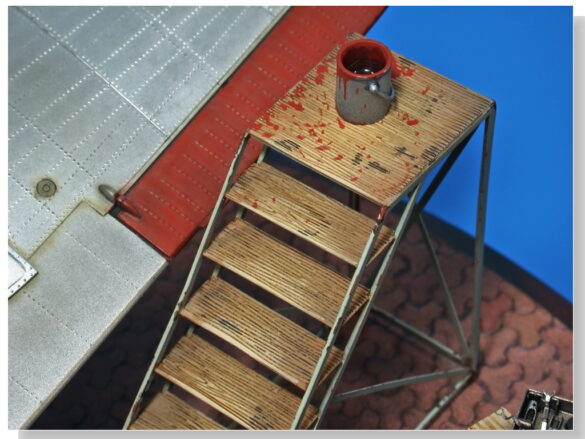
Considering the photos above, you will understand that Eduard’s ladders did not satisfy my desire to make good ladders, so I tried to make some that were as similar as possible to the strange ladder-escalator-platform-scaffolding you see in the Focke-Wulf factories.
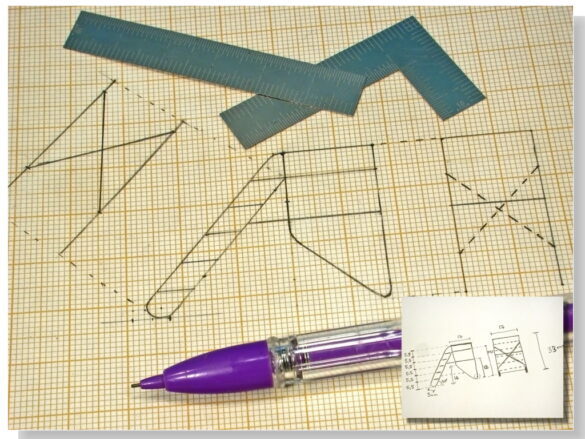
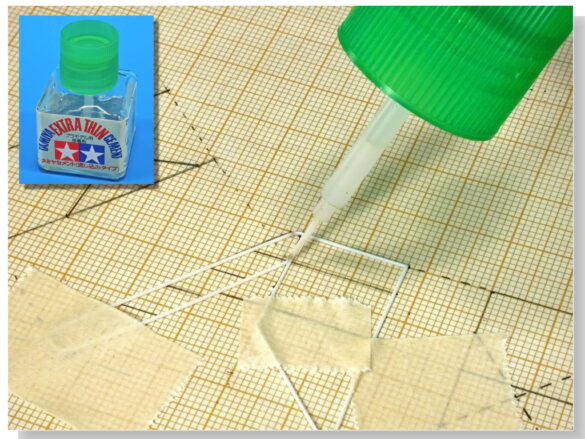
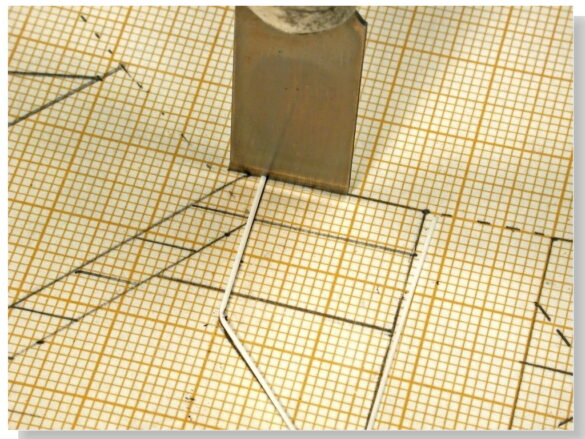
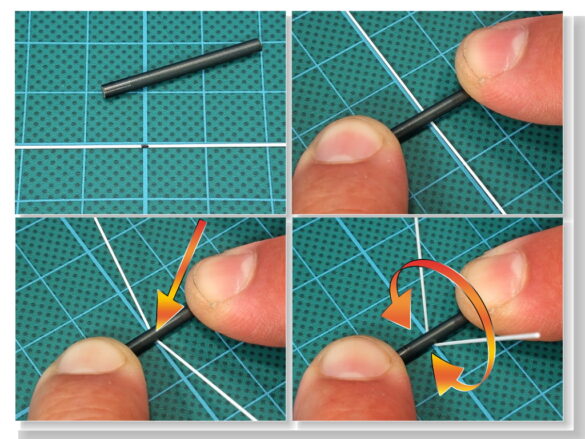
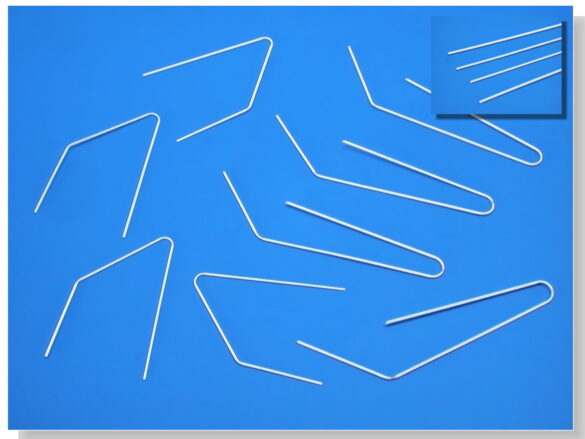
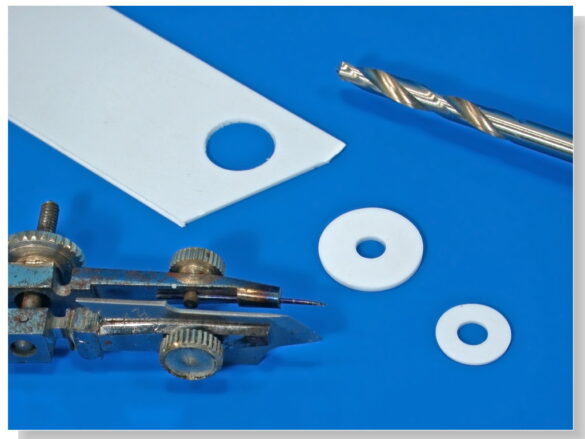
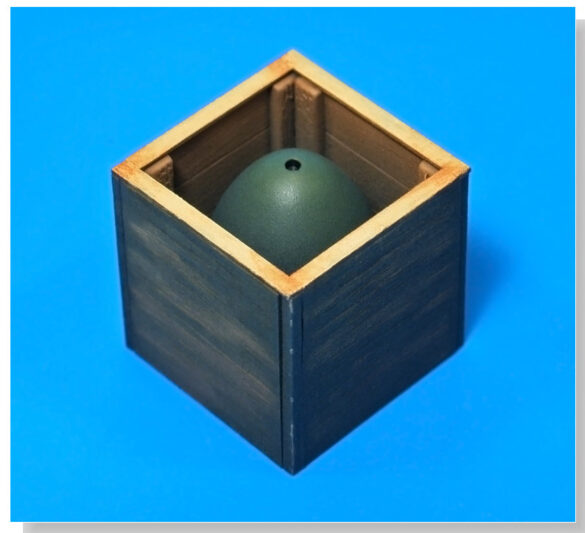
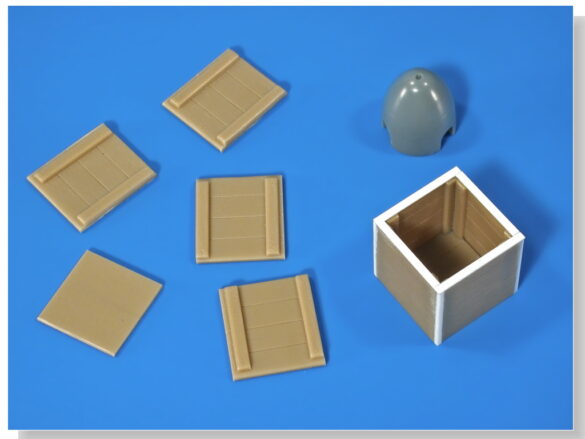
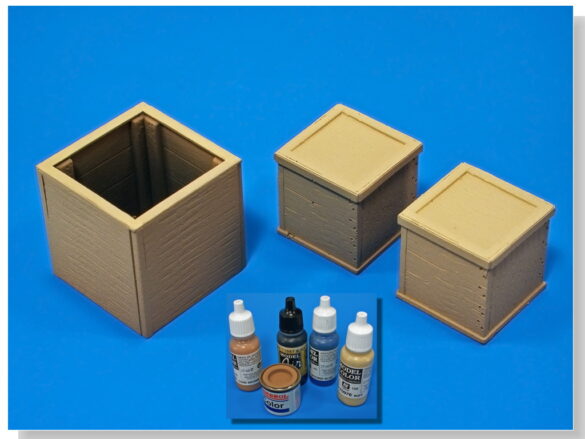
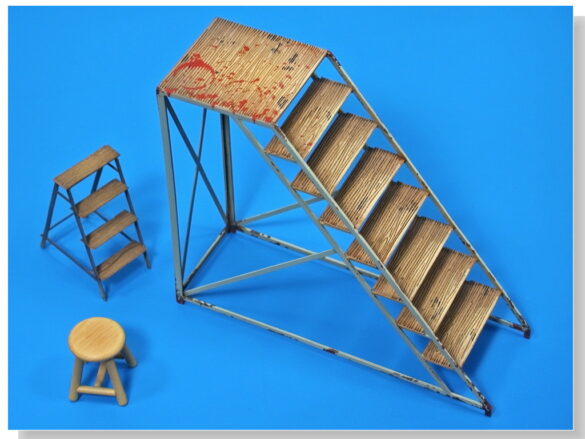
I calculated the dimensions using complex geometry techniques and transferred them to graph paper, the best friend of anyone who likes to scratch. It was clear that I had to make them with circular rods and I preferred to use Evergreen plastic despite the difficulty of making the numerous curves in the drawing. By a stroke of luck I found a way to make the curves I needed in the thin plastic rod, easily and with great precision. It consists of choosing a metal cylinder with a diameter equal to that of the inside of the curve (I use split drills) and pressing the rod into a cutting base, rotating the rod until the desired angle is achieved. The metal rod slightly straightens the rod on the inside of the bend, while the flexibility of the cutting base maintains the shape of the rod on the outside. This way the curved reed keeps the shape we give it and doesn’t break or weaken. Graph paper was essential for both cutting and gluing, as I needed to make four exactly the same sides to create two ladders. If you are very careful to keep the dimensions when cutting and the angles when gluing, the pieces should all come out exactly the same. The result of the scratch is always much more satisfying to the model maker than what is bought more or less finished. Making an open box is always much more complicated than making a closed one. For the propeller hub I made a custom one using the usual material.
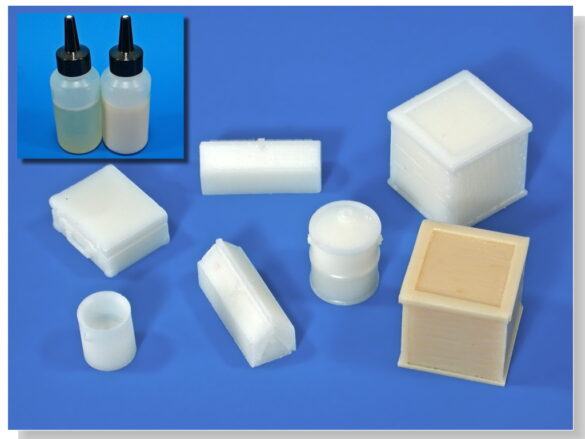
For the resin copies of the other solid elements, I first used polyurethane resin “FC52”. This is white, stiffer than conventional resin and 3 or 4 times slower to react, which improves the extraction of air bubbles from this type of part.
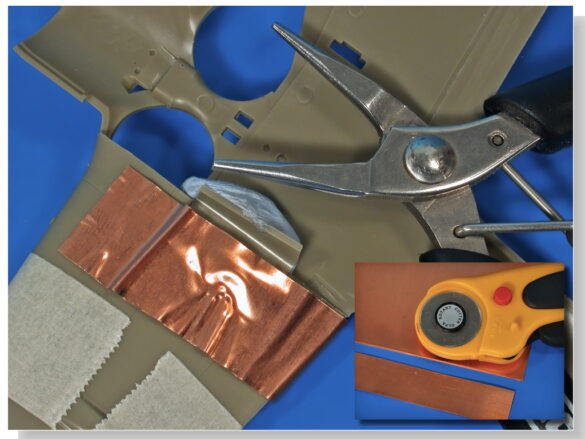
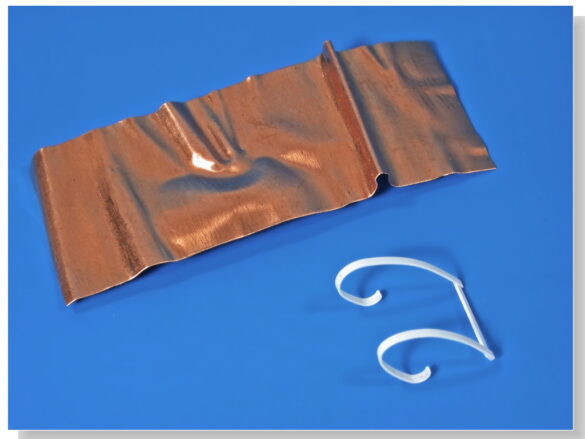
In any case, it is good to choose the material with the best mechanical properties. If for the stairs I chose polystyrene made of copper, brass or steel wire, to make a rubber mat with folds and creases I chose aluminum foil. Softer than aluminum or brass to fit the contours of an Eduard Fw-190 wing, but stiffer than tin, so that it retains its folds and shape during subsequent handling.
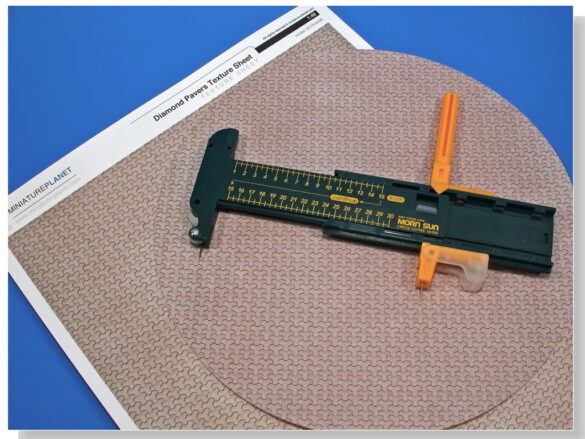
The best tool for cutting sheet metal is a circular blade.
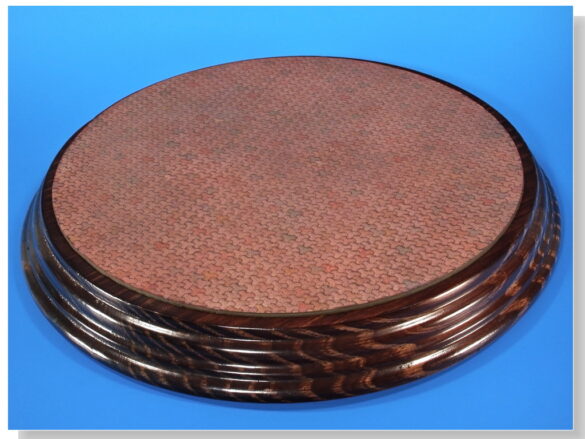
On the floor I lost my mind. As usual.
I knew I wanted something very different from what I had, something that was also original even if I made it.
The brand Miniatureplanet sells a wide range of textures for modeling online. Floors, walls, ceilings and signs for interiors and exteriors, in any scale and in various shades. I suggest buying their products in PDF format, but since I don’t have a printer, I ordered it by mail, printed on thin cardboard in 1/48.
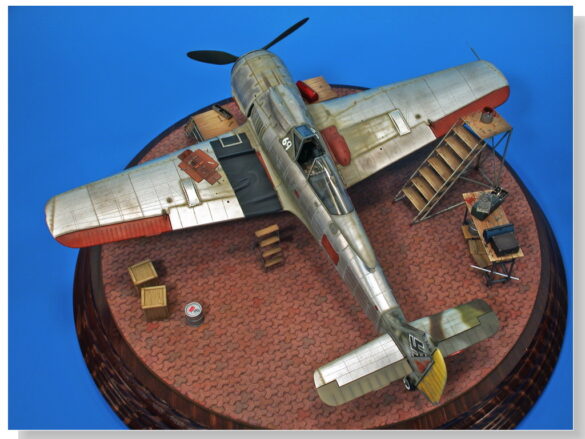
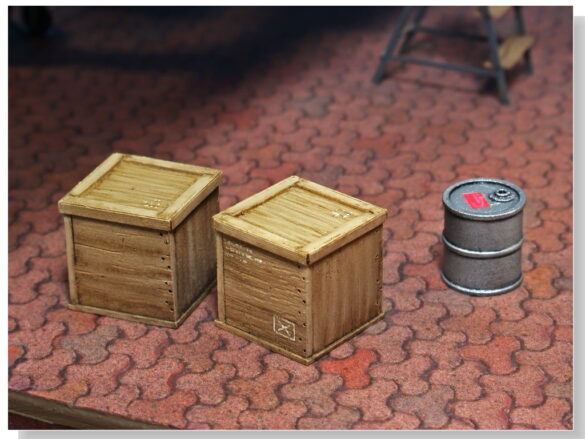
I chose a strangely designed brick floor because it seemed original to me and I chose the red brick to contrast with the colors of the model.
The textures of Miniatureplanet do their best to imitate a relief effect, but on a horizontal floor, color alone is not enough.
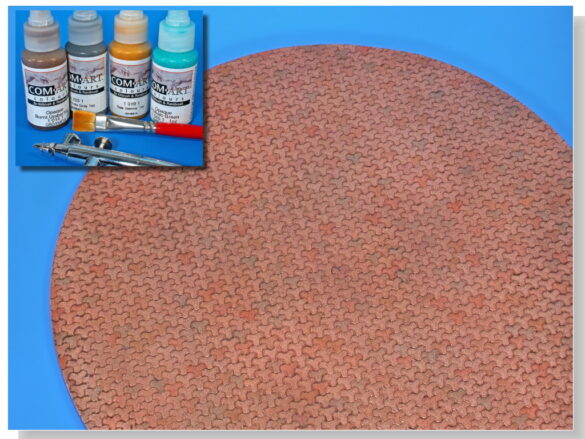
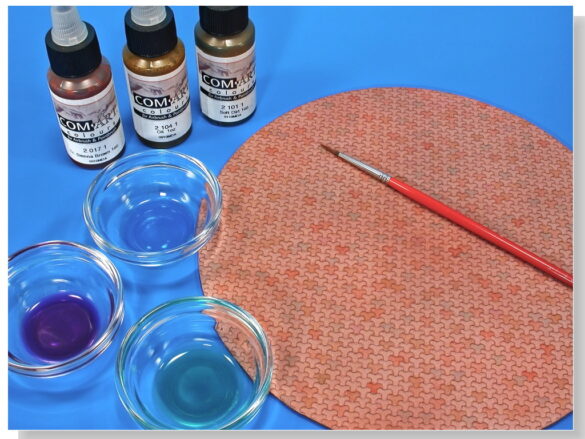
First I cut a circle the size of the base. On which I engraved the relief of the joints between the bricks with a very fine groove, on a mouse pad. Yes, it is as laborious as it seems. Even the paper lost its color from so much rubbing with my hands. And the 3D effect is not spectacular either. But it is enough to get you a step closer to the painting phase. To personalize each brick I applied filters with transparent acrylics. Then I enhanced the texture effect with splashes of opaque acrylics using a blow brush. And after varnishing with Future I emphasized the relief and combined the colors with ProModeller washes.
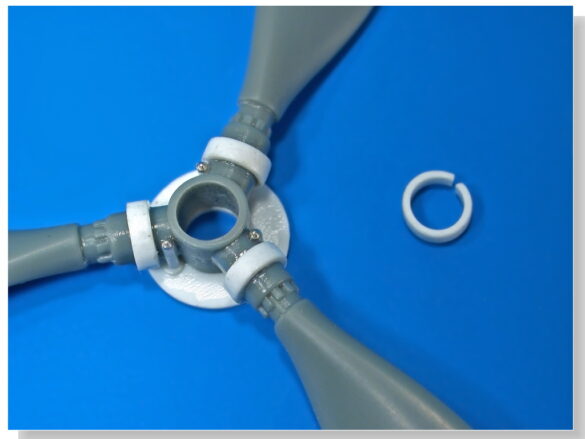
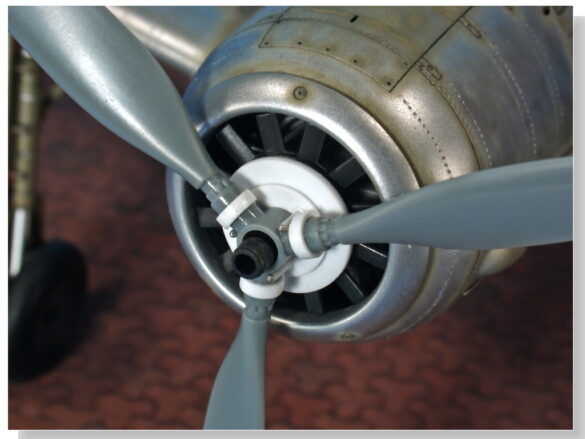
After the matte varnish and mounting on the base, I already had a “strange” floor. I did not make any modifications to the model except for restoring the broken parts of the landing gear. And what would change in any case? What I got permission for was to add a propeller. It was strange to see a propellerless Fw-190 at Torrent for once, but the truth is that the poor plane was crying out for its windmill to be added.
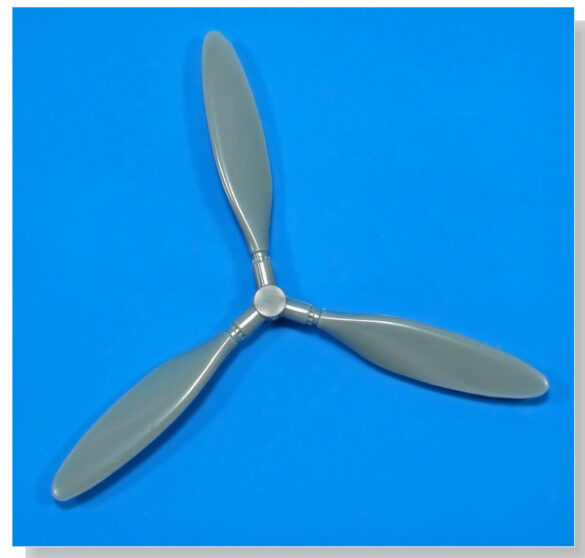
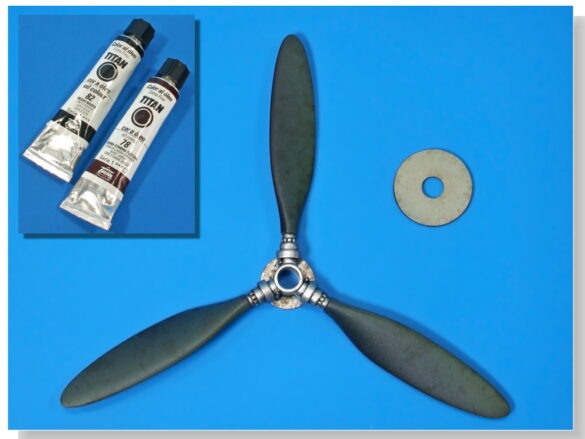
I worked on the original Hasegawa propeller.
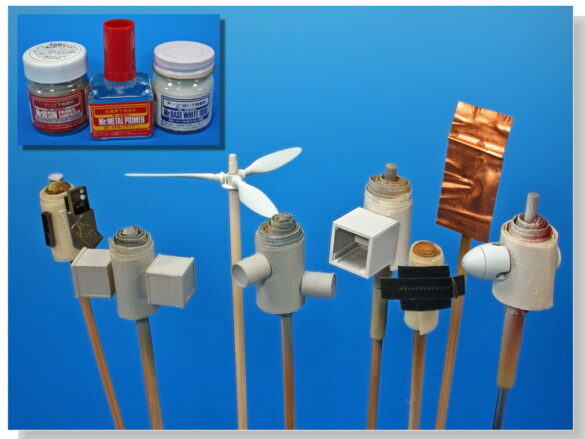
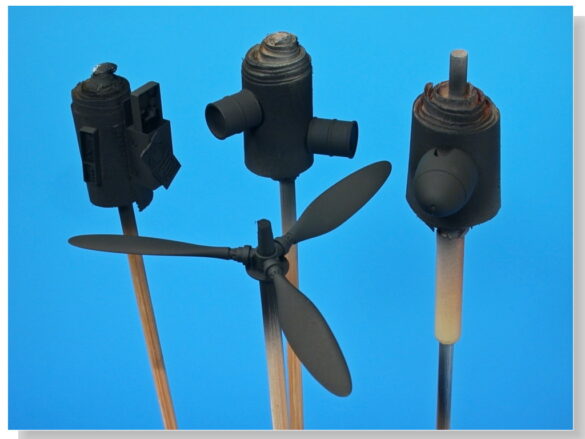
I primed each piece with its respective primer. This is a whim of mine. And with black lacquer I provided the base for the propeller and the metal parts.
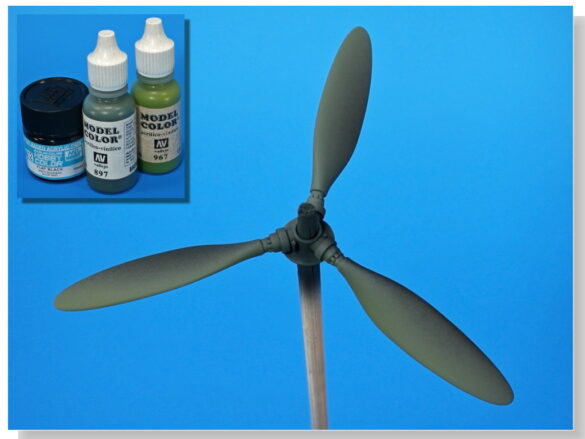
I painted the propeller with RLM71 or was it. Well, the darkest green ever. I created a zenithal lighting effect which is really fun because every blade is different. The metal parts are coated with Alclad, the profile and dirt are coated with oils and the finish is natural gloss for the metal, satin for the green and matte for the oils. Anyway, same as always. I am not going to repeat myself when I talk about zenithal lighting in painting boxes and stairs. That is in the previous articles. Let me just say that this time I reduced the color saturation in the shadows a lot by using complementary colors.
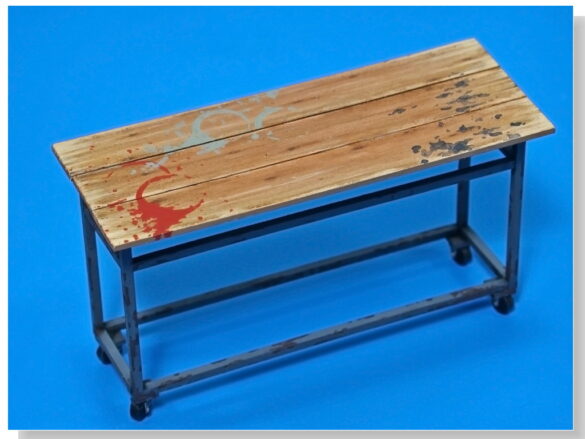
The hub housing mimics the brushstroke and transparency effect seen in the actual photo using a Vallejo Olive Grey thinned with a clear base and applied with a flat brush. The airbrushing of the wood highlights is intended to create a distressed effect and serve as a guide for the brushing phase. It has nothing to do with the light. In order to do the three-phase painting or the three typical colors of zenith light first on the wood and then on the metal frame, I had to cover some areas. After much thought, I chose a pastel green and a dark grey as the colors for the metal parts of the ladder. With absolute overhead lighting, the color on the lower parts of the ladder can be the same neutral dark grey for both the wood and the metal. But then I gave the wooden parts a brown filter, which is really unnecessary. The crucial thing is the vein work with oils. On photoetched parts it is both easy and monotonous. On scratch pieces you have to work the oil patiently. I highlighted the worn areas with Vallejo brush using a brush. I added stains of paint and grease and chips in Vallejo Panzer Aces Dark Rust, which is a color that is highly recommended. Some knots were also added with pastel pencil, but I prefer to use them very sparingly on plywood. And the last elements, small but essential in any model. The eye always ends up focusing on the smallest elements and details and their quality determines our appreciation of the whole. That is why we have to put effort into them.
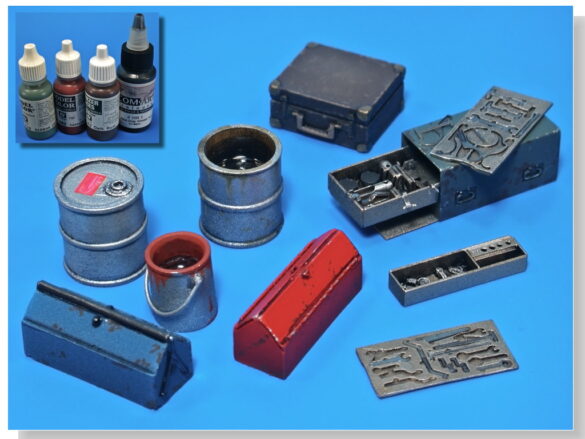
I painted a toolbox blue as a tribute to one that I have had at home forever.
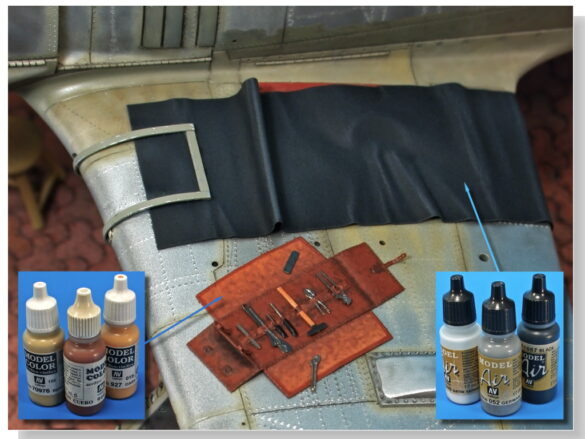
Bright and varied colors are the best to accompany this model. For the tool bag I decided that the material would be natural leather, although who knows. With black cyanoacrylate I gave volume to the handles of the screwdrivers and the hammer. For the protective rubber mat I used a revolutionary technique called dry brushing. The handle is in RLM 02.
And now the handles of the various elements are finished and in place.
Finally, I made modifications to the layout so that the plane is not completely surrounded.
To fix the elements to each other and to the base I used Gator Grip diluted with Vallejo matte varnish applied with a brush with capillary action. With a light spray of varnish in these places, the joints are invisible but very tight. Unpainted tools regain their metallic luster by rubbing them with the tip of a toothpick to remove the matte varnish.
Dirty rags are wet tissue in the Future.
https://dqscaleworks.blogspot.com/2011/04/naked-190-work-hasegawa-148.html
By: Diego Quijano
RF-5A Abandoned

