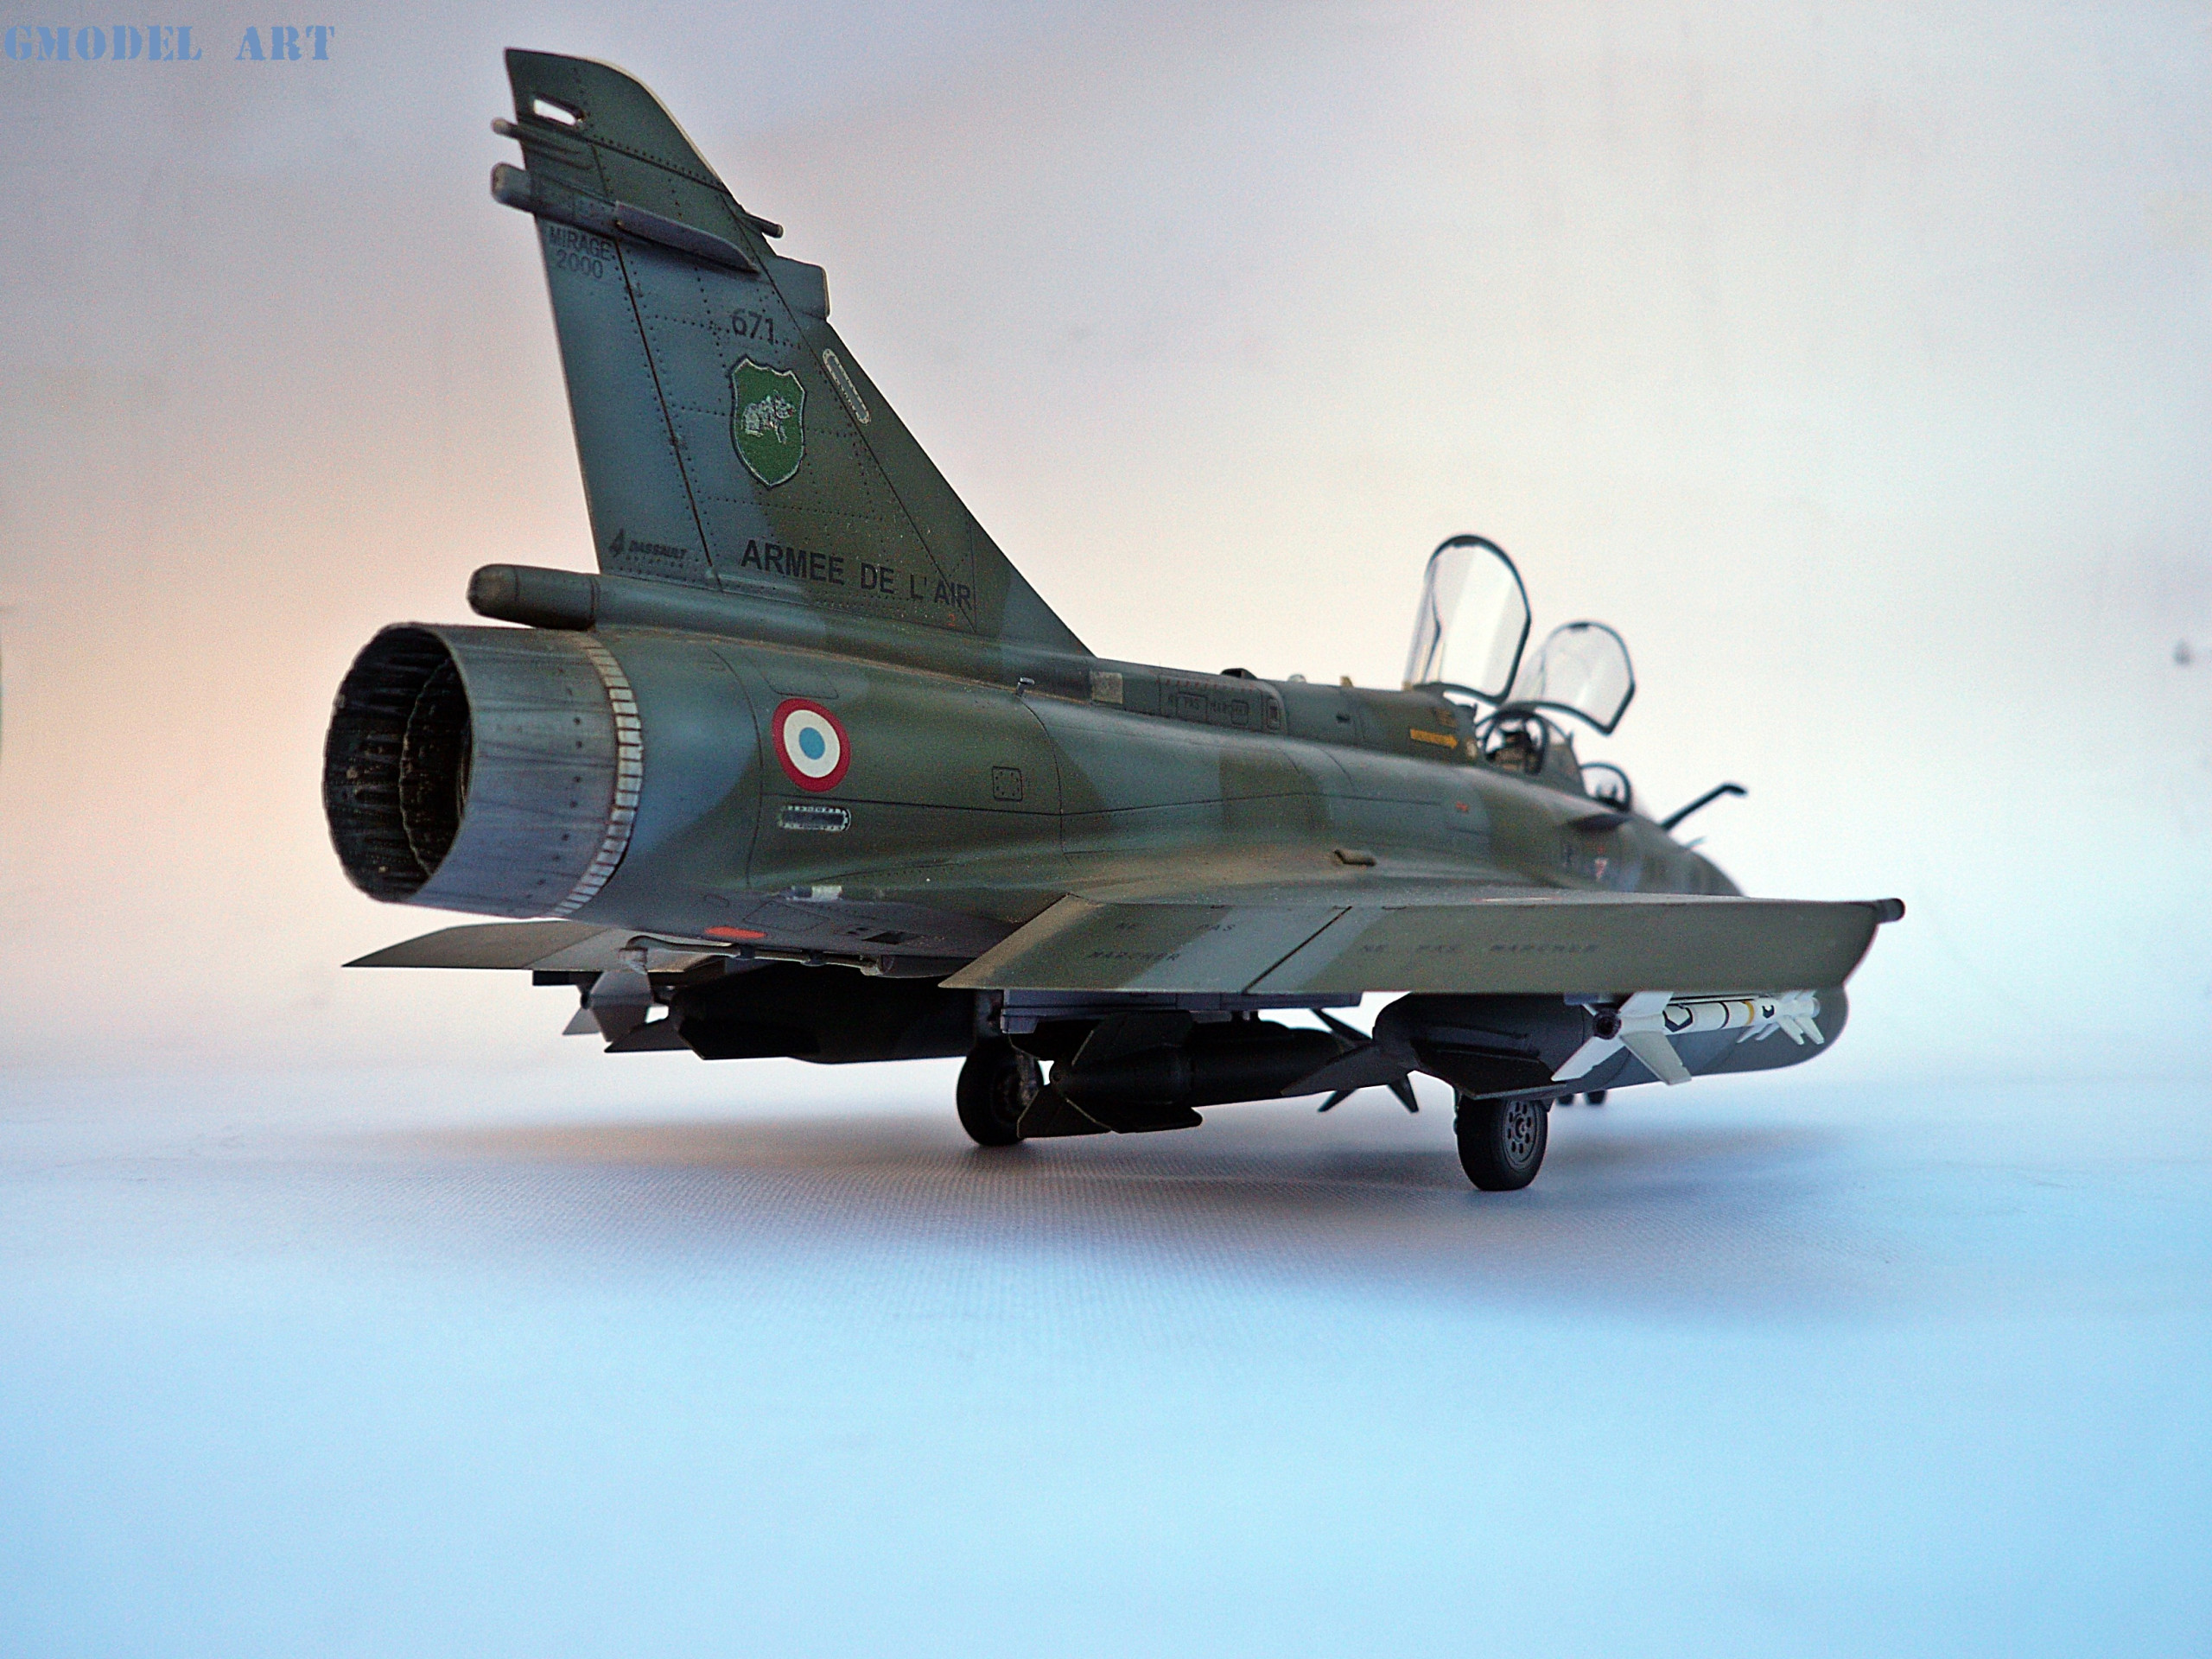
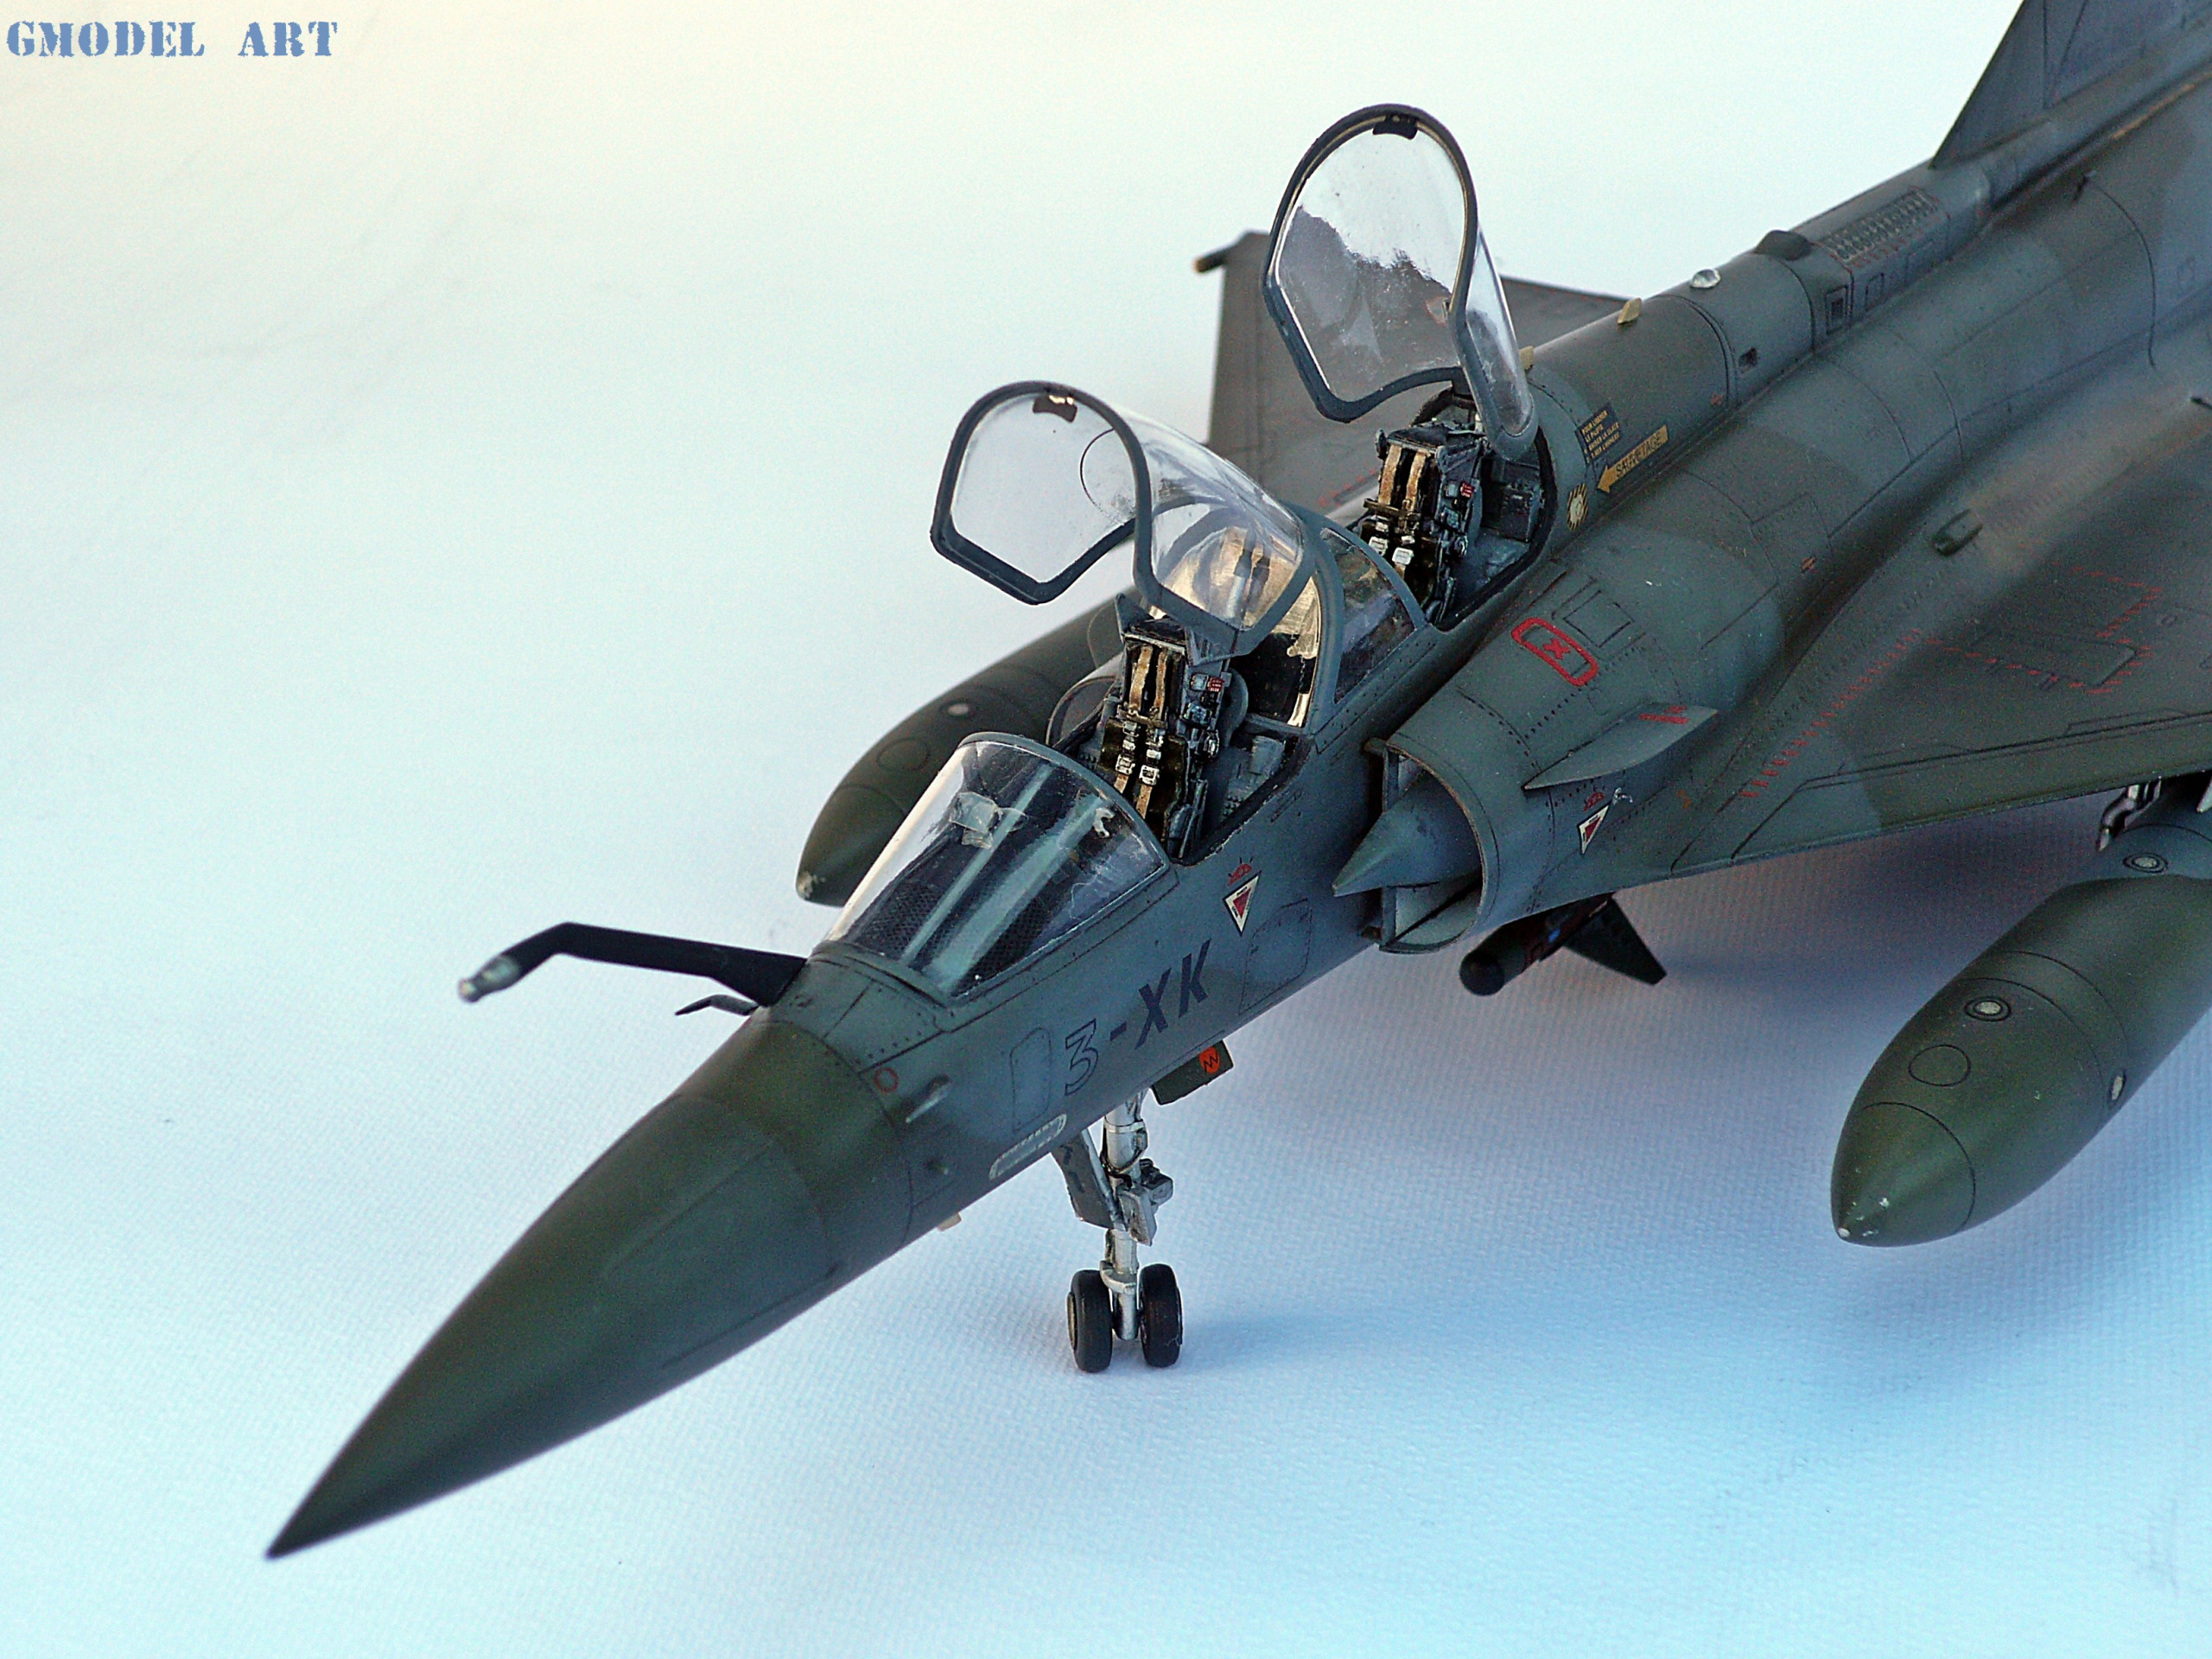
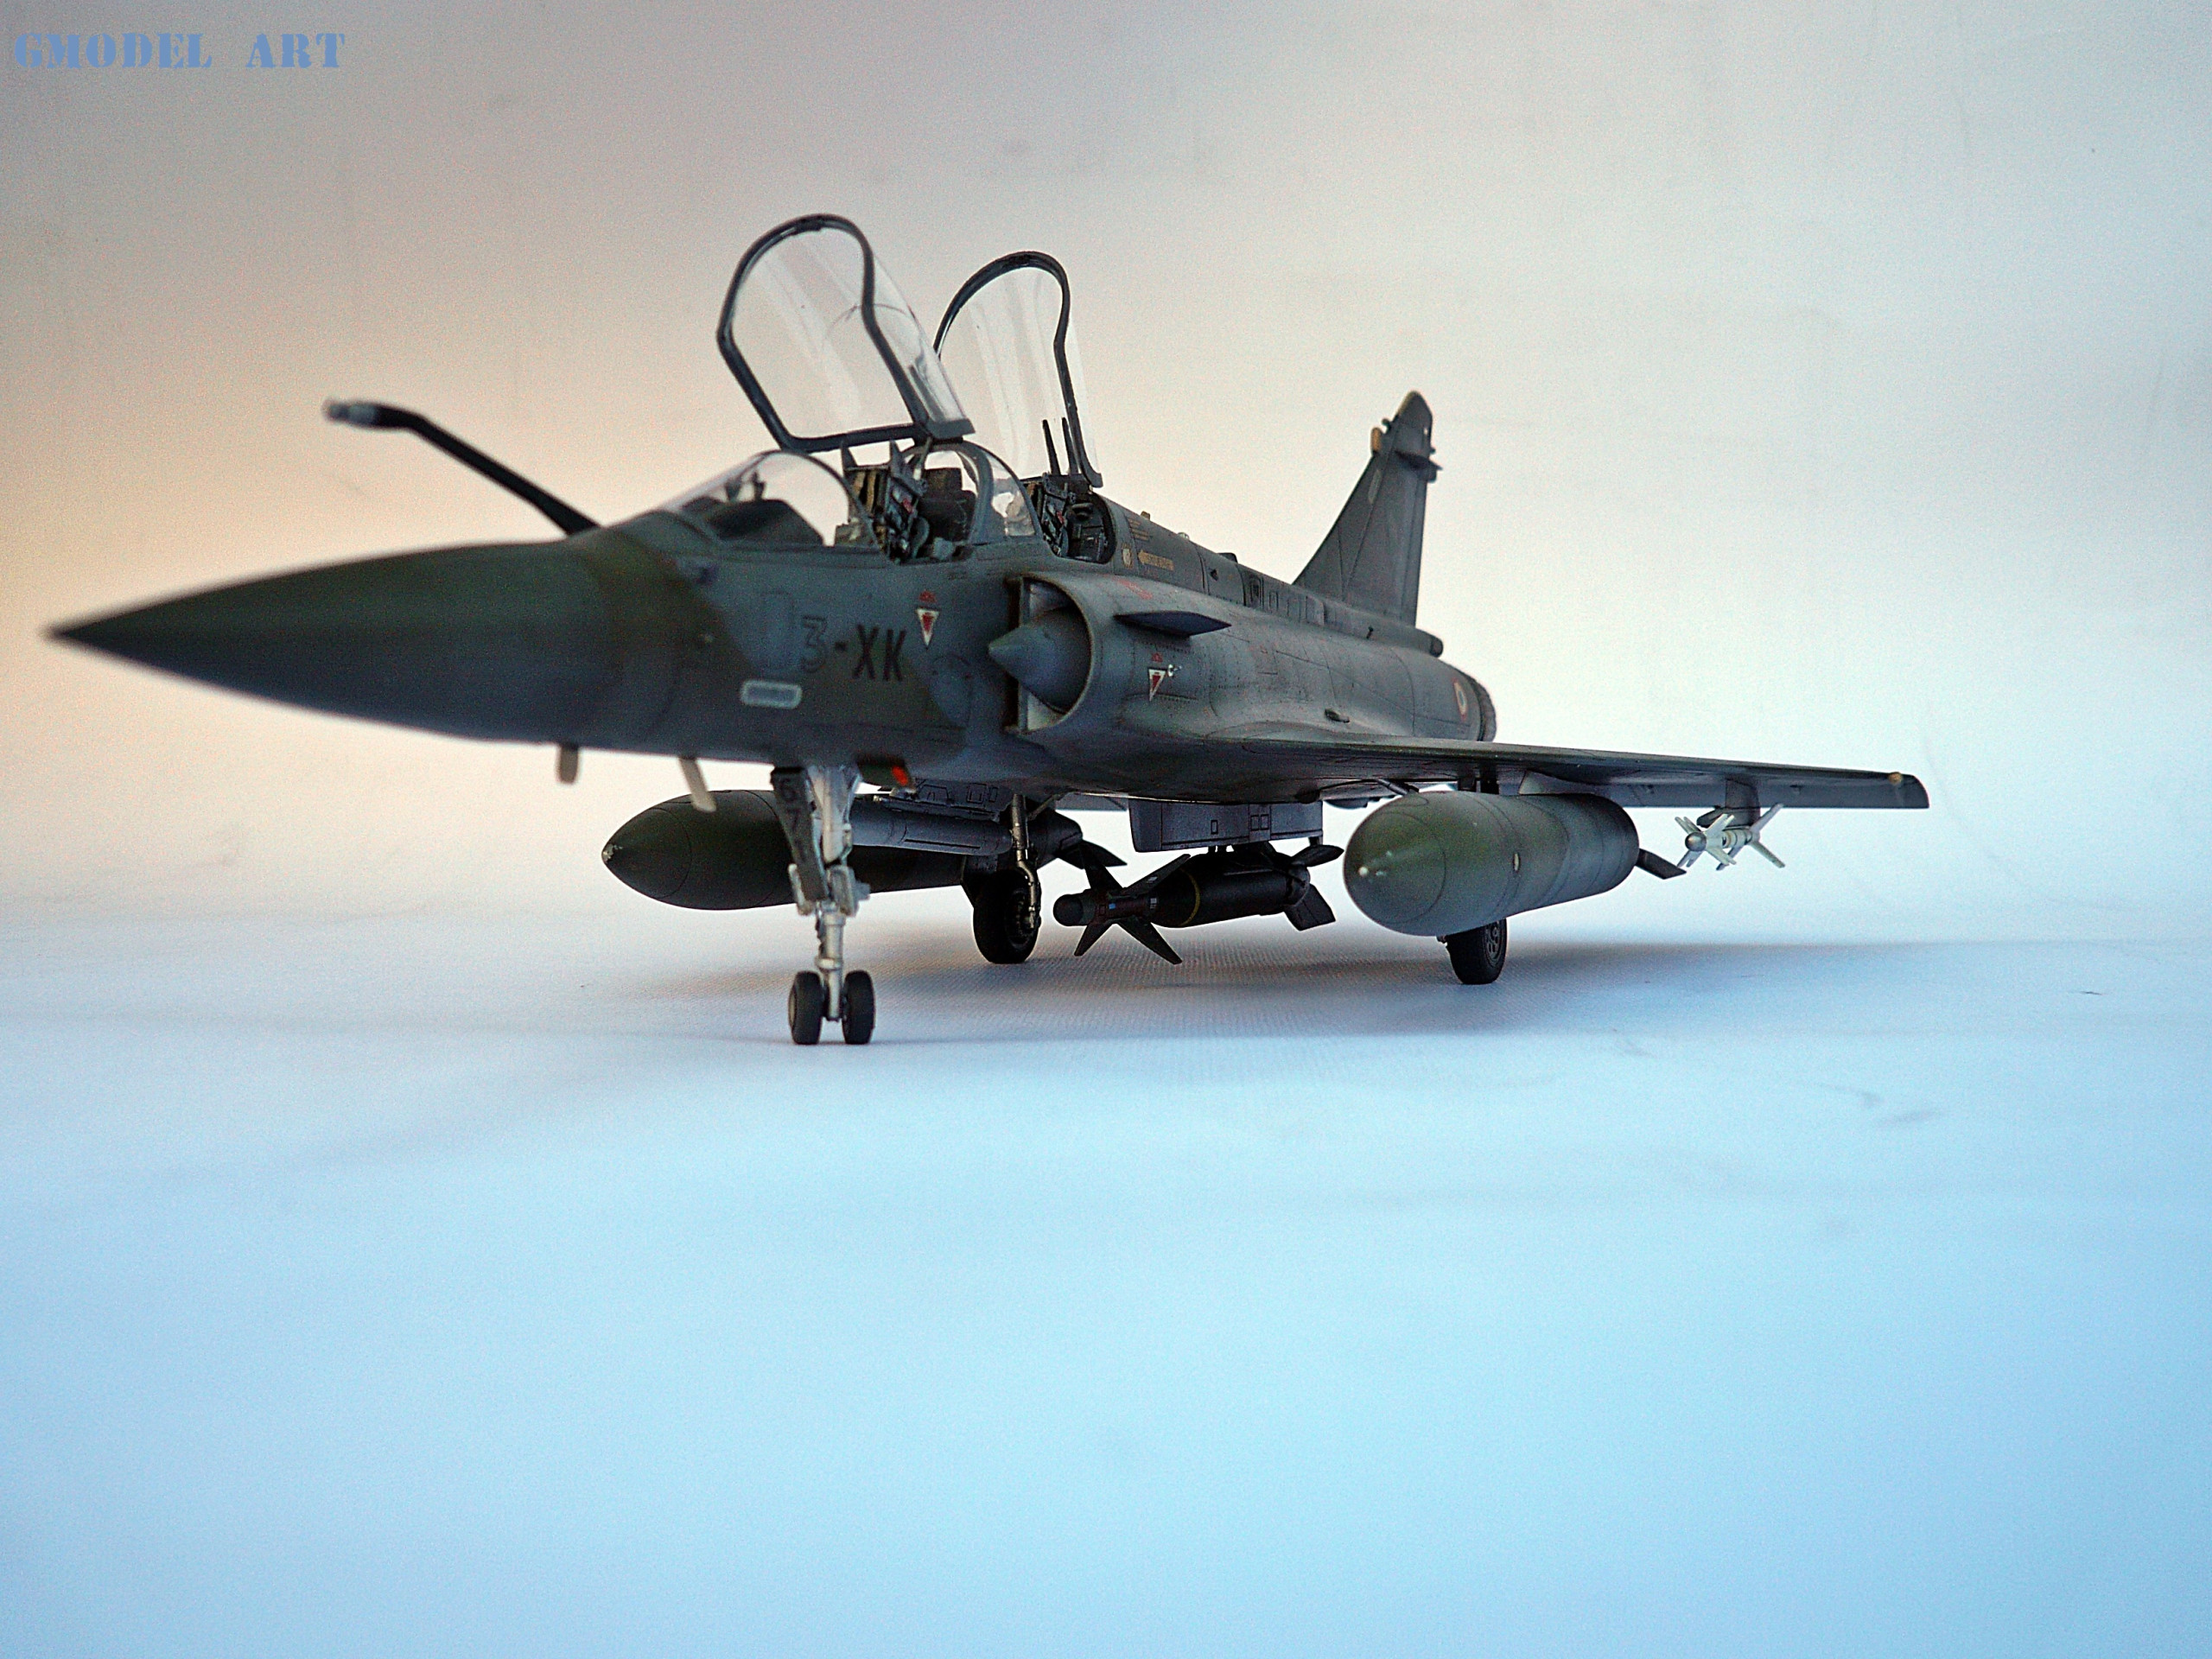
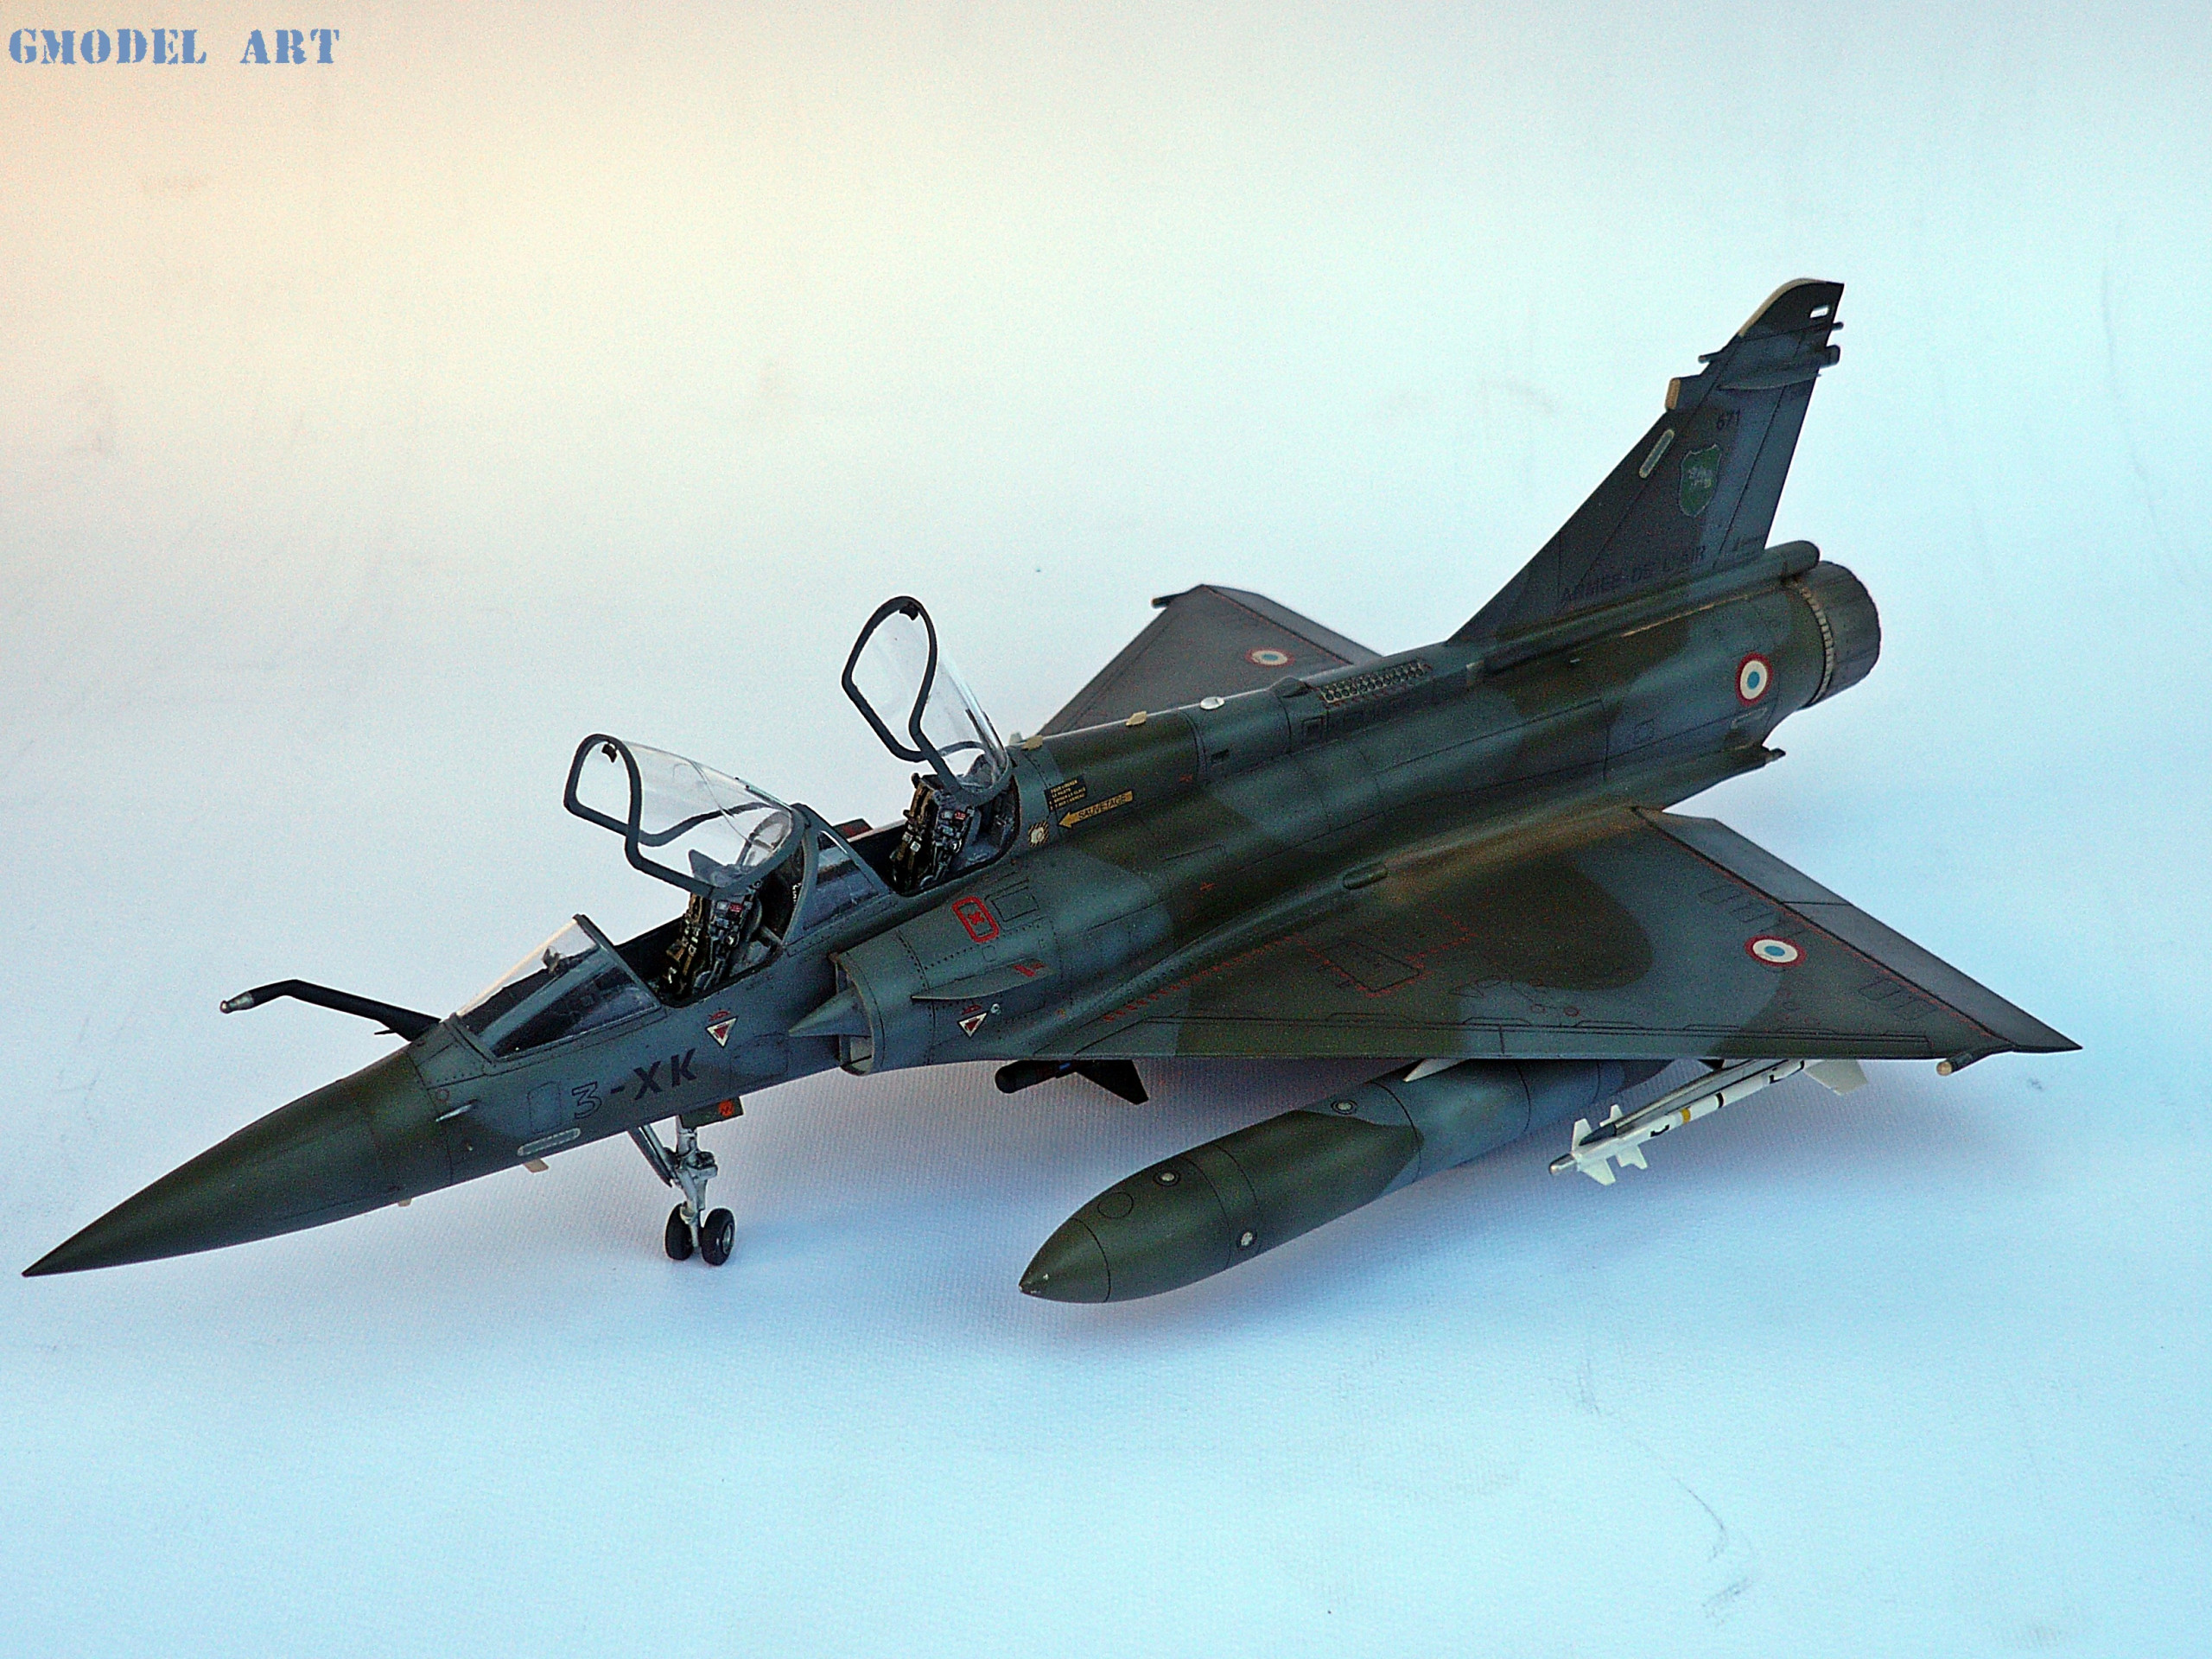
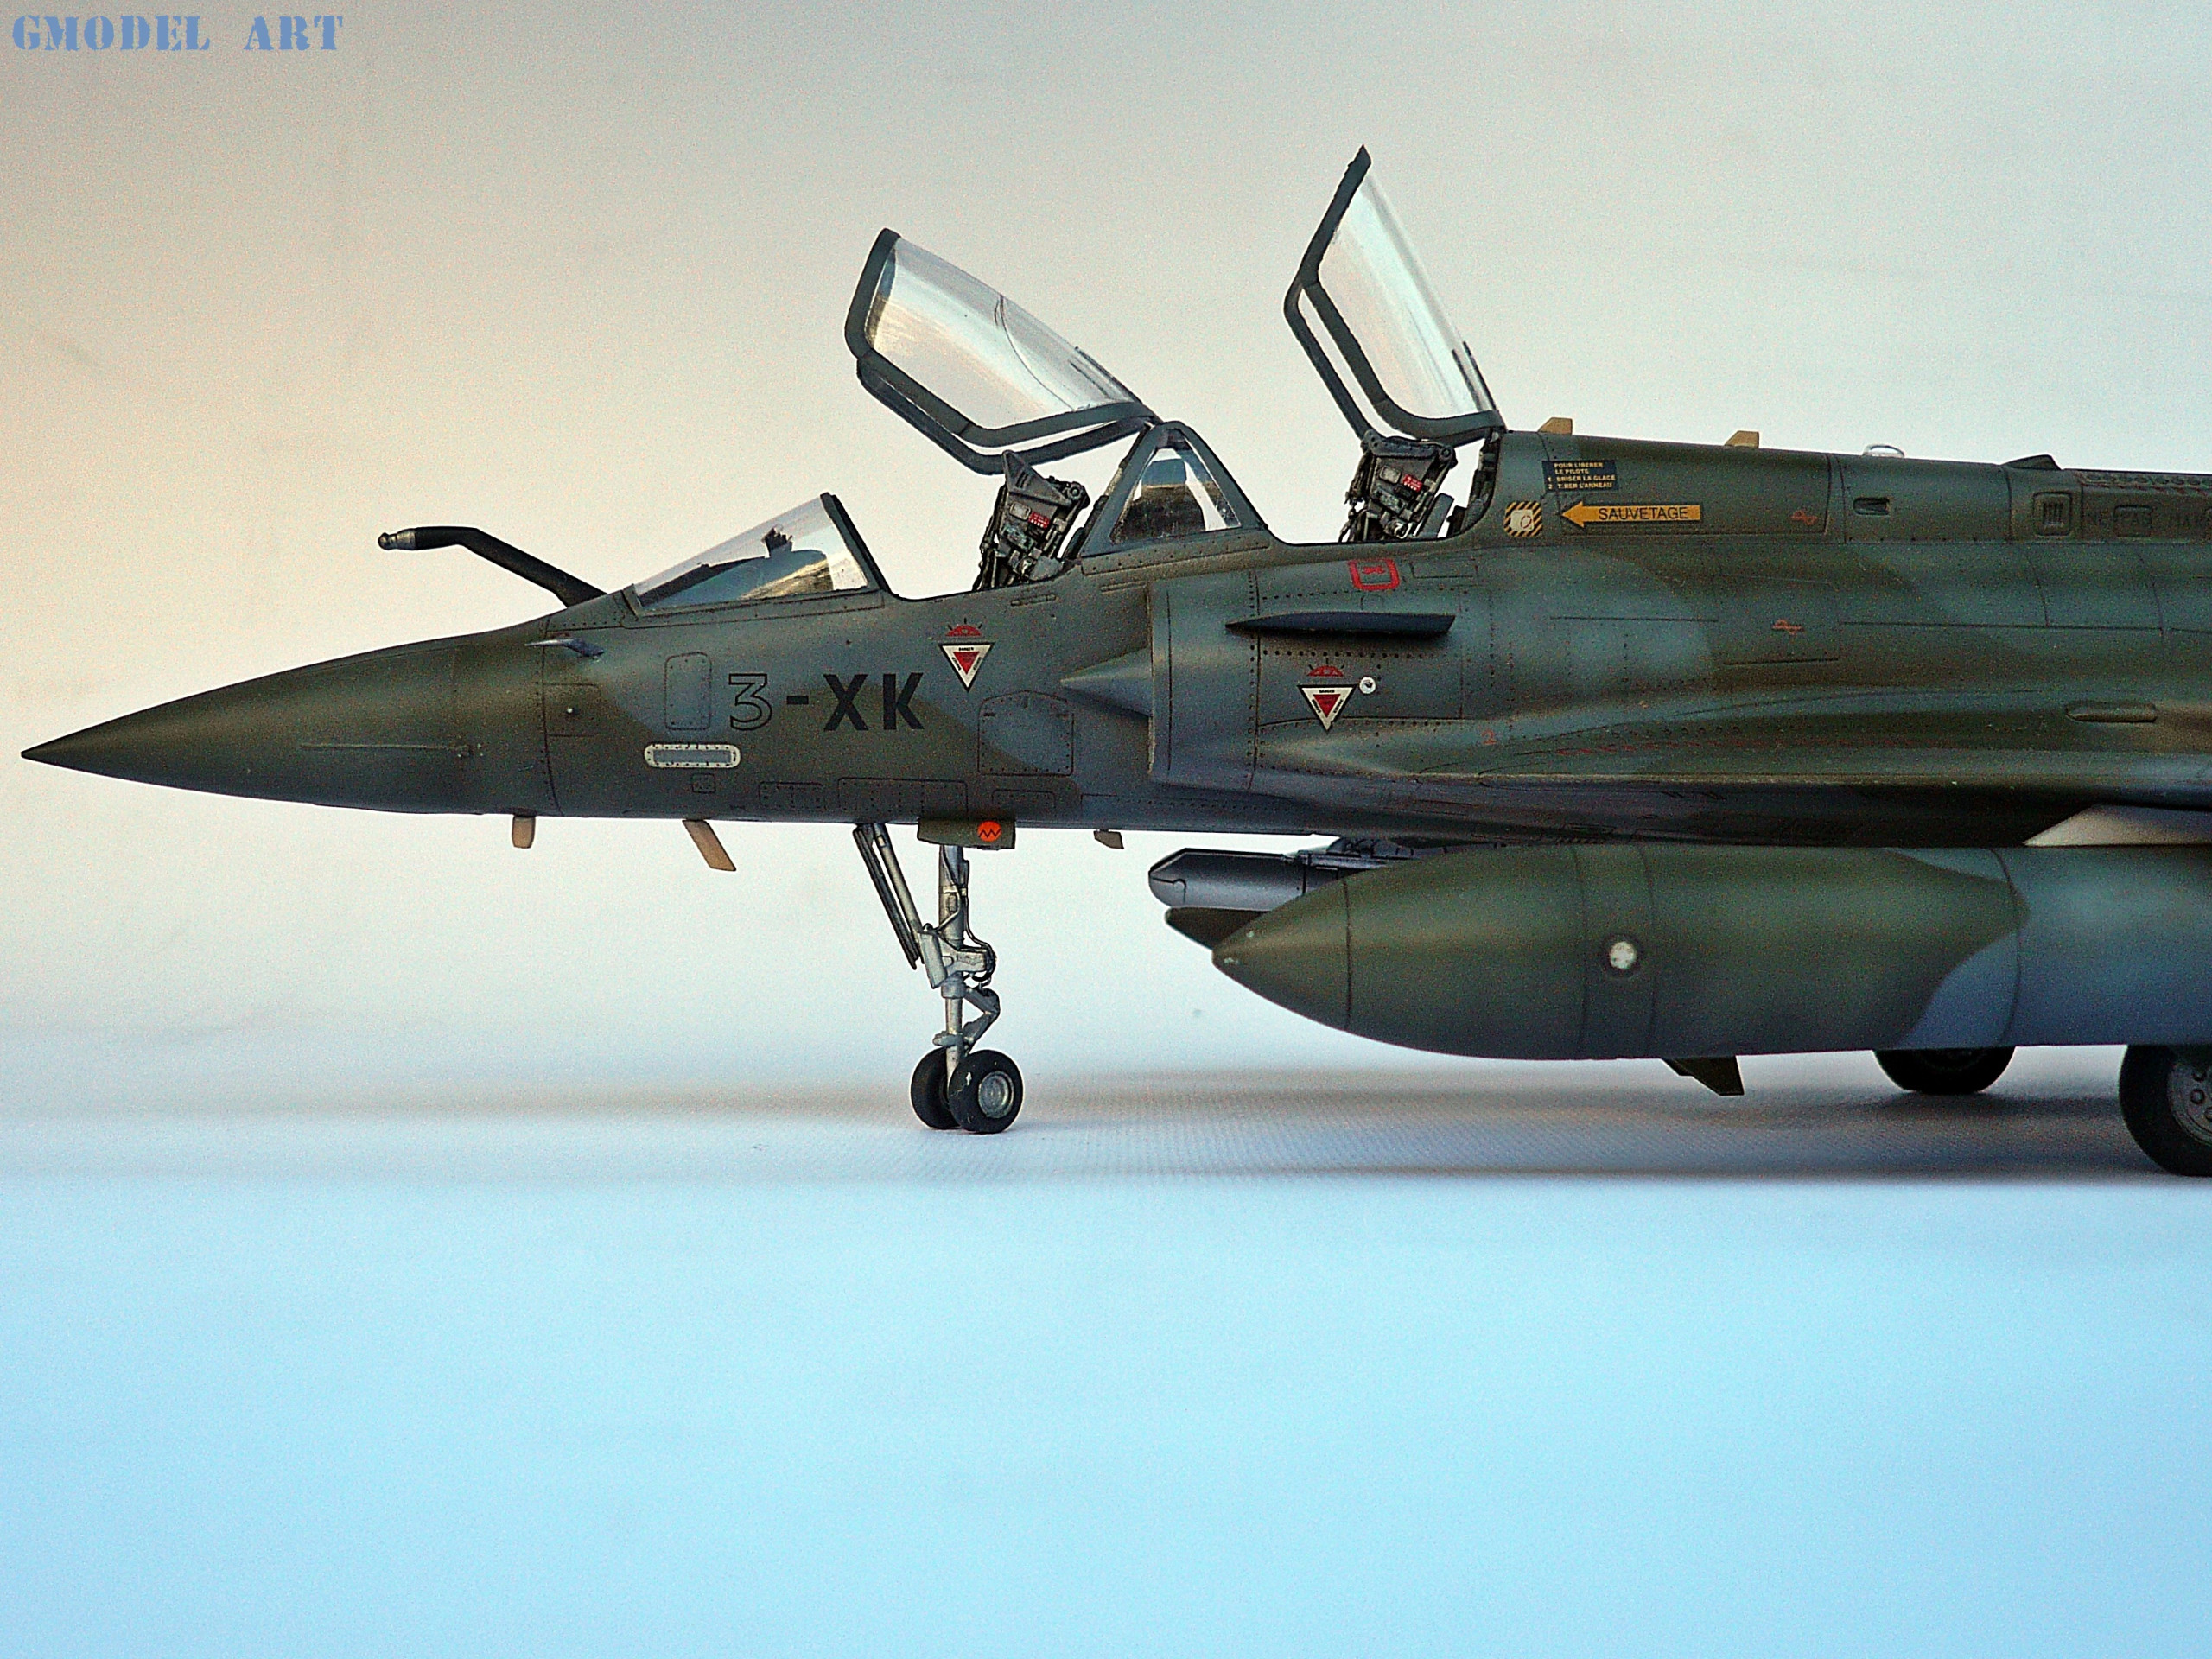
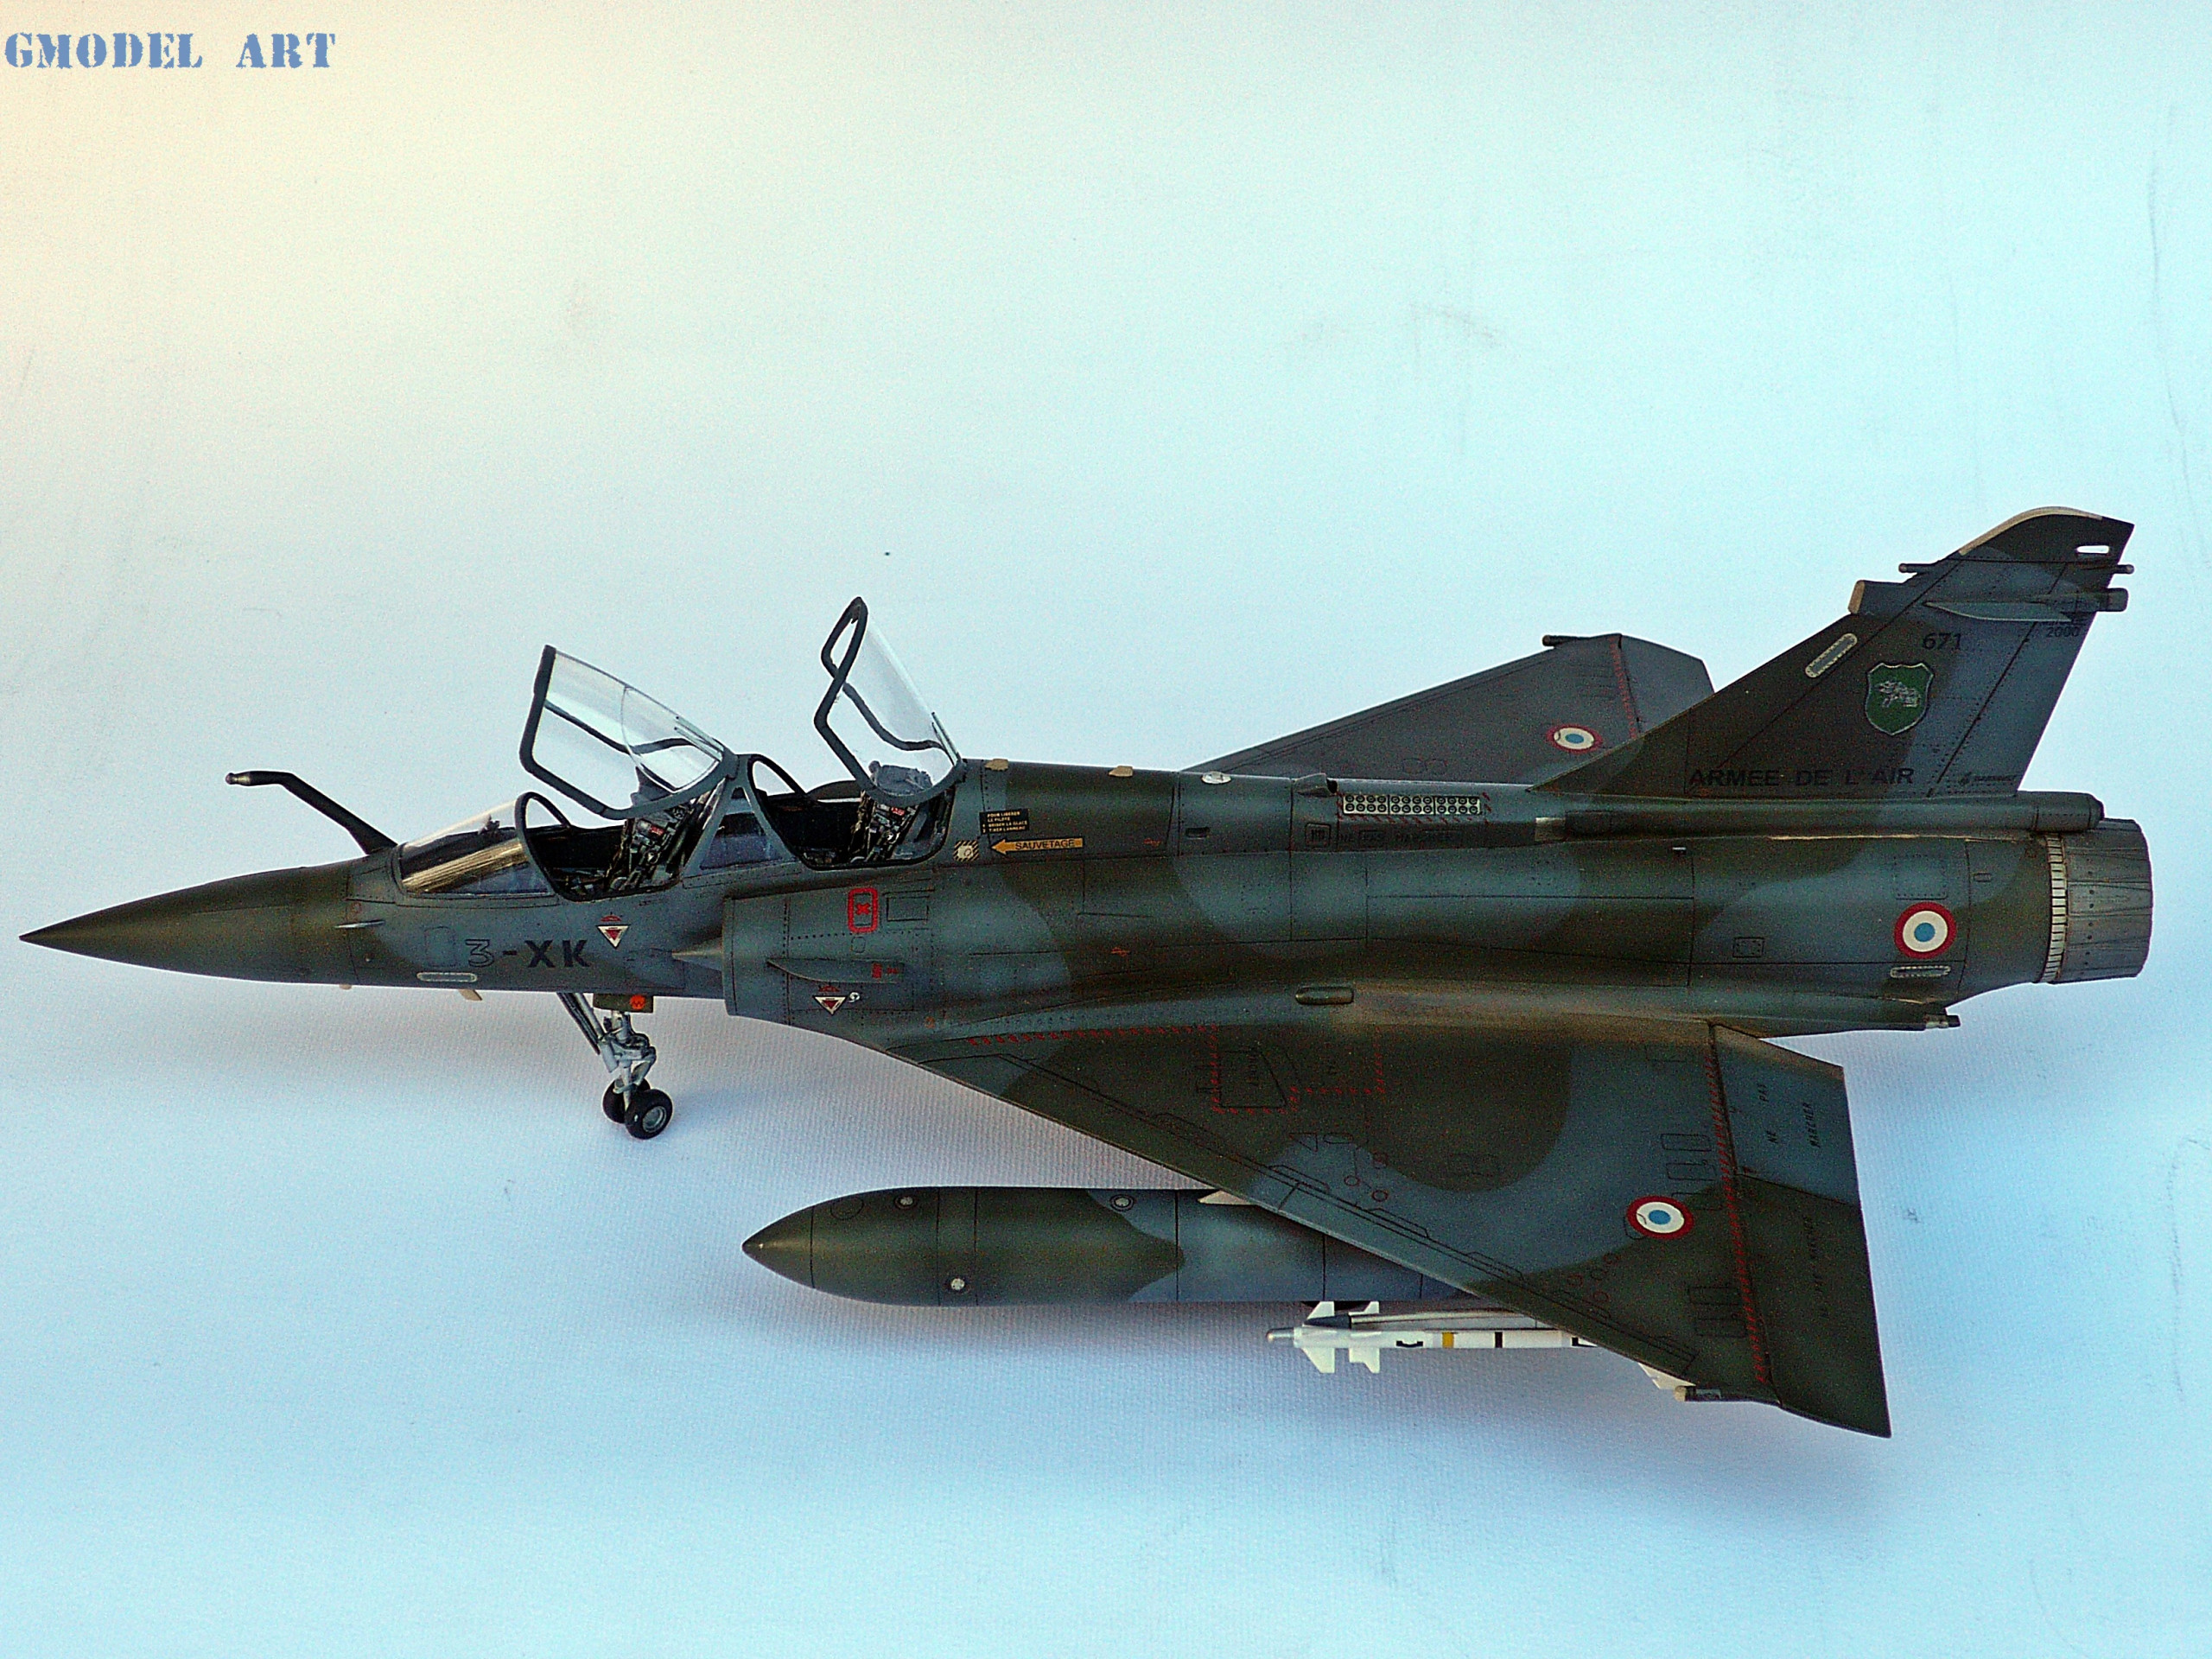
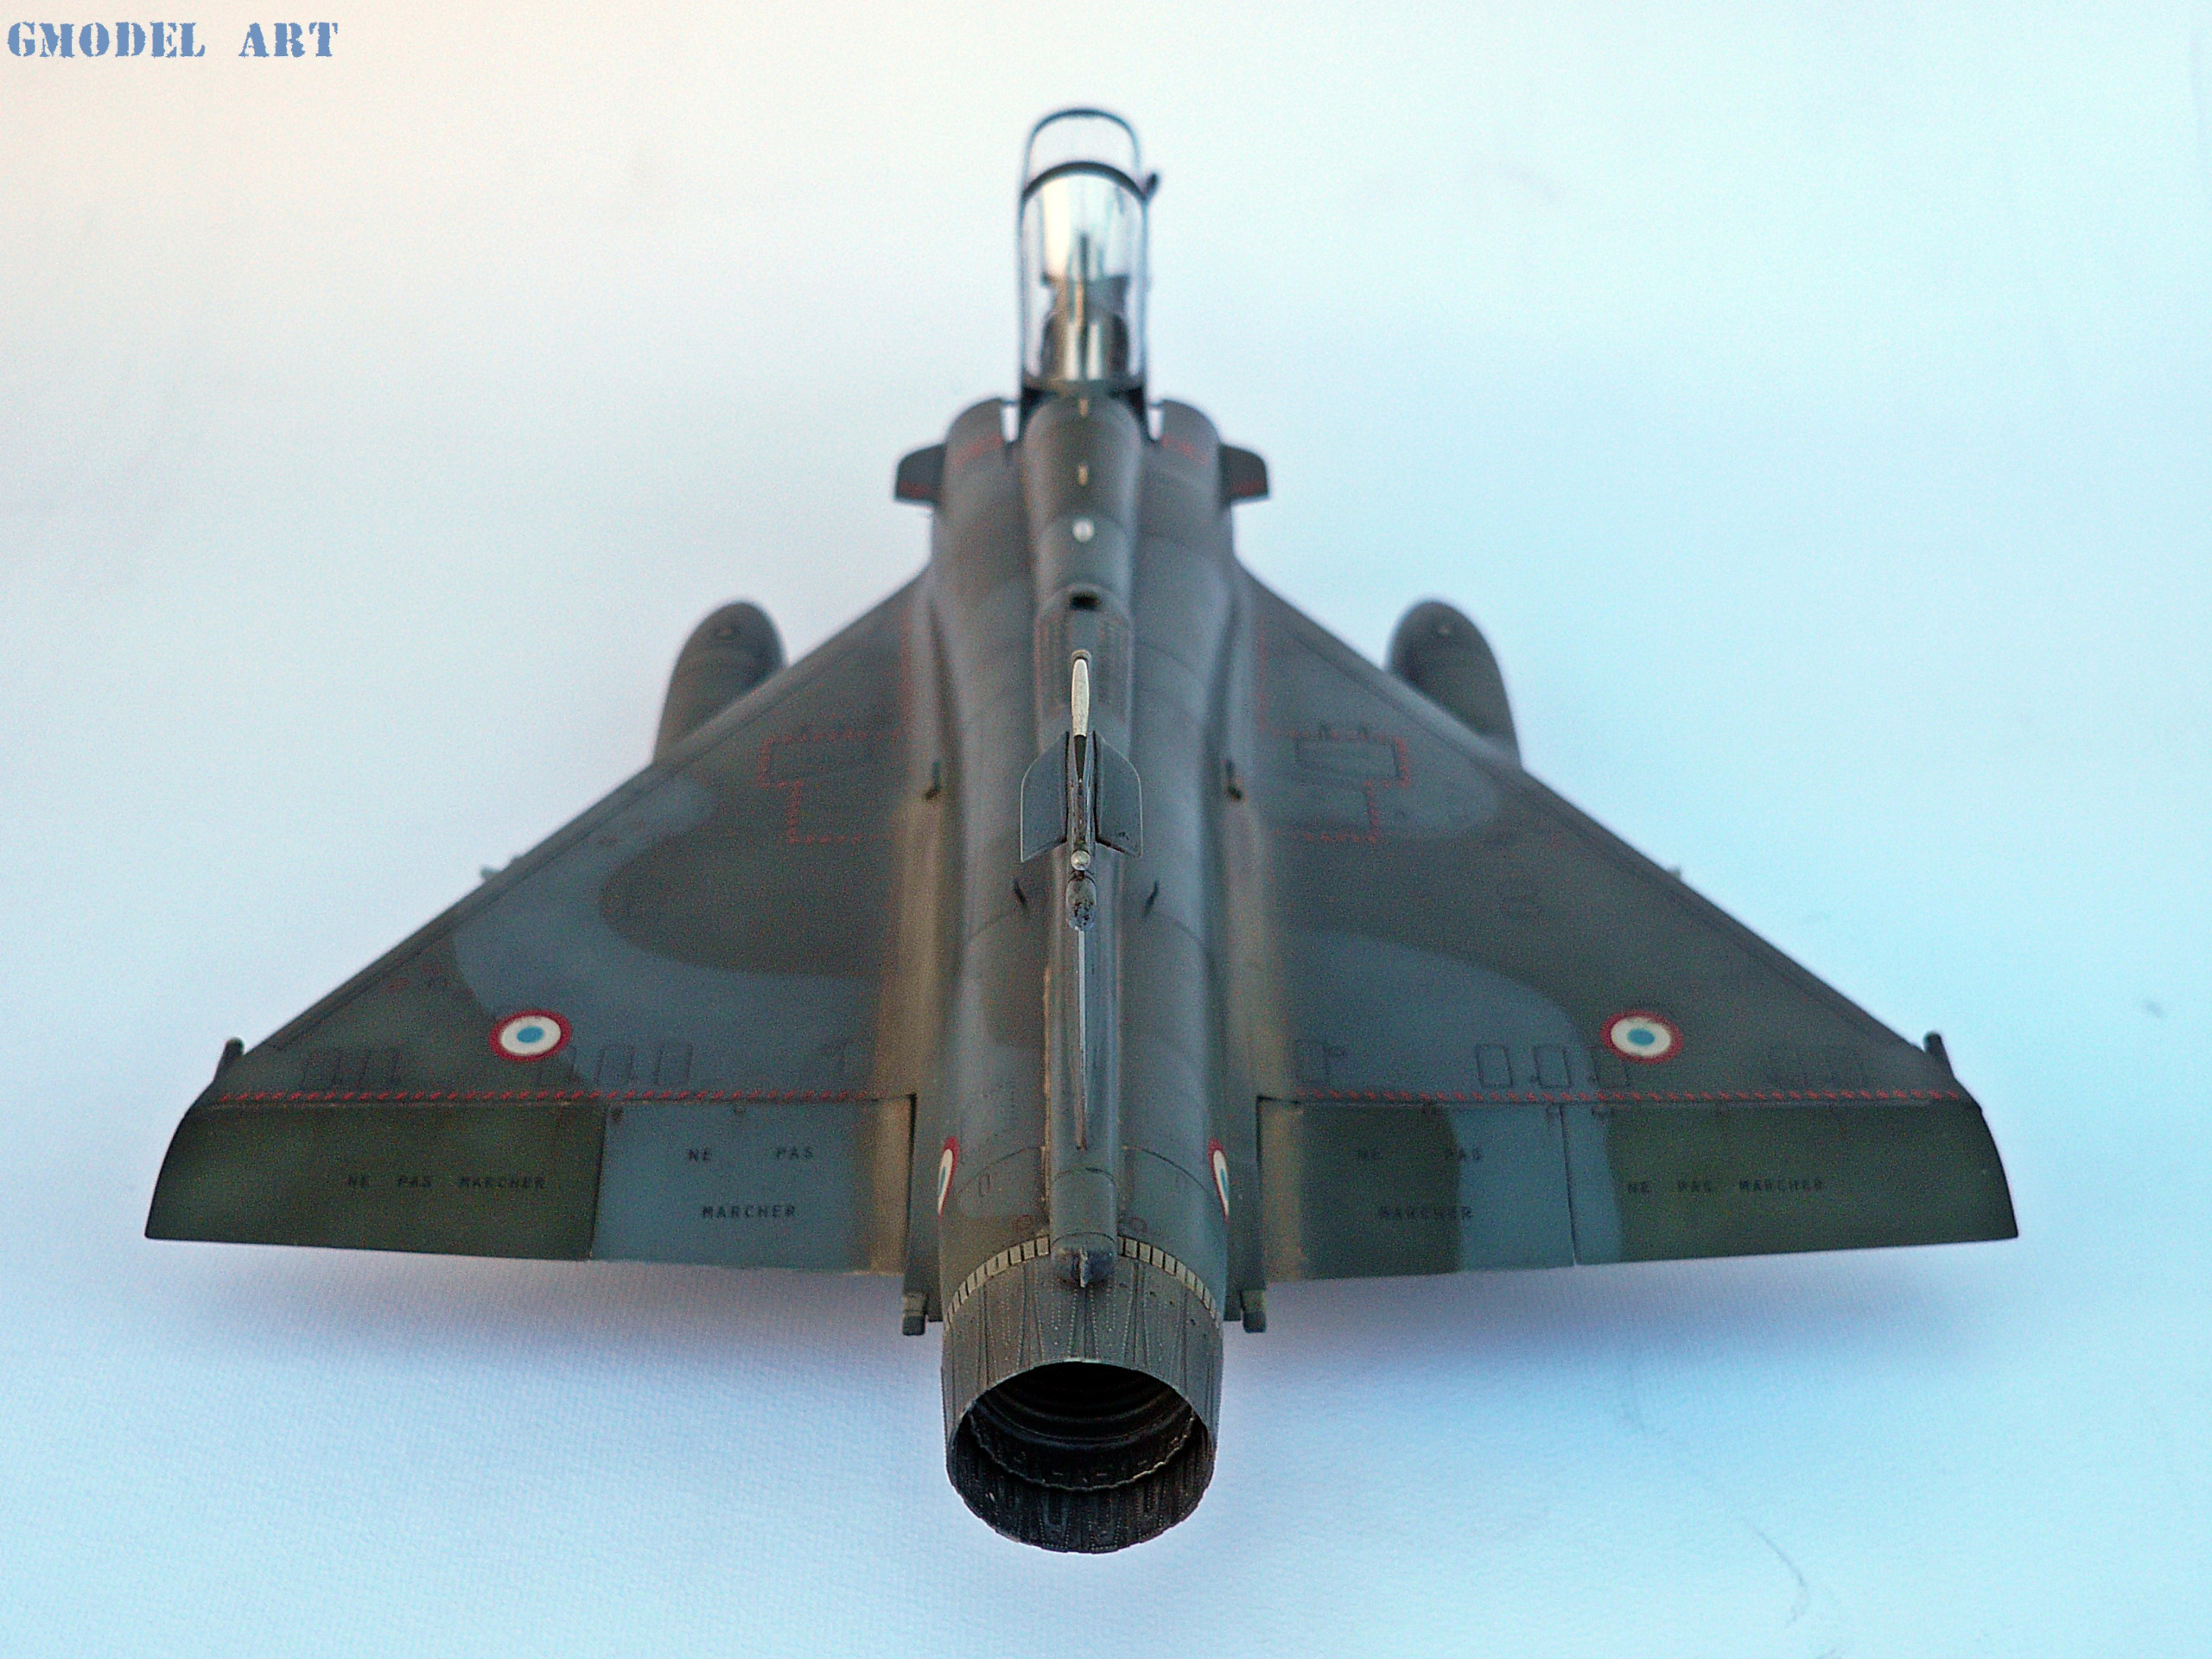
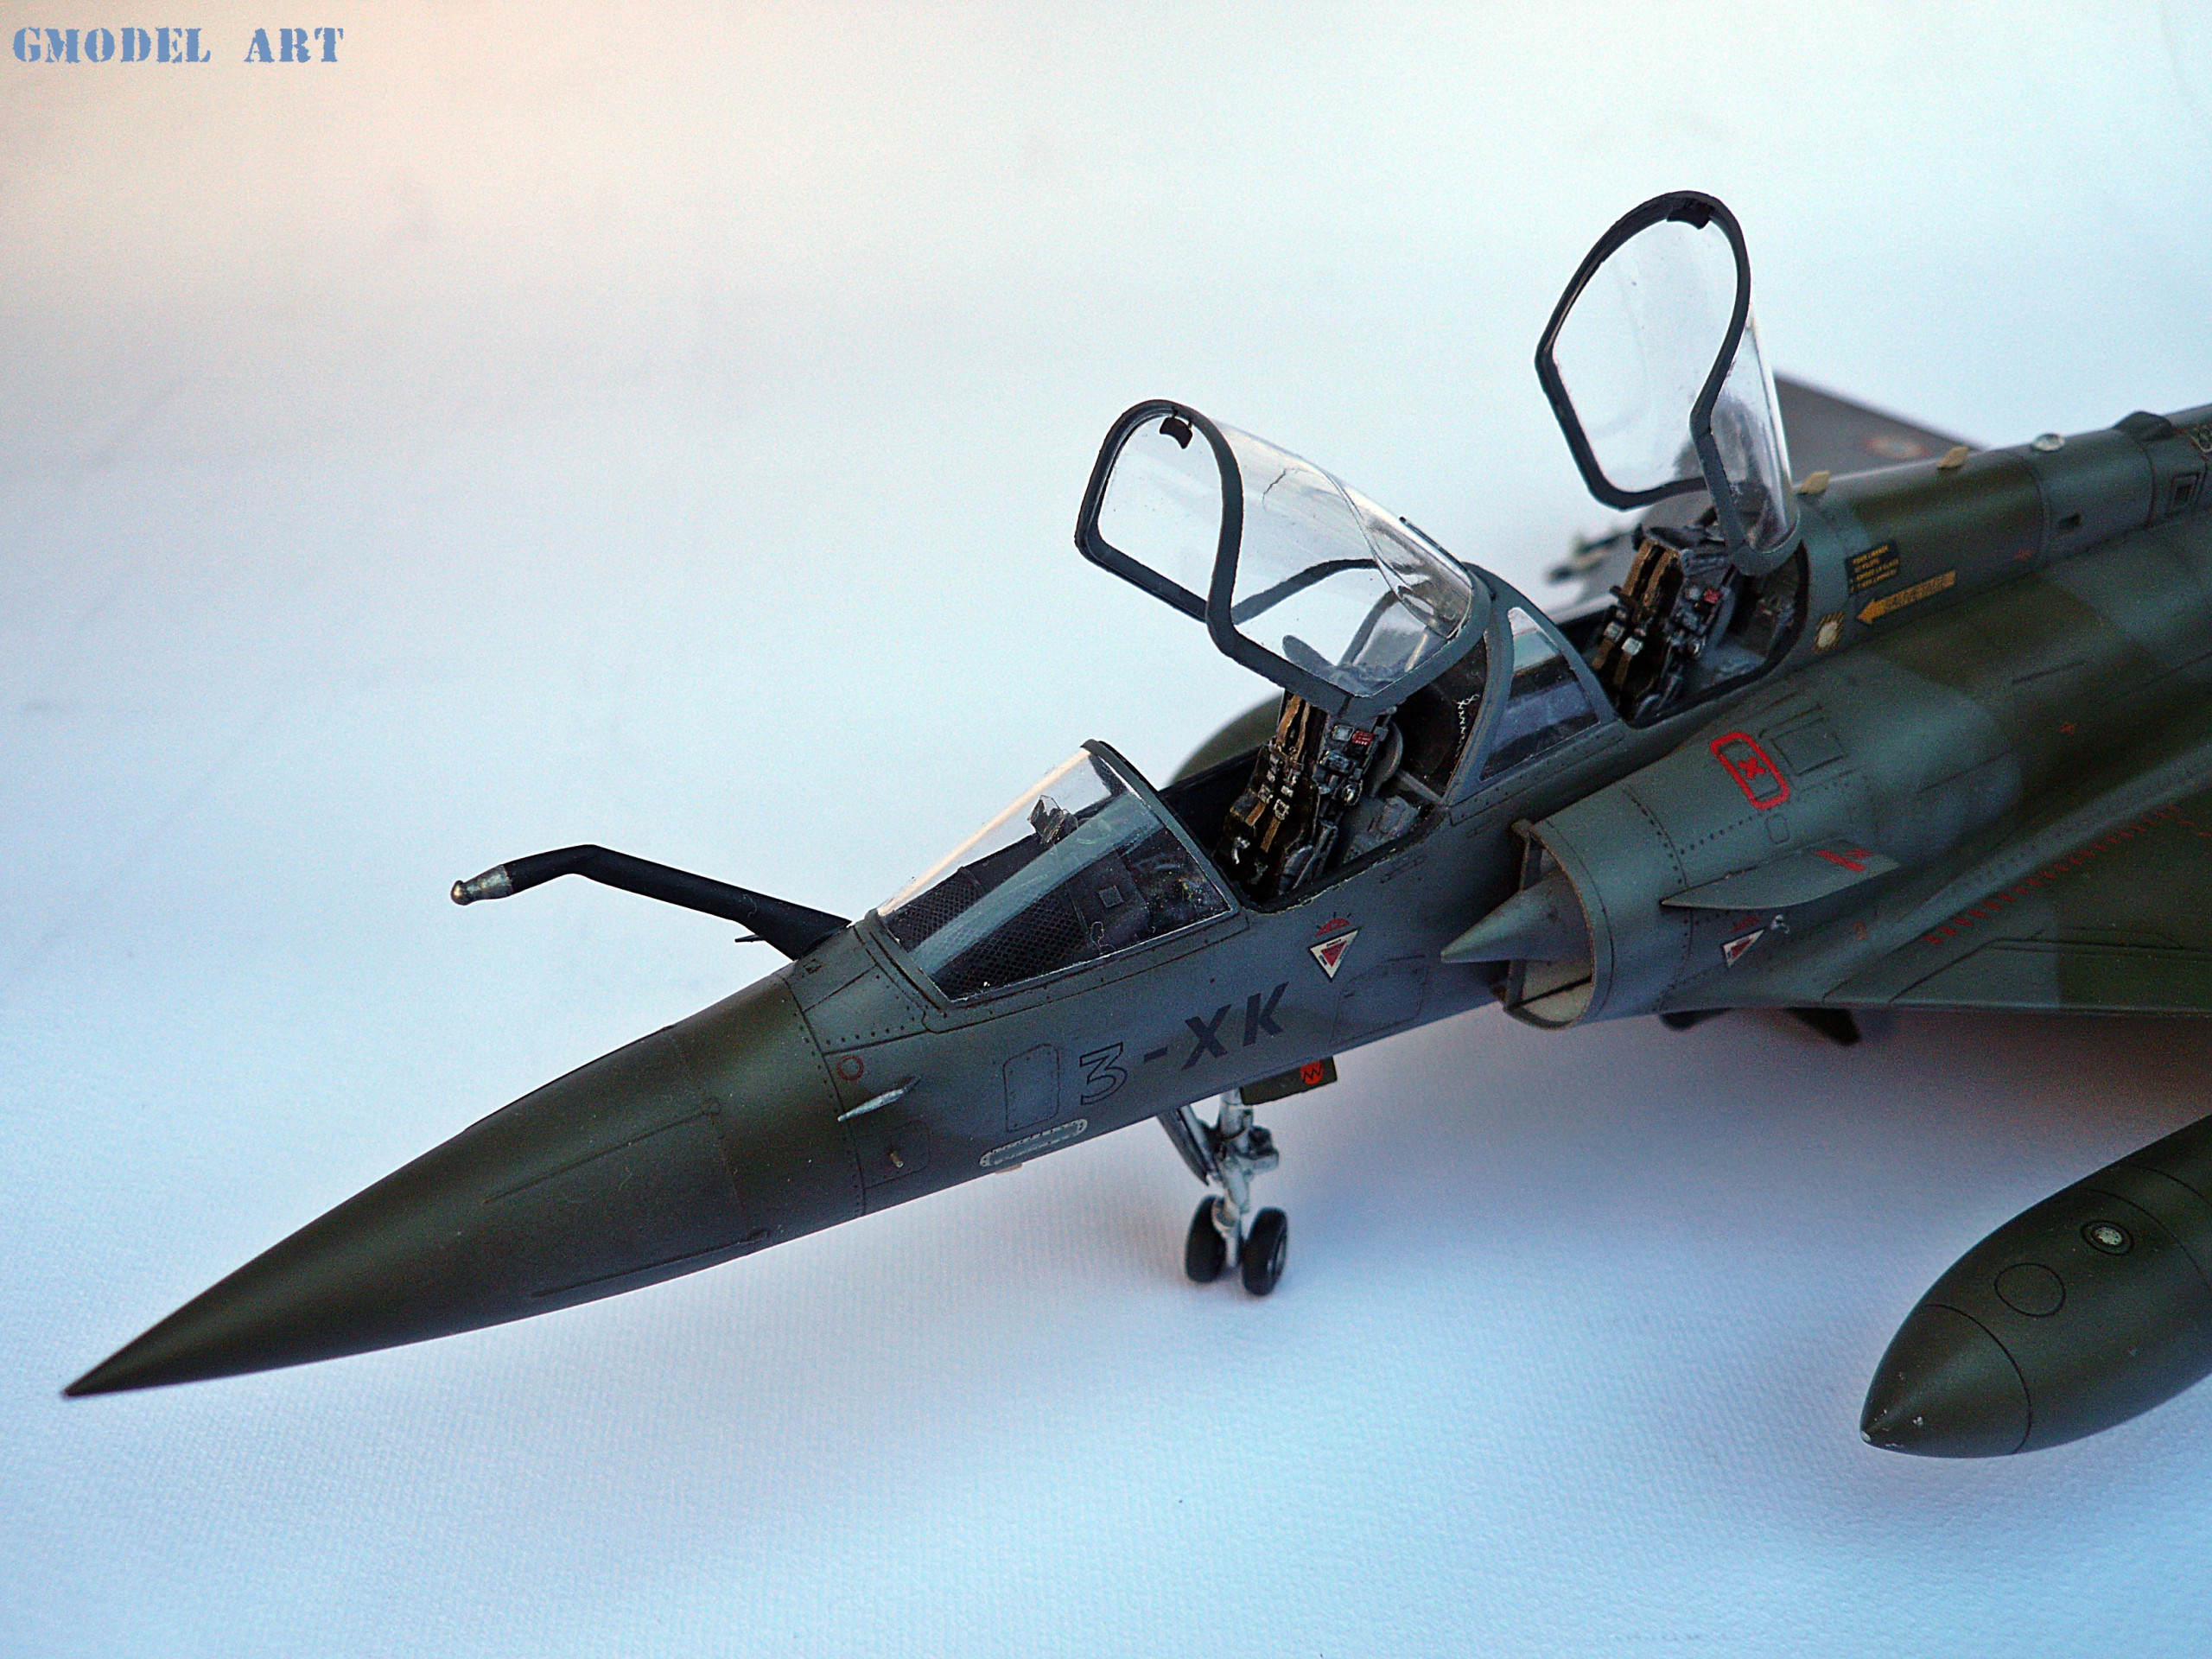
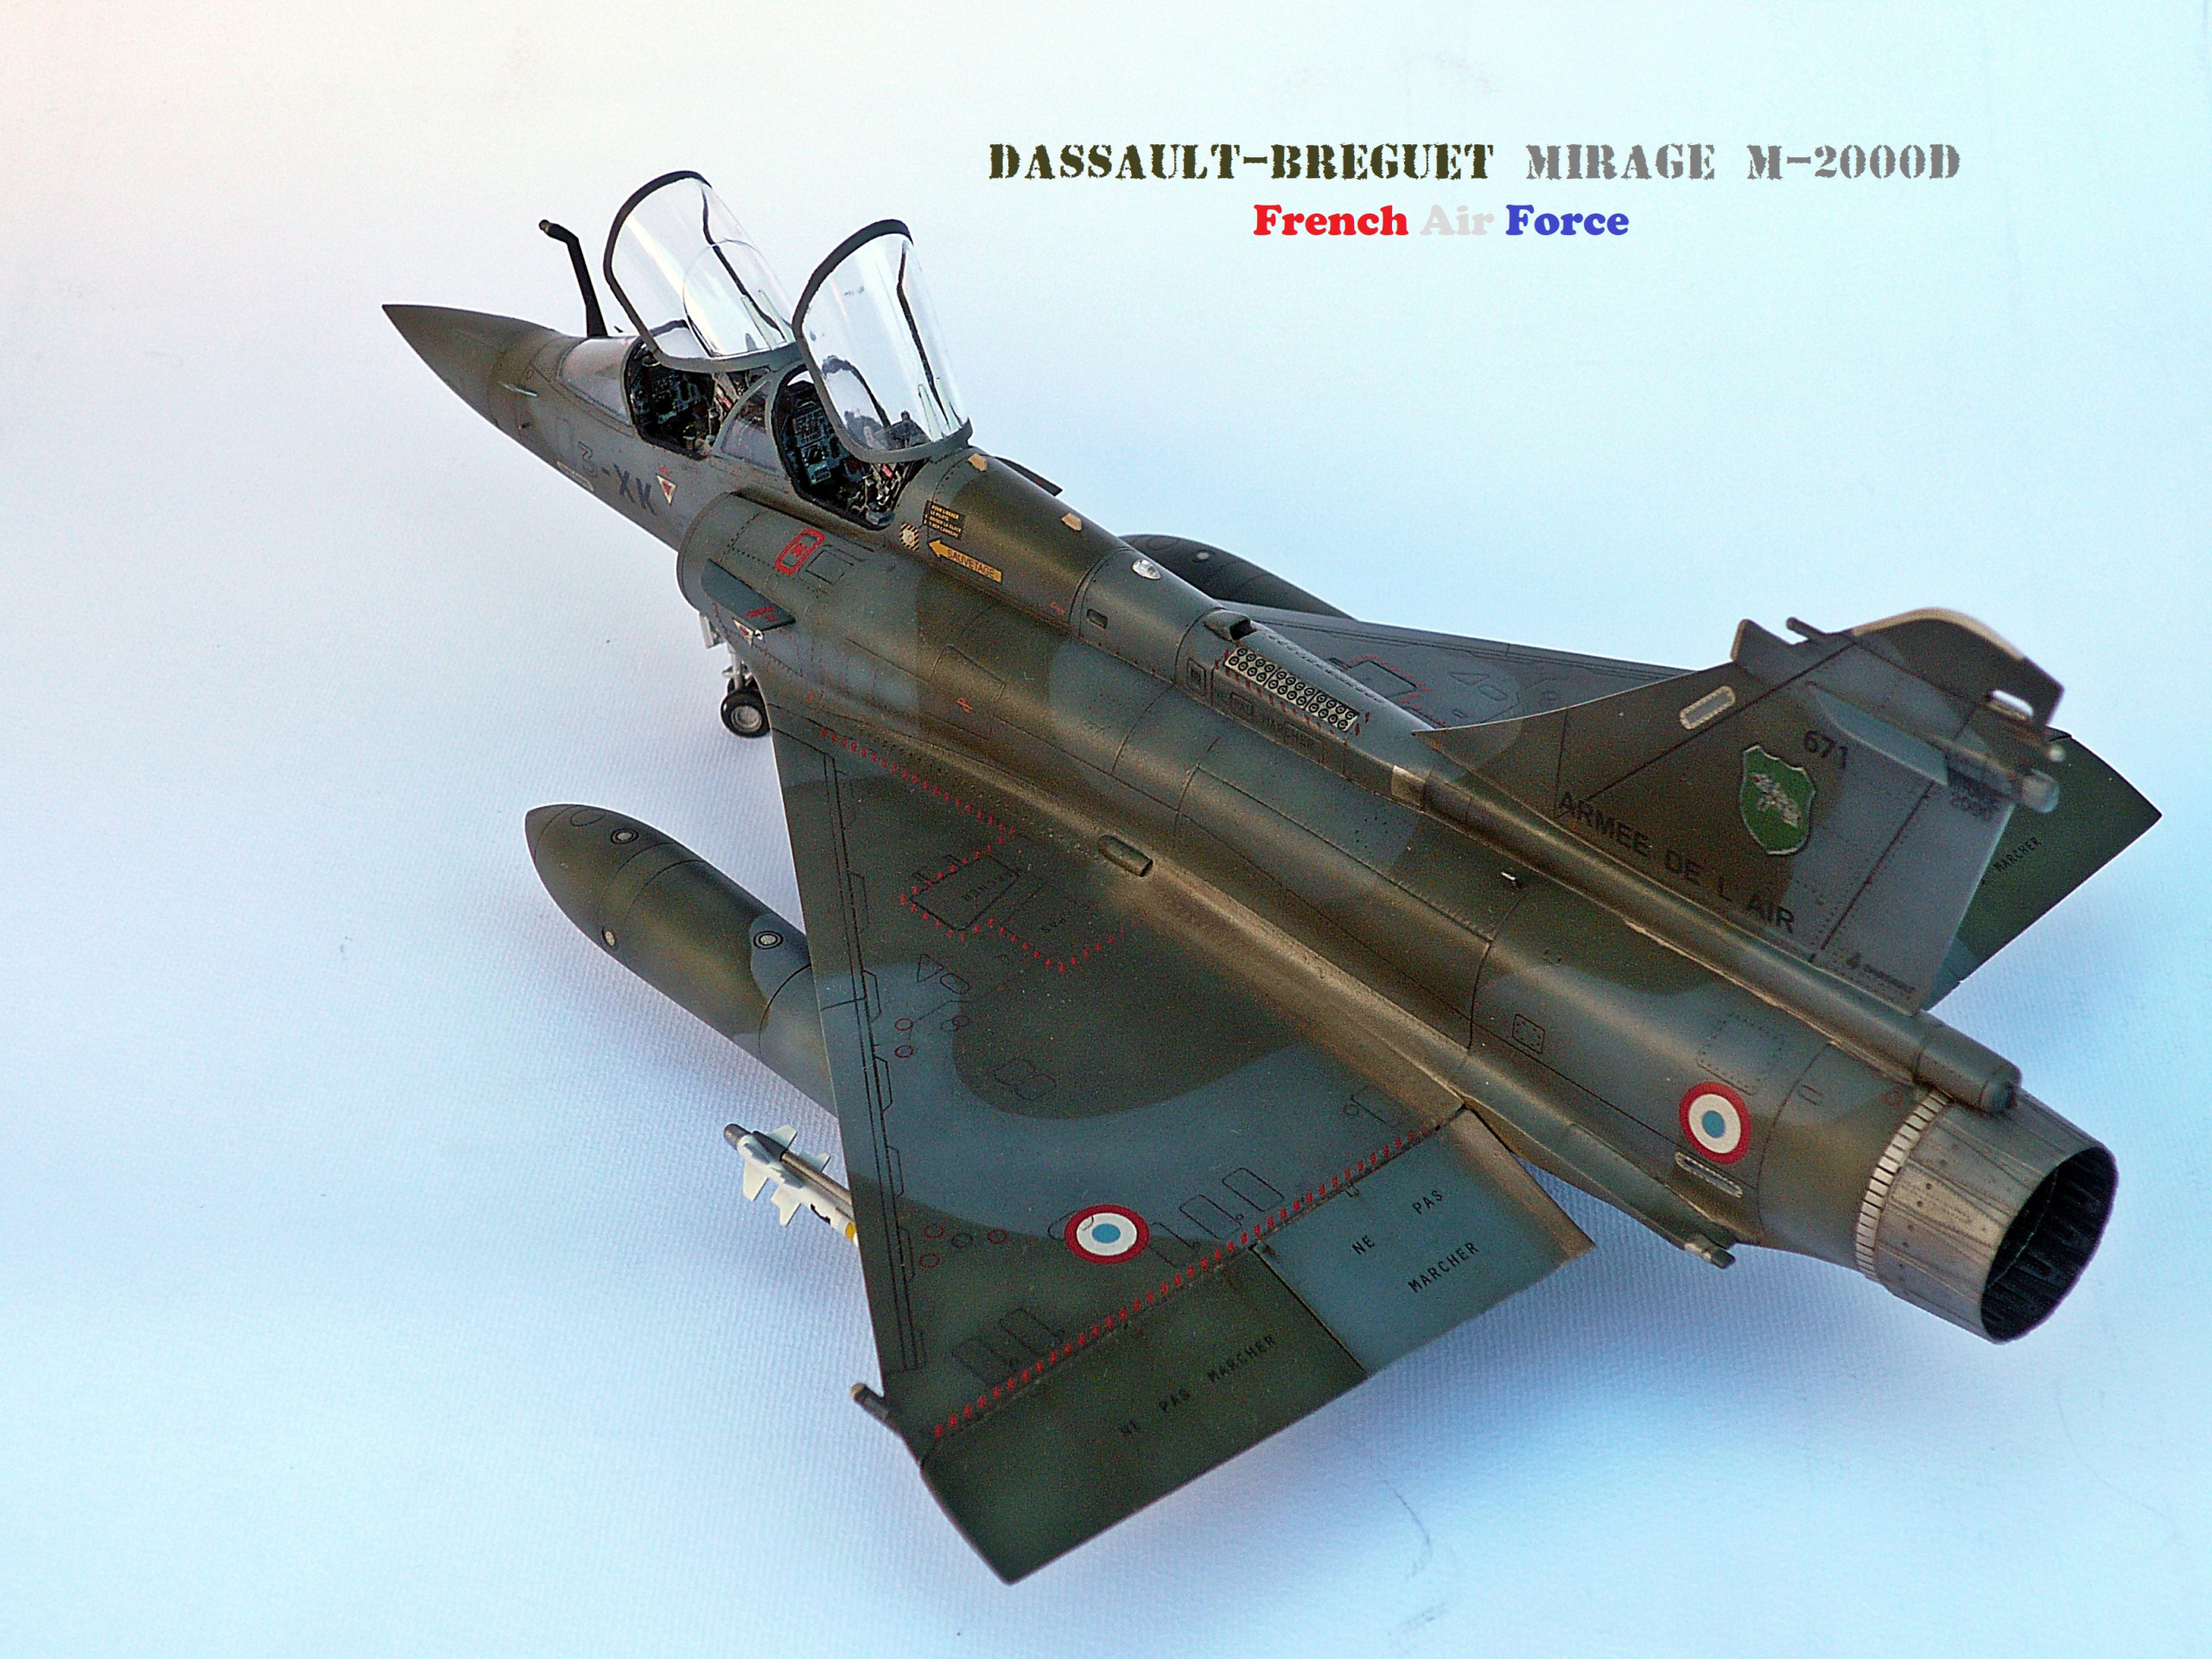
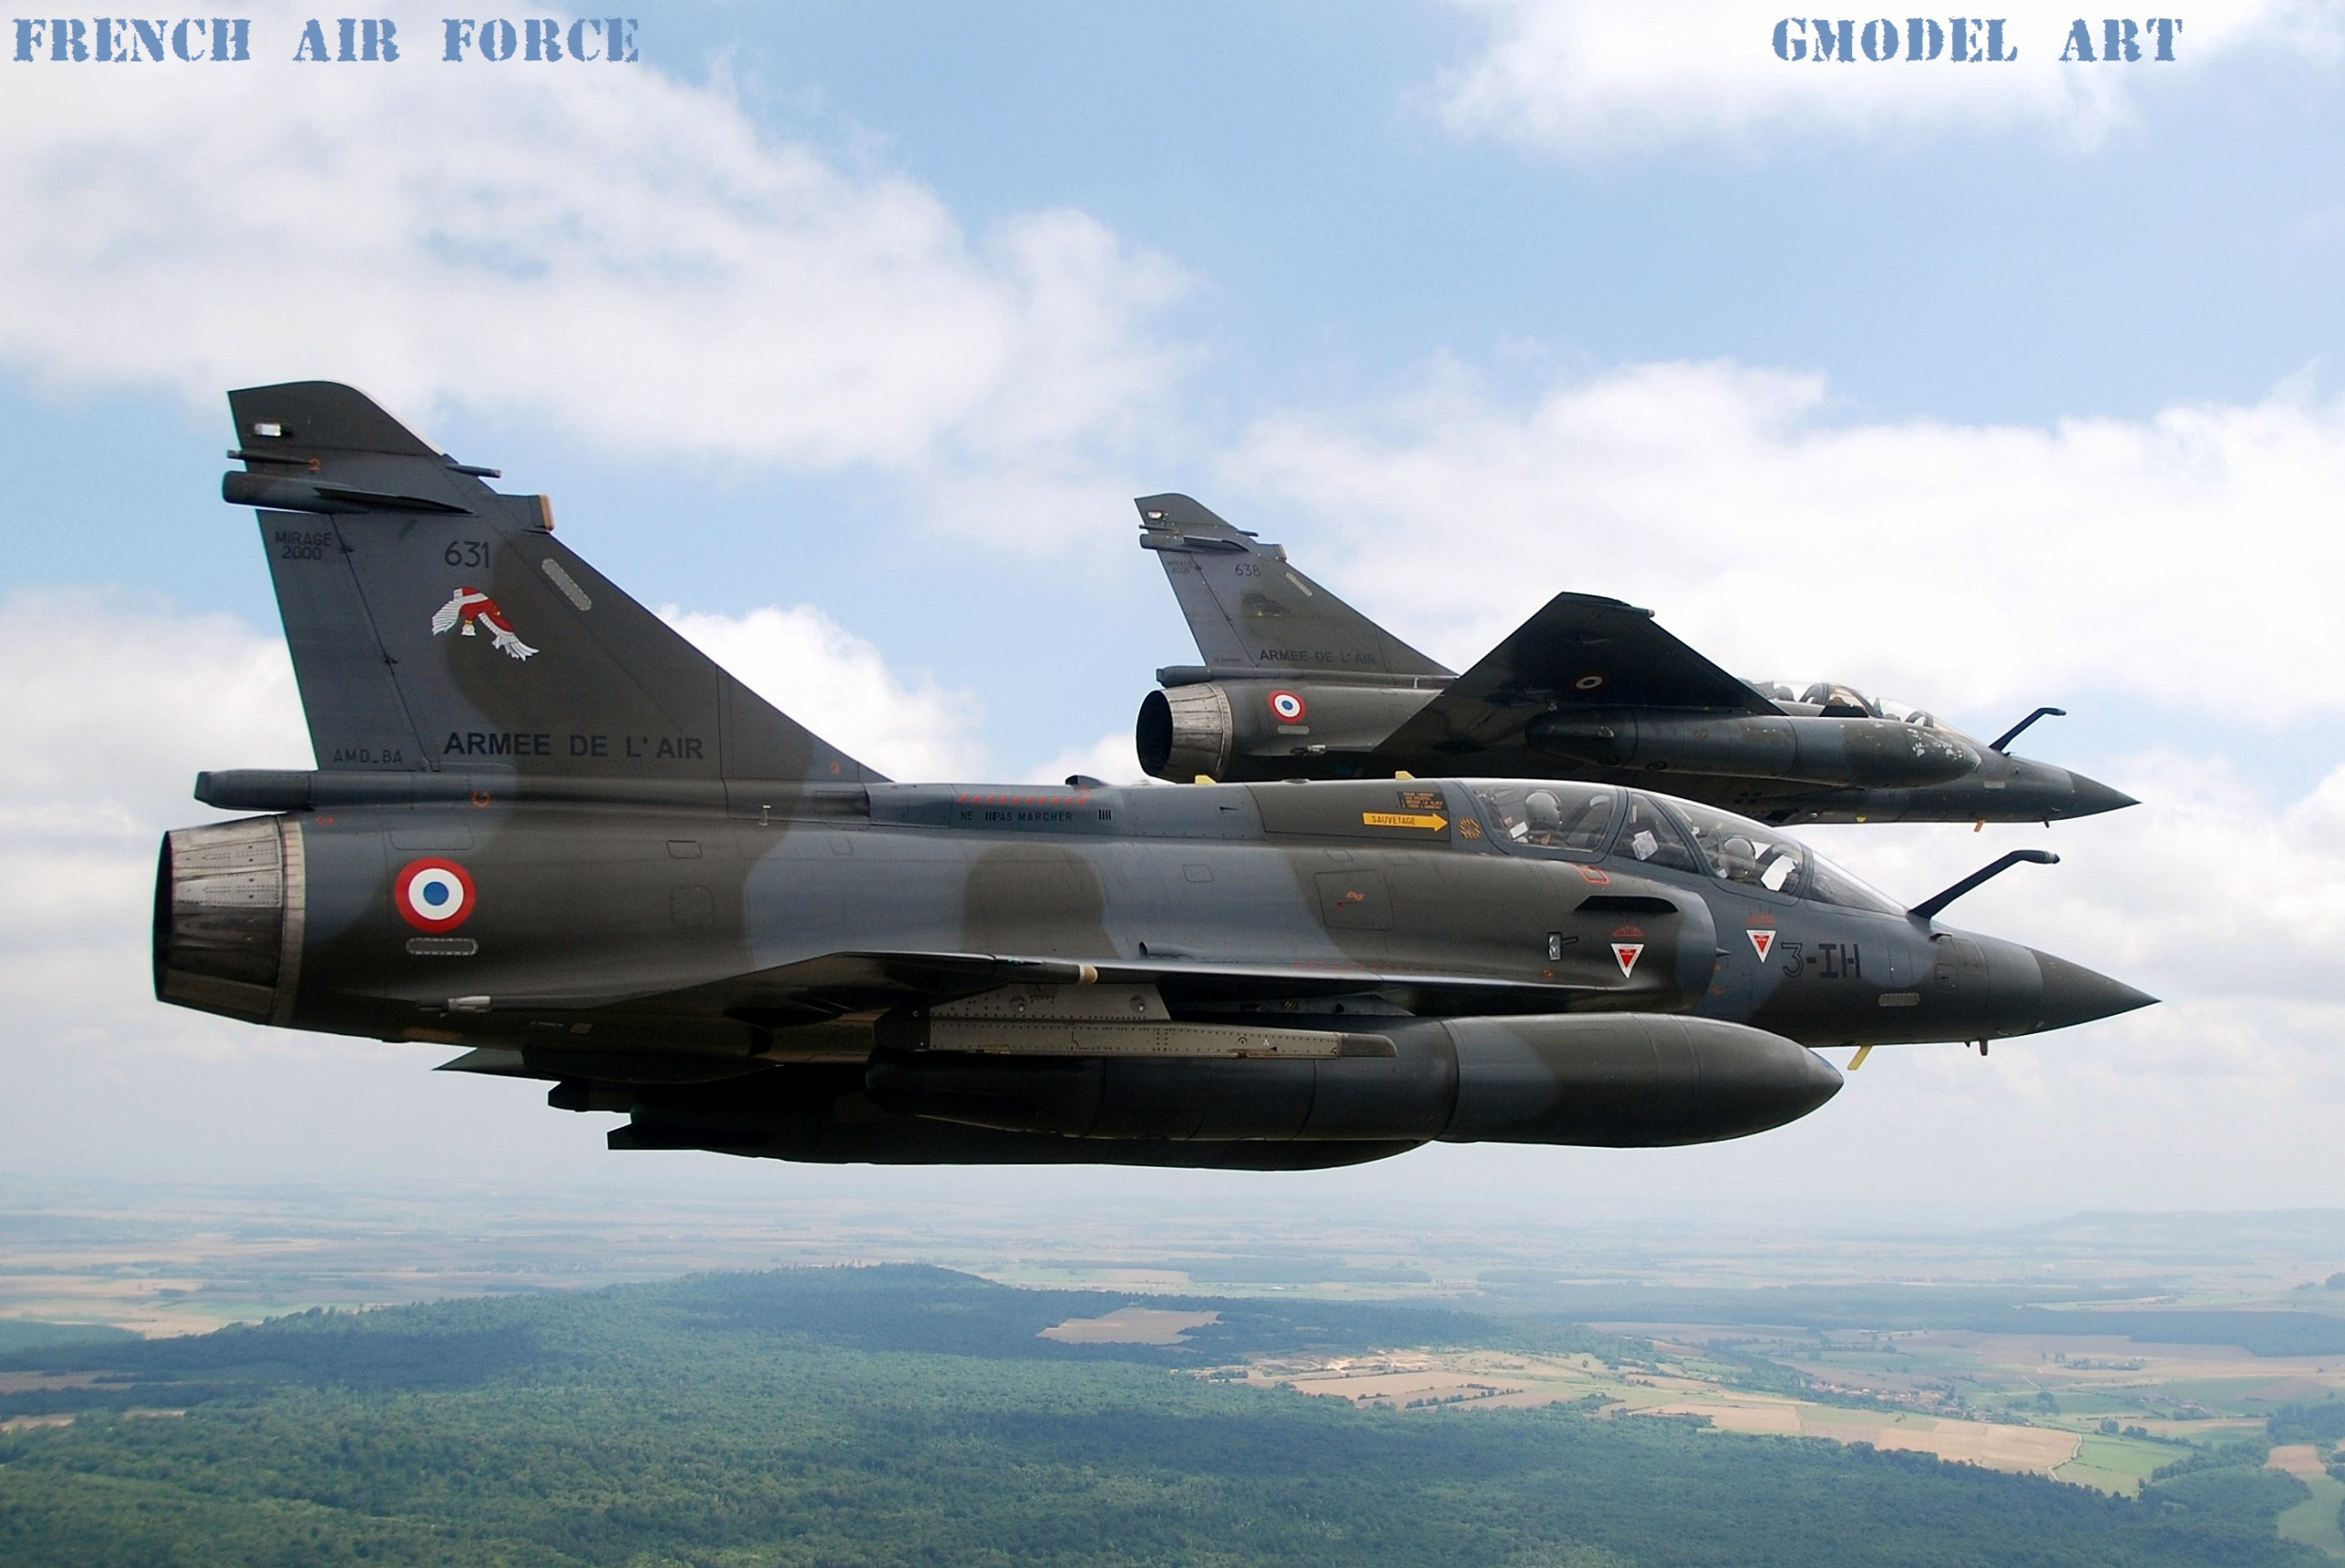
Dassault Breguet Mirage M 200D
Delta Project
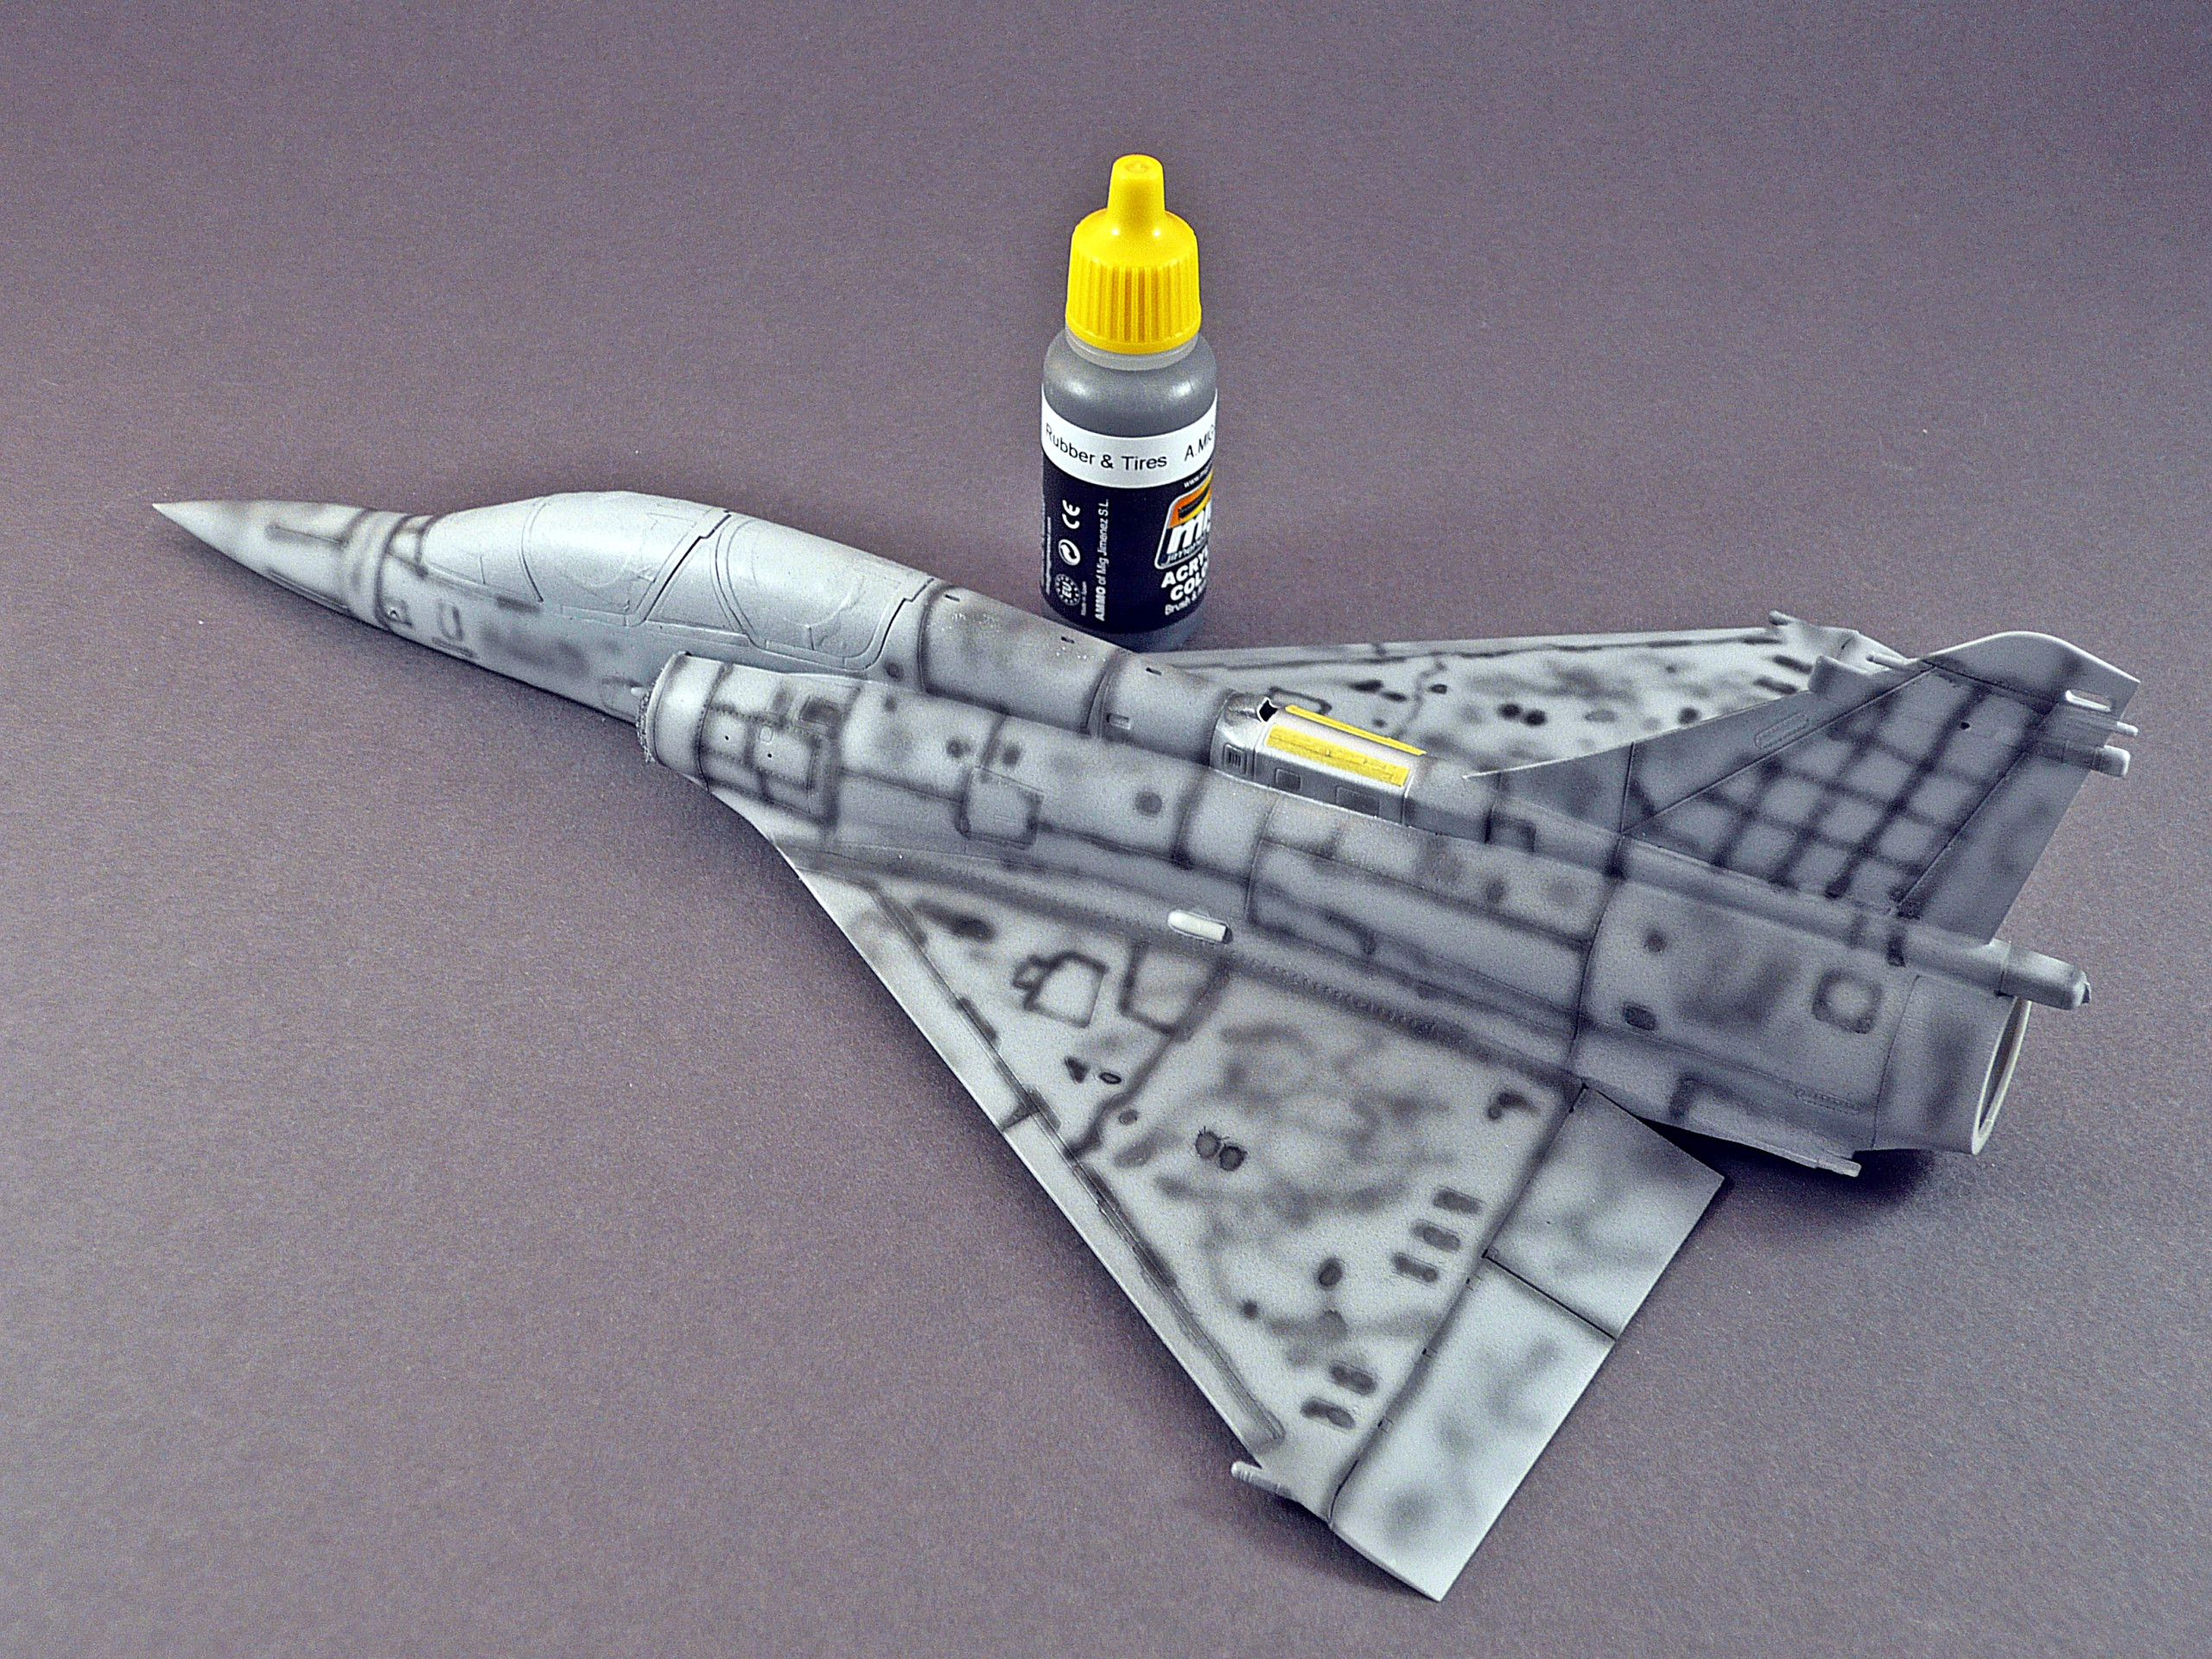
After the basic build finished, I prepared the model for the painting procedure. I washed it with soap water to remove any grease from my hands and dust remains. The first stage started by spraying Mig Ammo primer. I mixed white and gray primers to have a lighter gray color (pic.1 & 2) Using primers we can detect any flaws on our models and prepare the surface for the paint.
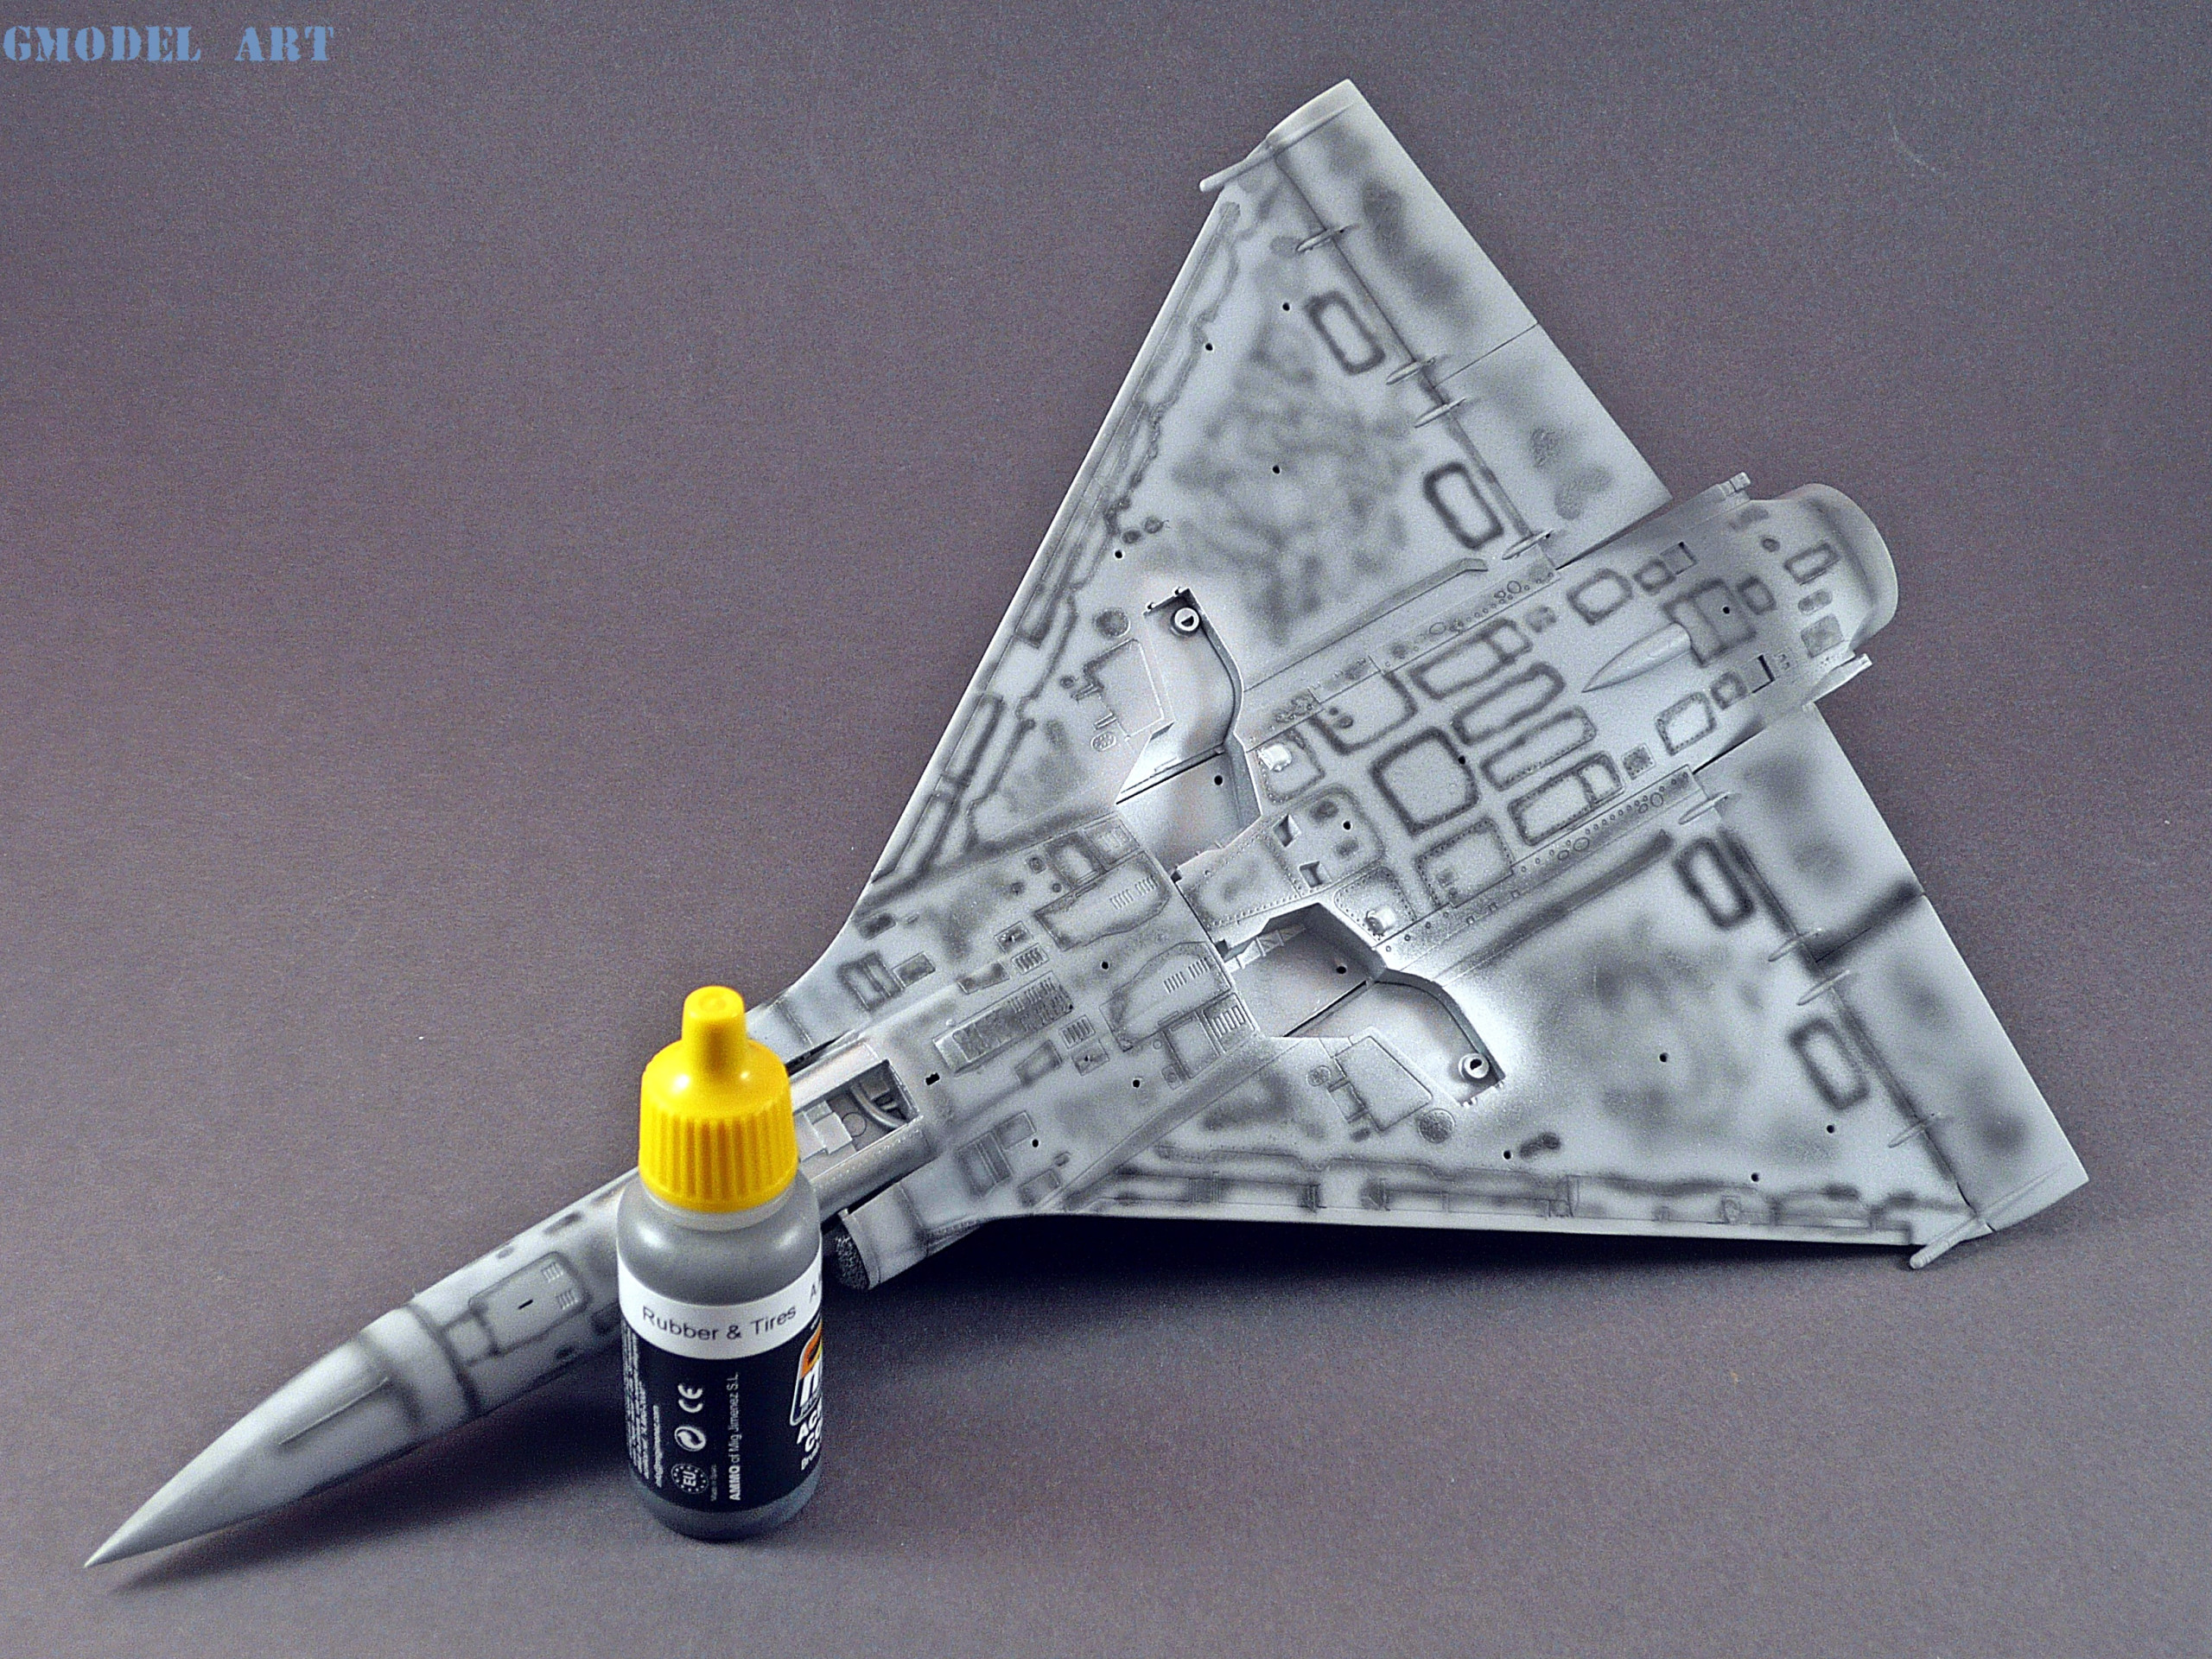
The next stage is to give some shadow effect using the preshade technique. I used Mig Ammo’s Rubber and Tires color to do that (pic.3,4,5)
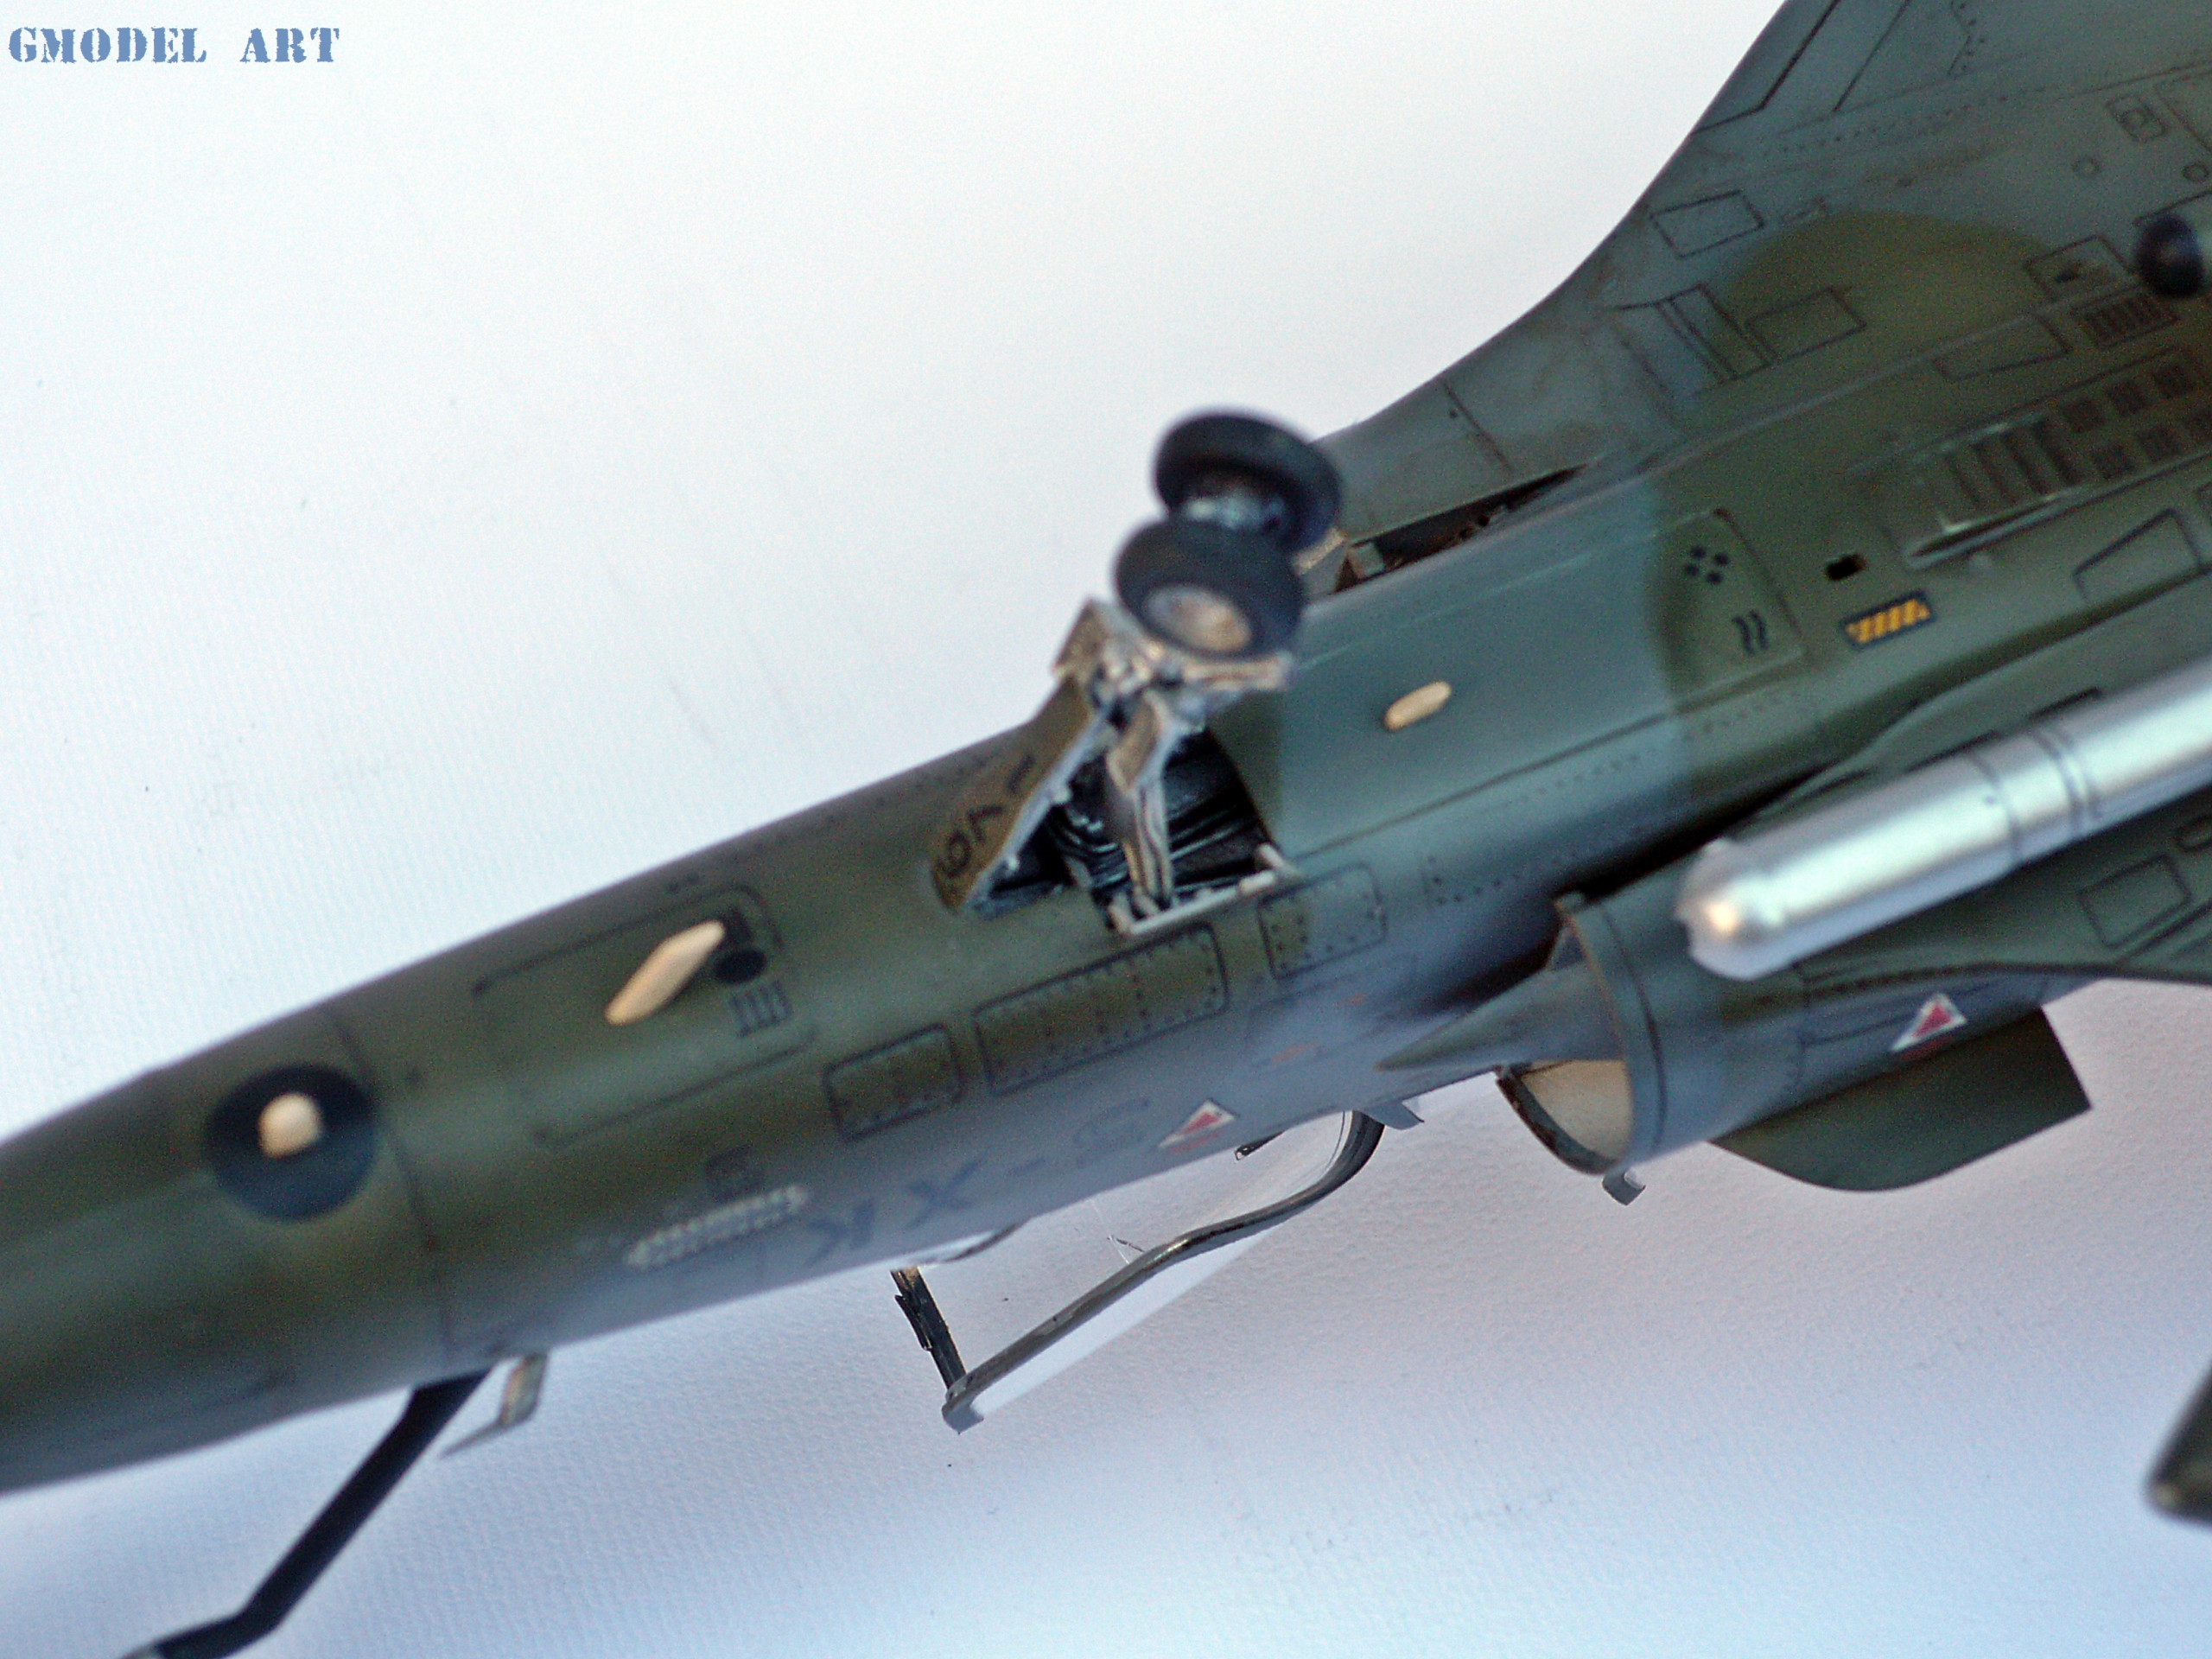
I also sprayed aluminum to the wheel wells and the chaff & flare area on the spine of the aircraft. After that I masked those 2 areas to reveal and treat them later on the build.
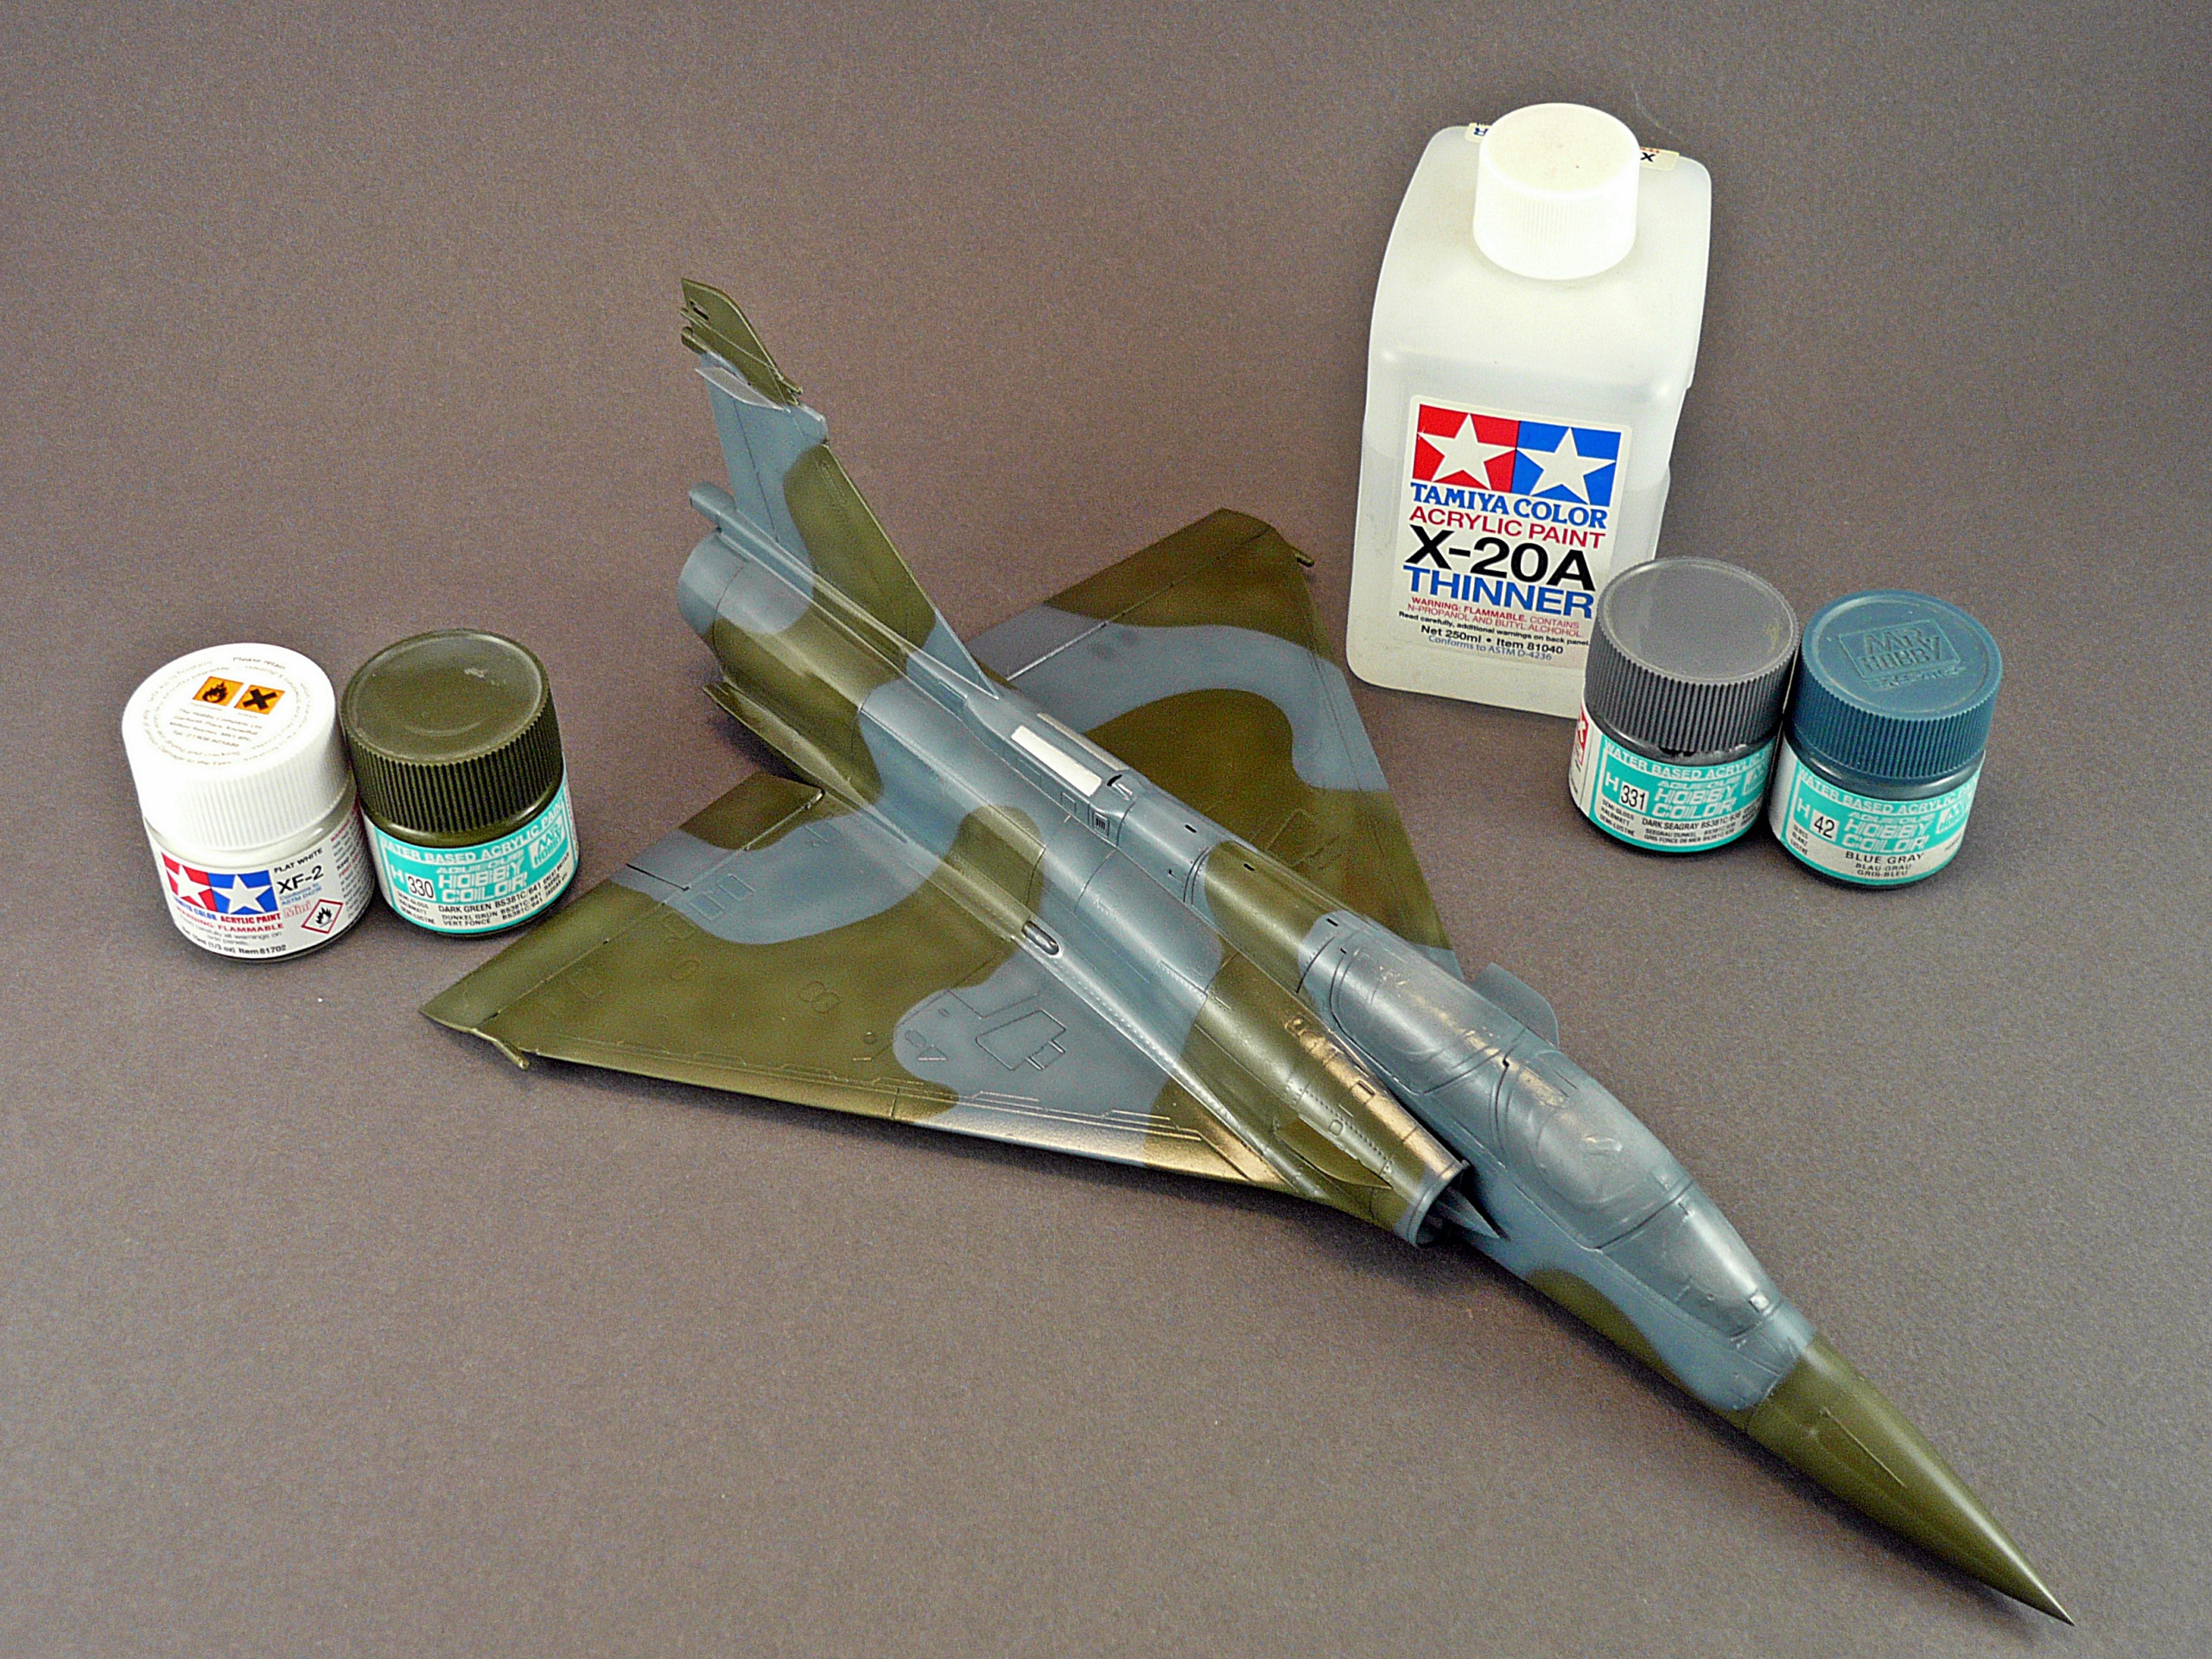
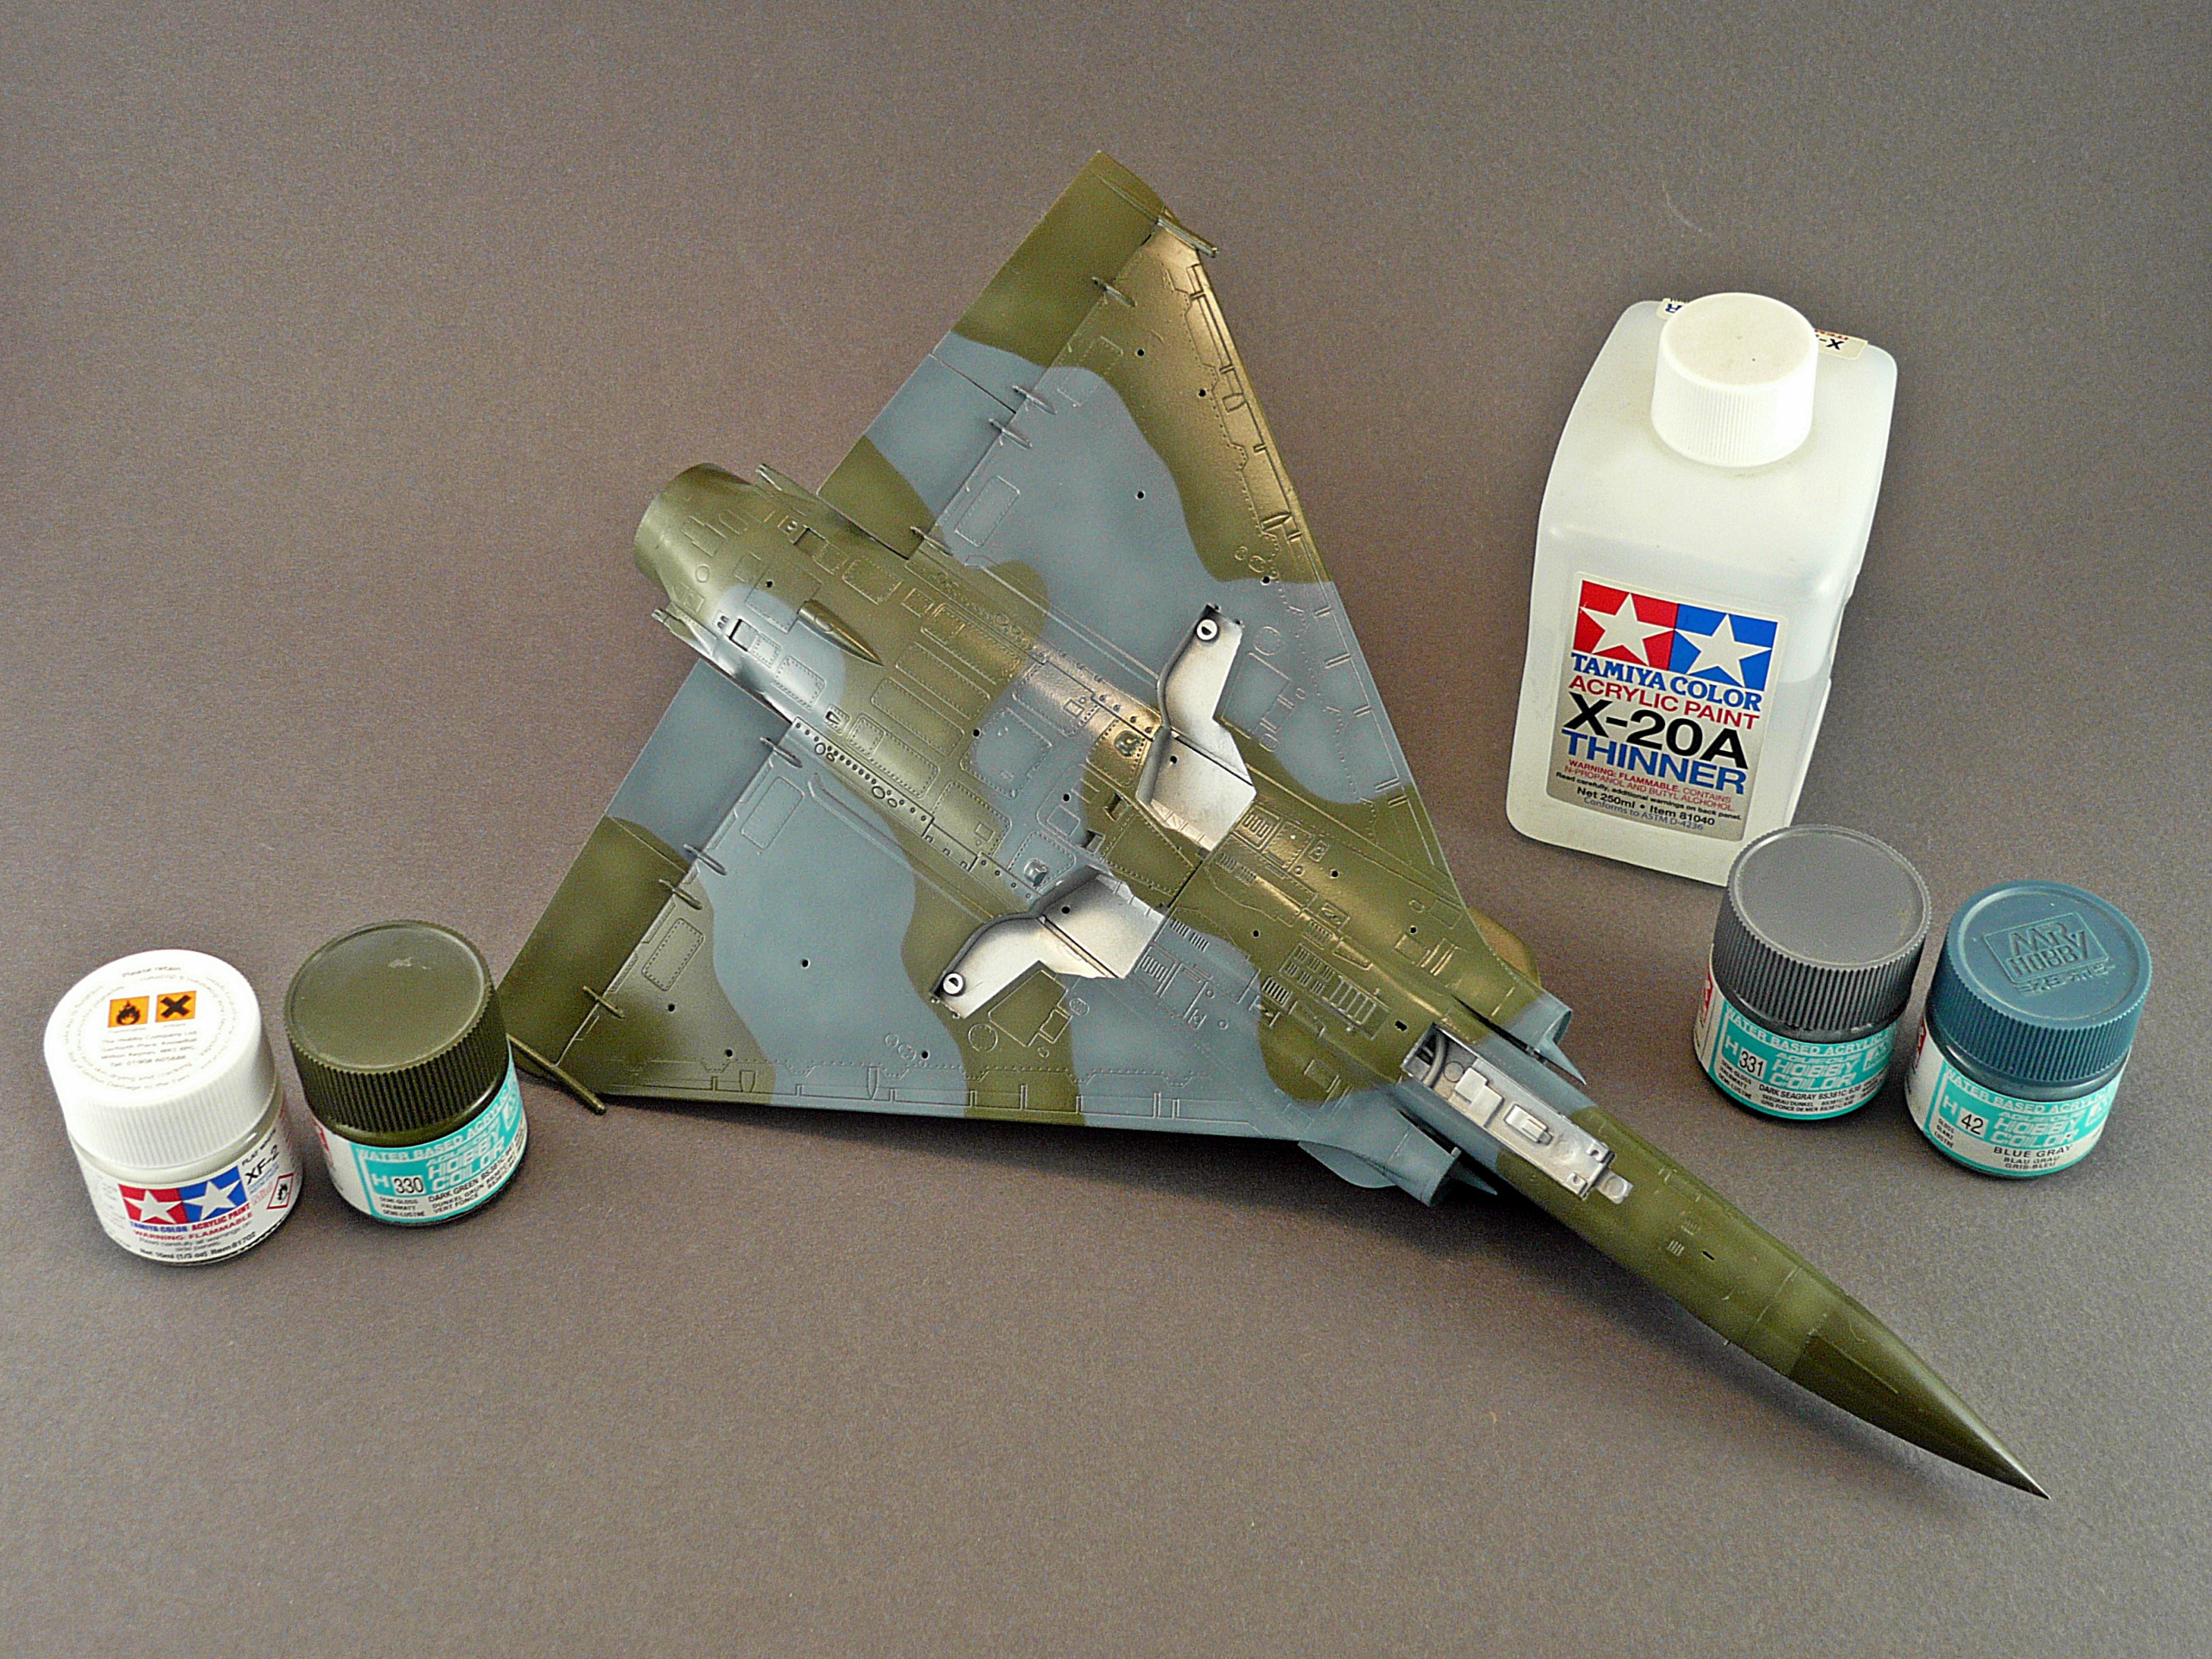
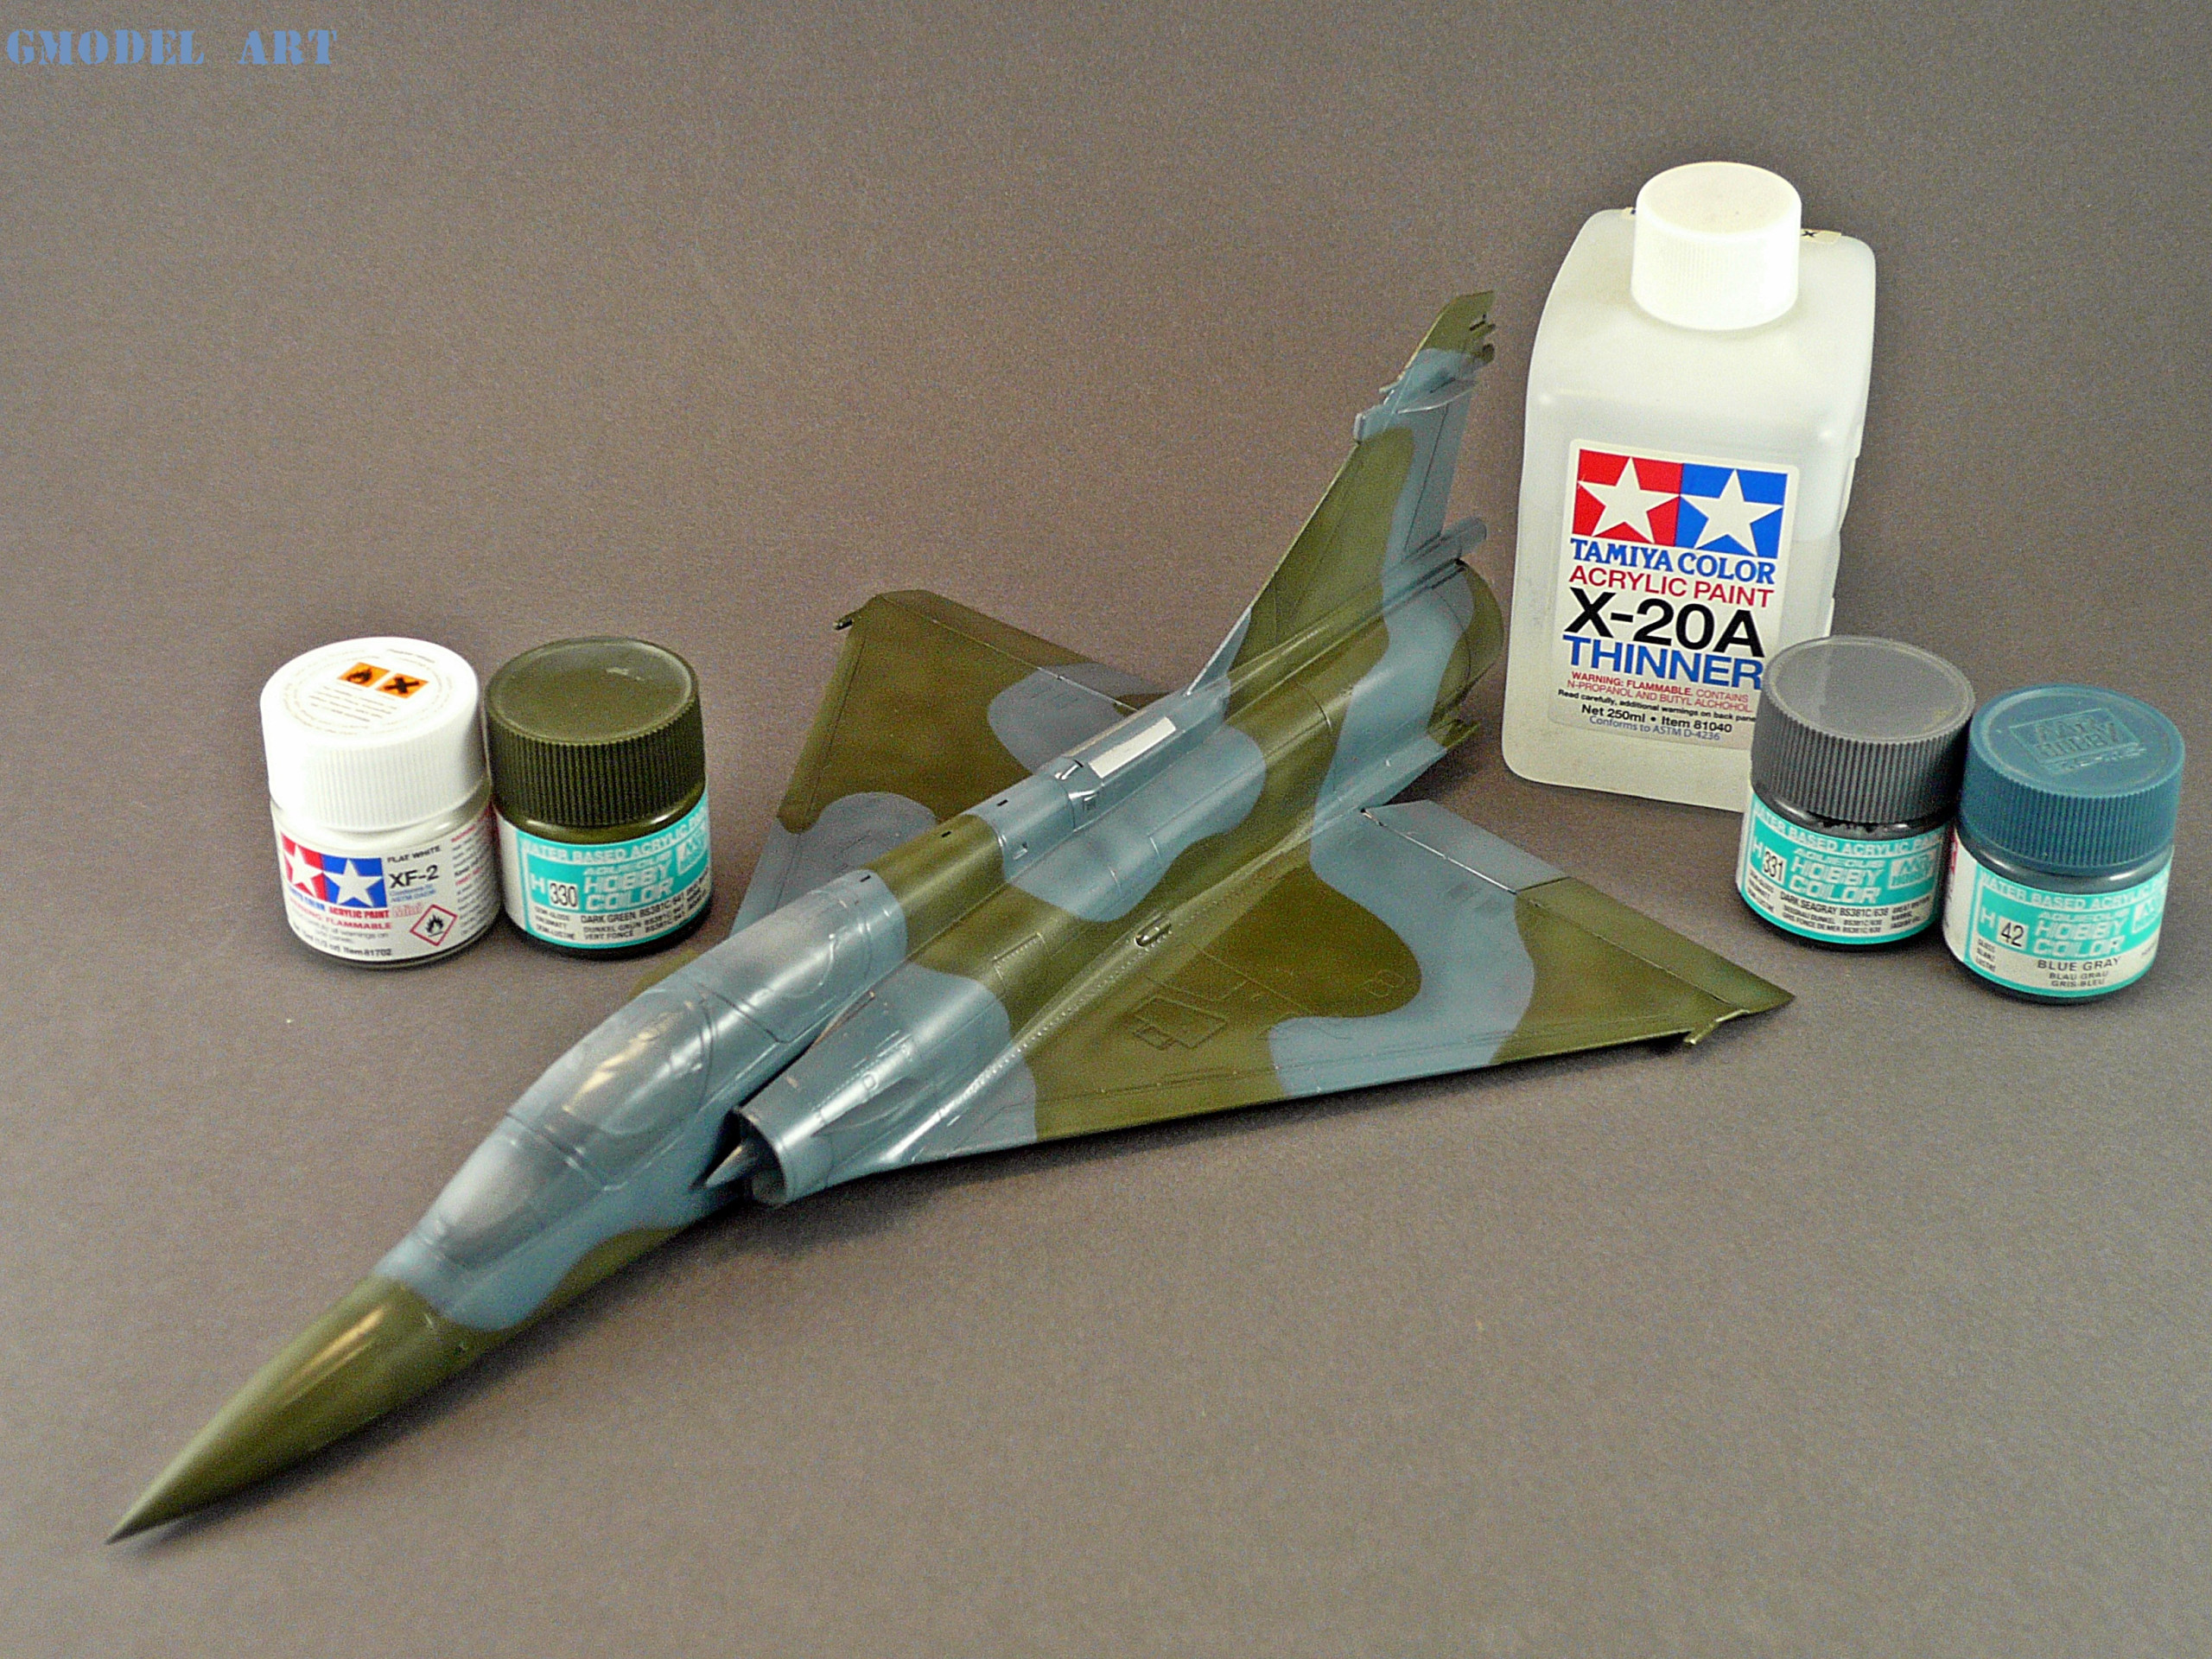
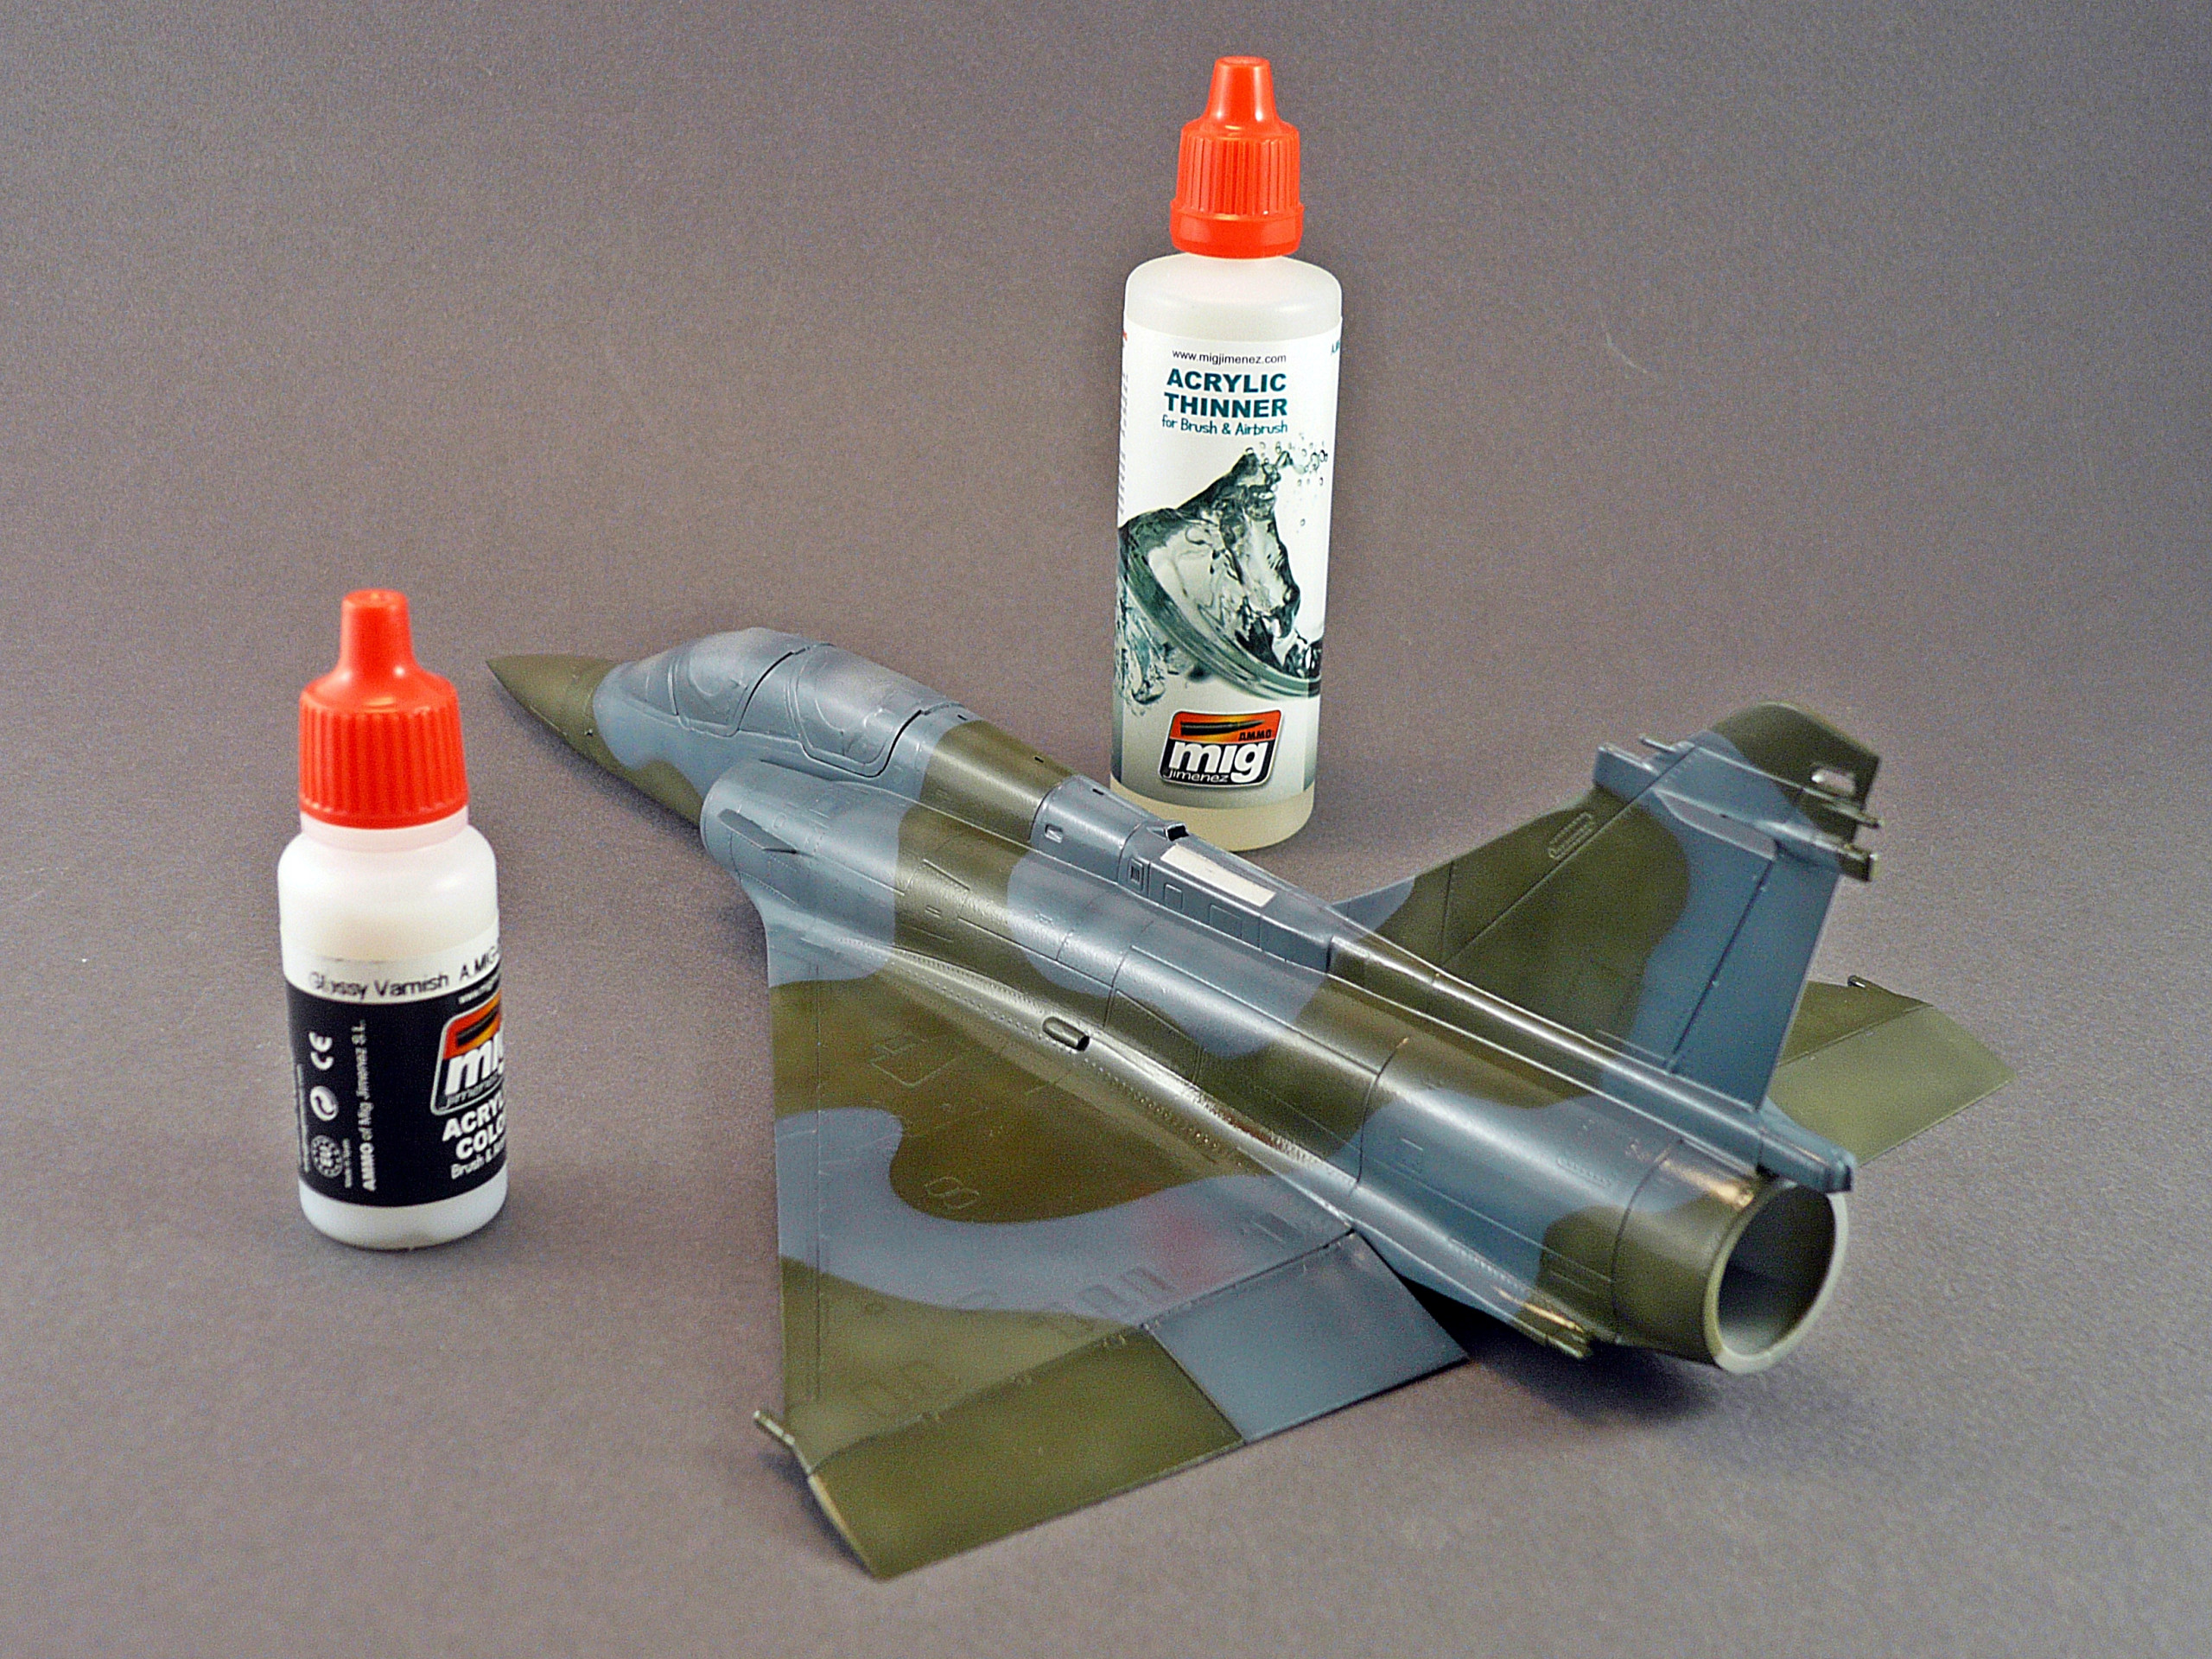
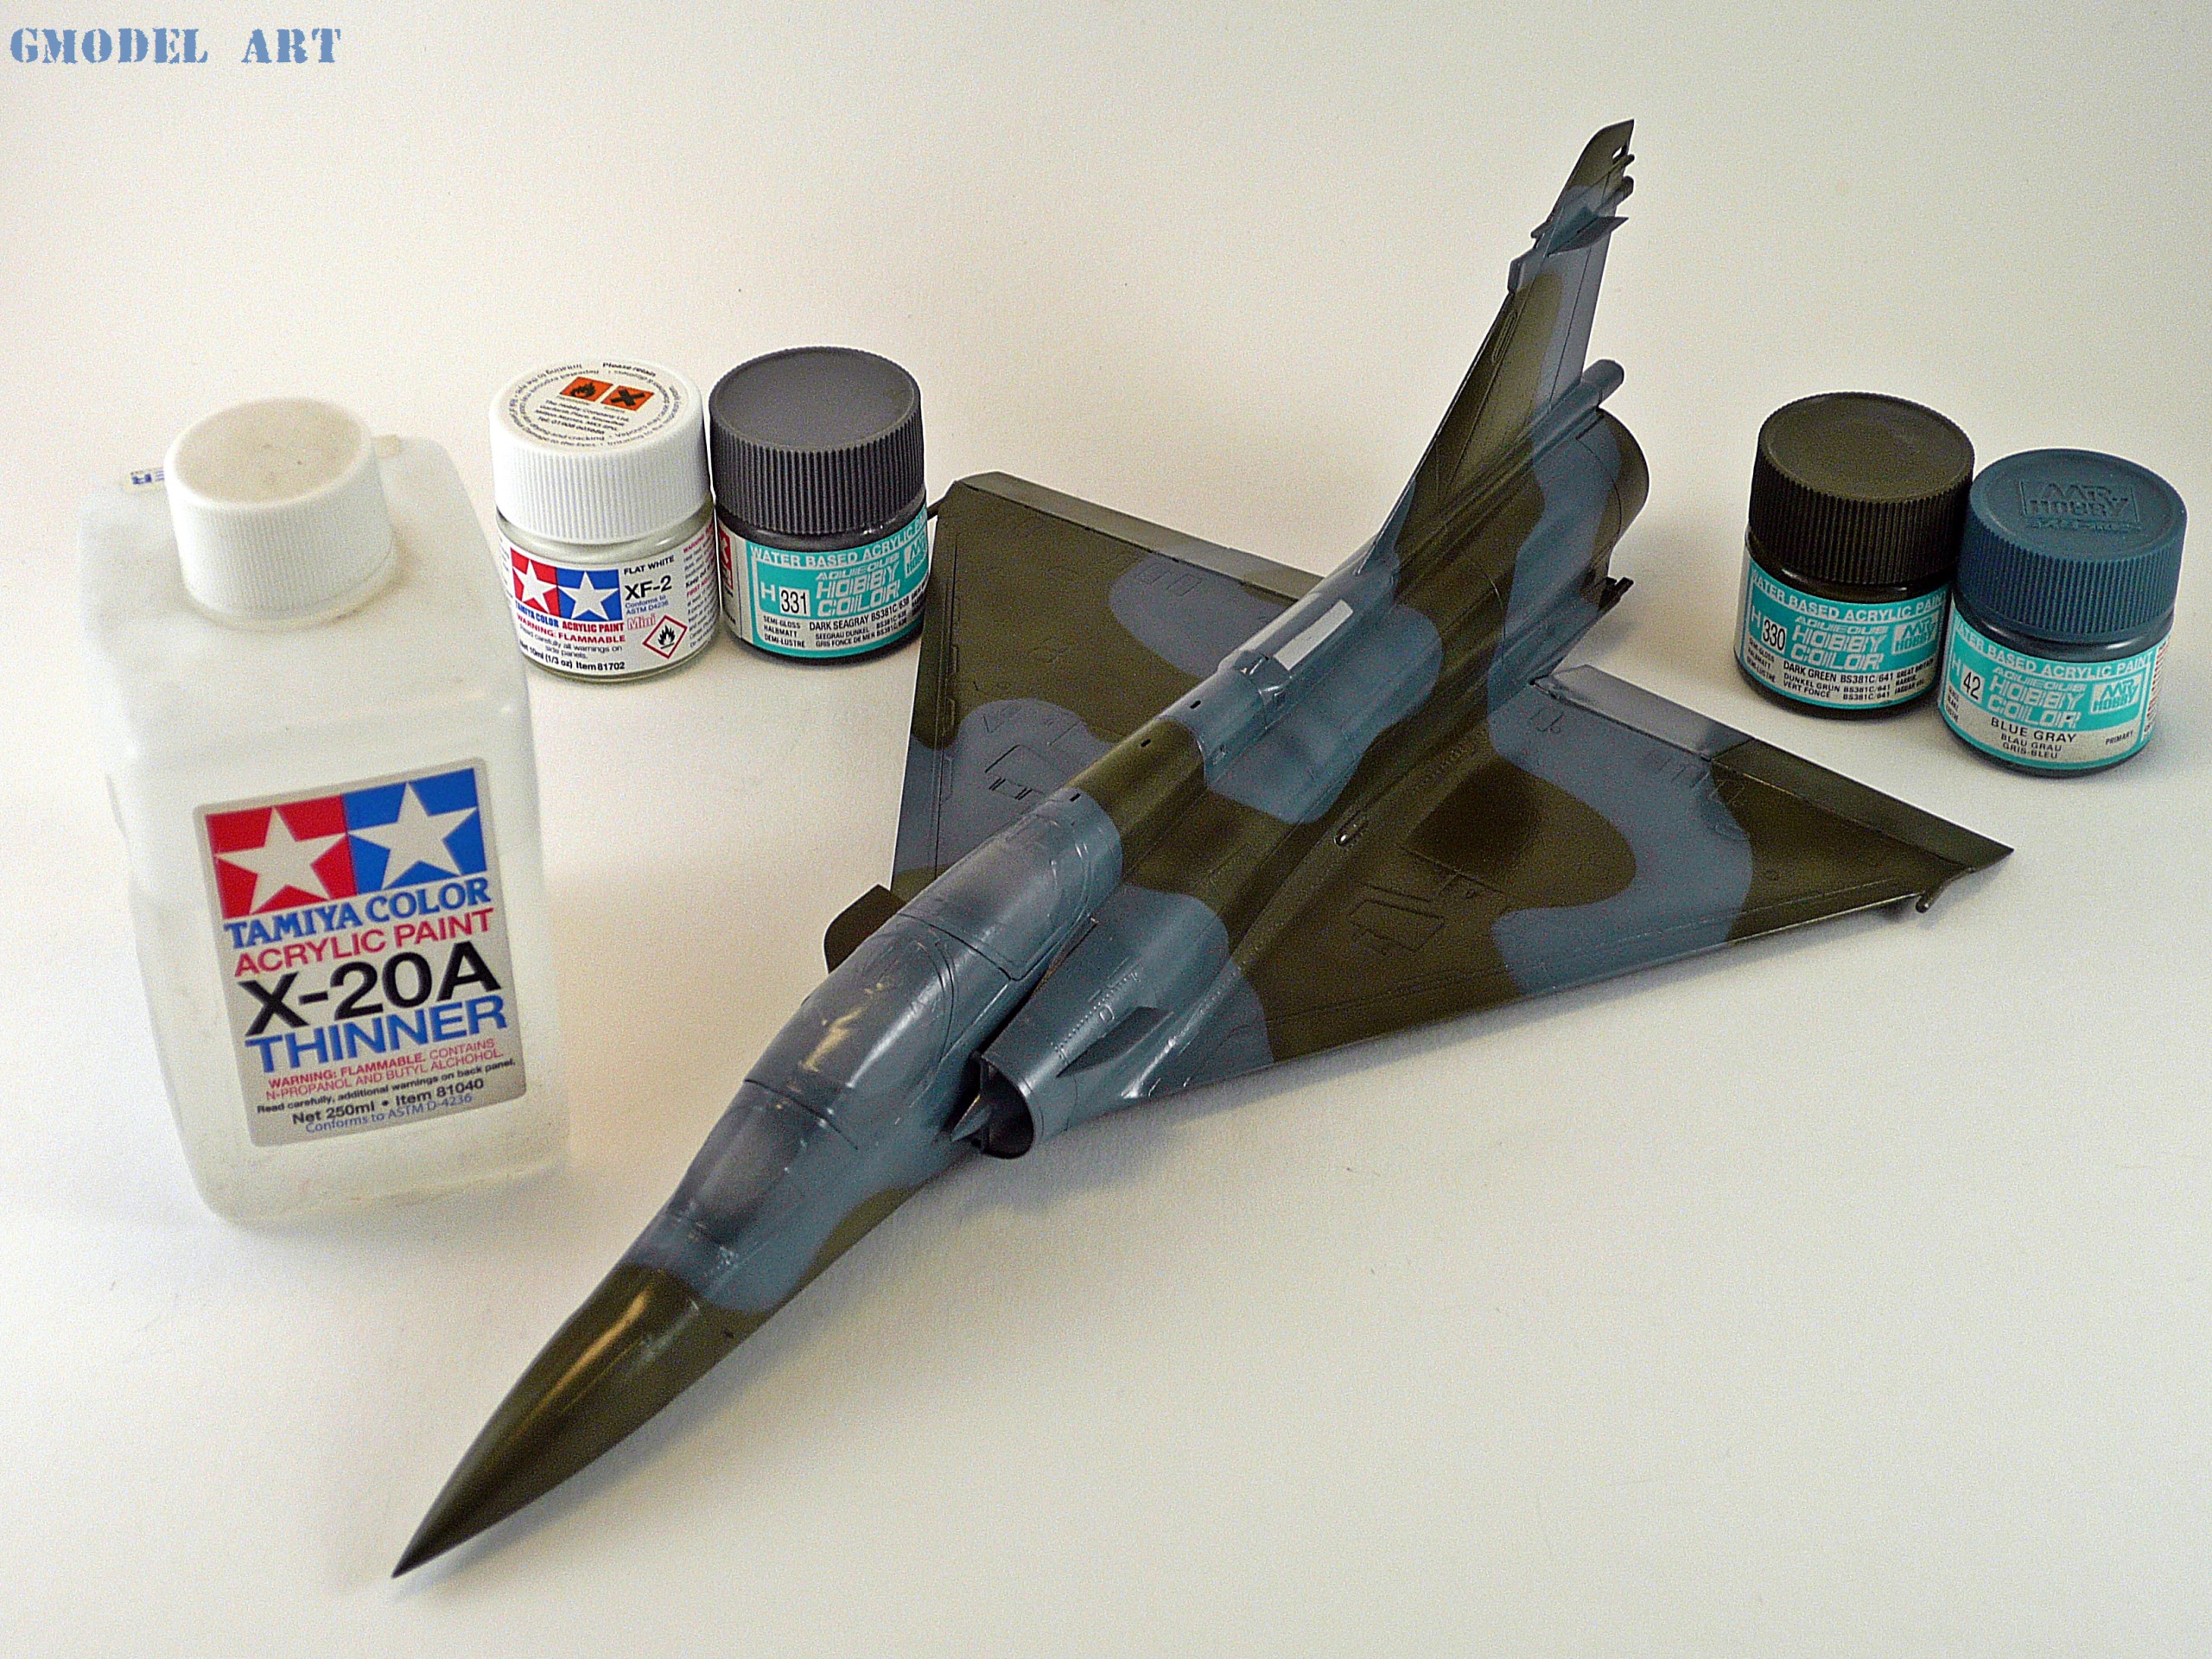
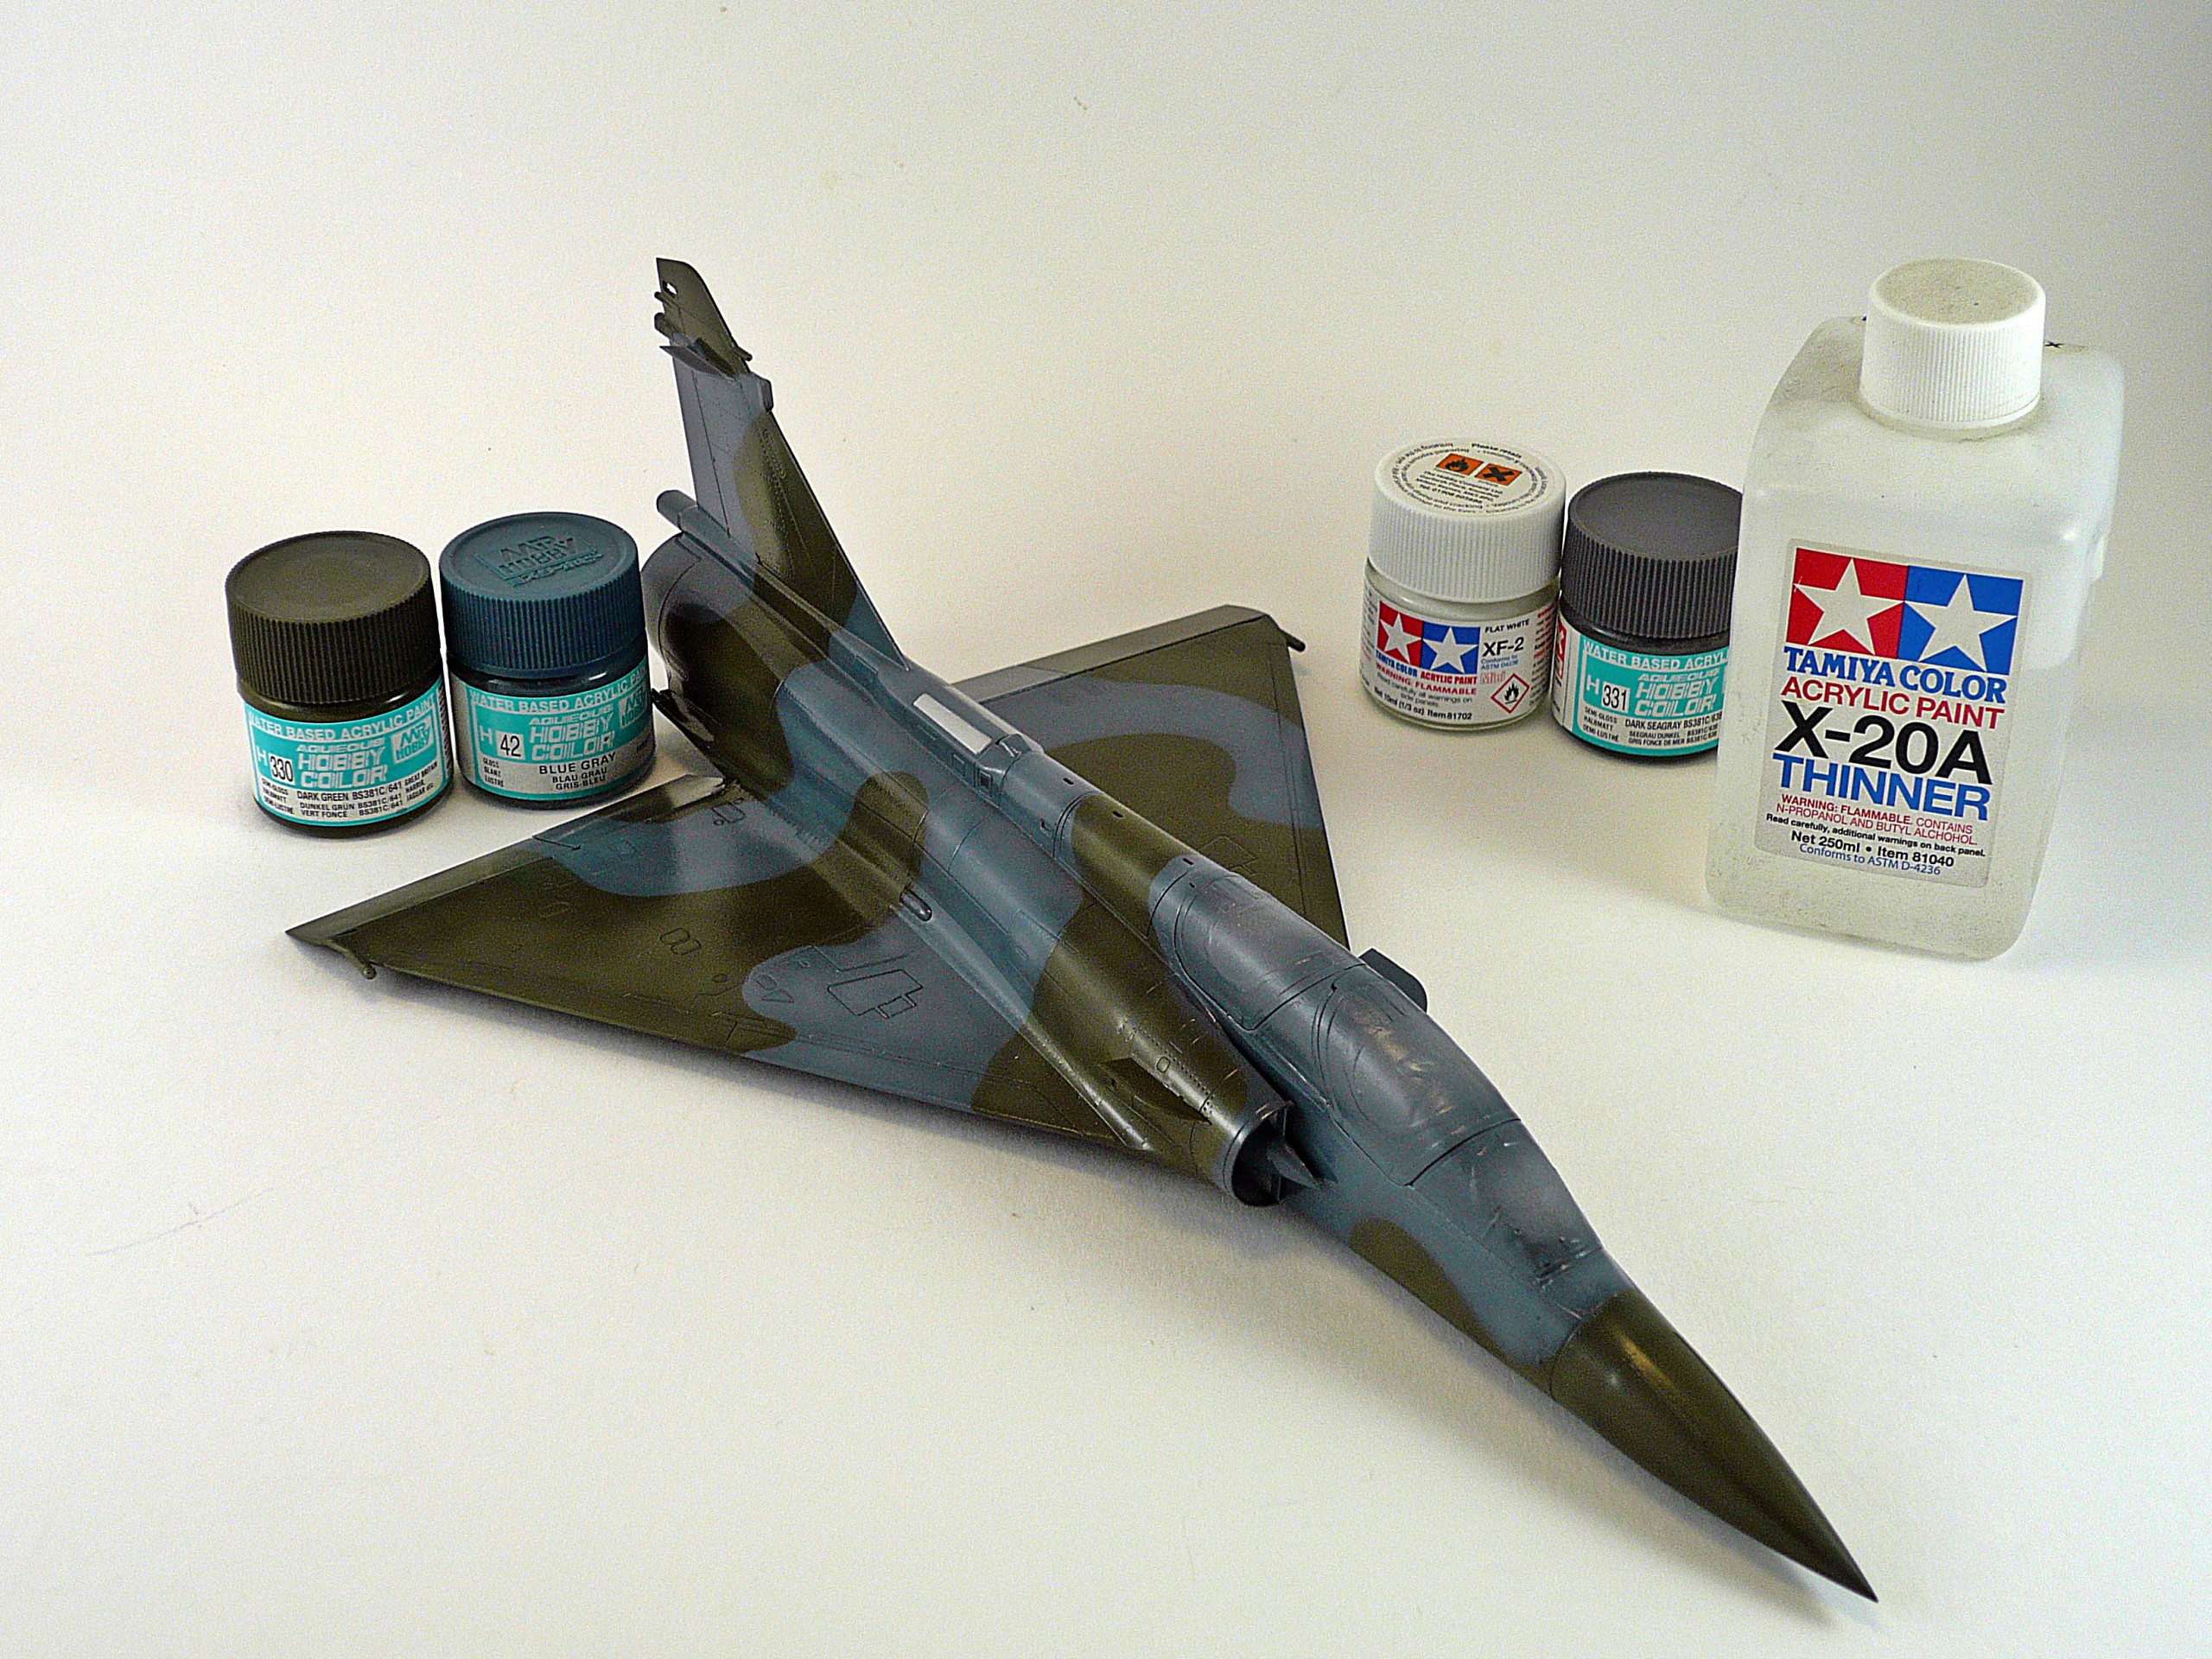
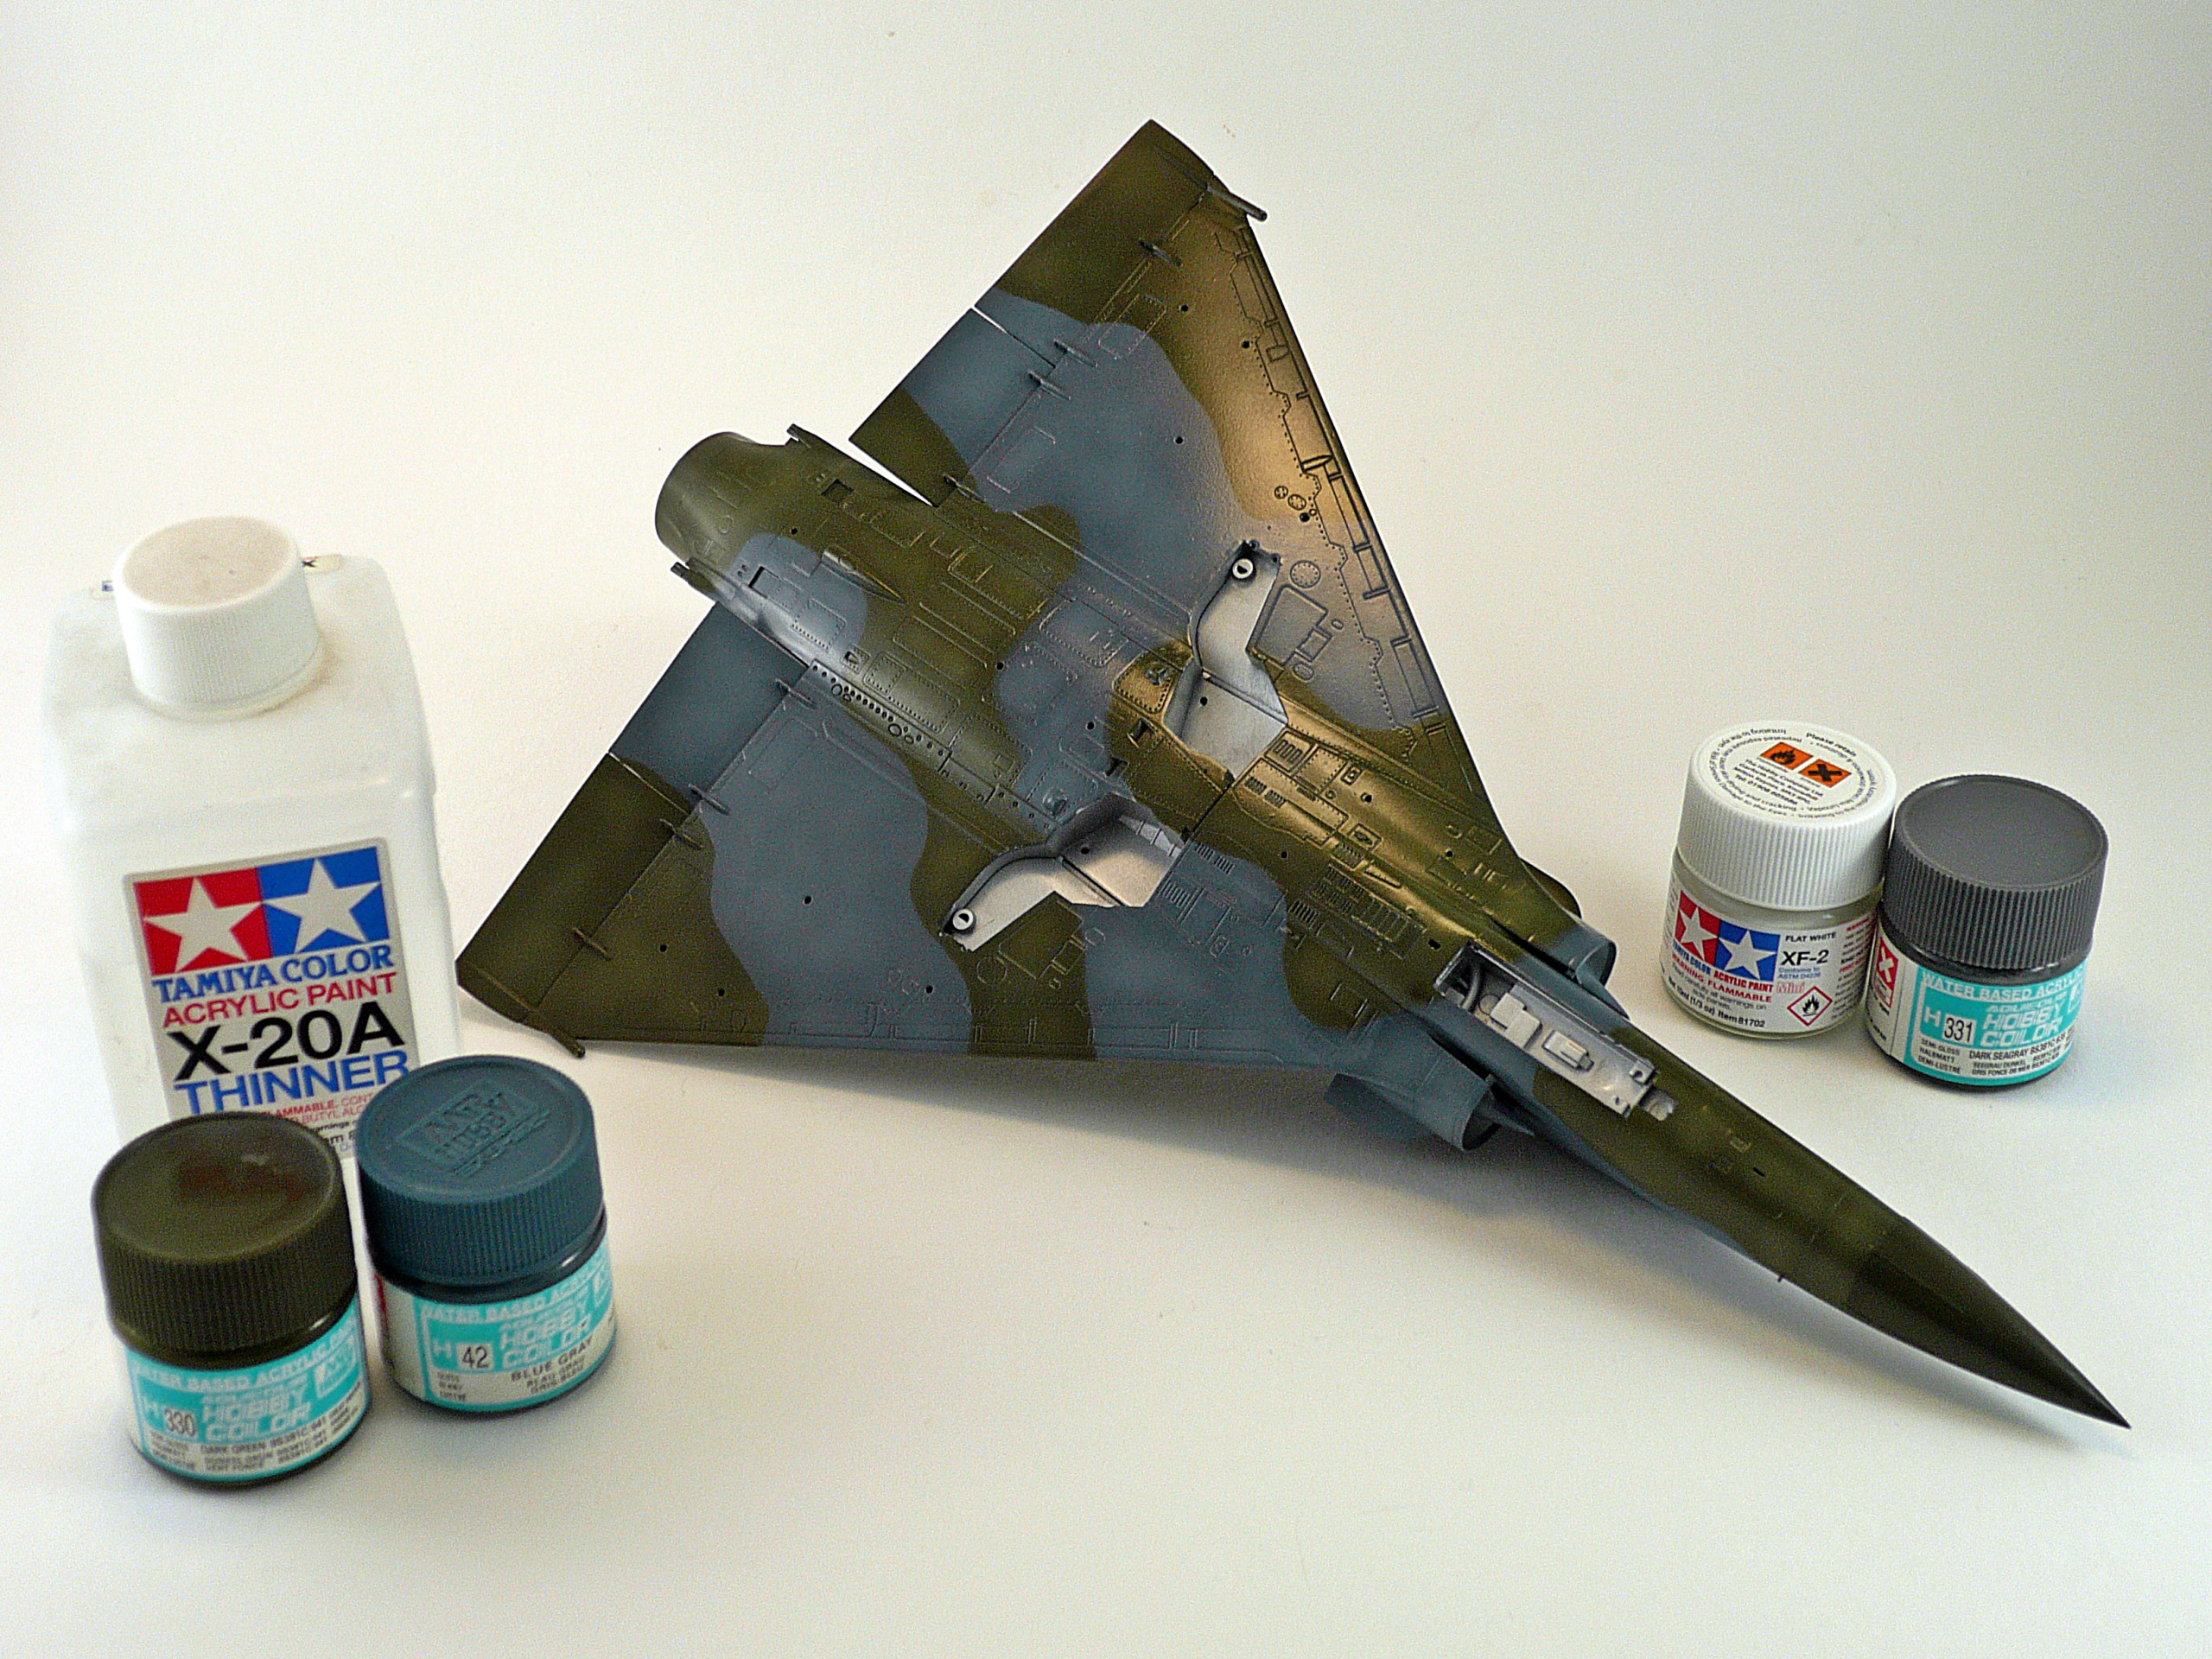
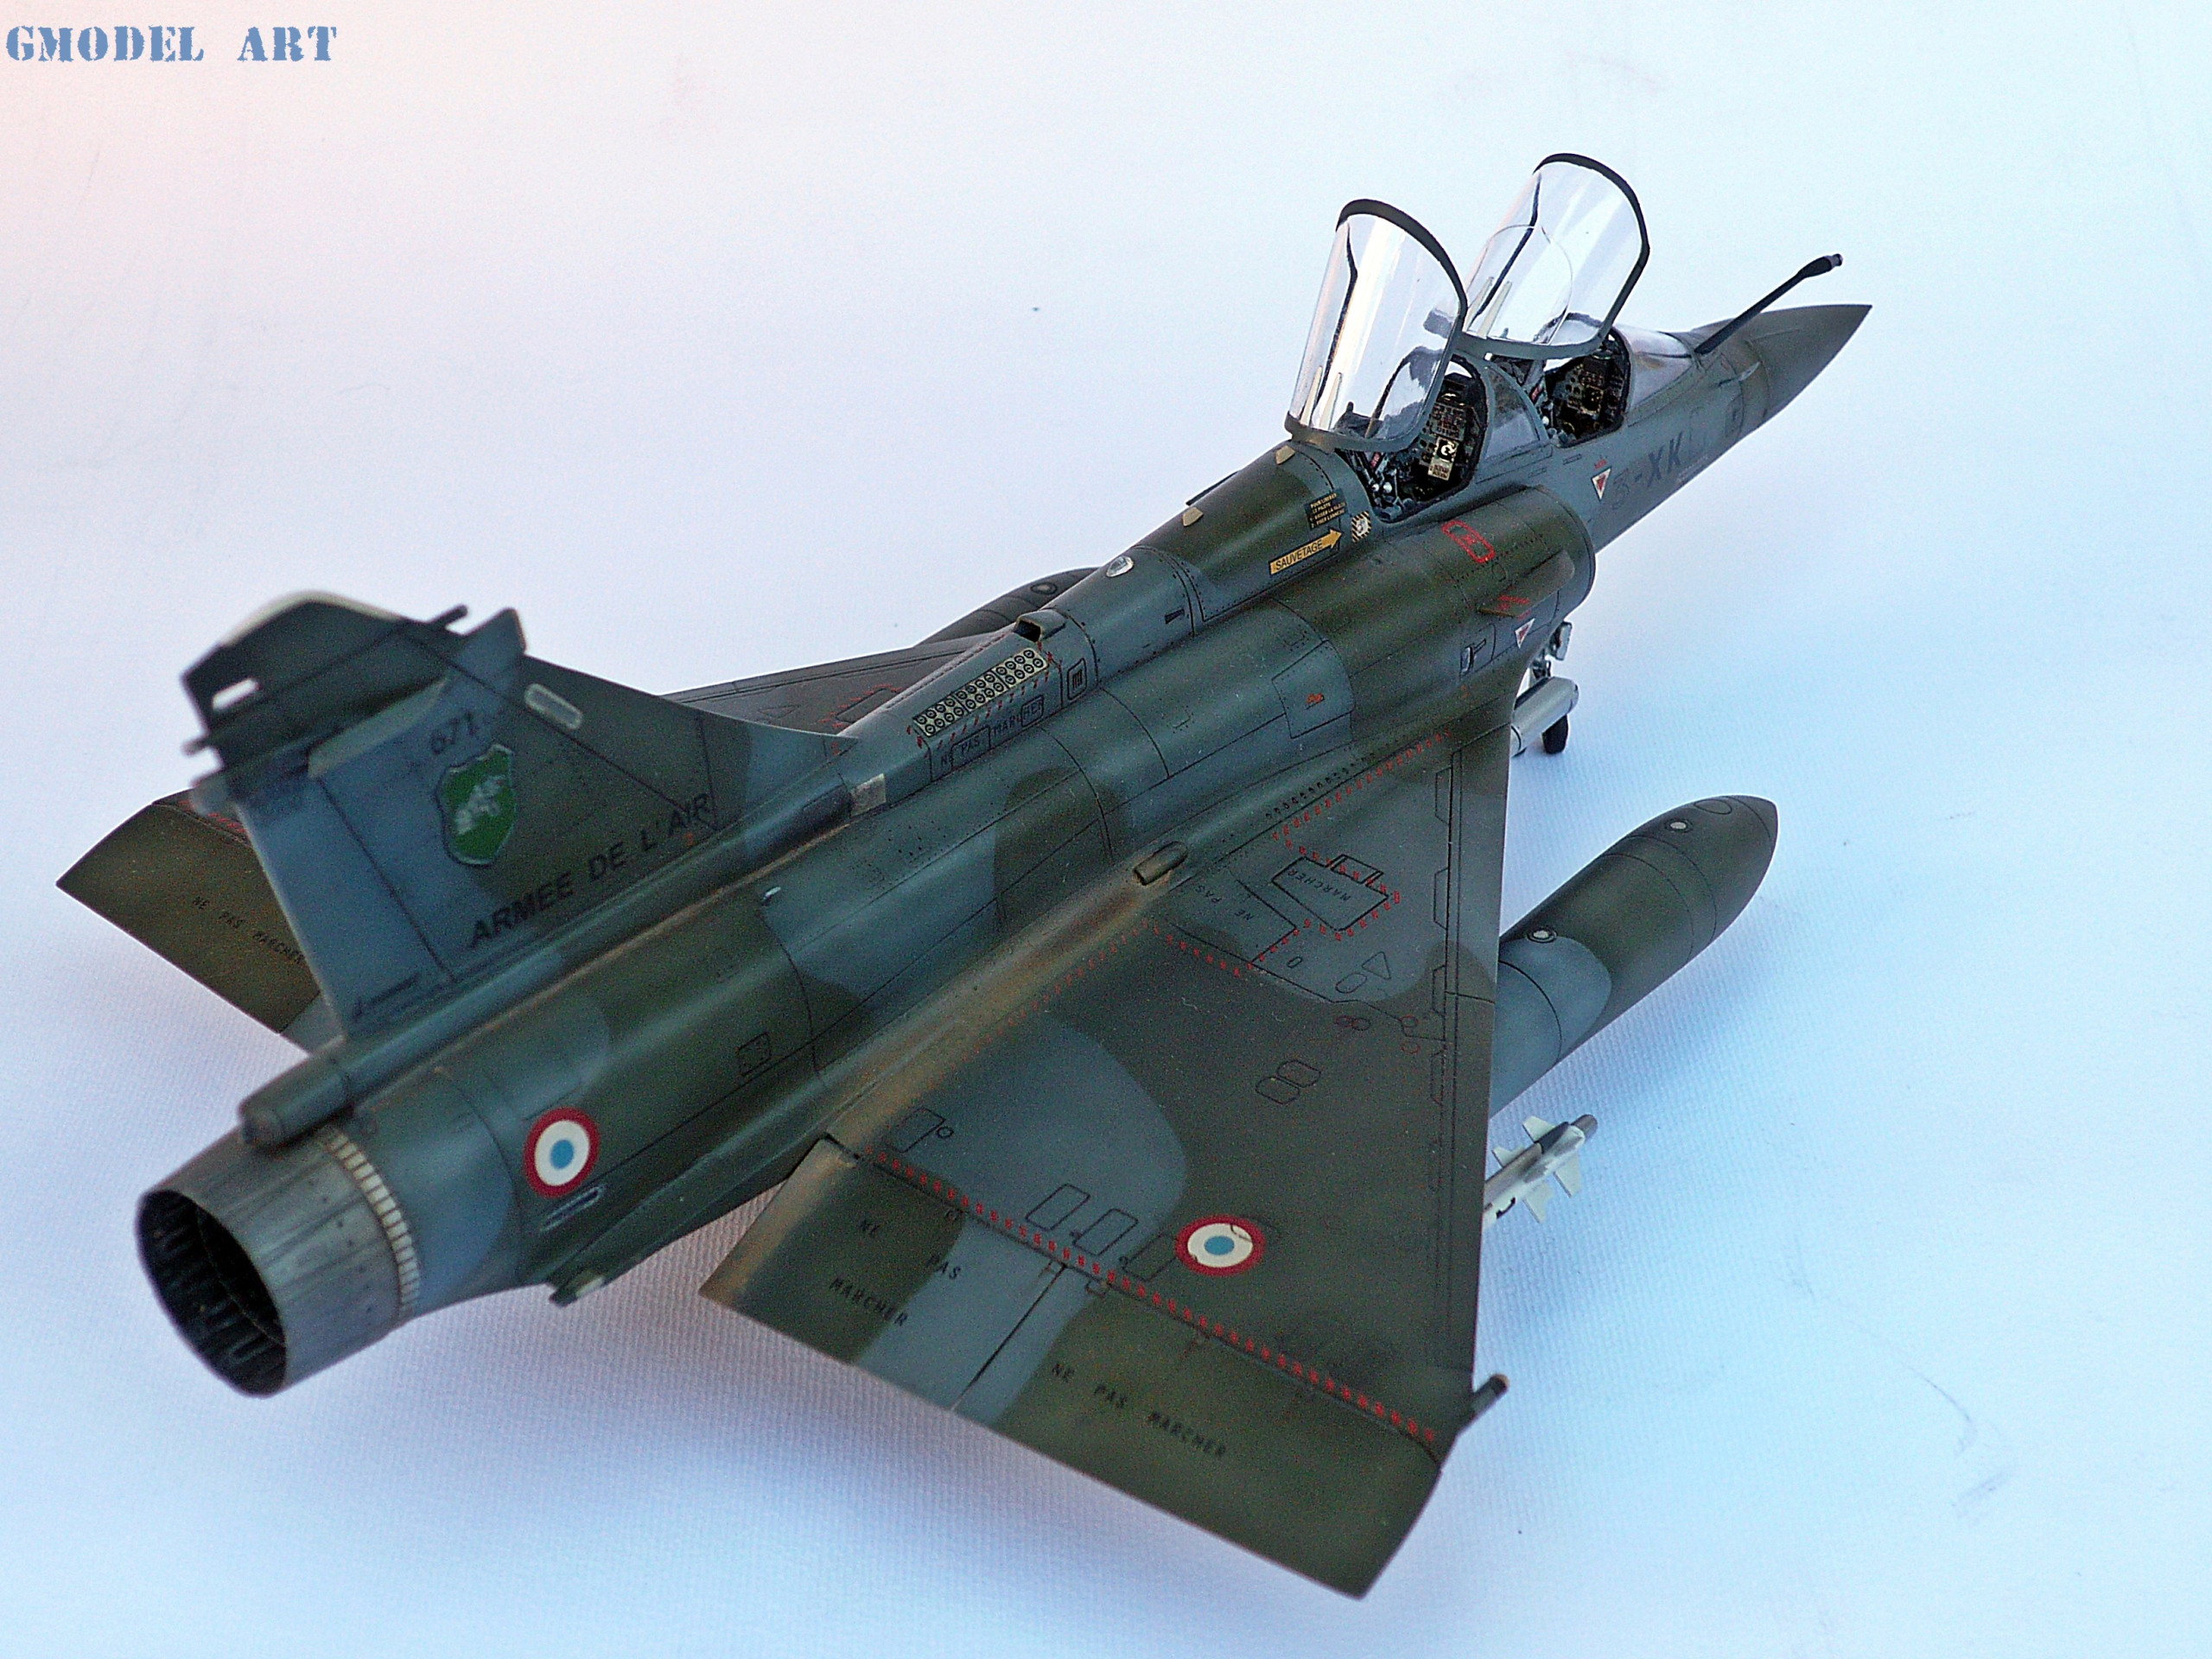
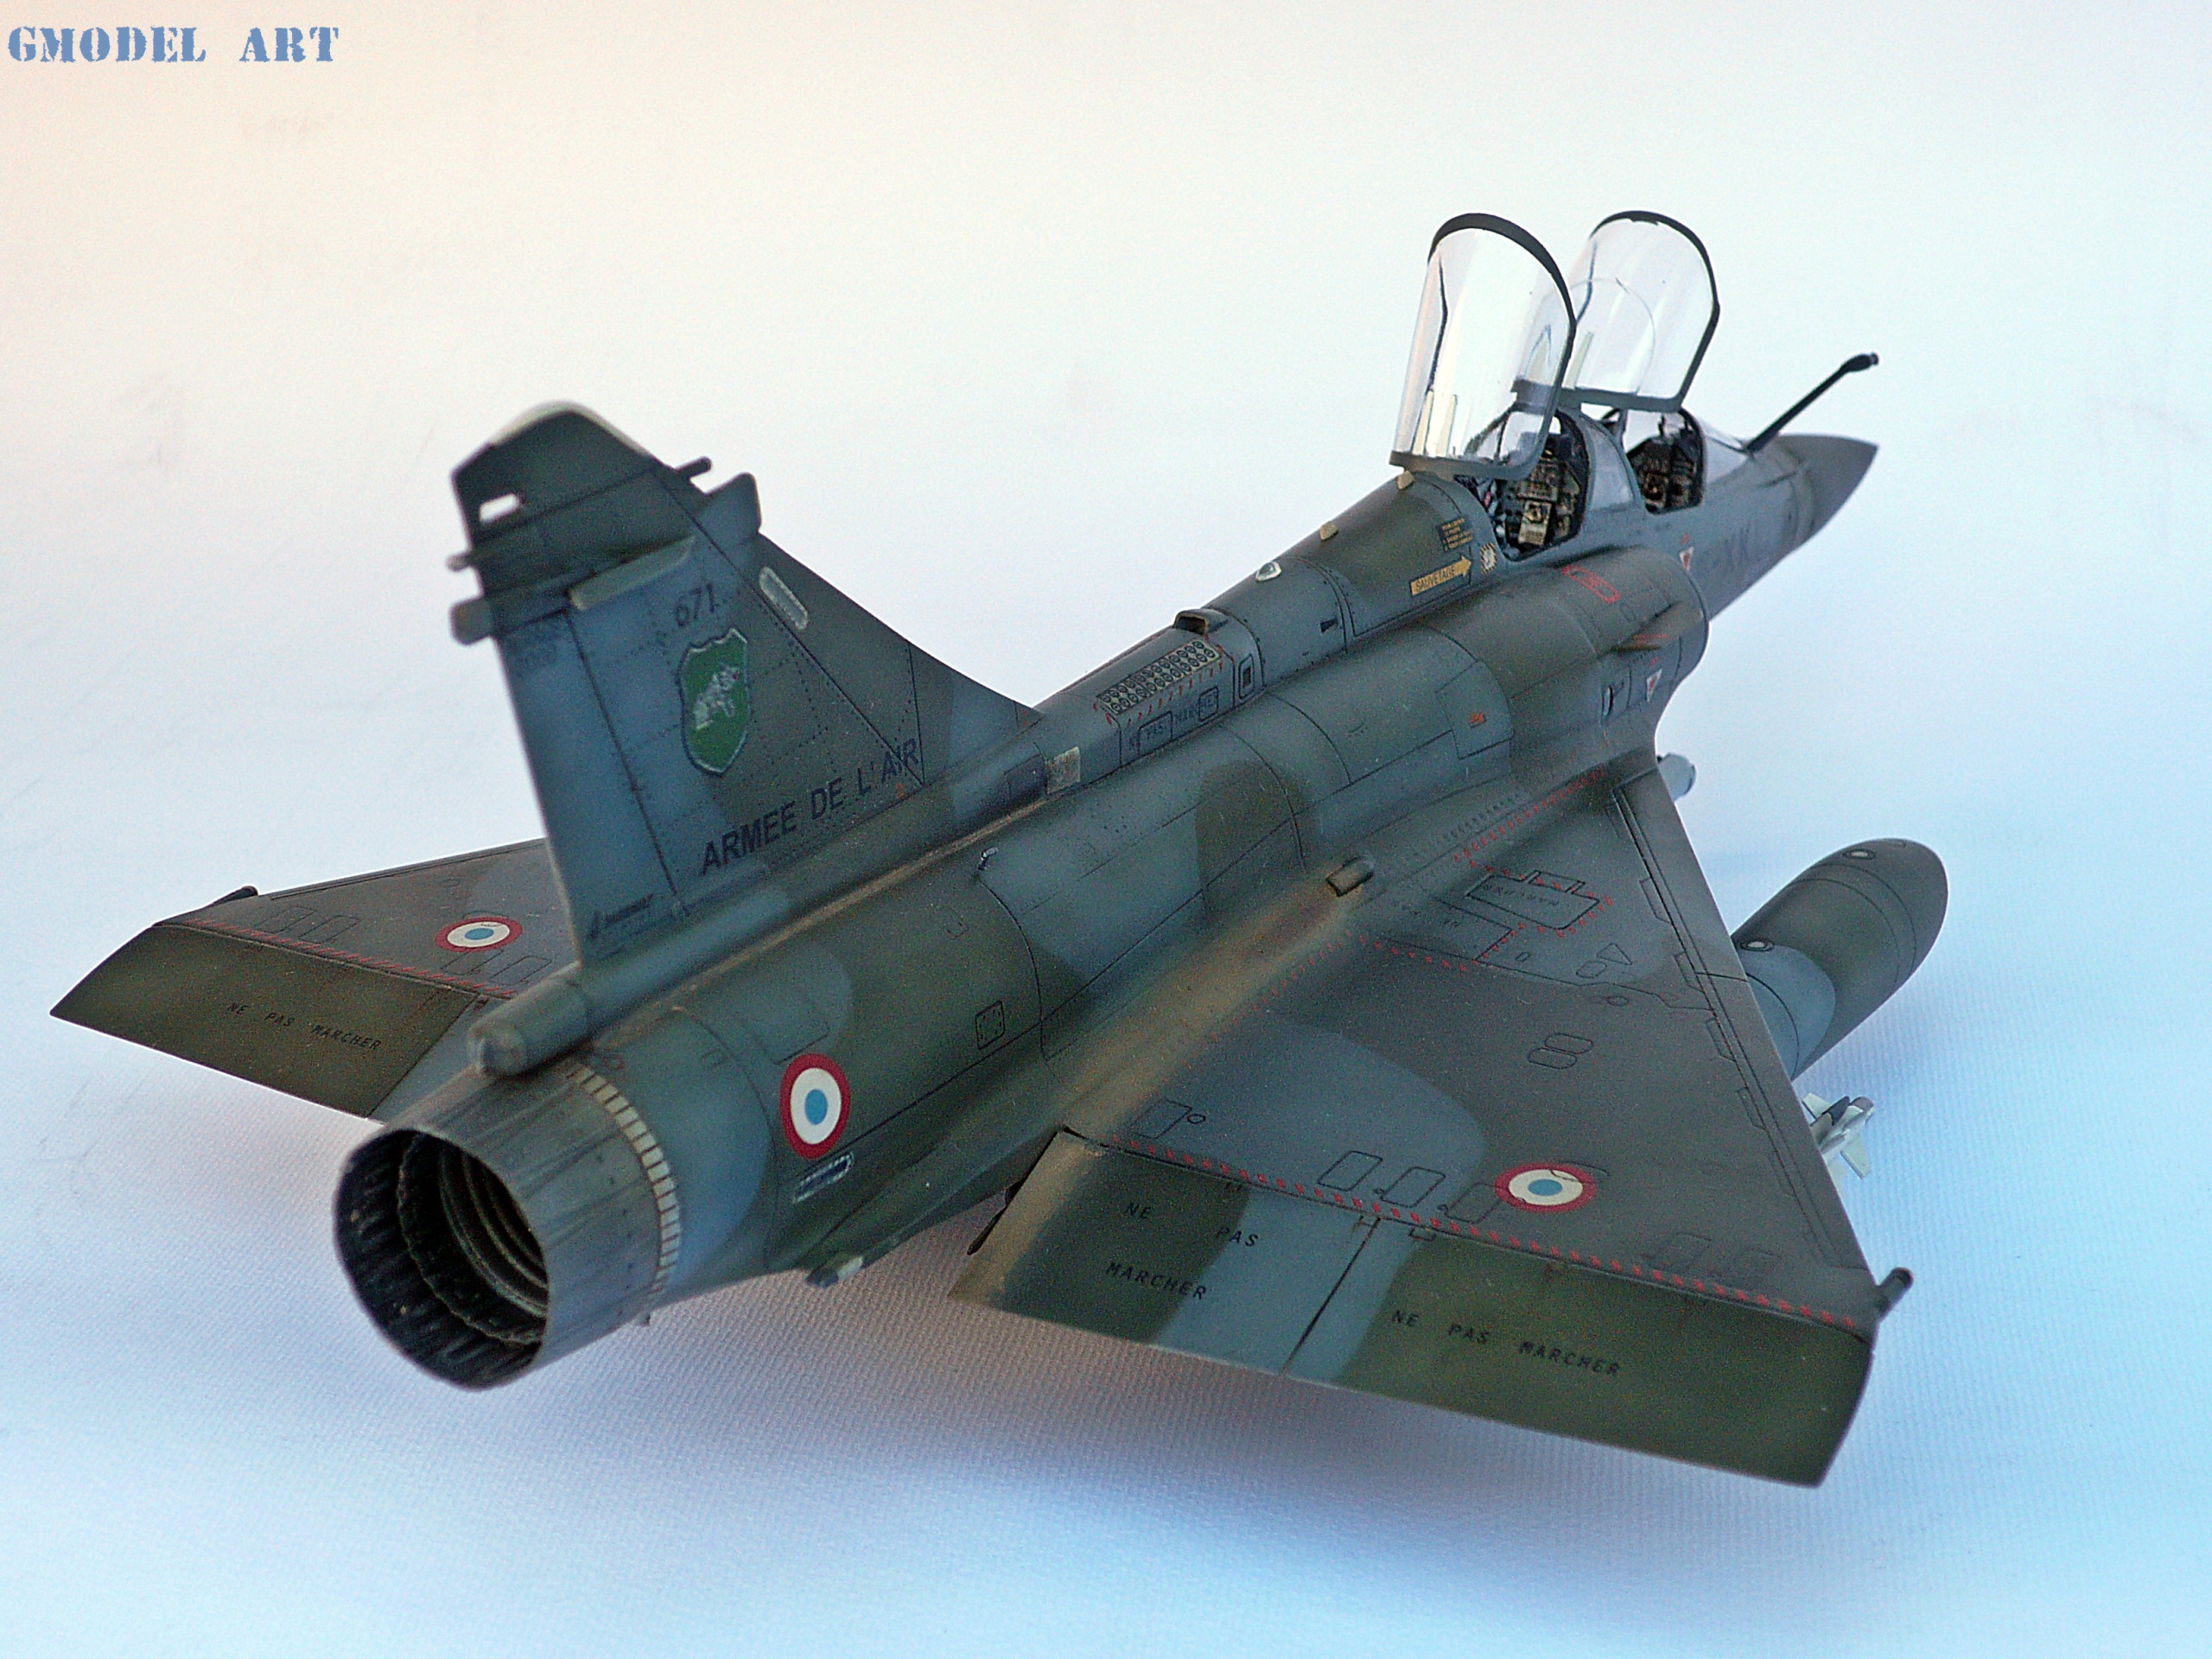
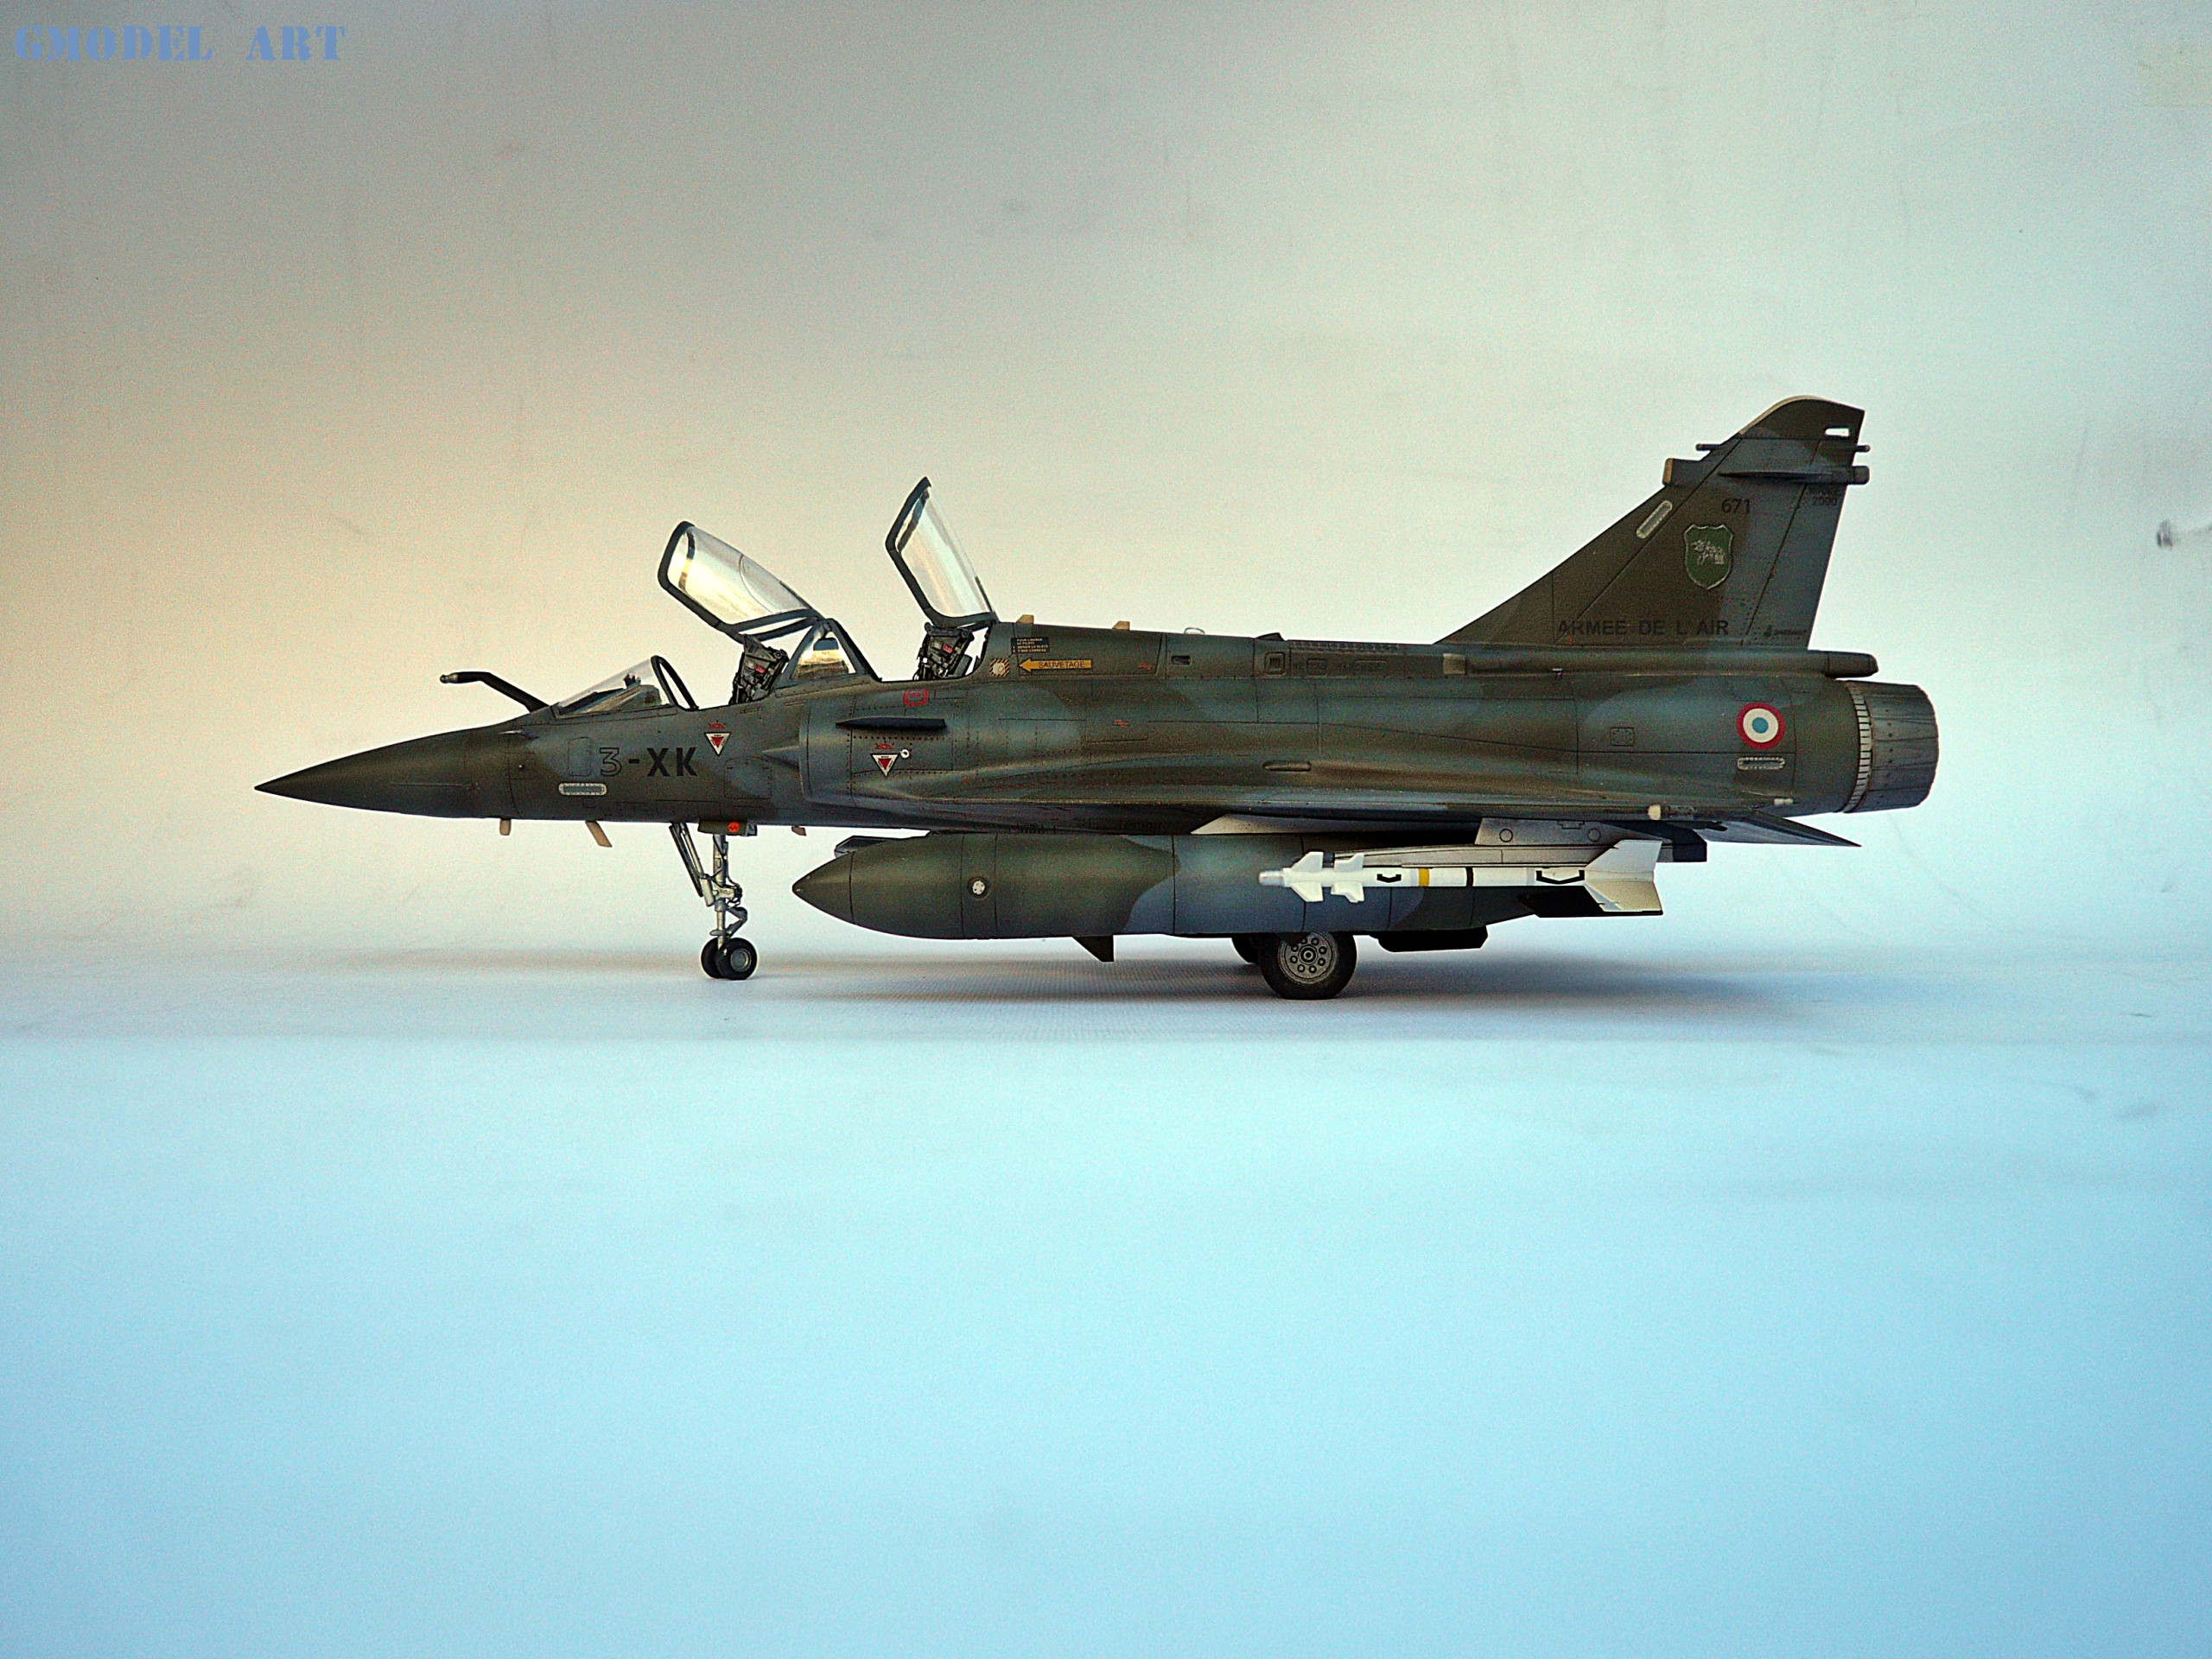
The painting procedure started painting the model using Gunze’s acrylics. My method in this one was by using white tak material so to have a nice edge between the 2 cammo scheme colors. For the green color I used Gunze H330 and for the blue-grey a mix of H331 and H42 in a 70/30 ratio. The various shades and highlights came from using the basic color with some drops of Tamiya’s matt white (pic.6/7/8)
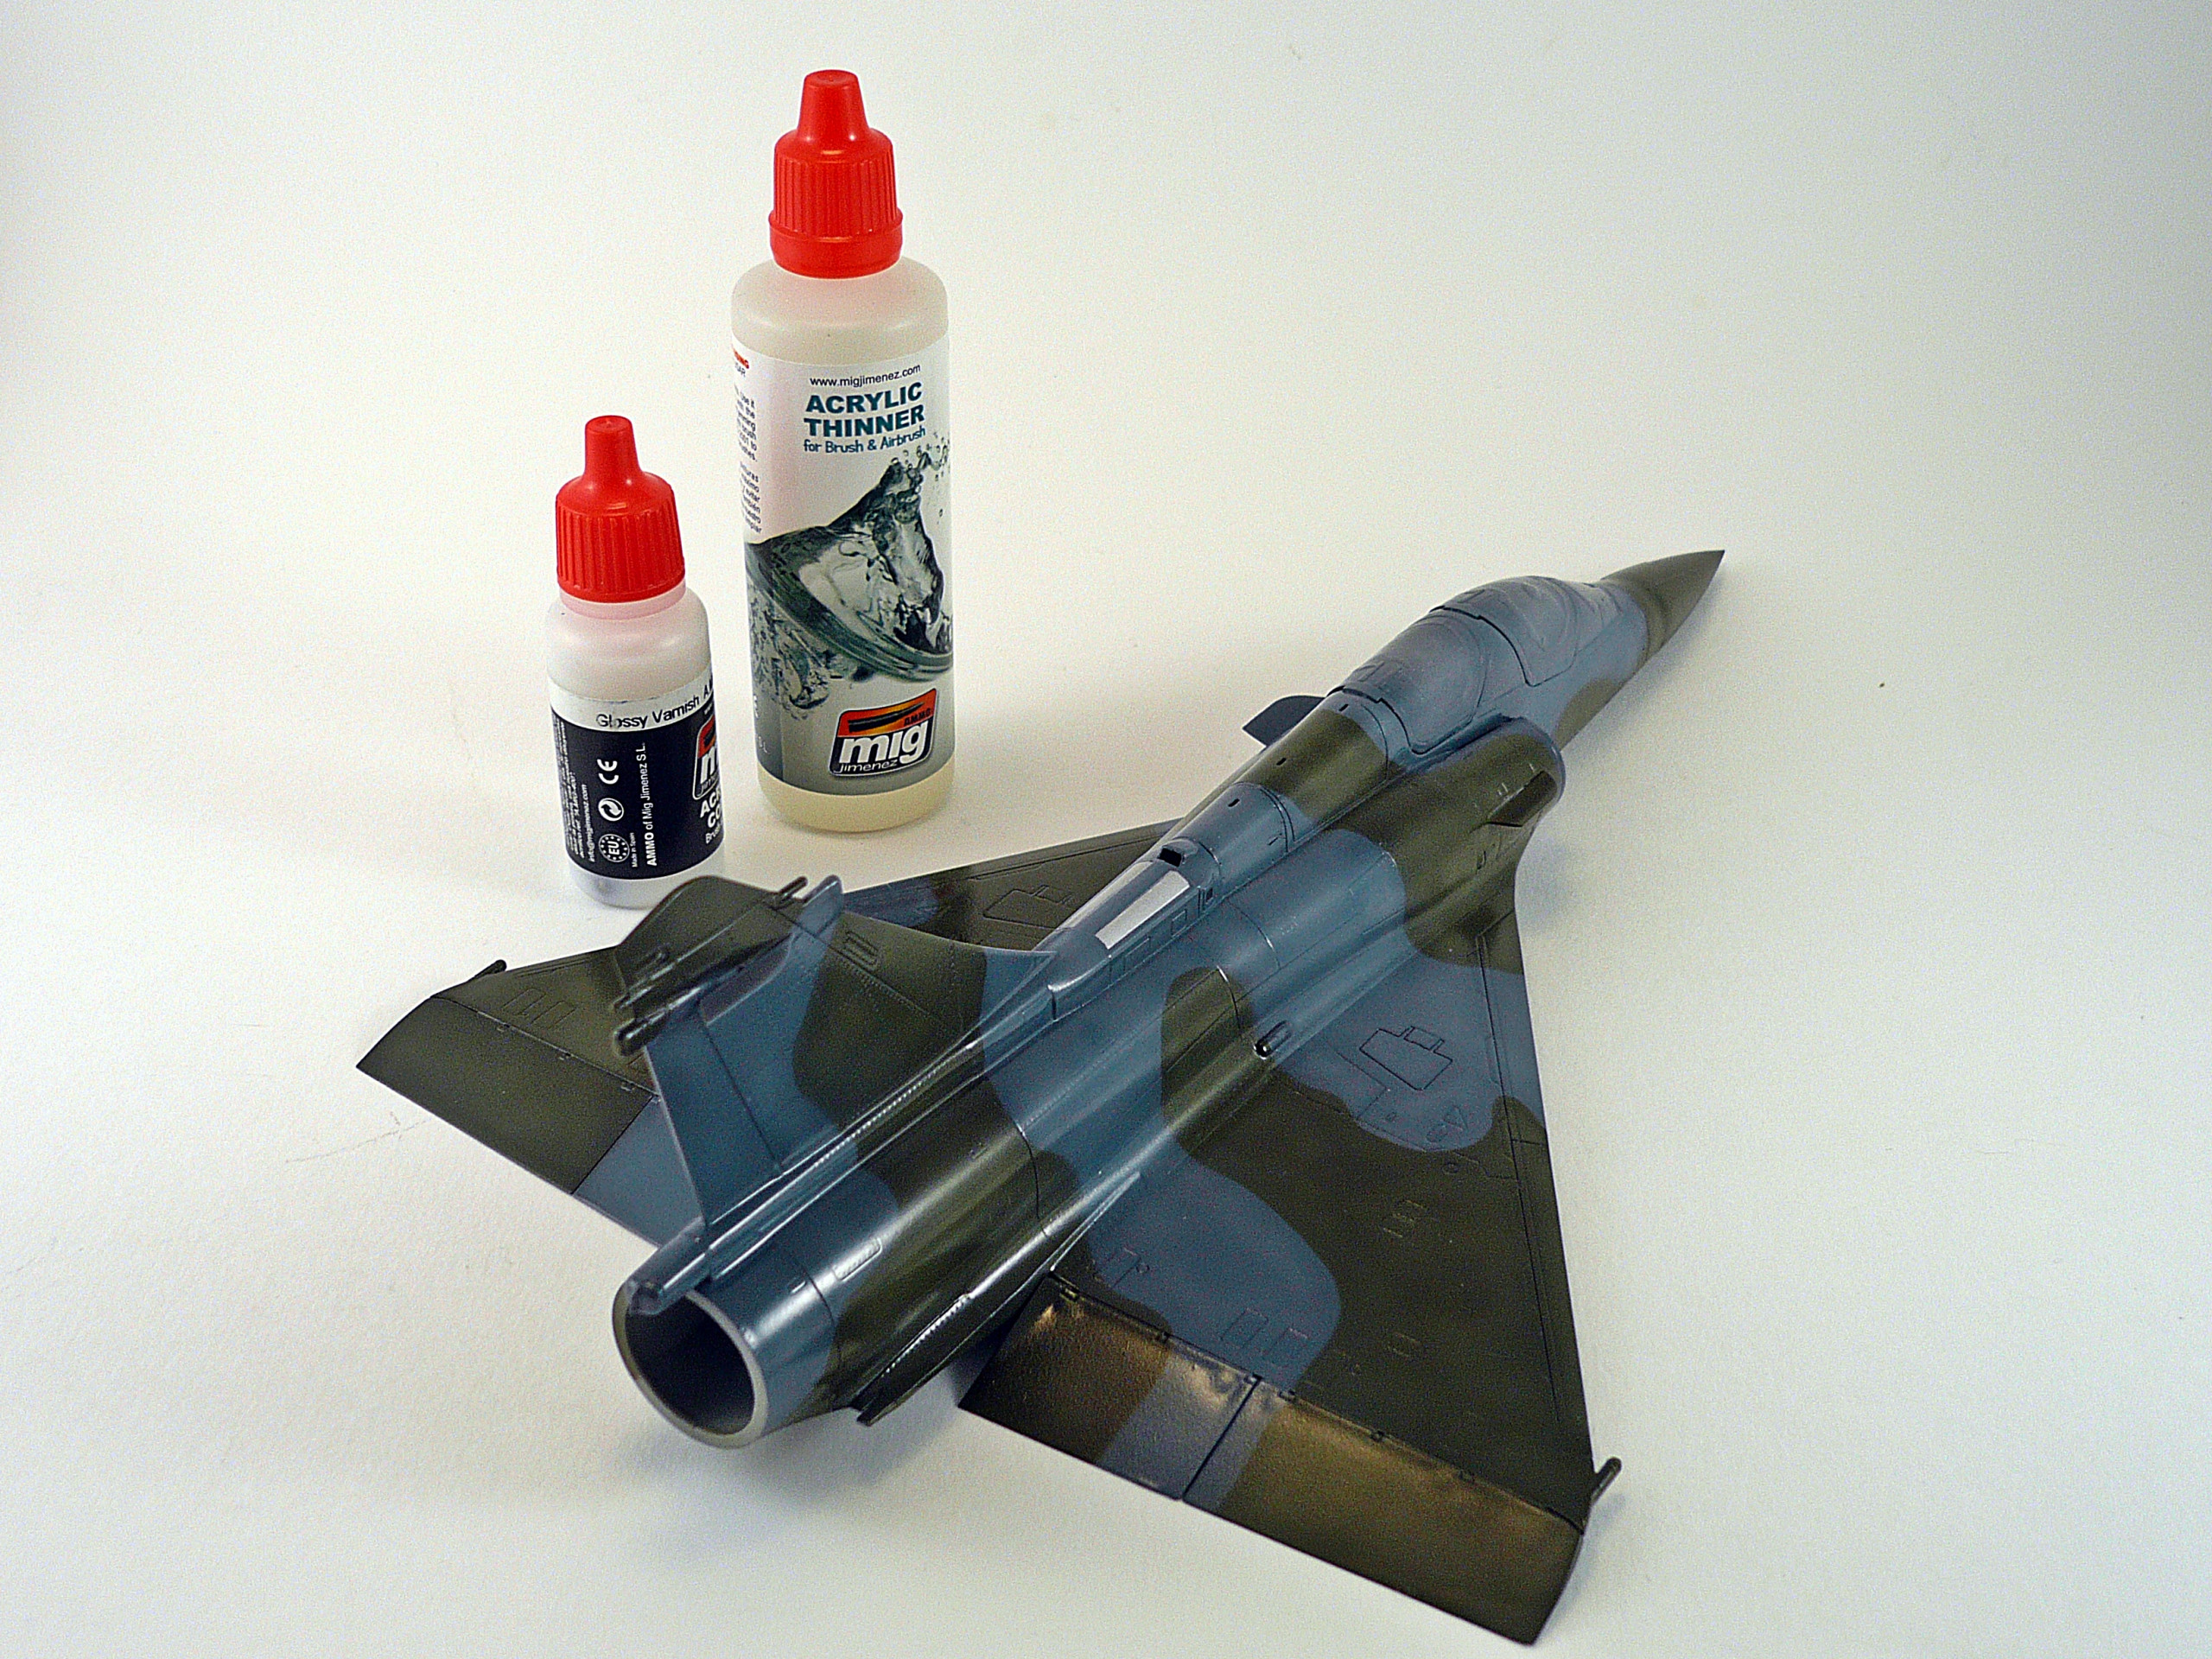
After the paint job finished I gave the whole model 2 coats of clear gloss varnish from Ammo range (pic.9)
Editor note: pics 10,11,12,13 are the same as 6,7,8,9 but in white background. You can choose which are more appropriate
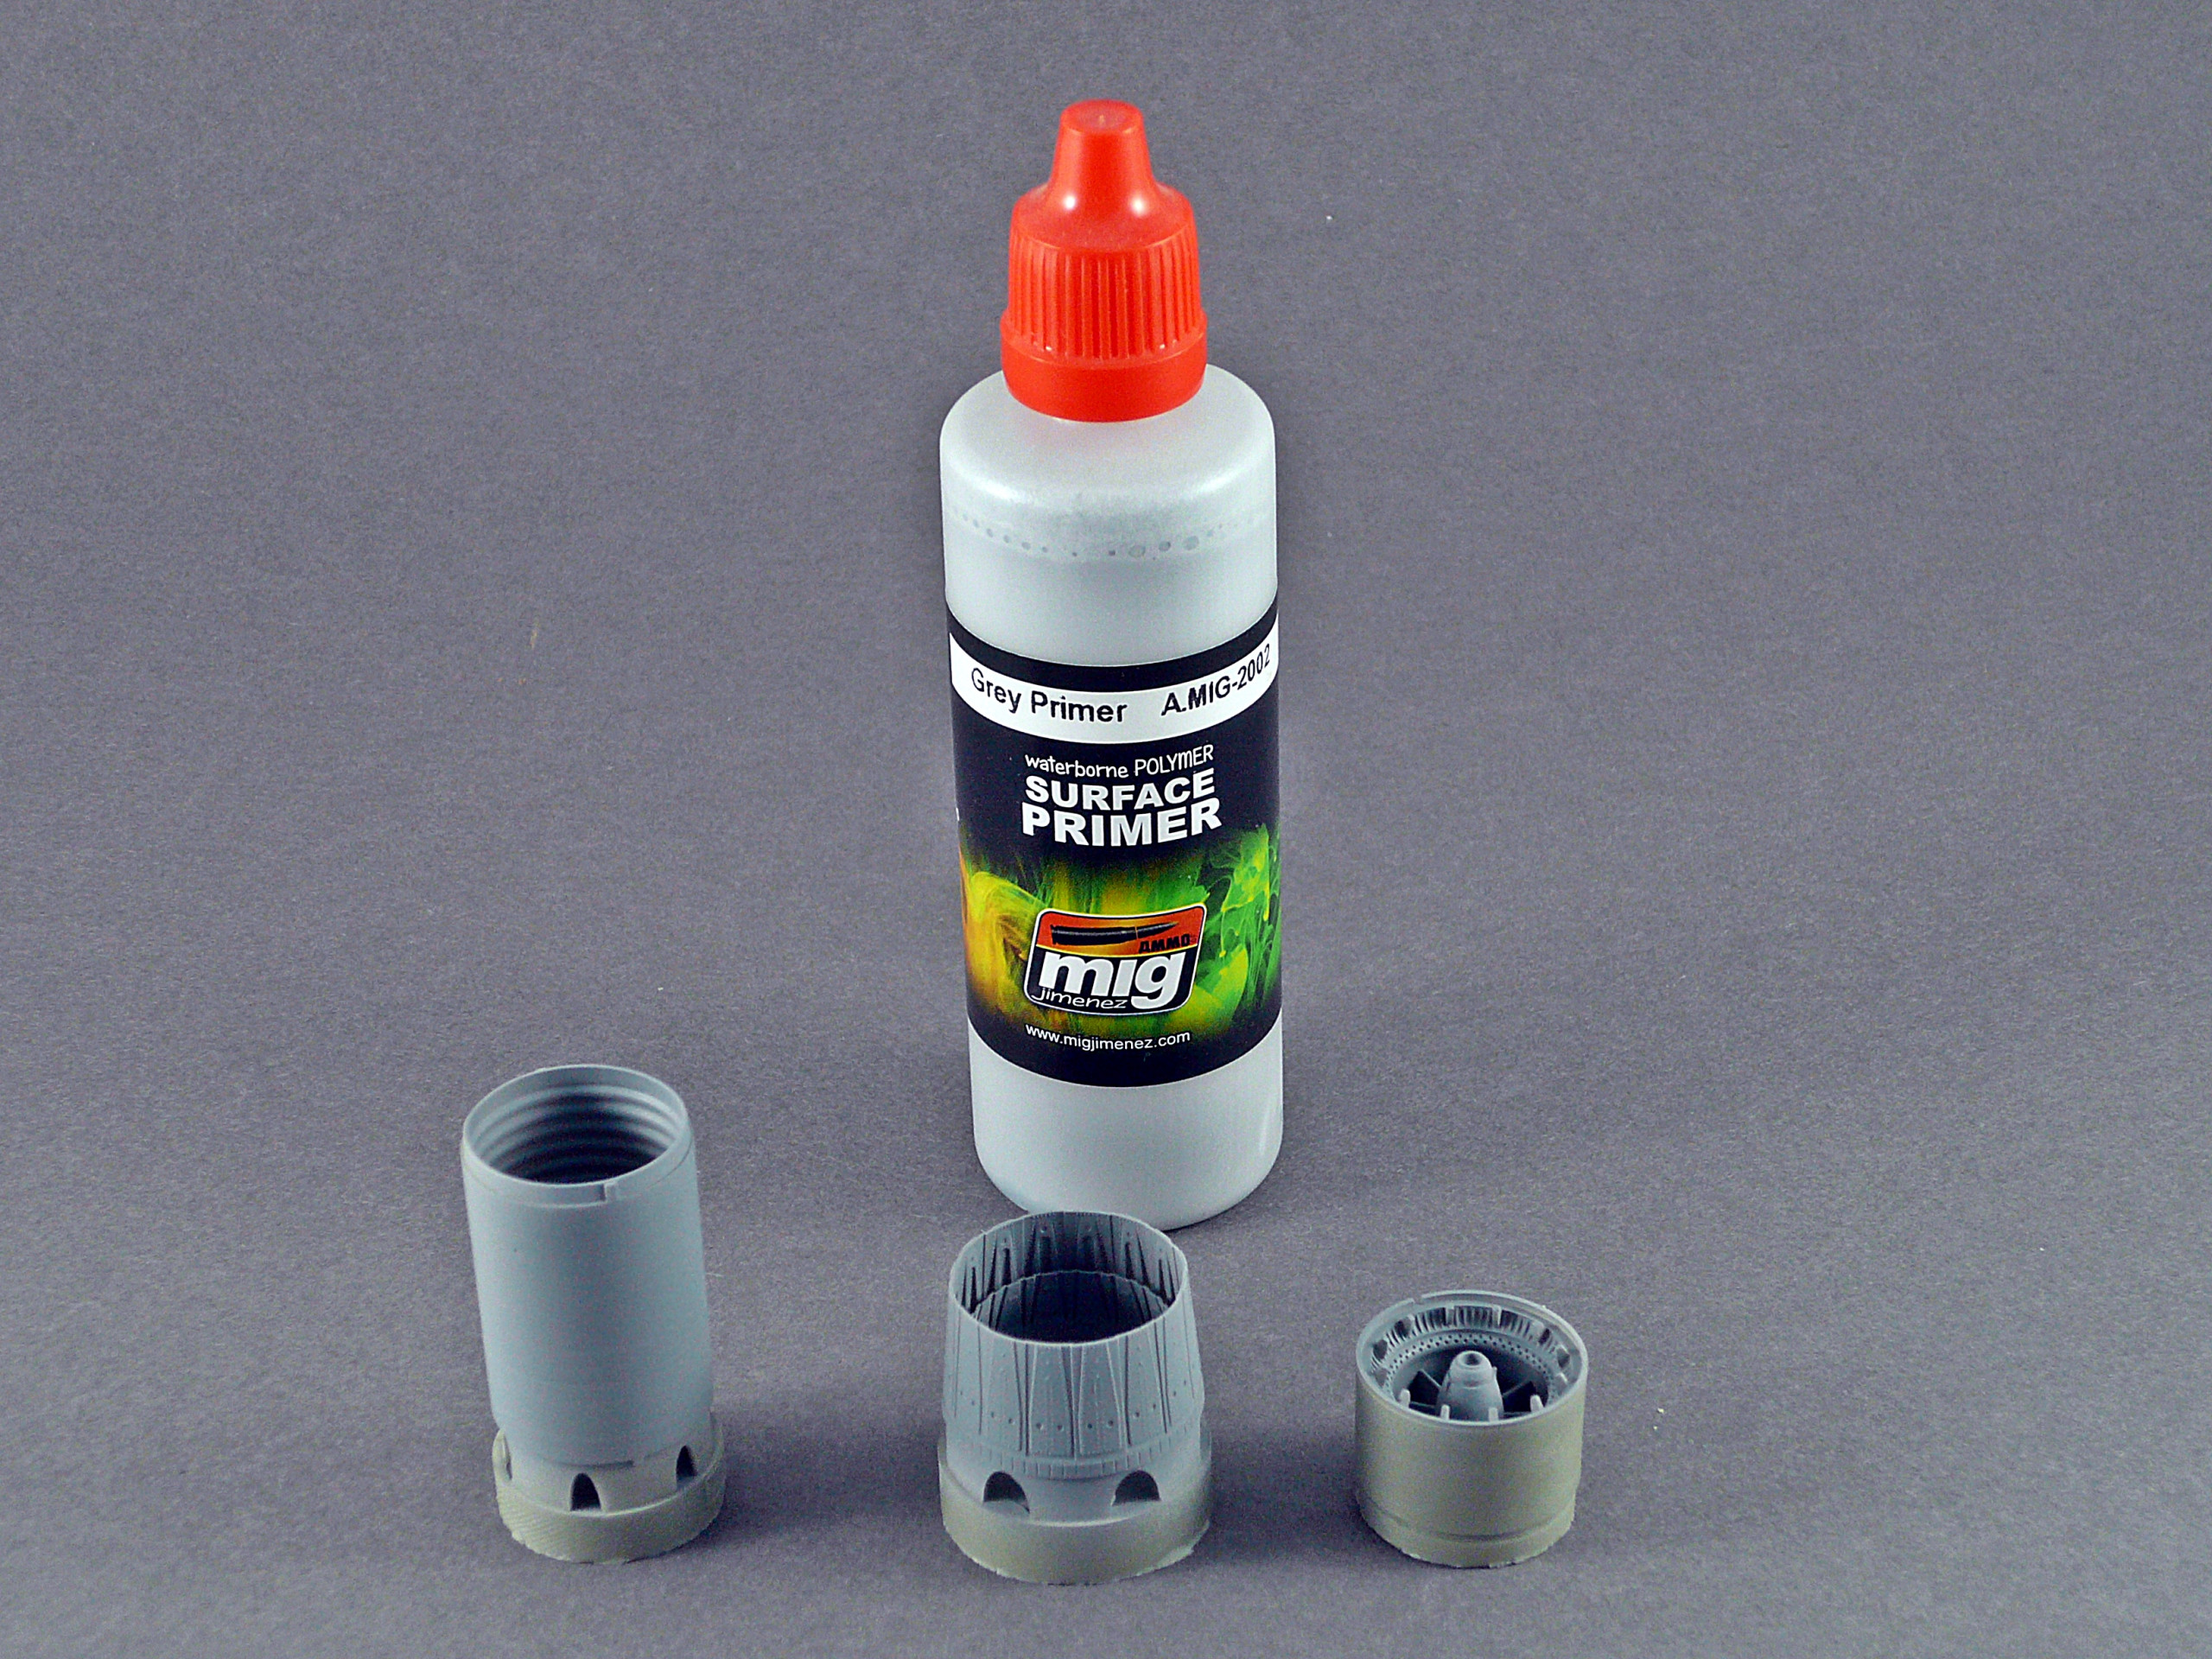
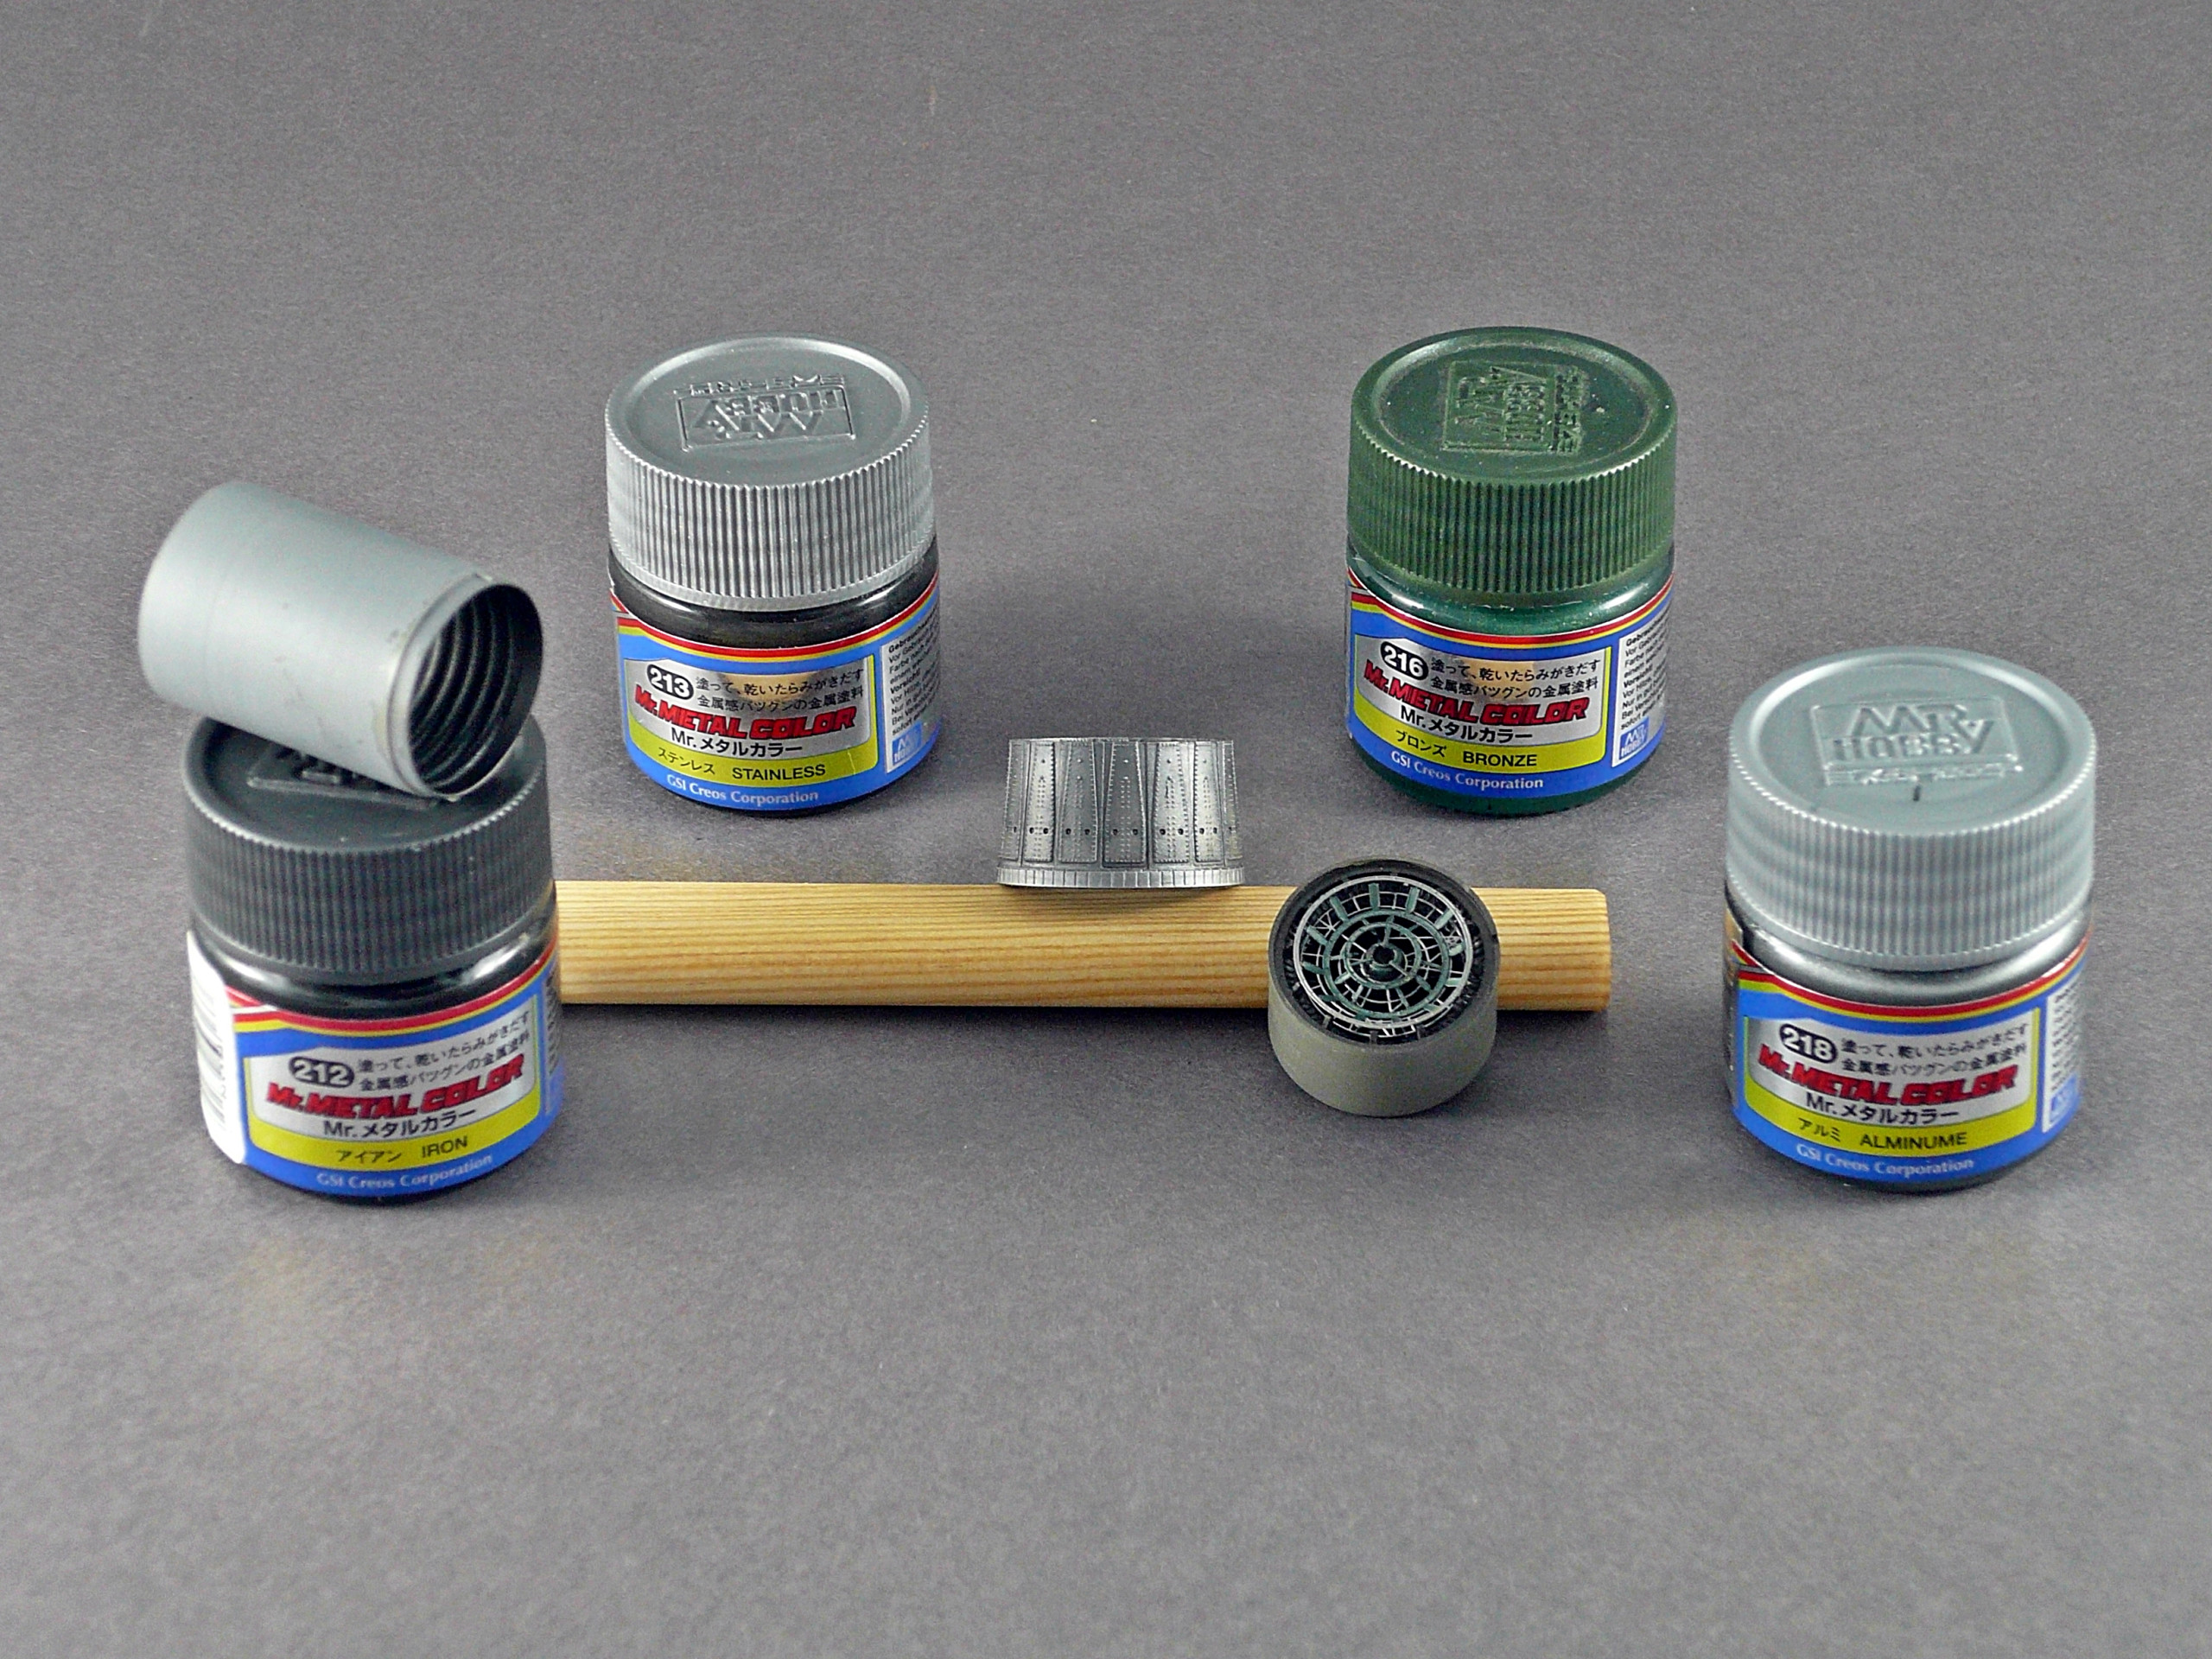
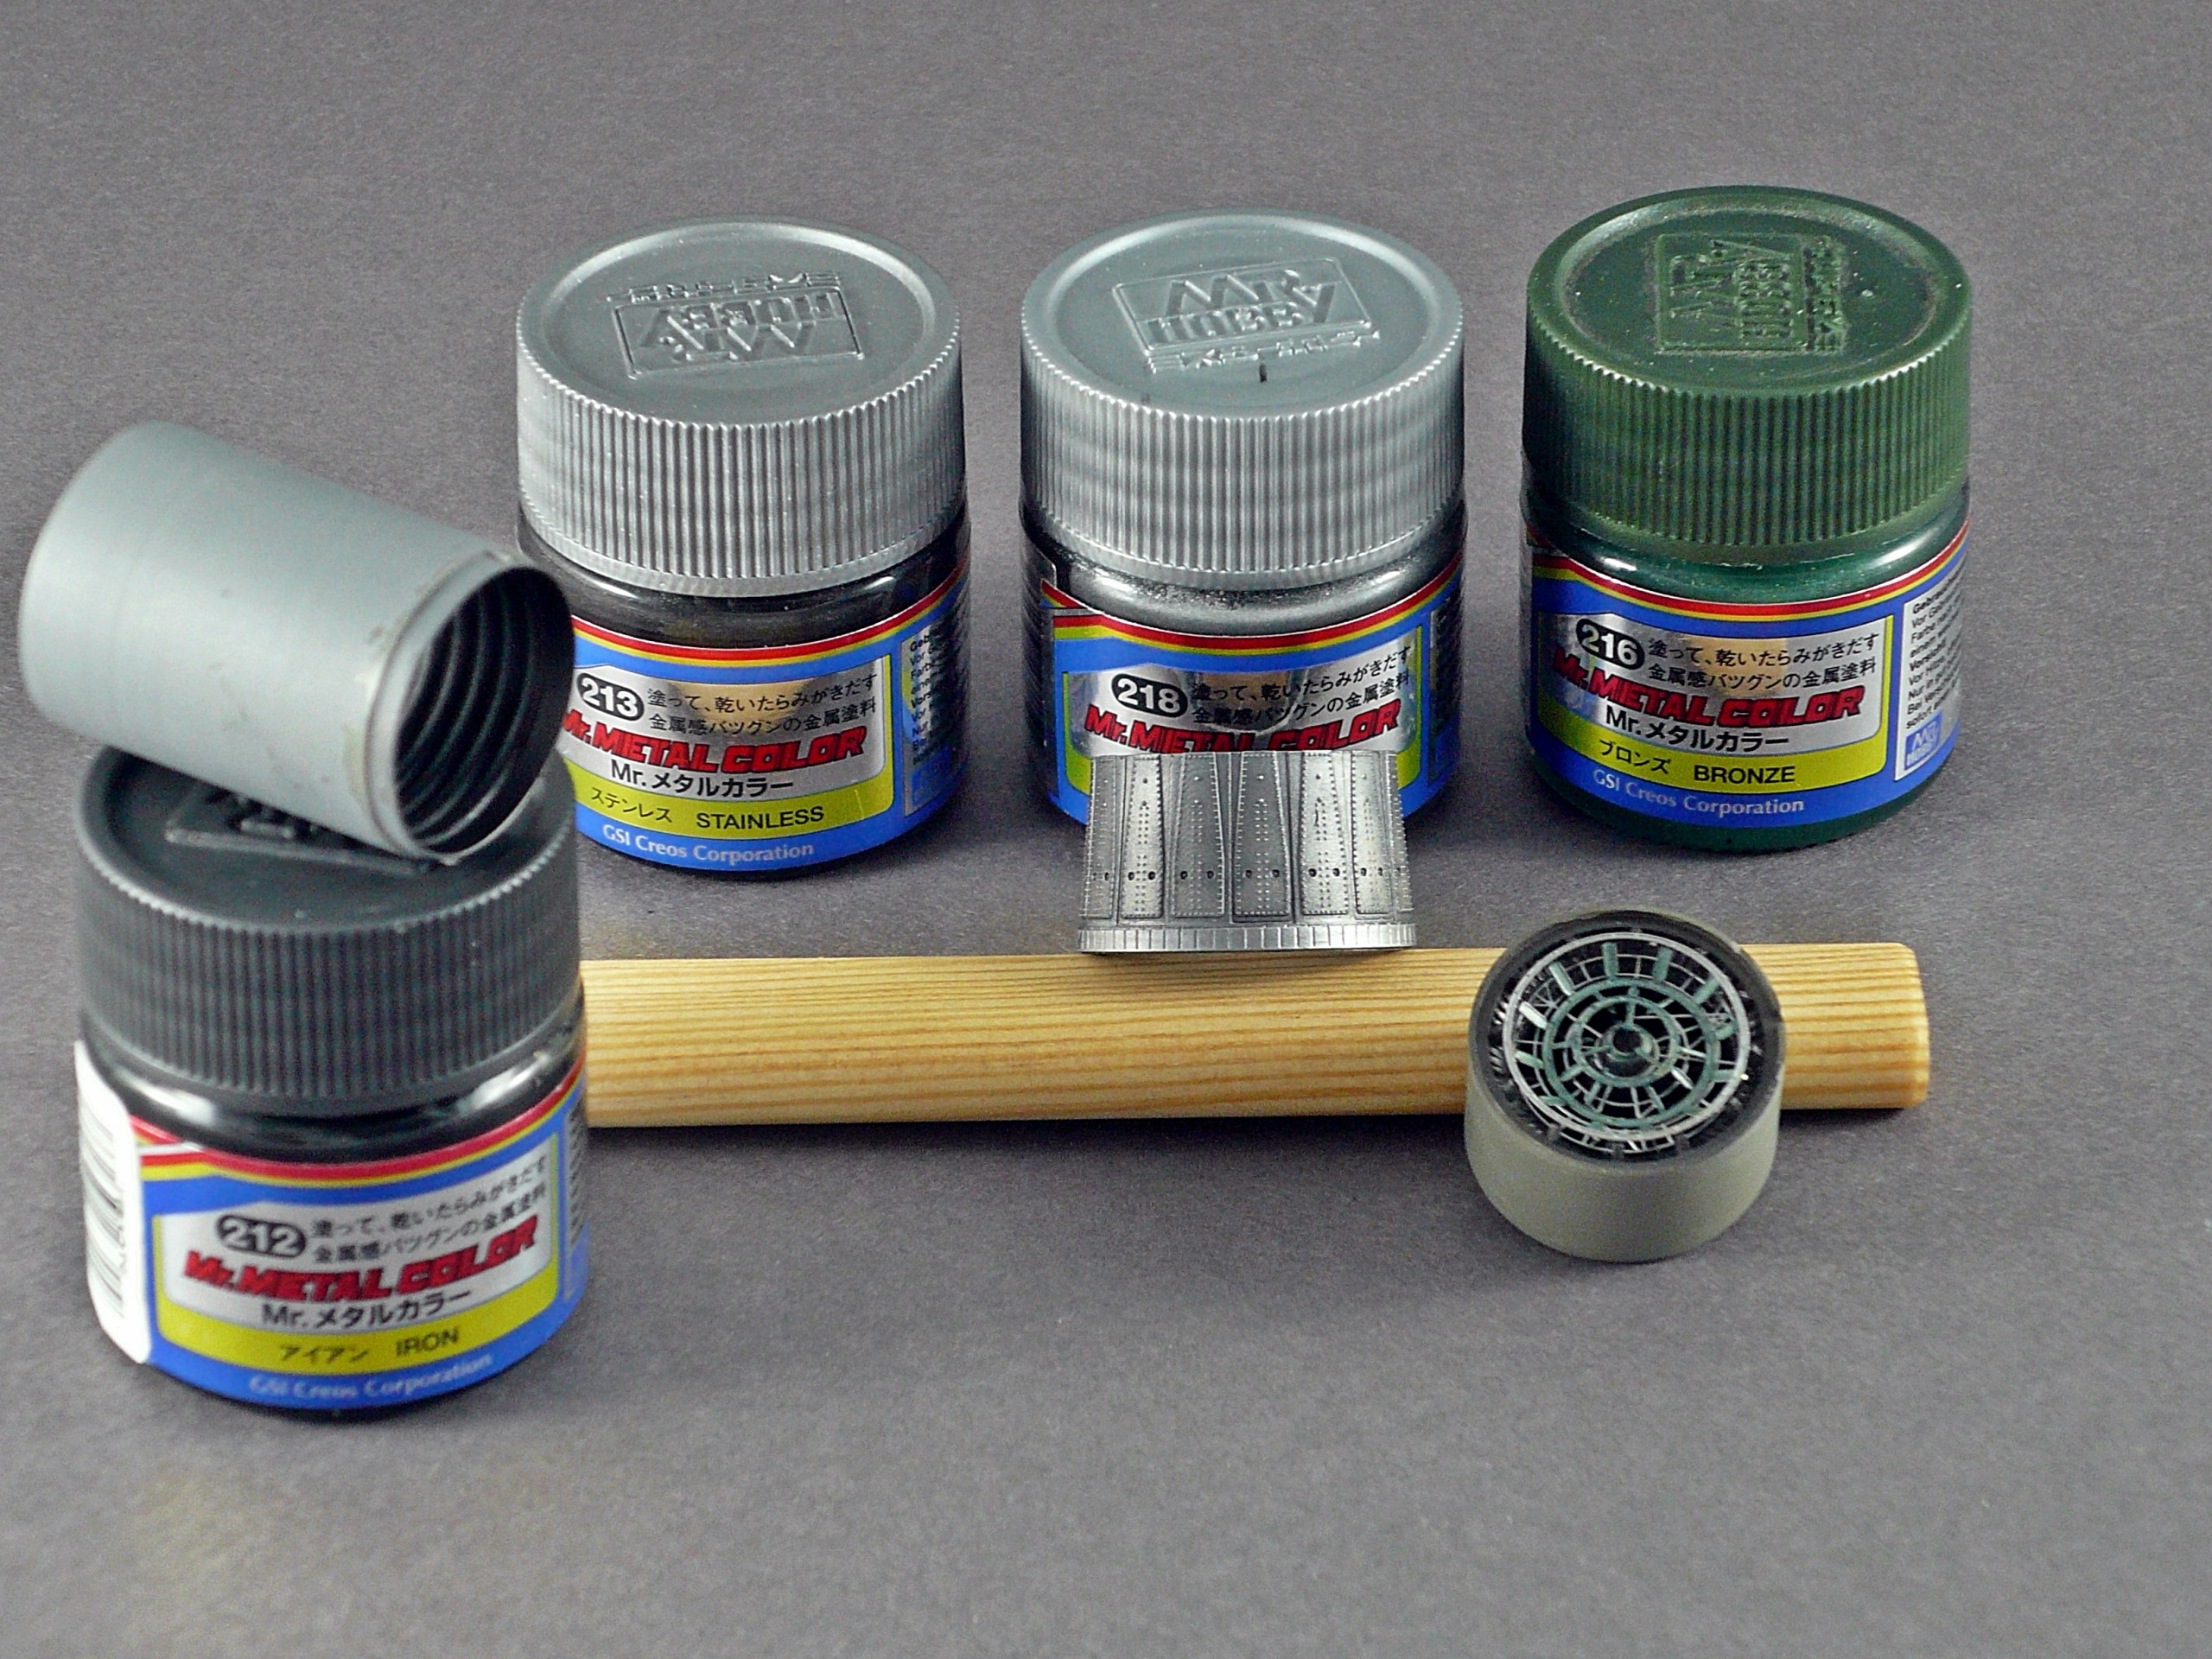
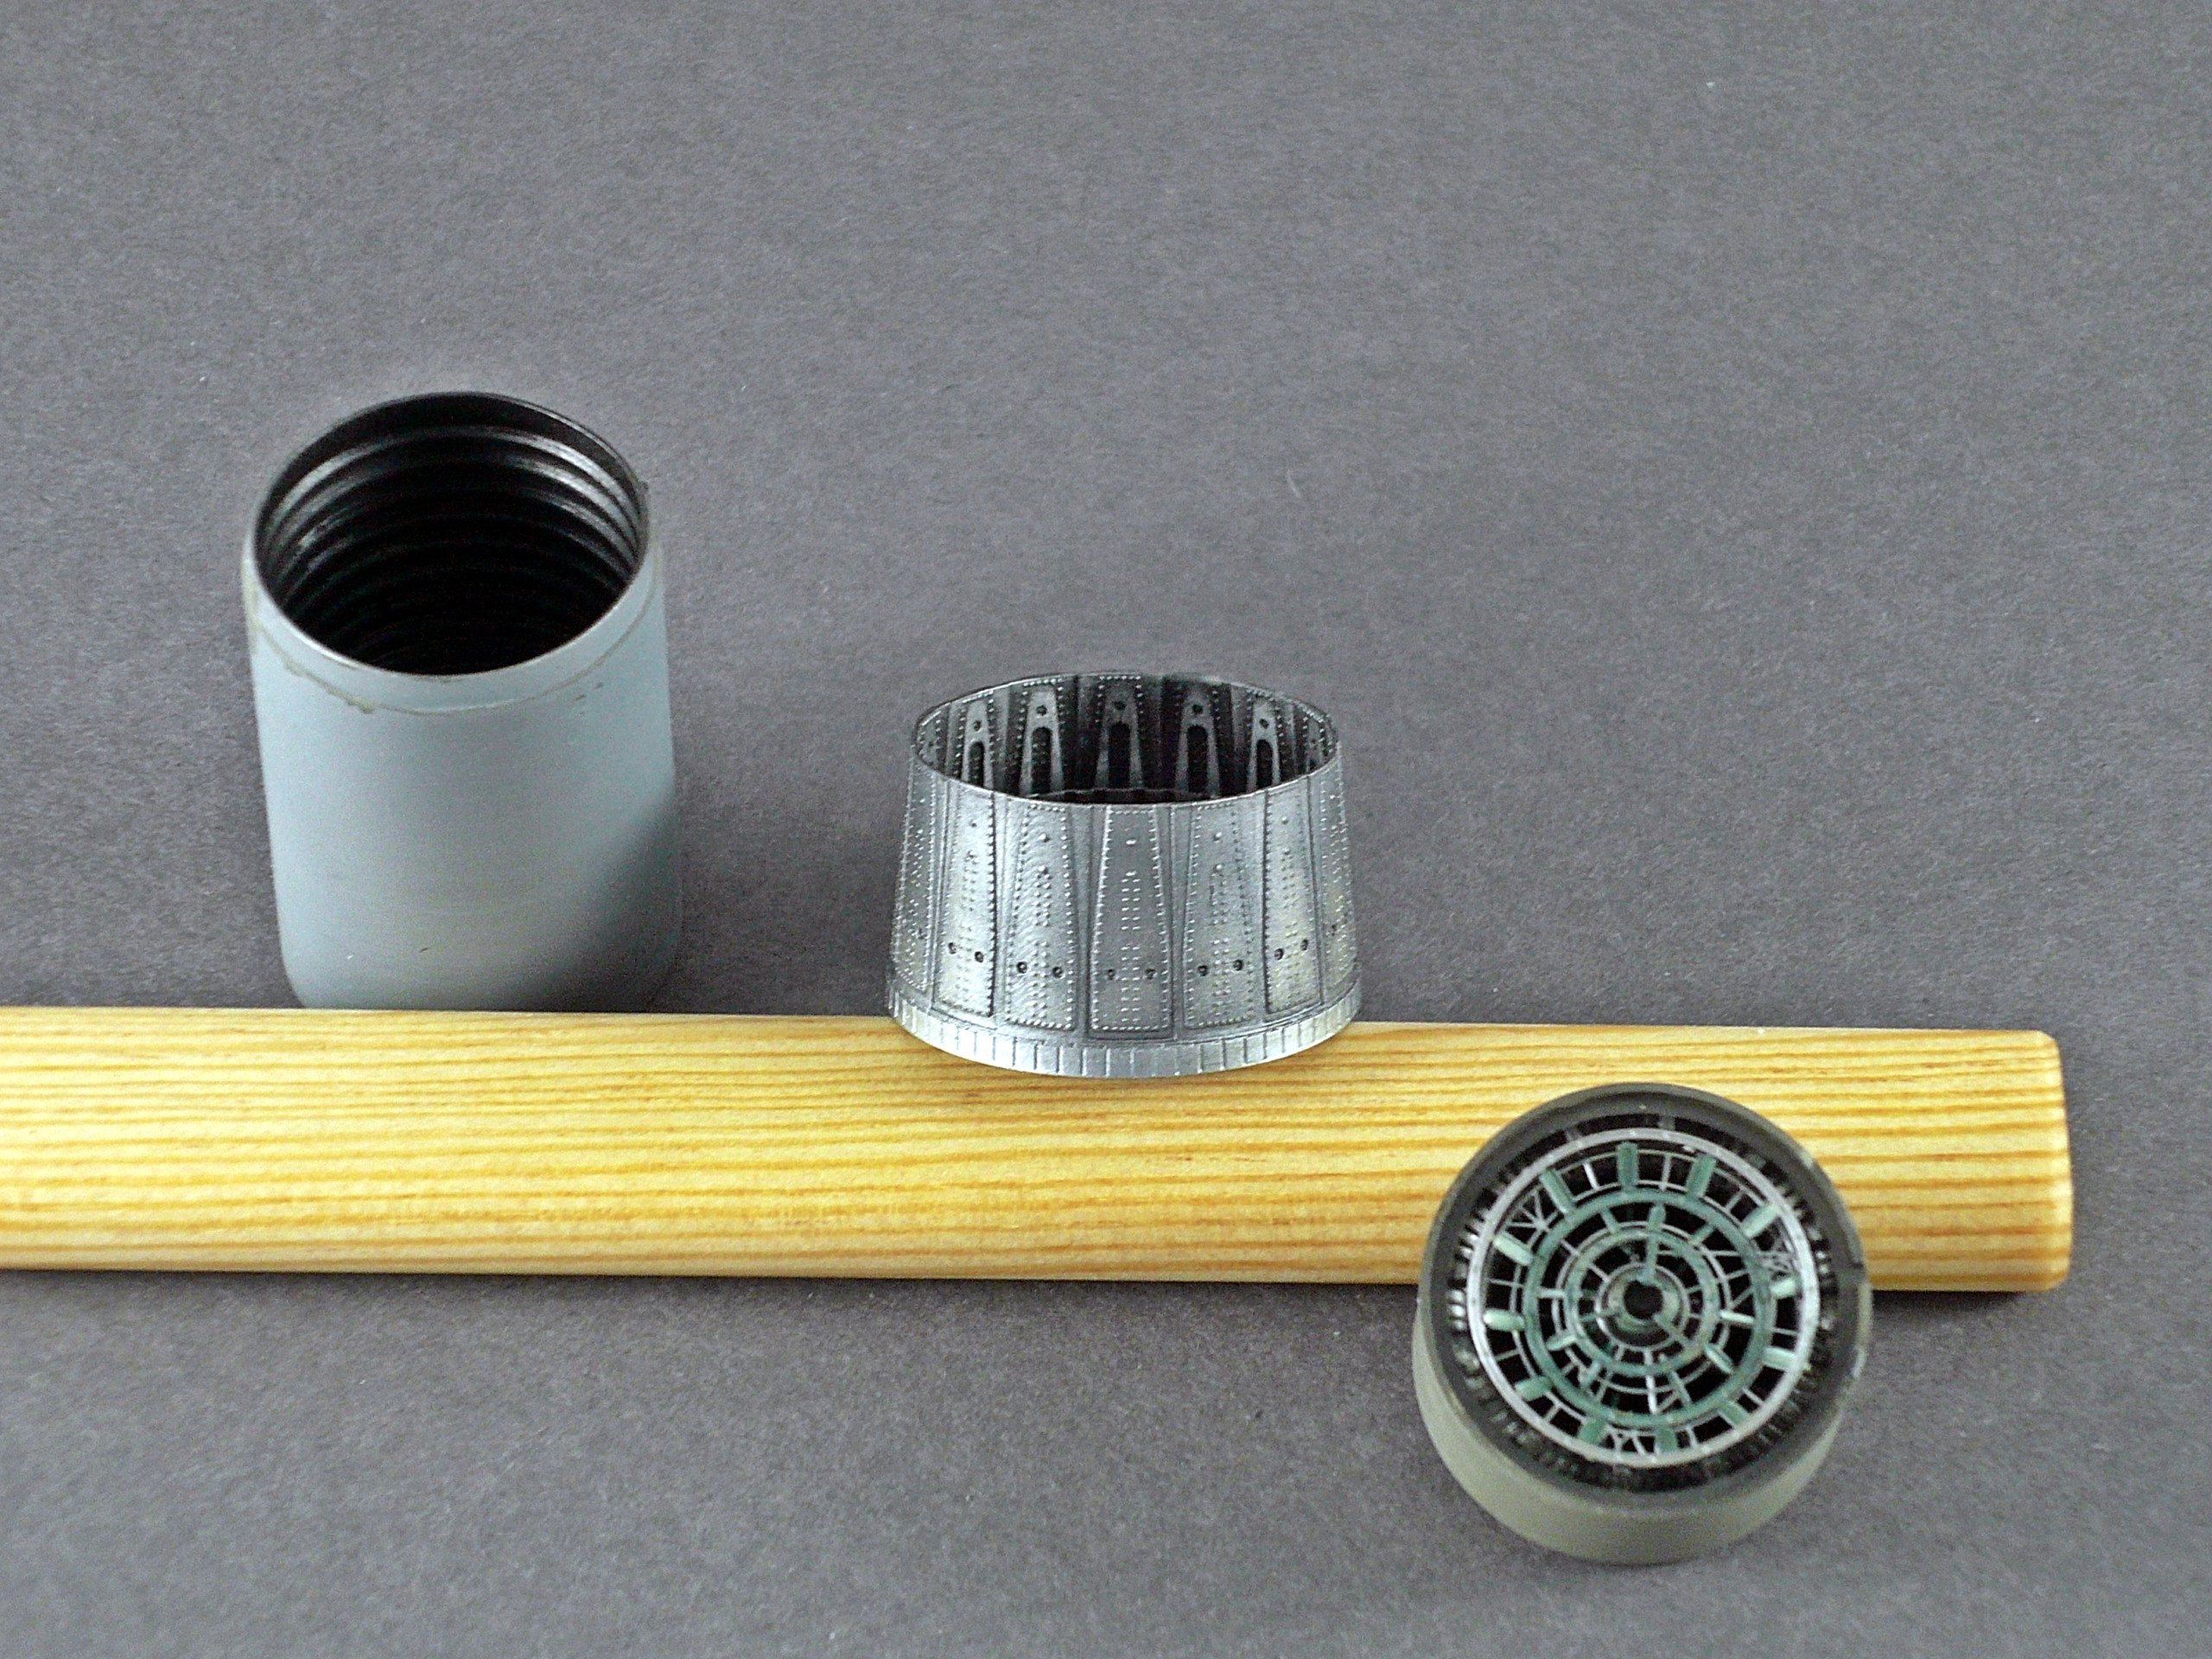
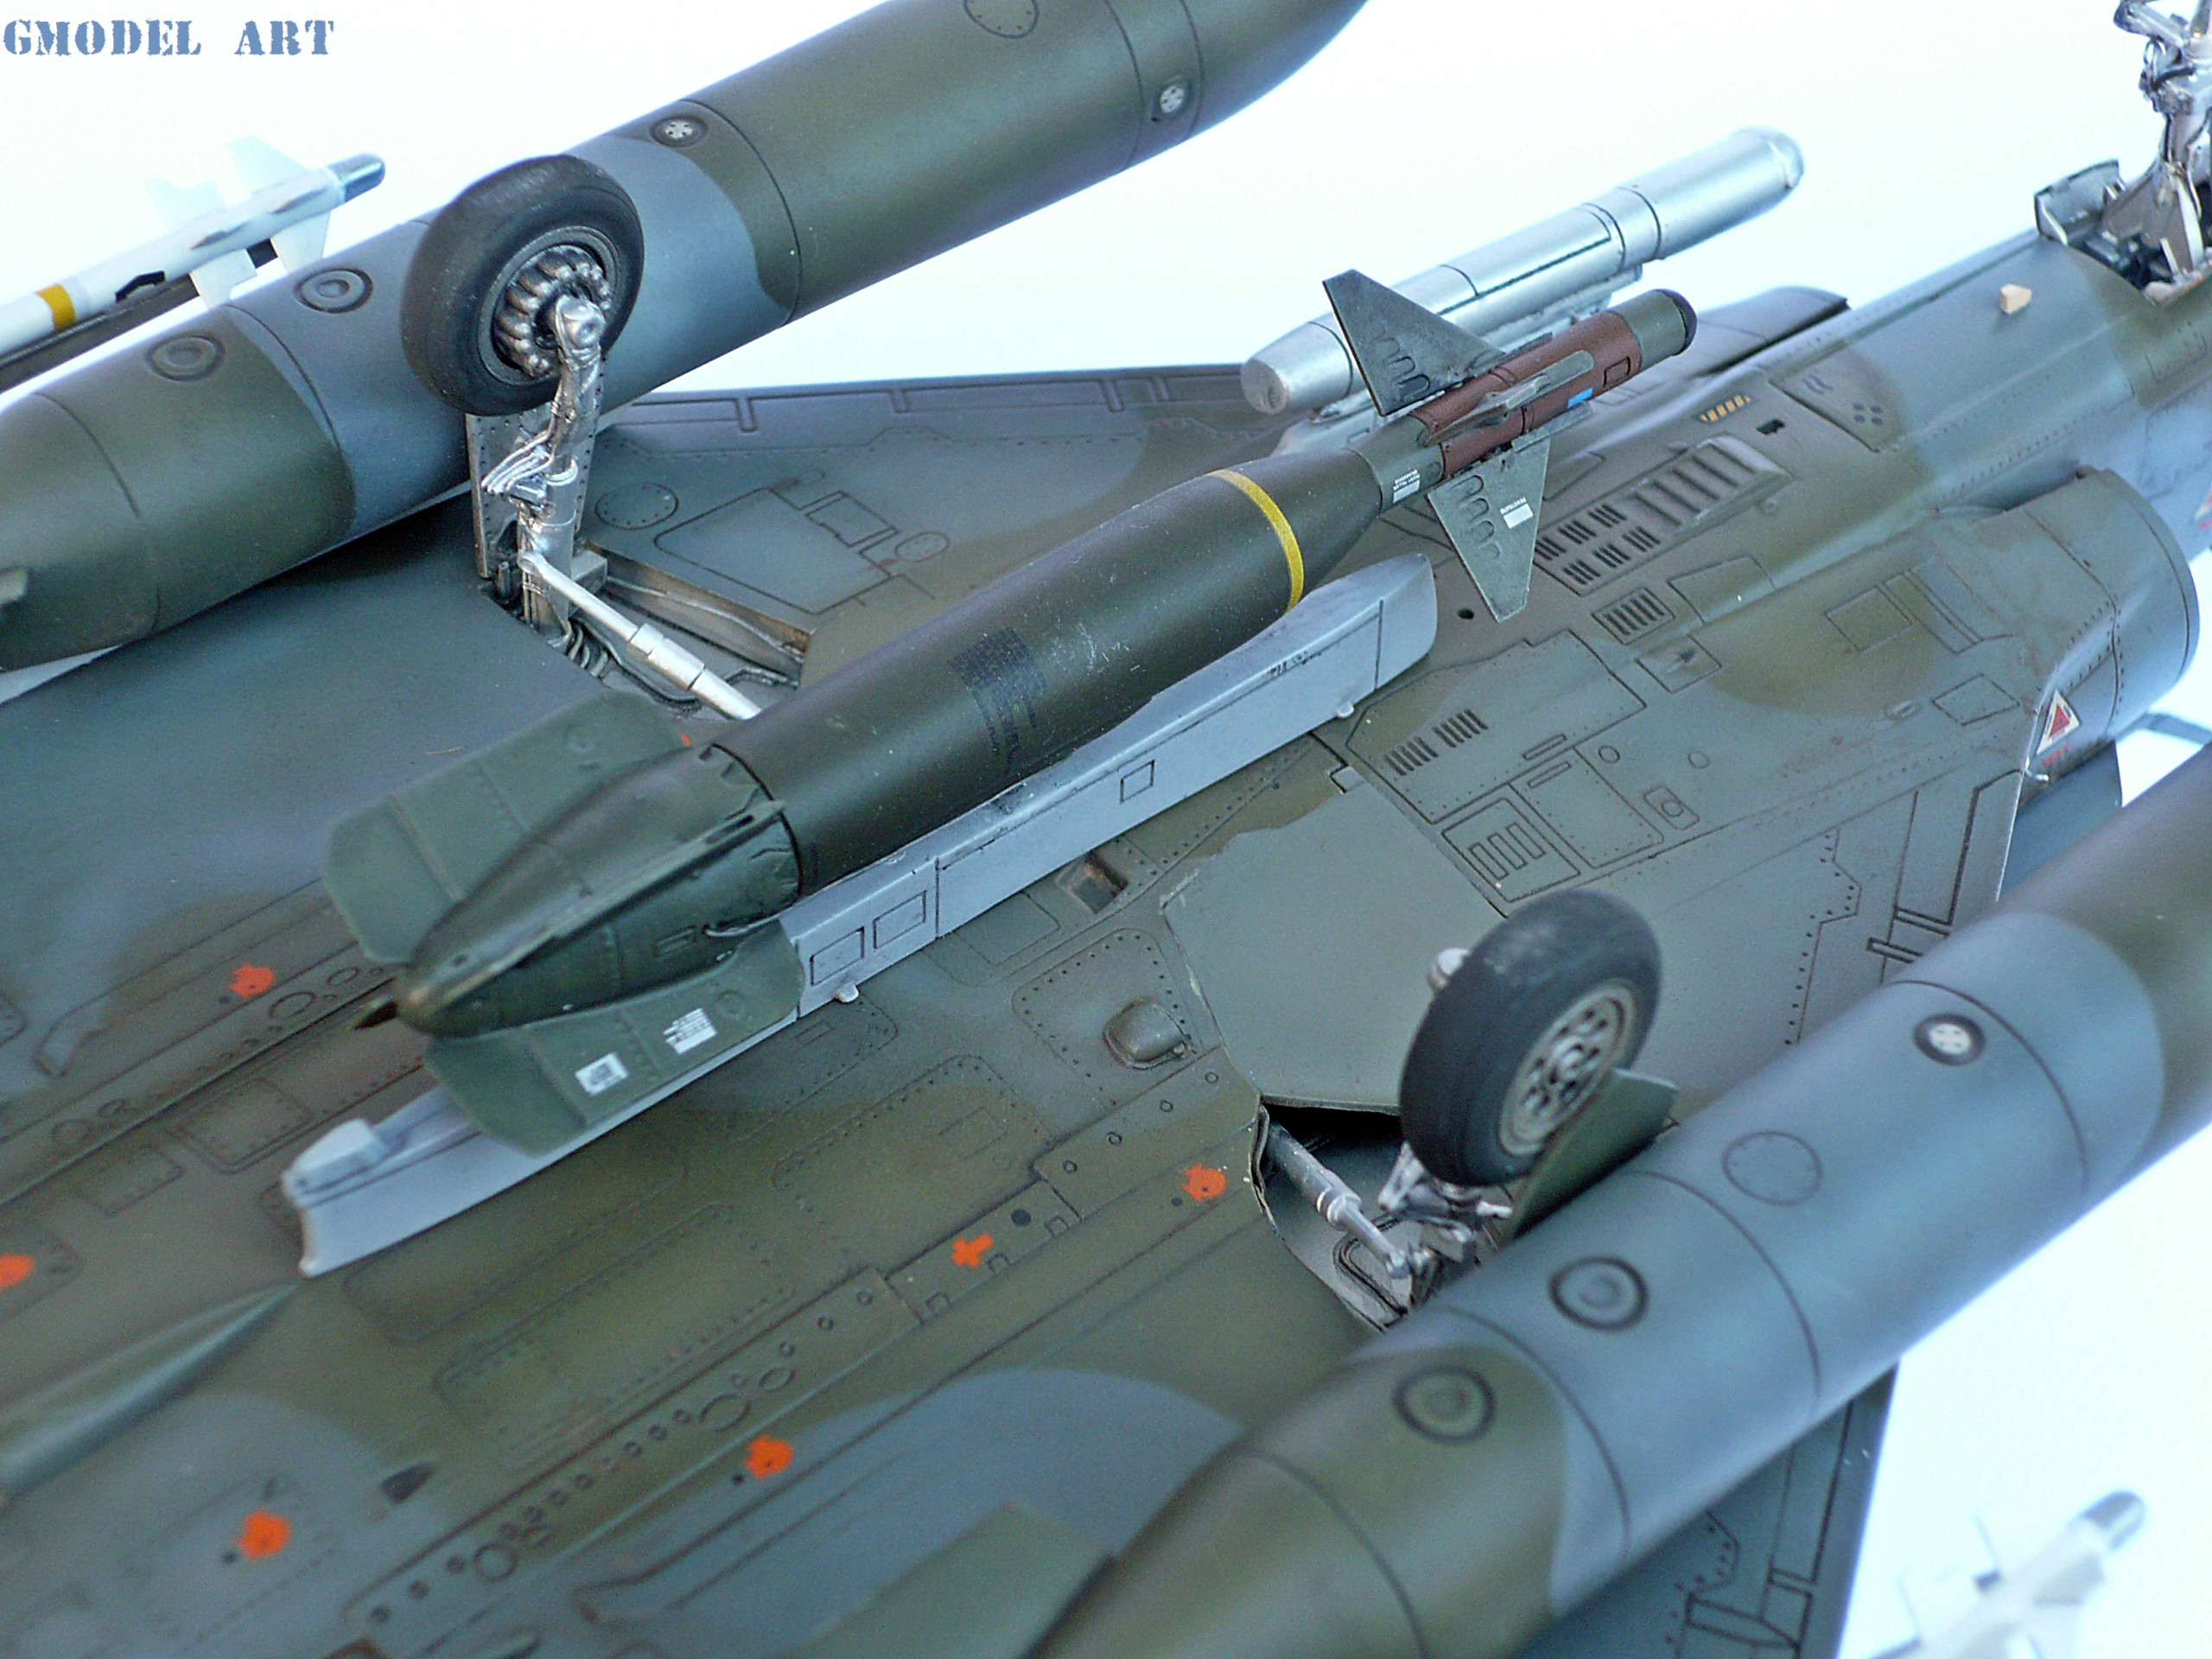
The engine exhaust came from aires. You have to remove some internal structural though to have a good fit. At first I sprayed all the resin pieces with Ammo gray primer for a smooth surface (pic. 14). The afterburner area painted using a mix of colors…I used Mr Metal Color Iron as the basic color and drybrushed it with Stainless steel from the same range. After that some black oil to bring up the details. The afterburner’s internal rings painted using Mr Metal Color bronze and a mix of aluminum and stainless steel. The exhaust painted using Mr Metal Color stainless steel as the basic shade and dry brushed with aluminum to highlight the details (pic. 16,17,18)
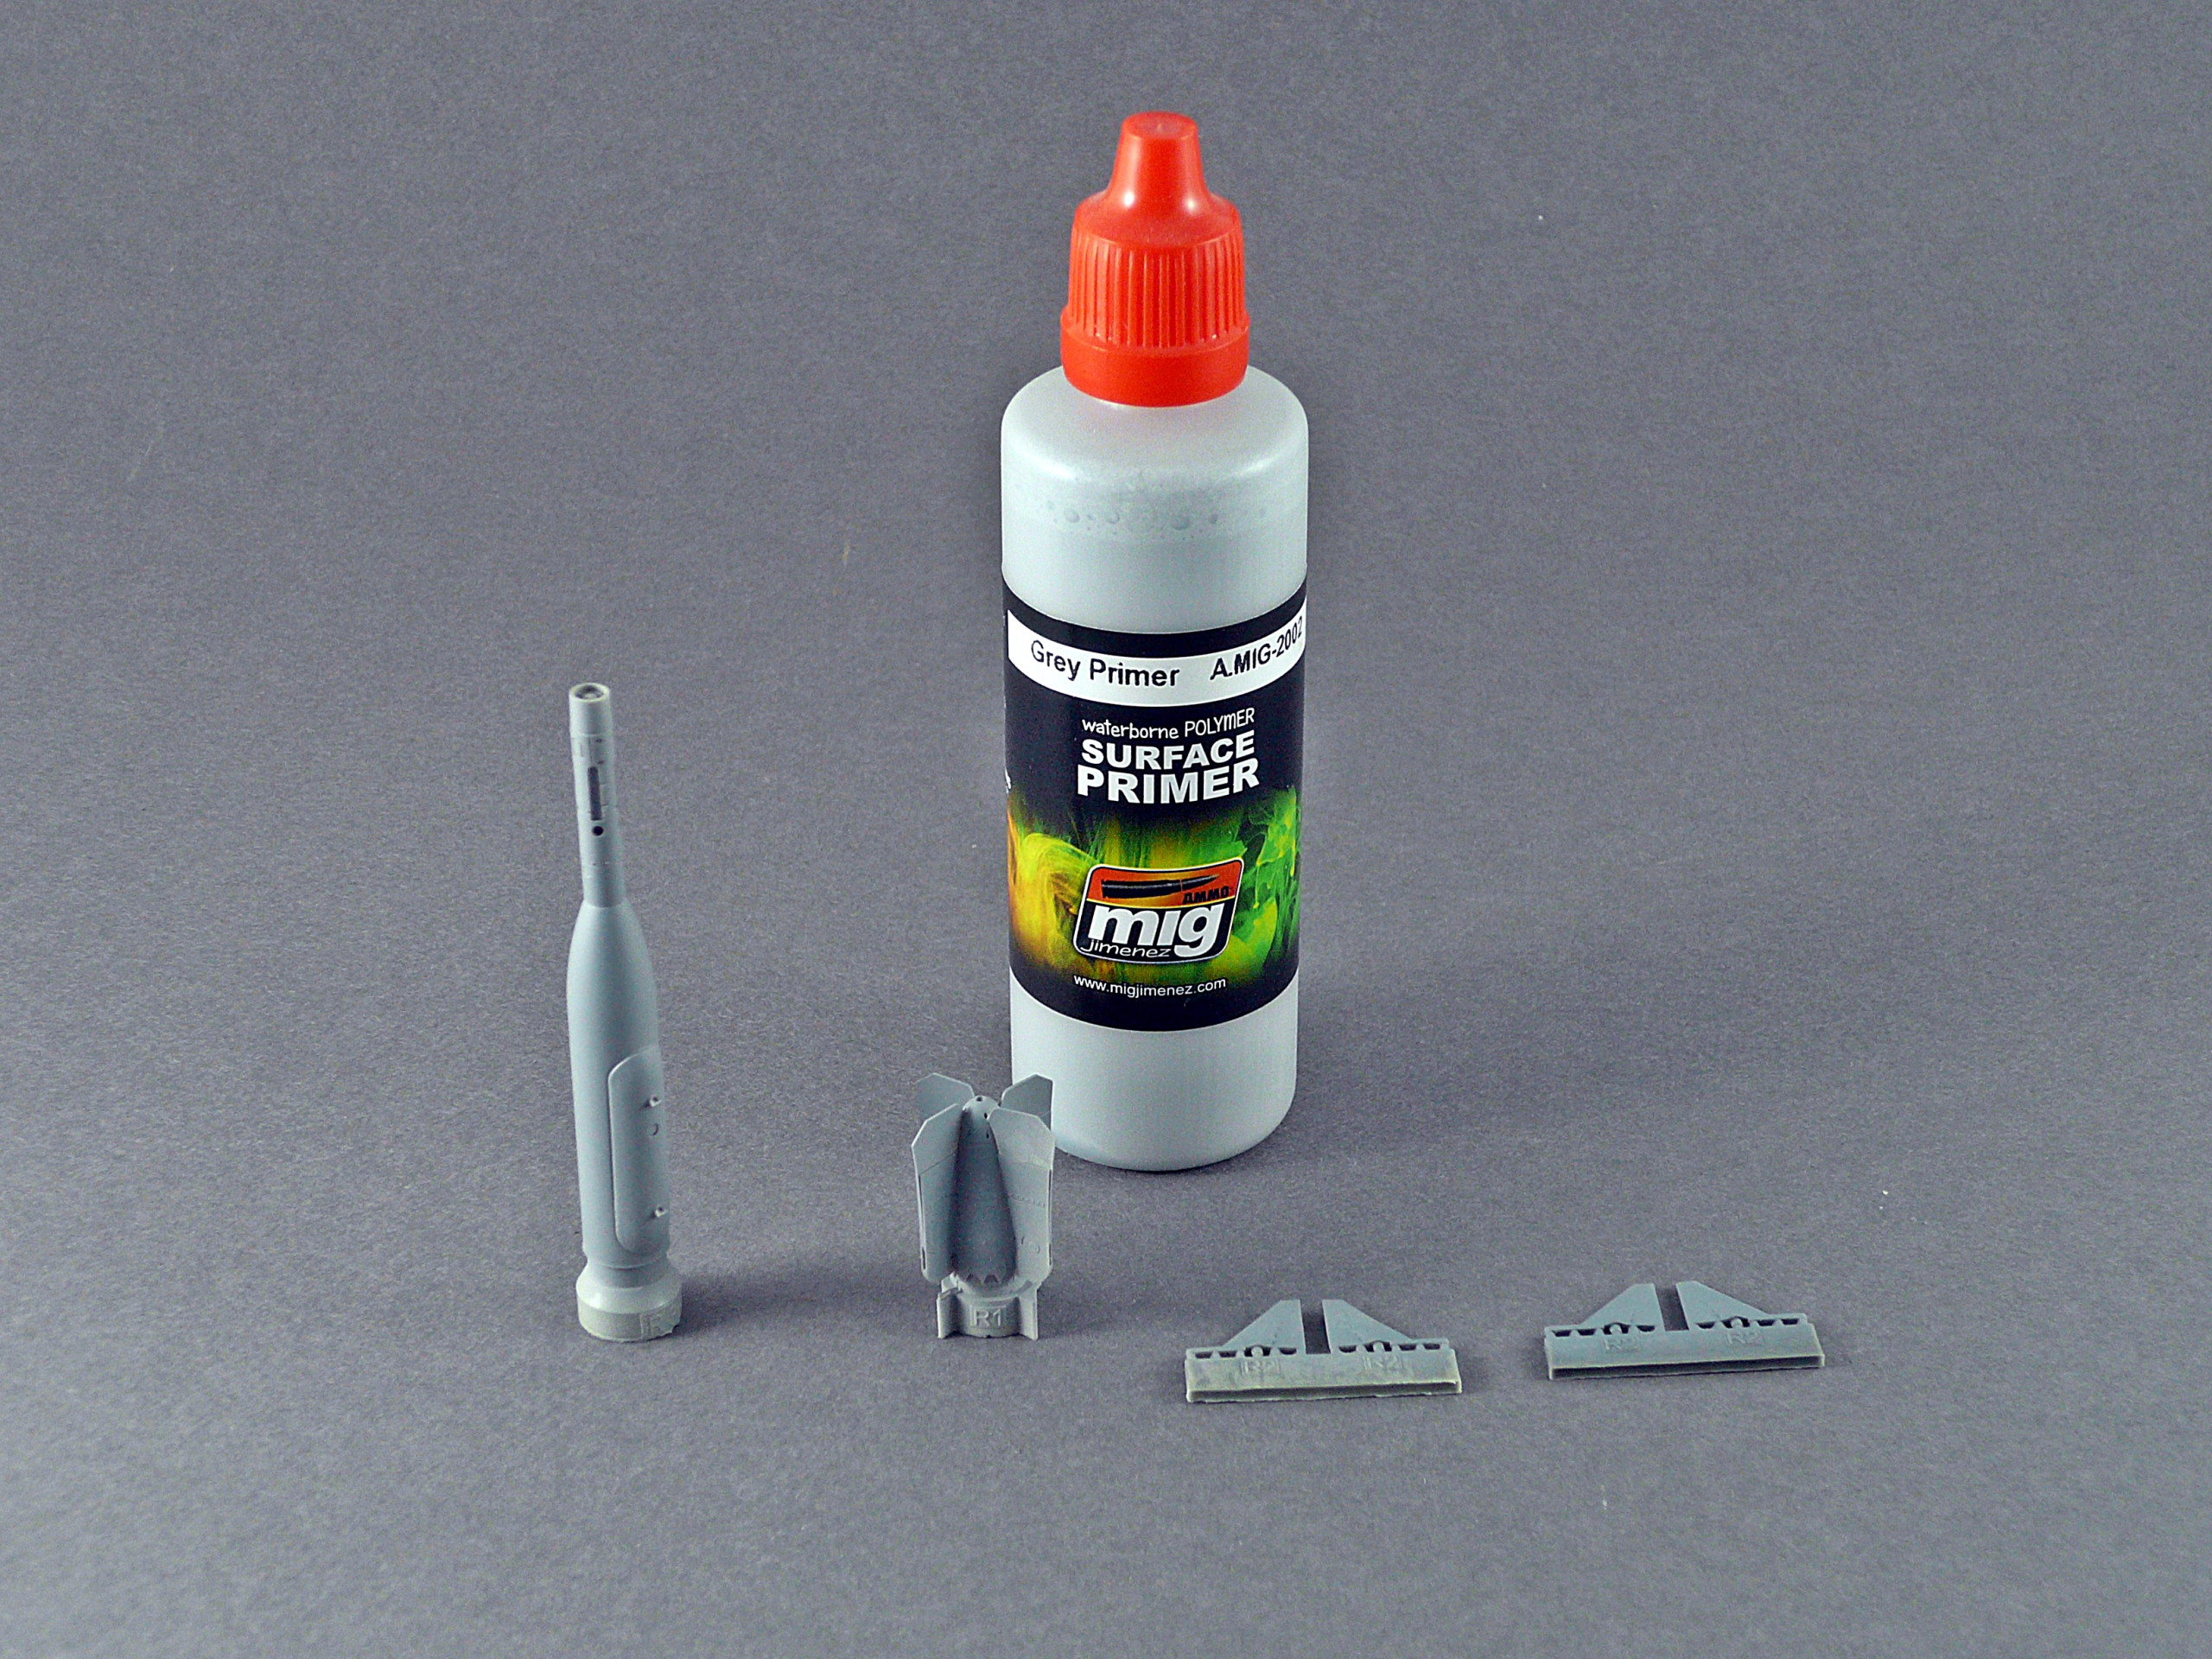
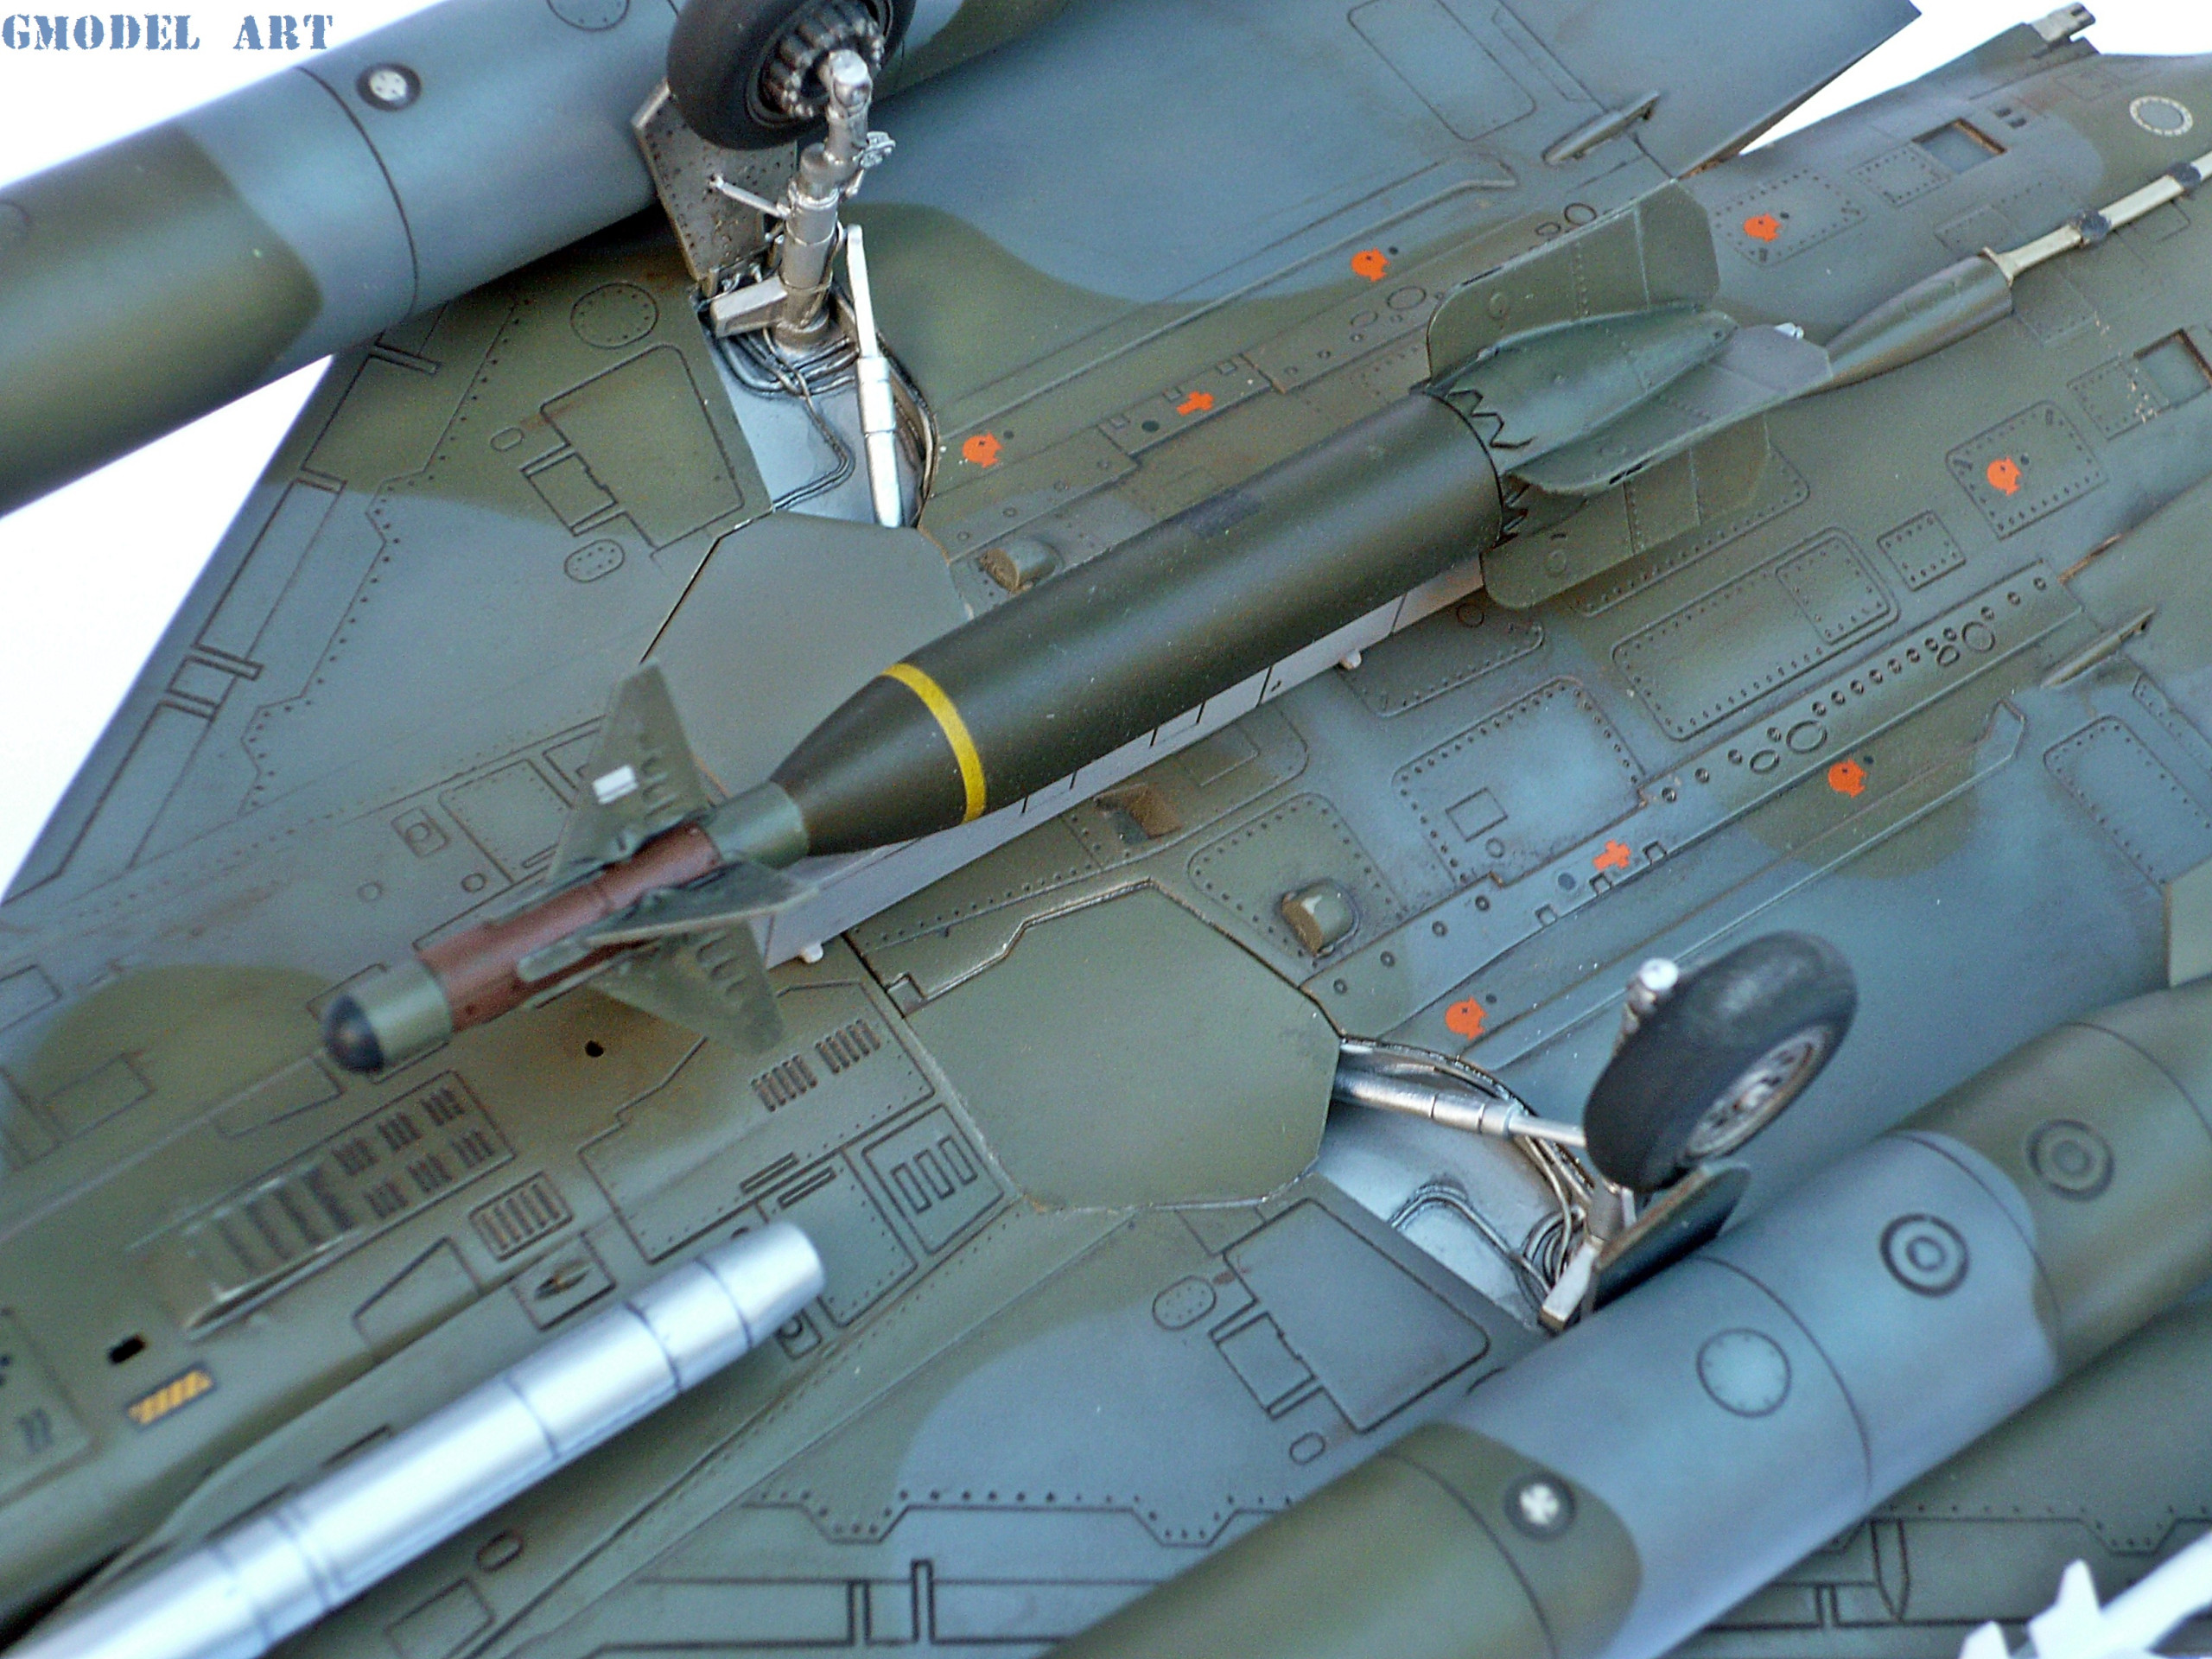
The GBU-24 from Brassin also sprayed with Ammo gray primer before the various pieces come together (pic. 15)
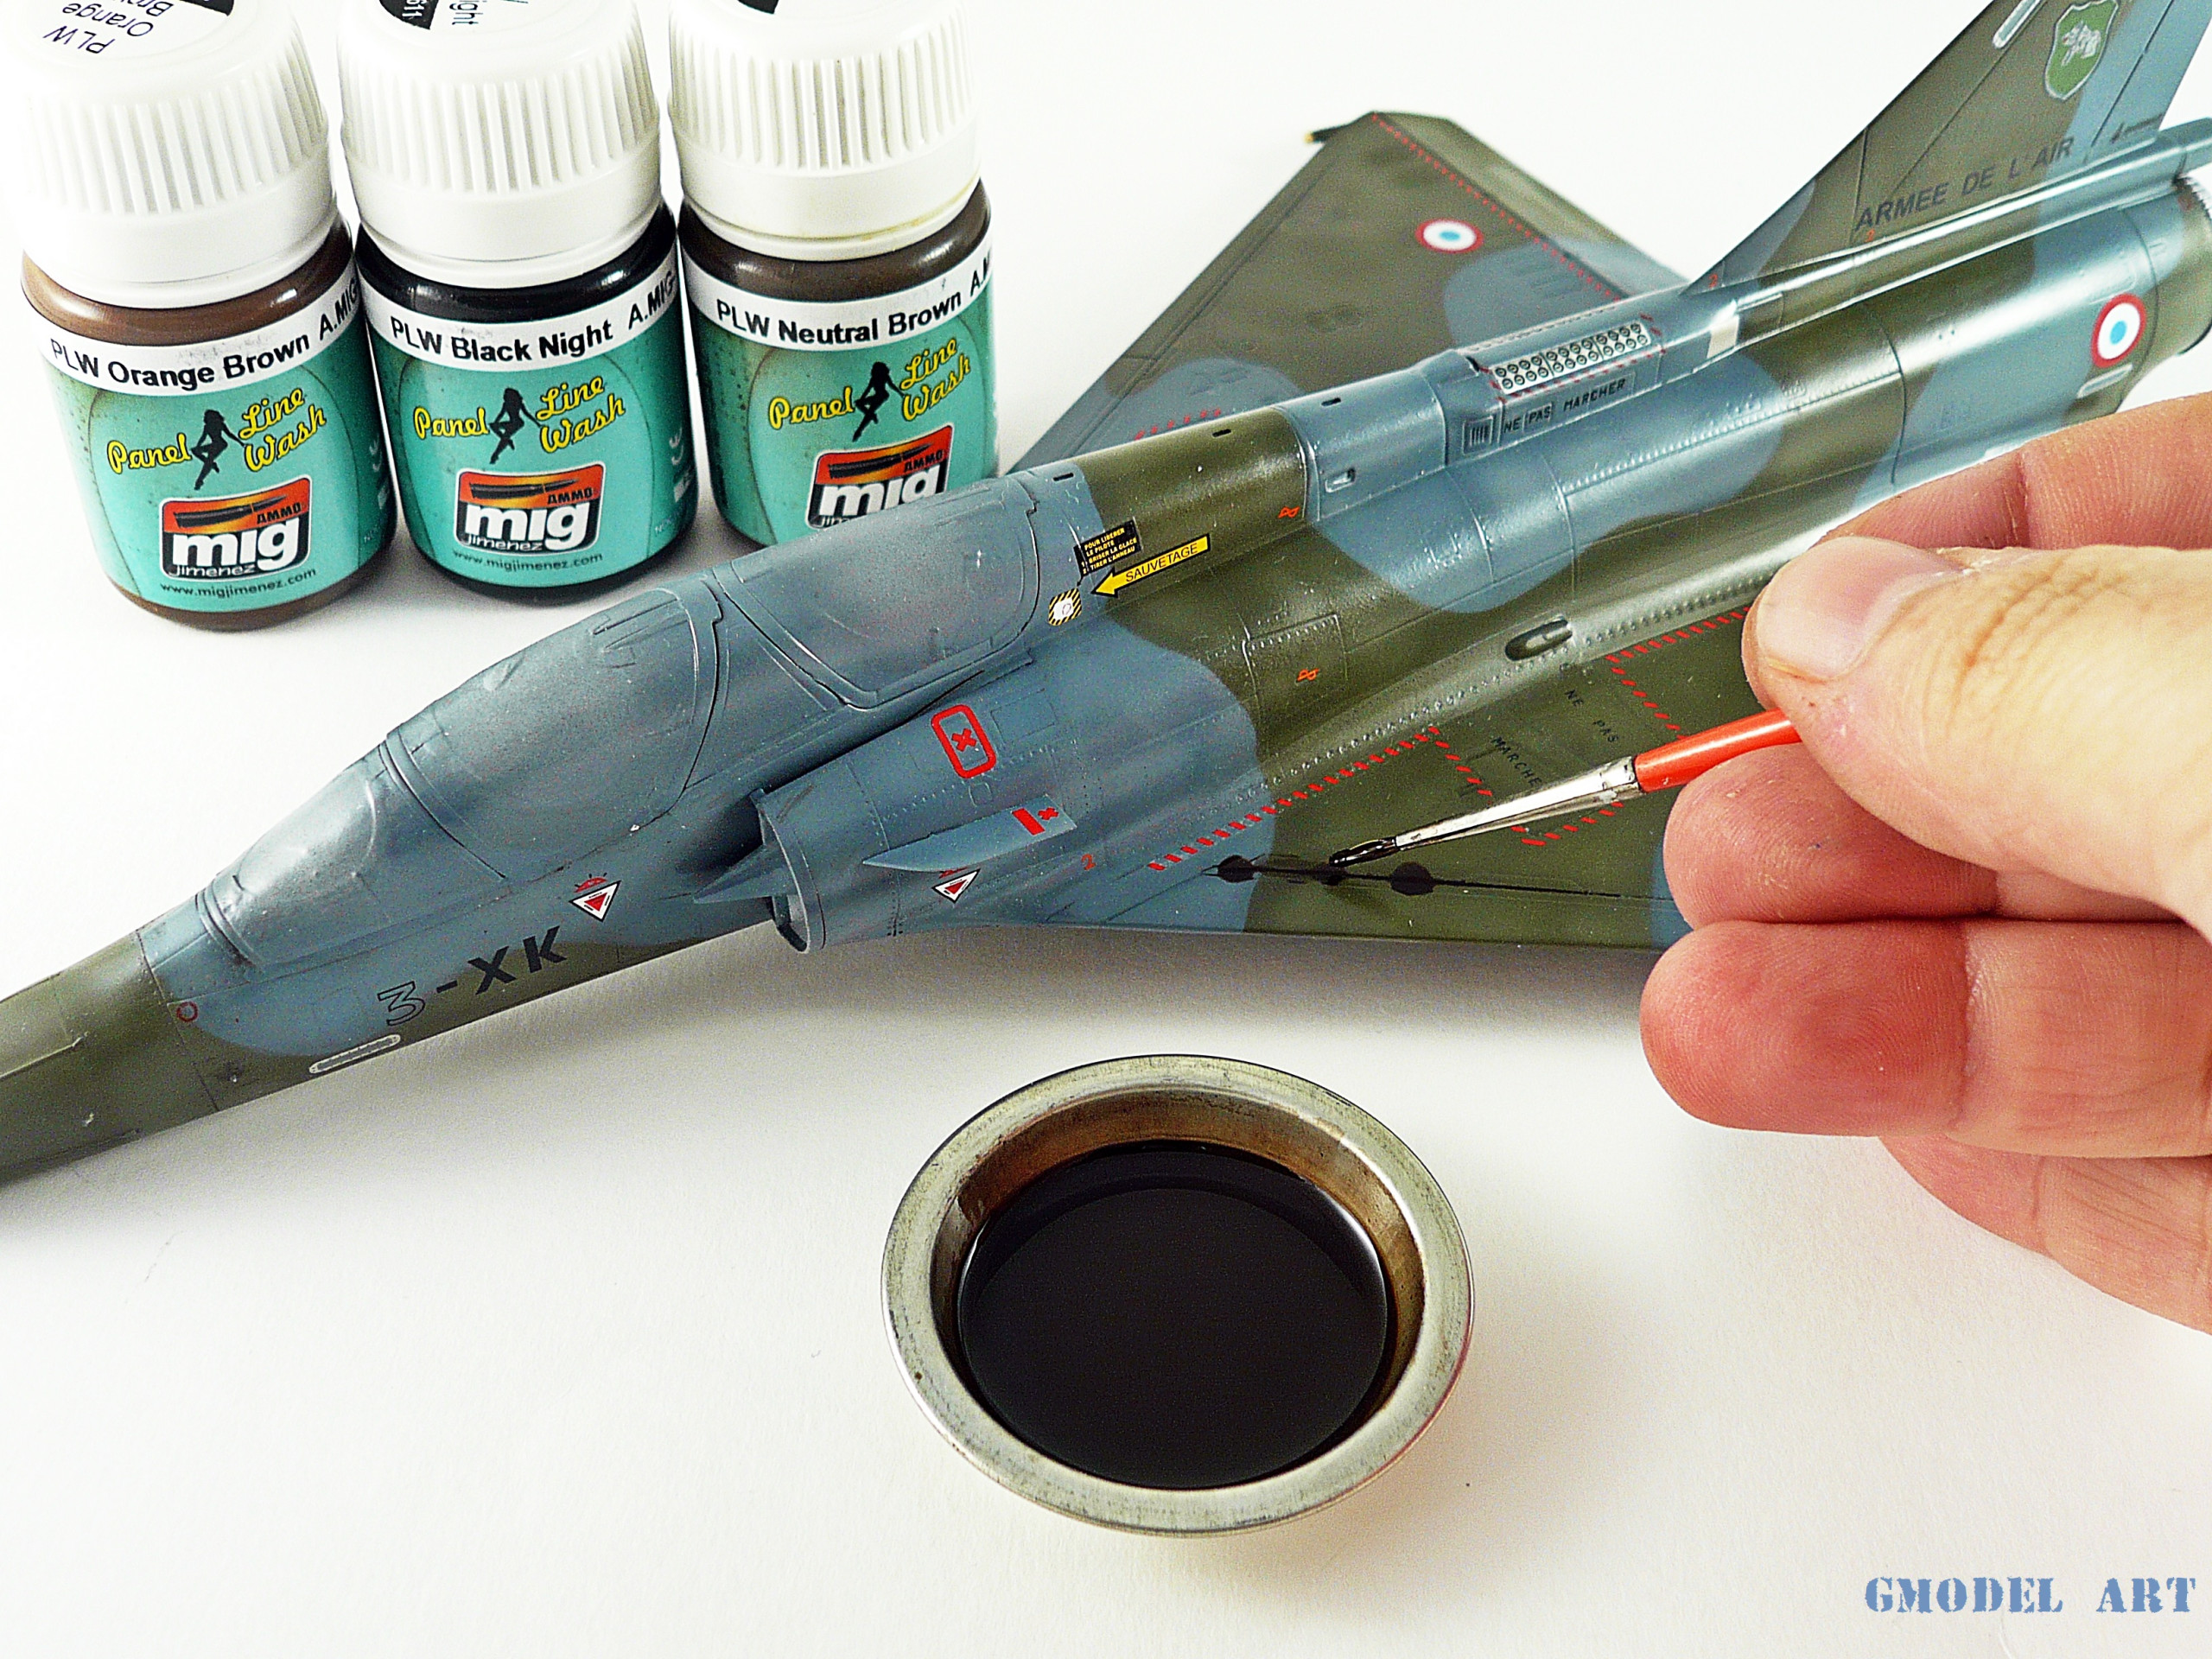
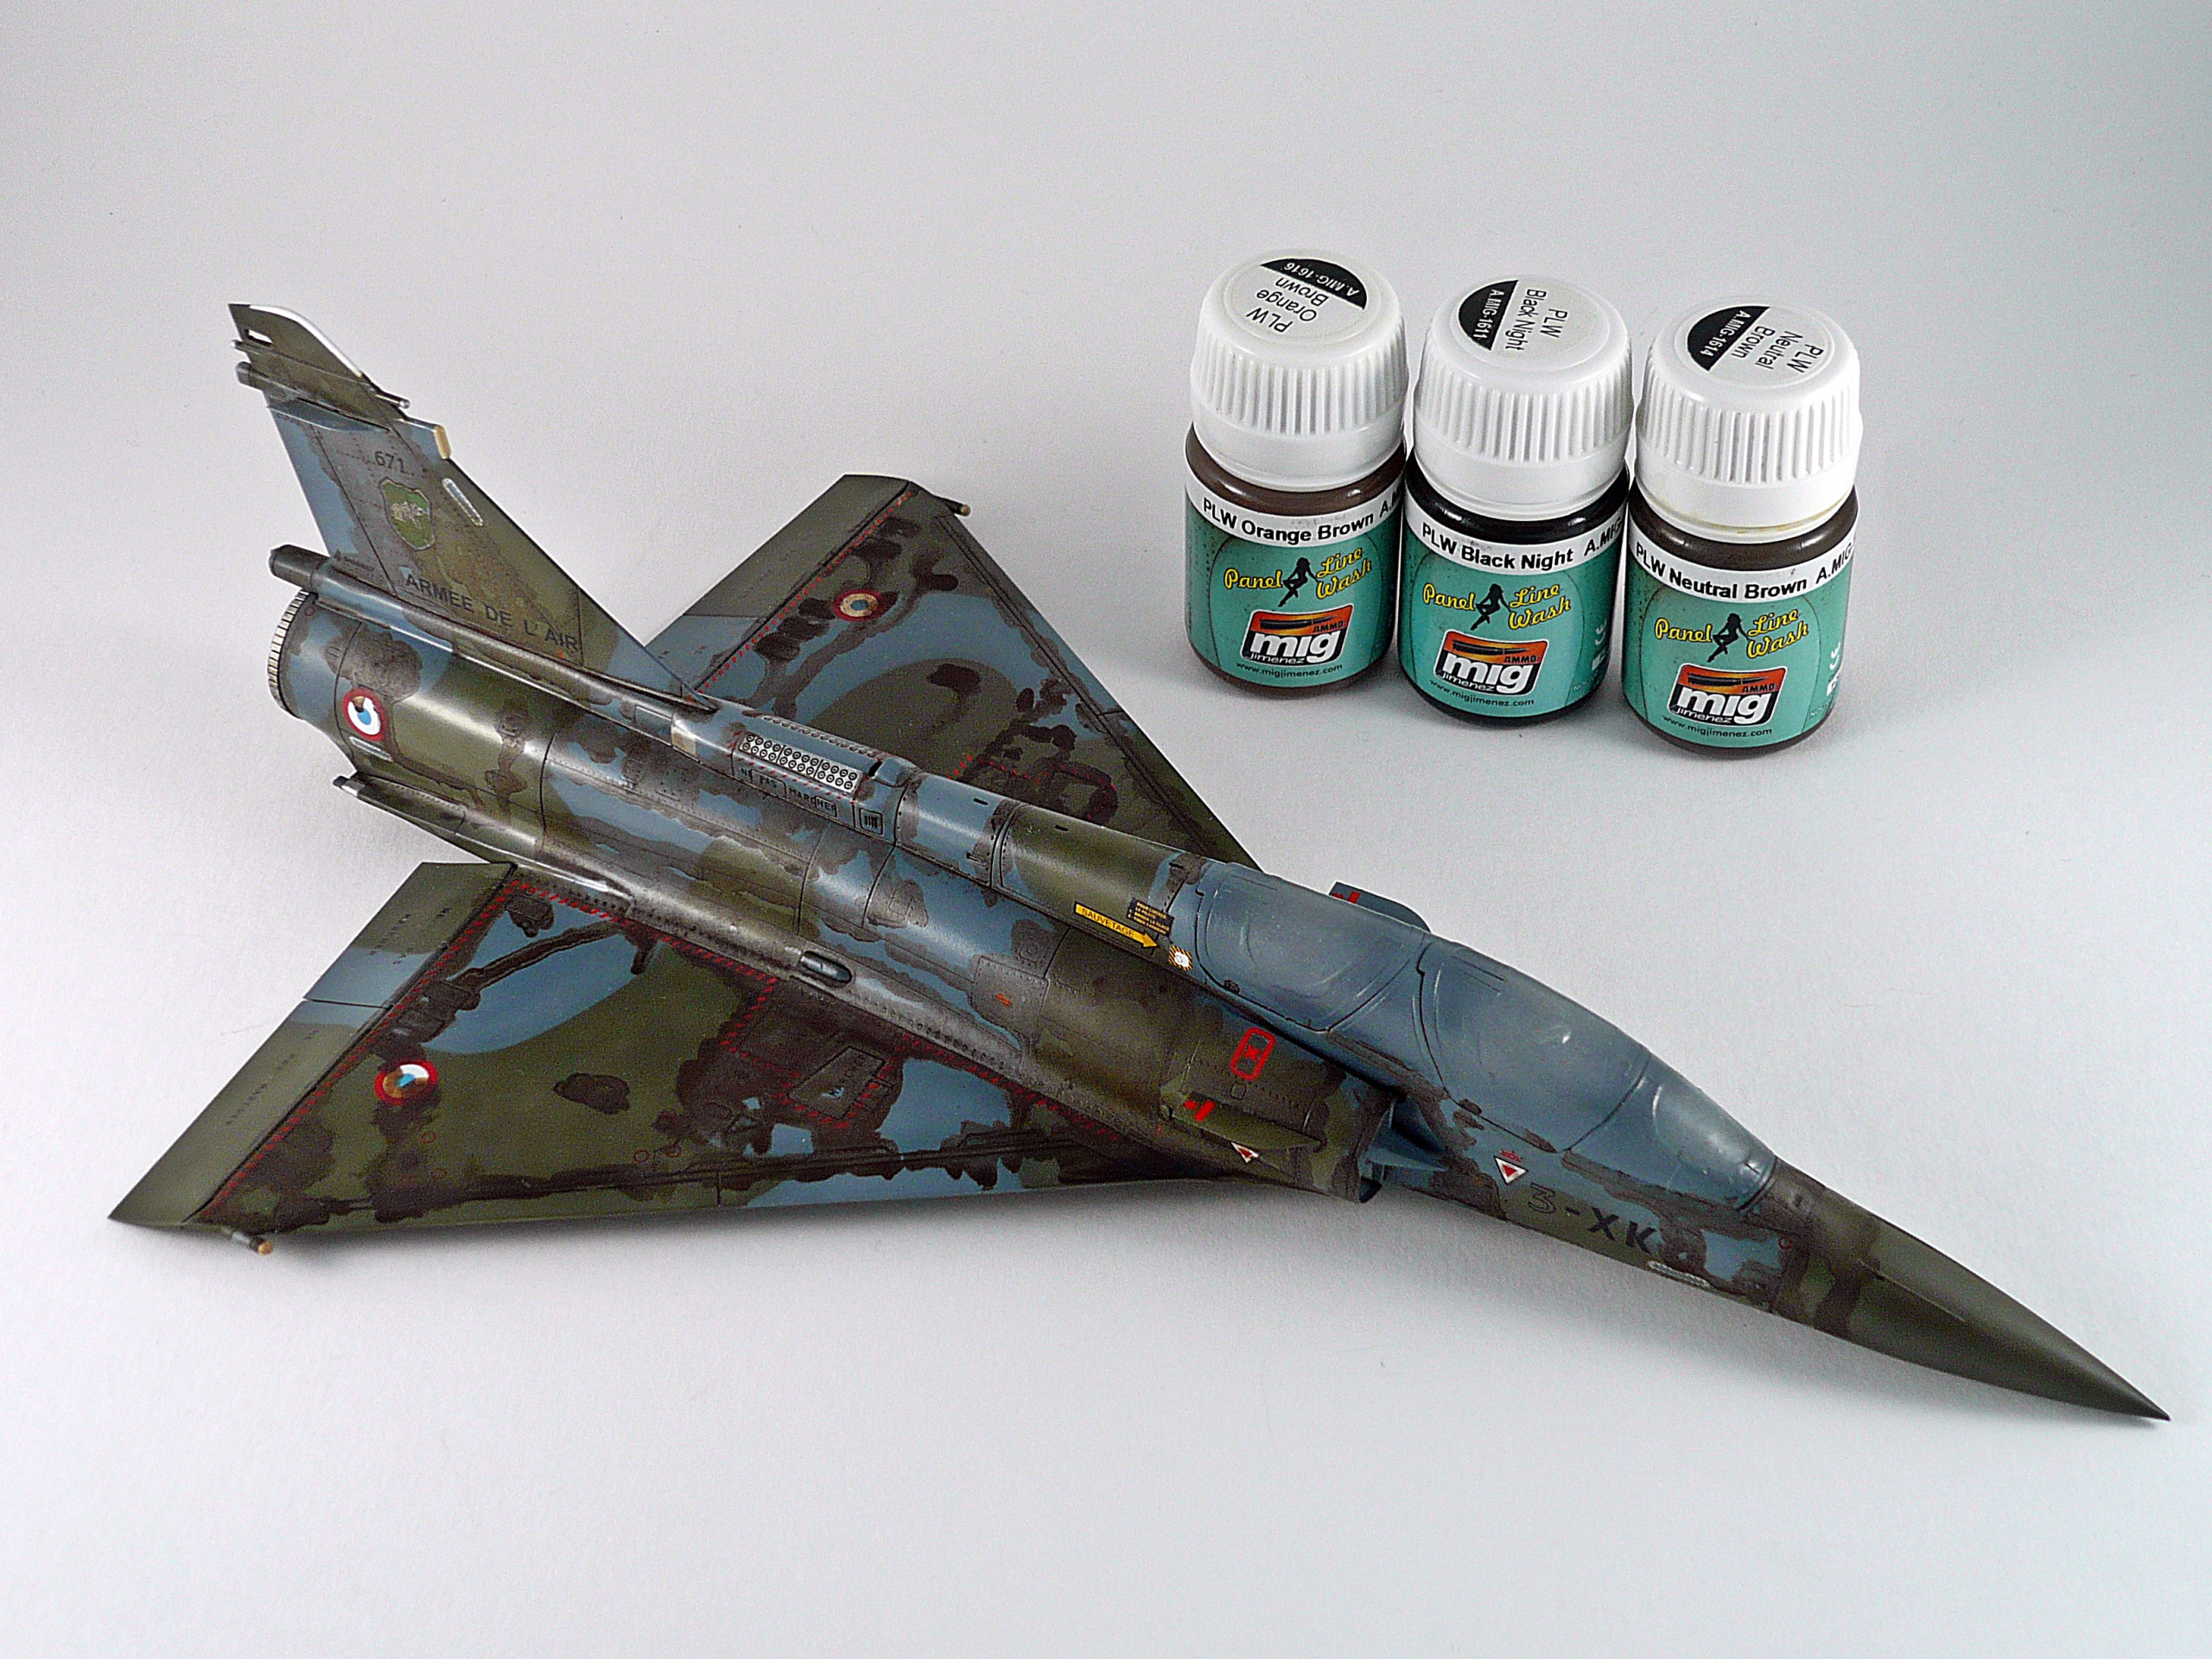
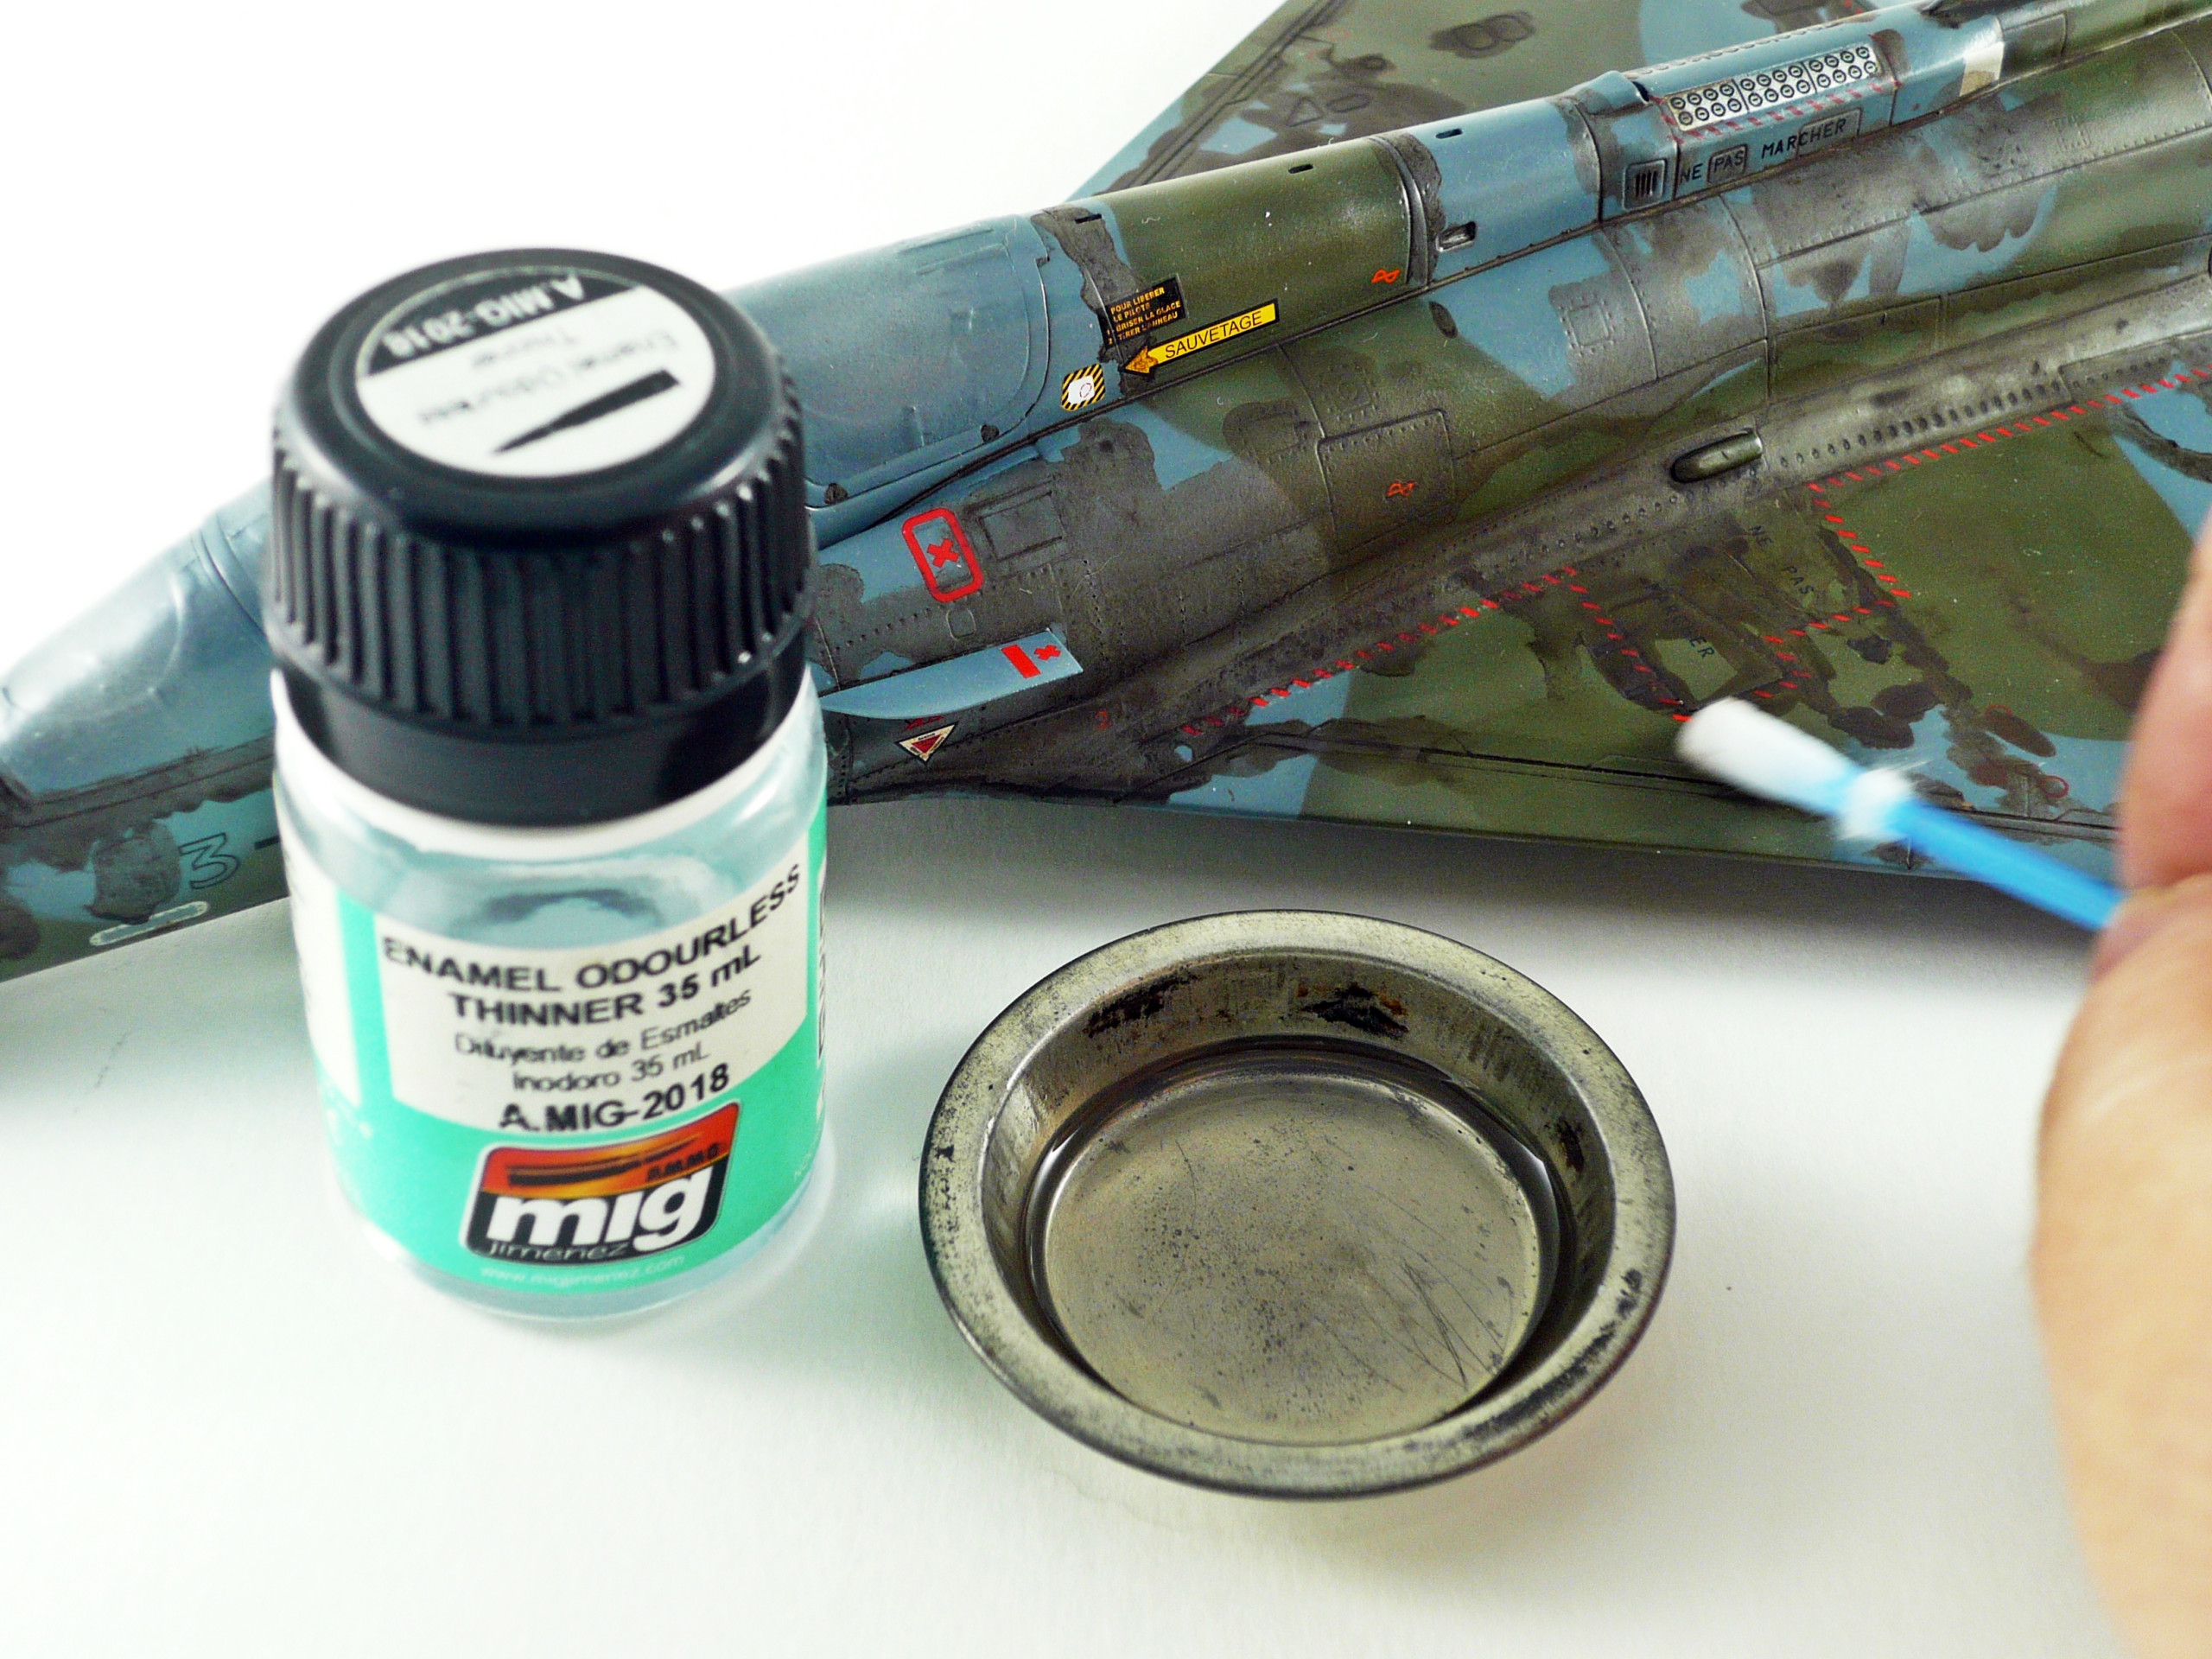
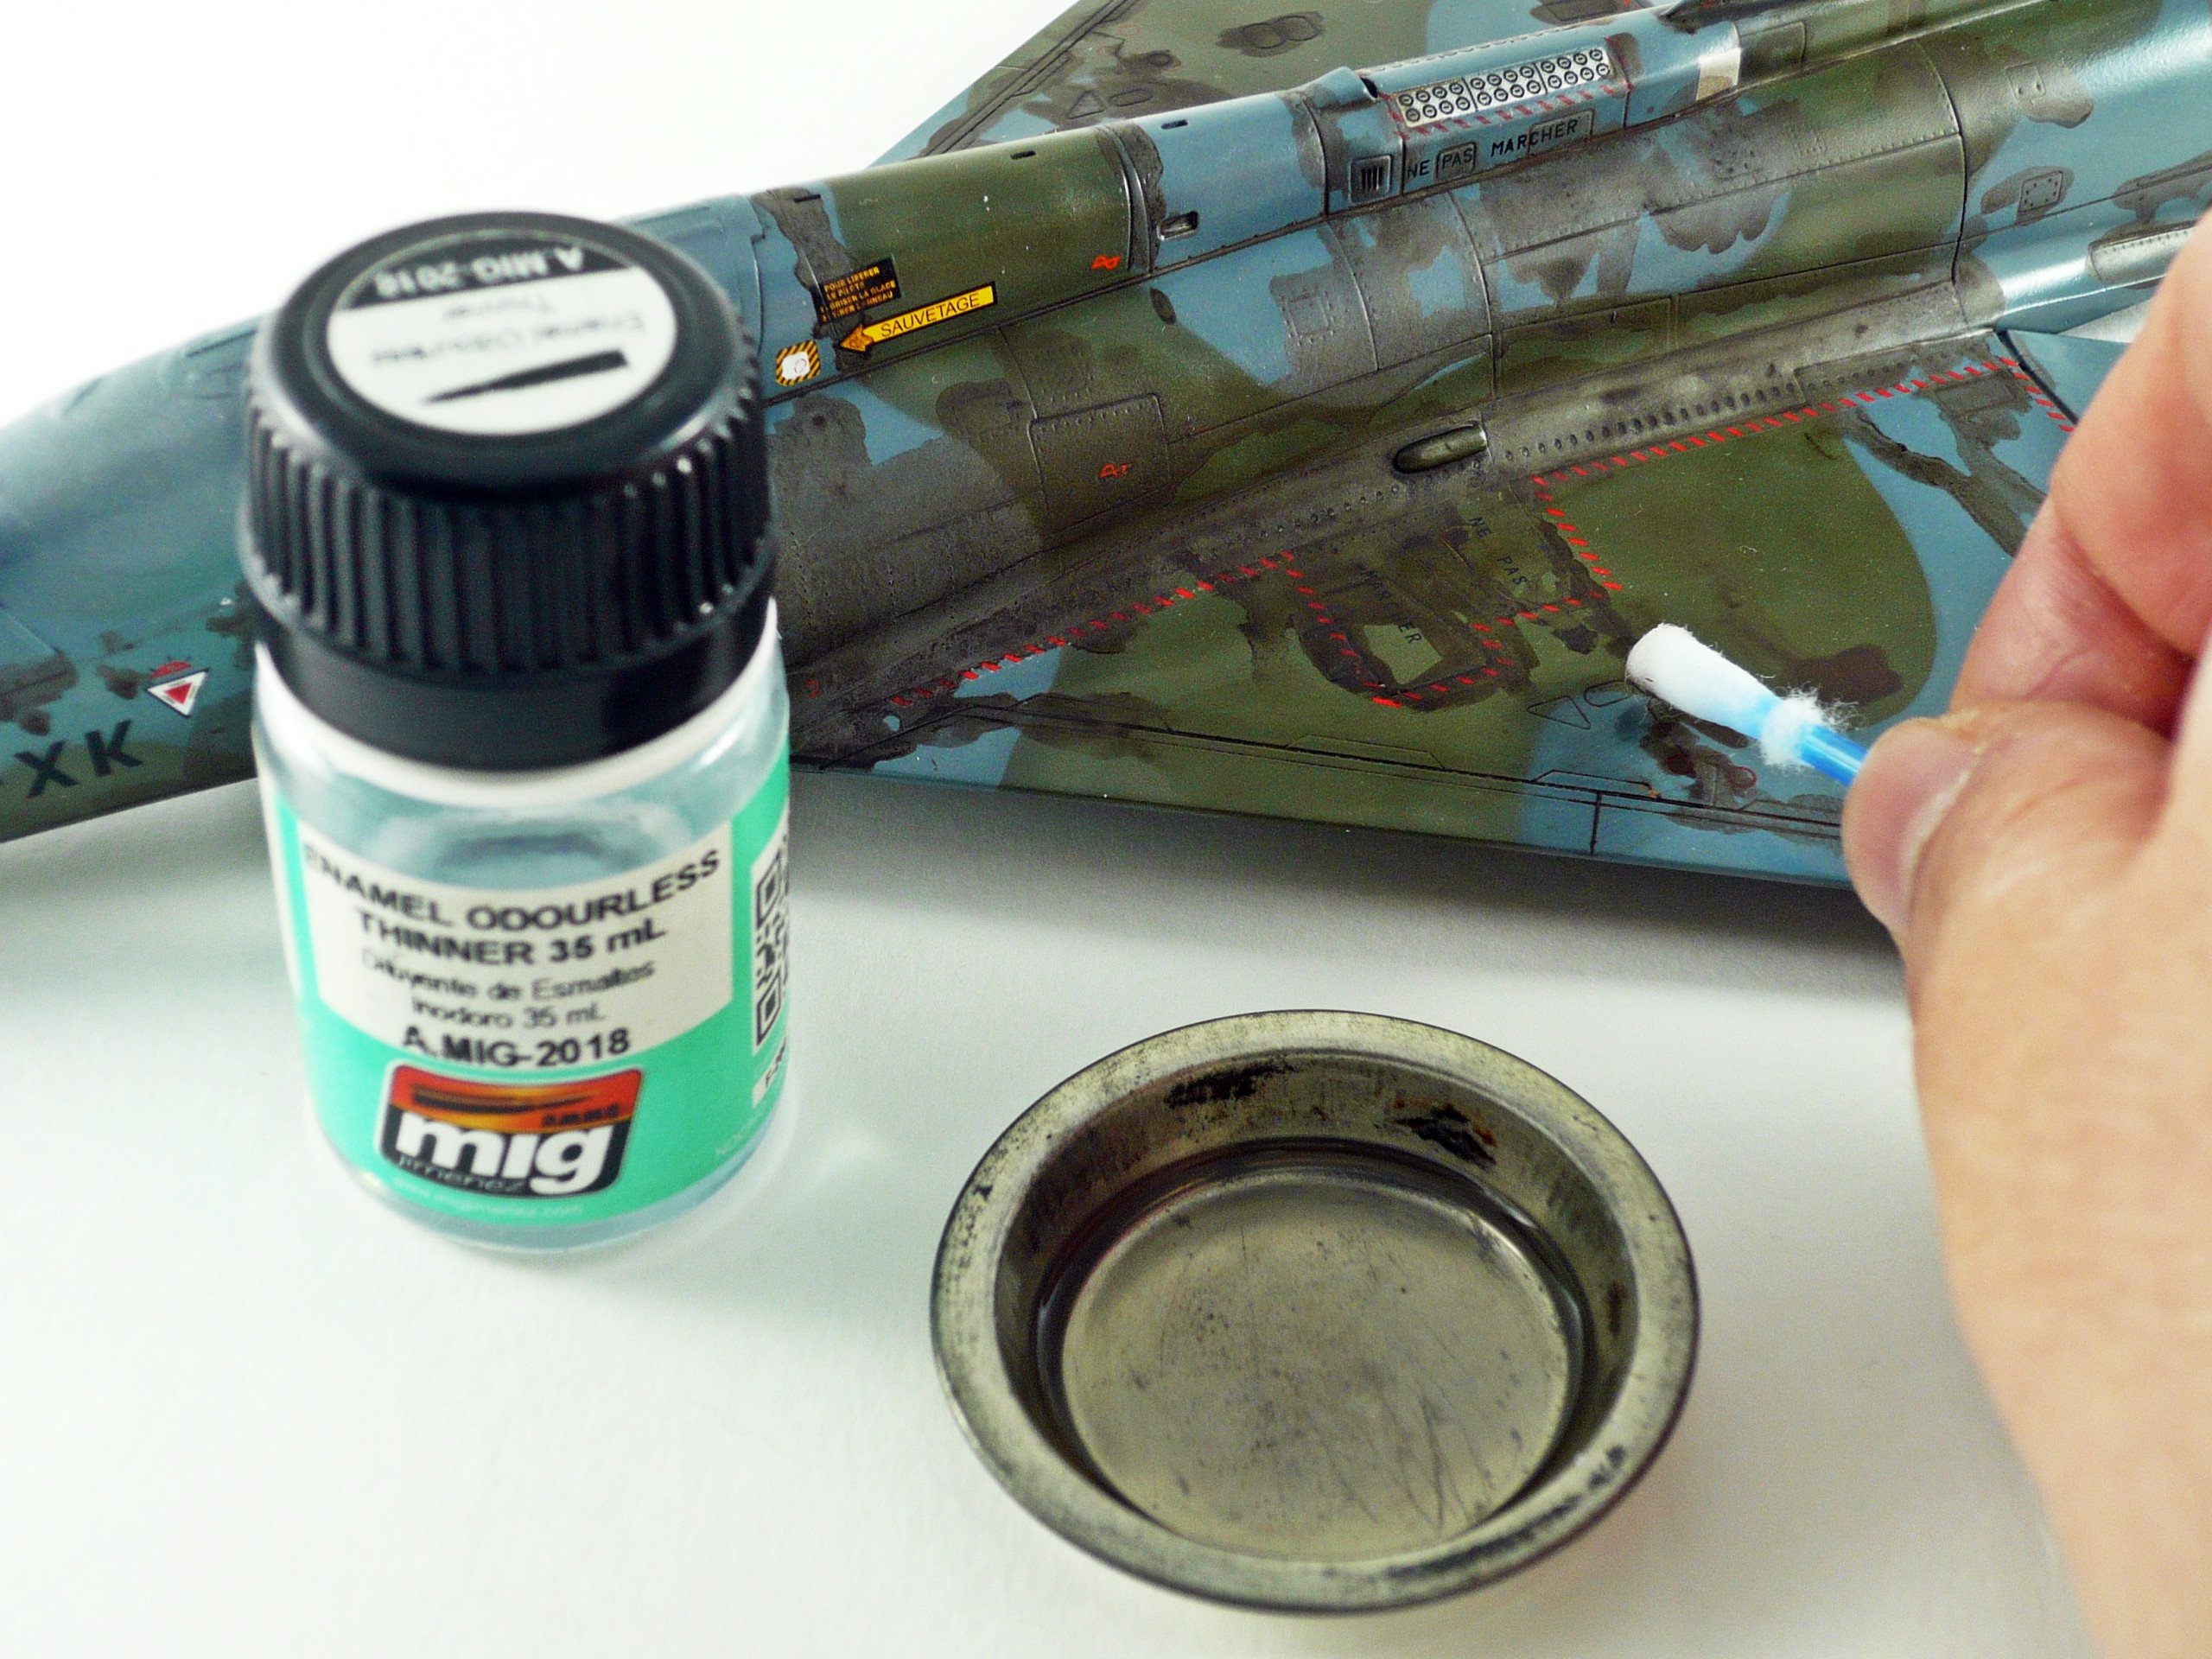
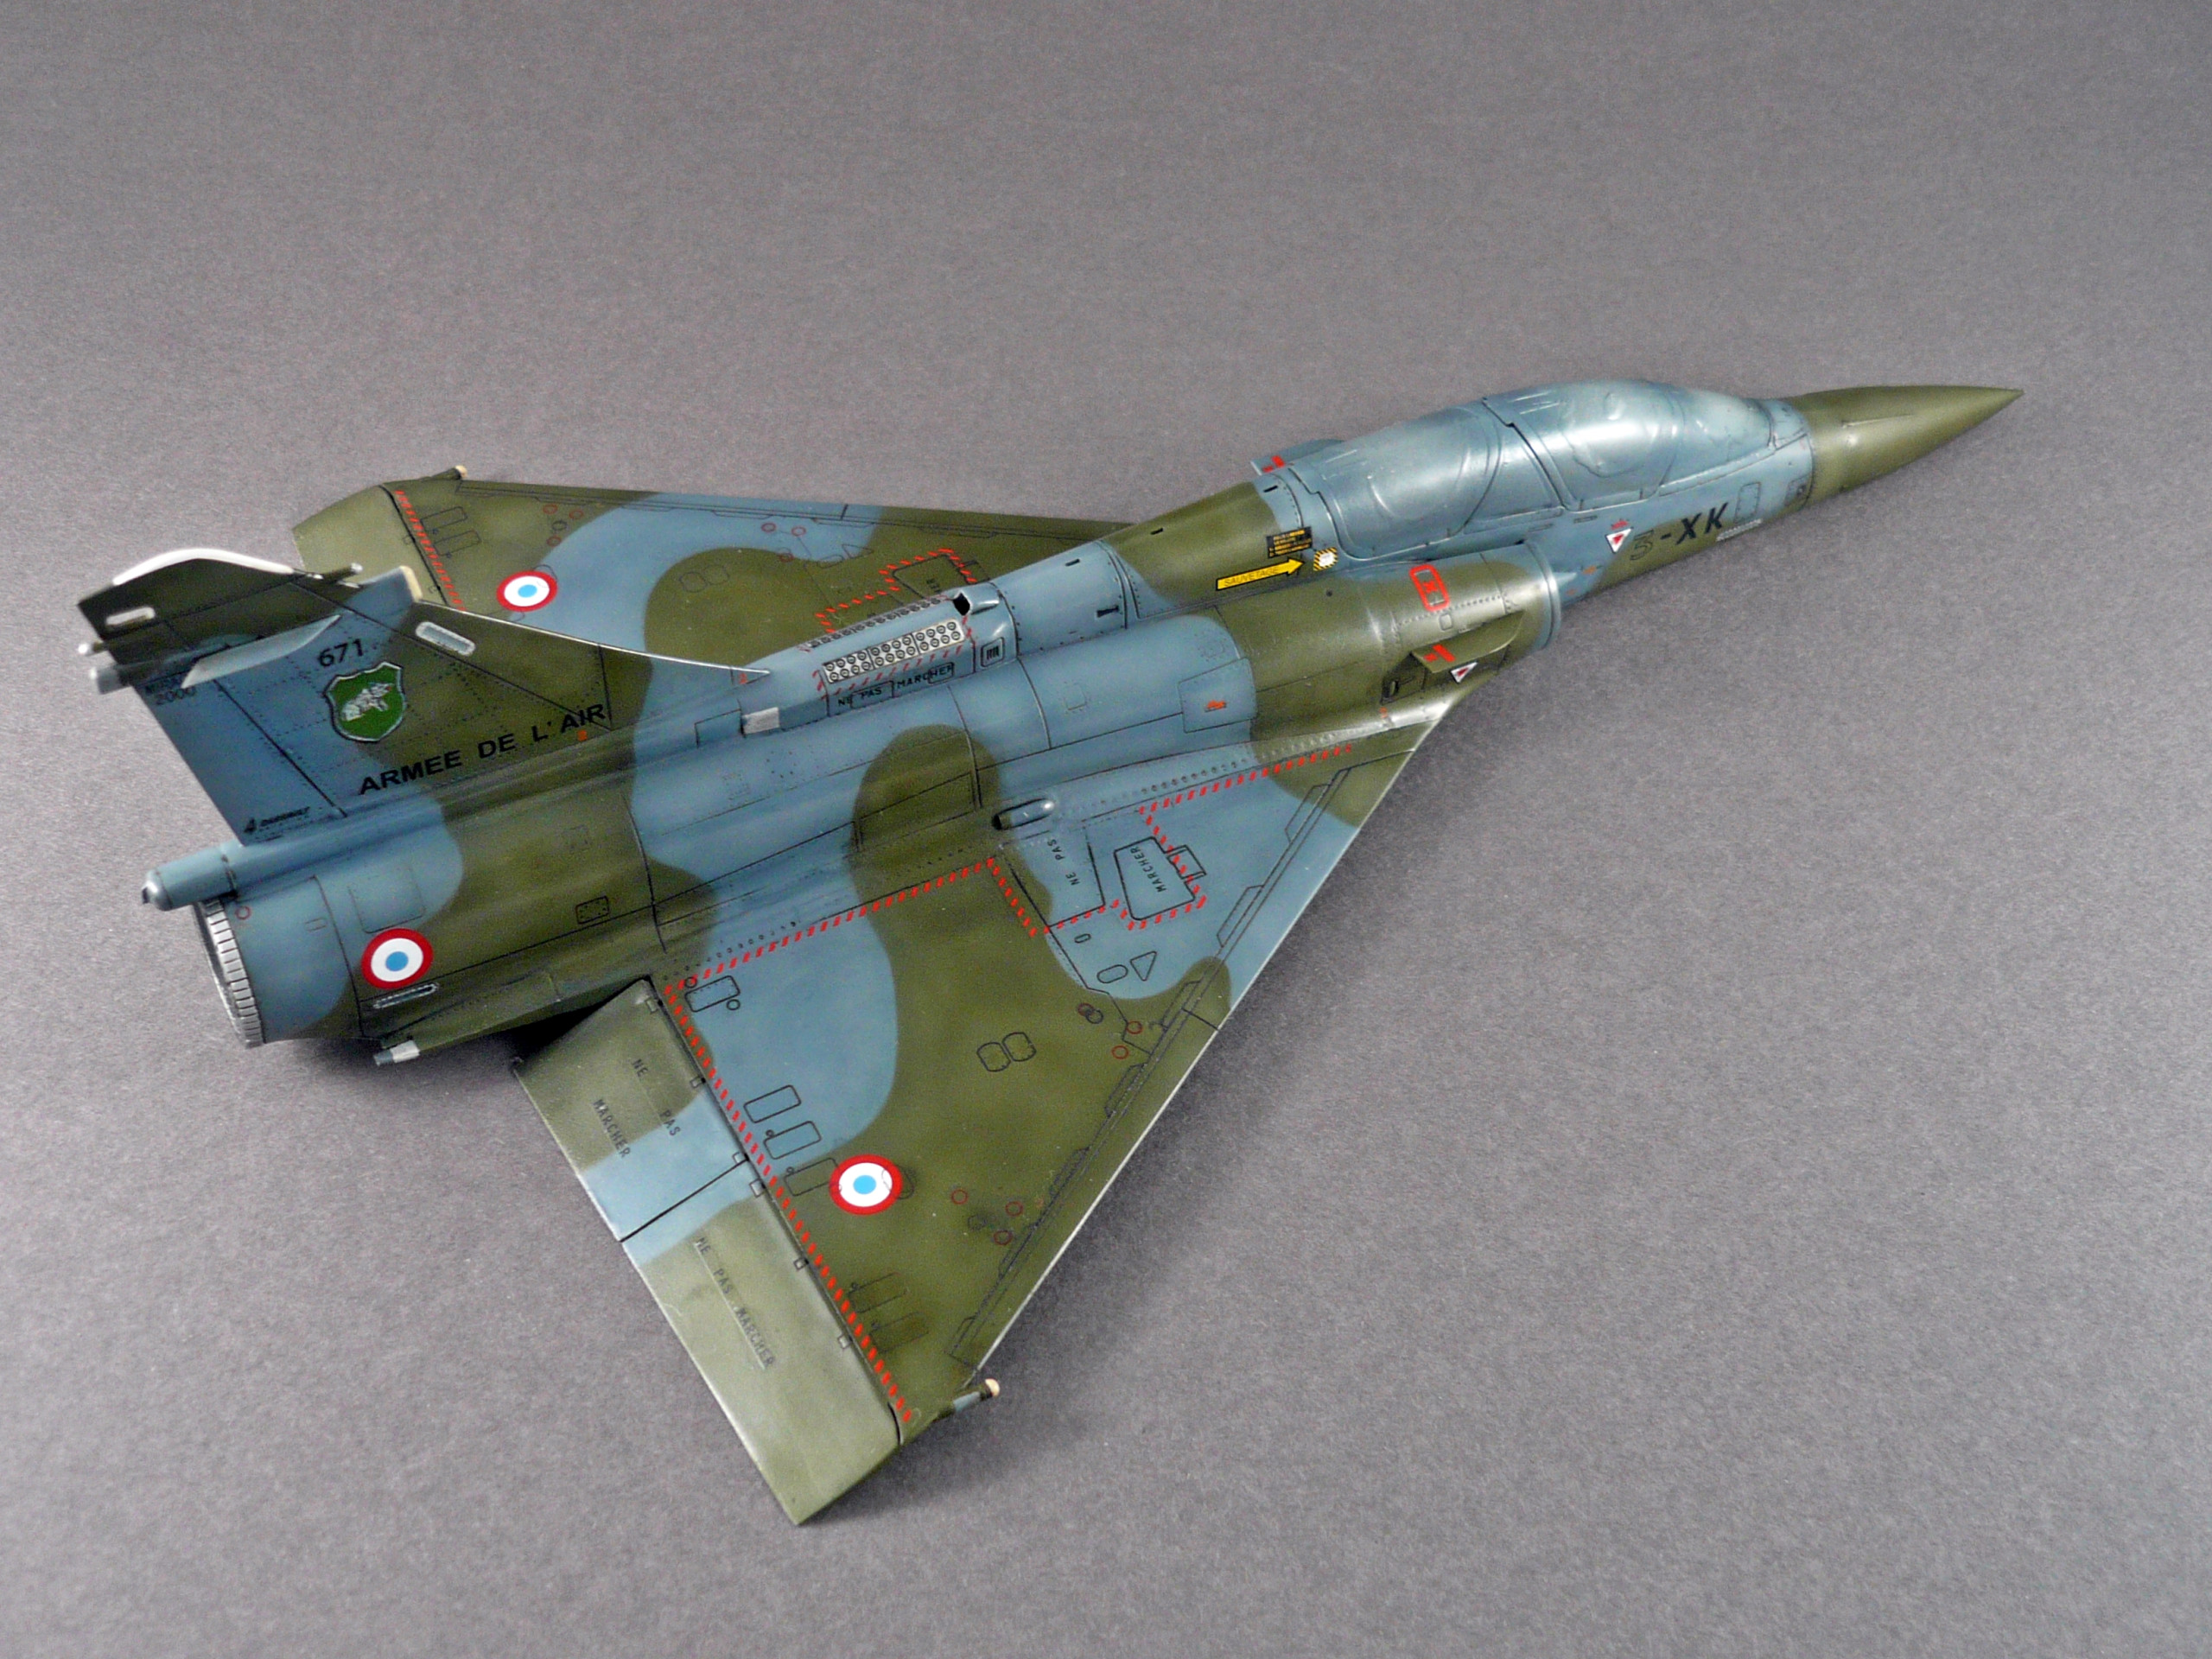
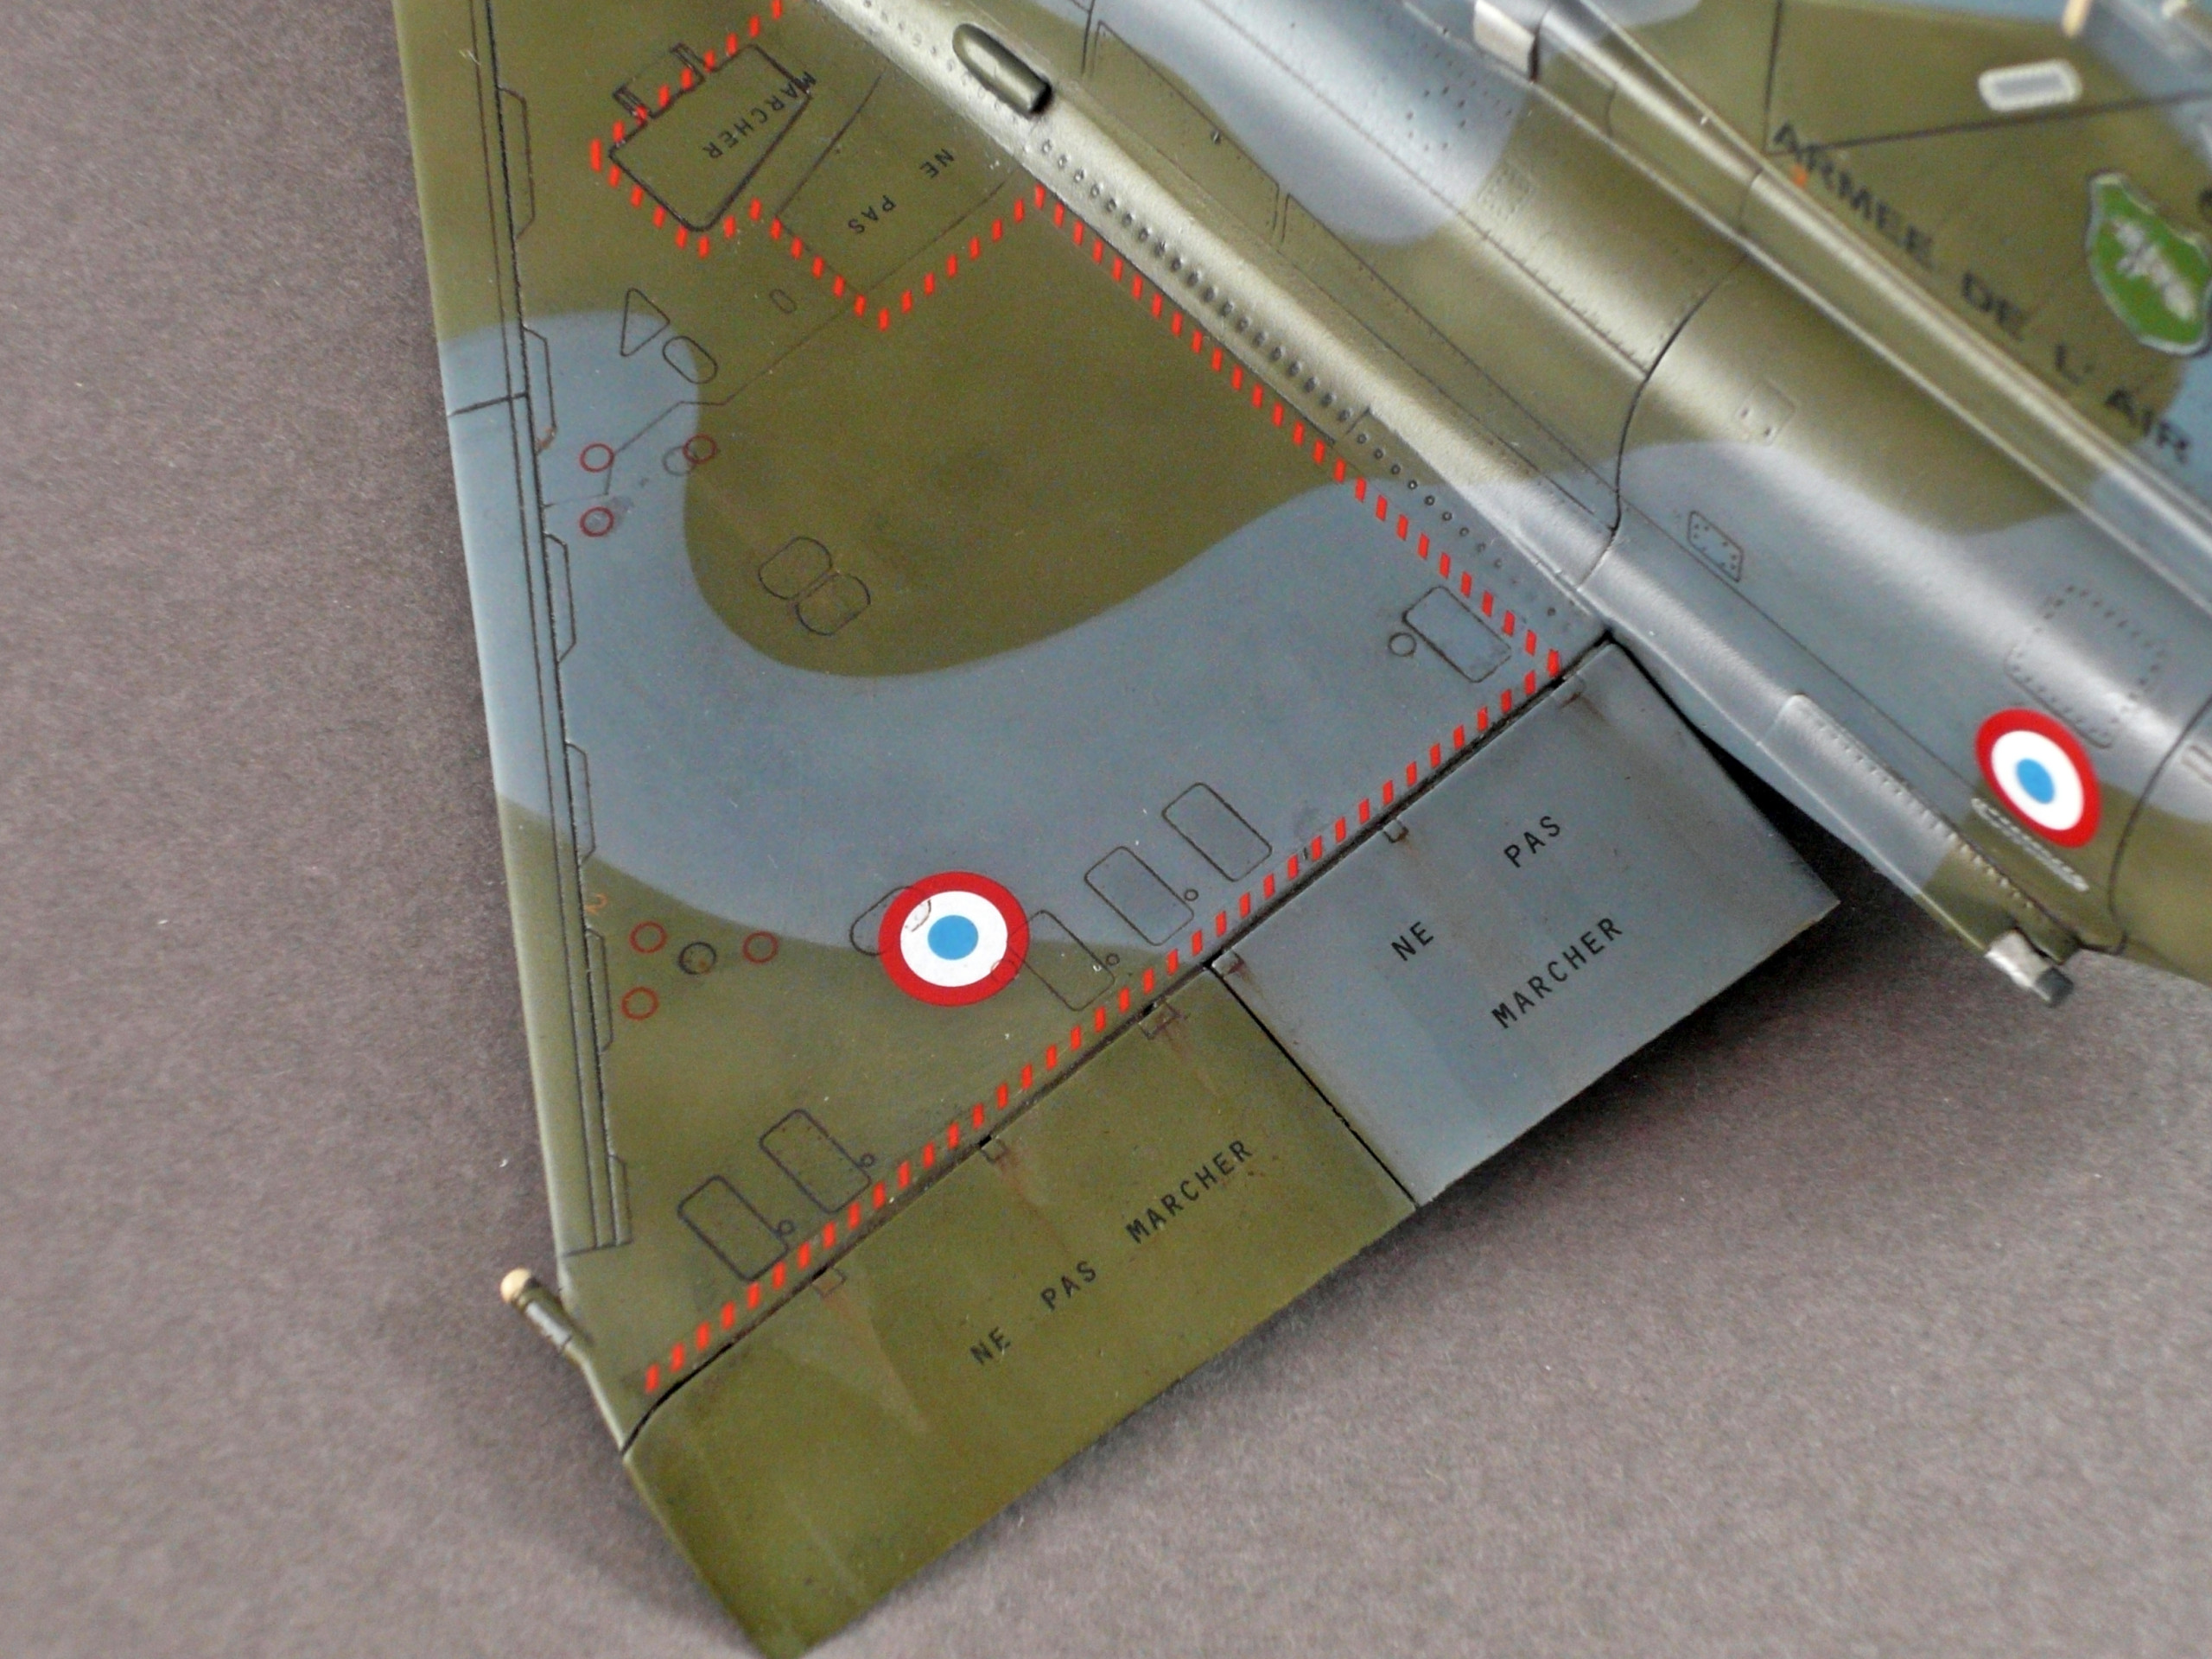
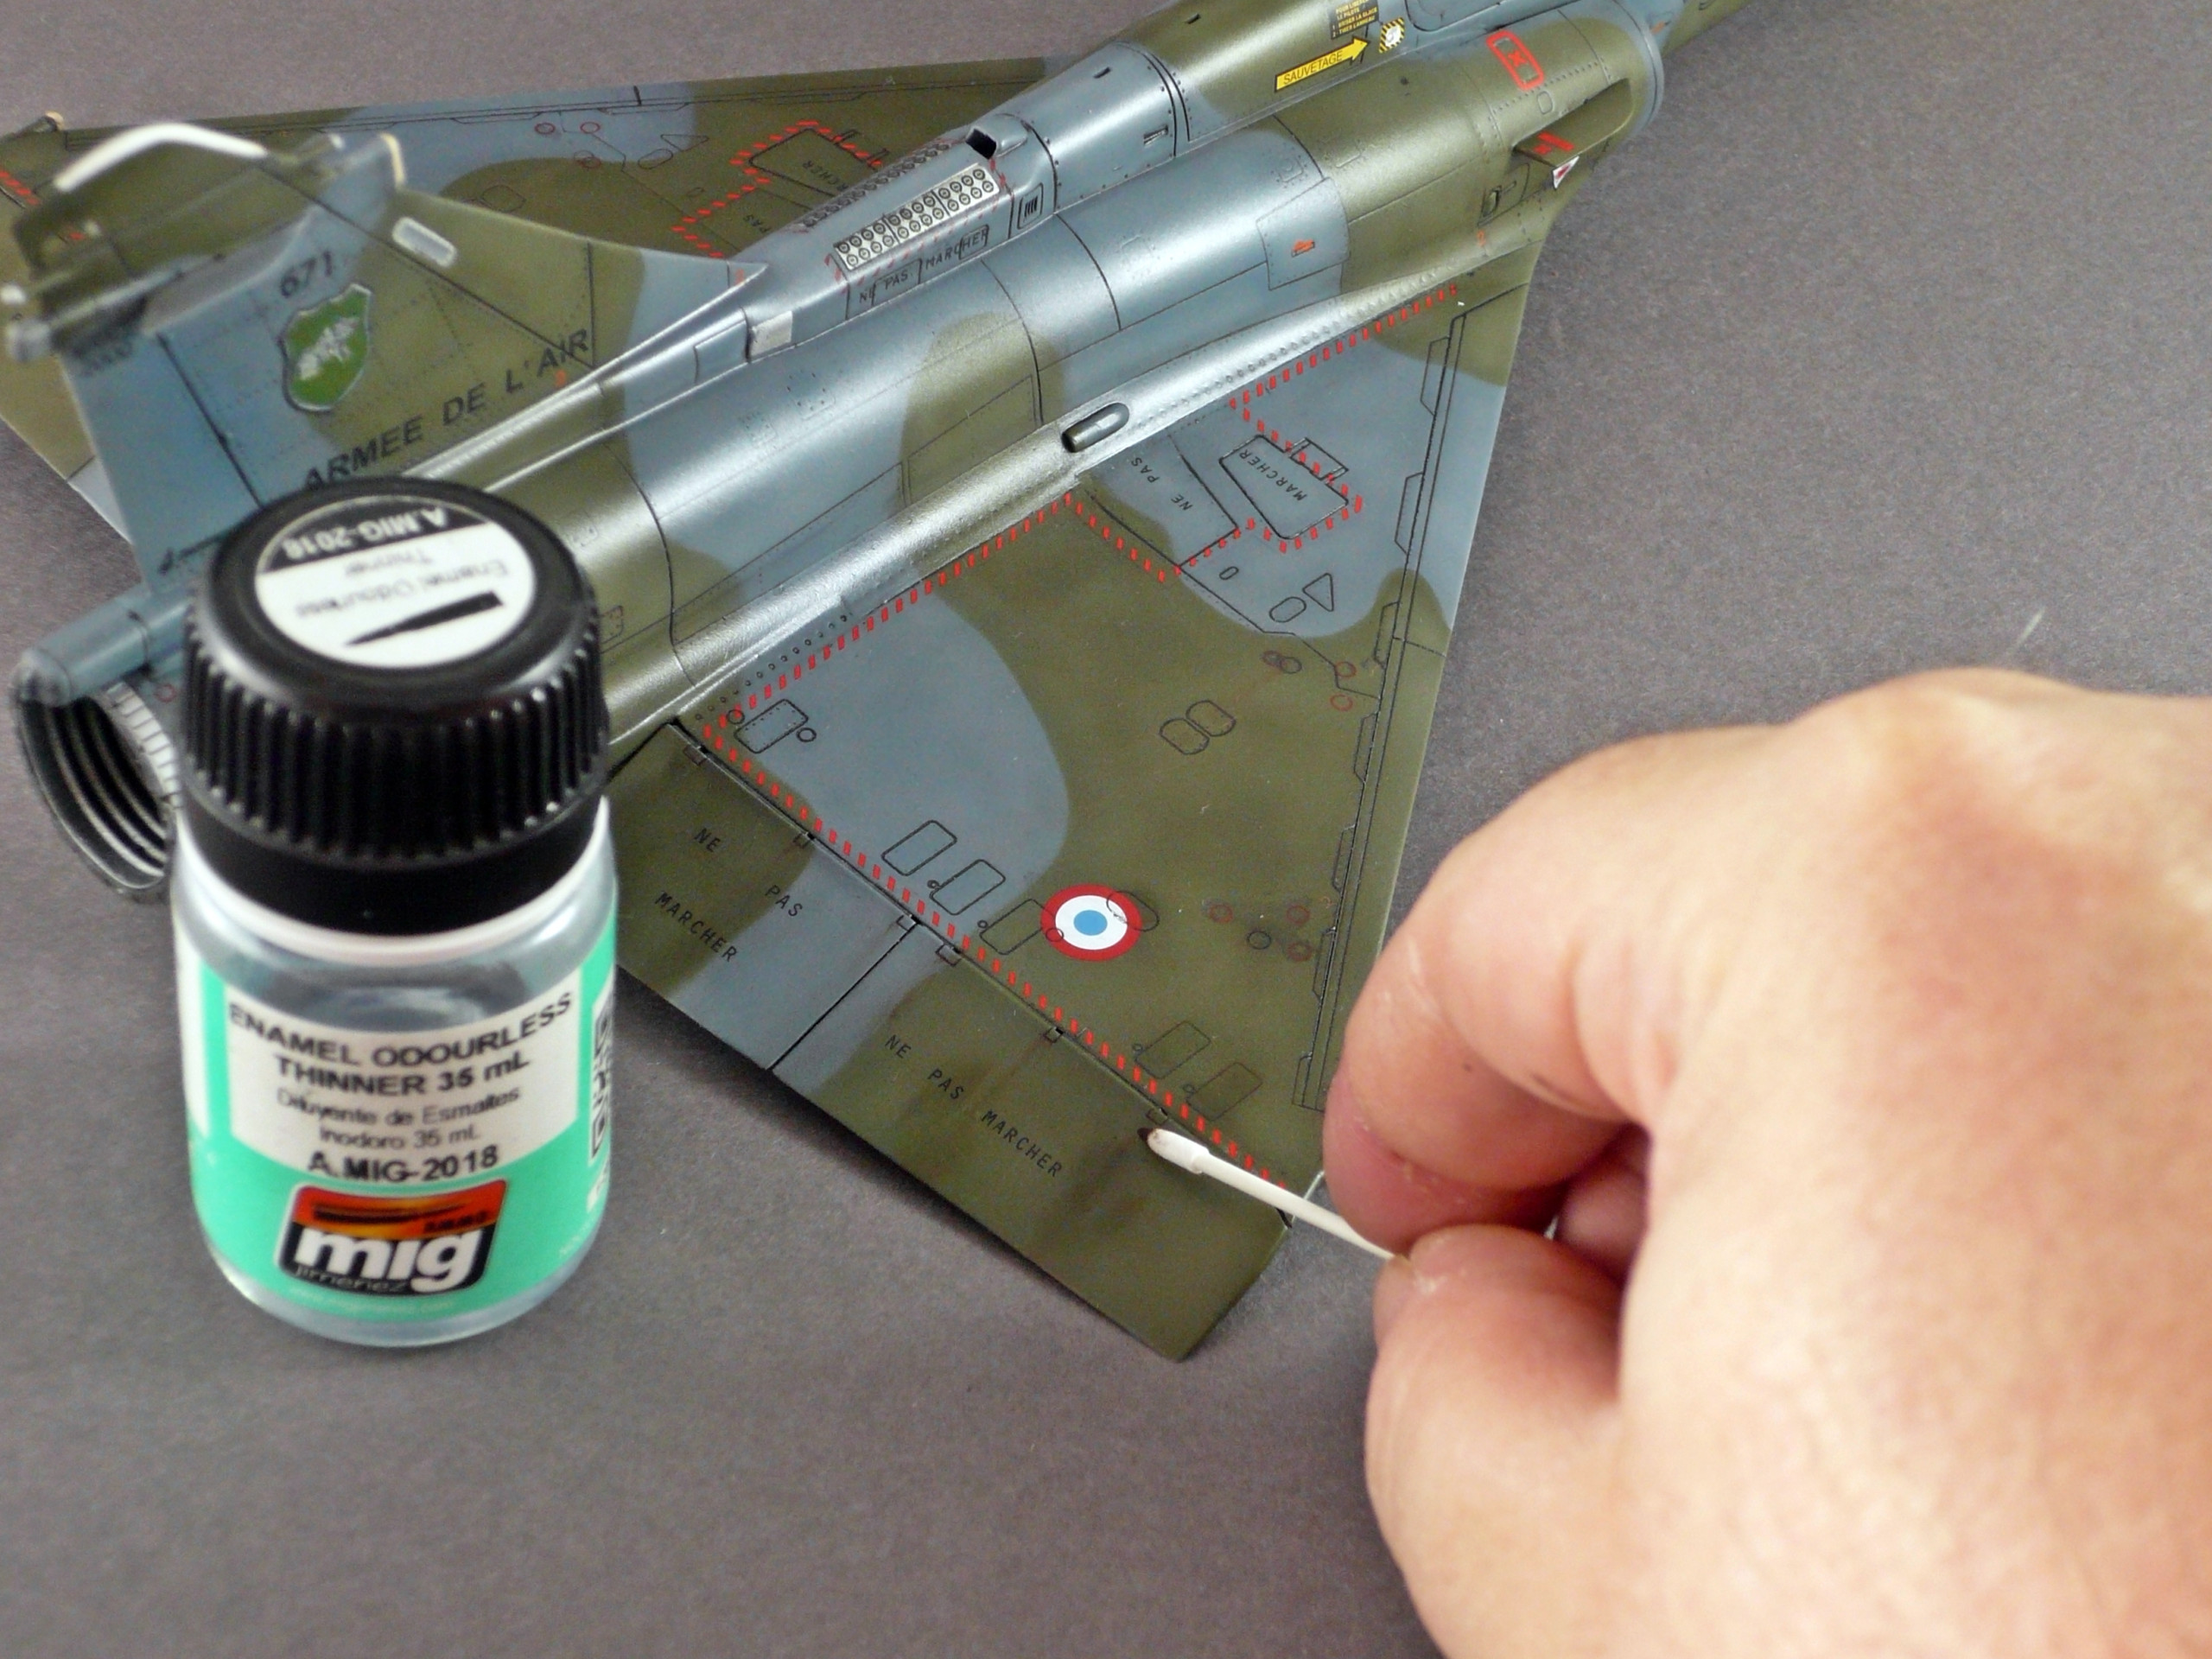
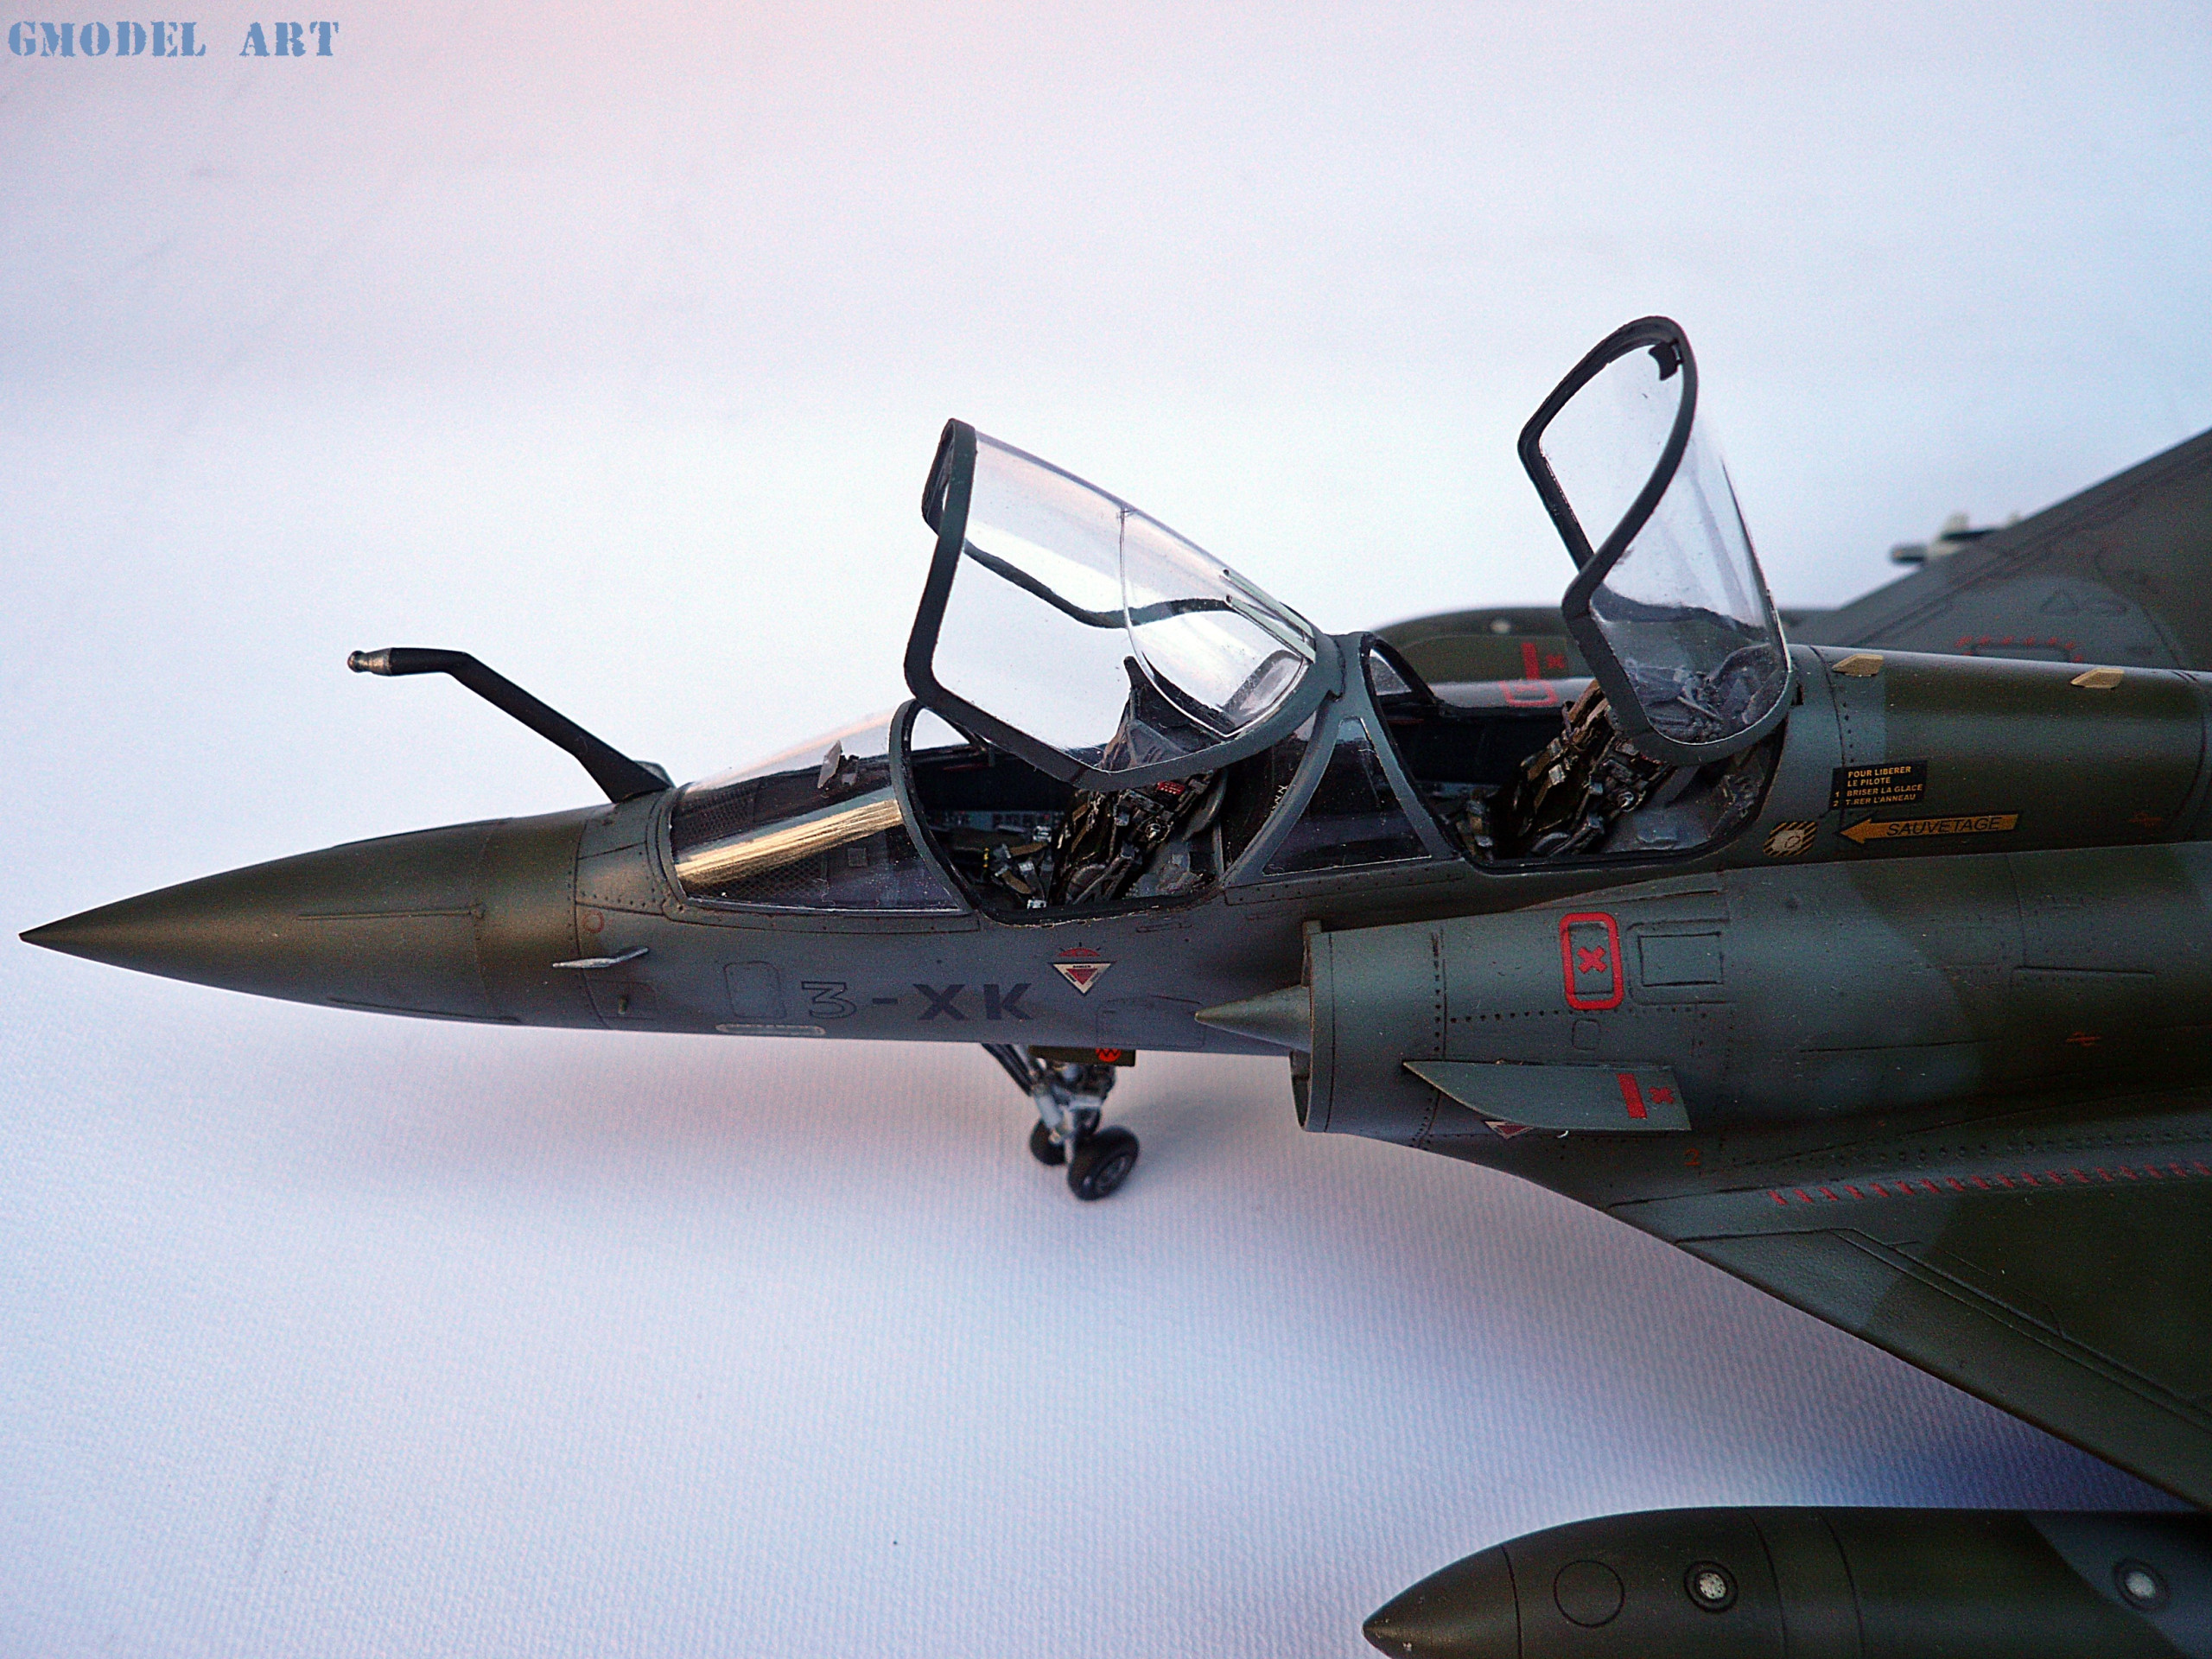
After placing decals to the whole model, weathering stage started using a mix of 3 PLW washes (equal amounts)…PLW Orange Brown, PLW Black Night and PLW Neutral Brown (pic. 19). I applied the wash with a brush in the panel lines of the model (pic. 20 & 21). Give it 2 hours to dry and then remove the excess with a cotton bud and some thinners help (pic. 22/23). The model is now ready to receive some more treatment (pic. 24,25)
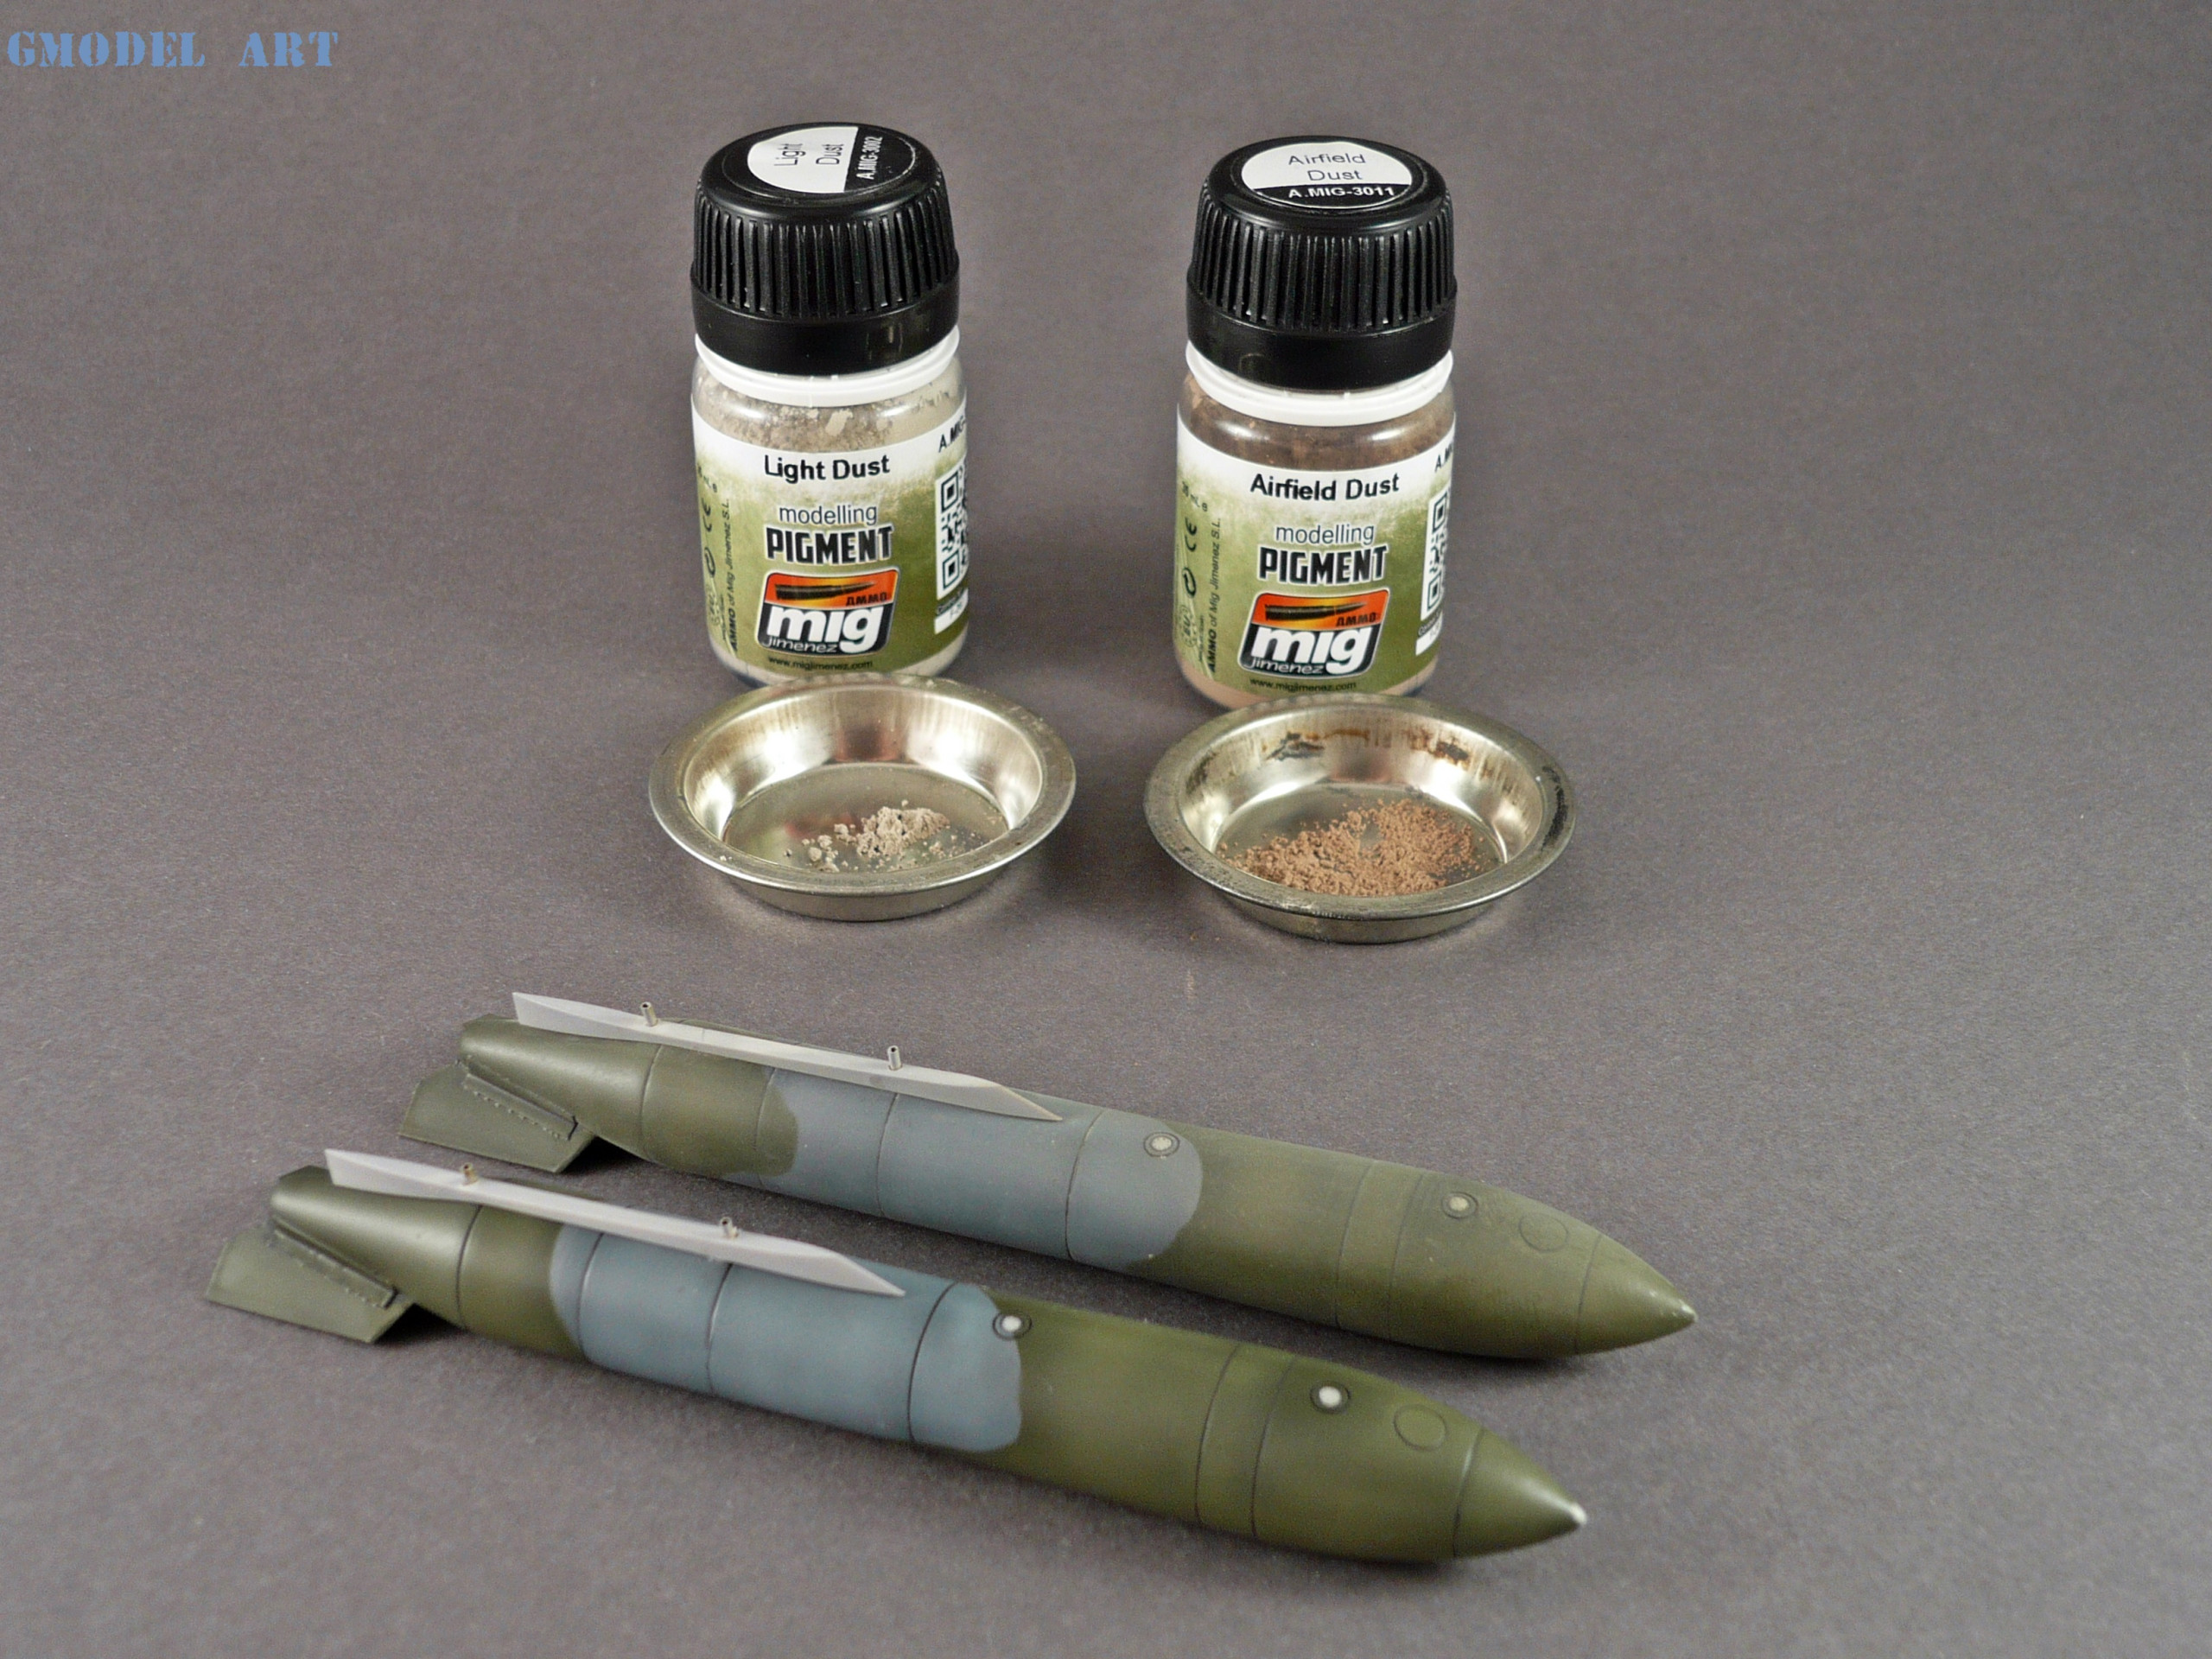
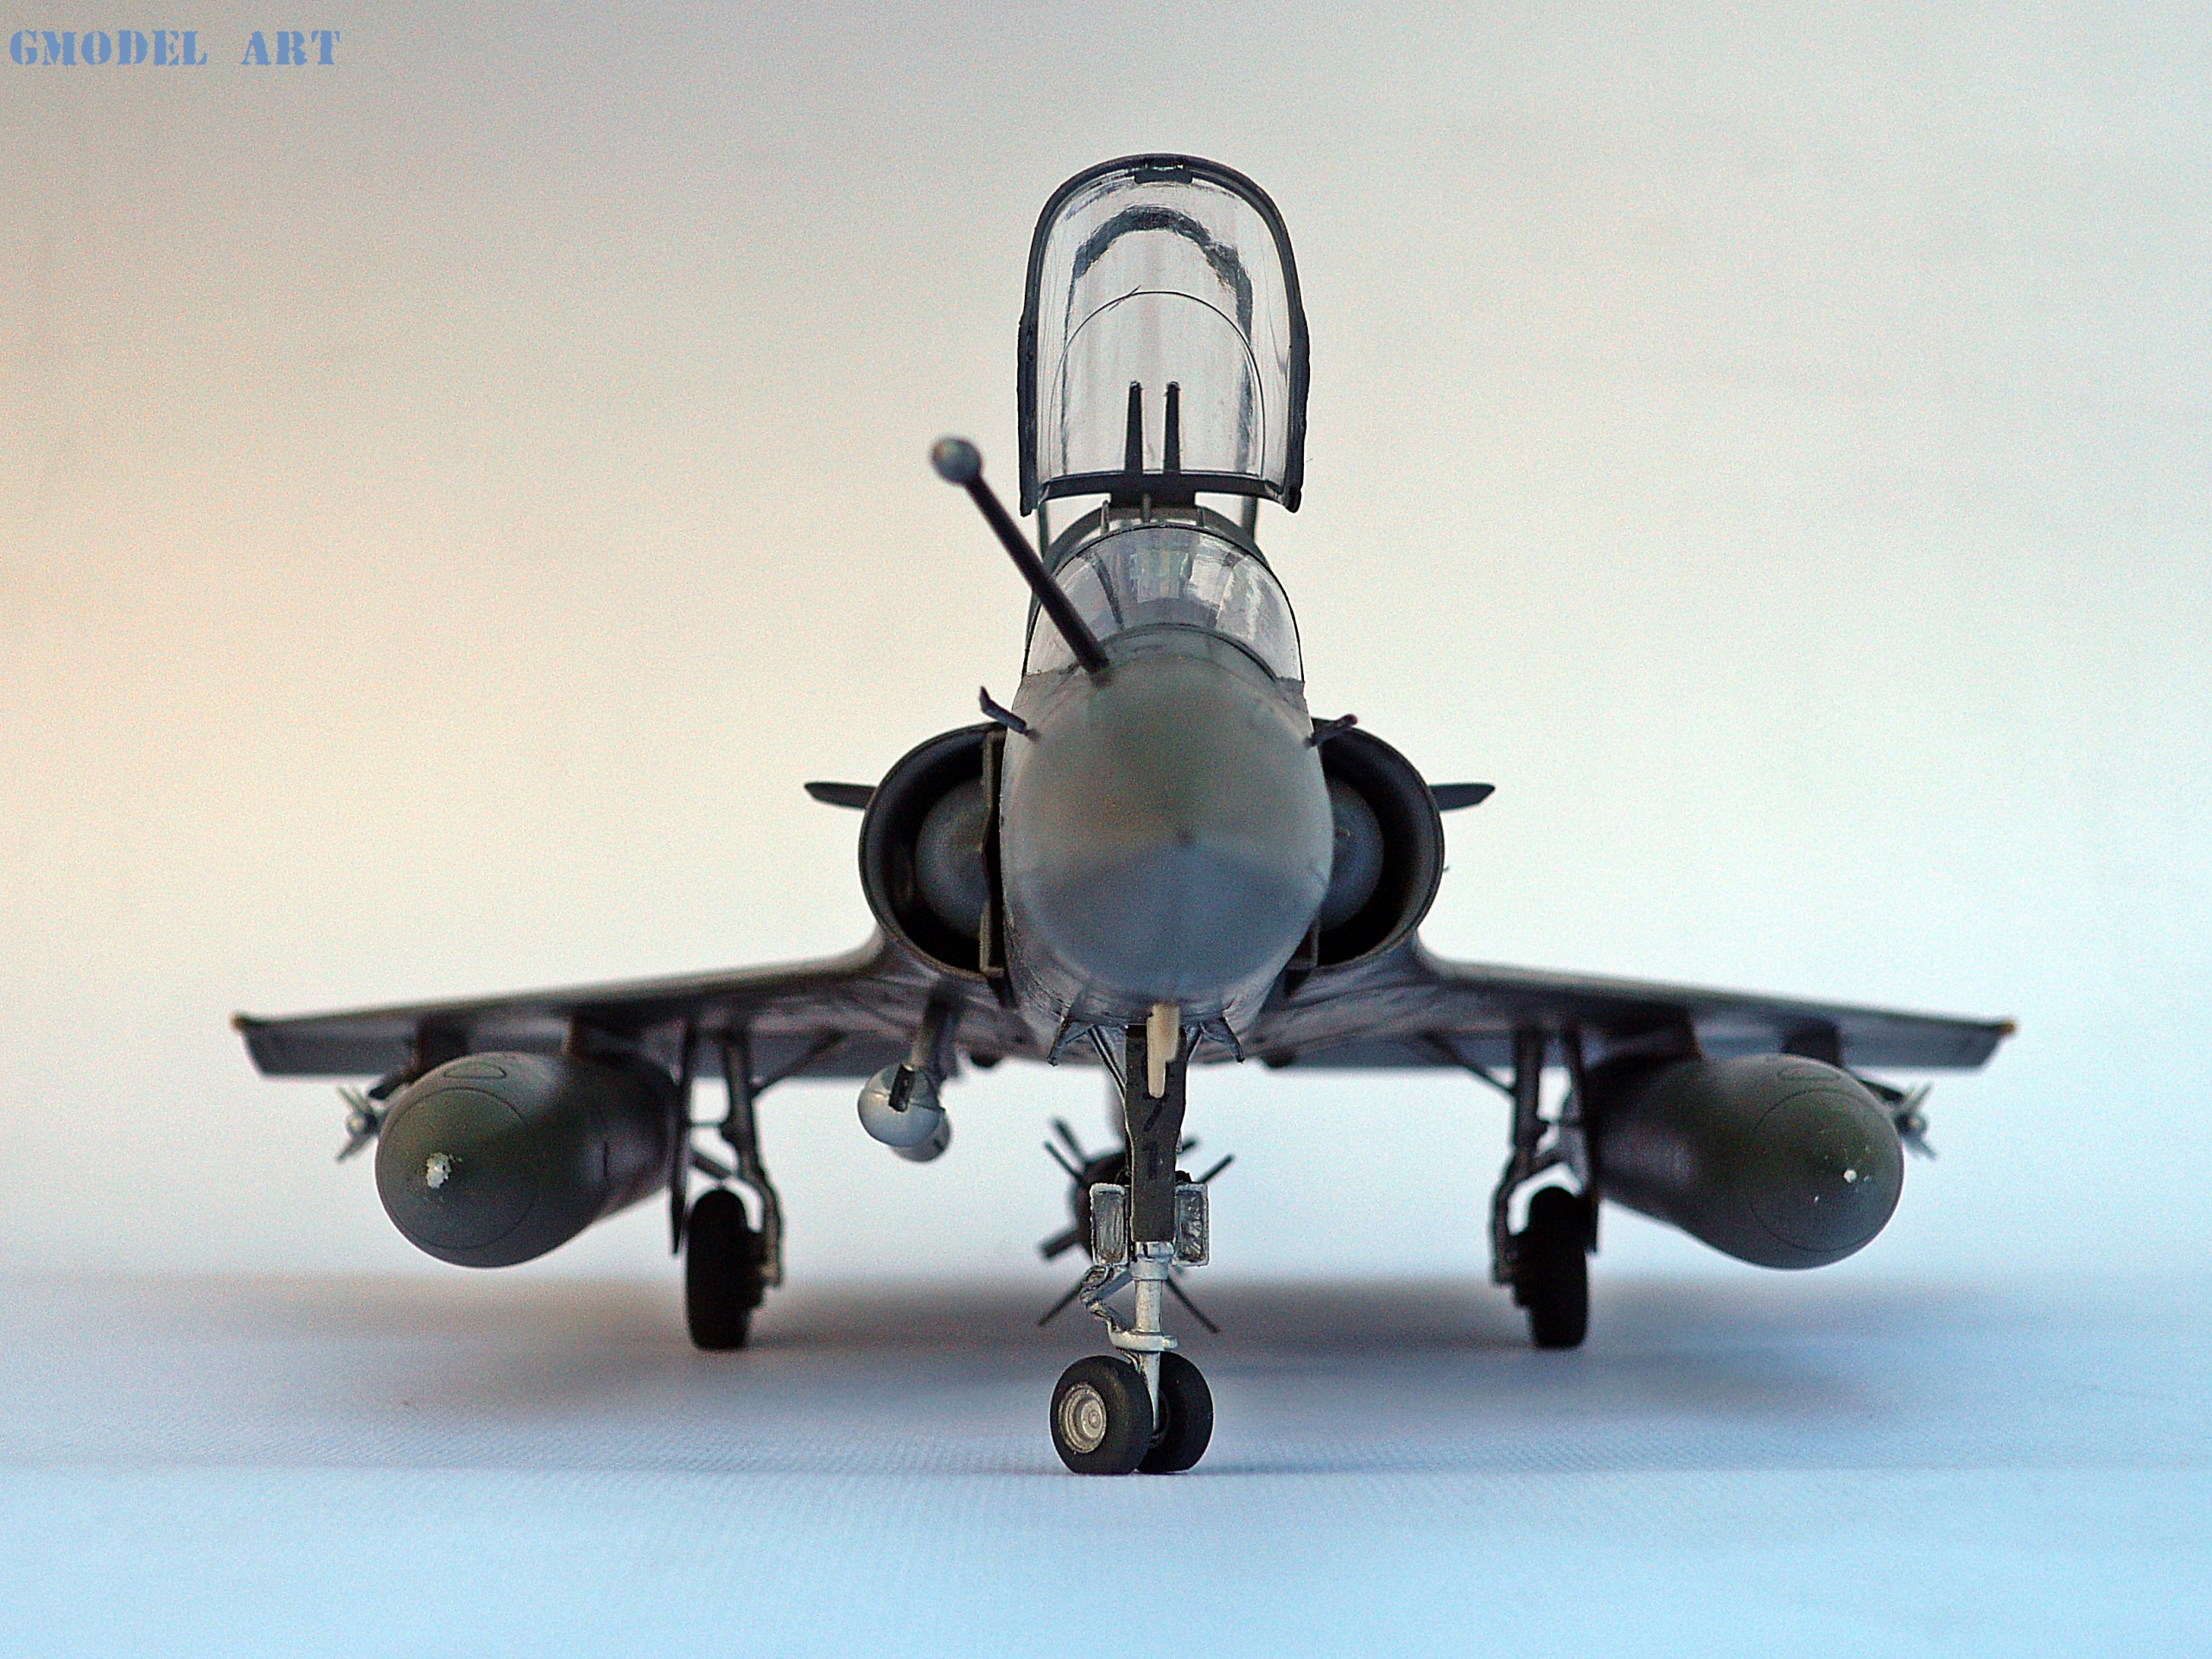
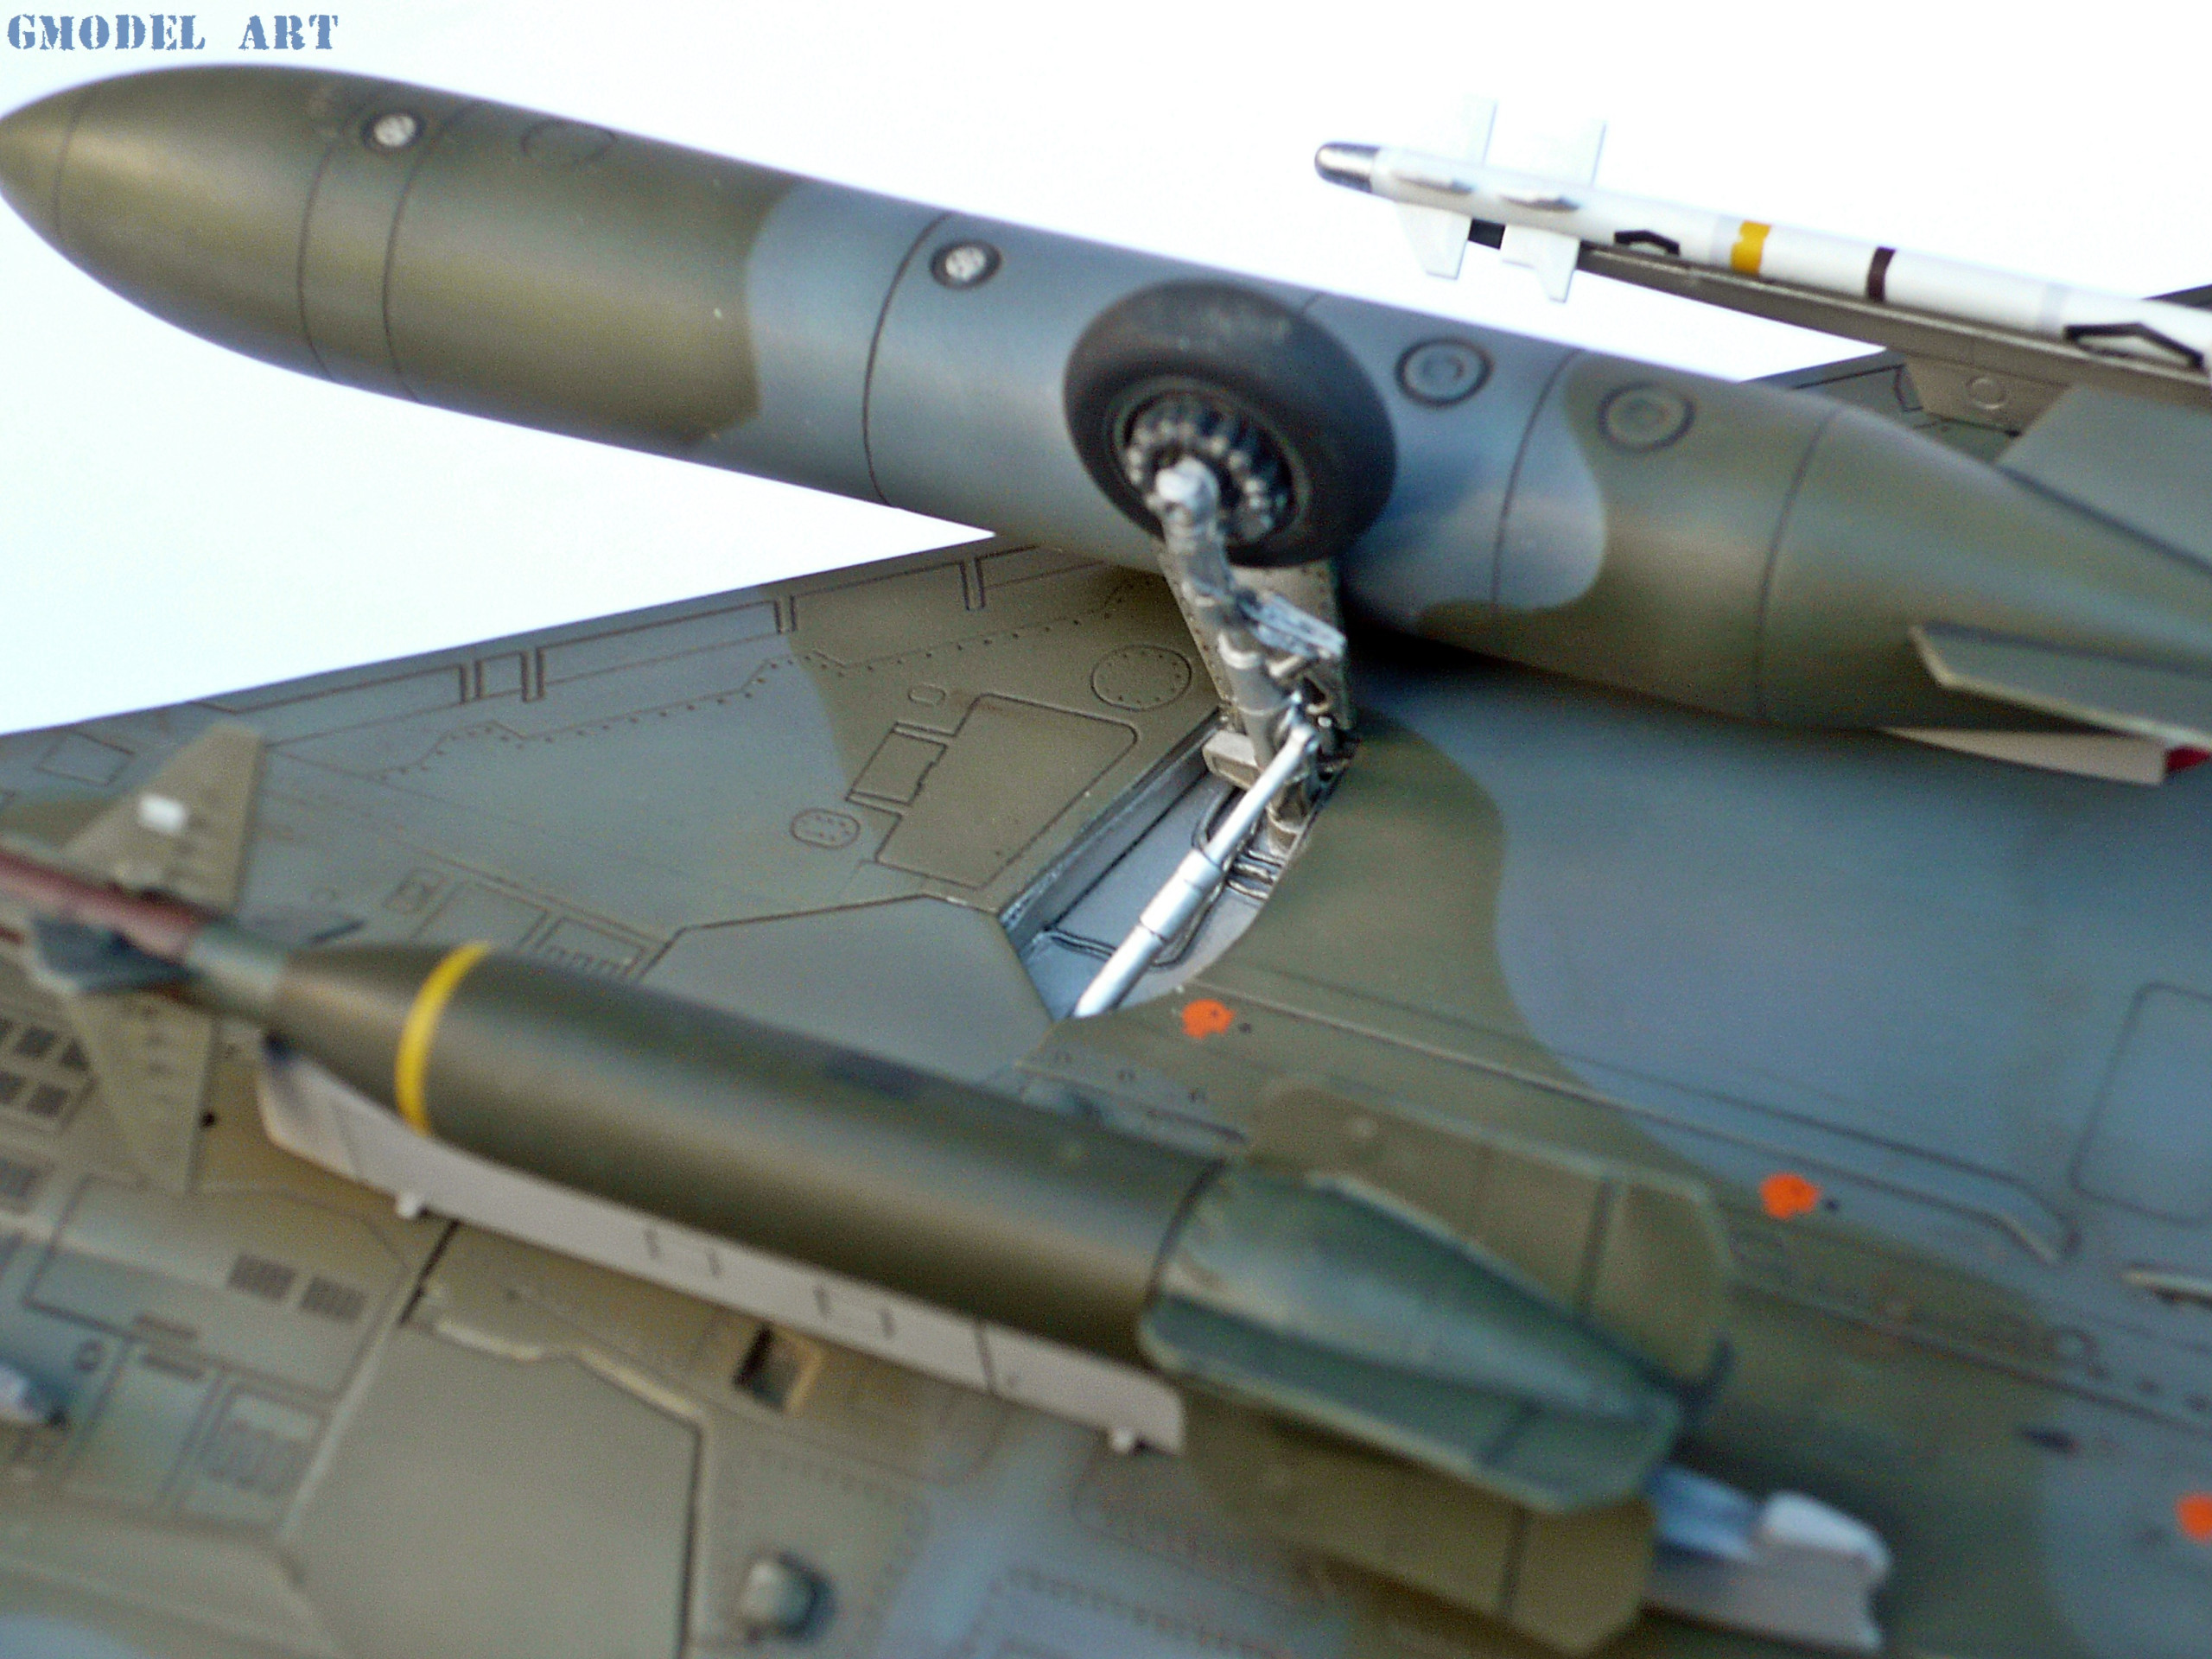
Fuel tanks painted with the same colors used in the aircraft. The chipping effect done using Ammo’s liquid and it was really easy to achieve! Just spray some metal color first, apply the chipping liquid, let it dry for an hour, spray the color you want and after 20-30 minutes, scratch lightly the area you want with a relatively hard brush…You’re ready!!! Trying to weather them a bit more, I applied Ammo pigments (Airfield Dust & Light Dust) with a brush. You can clearly see the difference between the one that has been applied and the one that has not (pic. 26)
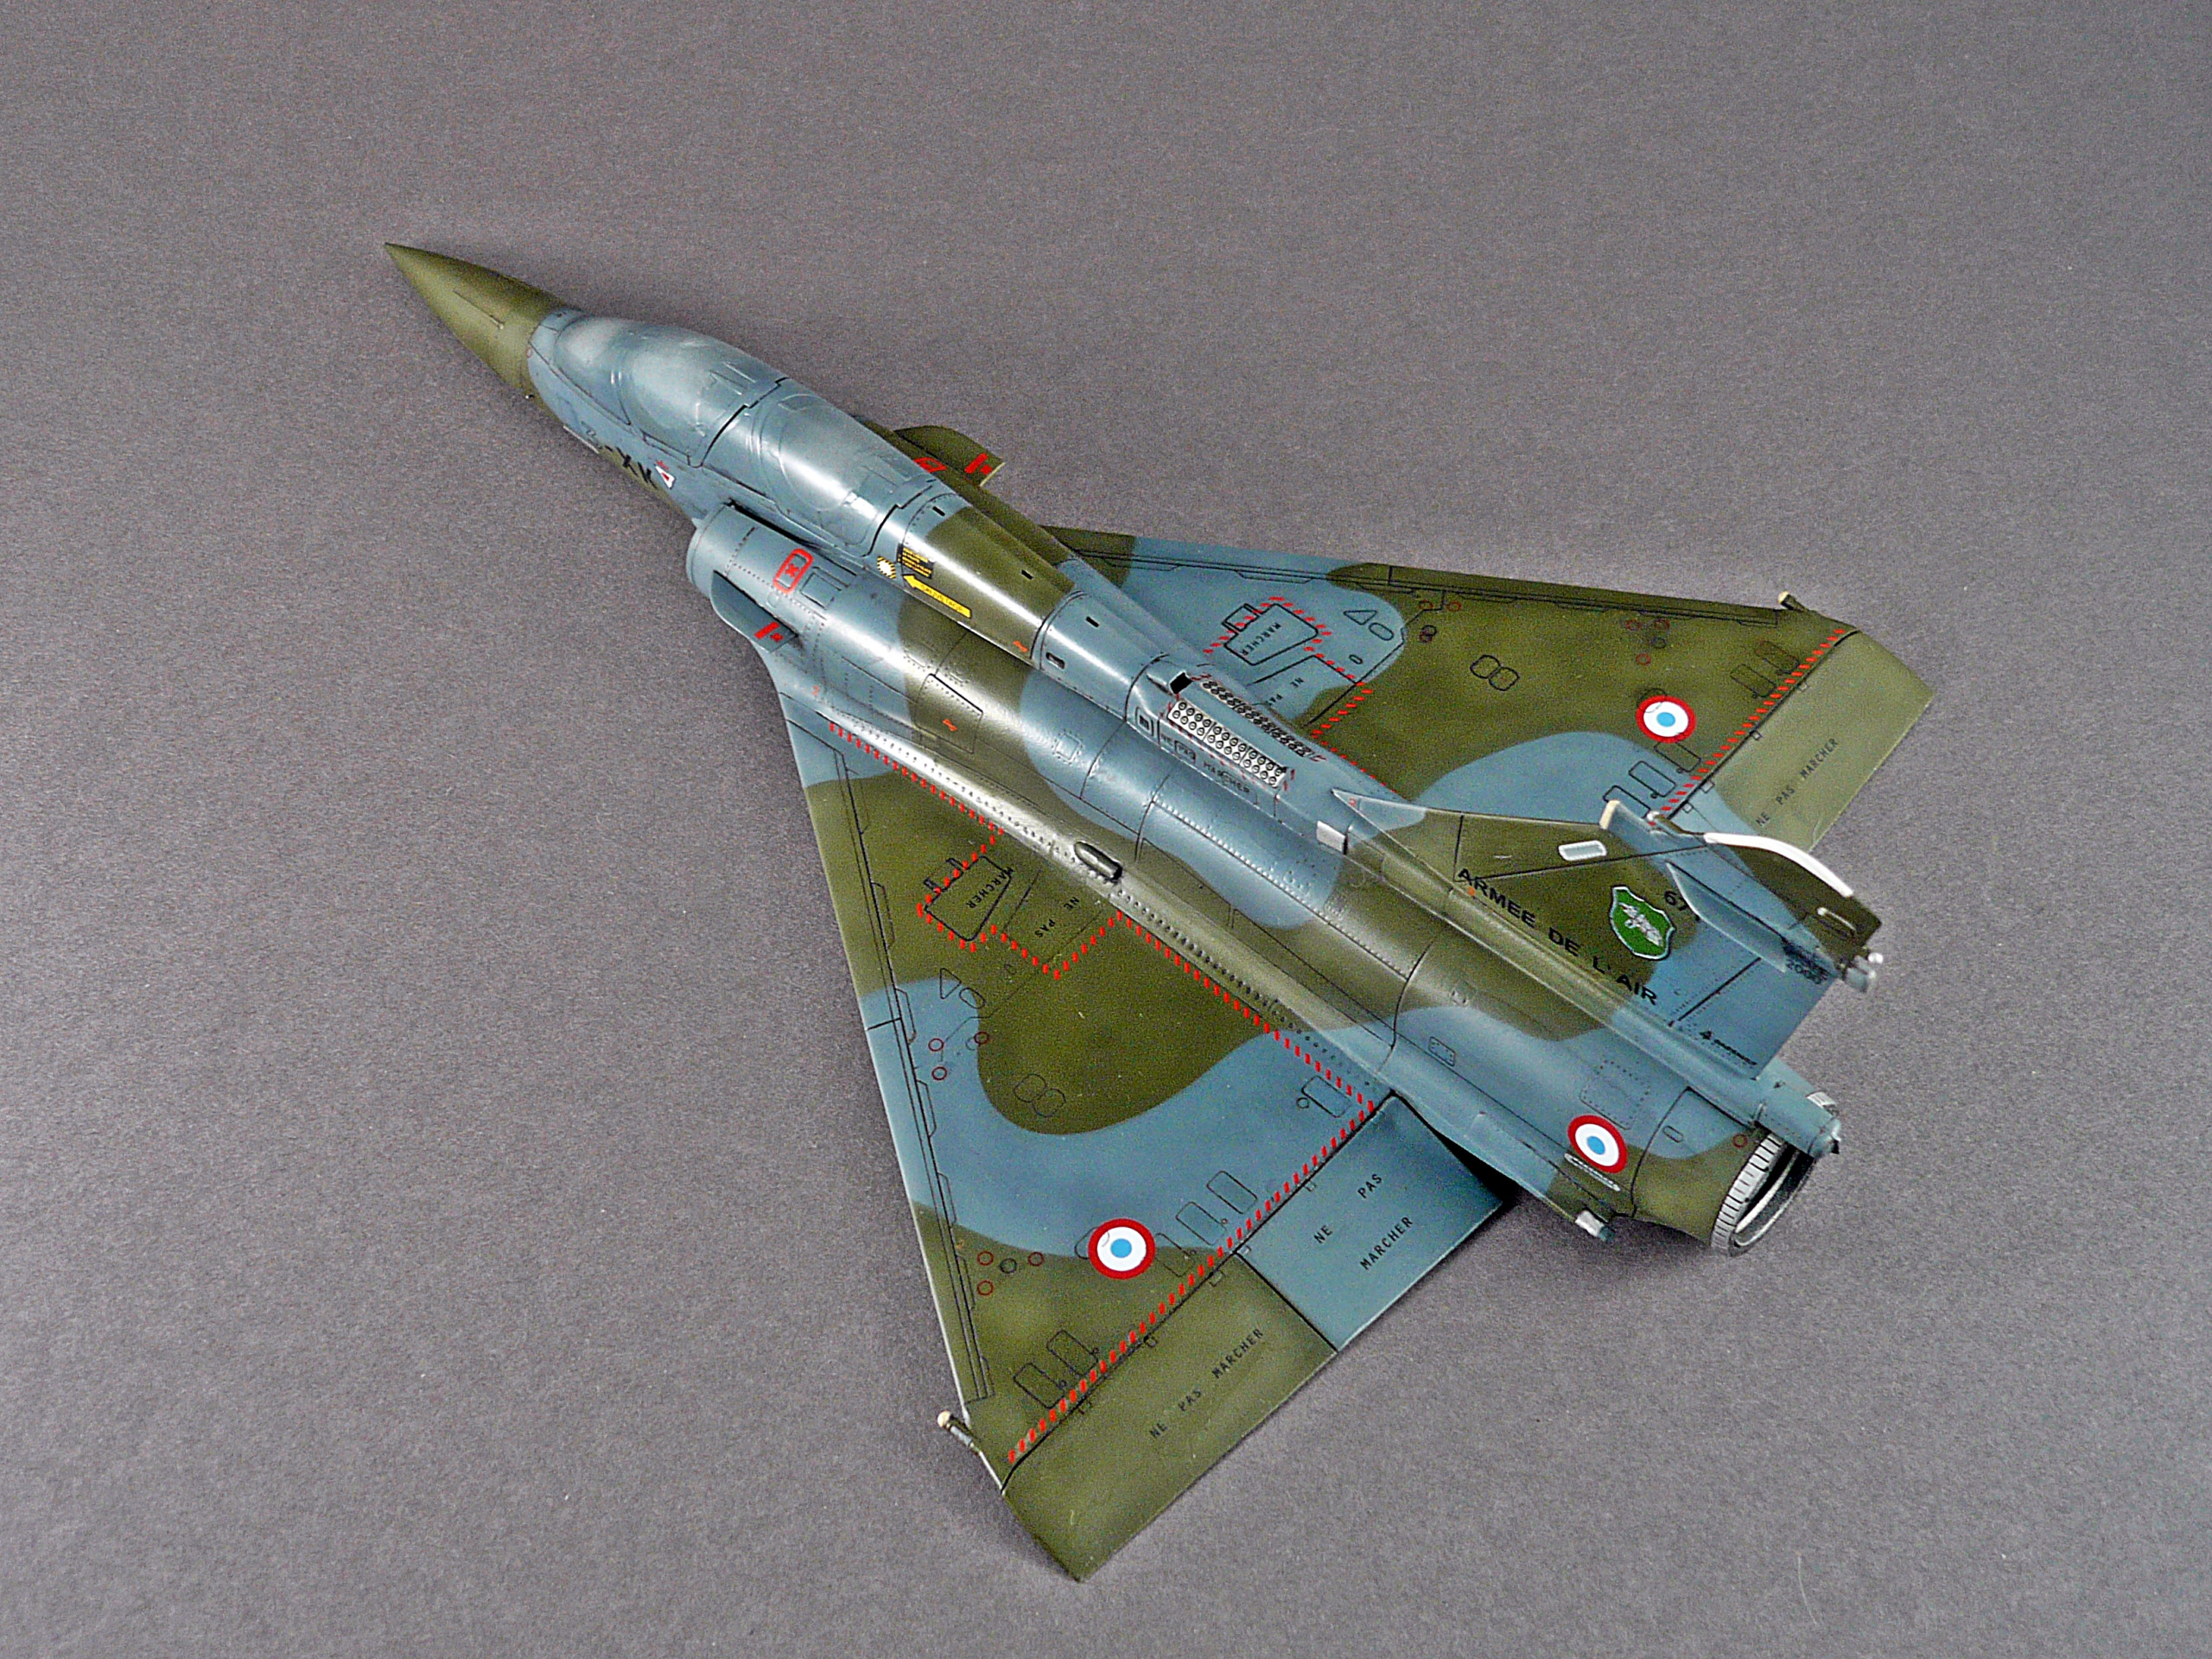
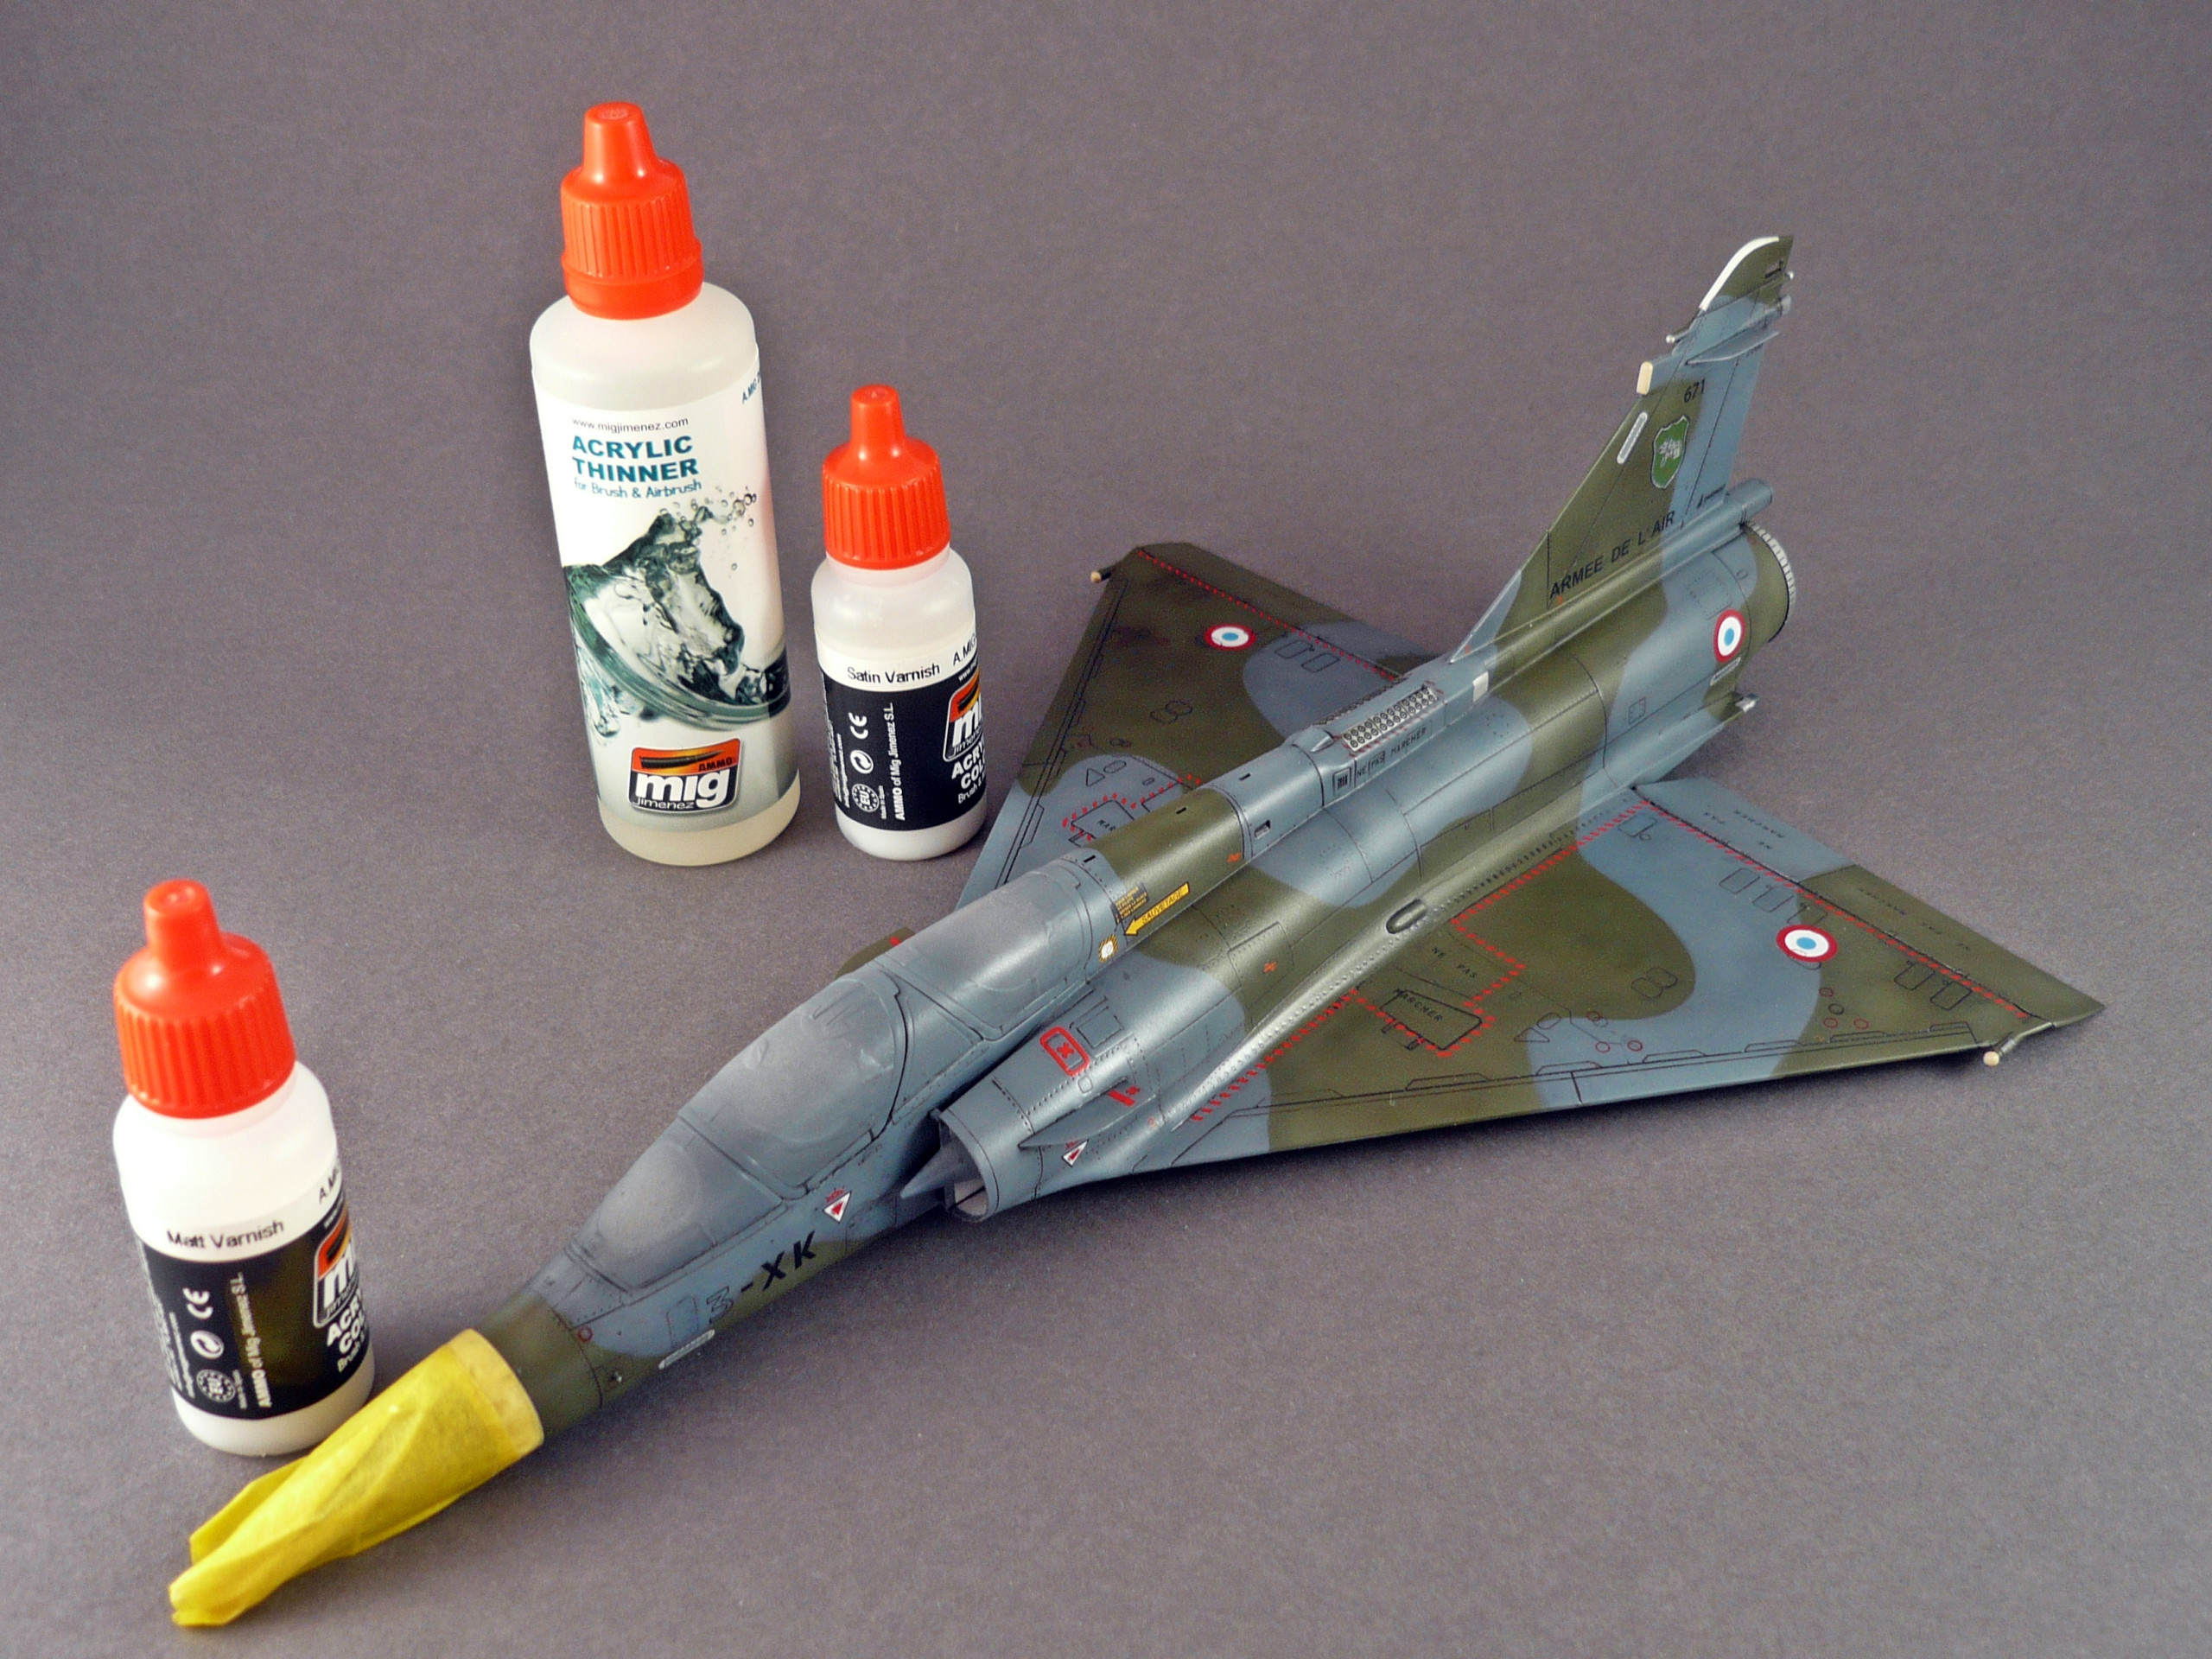
Then I sprayed and masked the radome with the Ammo matt varnish and the rest of the model with Ammo’s satin varnish (based on reference pics) to weather it more!!!! (pic. 27)
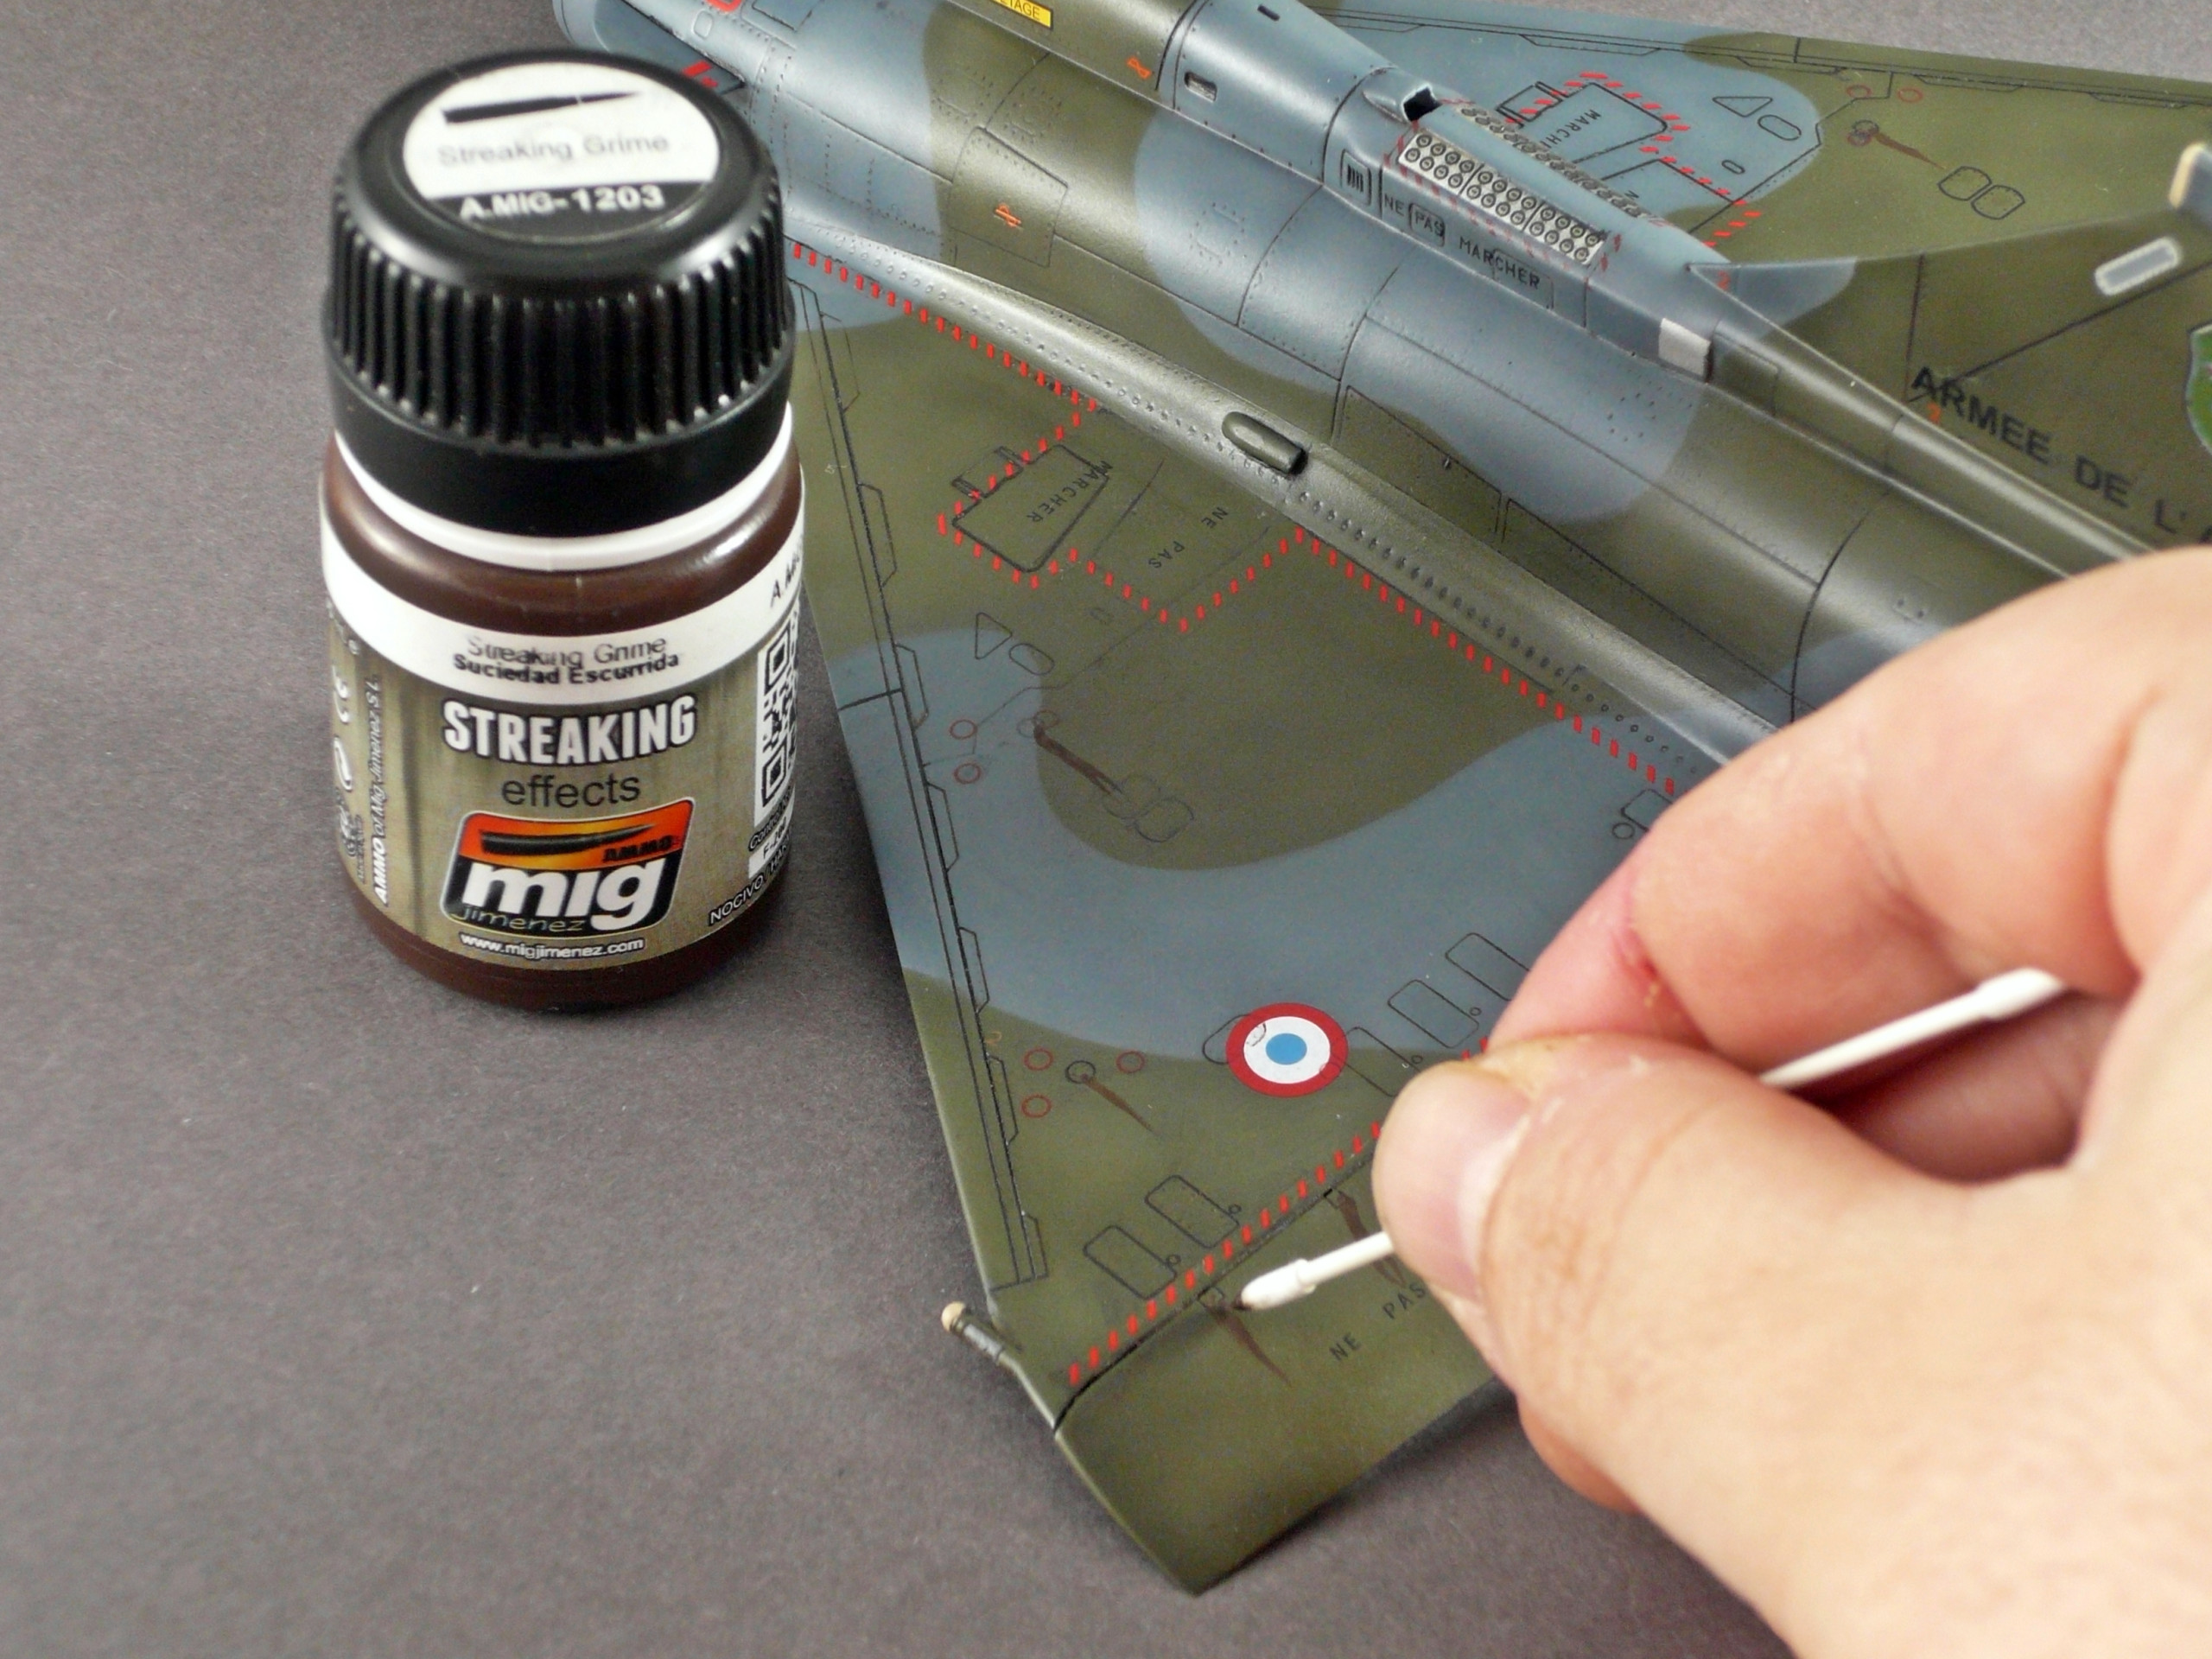
Representing the oil streaks of flaps and various counters of the aircraft, I used Ammo’s Streaking effects (pic.28,29,30) and then I gave them shape using wet cotton bud at the air flow direction.Be aware to dry the cotton bud (or the brush) in a cotton towel before using it because you will completely remove the liquid.
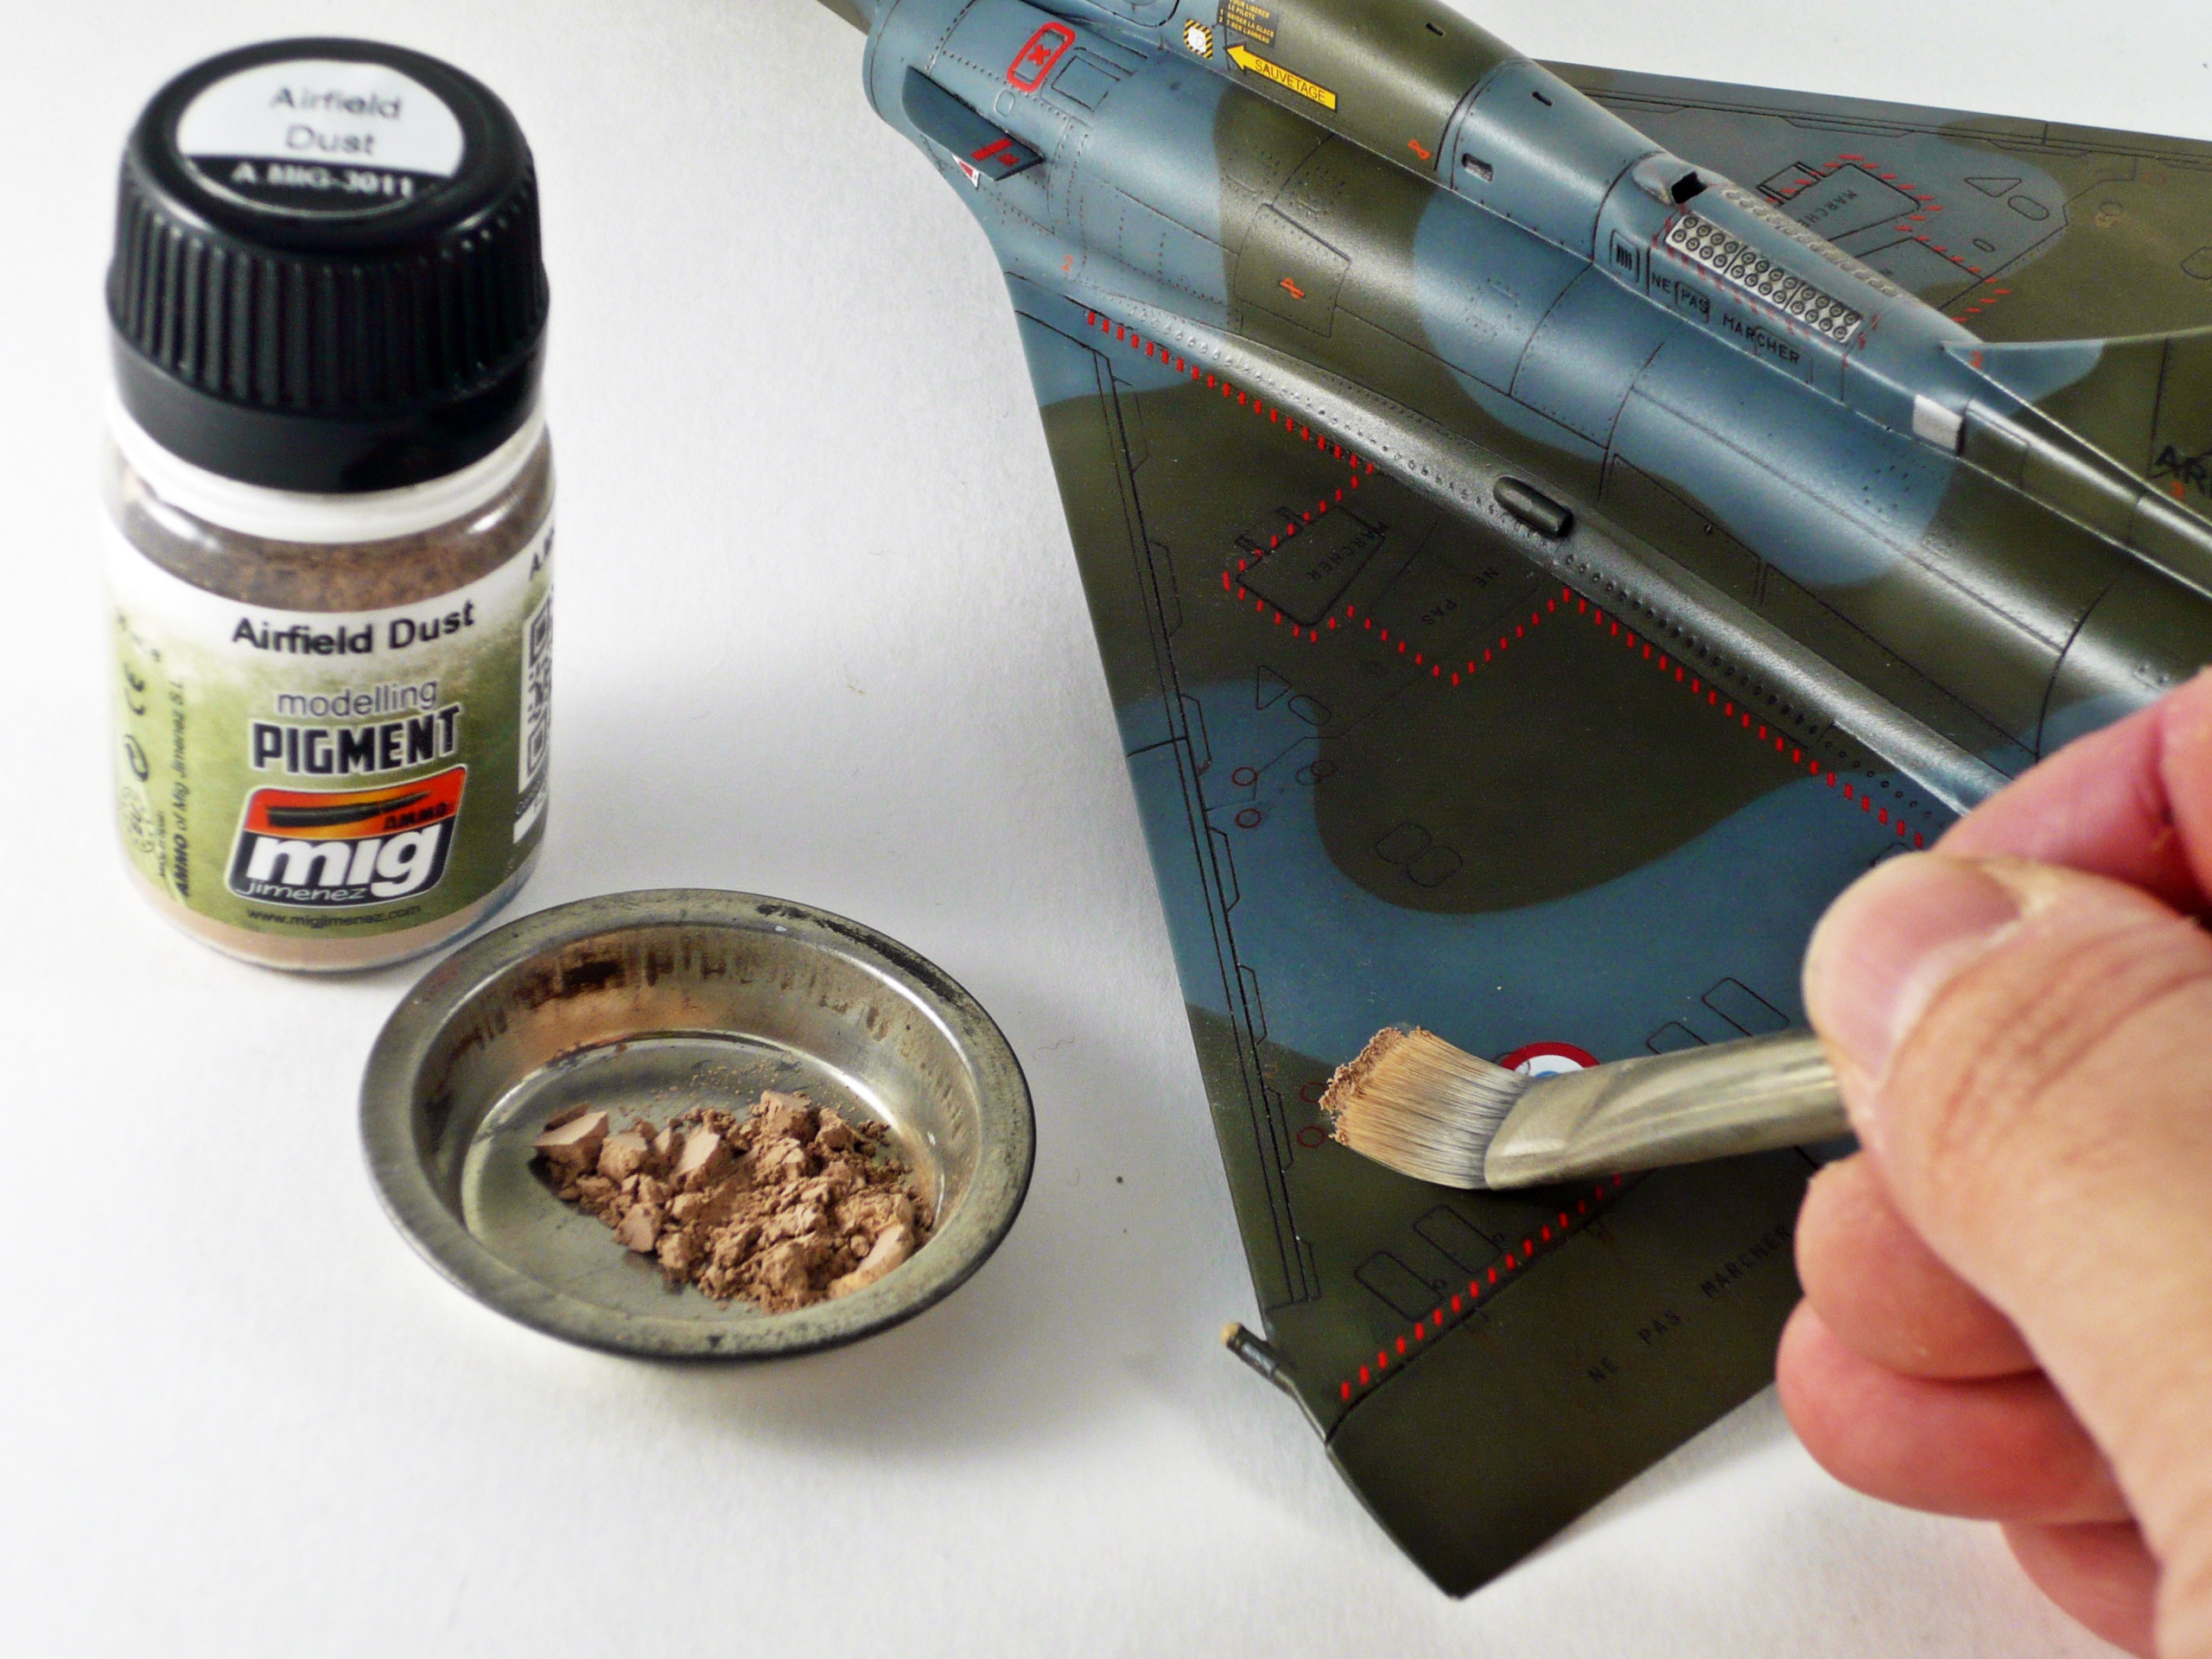
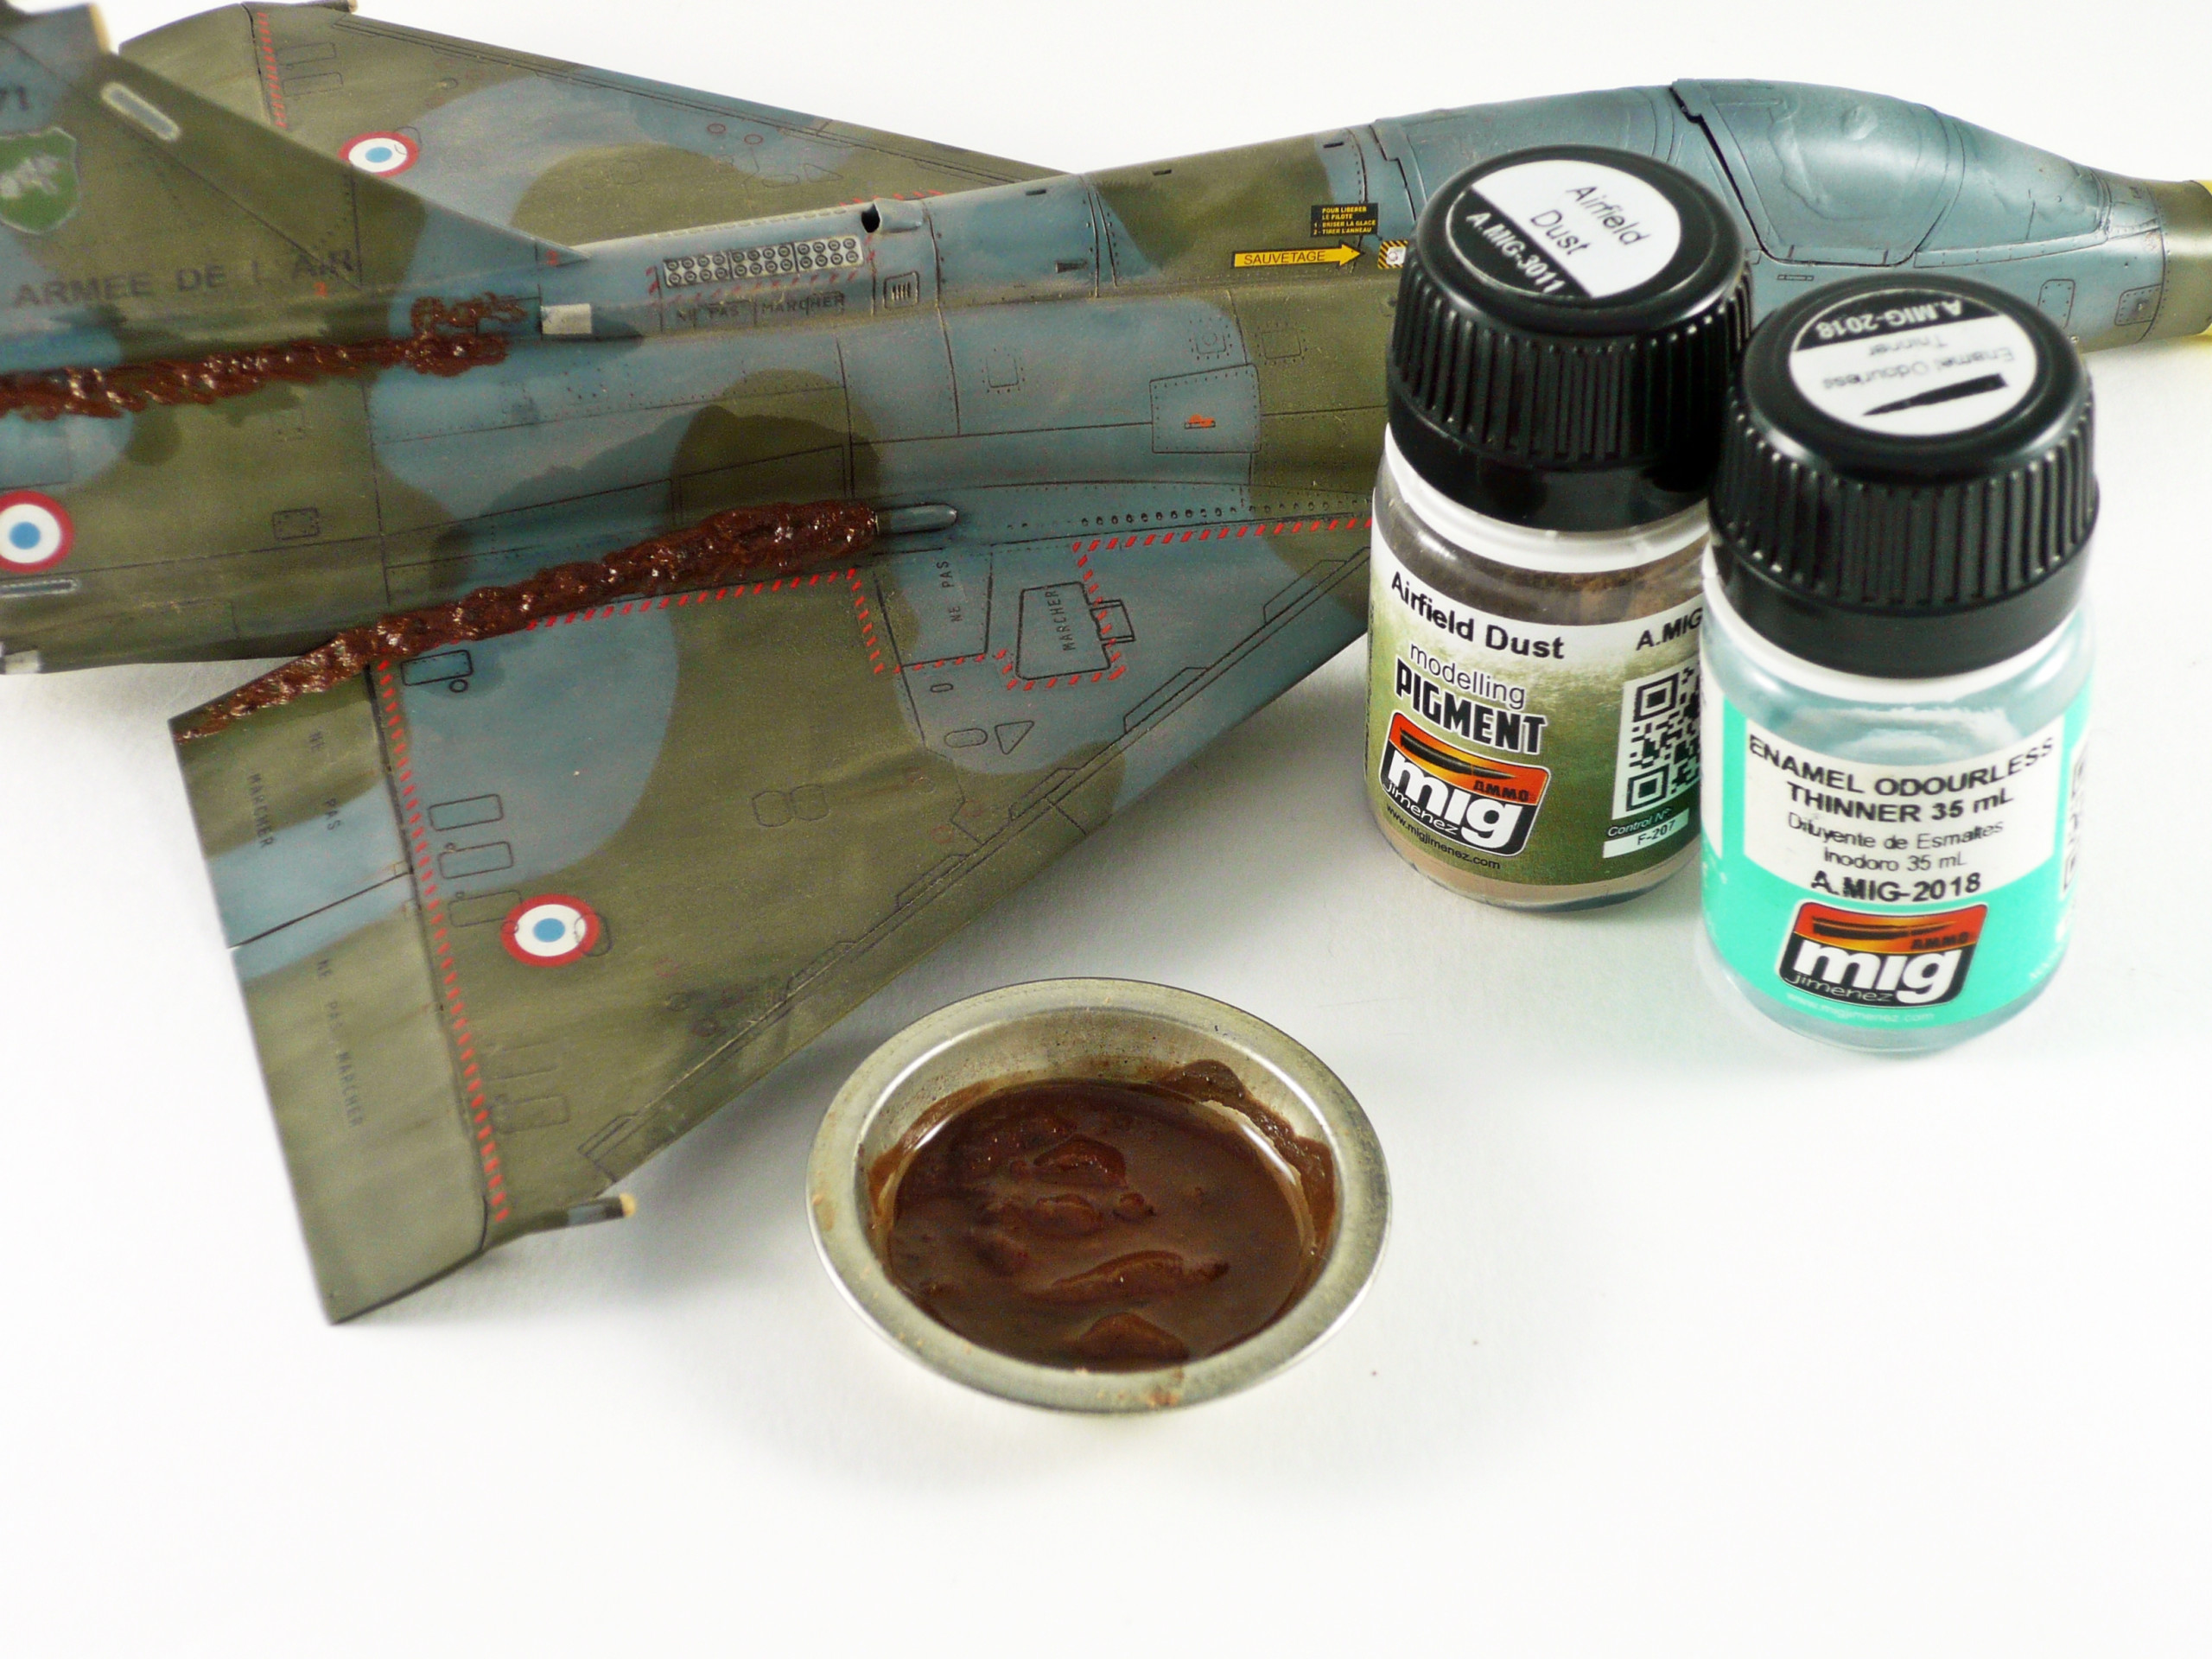
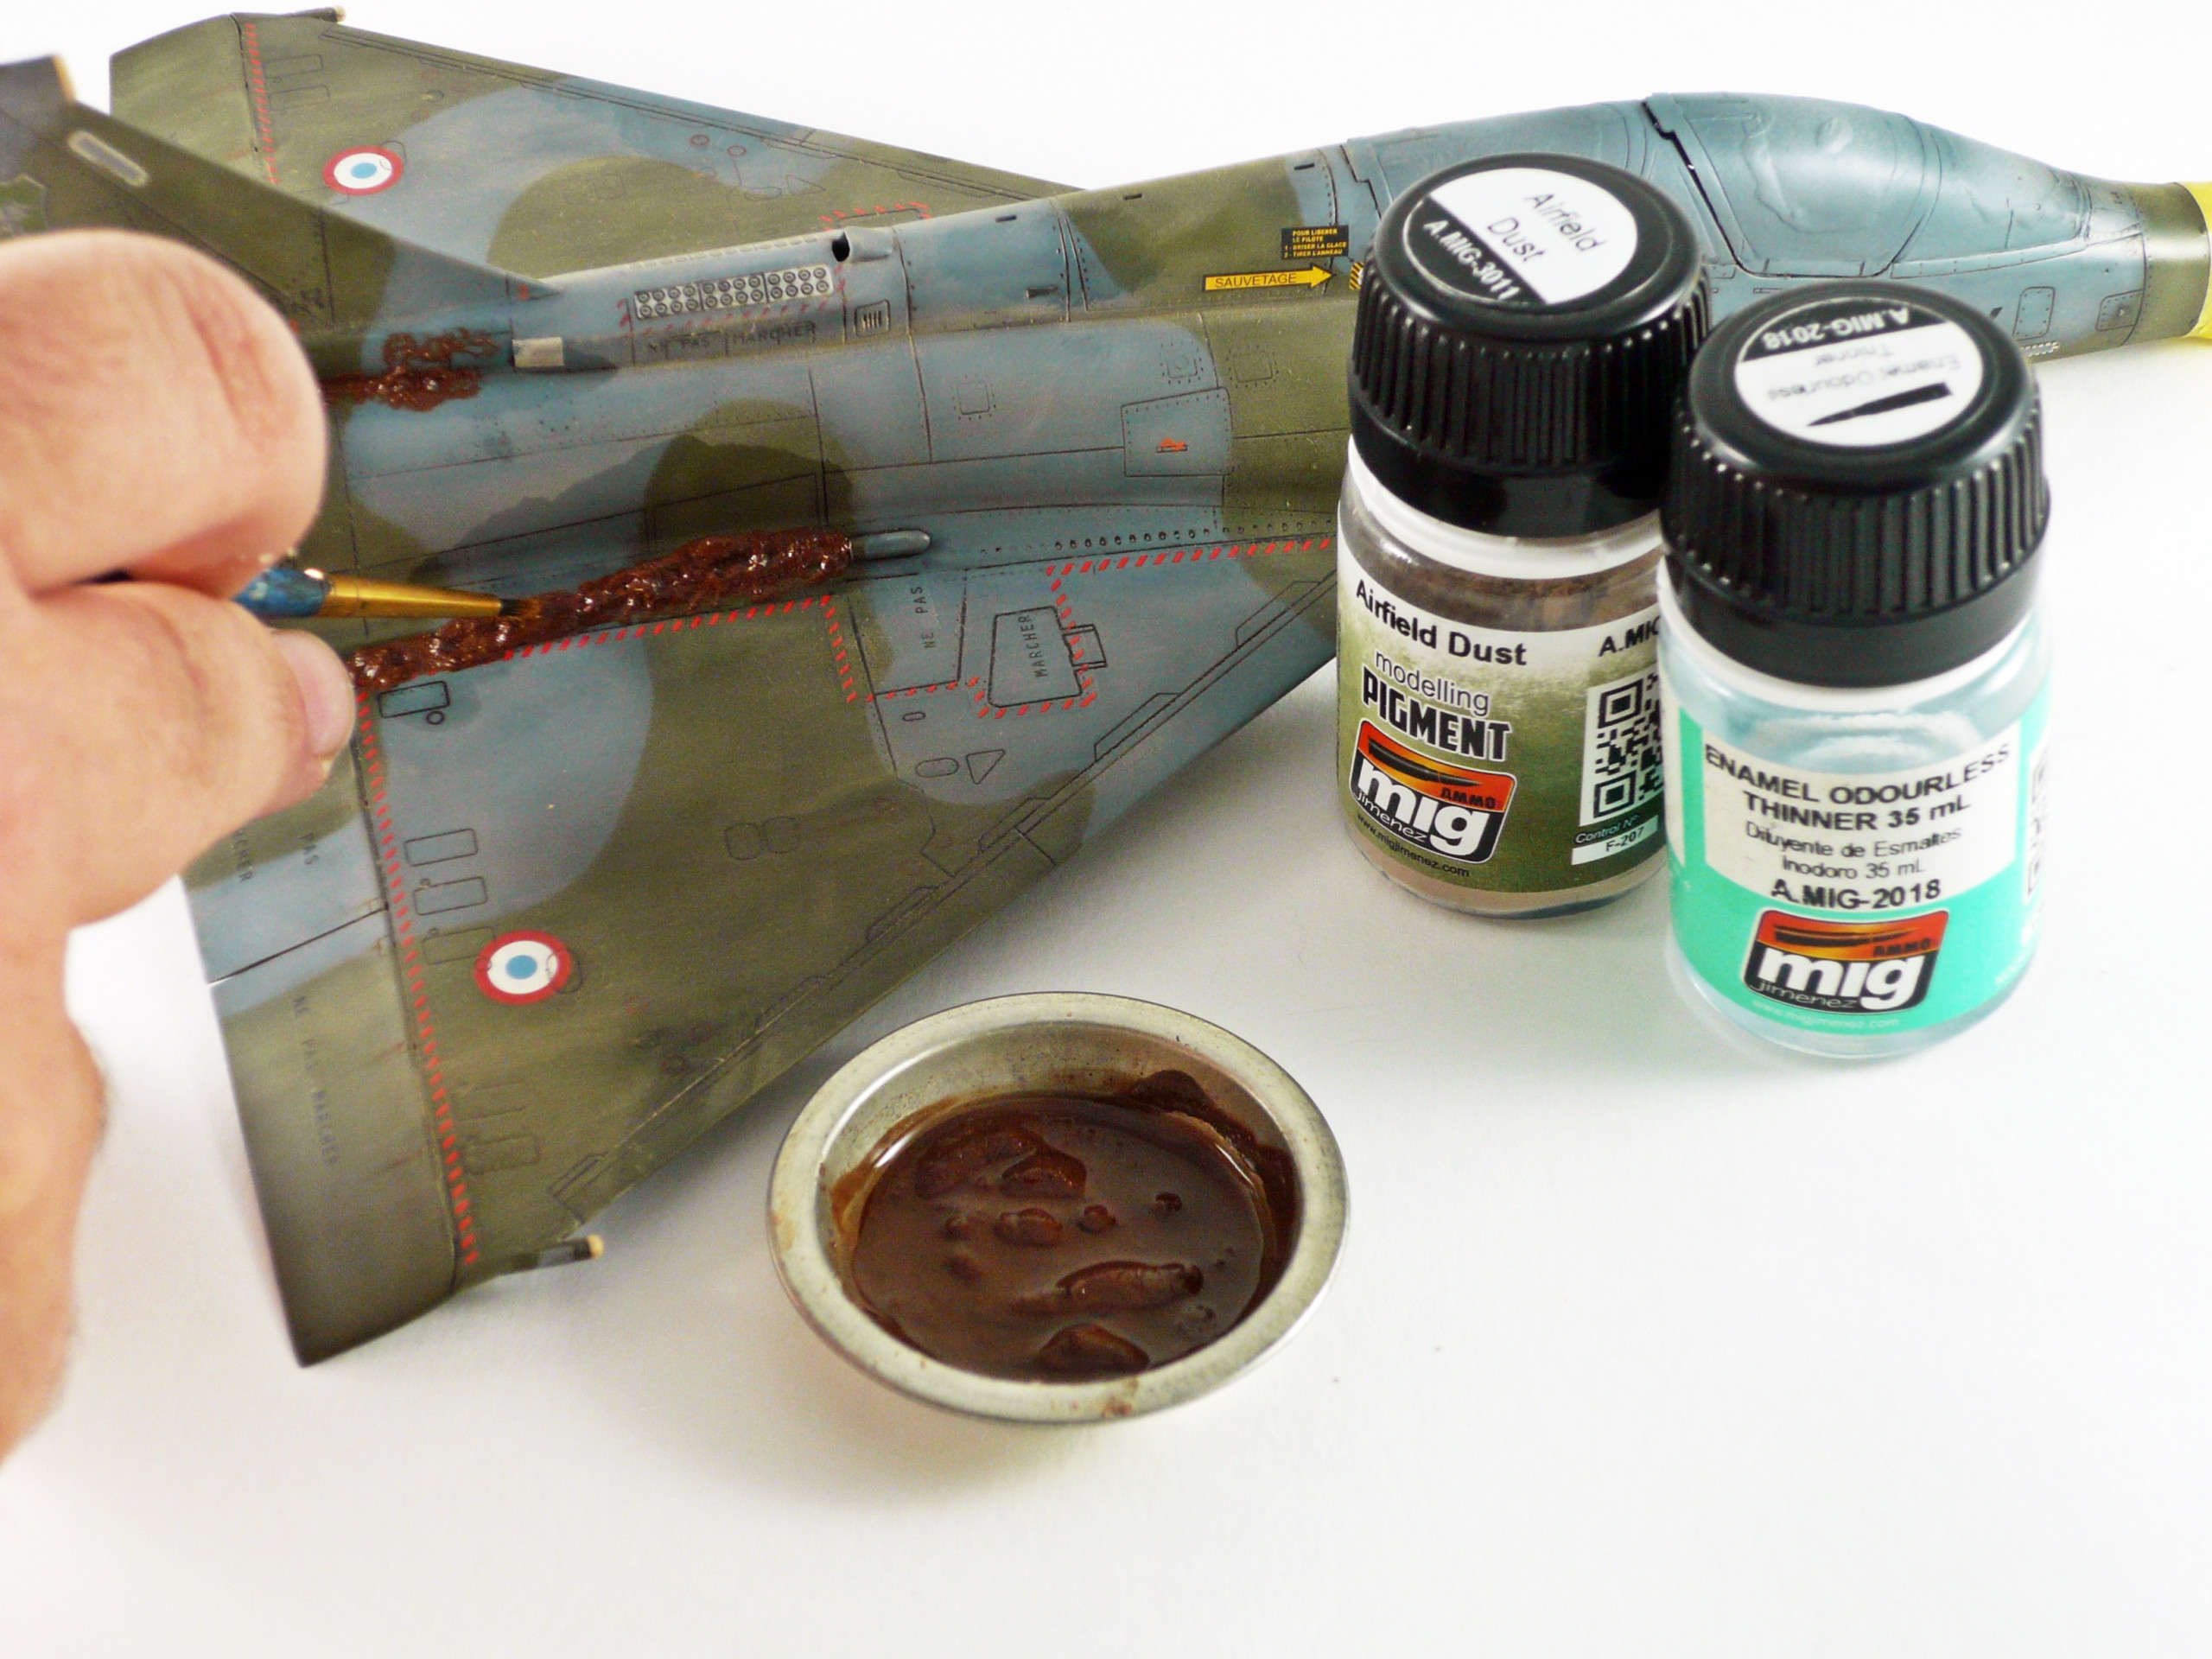
For the representation of the dust that M-2000D had by operating in Afghanistan, I decided to apply all over the model the Ammo pigment Airfield Dust. I used a flat brush for doing that (pic. 31). I brushed it a lot until the only thing you could see was the color tone change and no brush marks. After that I tried to represent the area’s that dust used to stuck due to grease existence. I did that by mixing a sufficient amount of Airfield Dust pigment with thinners (pic. 32). Then with a brush gave it some shape (pic. 33). For the darker core in the area I sprayed some dark brown color.
Finally I sprayed the model with satin varnish from Ammo. I’ve done that because of the pigment movement. Give it at least 4-6 hours to dry before touching it.
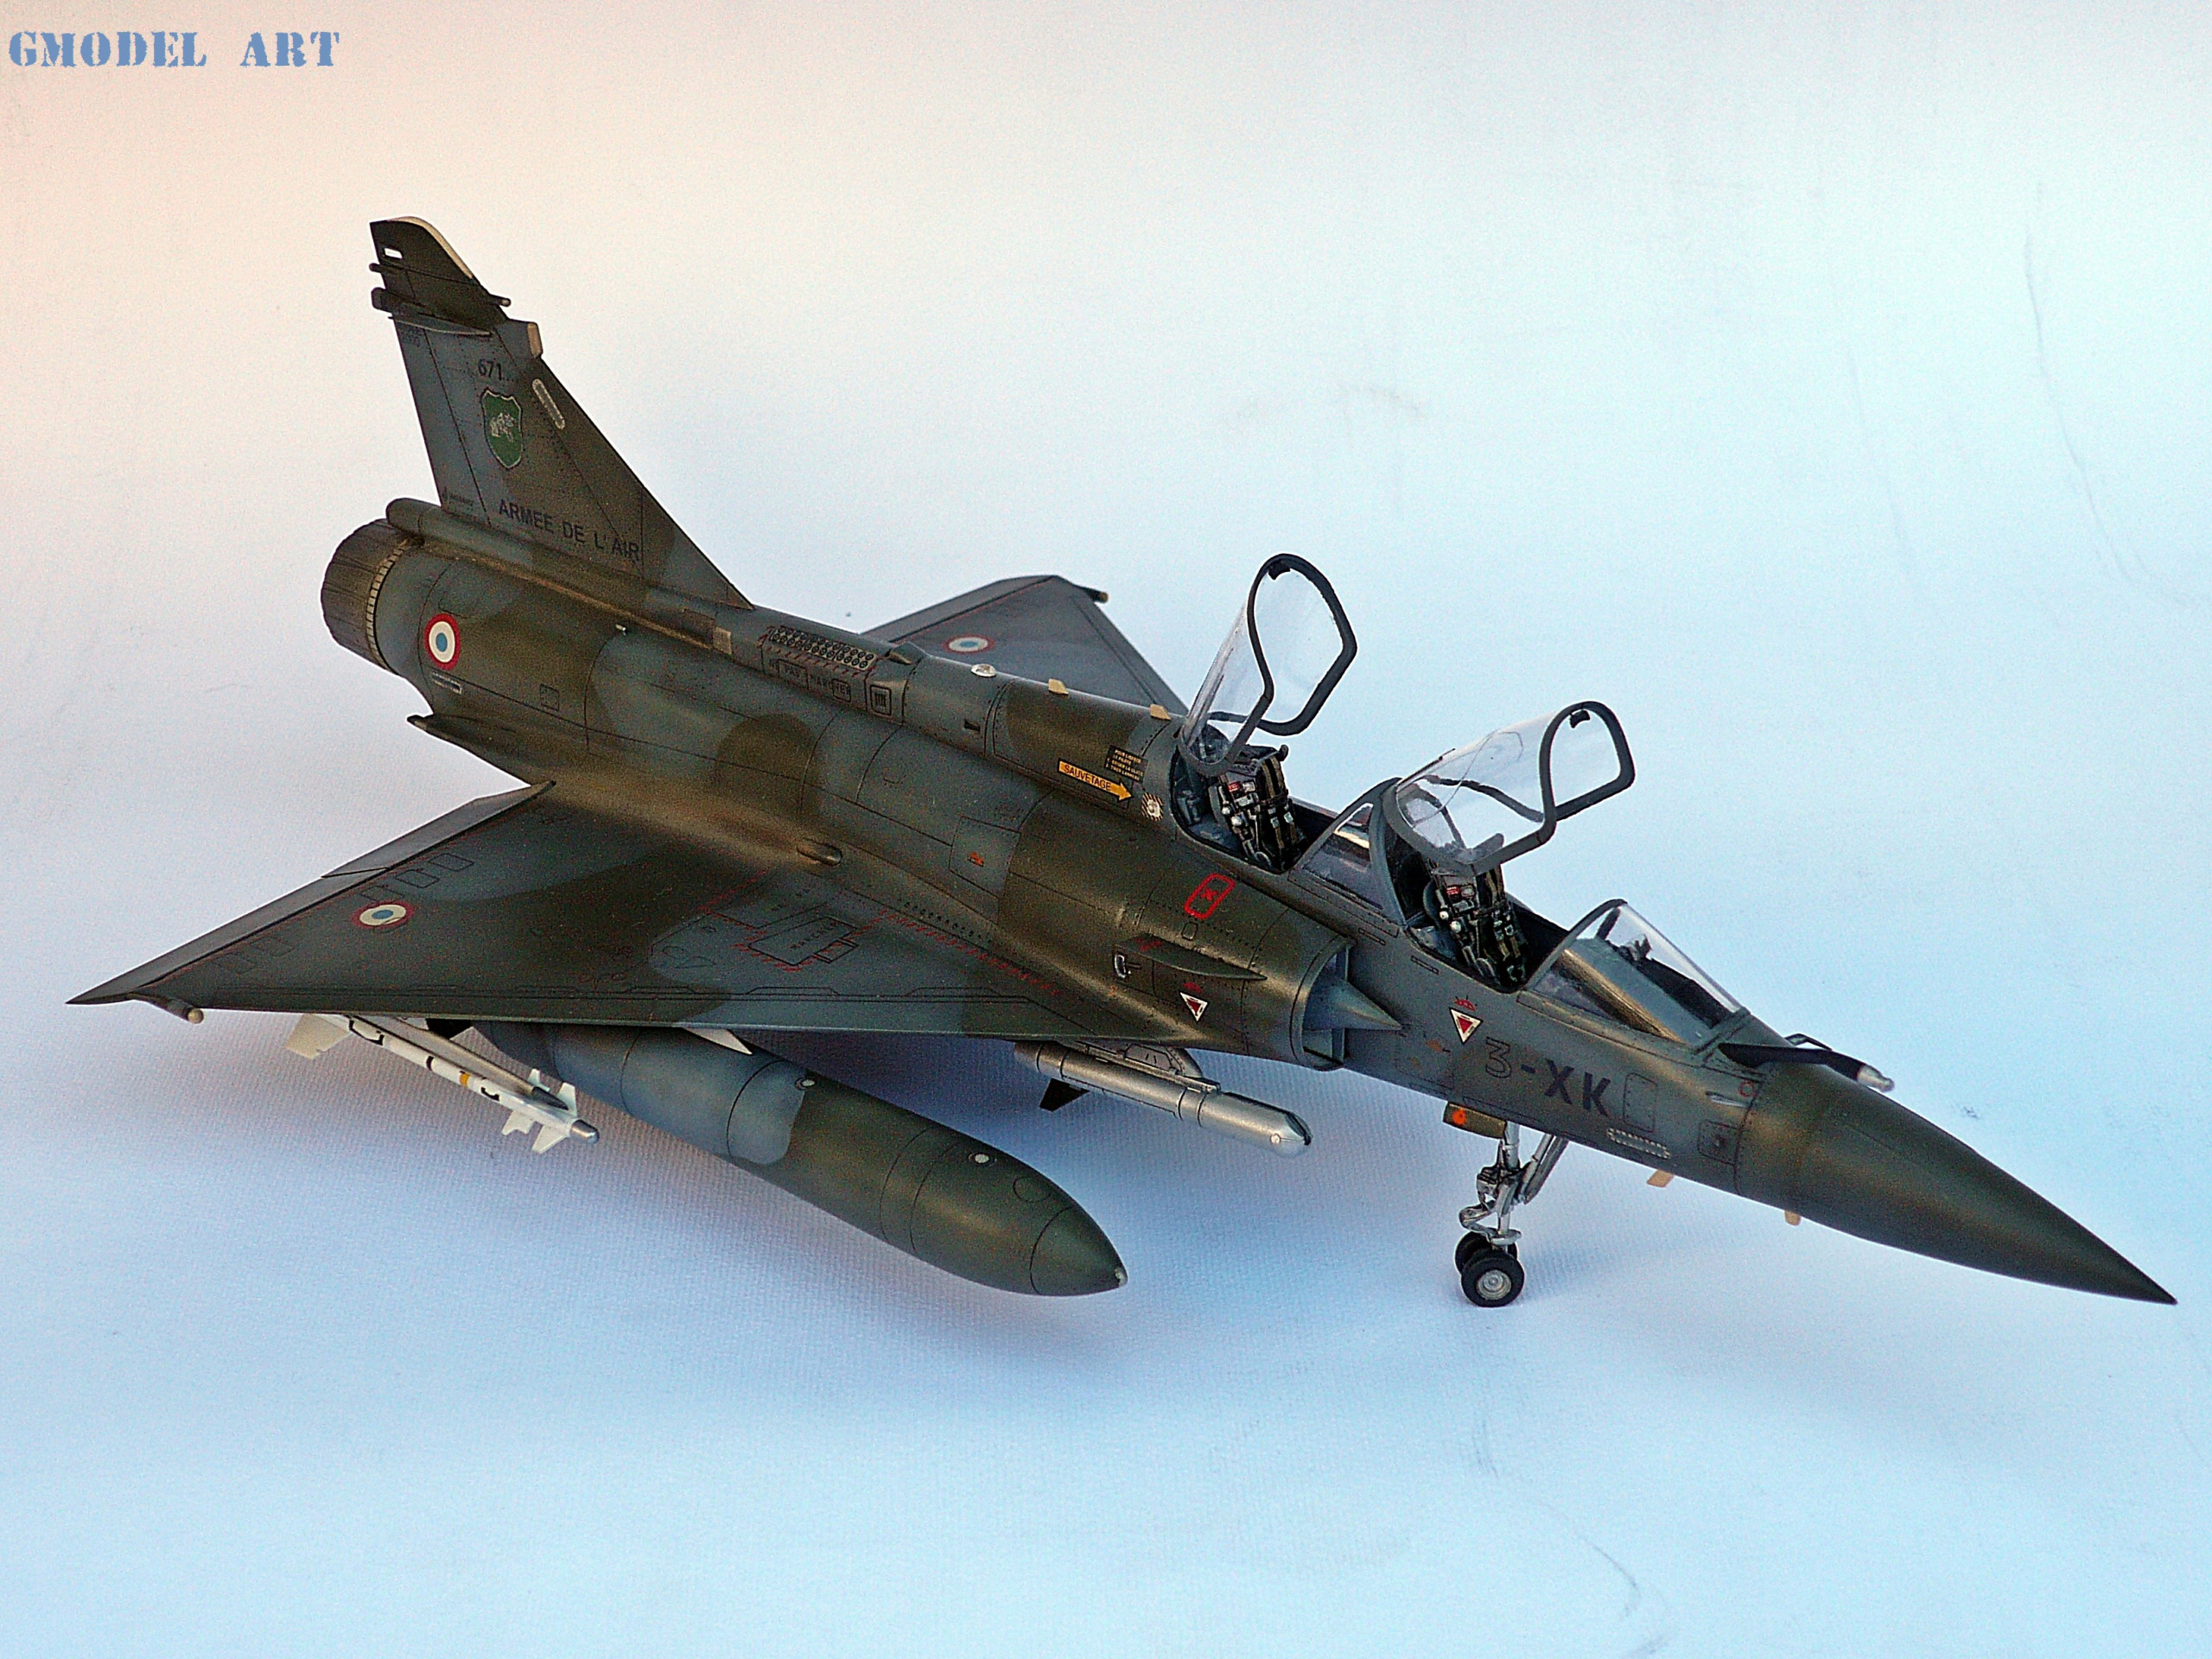
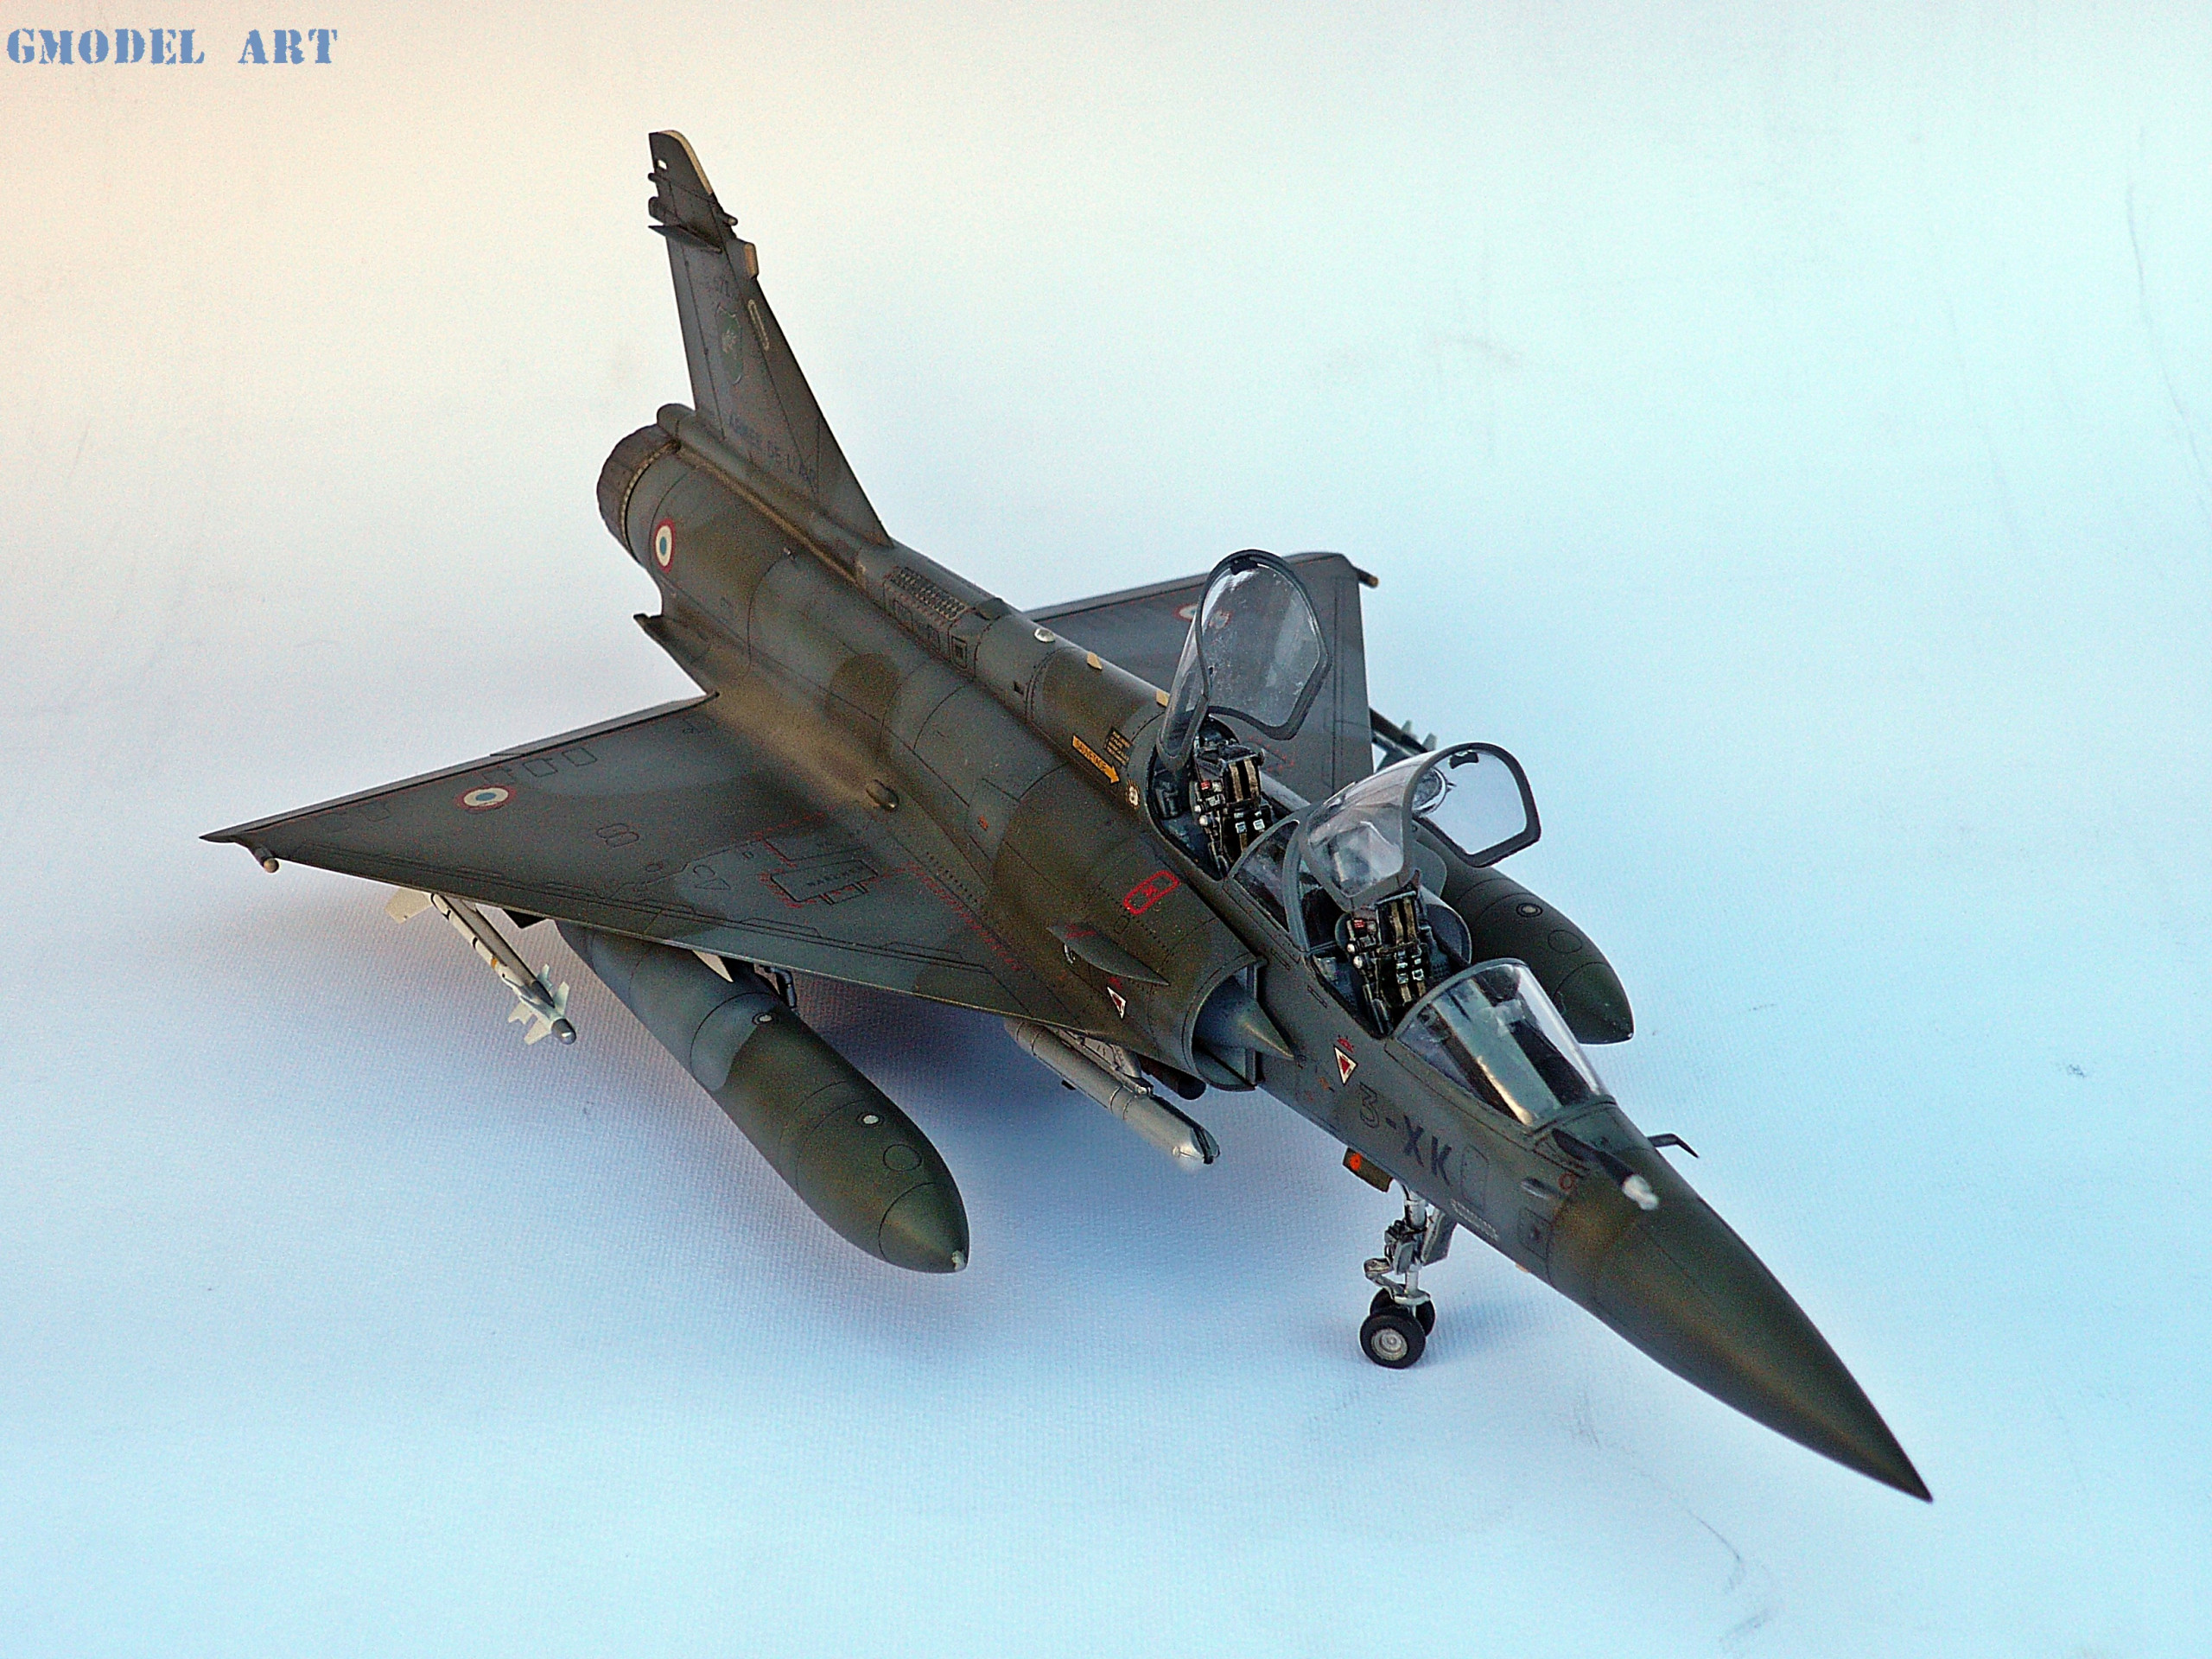
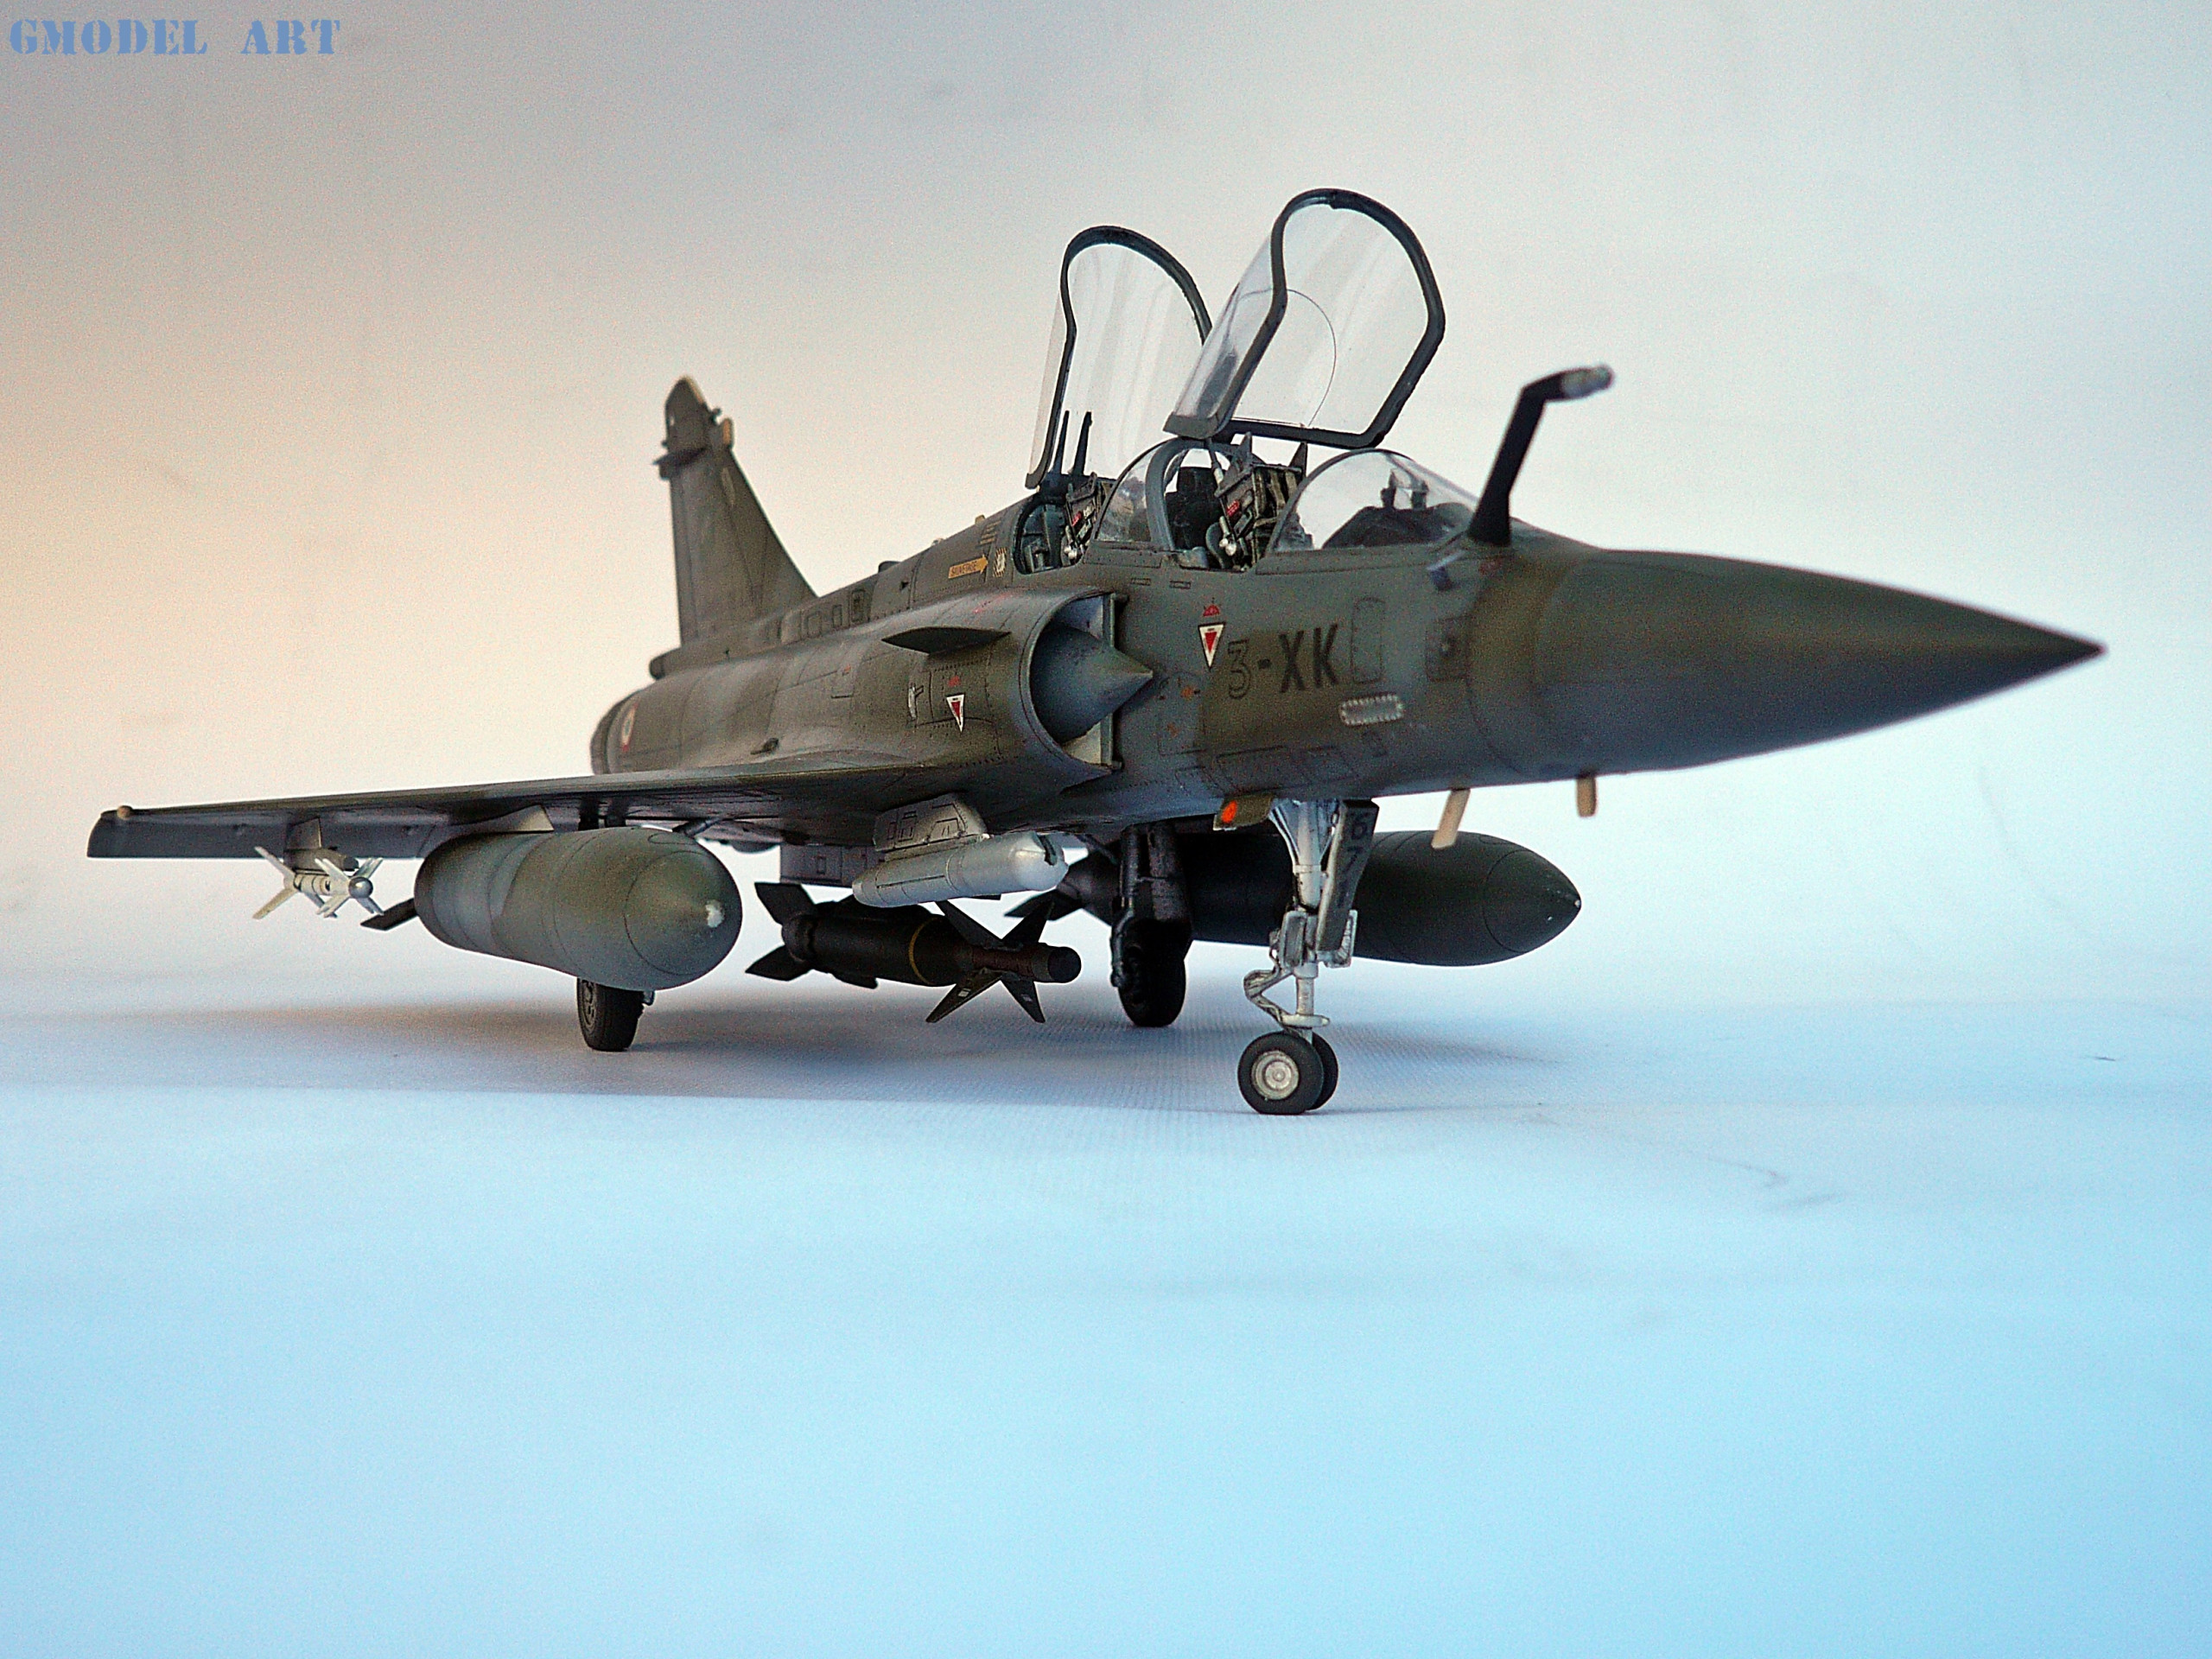
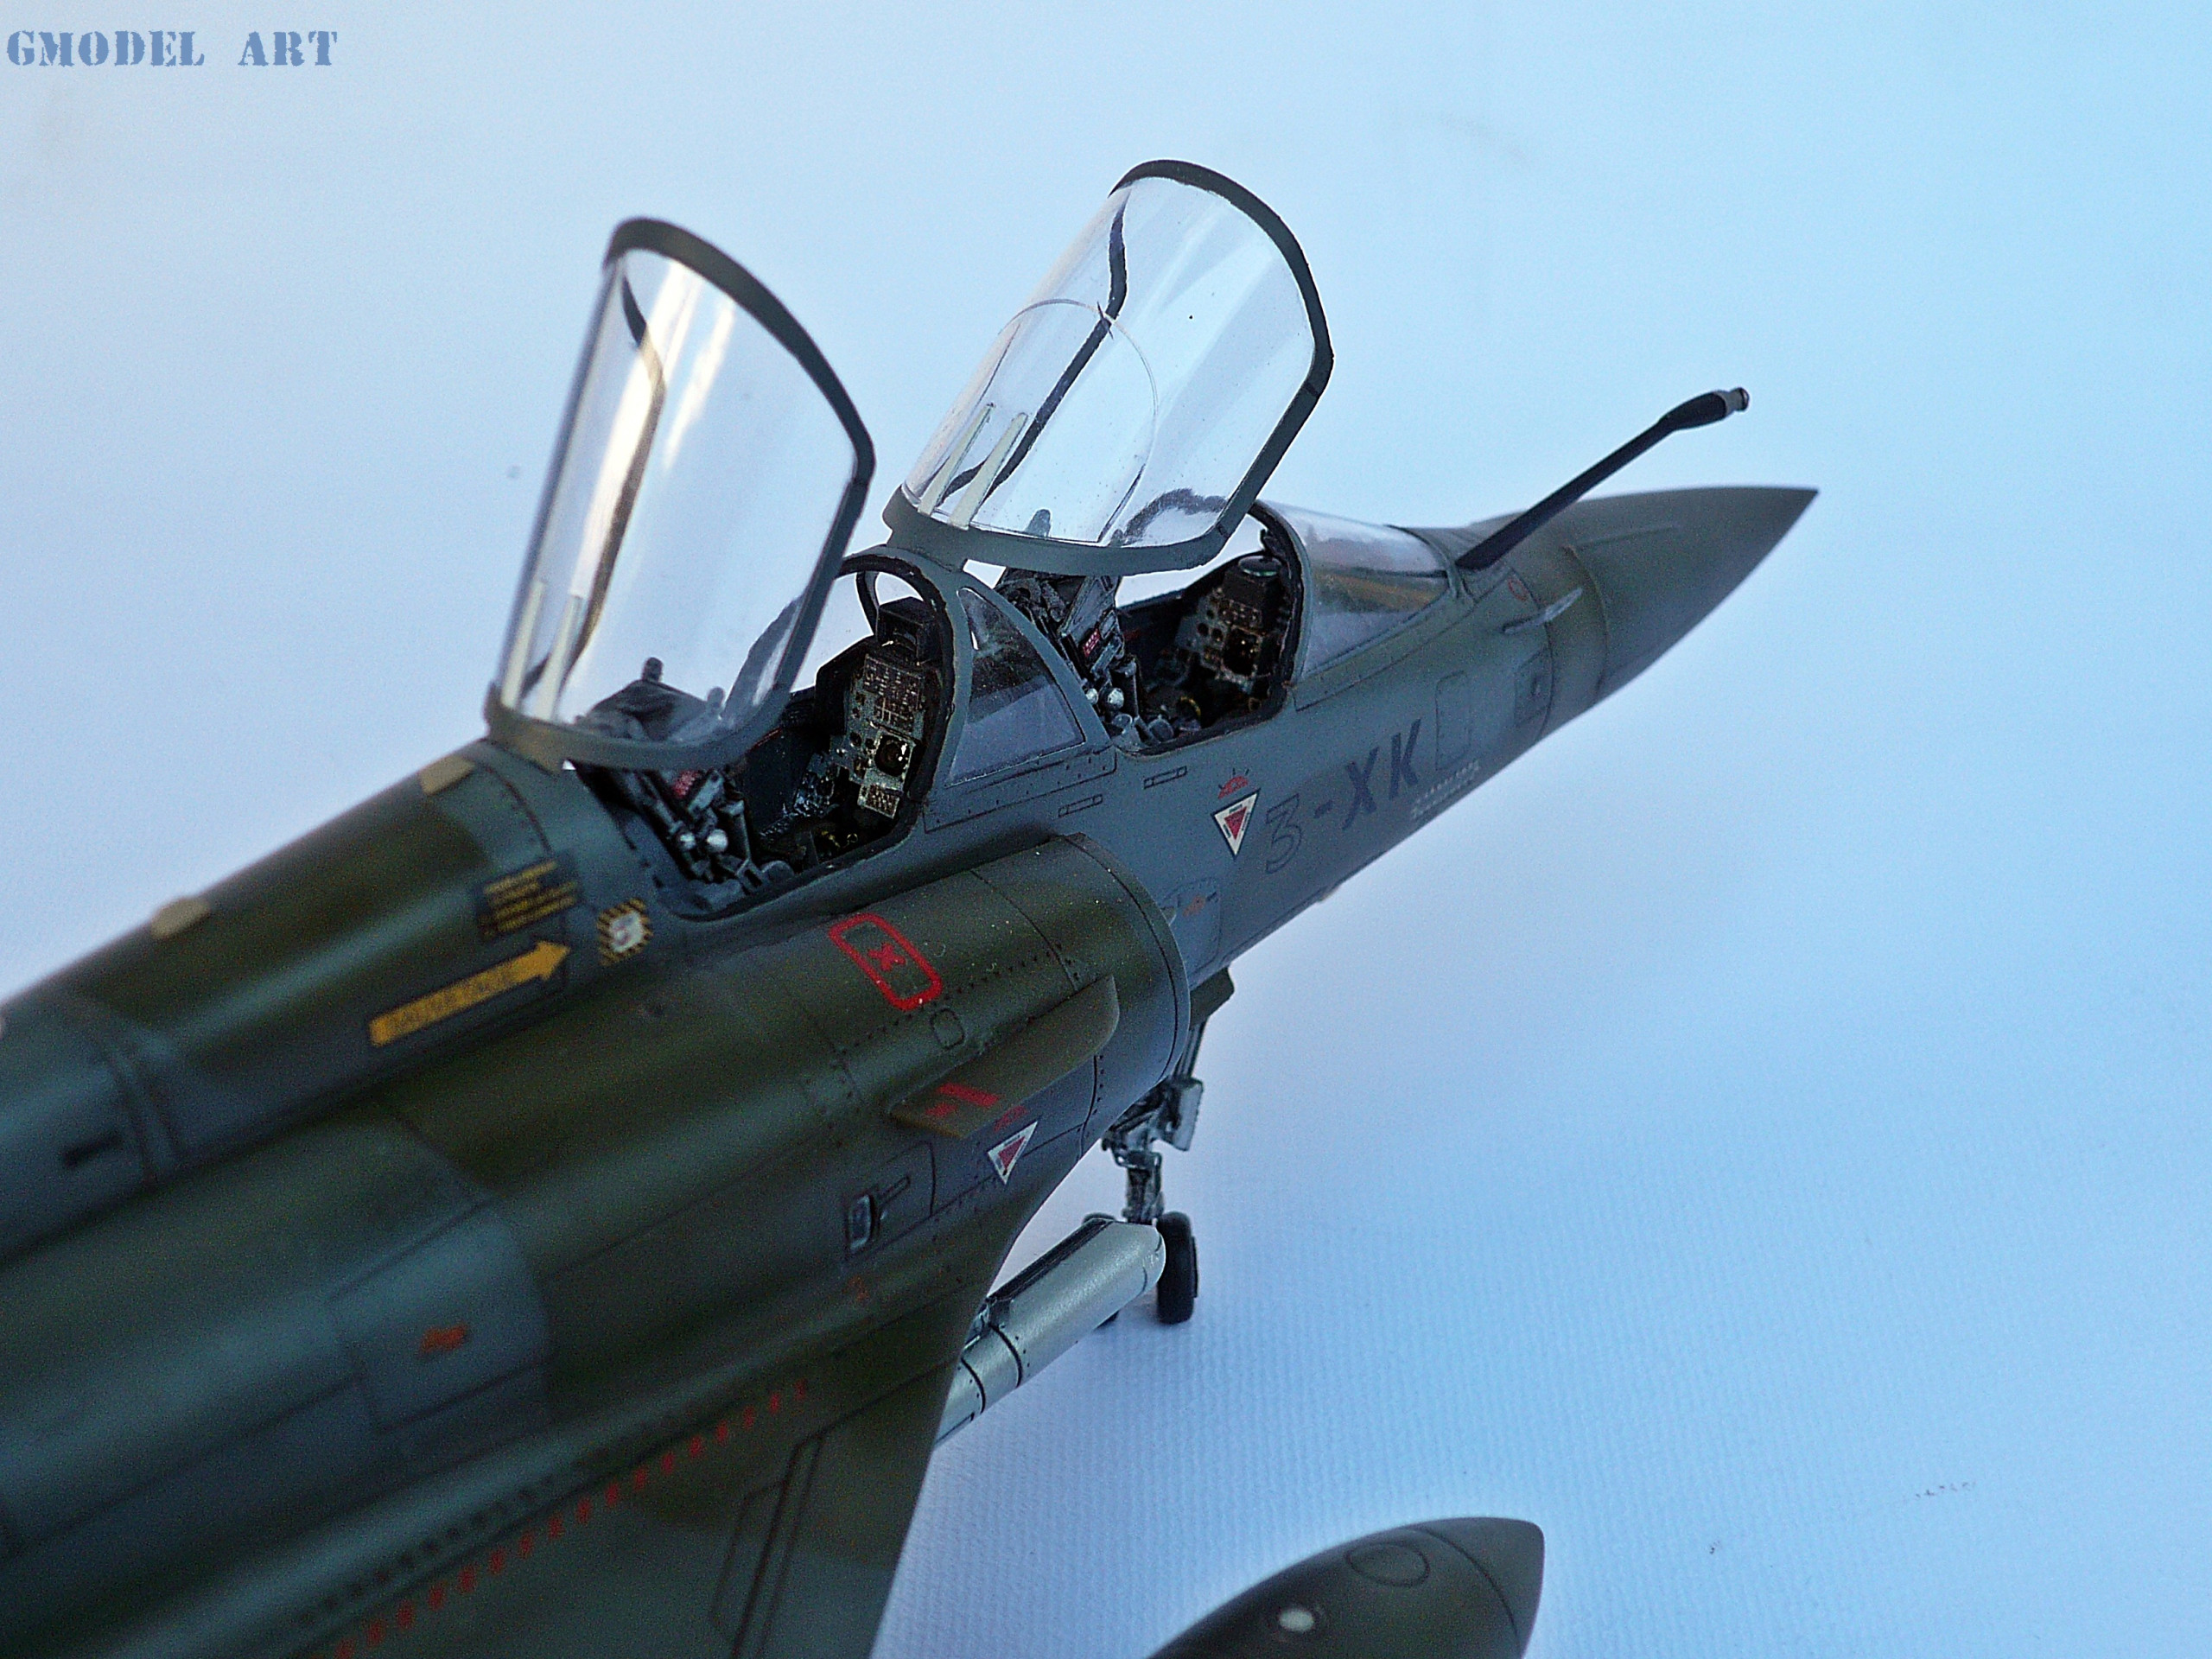
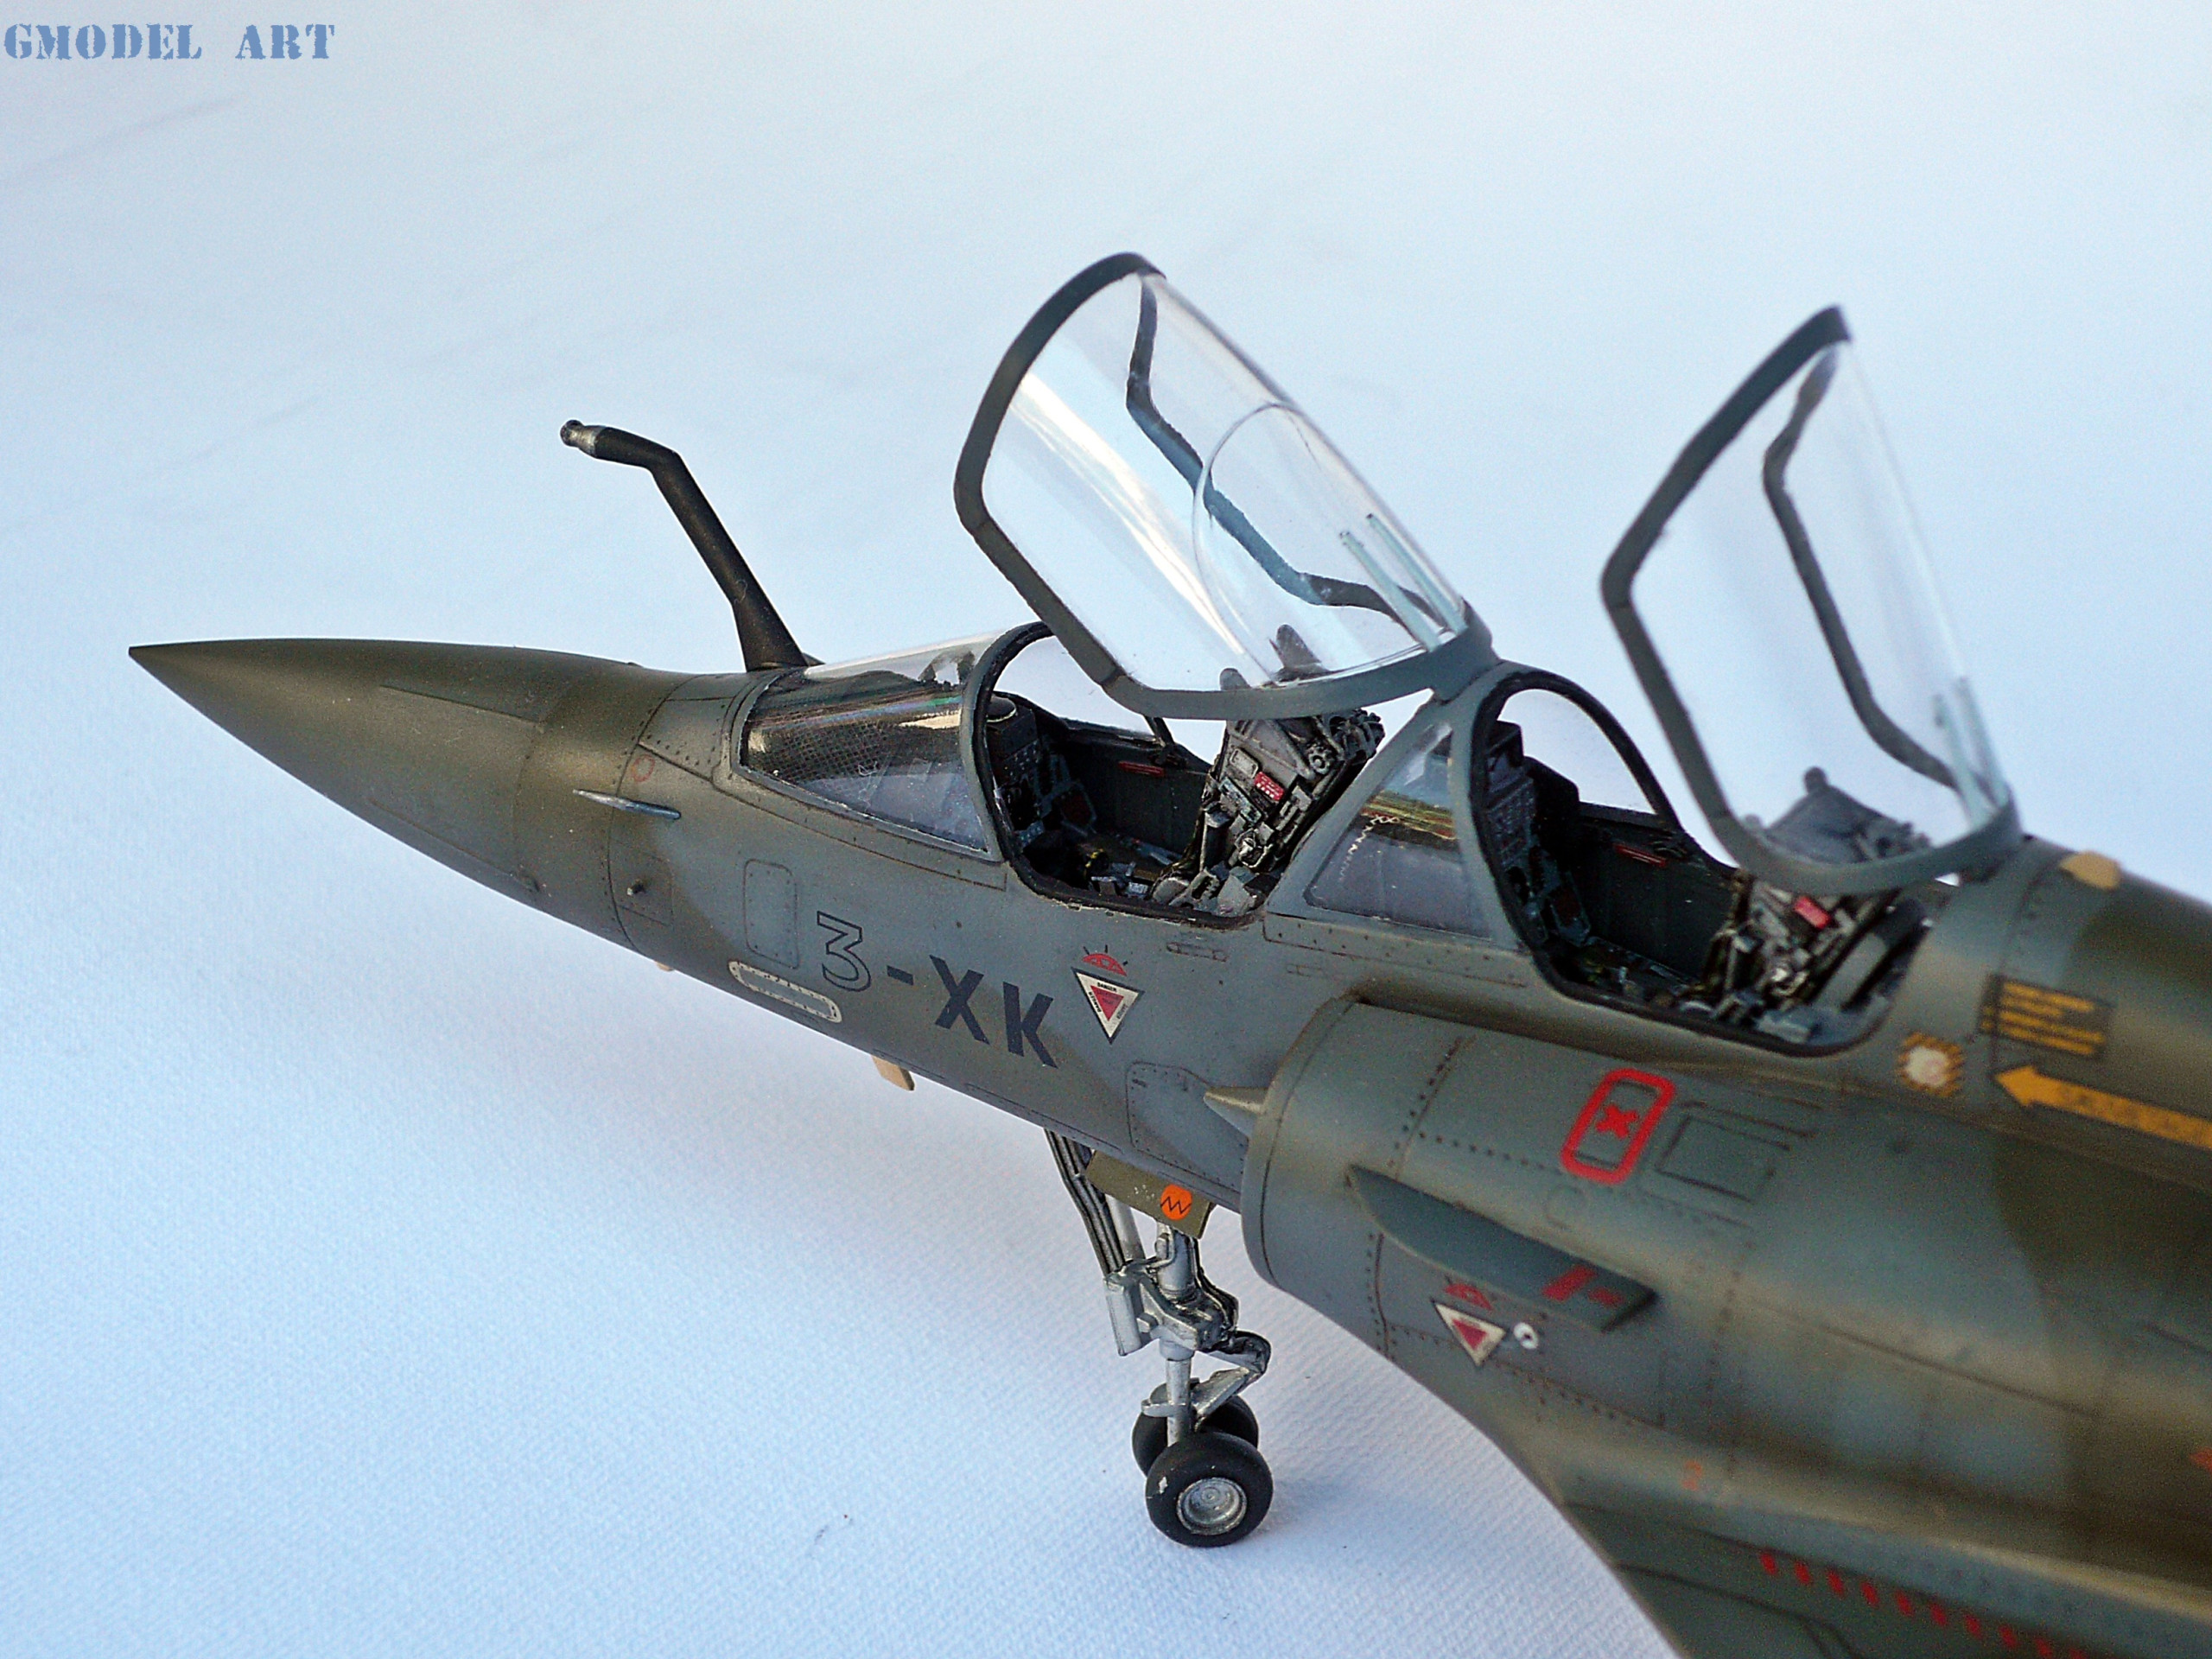
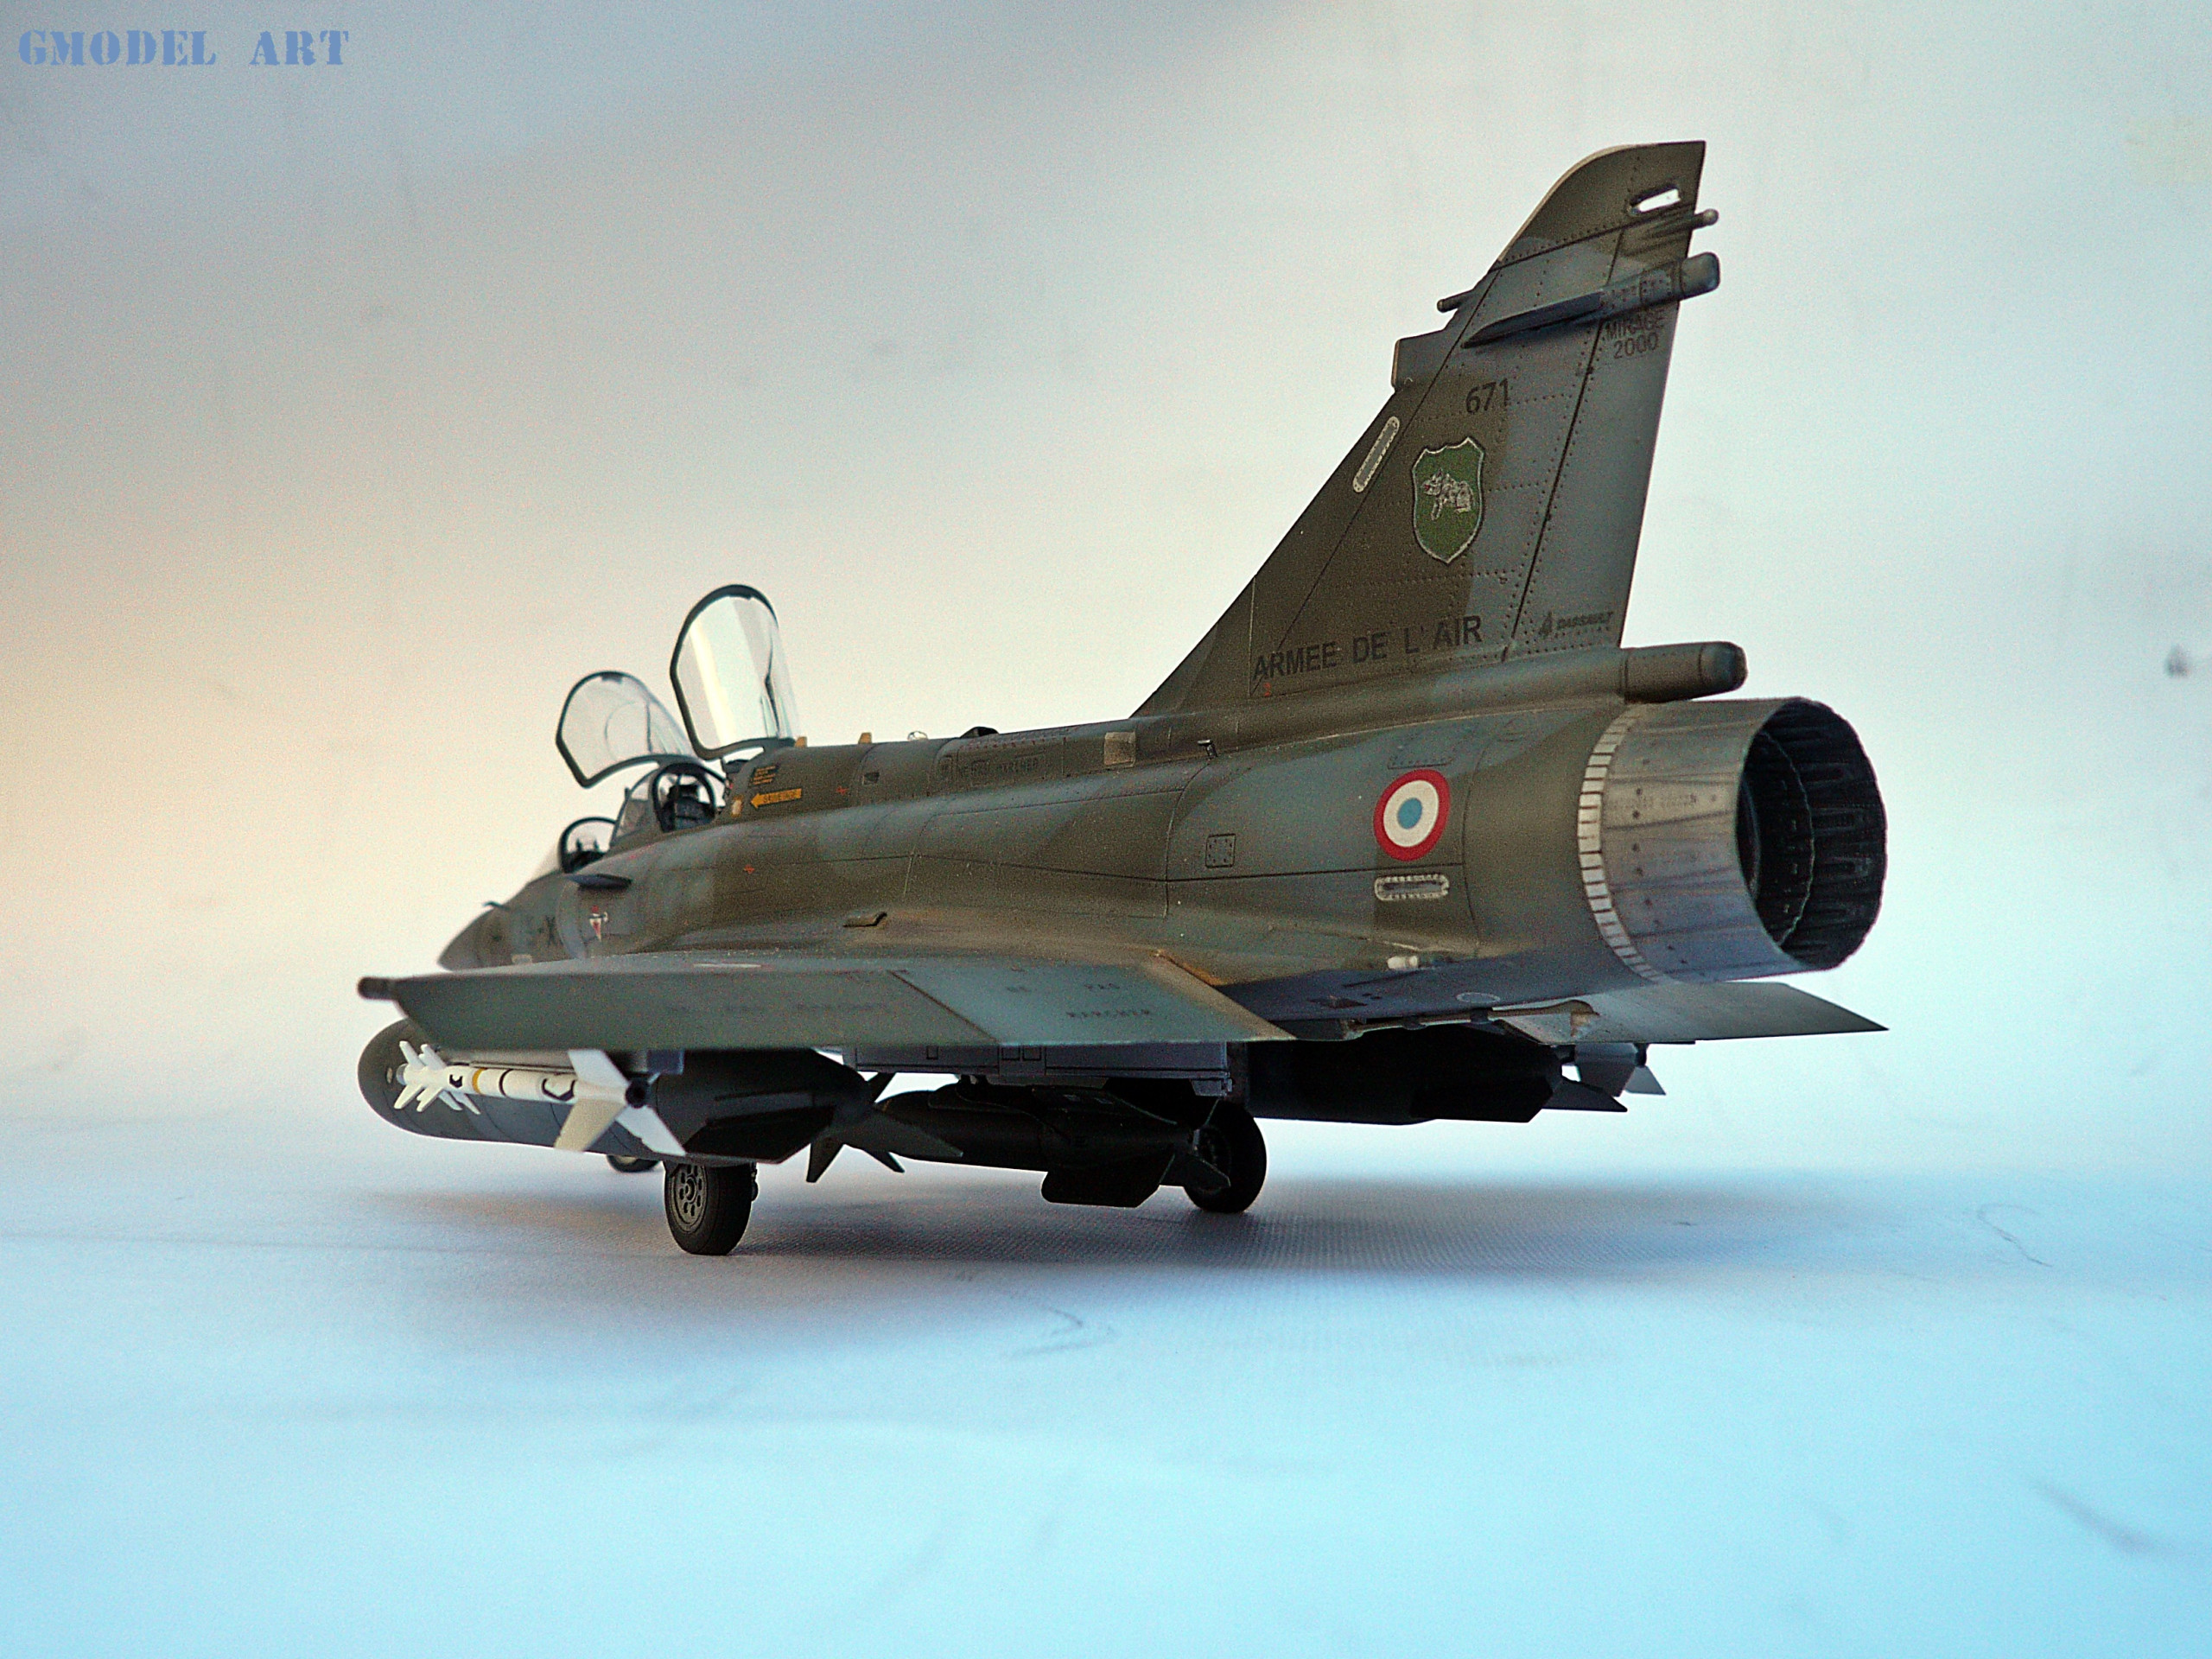
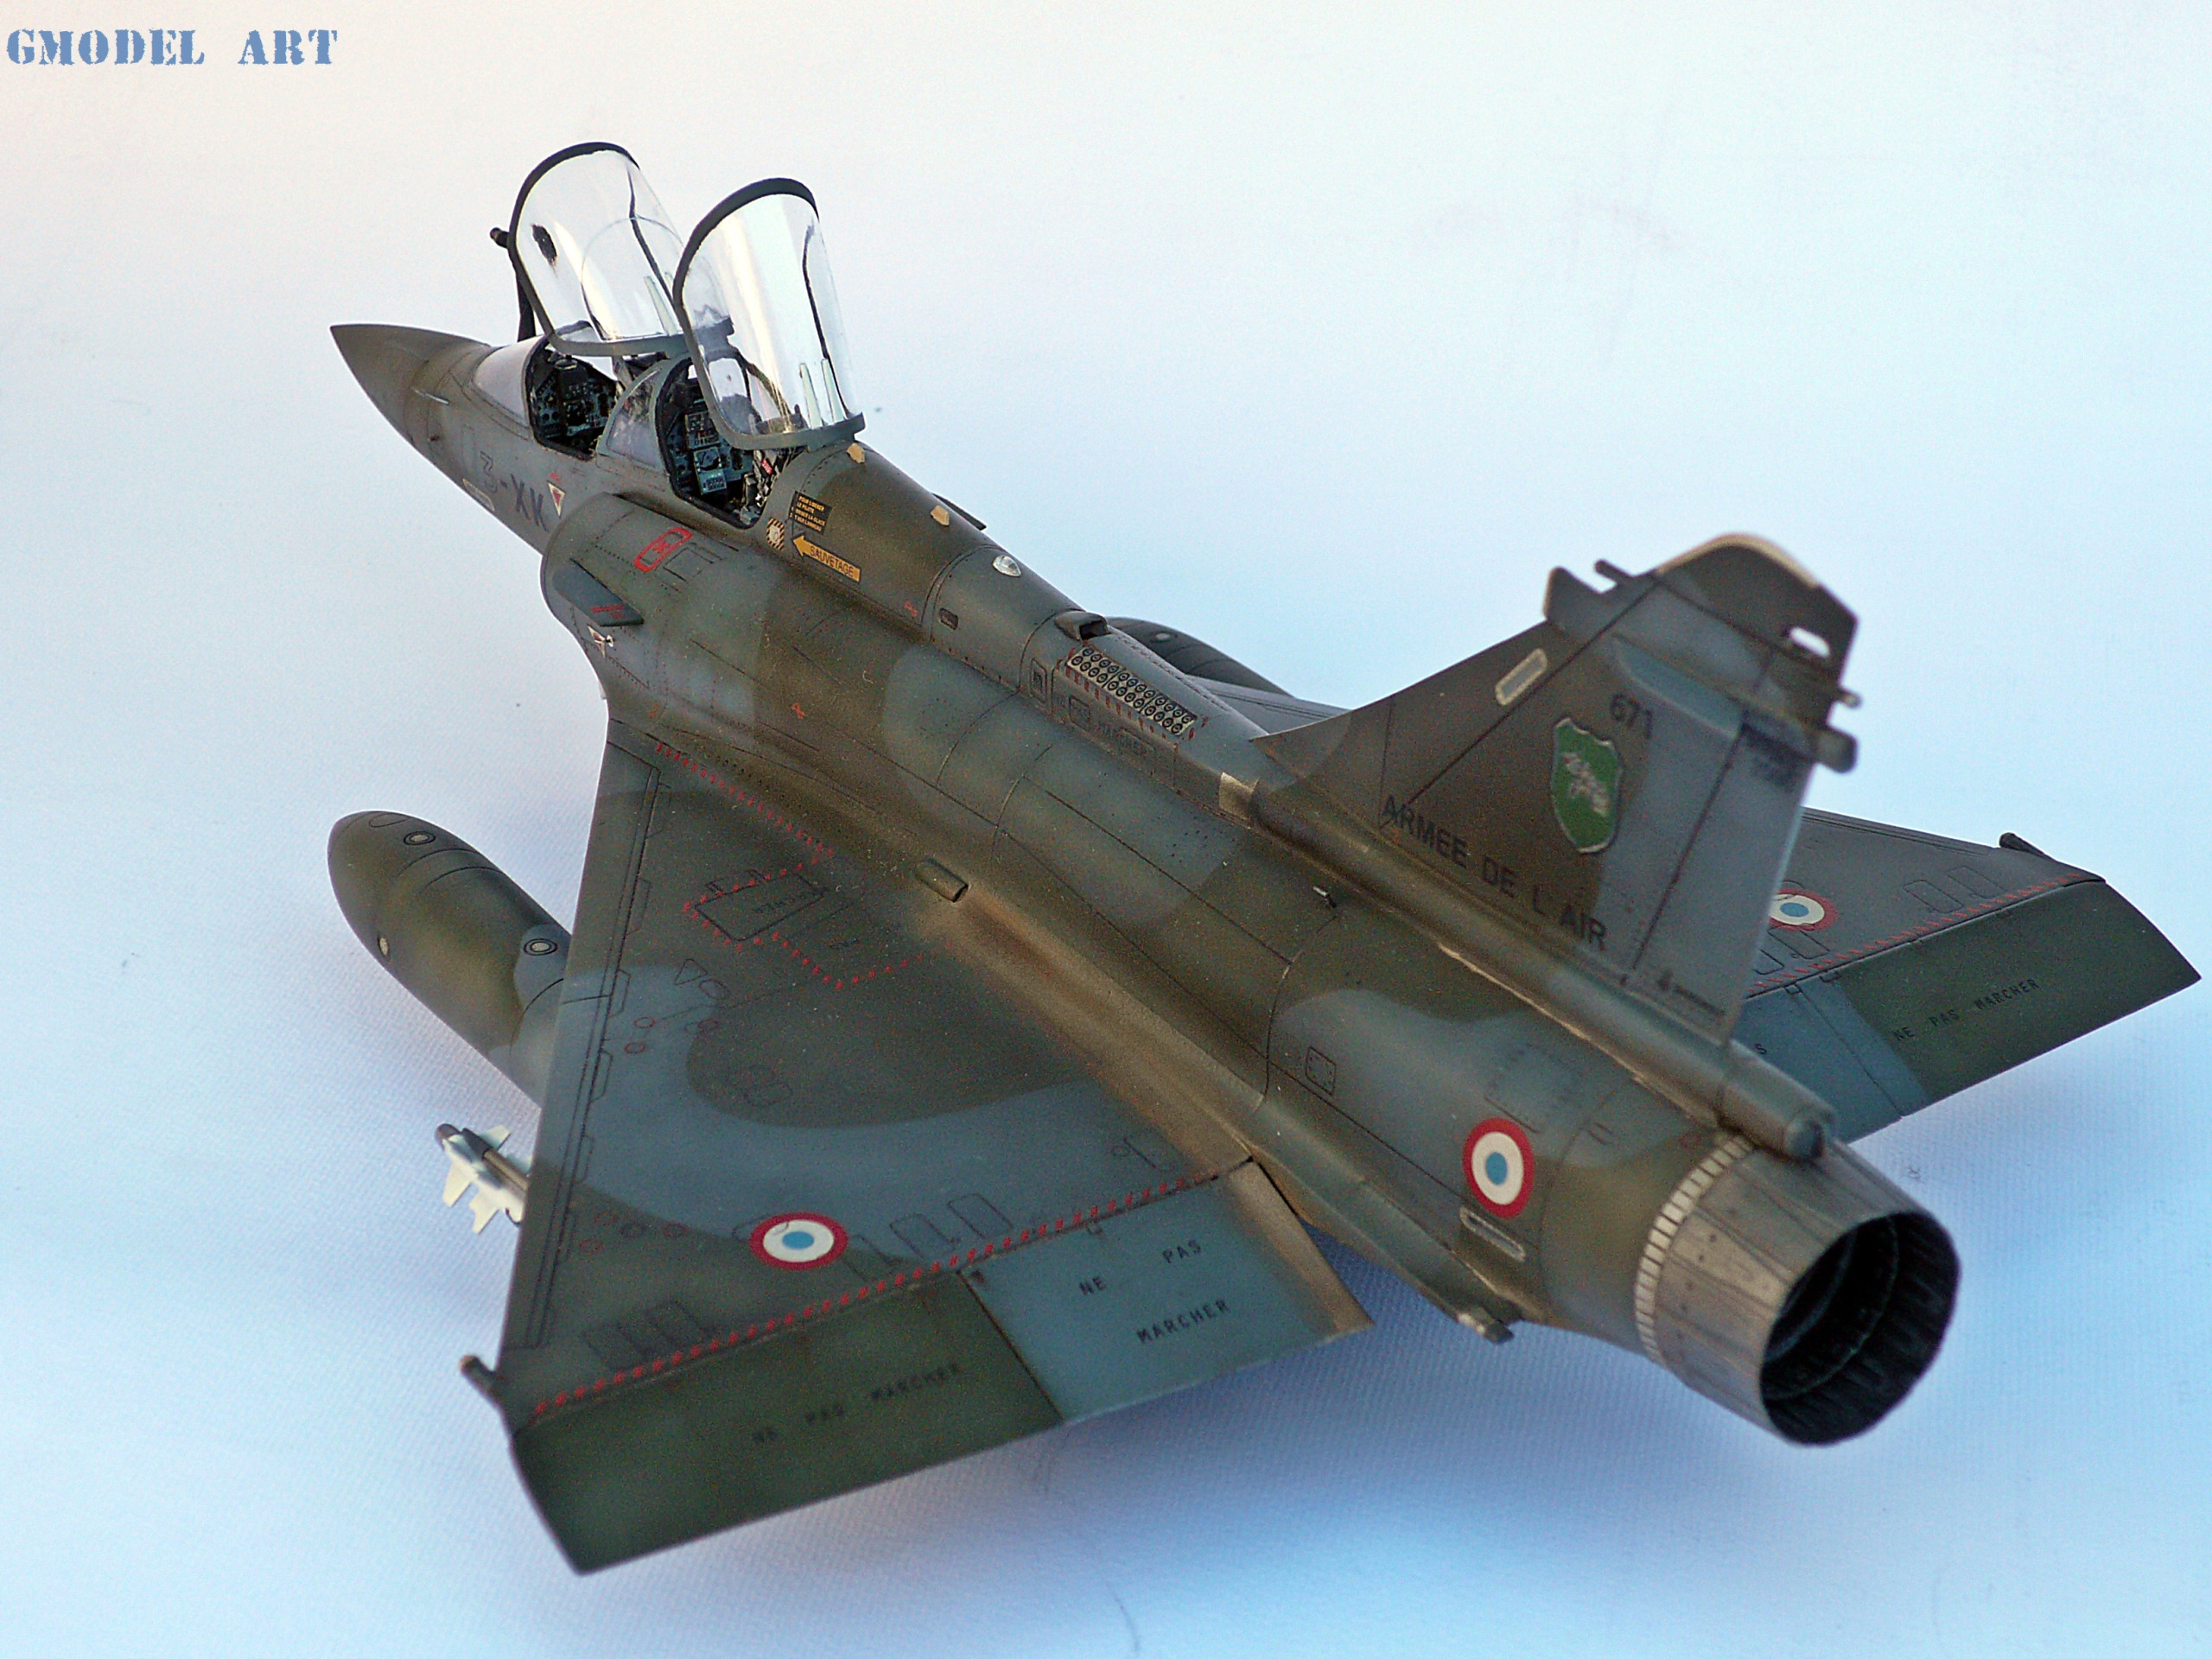
Final Reveal pics following….