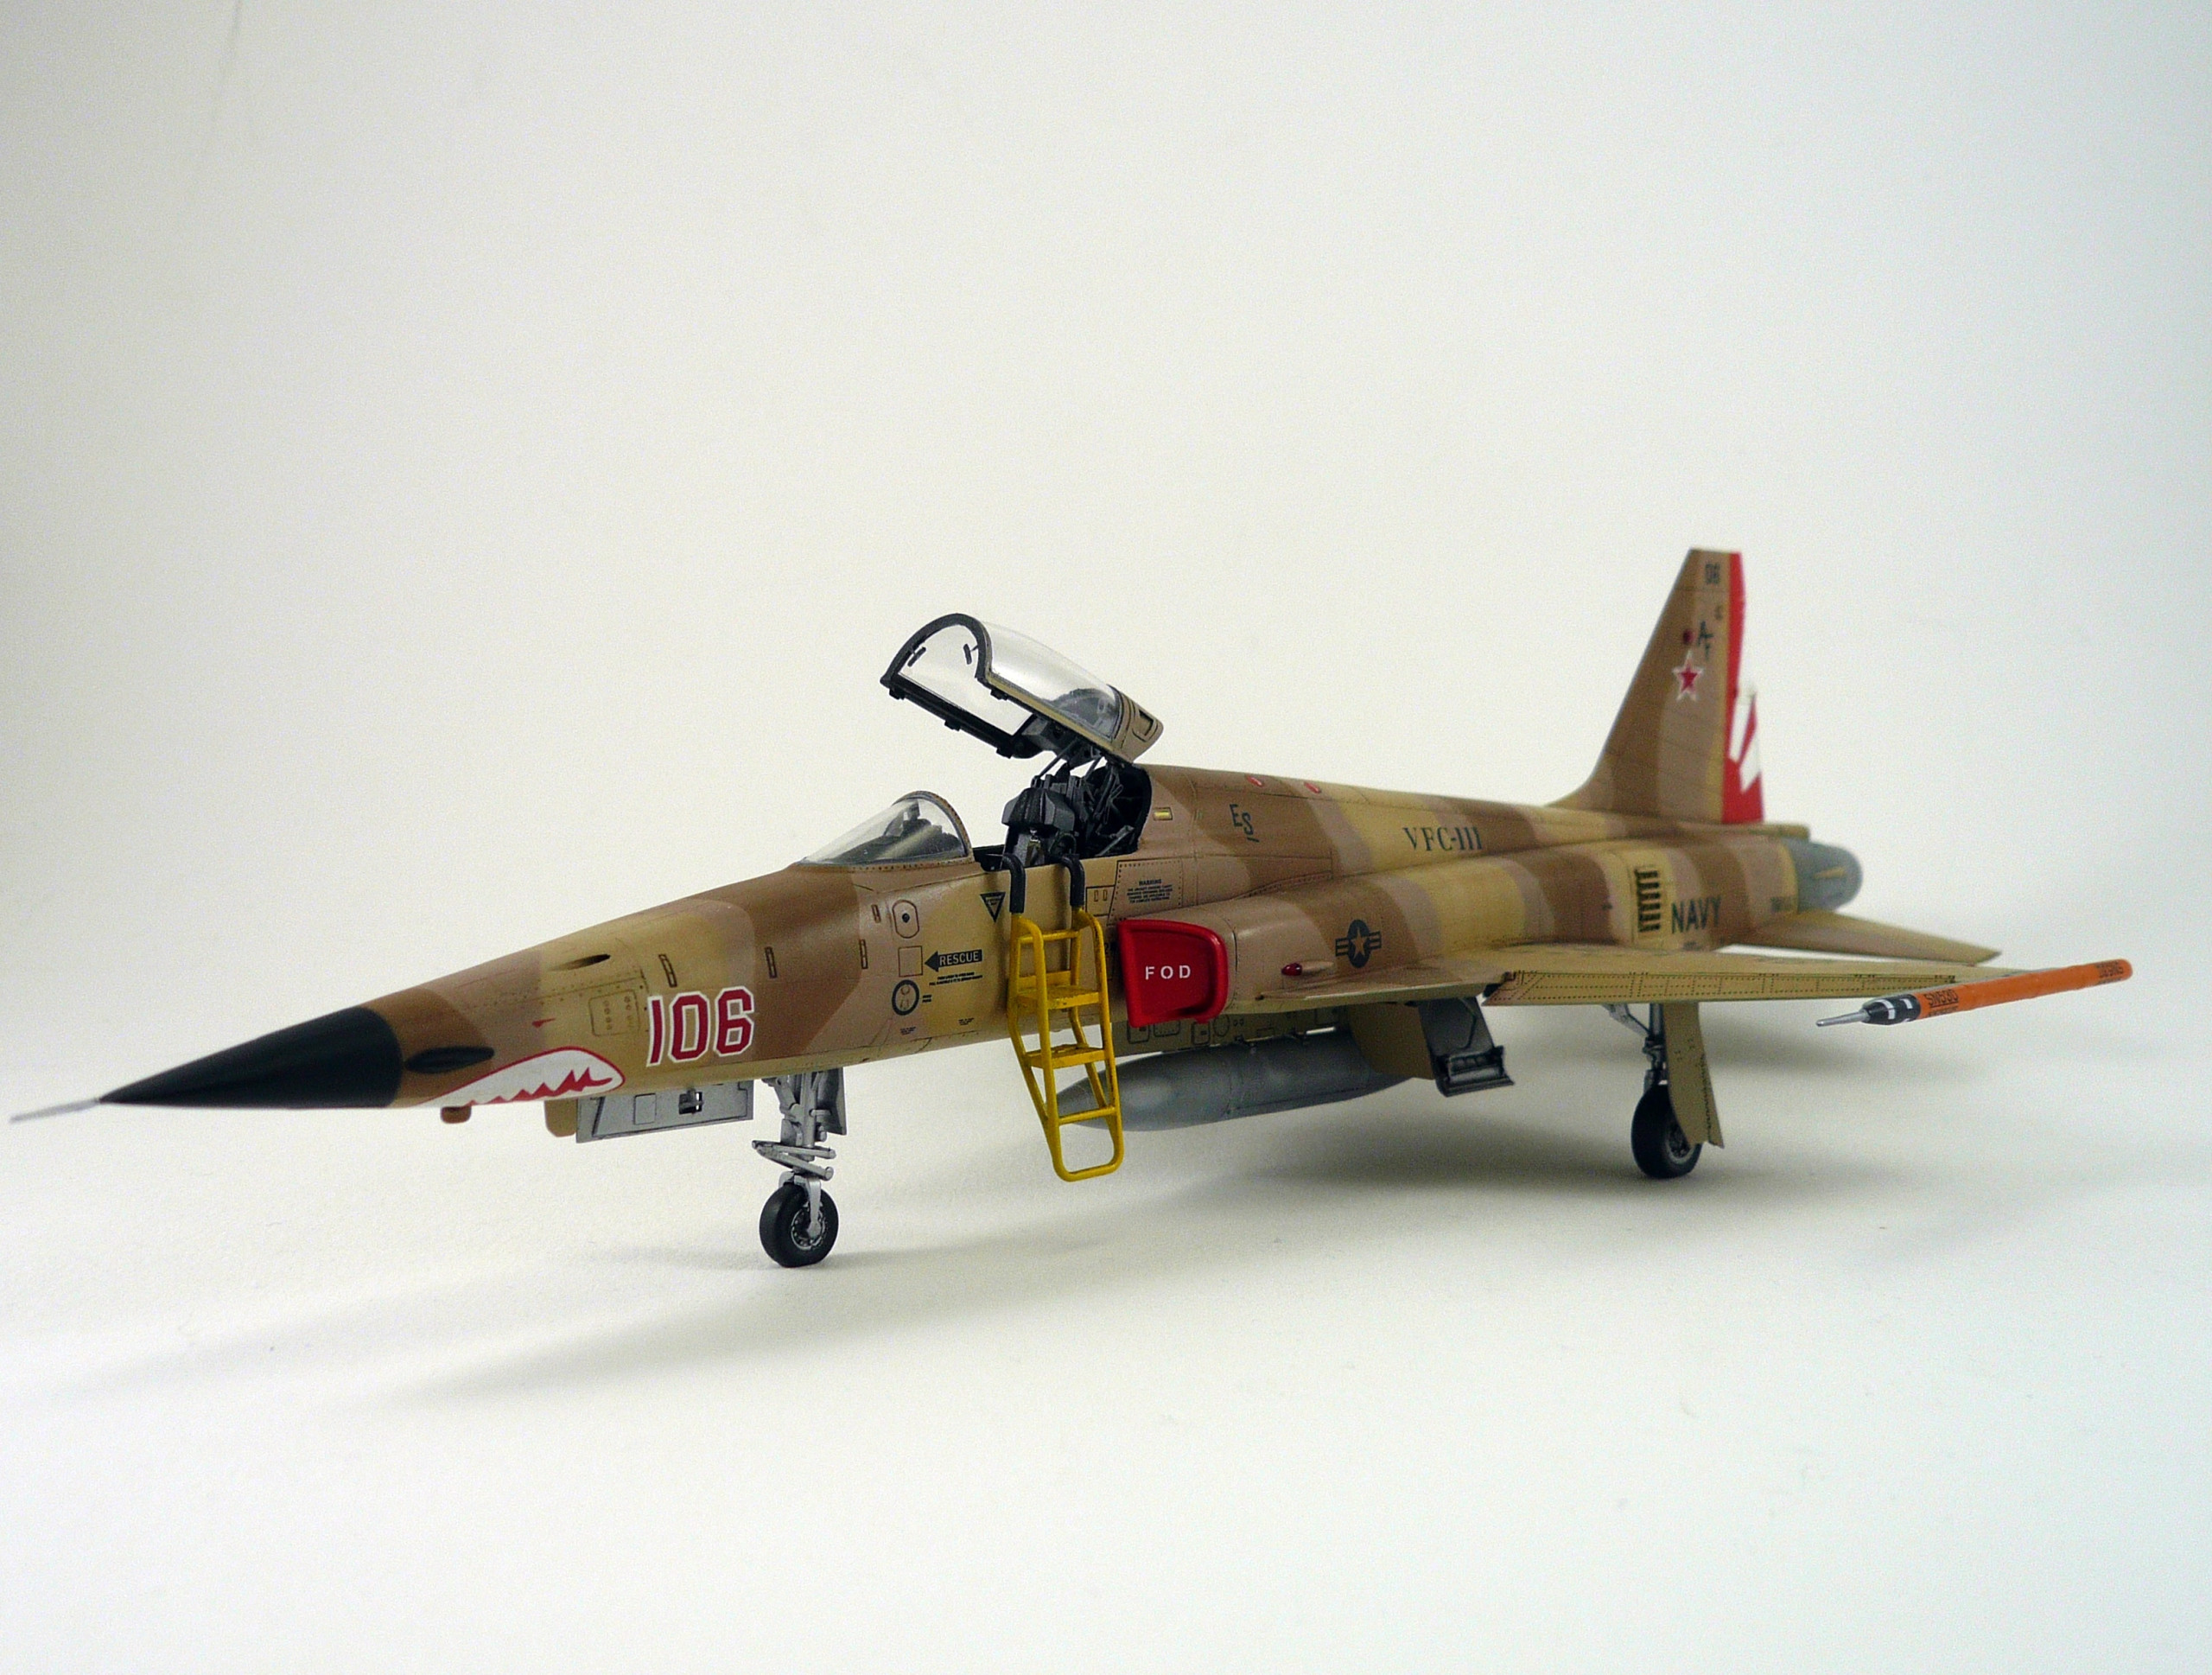
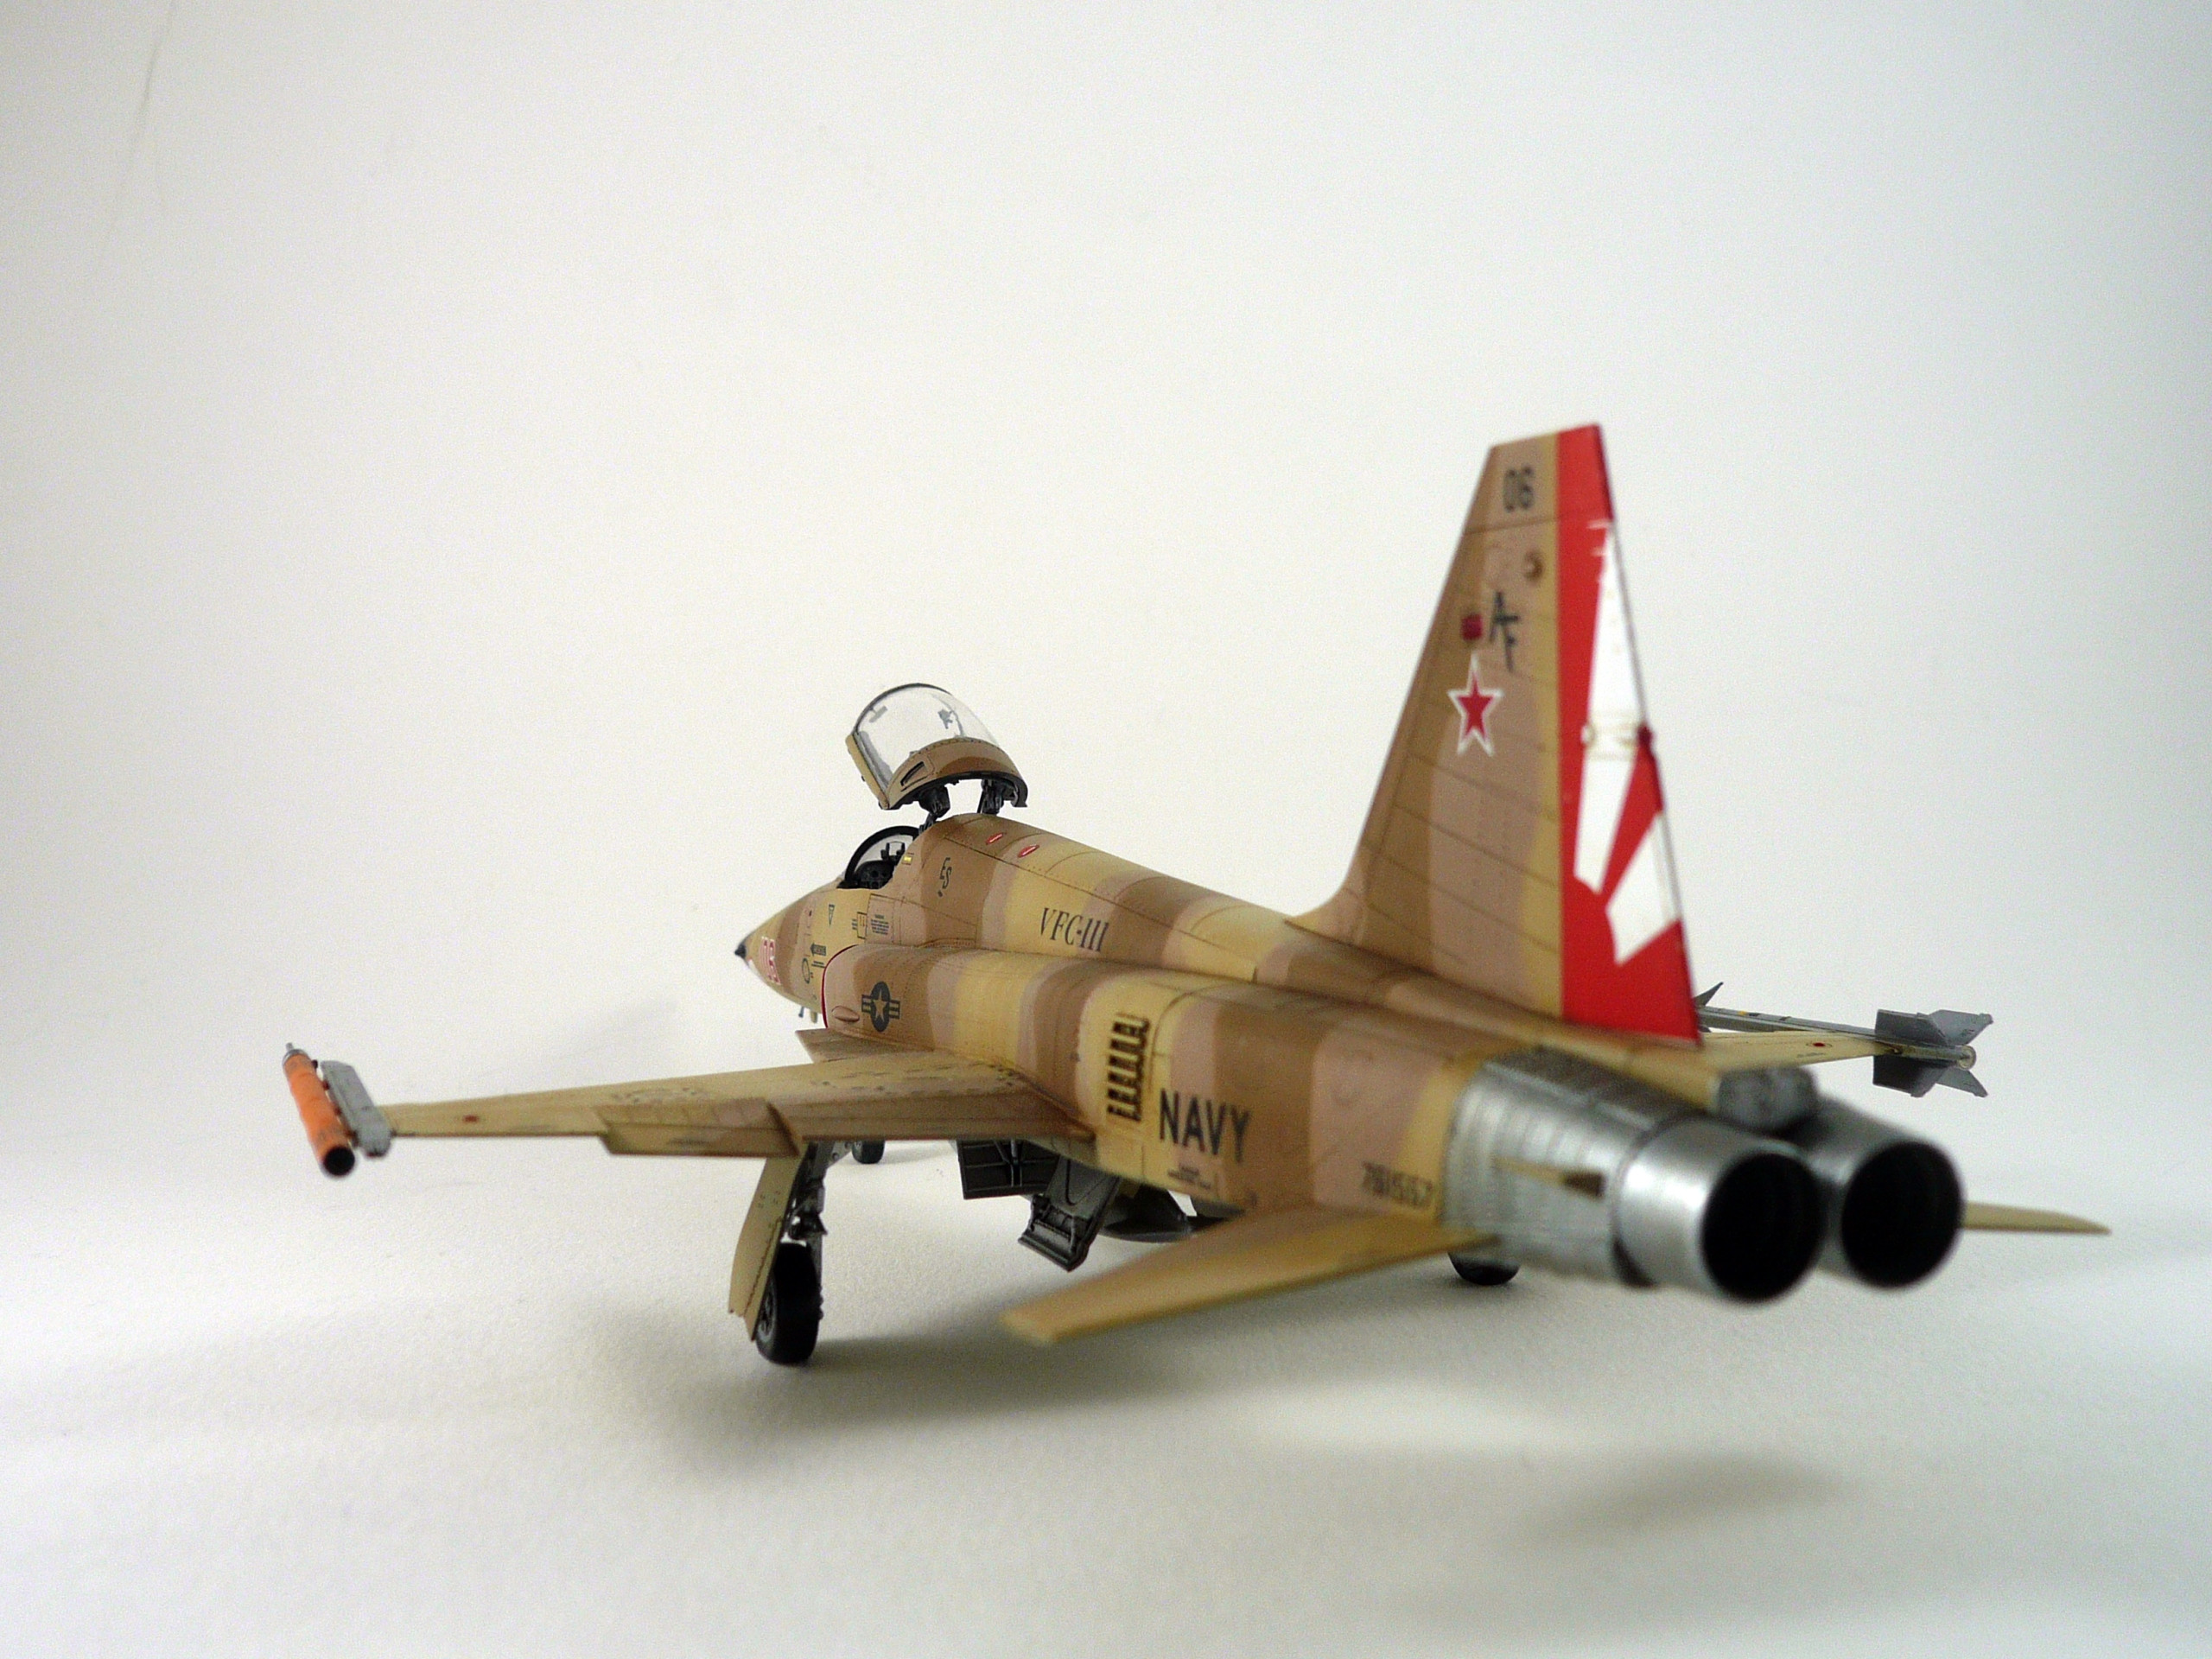
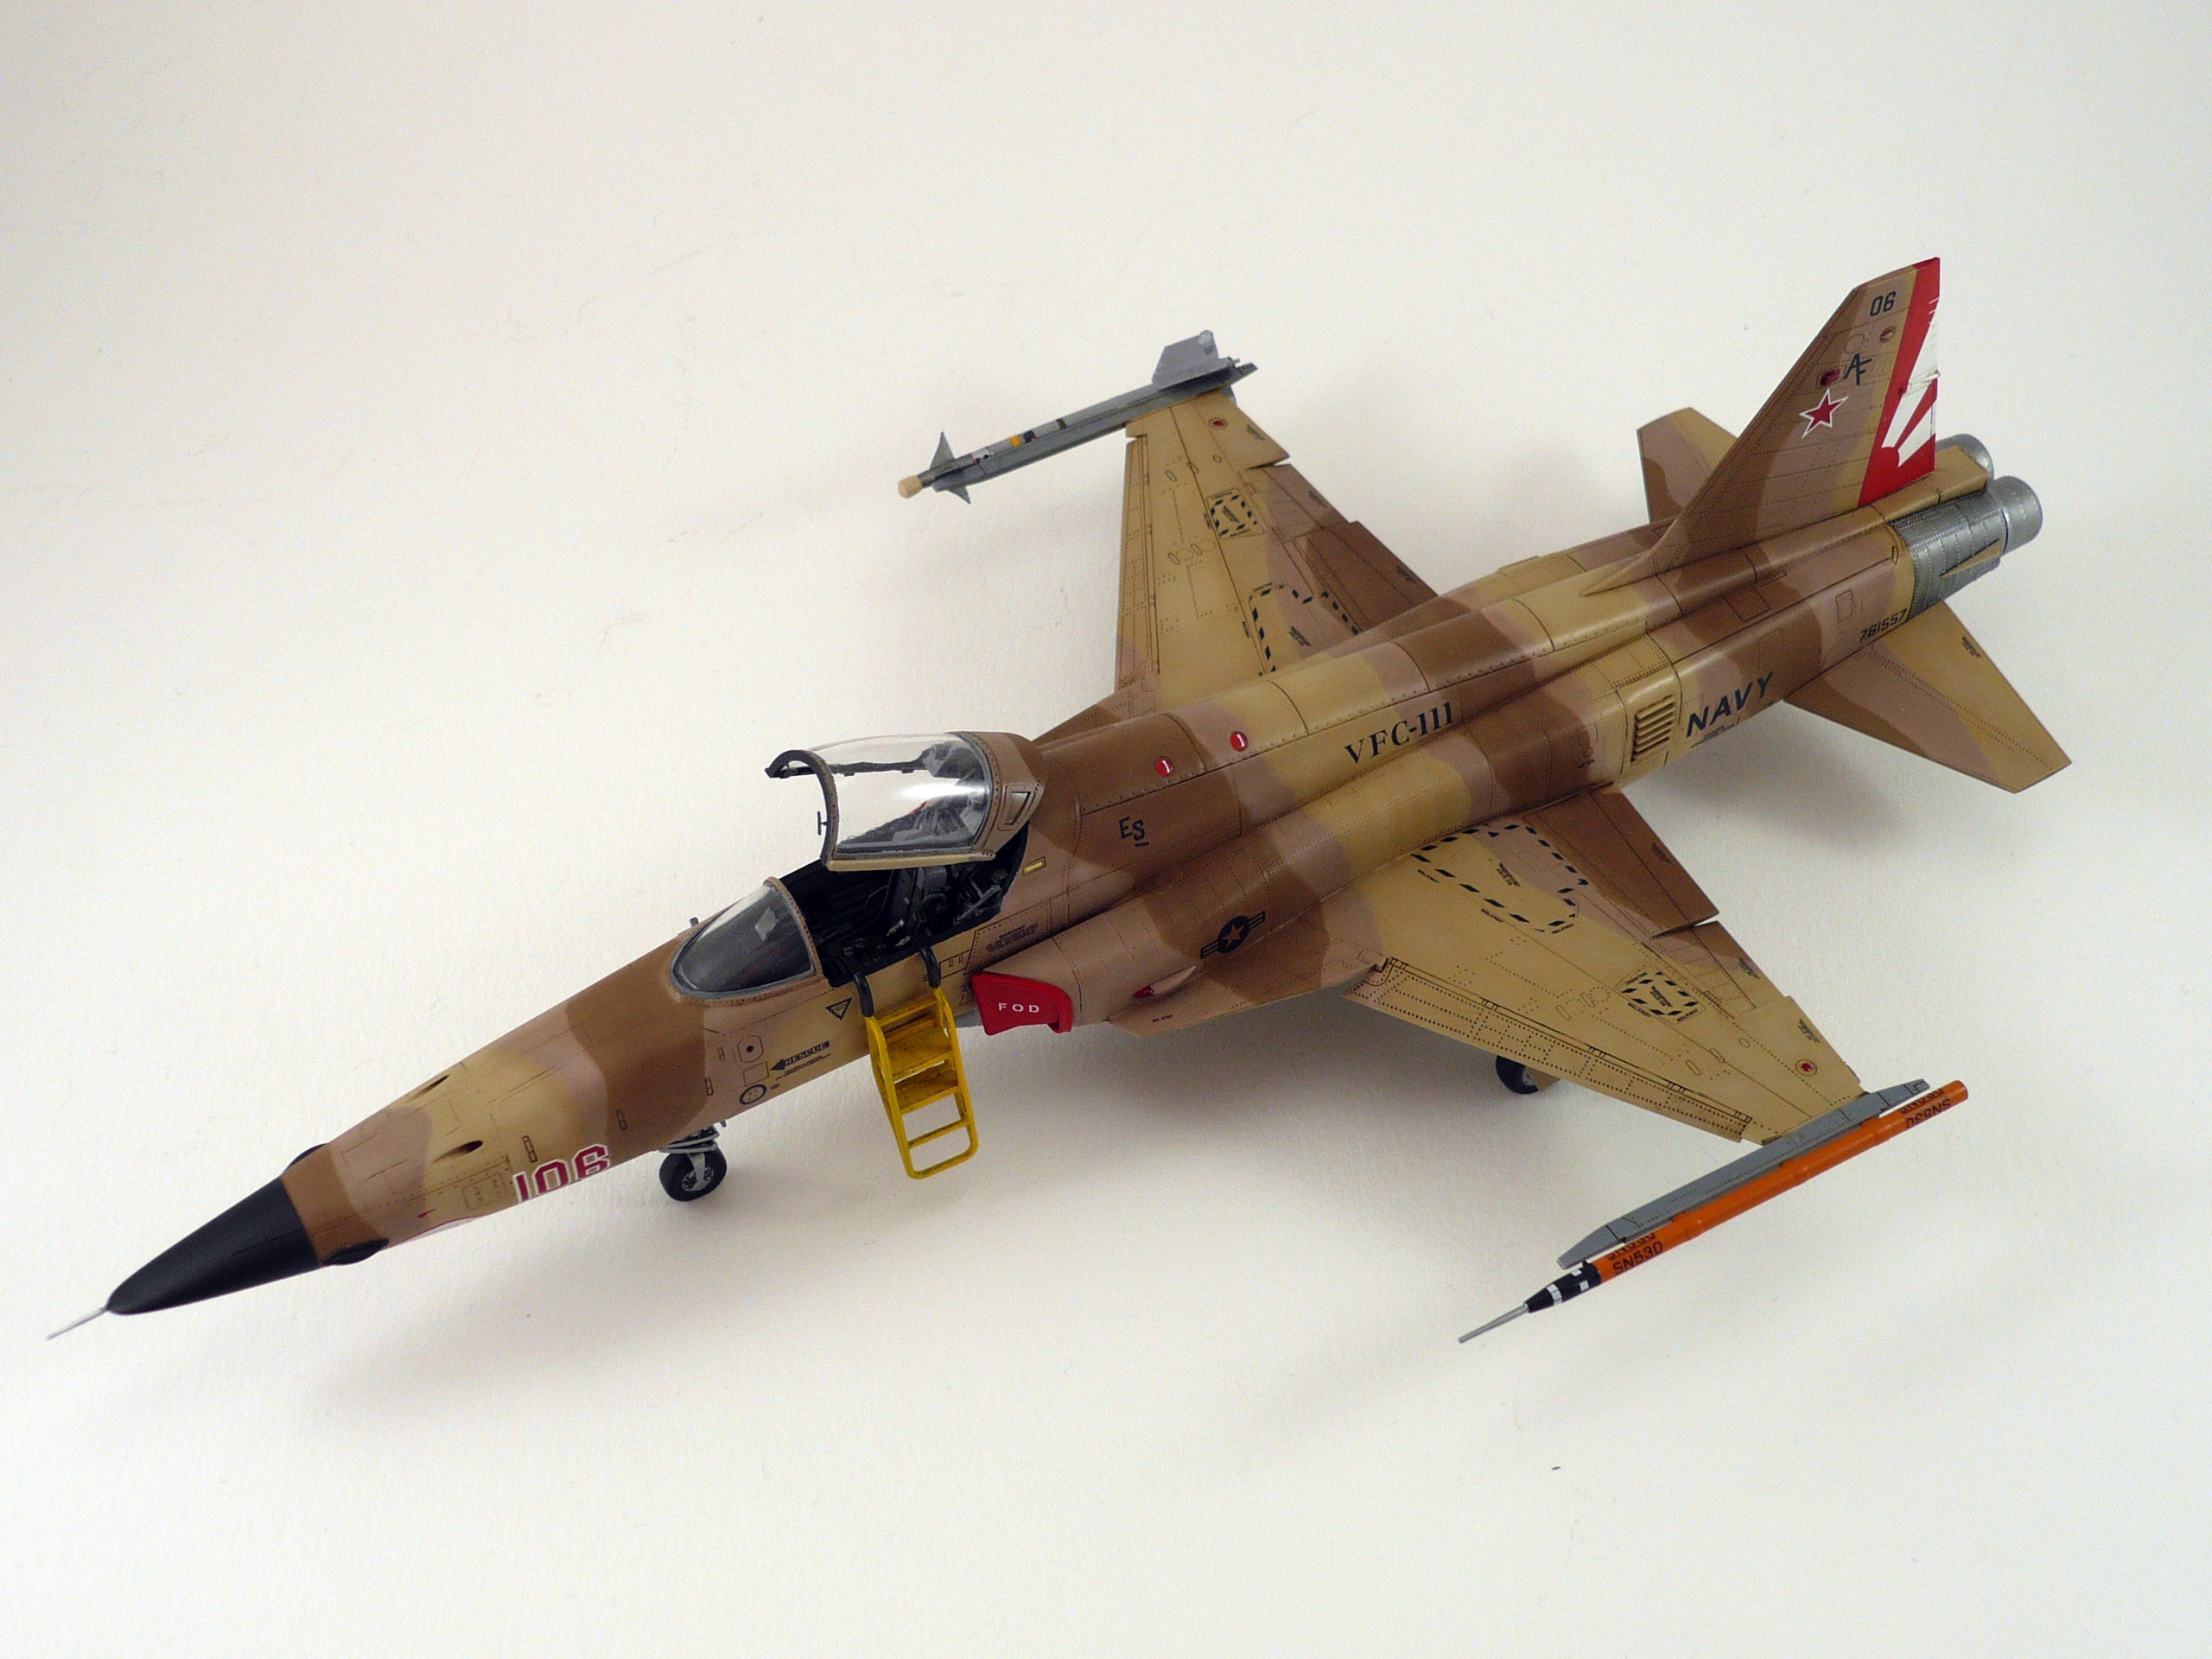
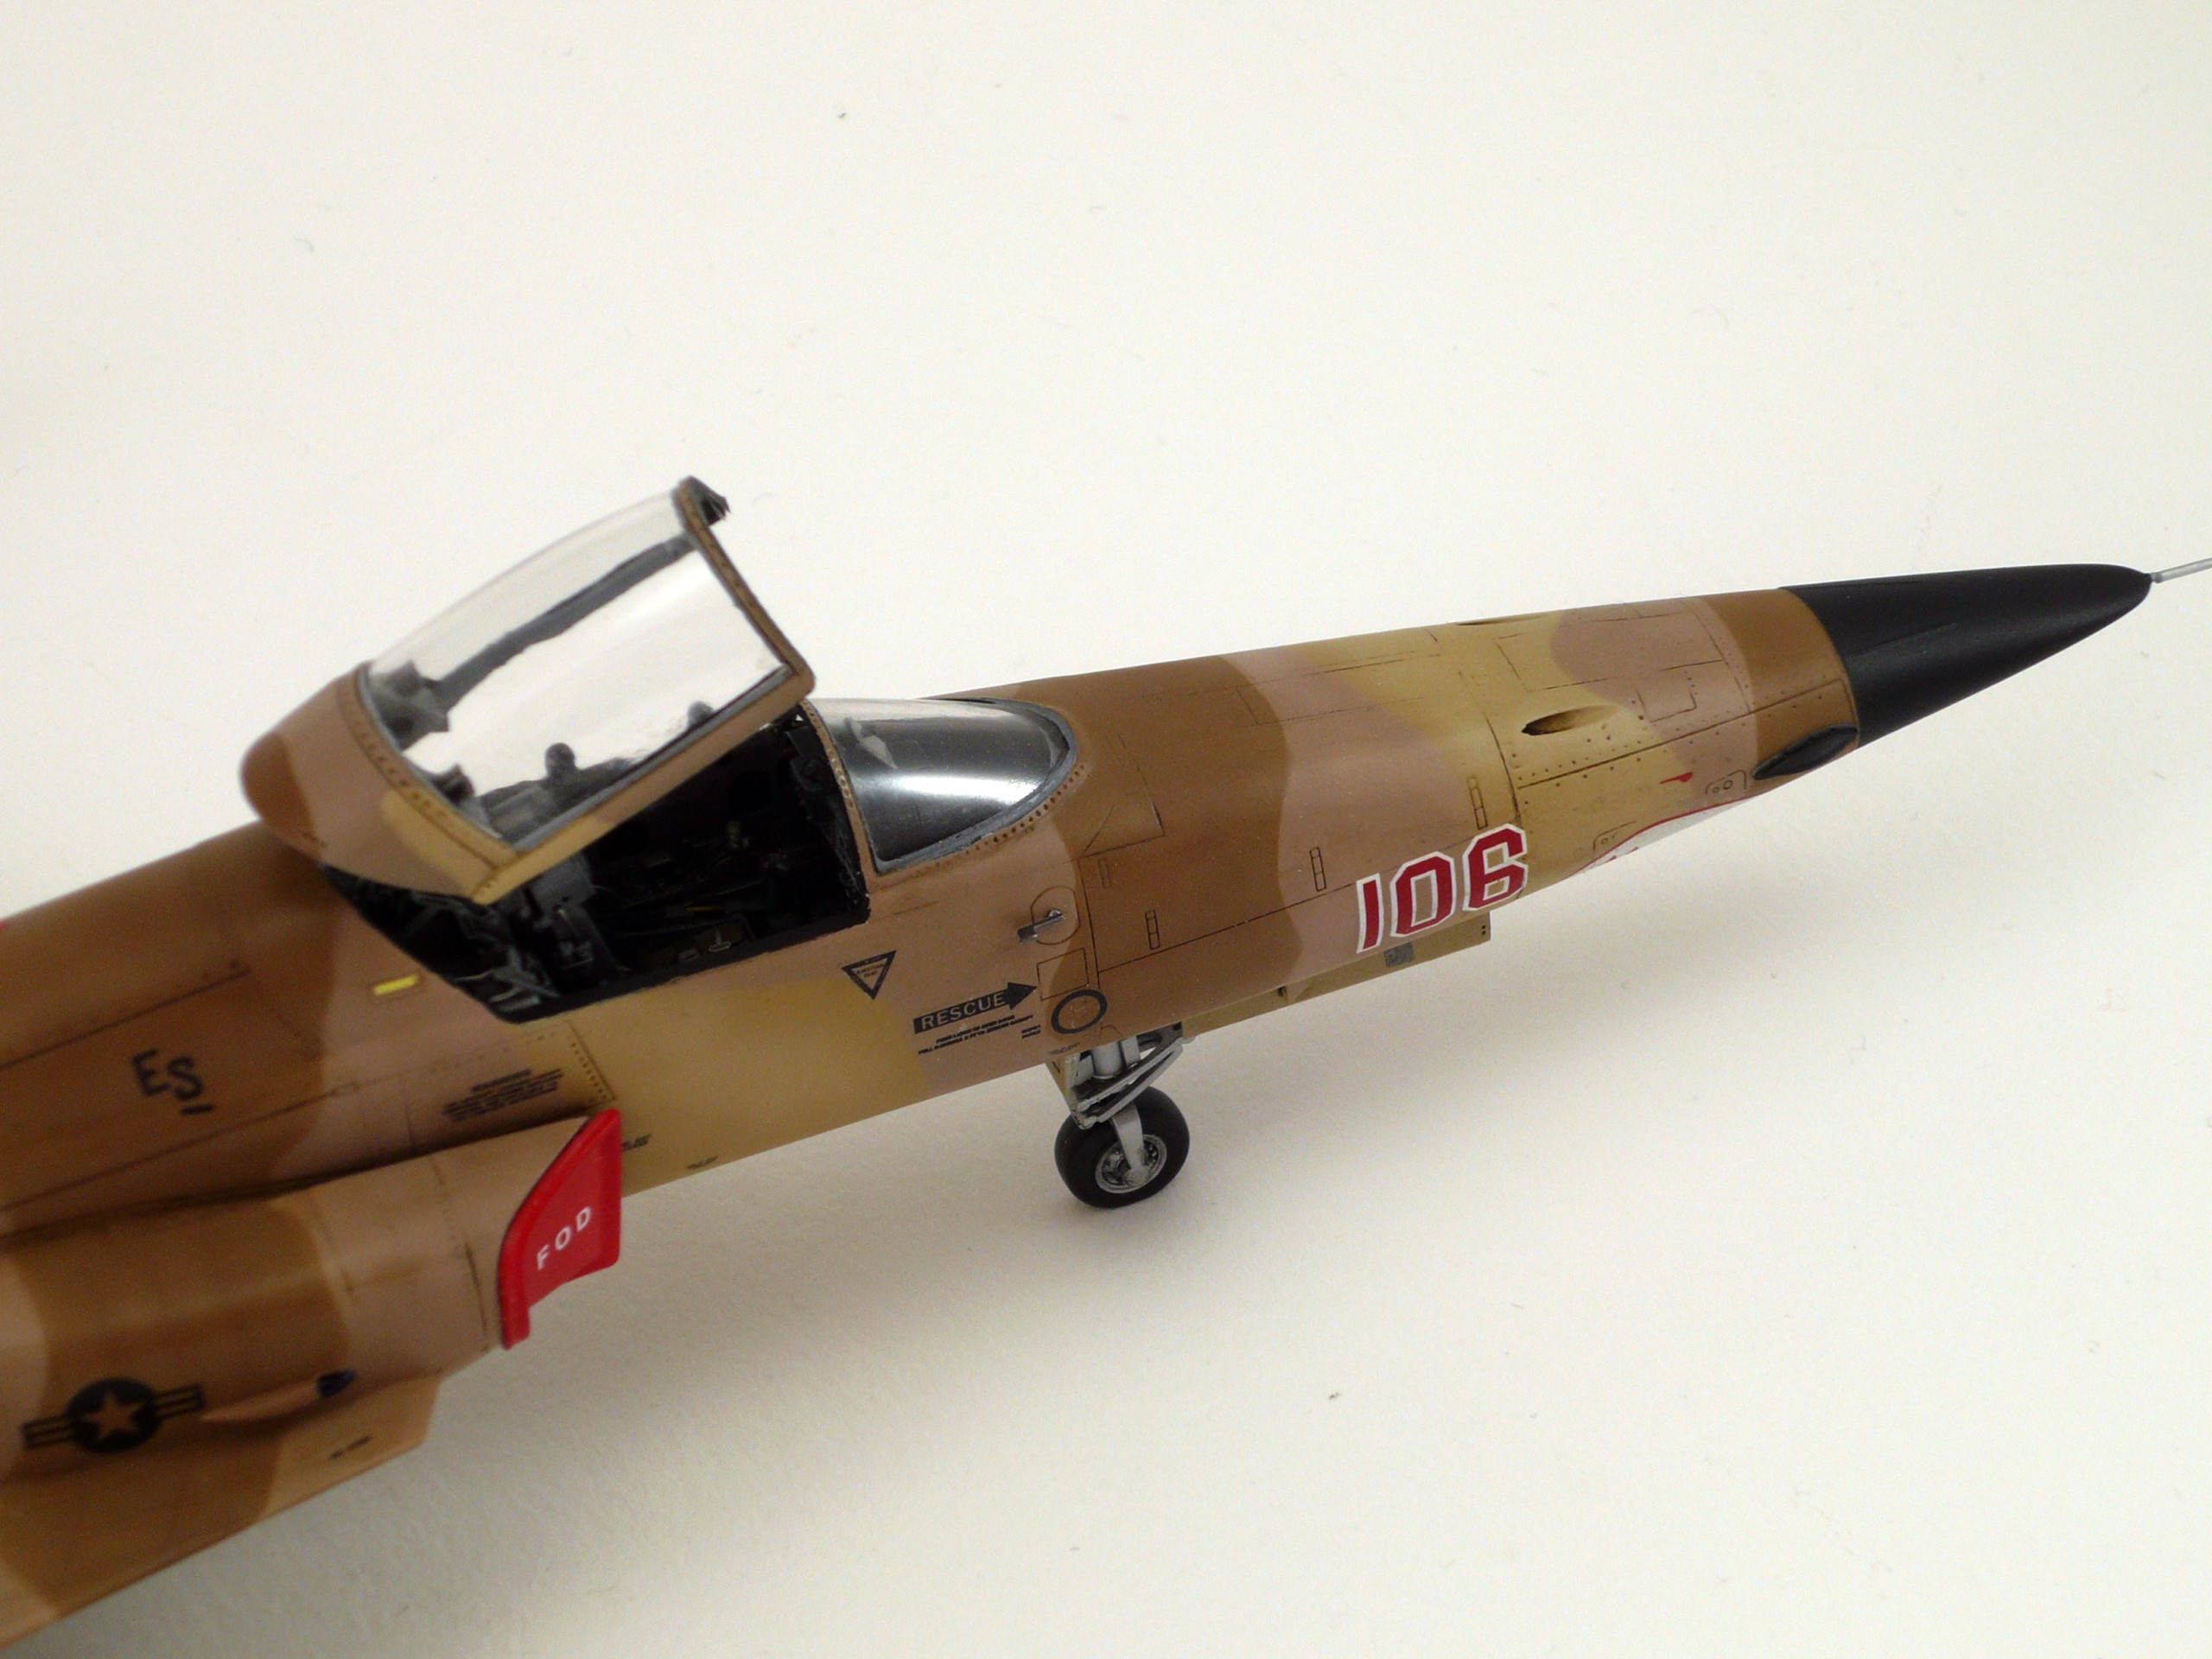
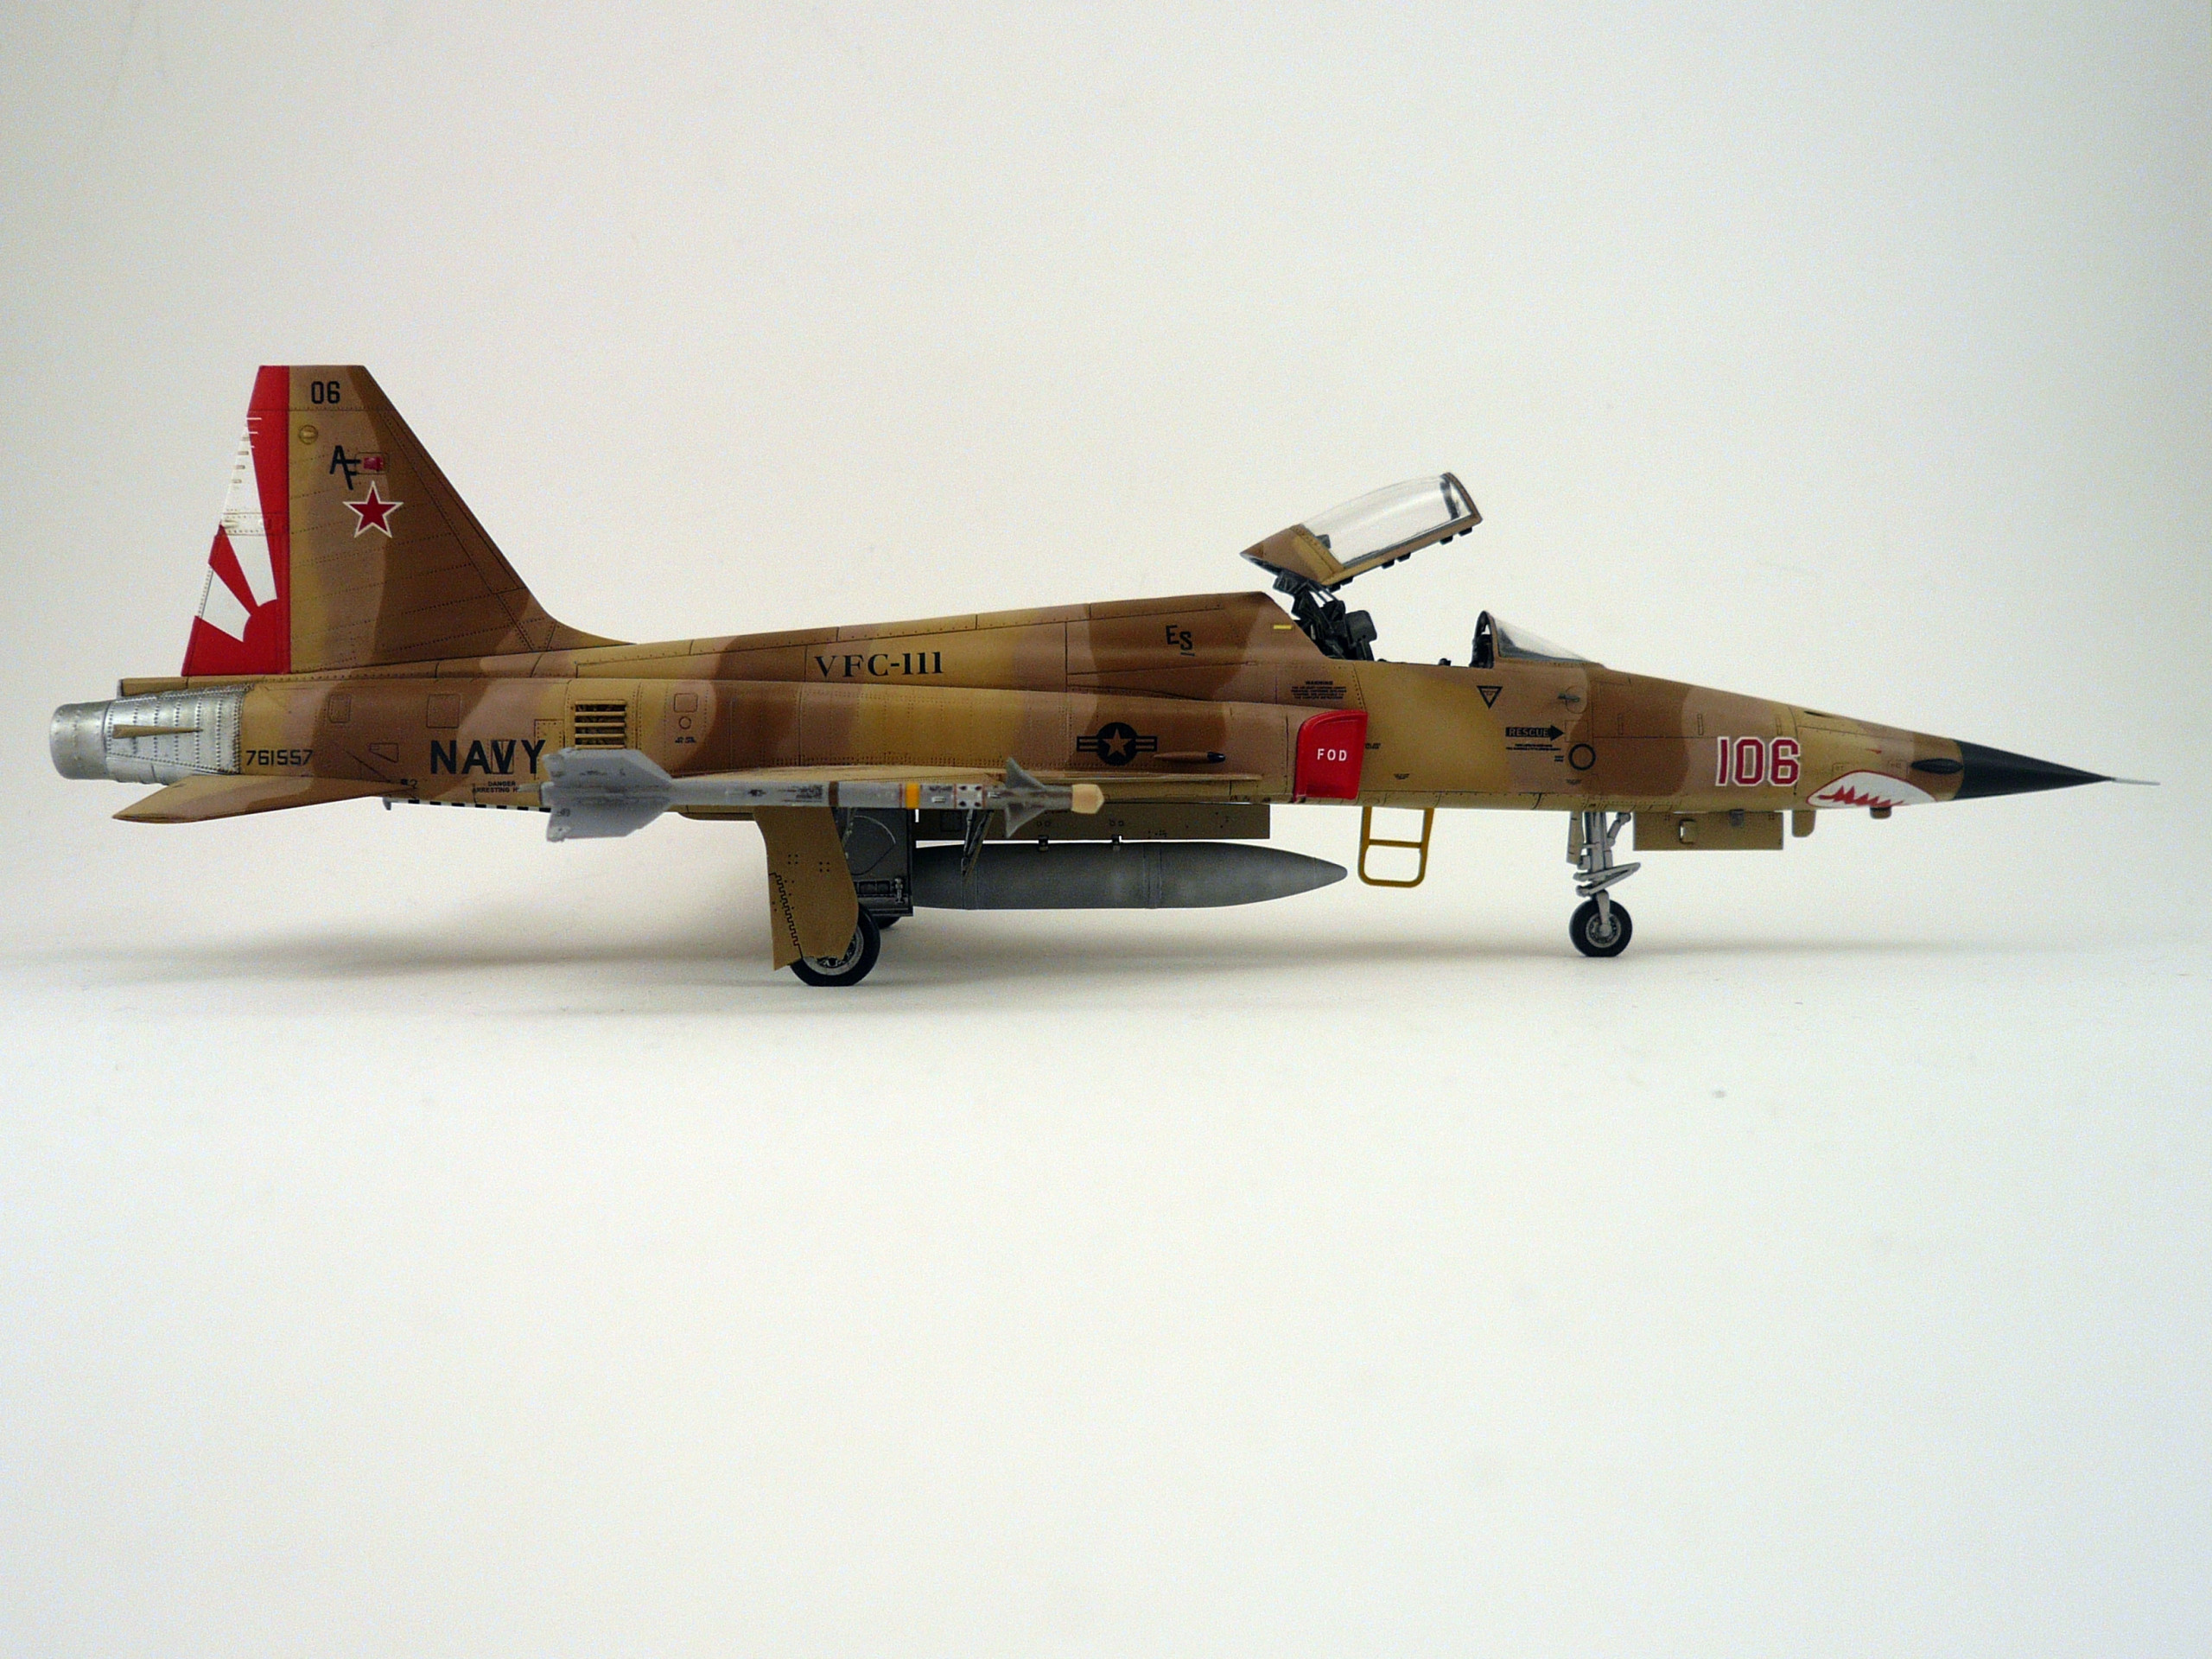
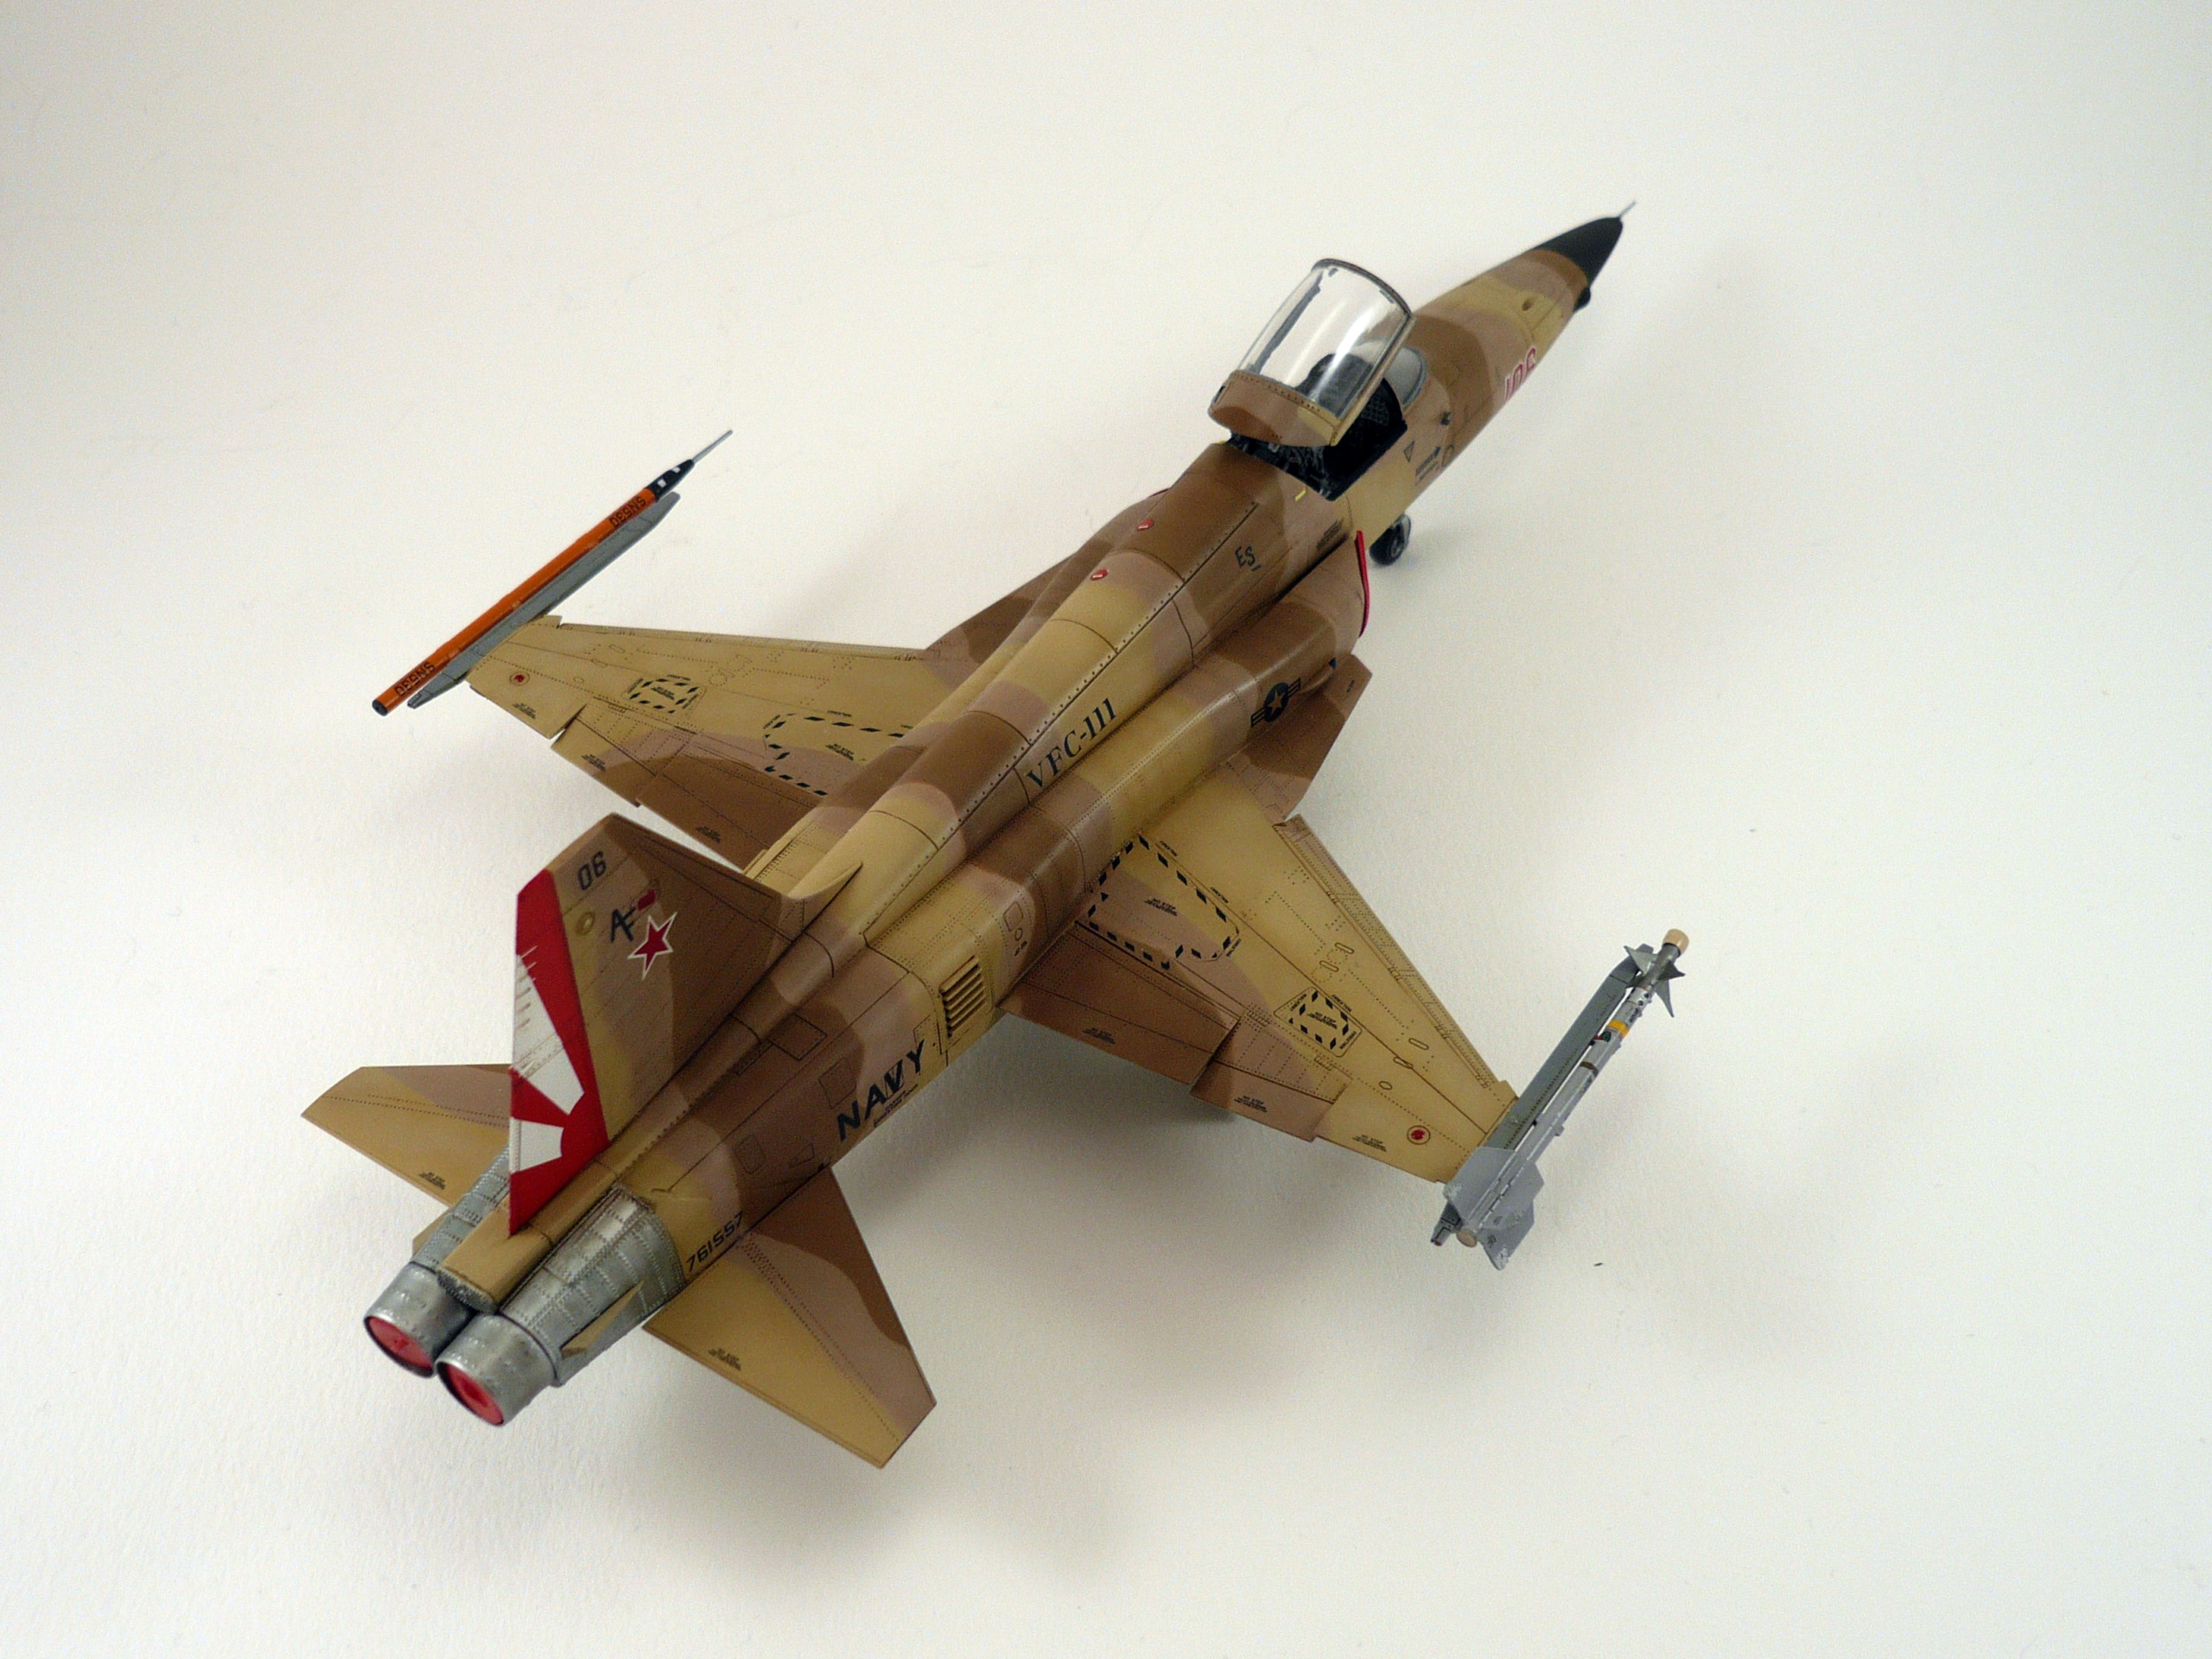
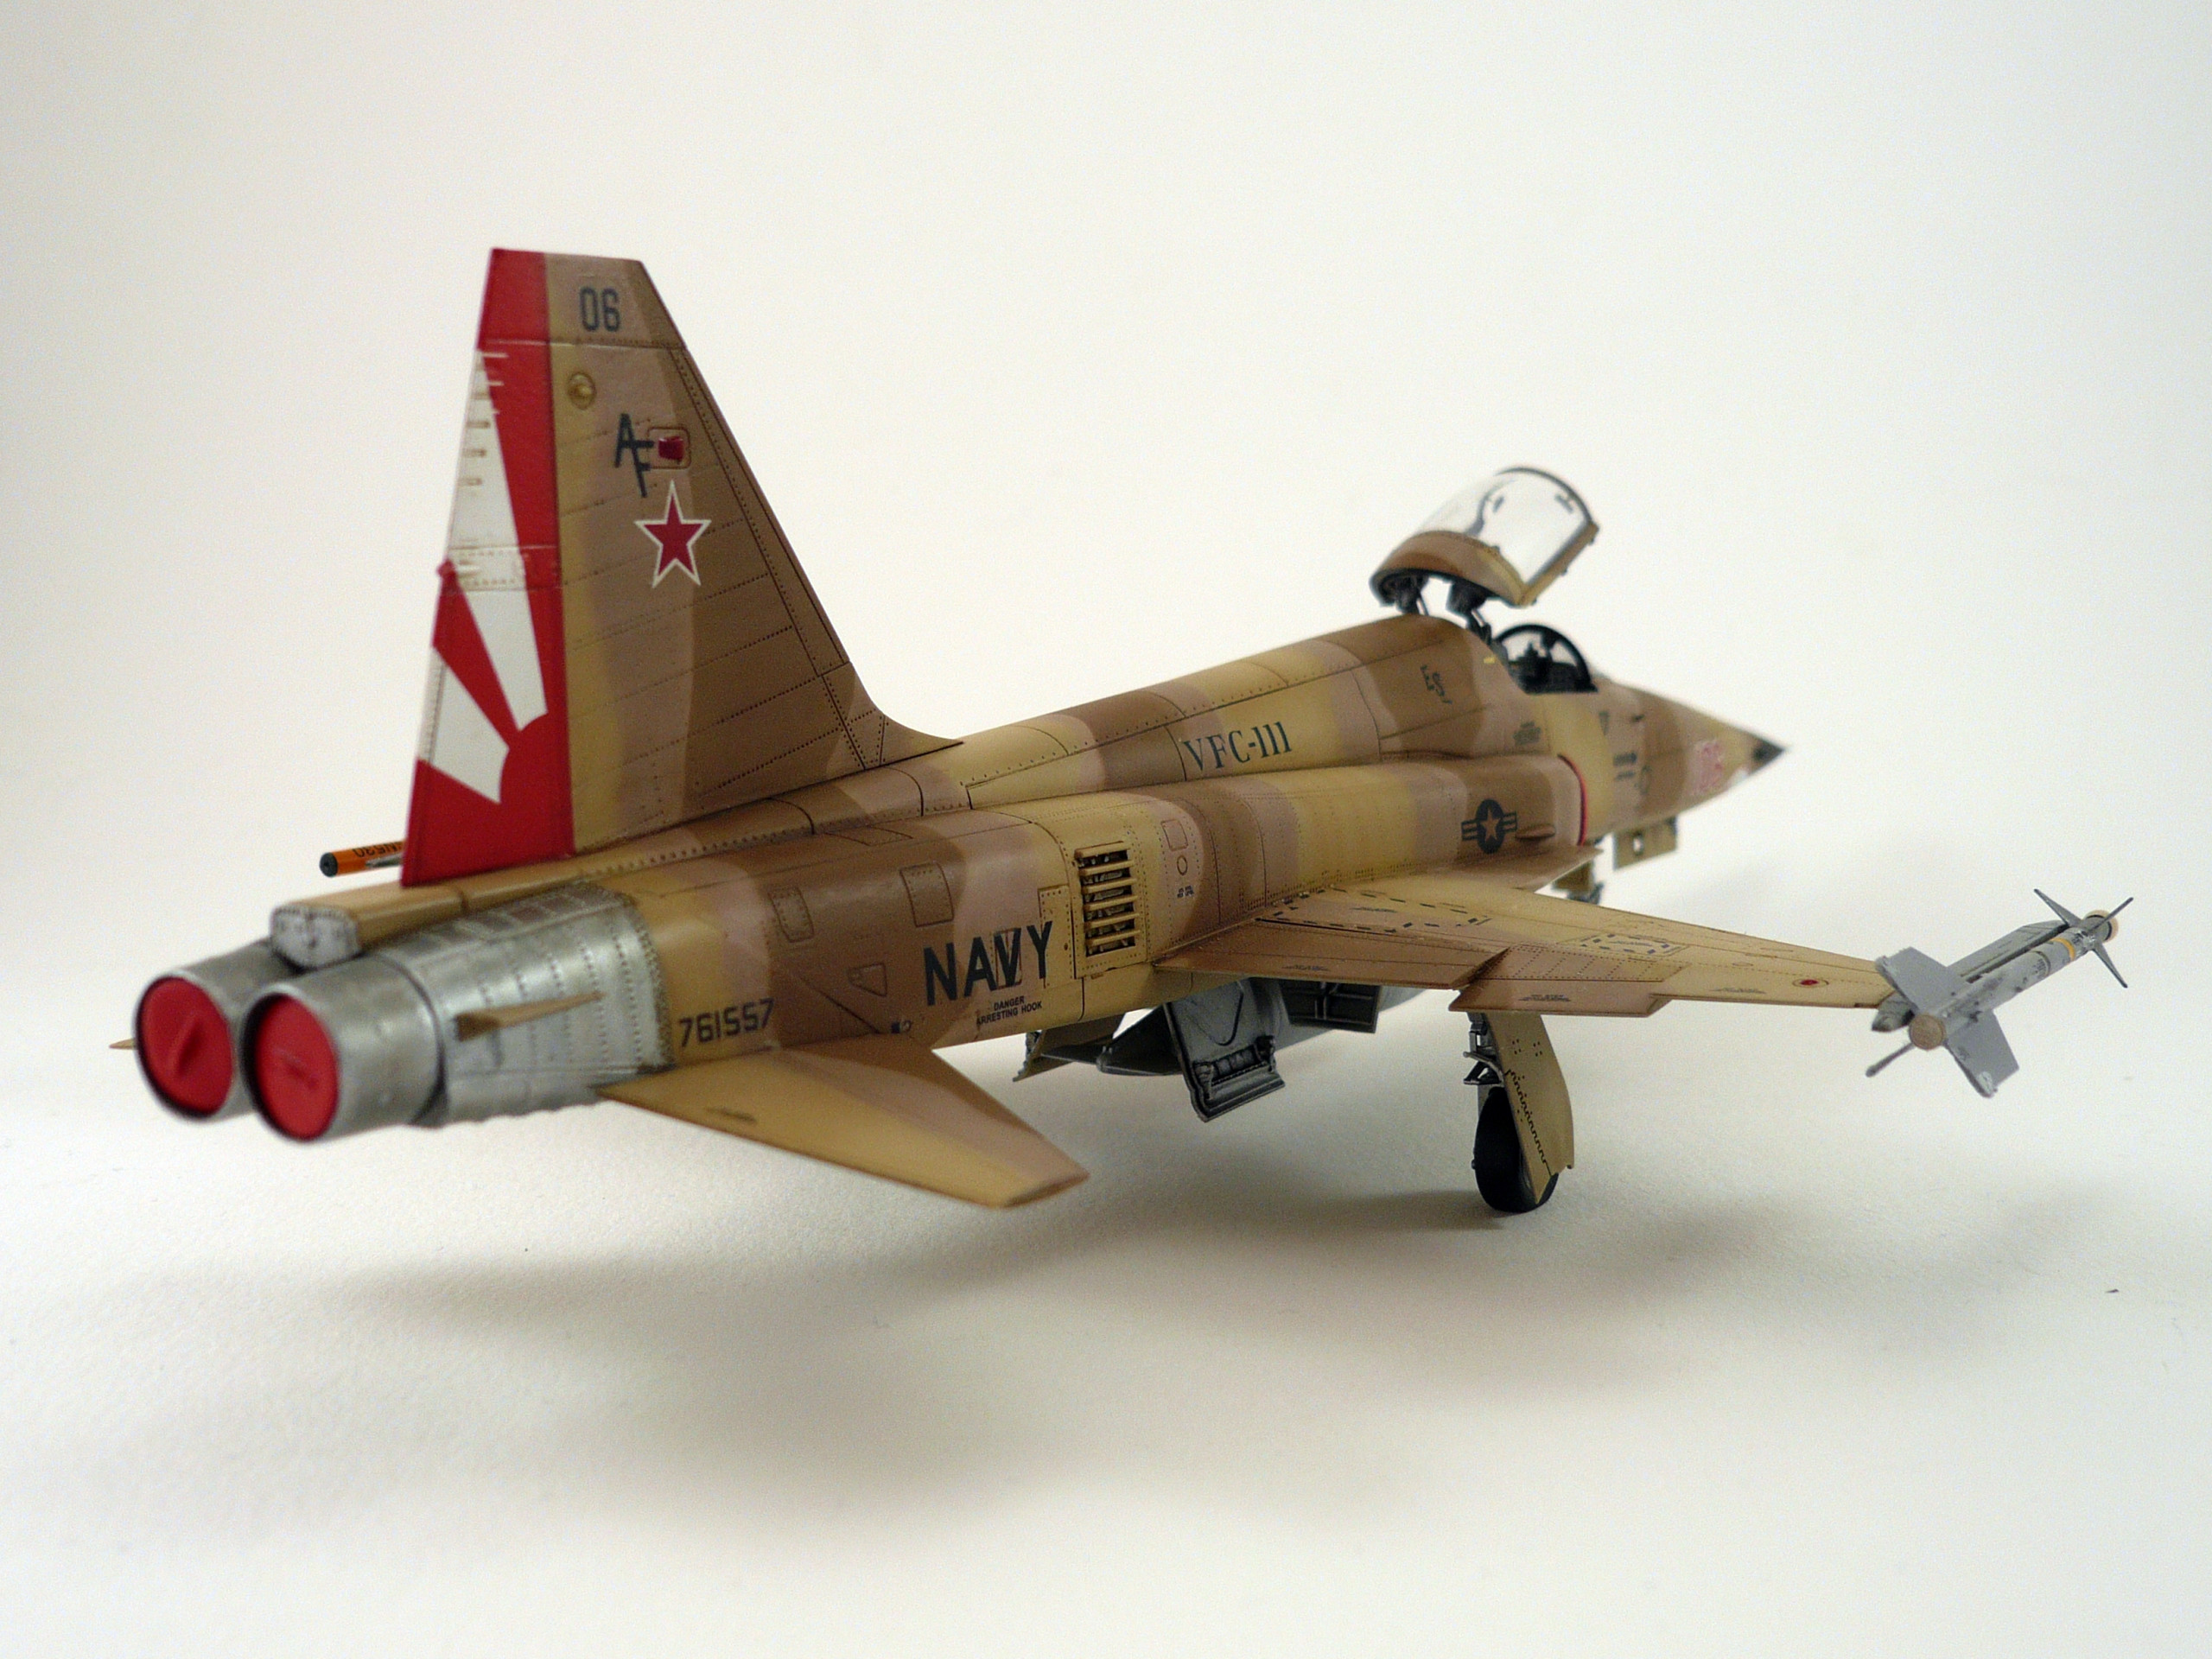
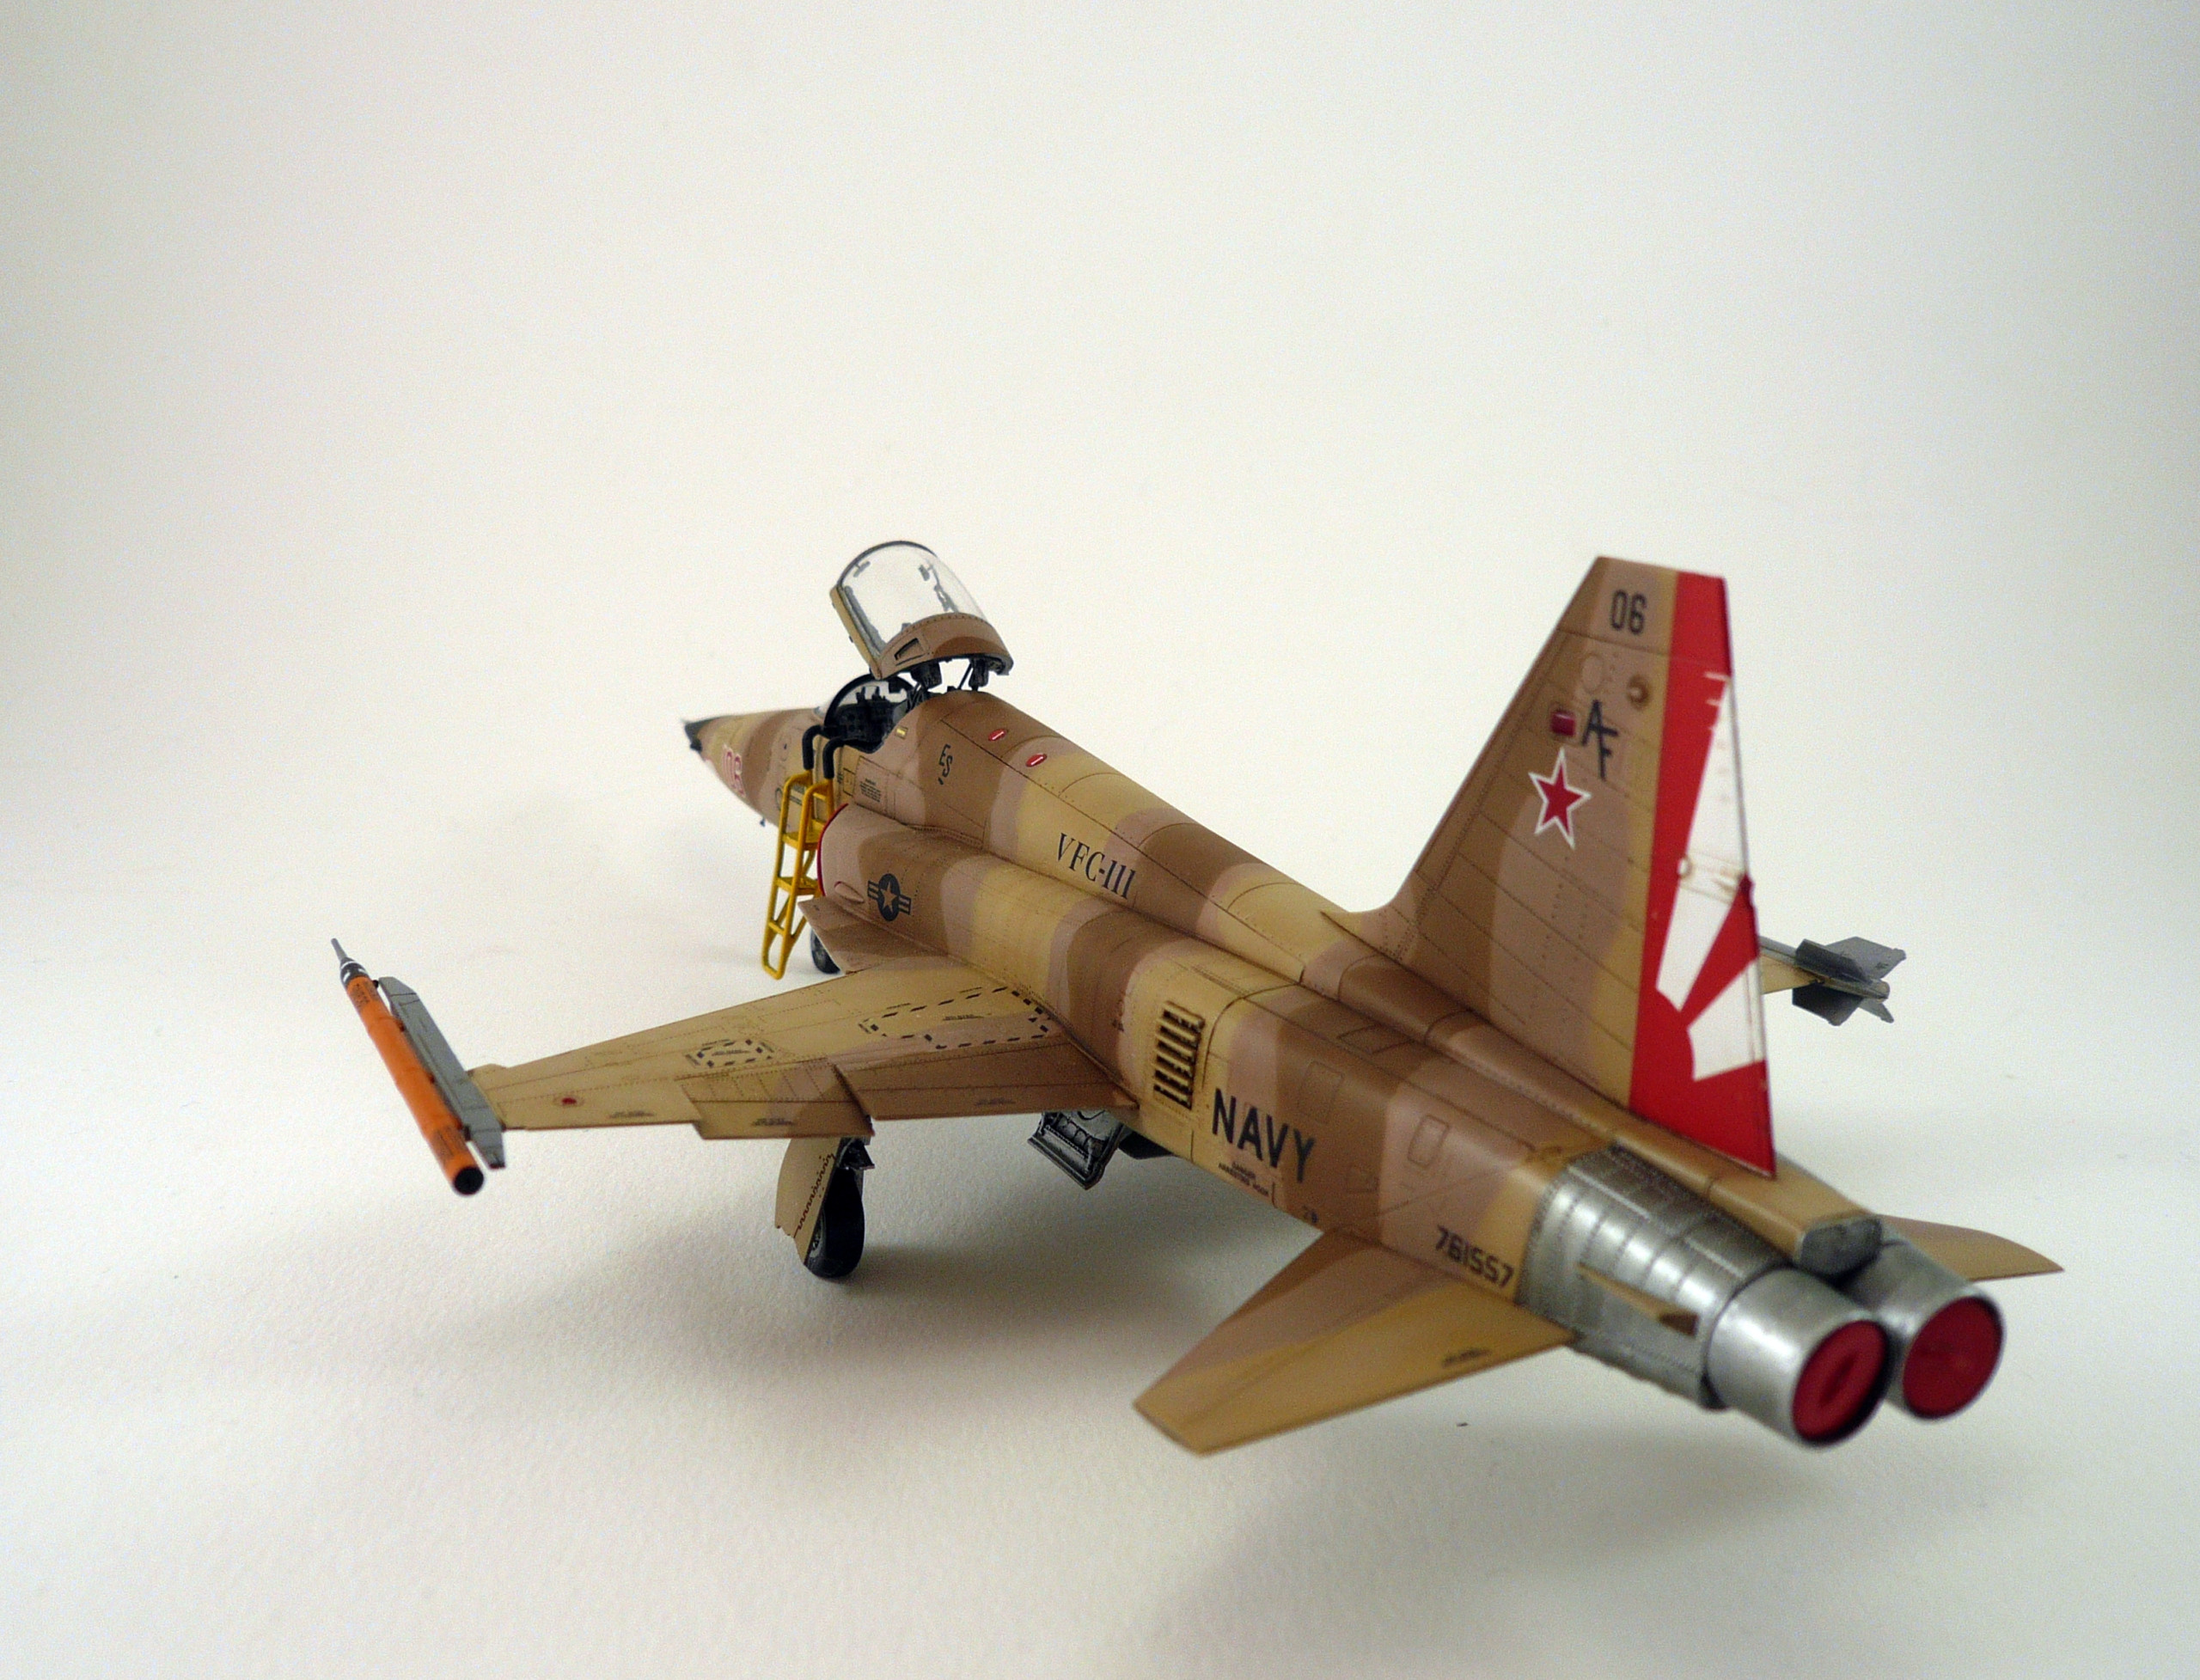
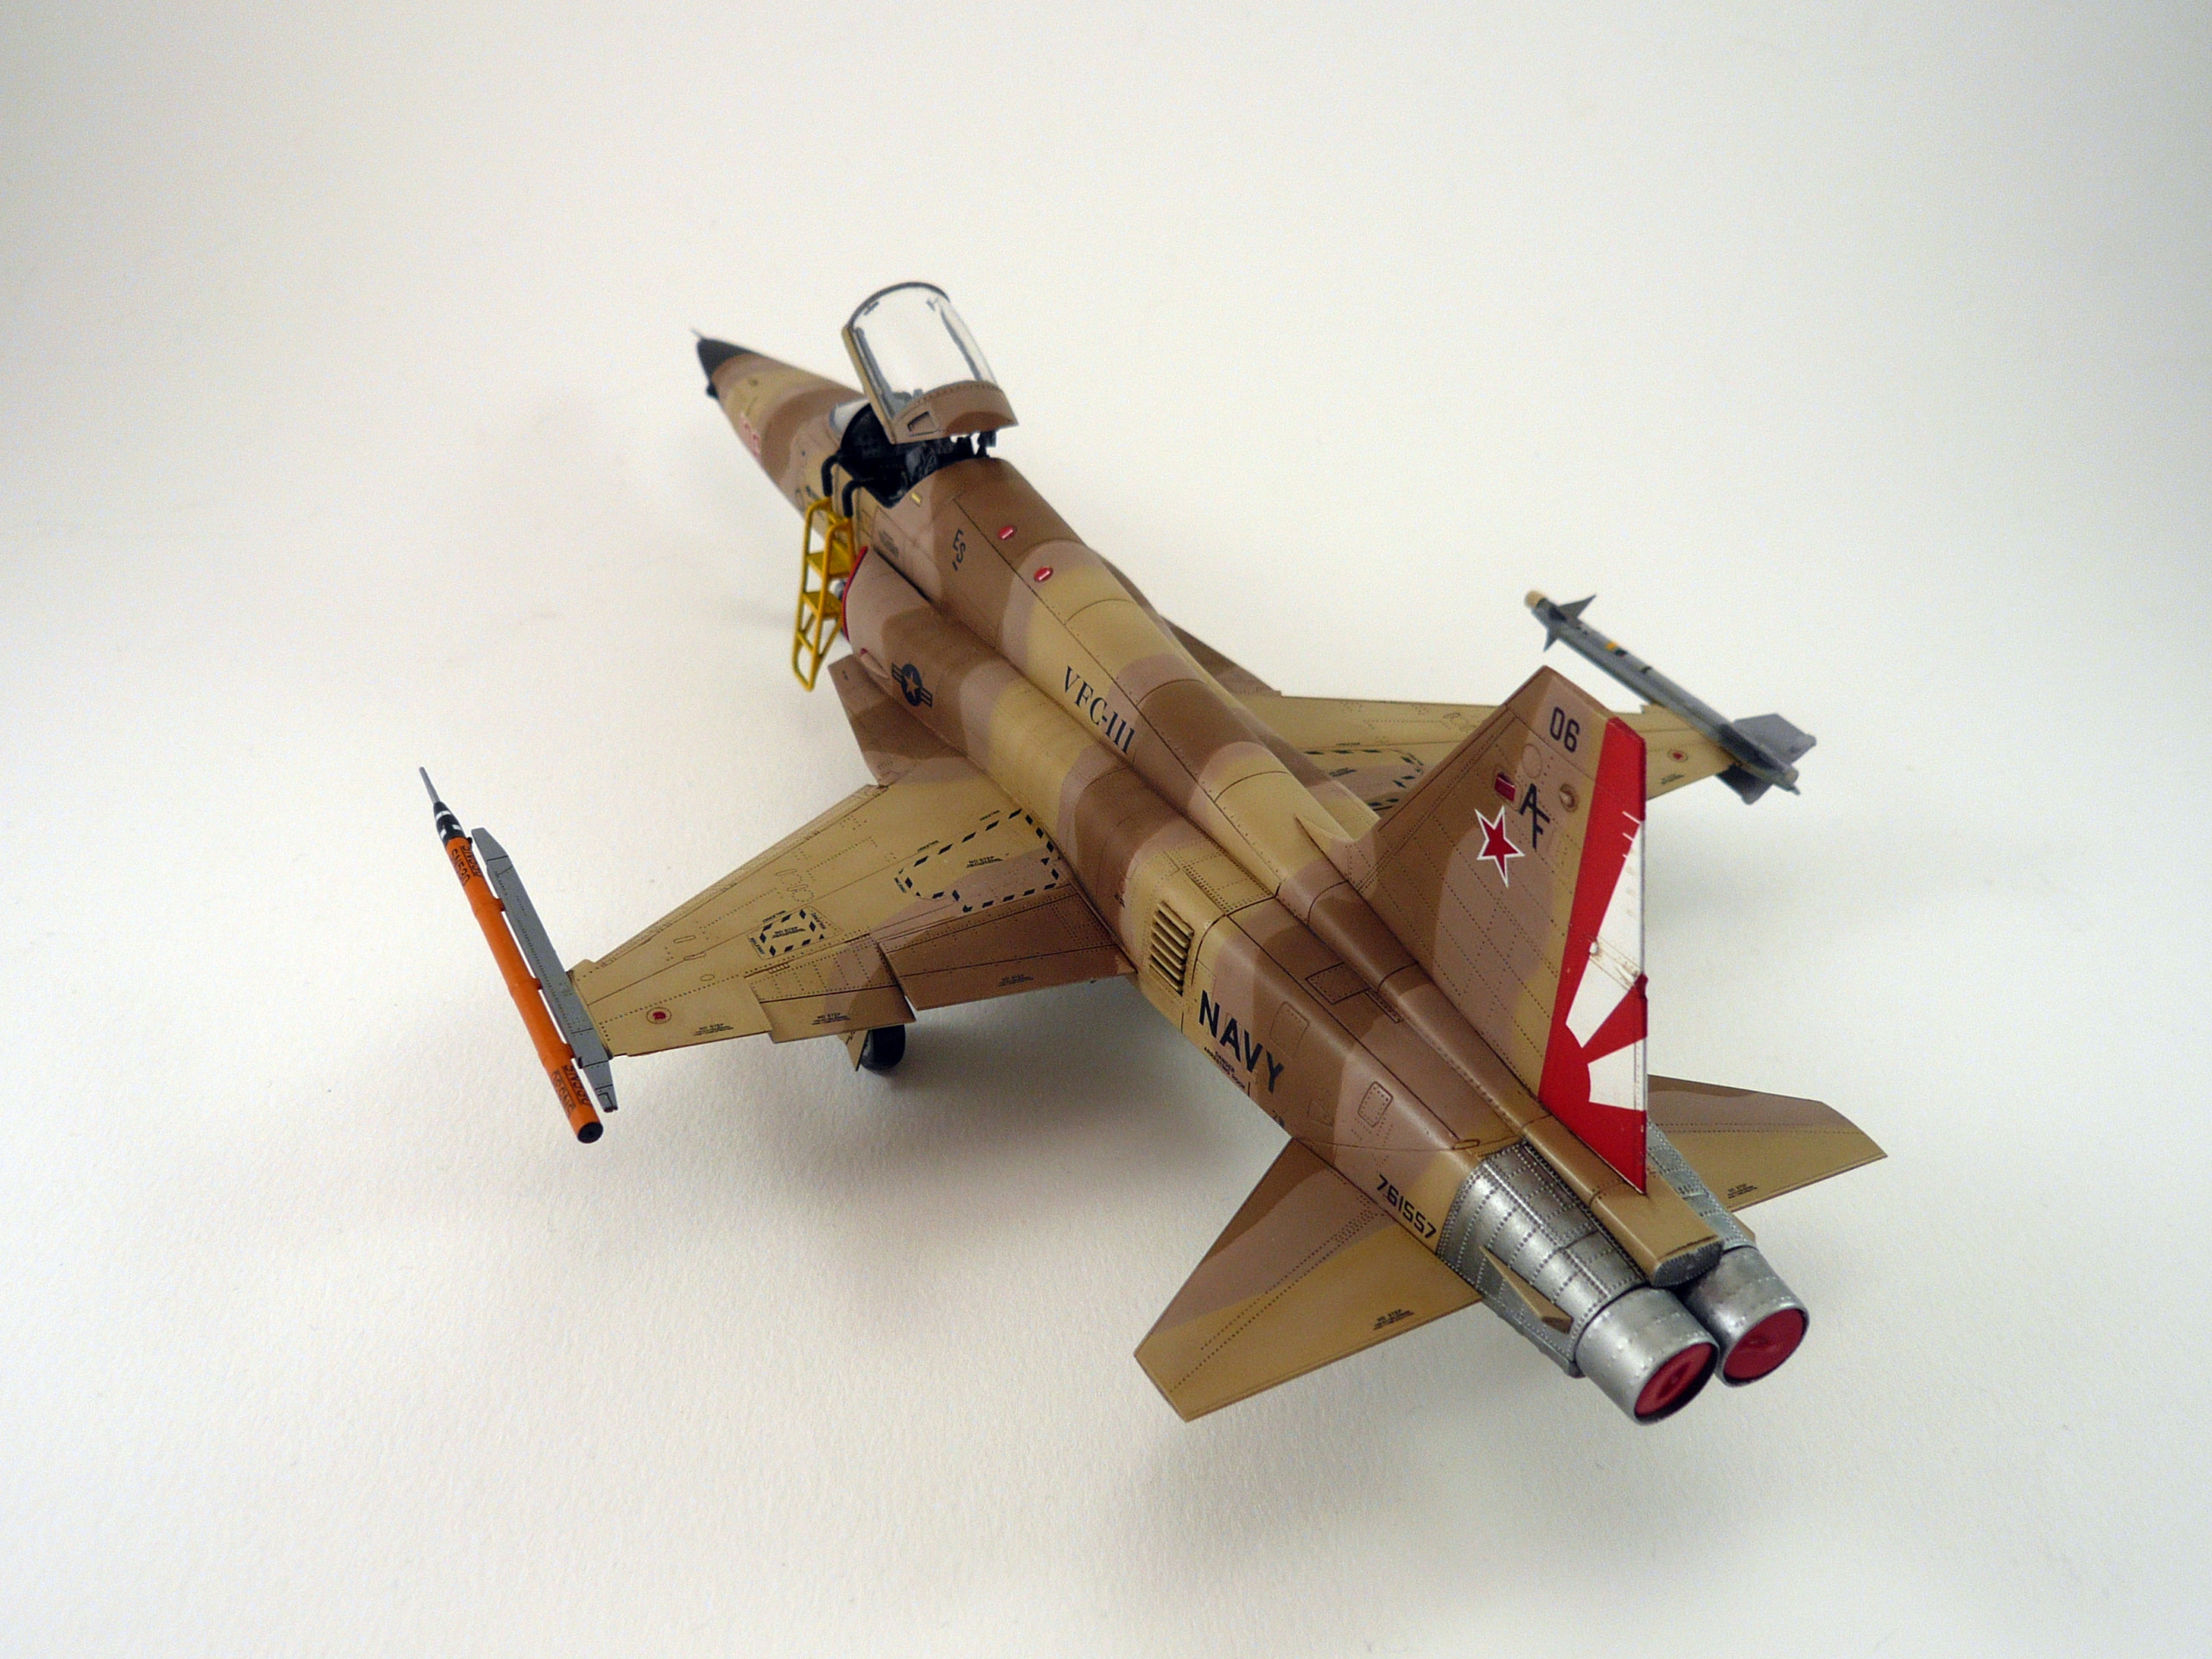
F-5N Tiger II
VFC-111 Sundowners AF 113 Bu. No. 761571
F-5E/N PROJECT
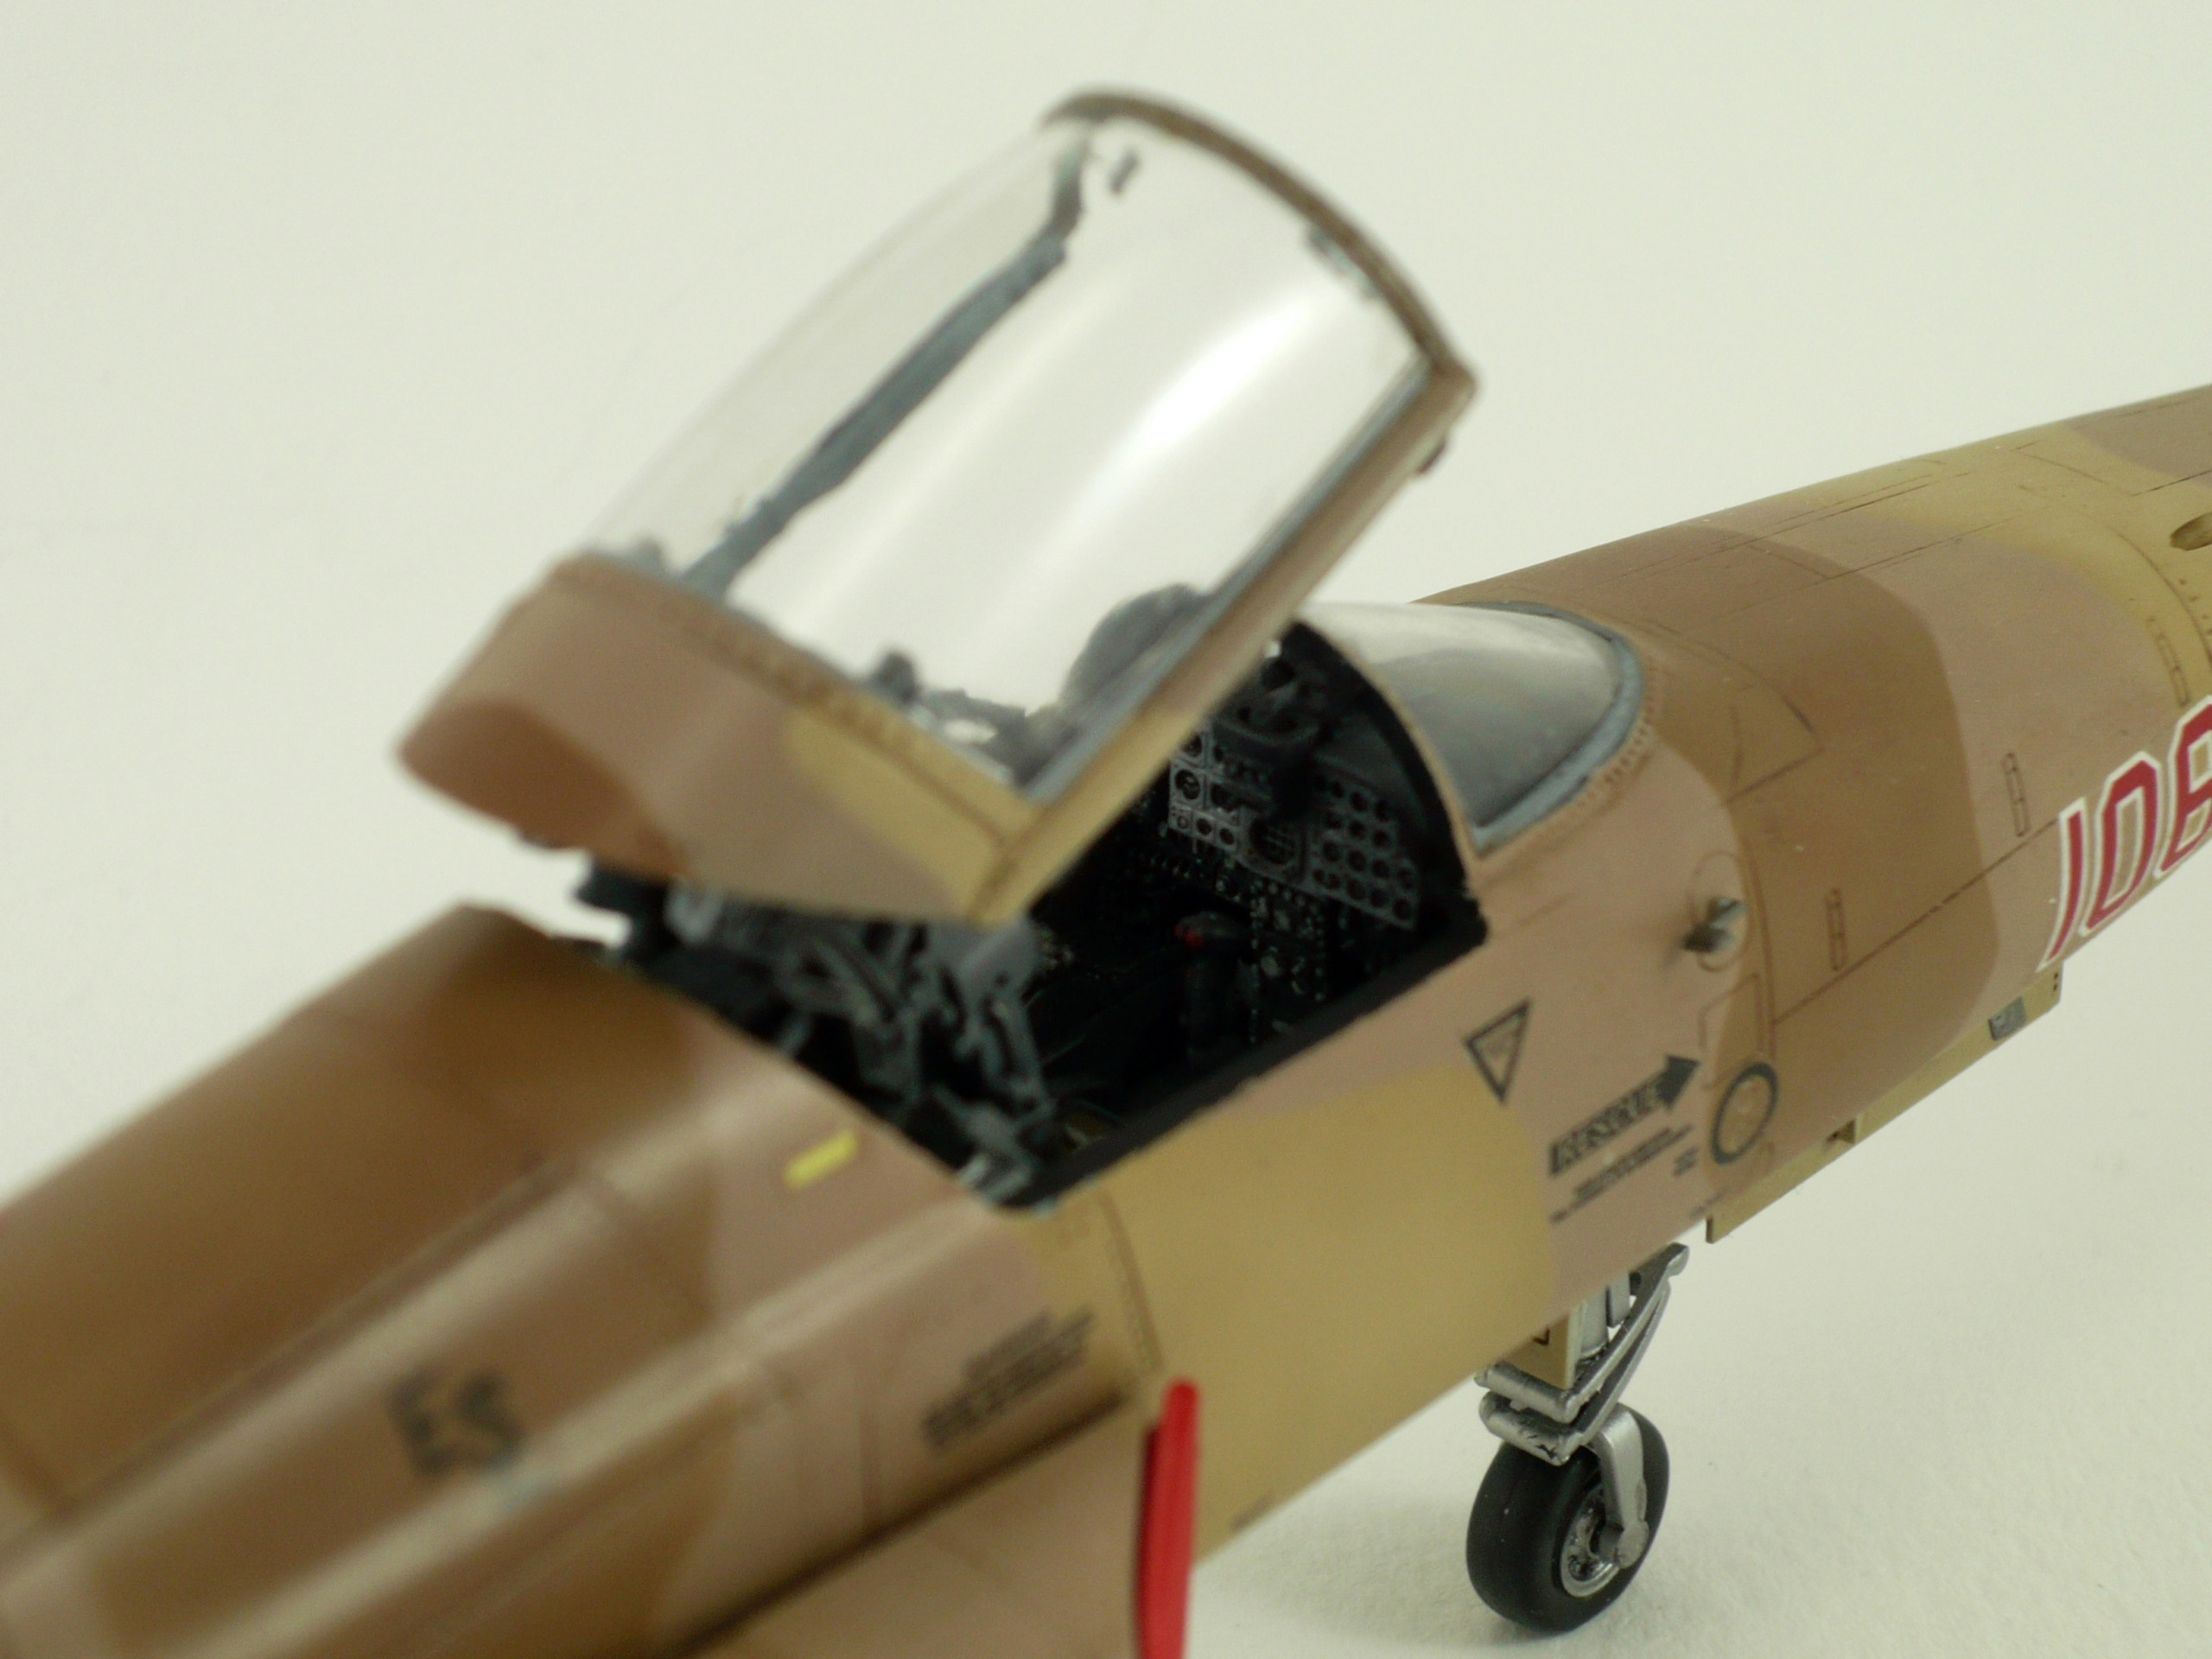
For this build I used AFV’s F-5E/F-5N kit (AR 48101) and Aires’s cockpit.
After the basic build finished, I prepared the model for the painting procedure. I washed it with soap water to remove any grease from my hands and dust remains. The first stage started by spraying Mig Ammo’s primer in light coats (pic.1). I mixed the gray and white primer for a lighter gray primer shade. Using primers we can detect any flaws on our models and prepare the surface for the paint.
The next stage is to give some shadow effect in the upper and lower surfaces using the preshade technique. I used Mig Ammo’s Rubber and Tire black to do that (pic.2)
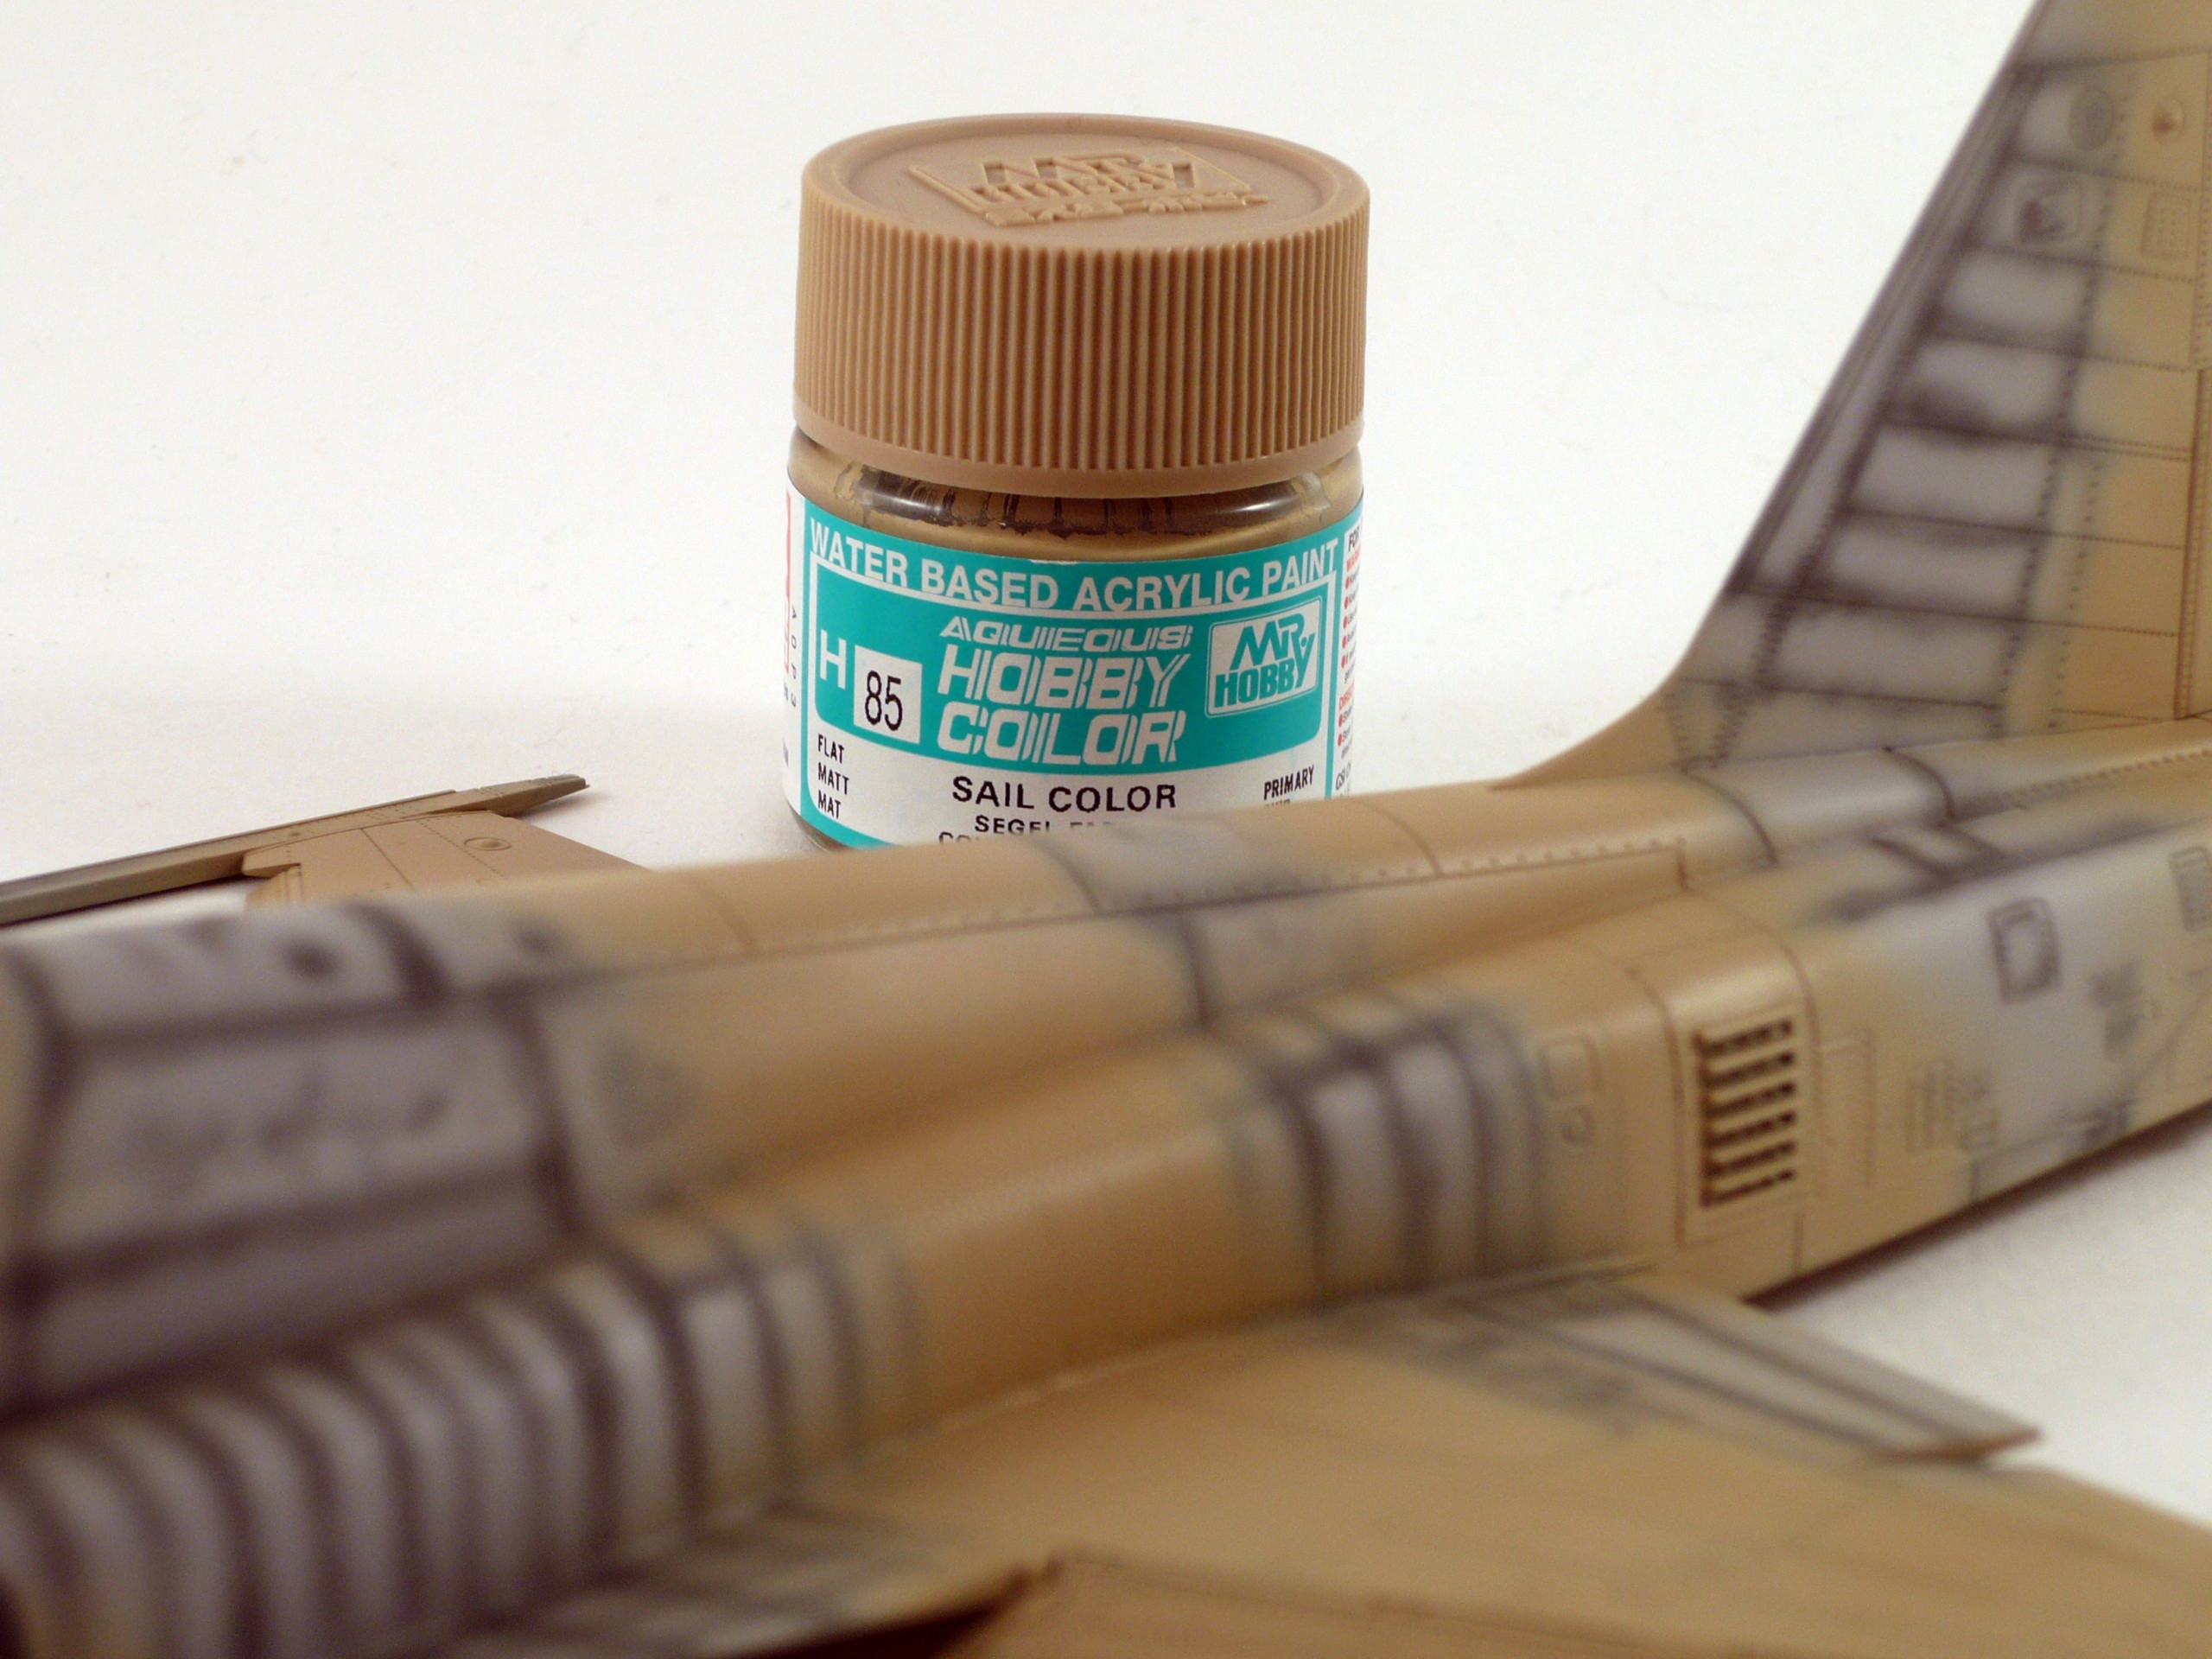
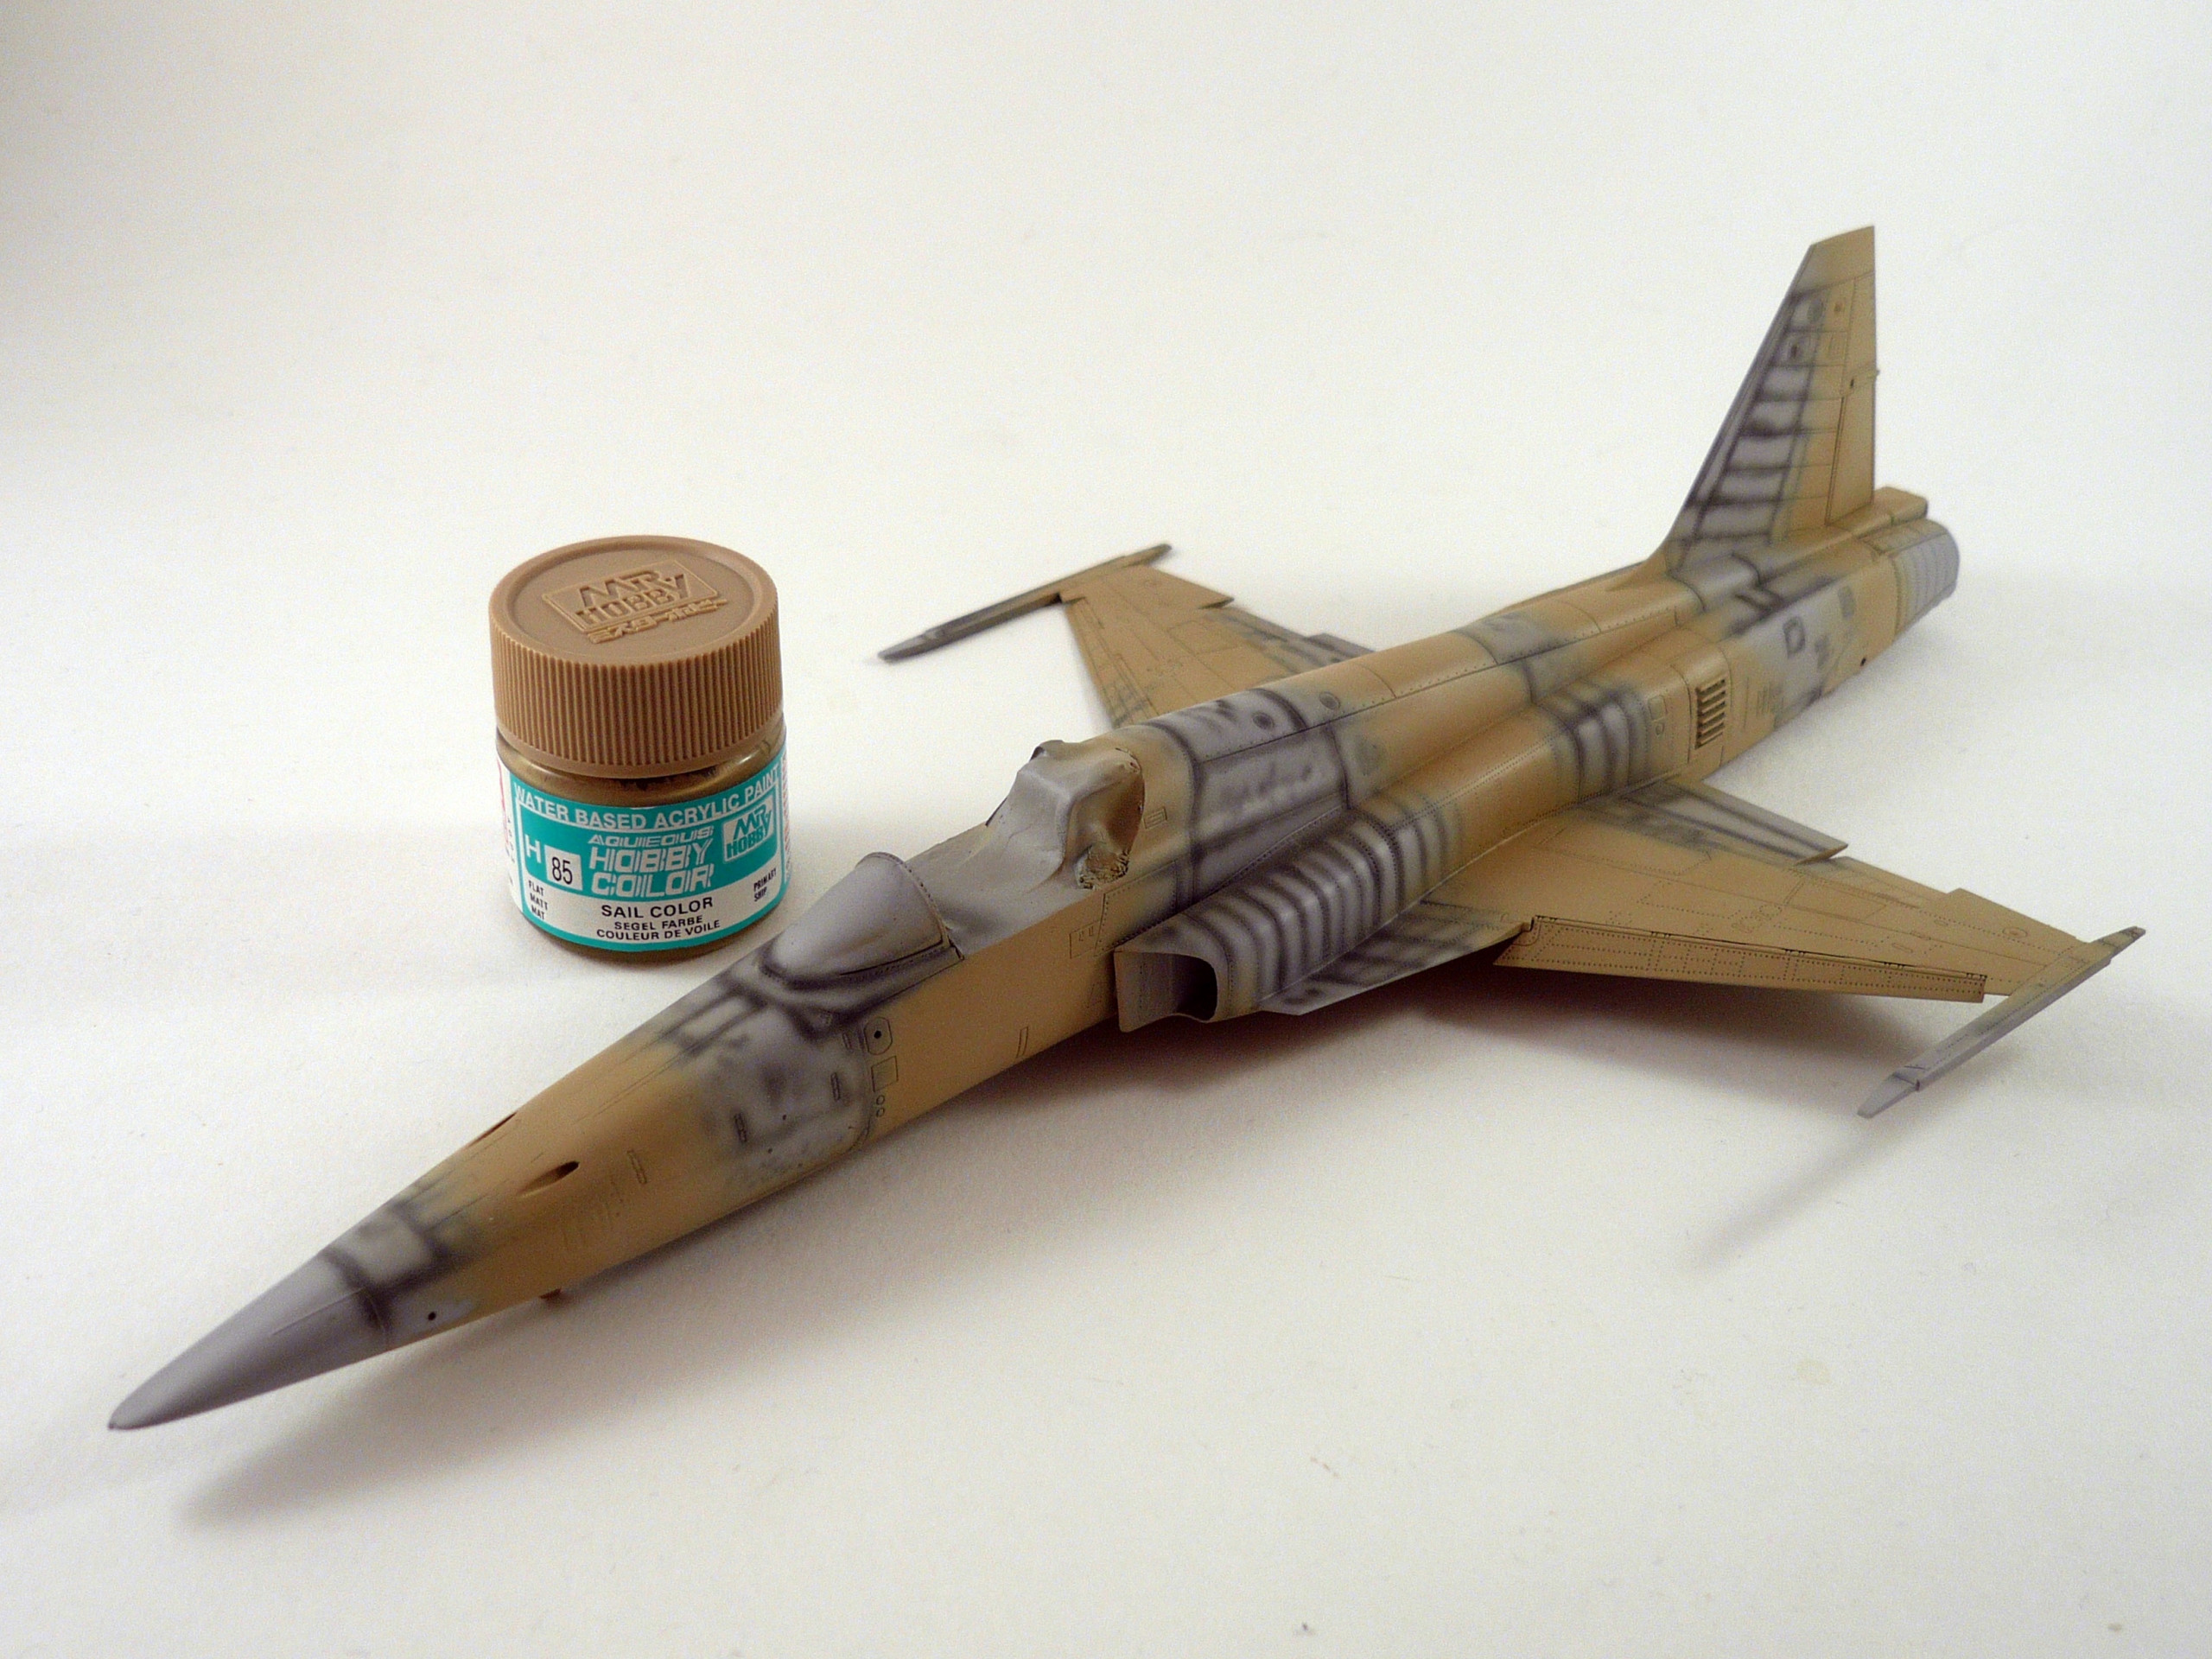
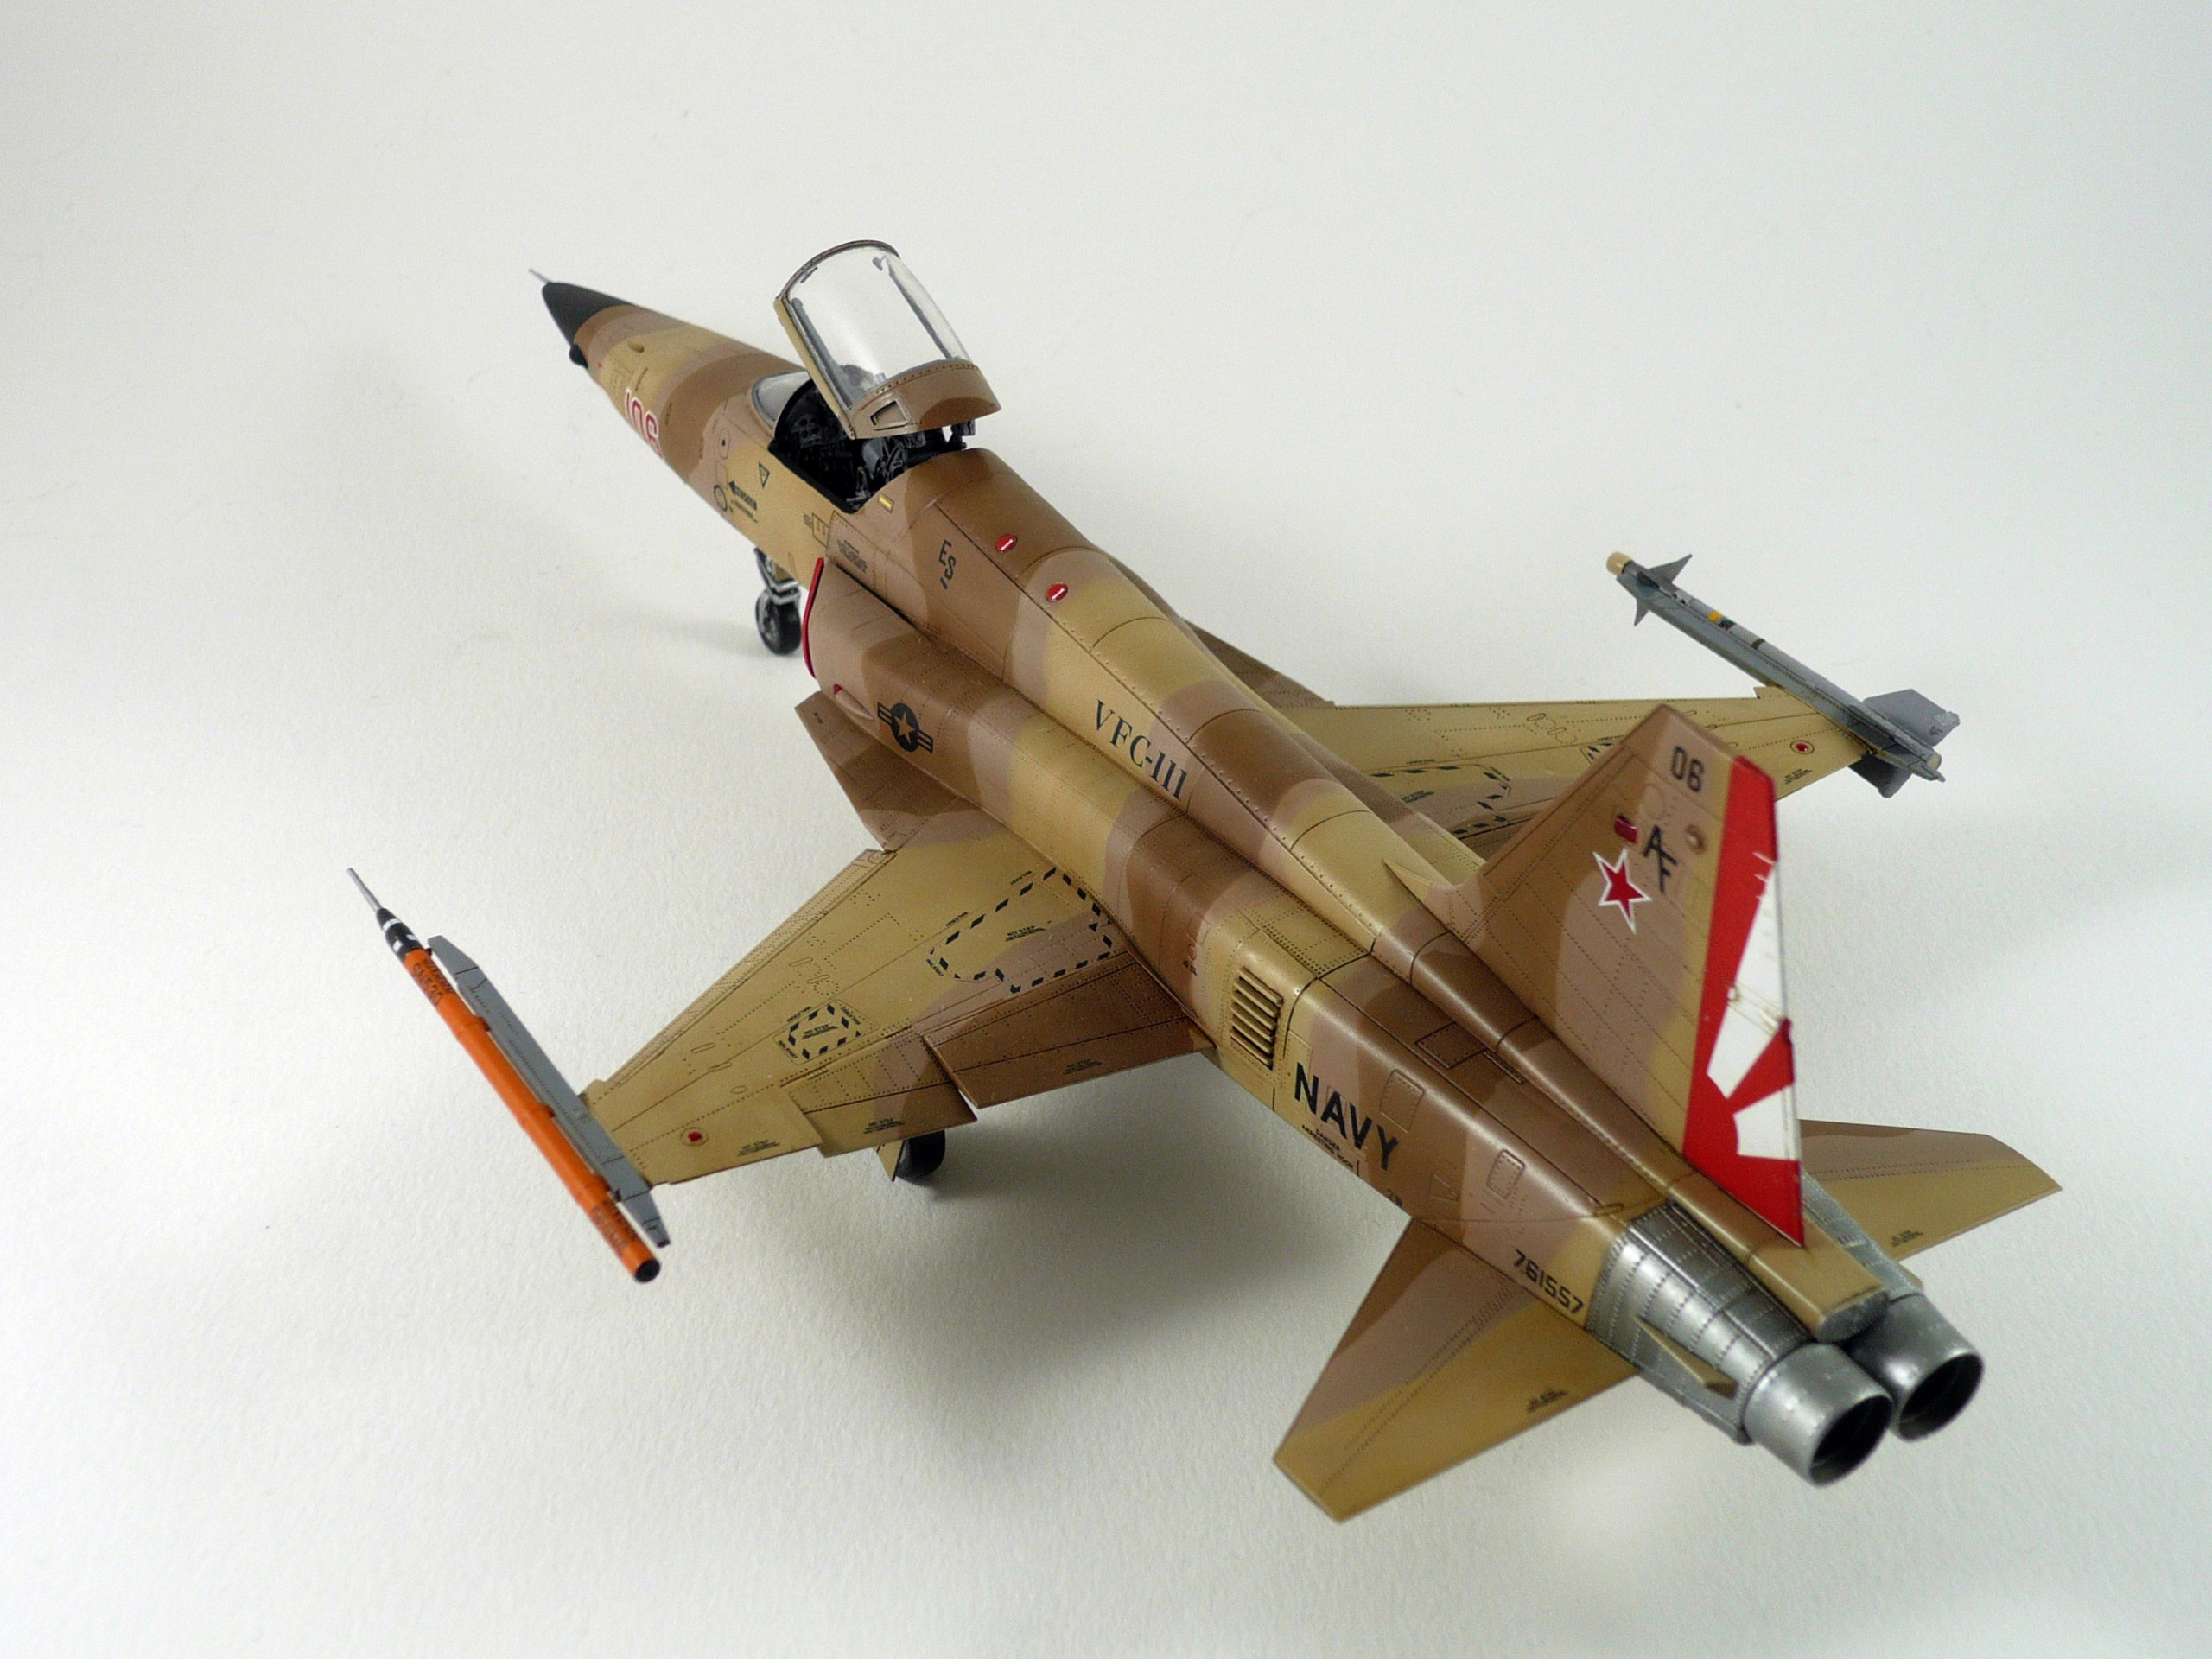
The painting procedure started painting the lower surfaces and cammo in the upper surfaces (1st color) of the model using Mr Hobby’s H85 sail color. The various shades and highlights came from using the basic color with some drops of Tamiya’s XF-2 flat white ( pic.3&4)
After the first color is dried, we mask the first color’s cammo areas and lower surfaces with blu-tak and tape and proceed to the painting of the other 2 colors….(pic.5)
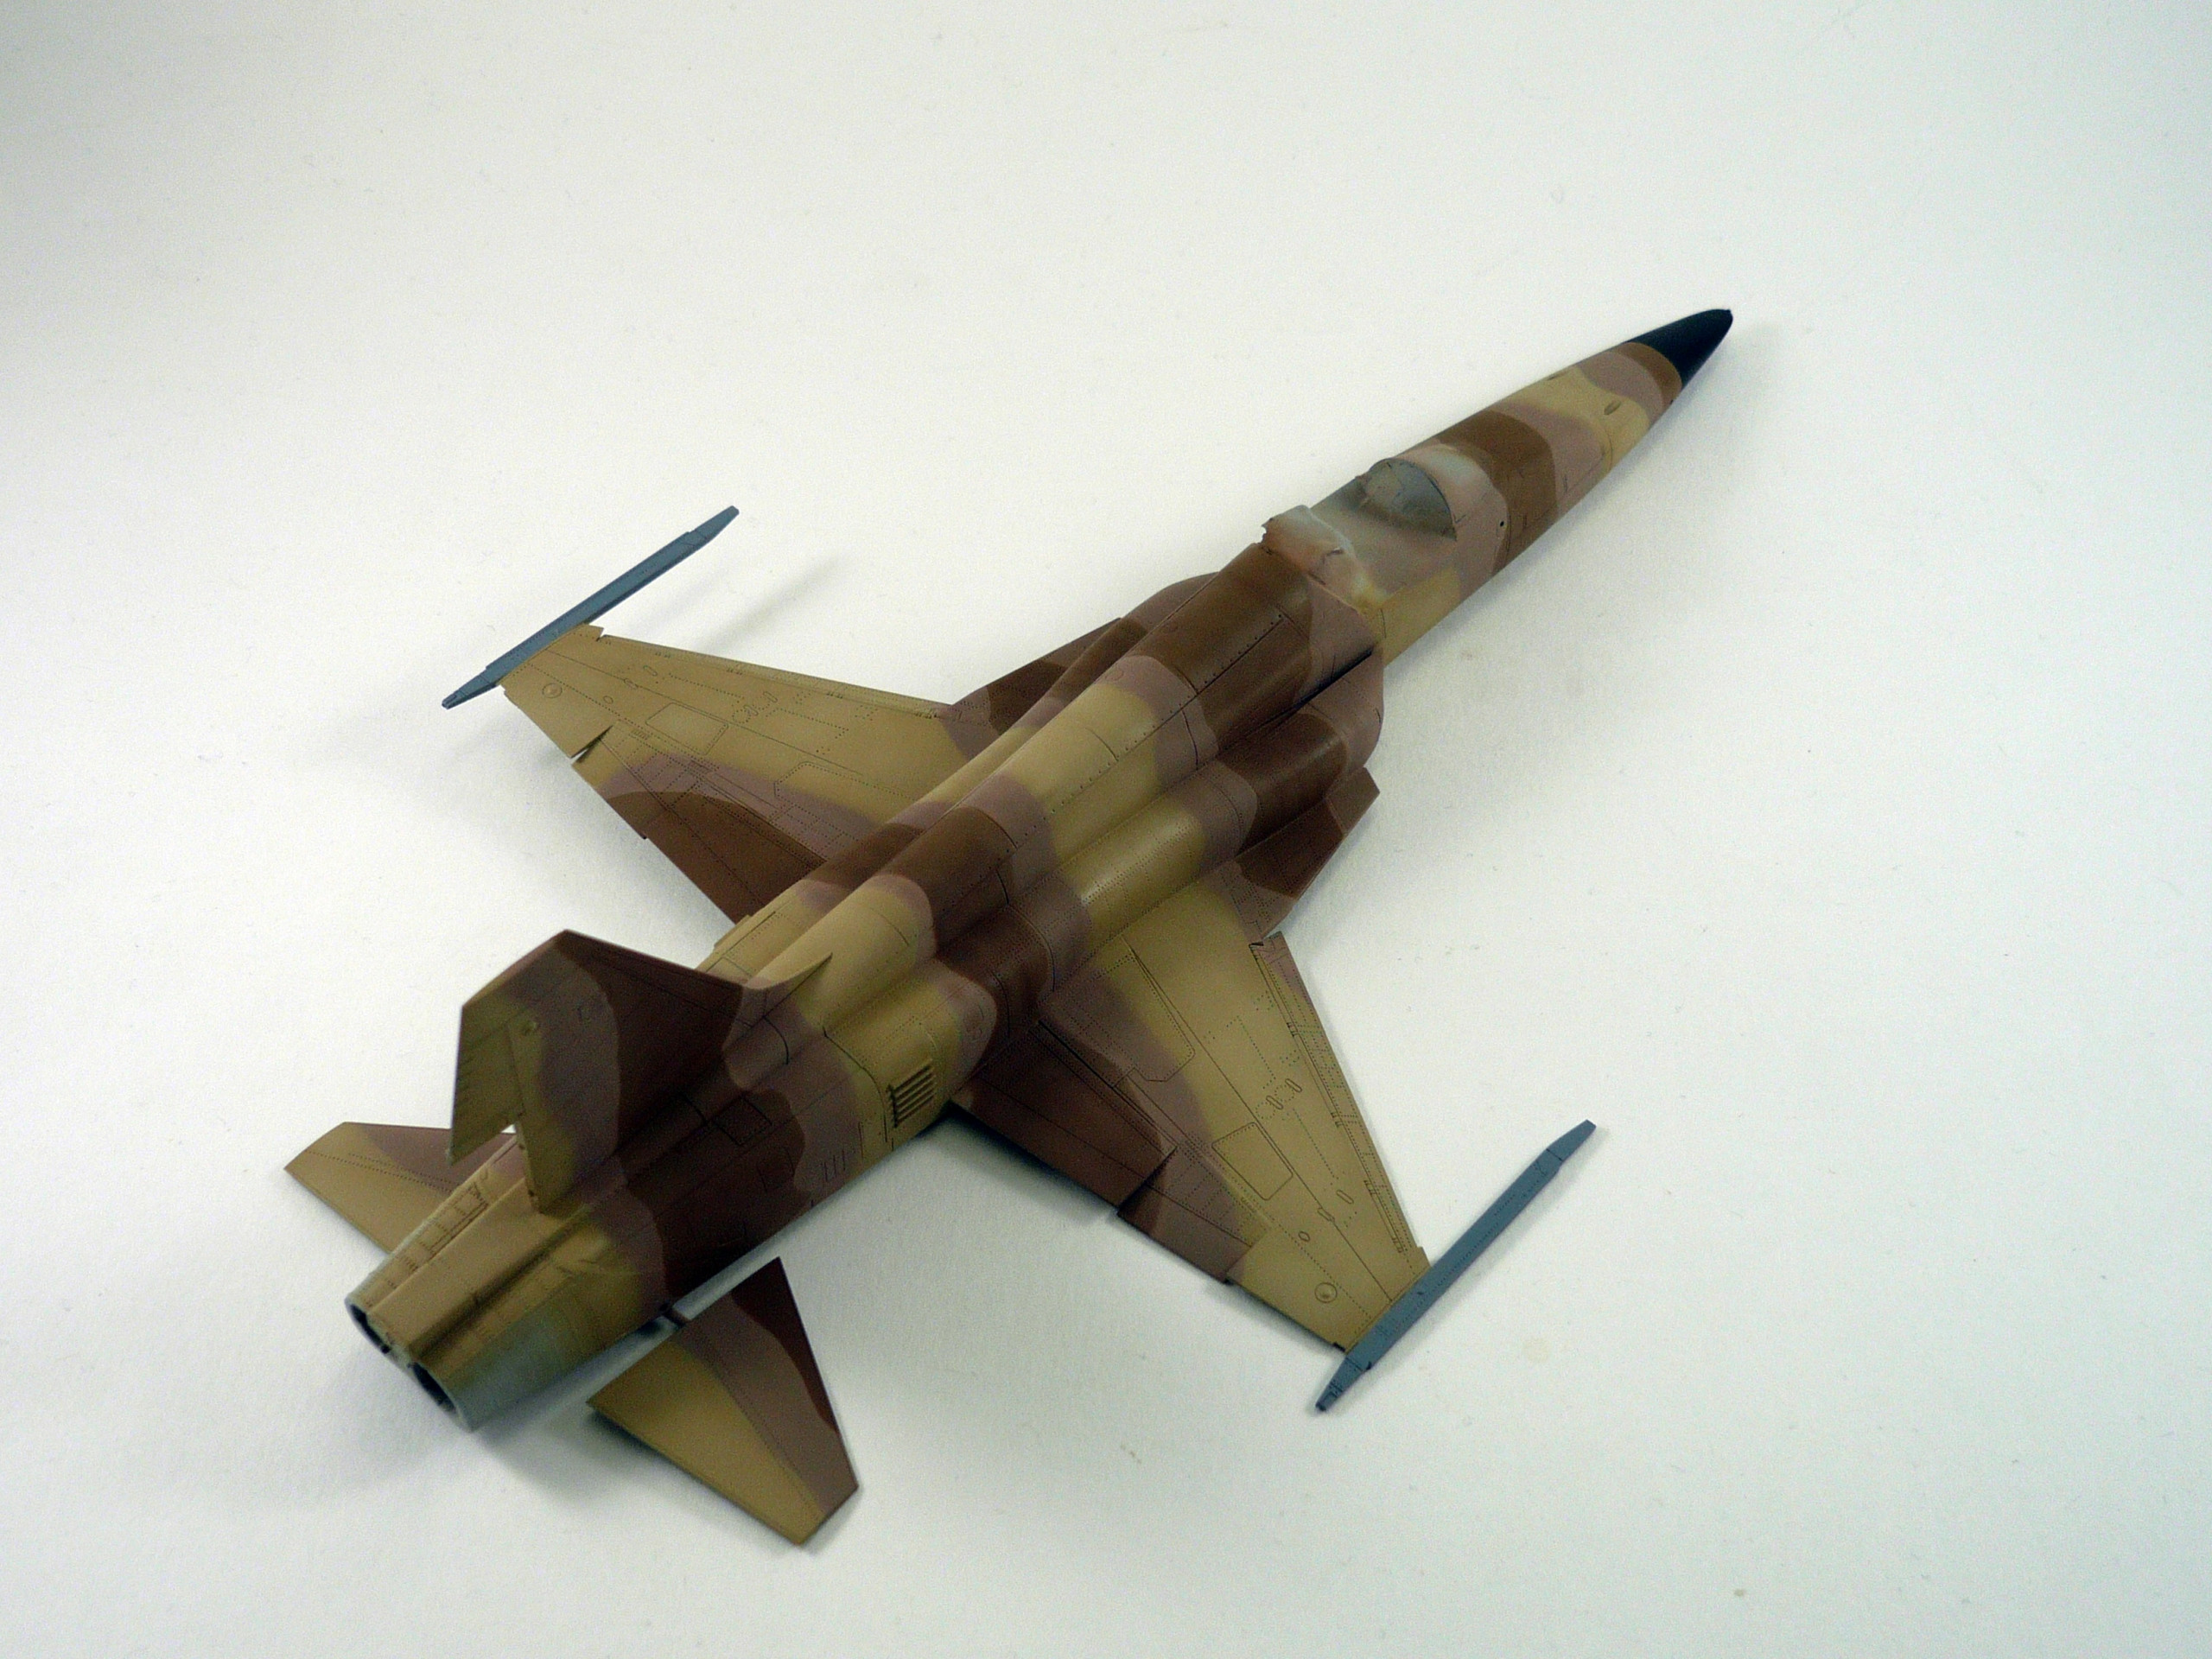
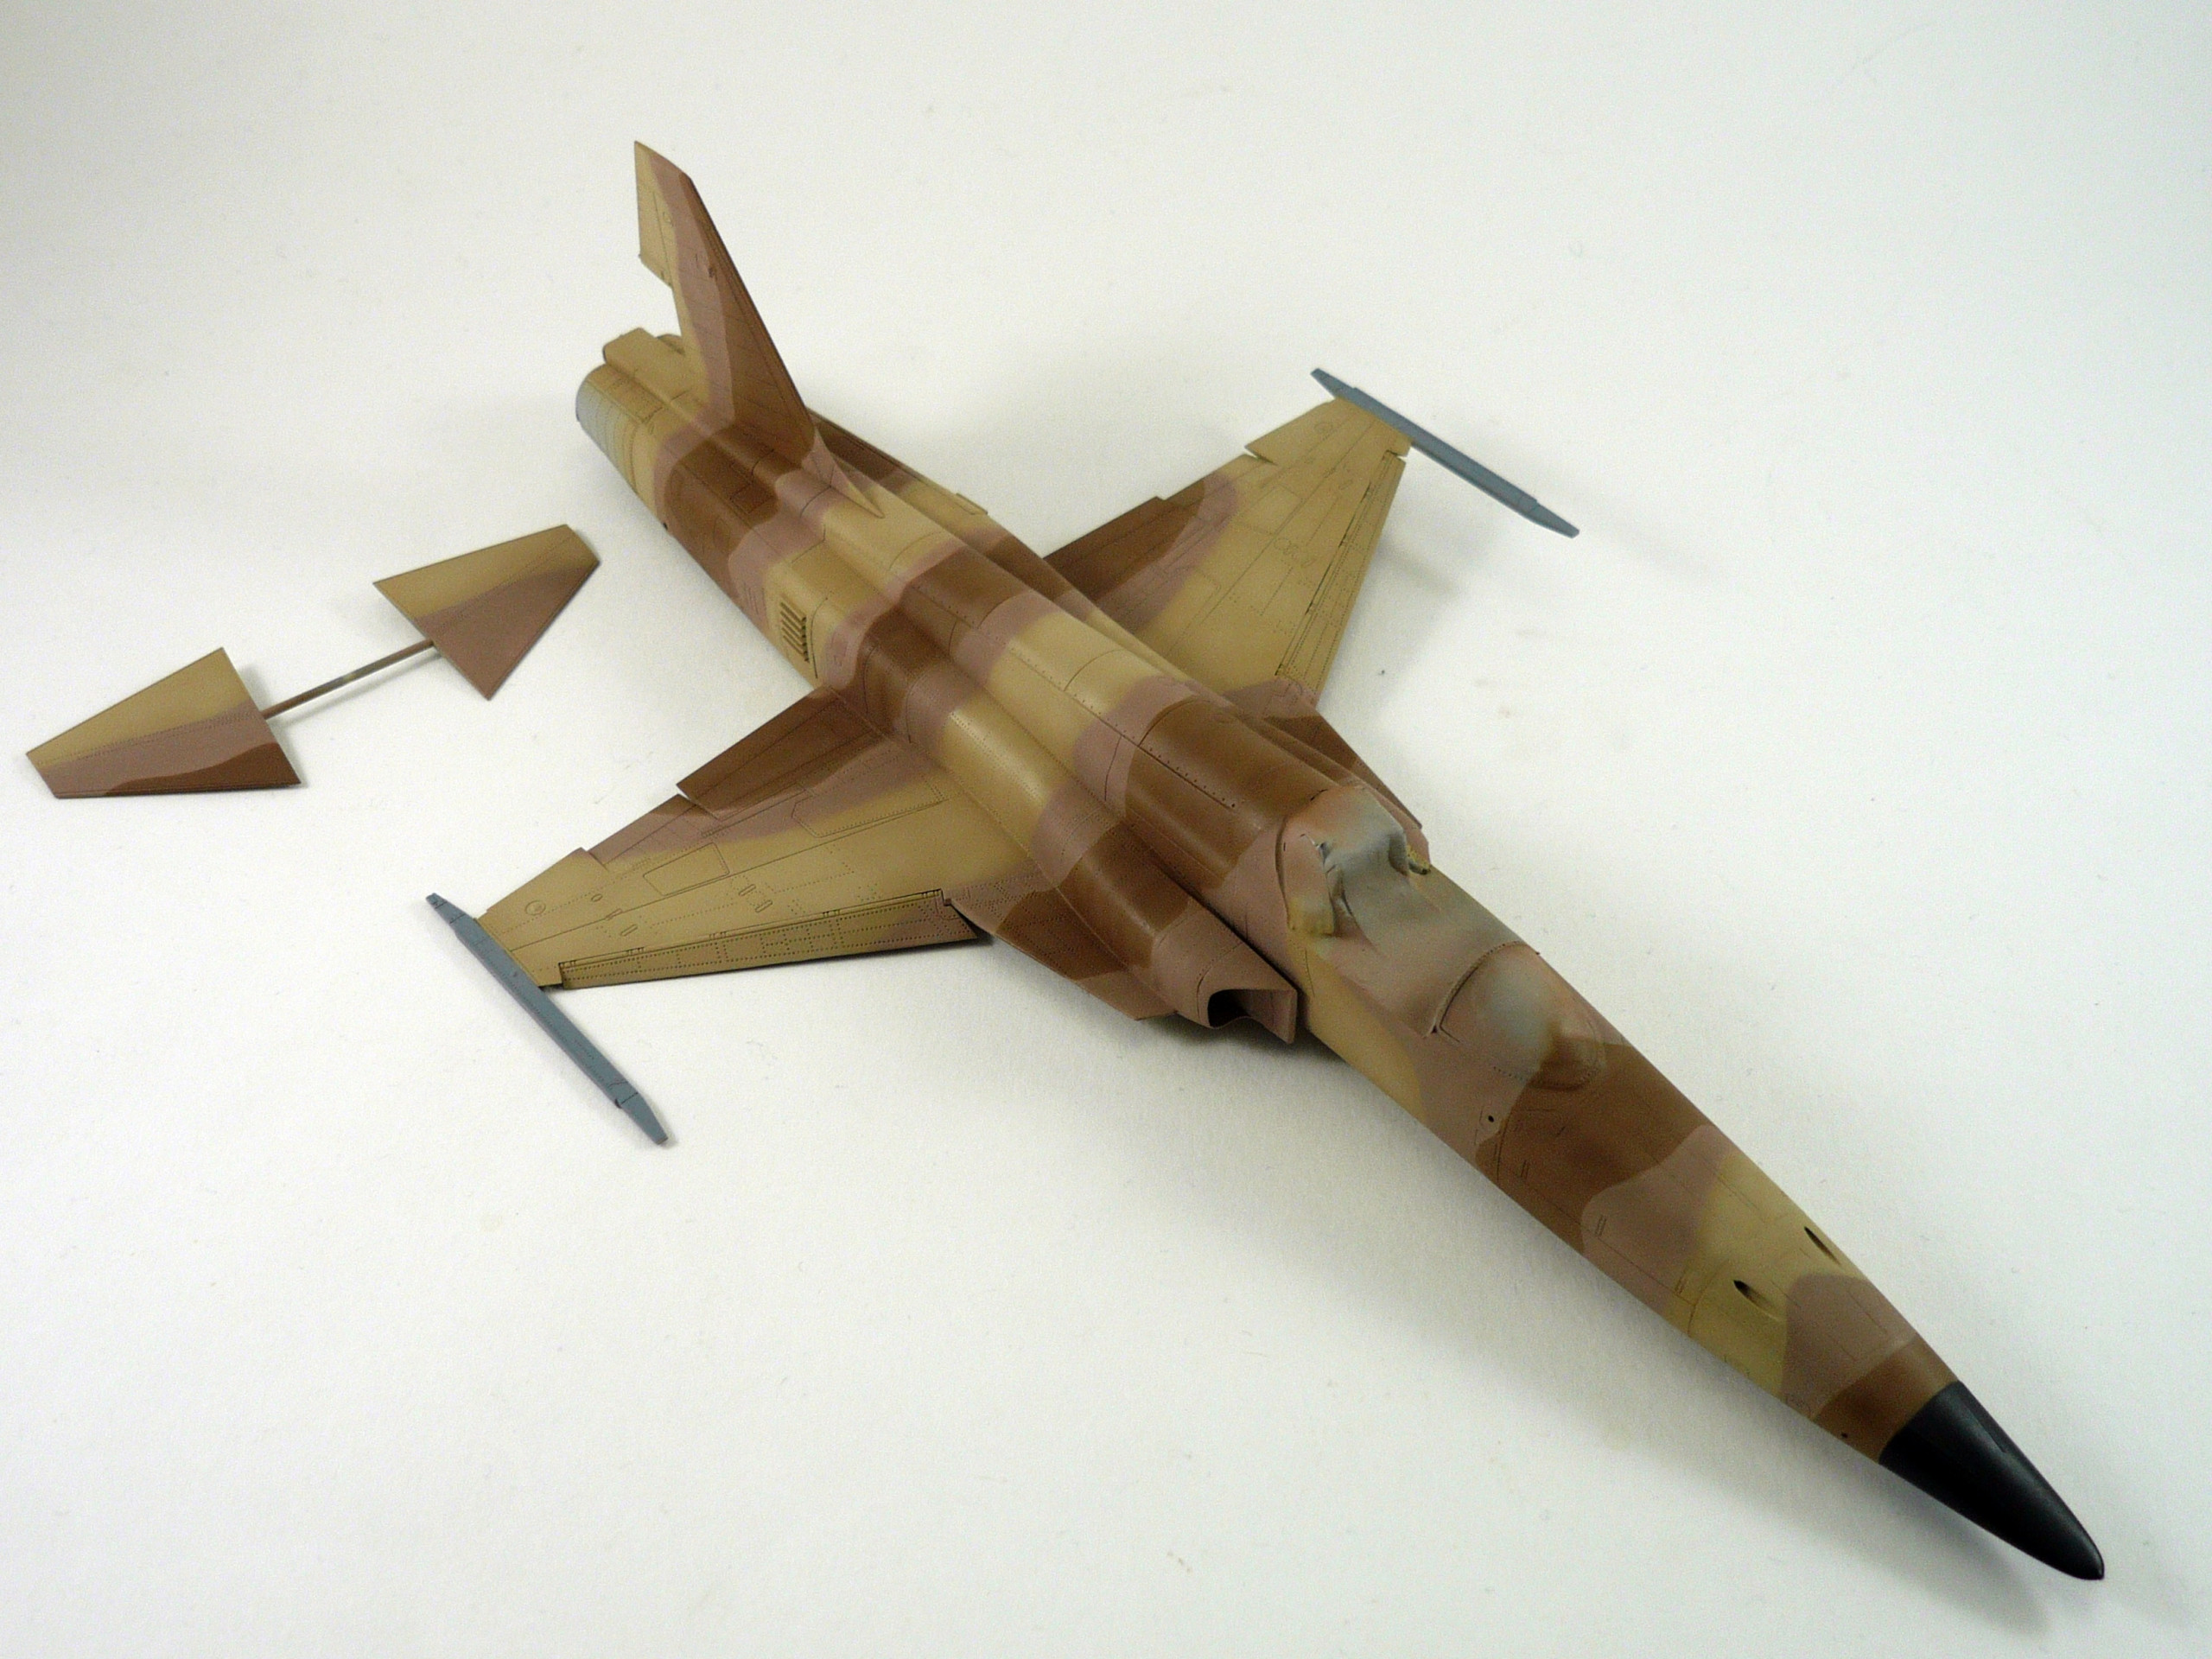
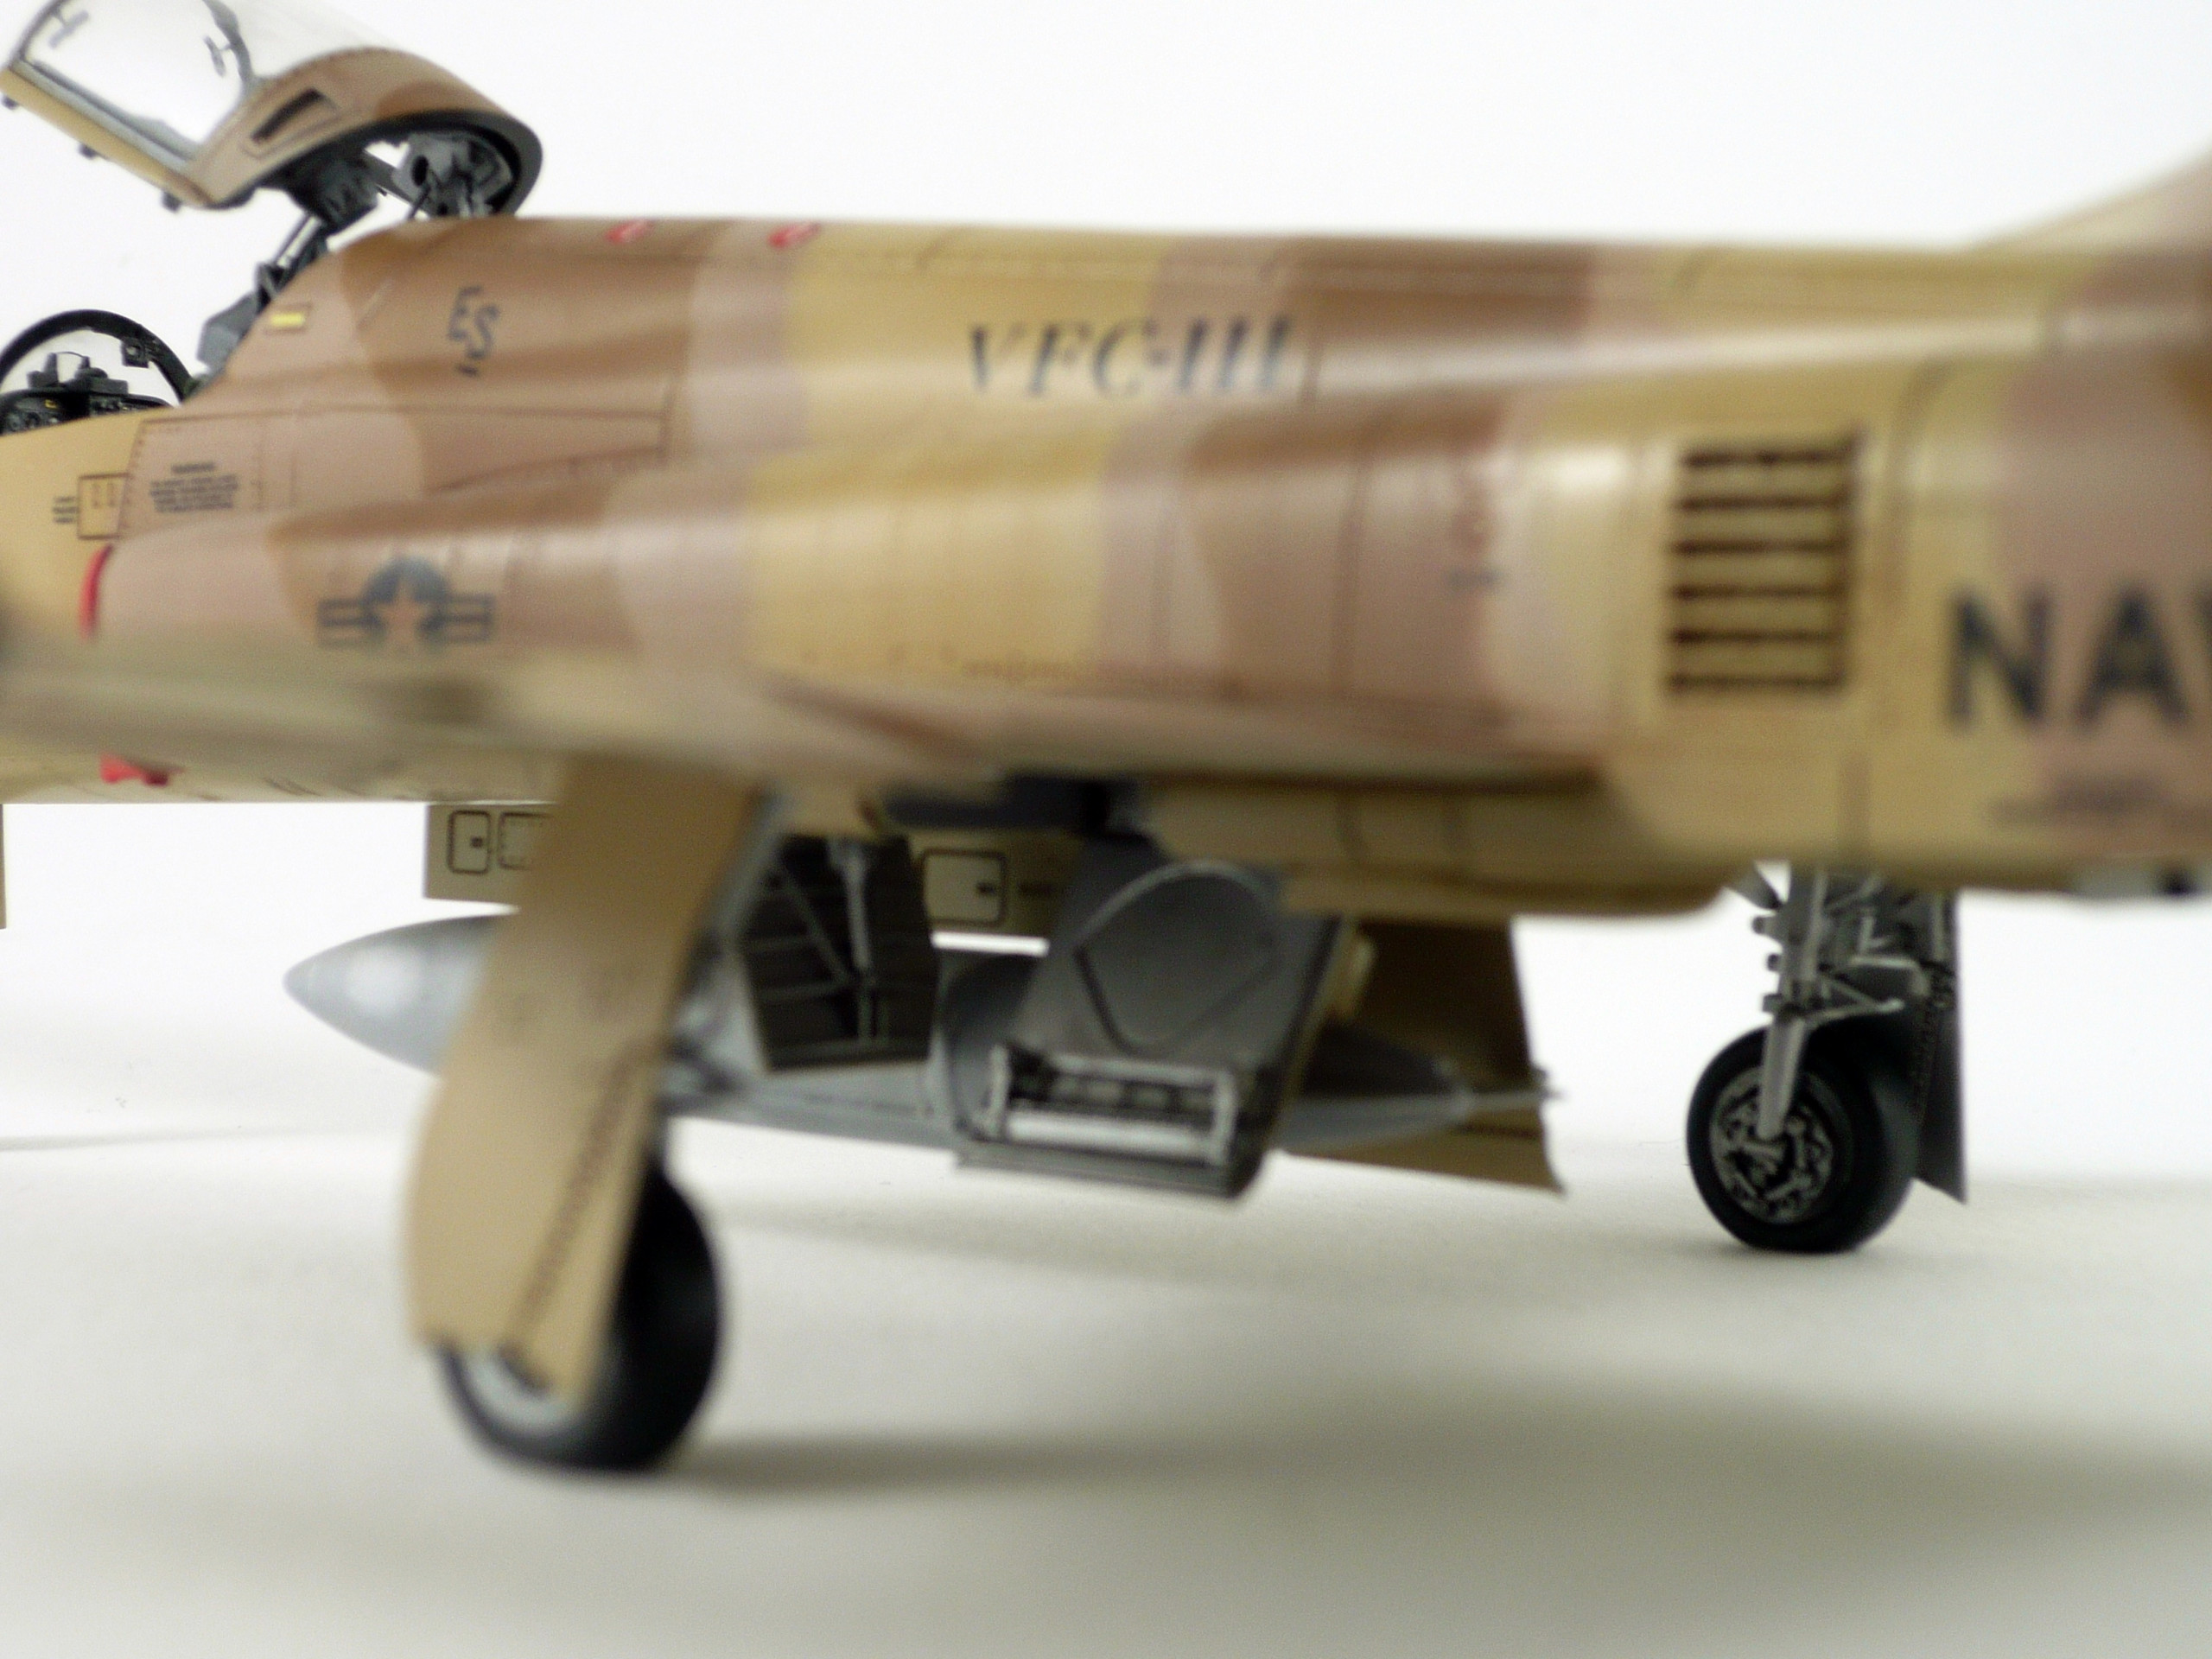
For the upper surfaces and the other 2 colors of the cammo pattern I used Mr Hobby’s/Tamiya colors in various mixings and ratios…For the lighter color (very light brown) I used XF-52 flat earth as the basic color and added some drops of XF-2 flat white and XF-7 flat red. The ratio approximately is 10/6/1. For highlighting the color I added some drops of Tamiya’s XF-2 flat white (pic 10). For the brown color I used Mr Hobby’s H310 brown with some drops of XF-64 red brown to darken it. You could use H27 tan or add some drops of XF2 flat white to highlight the areas. (pic.6&7).
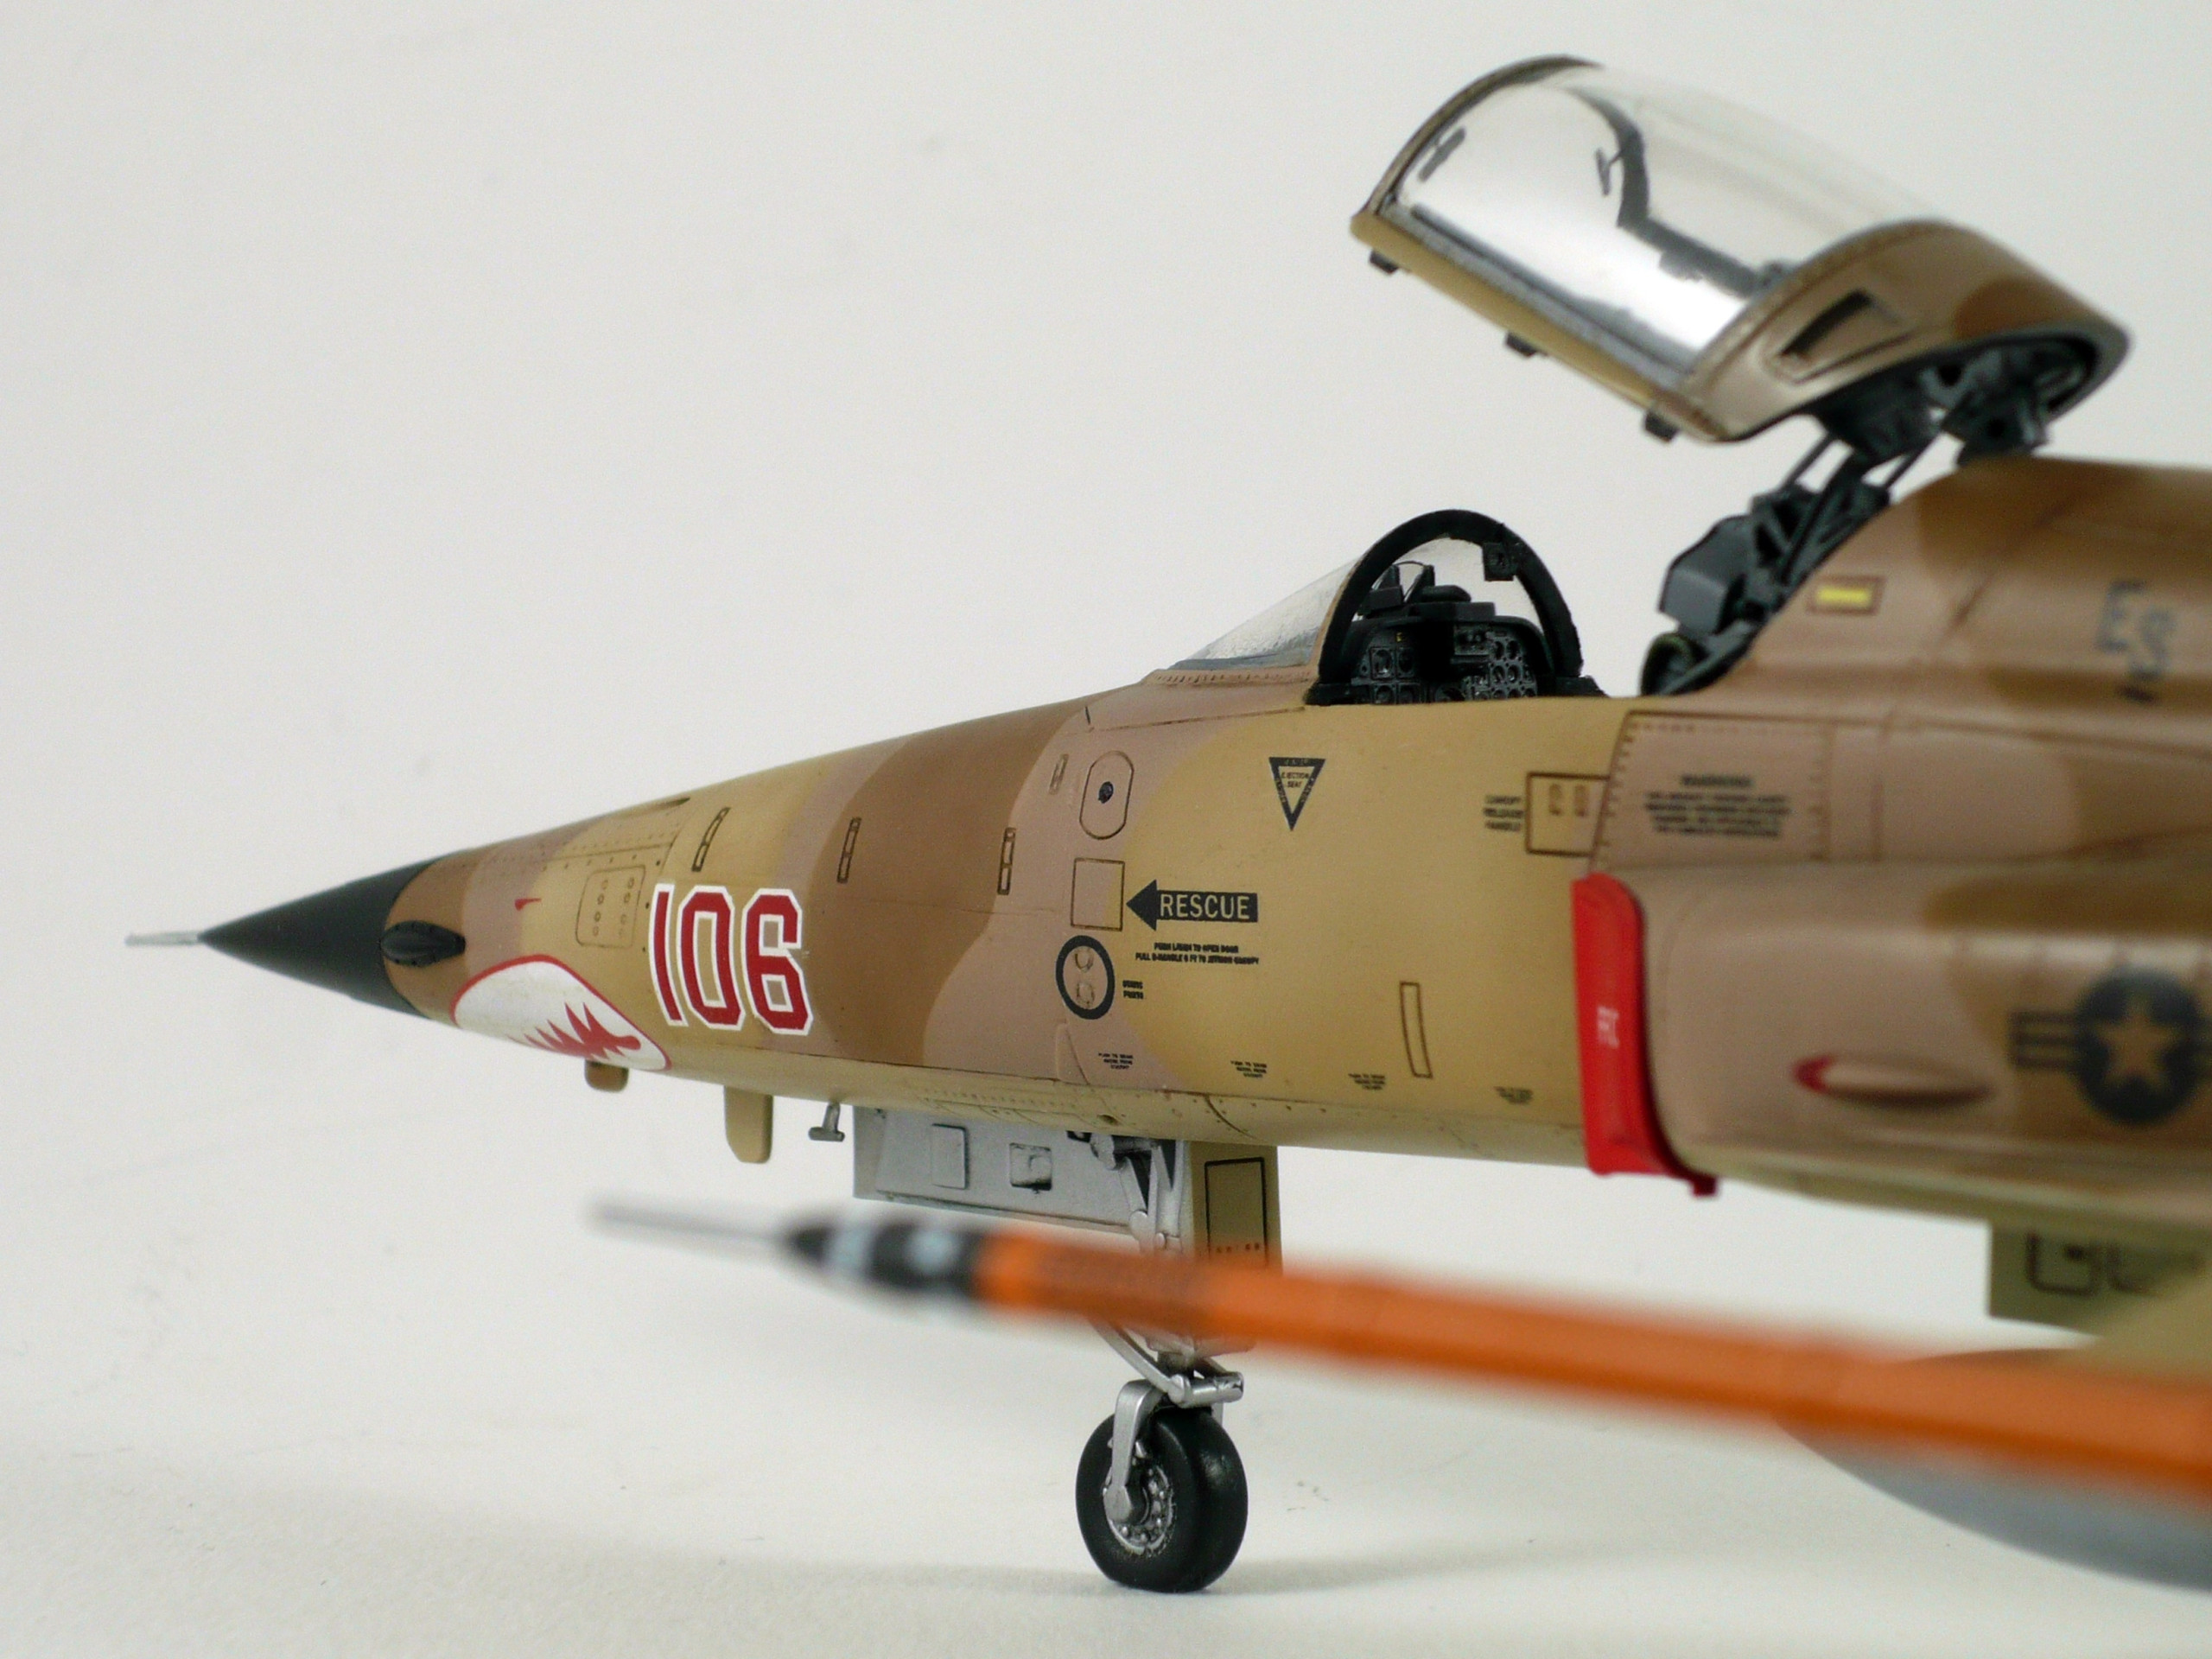
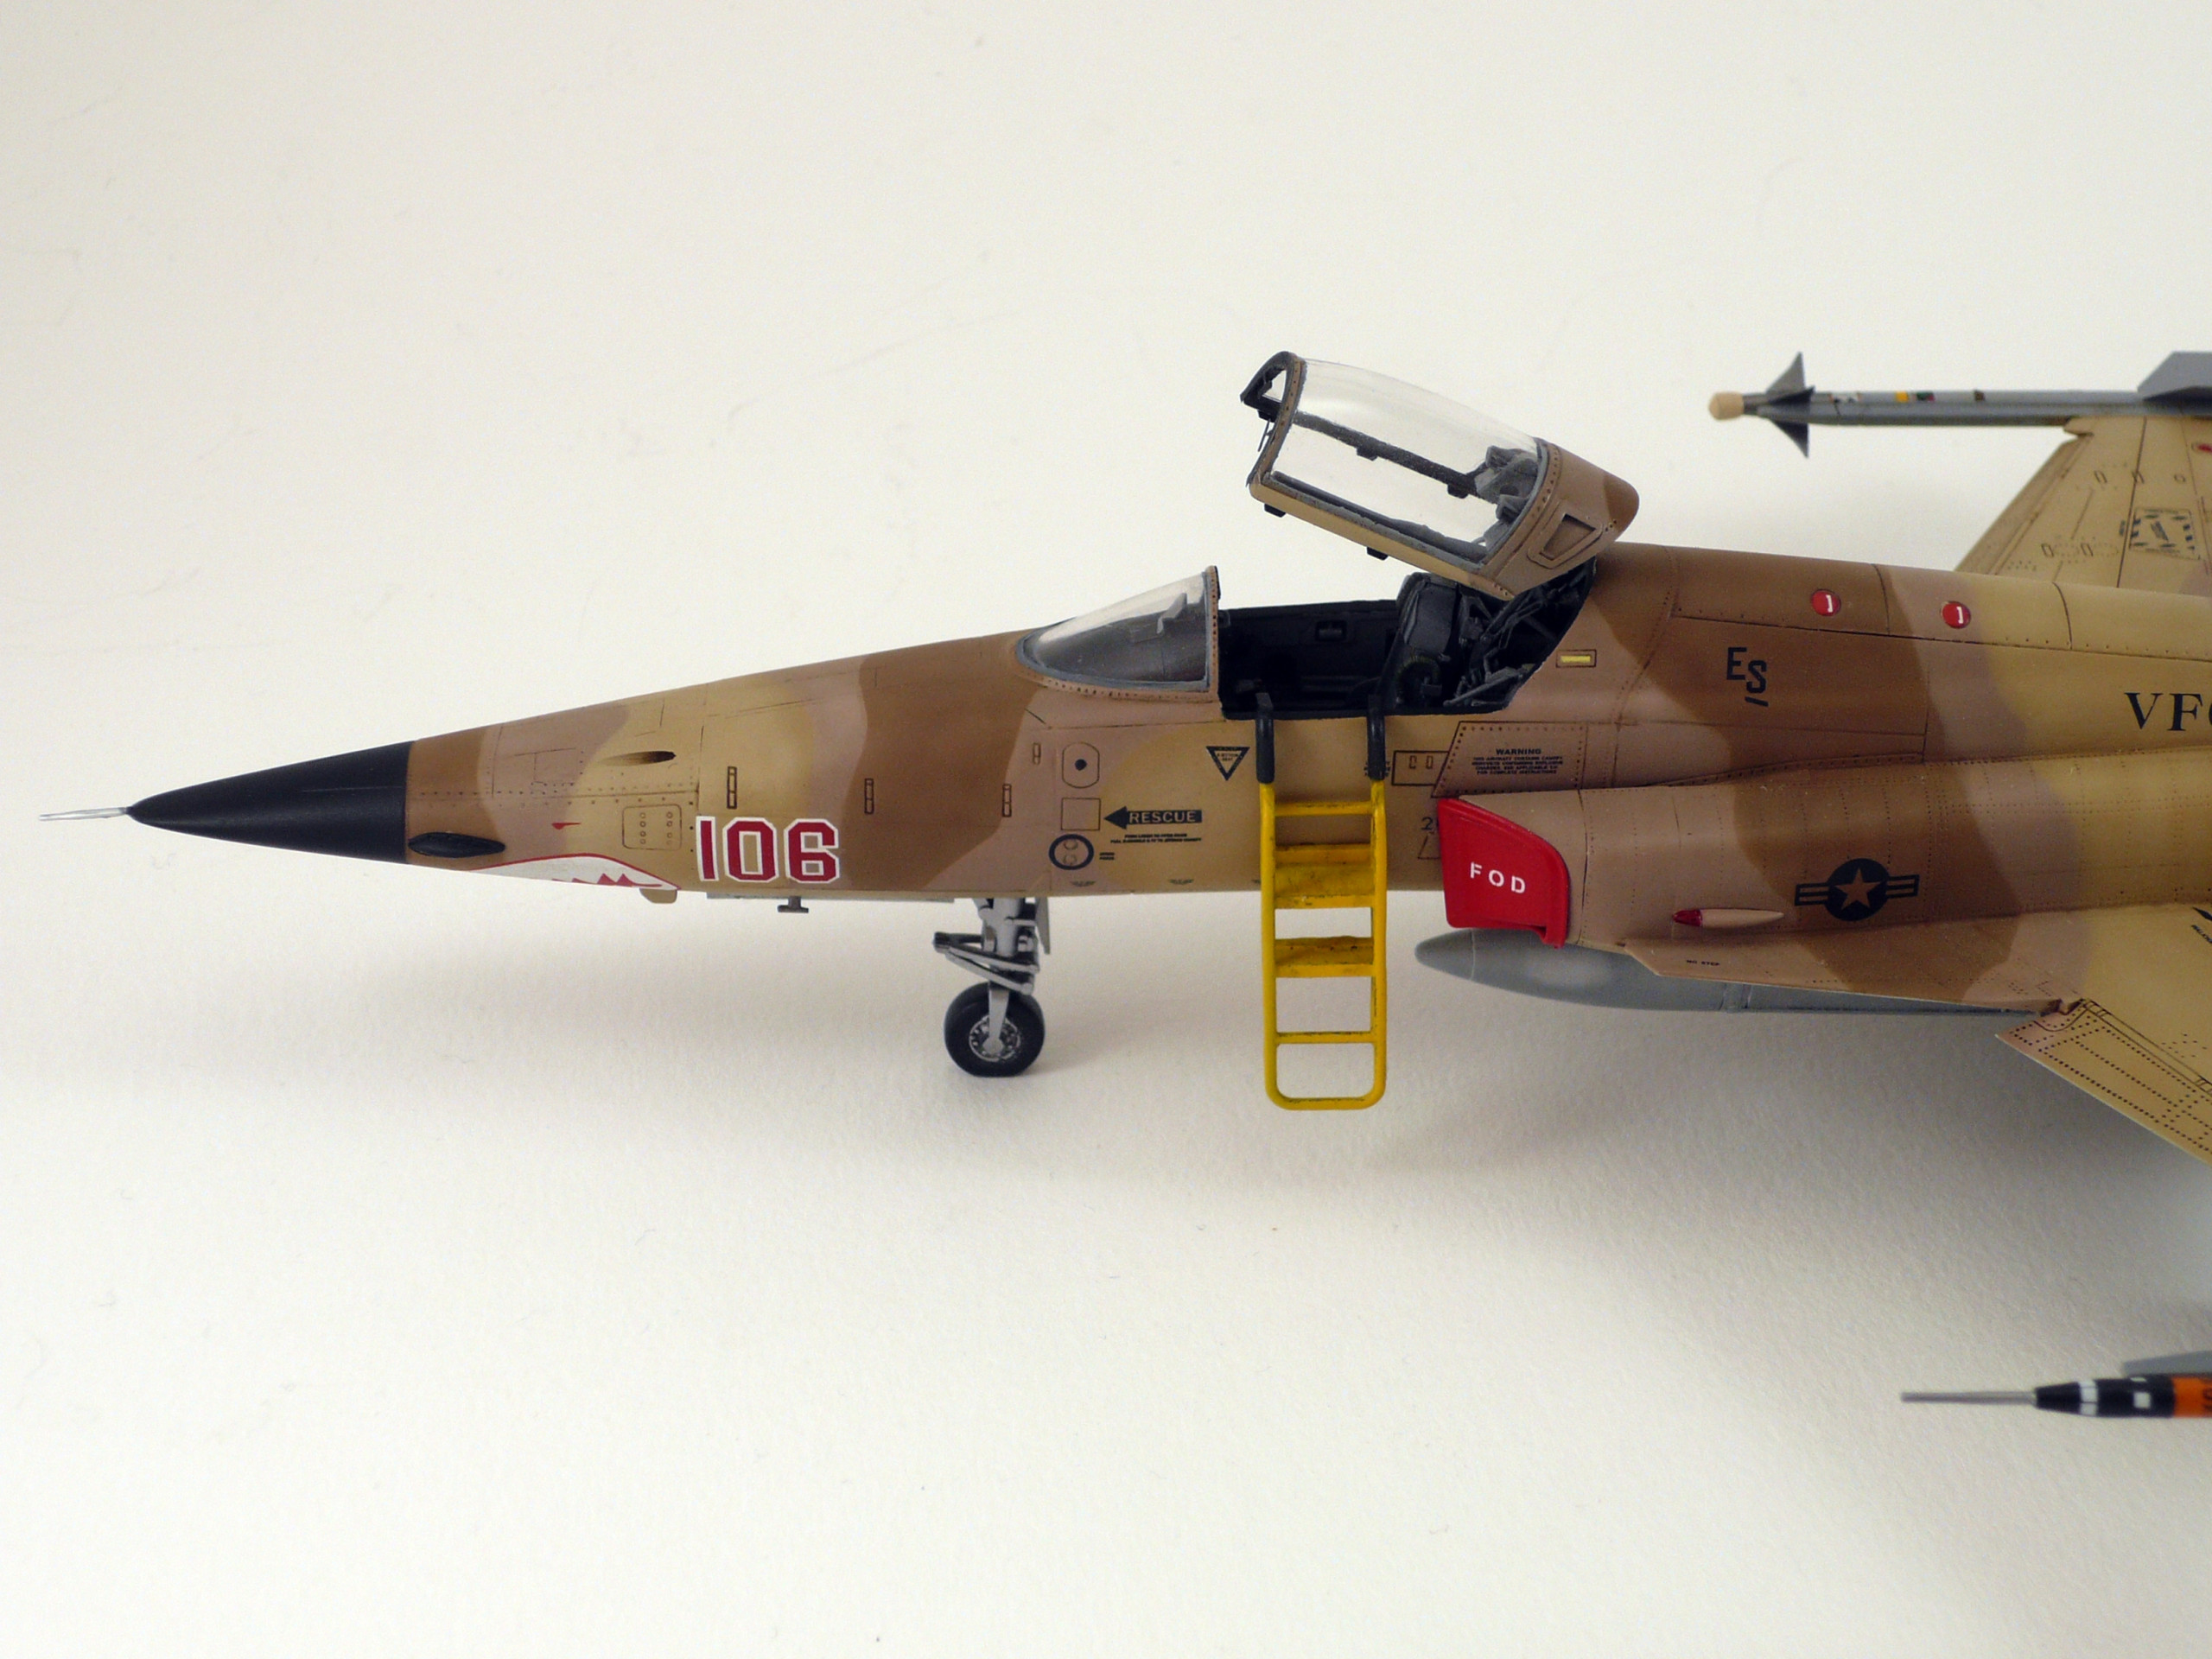
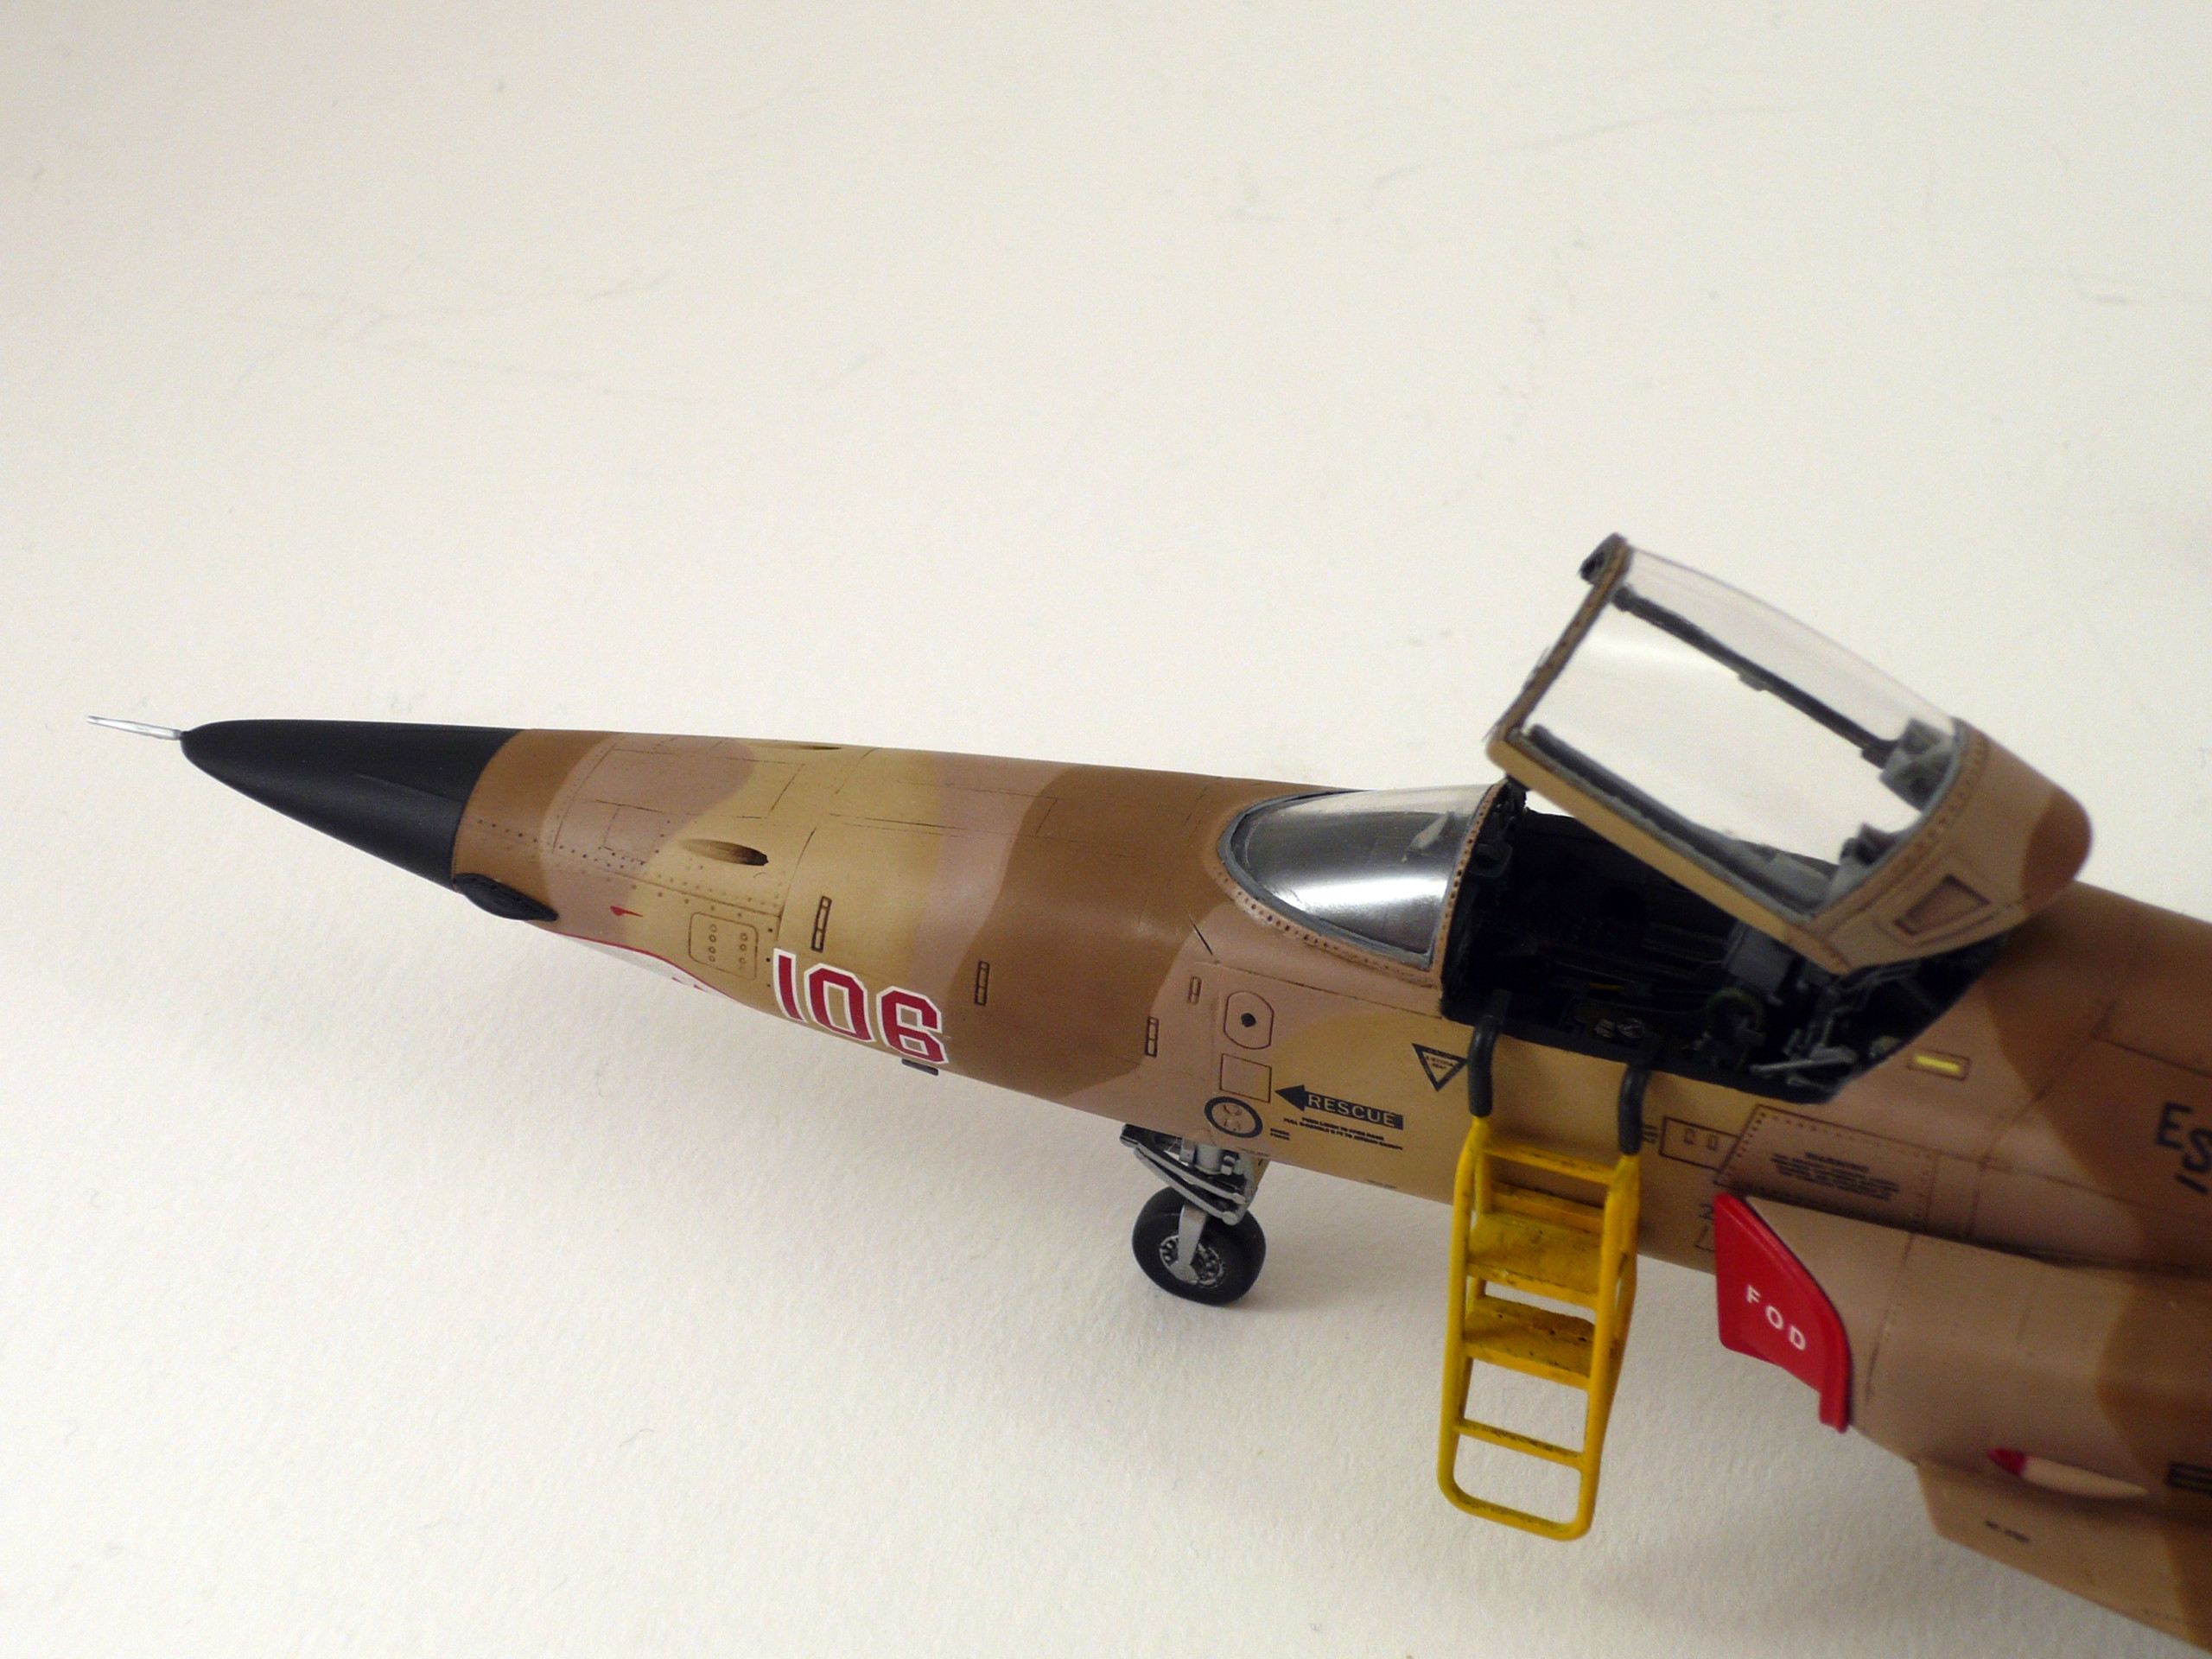
The radome painted using Mig Ammo’s flat black and the dorsal fin’s white area painted with Mig Ammo’s flat white.
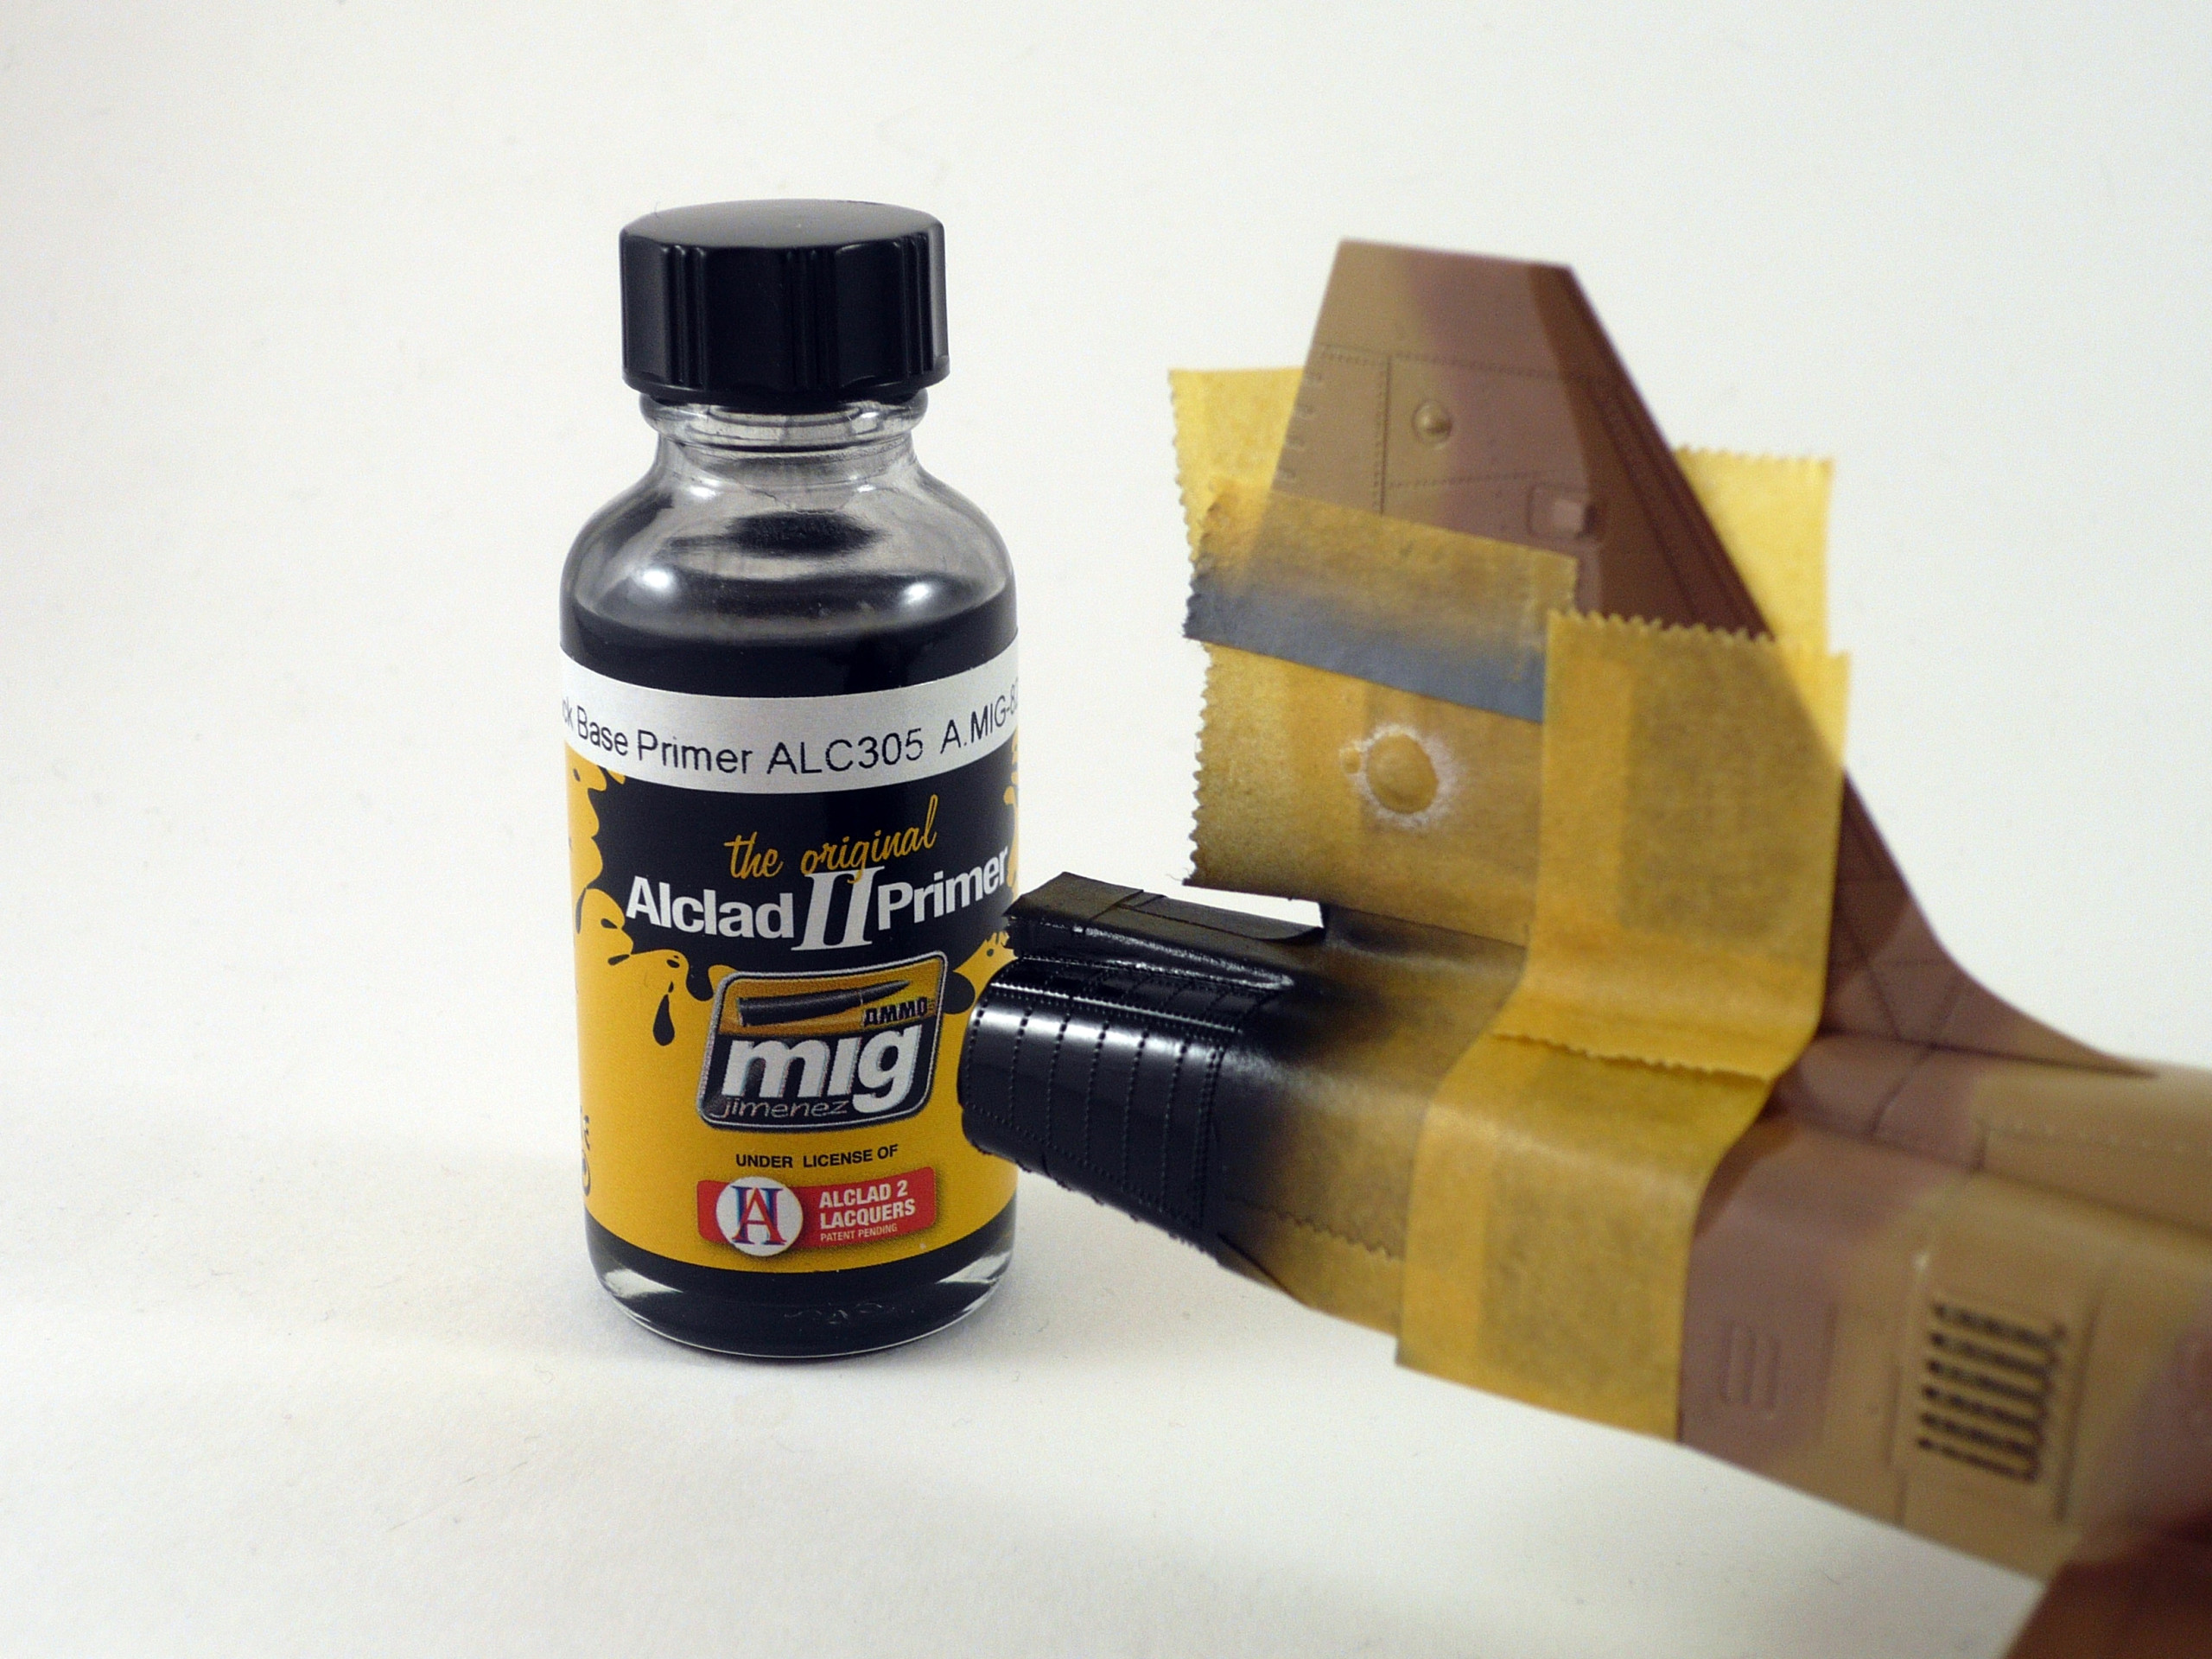
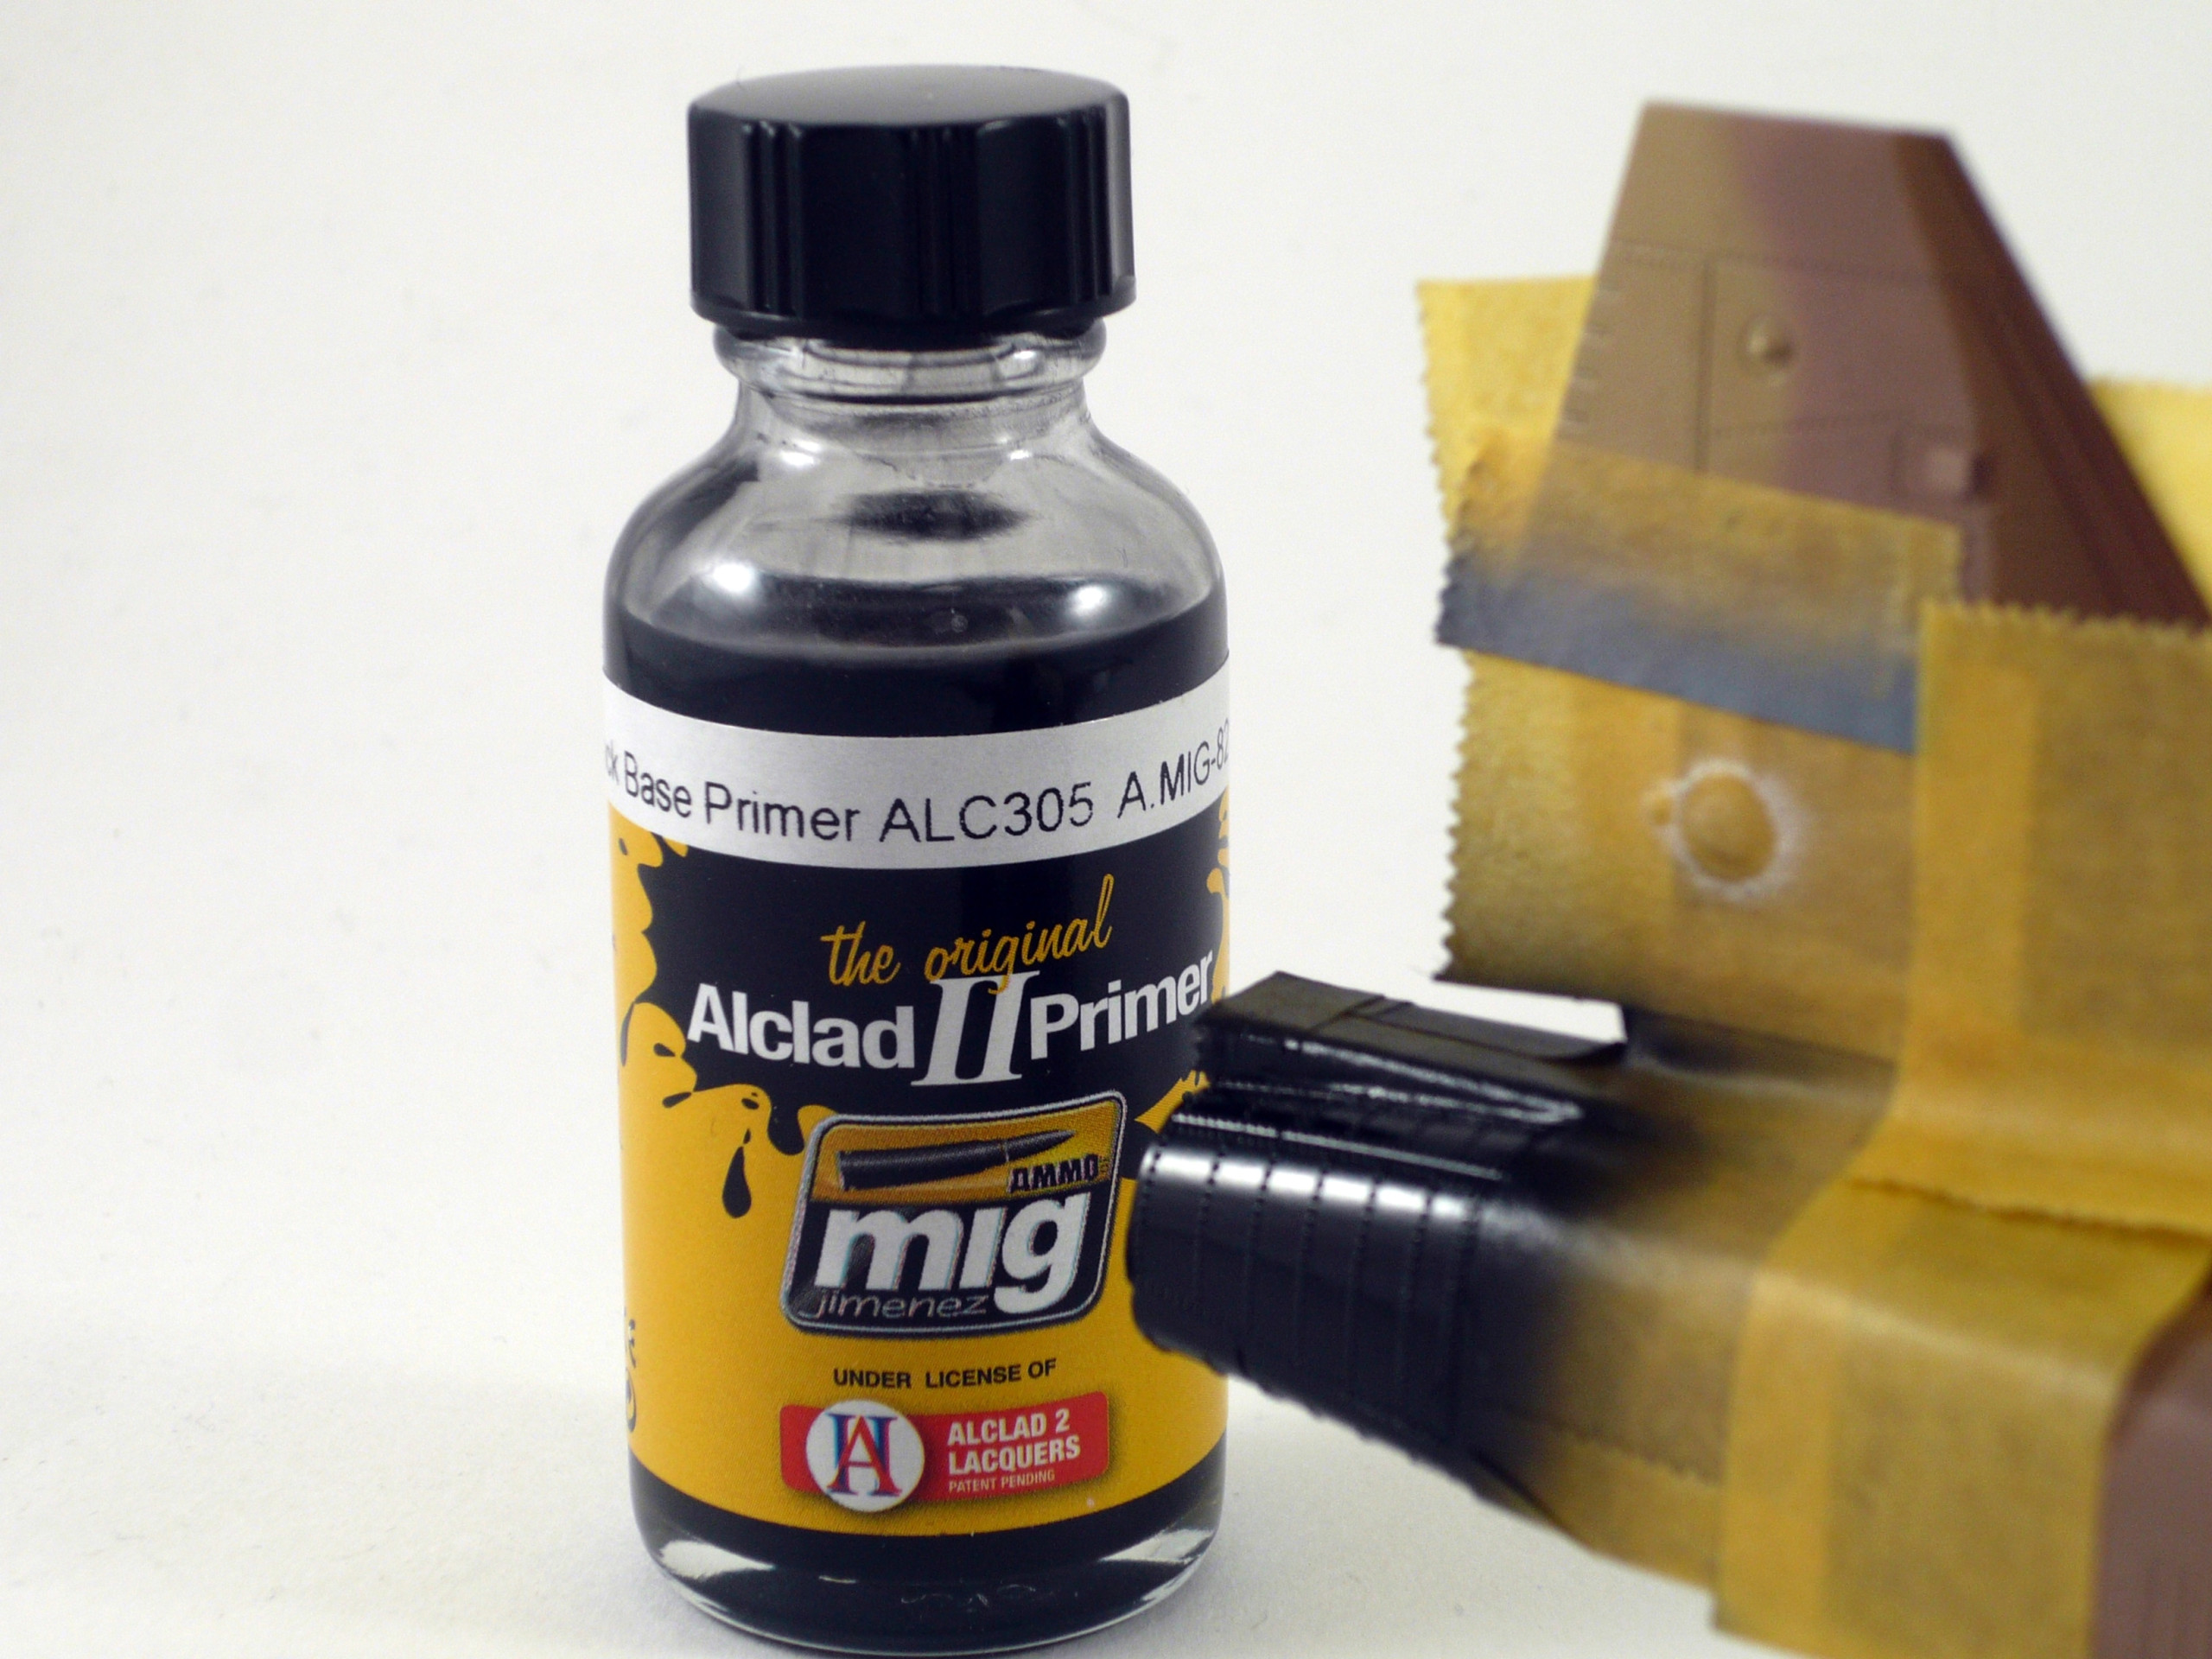
Then we proceed to the metal area’s of the model. First we sprayed the Mig Ammo/Aclad Black Base Primer. It’s an excellent material but you have to give it some days to dry before spraying metal colors. In other case you will leave fingerprints and destroy your effort (pic.8&9).
After the primer is dried, we spray Mig Ammo/Alclad’s Aluminum (pic.10) For the engine nozzles I used a mix of aluminum/dark aluminum in a 4/1 ratio. Then we weathered the areas using Tamiya’s weathering Set F (final pics)
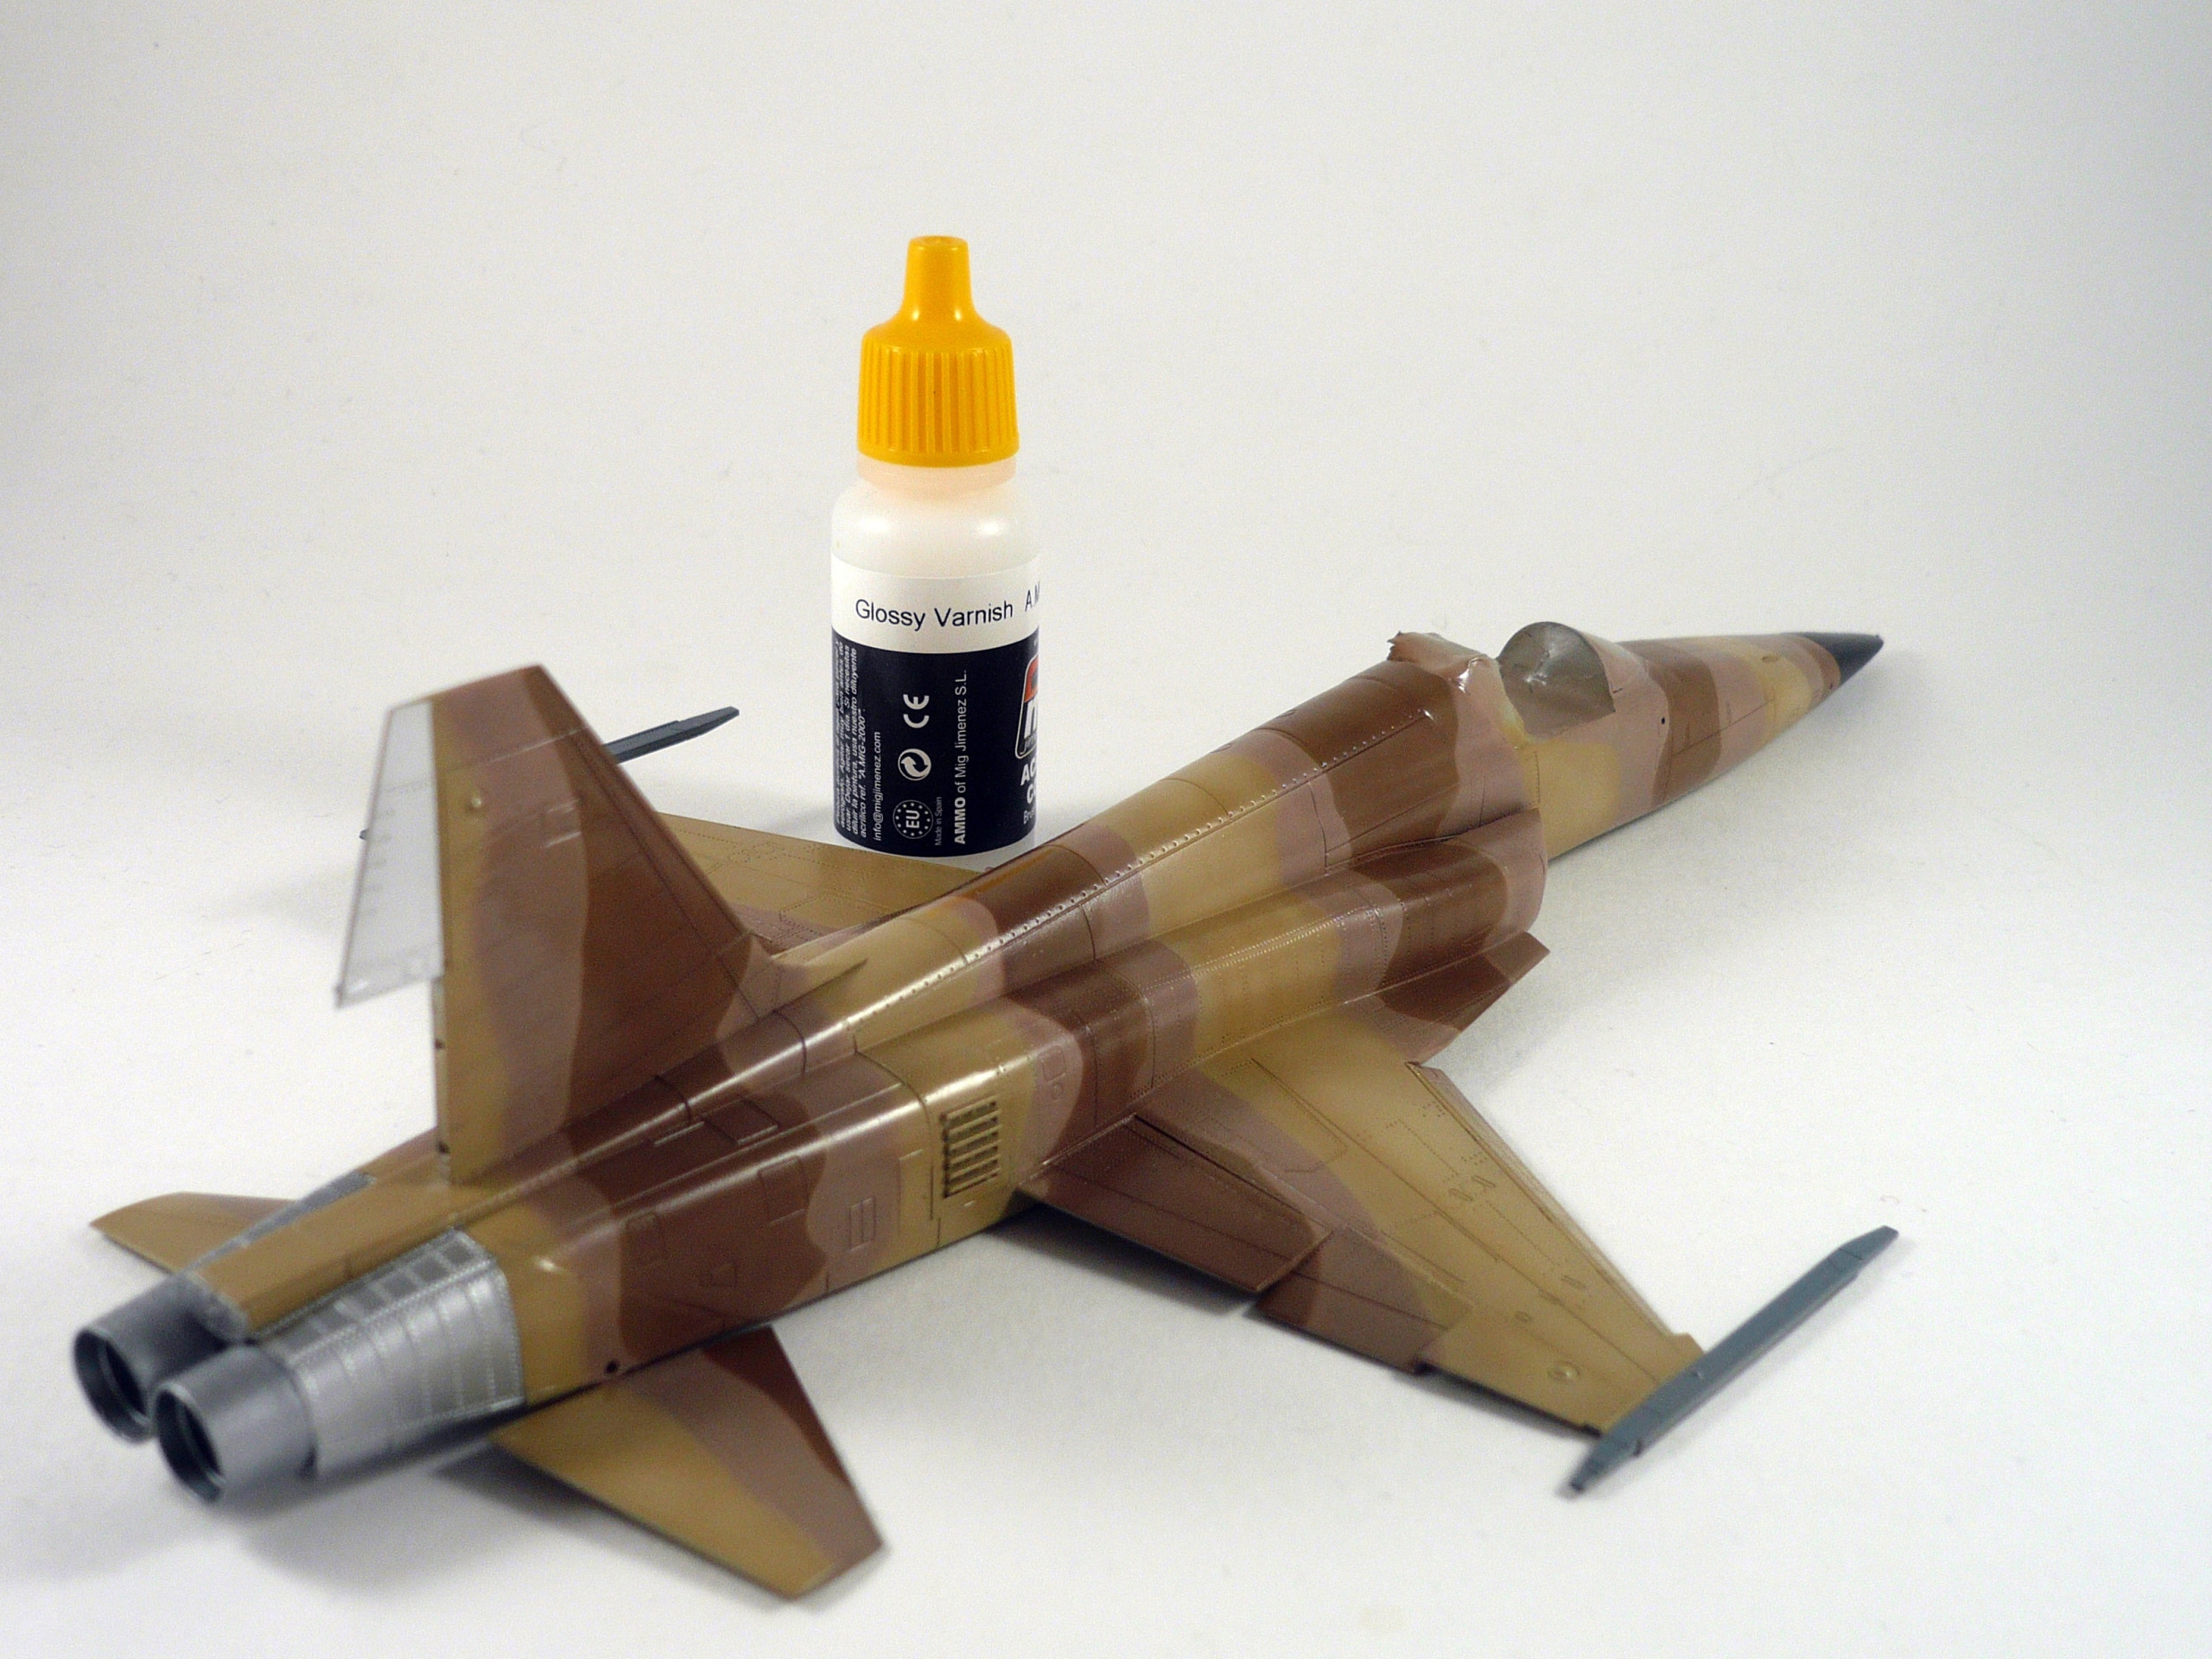
After the paint job finished I gave the whole model multiple coats of clear gloss varnish from Ammo range (pic.11)
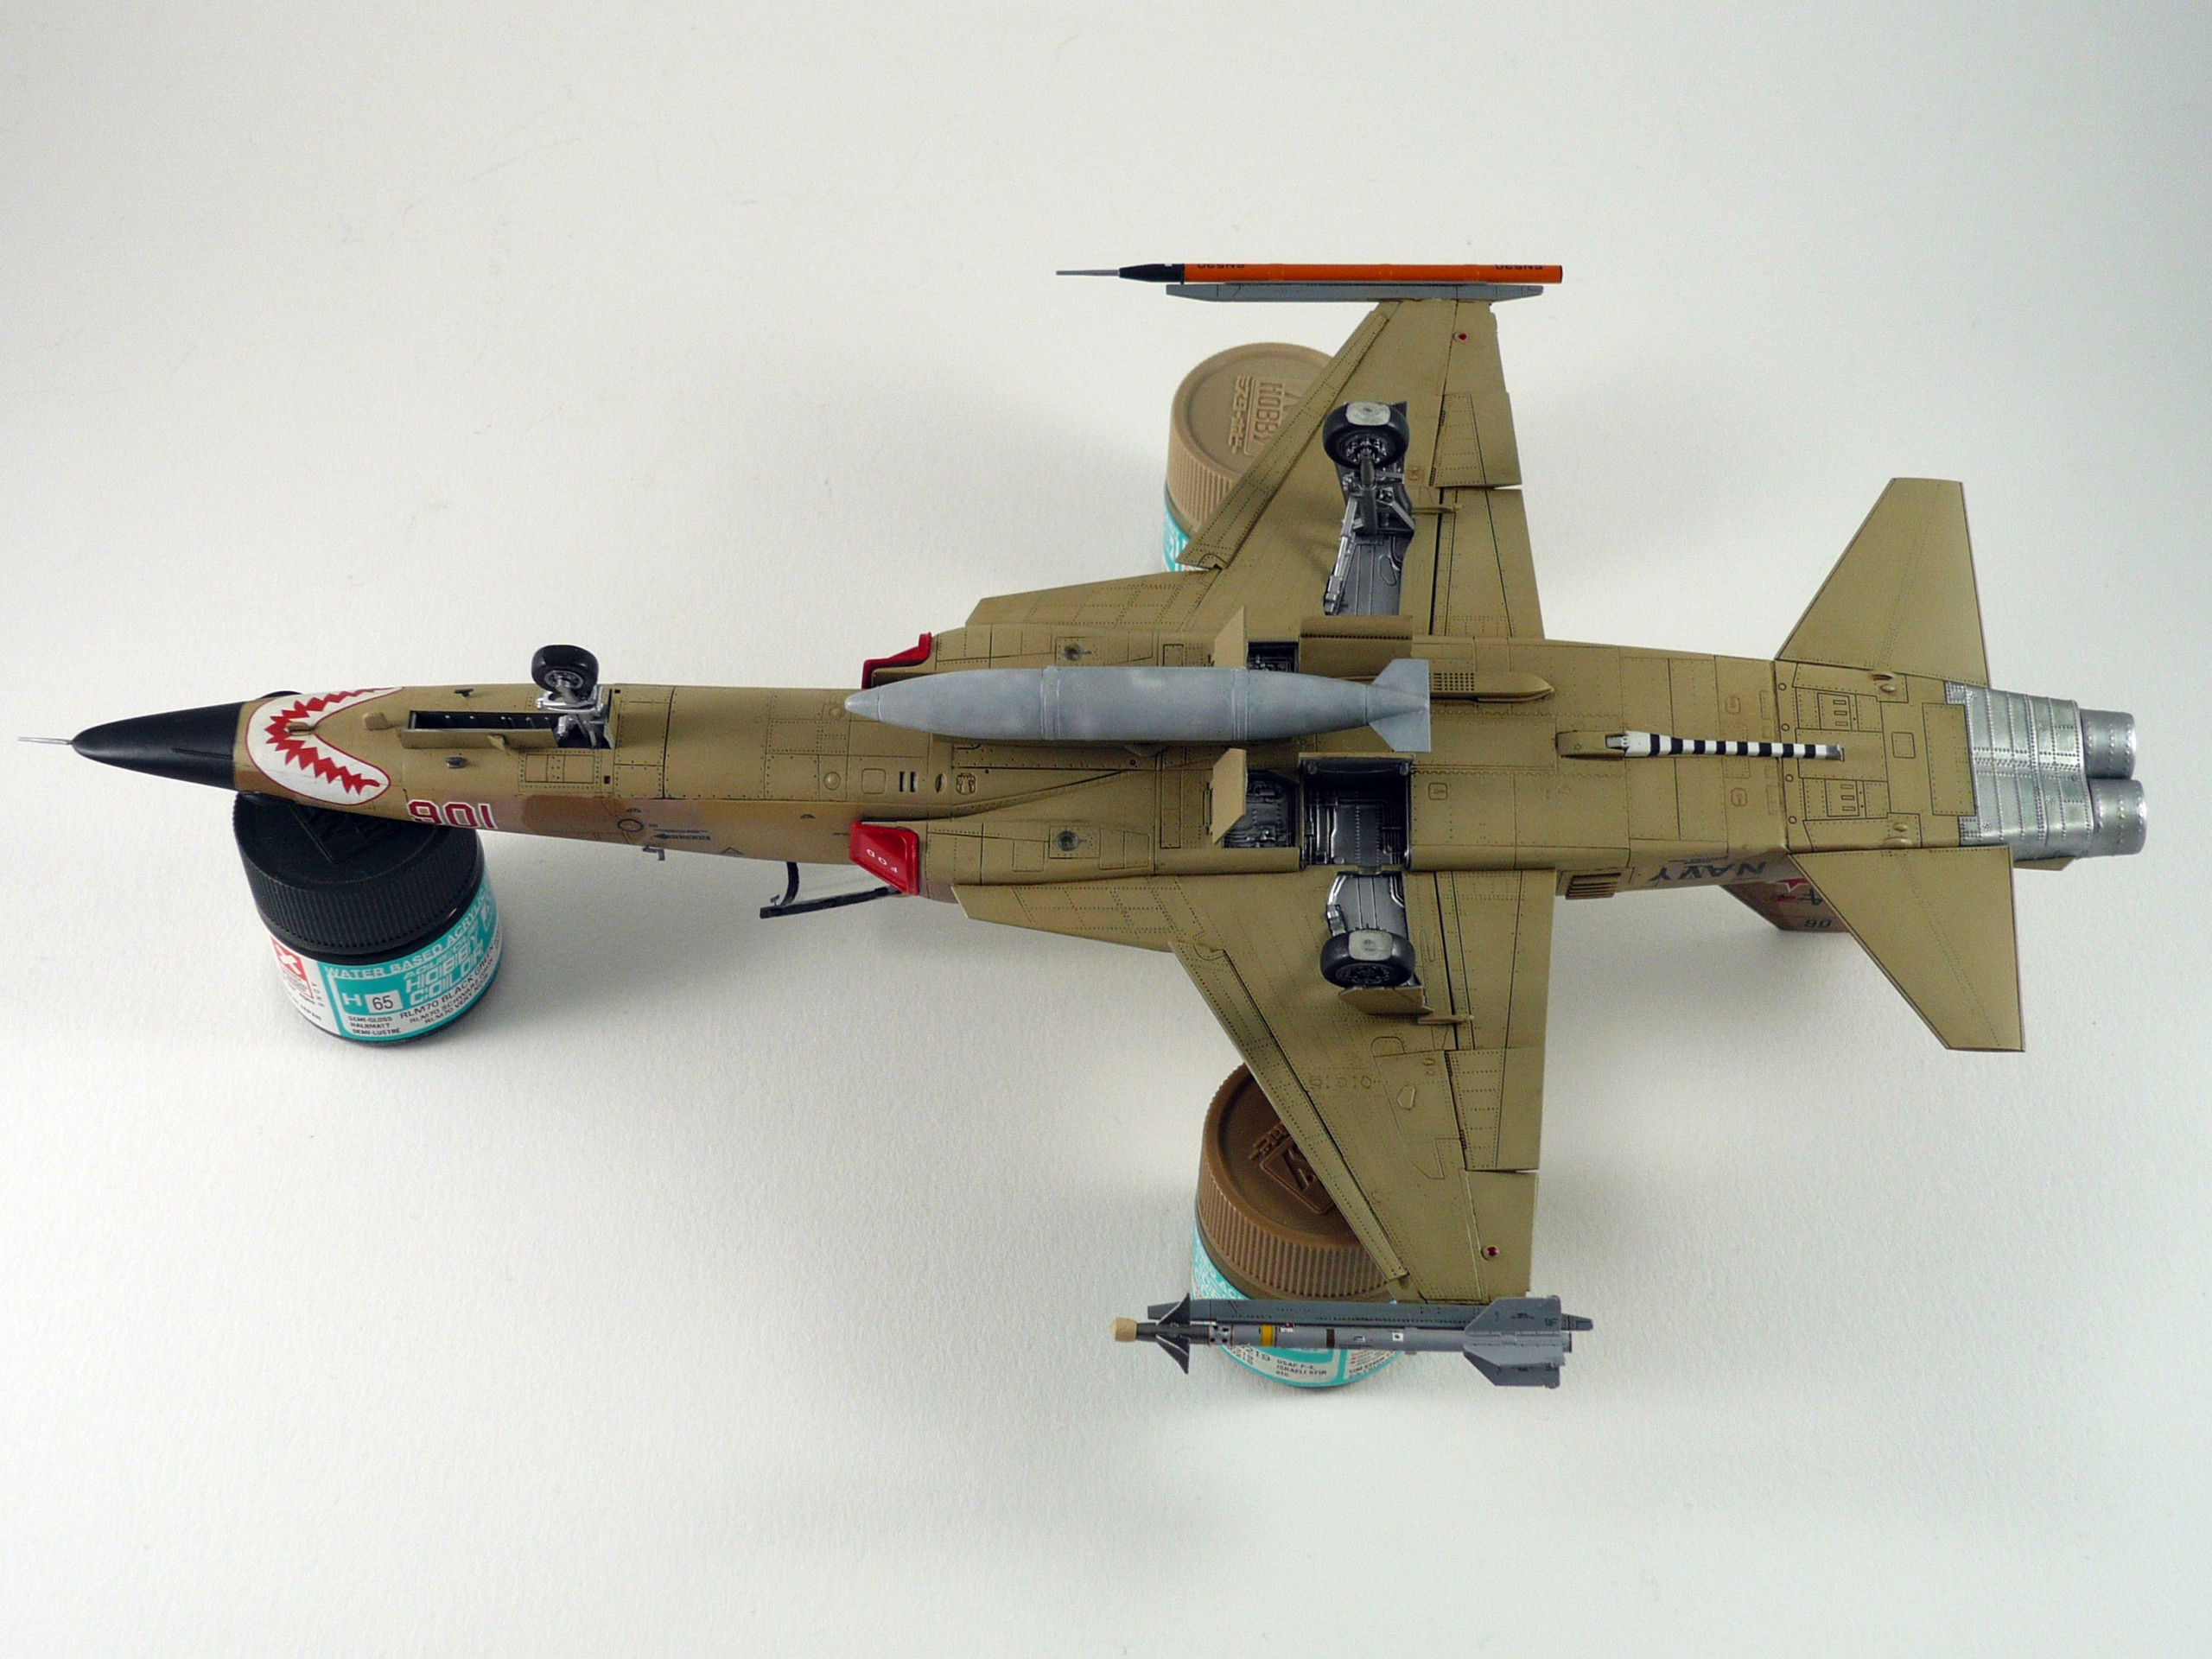
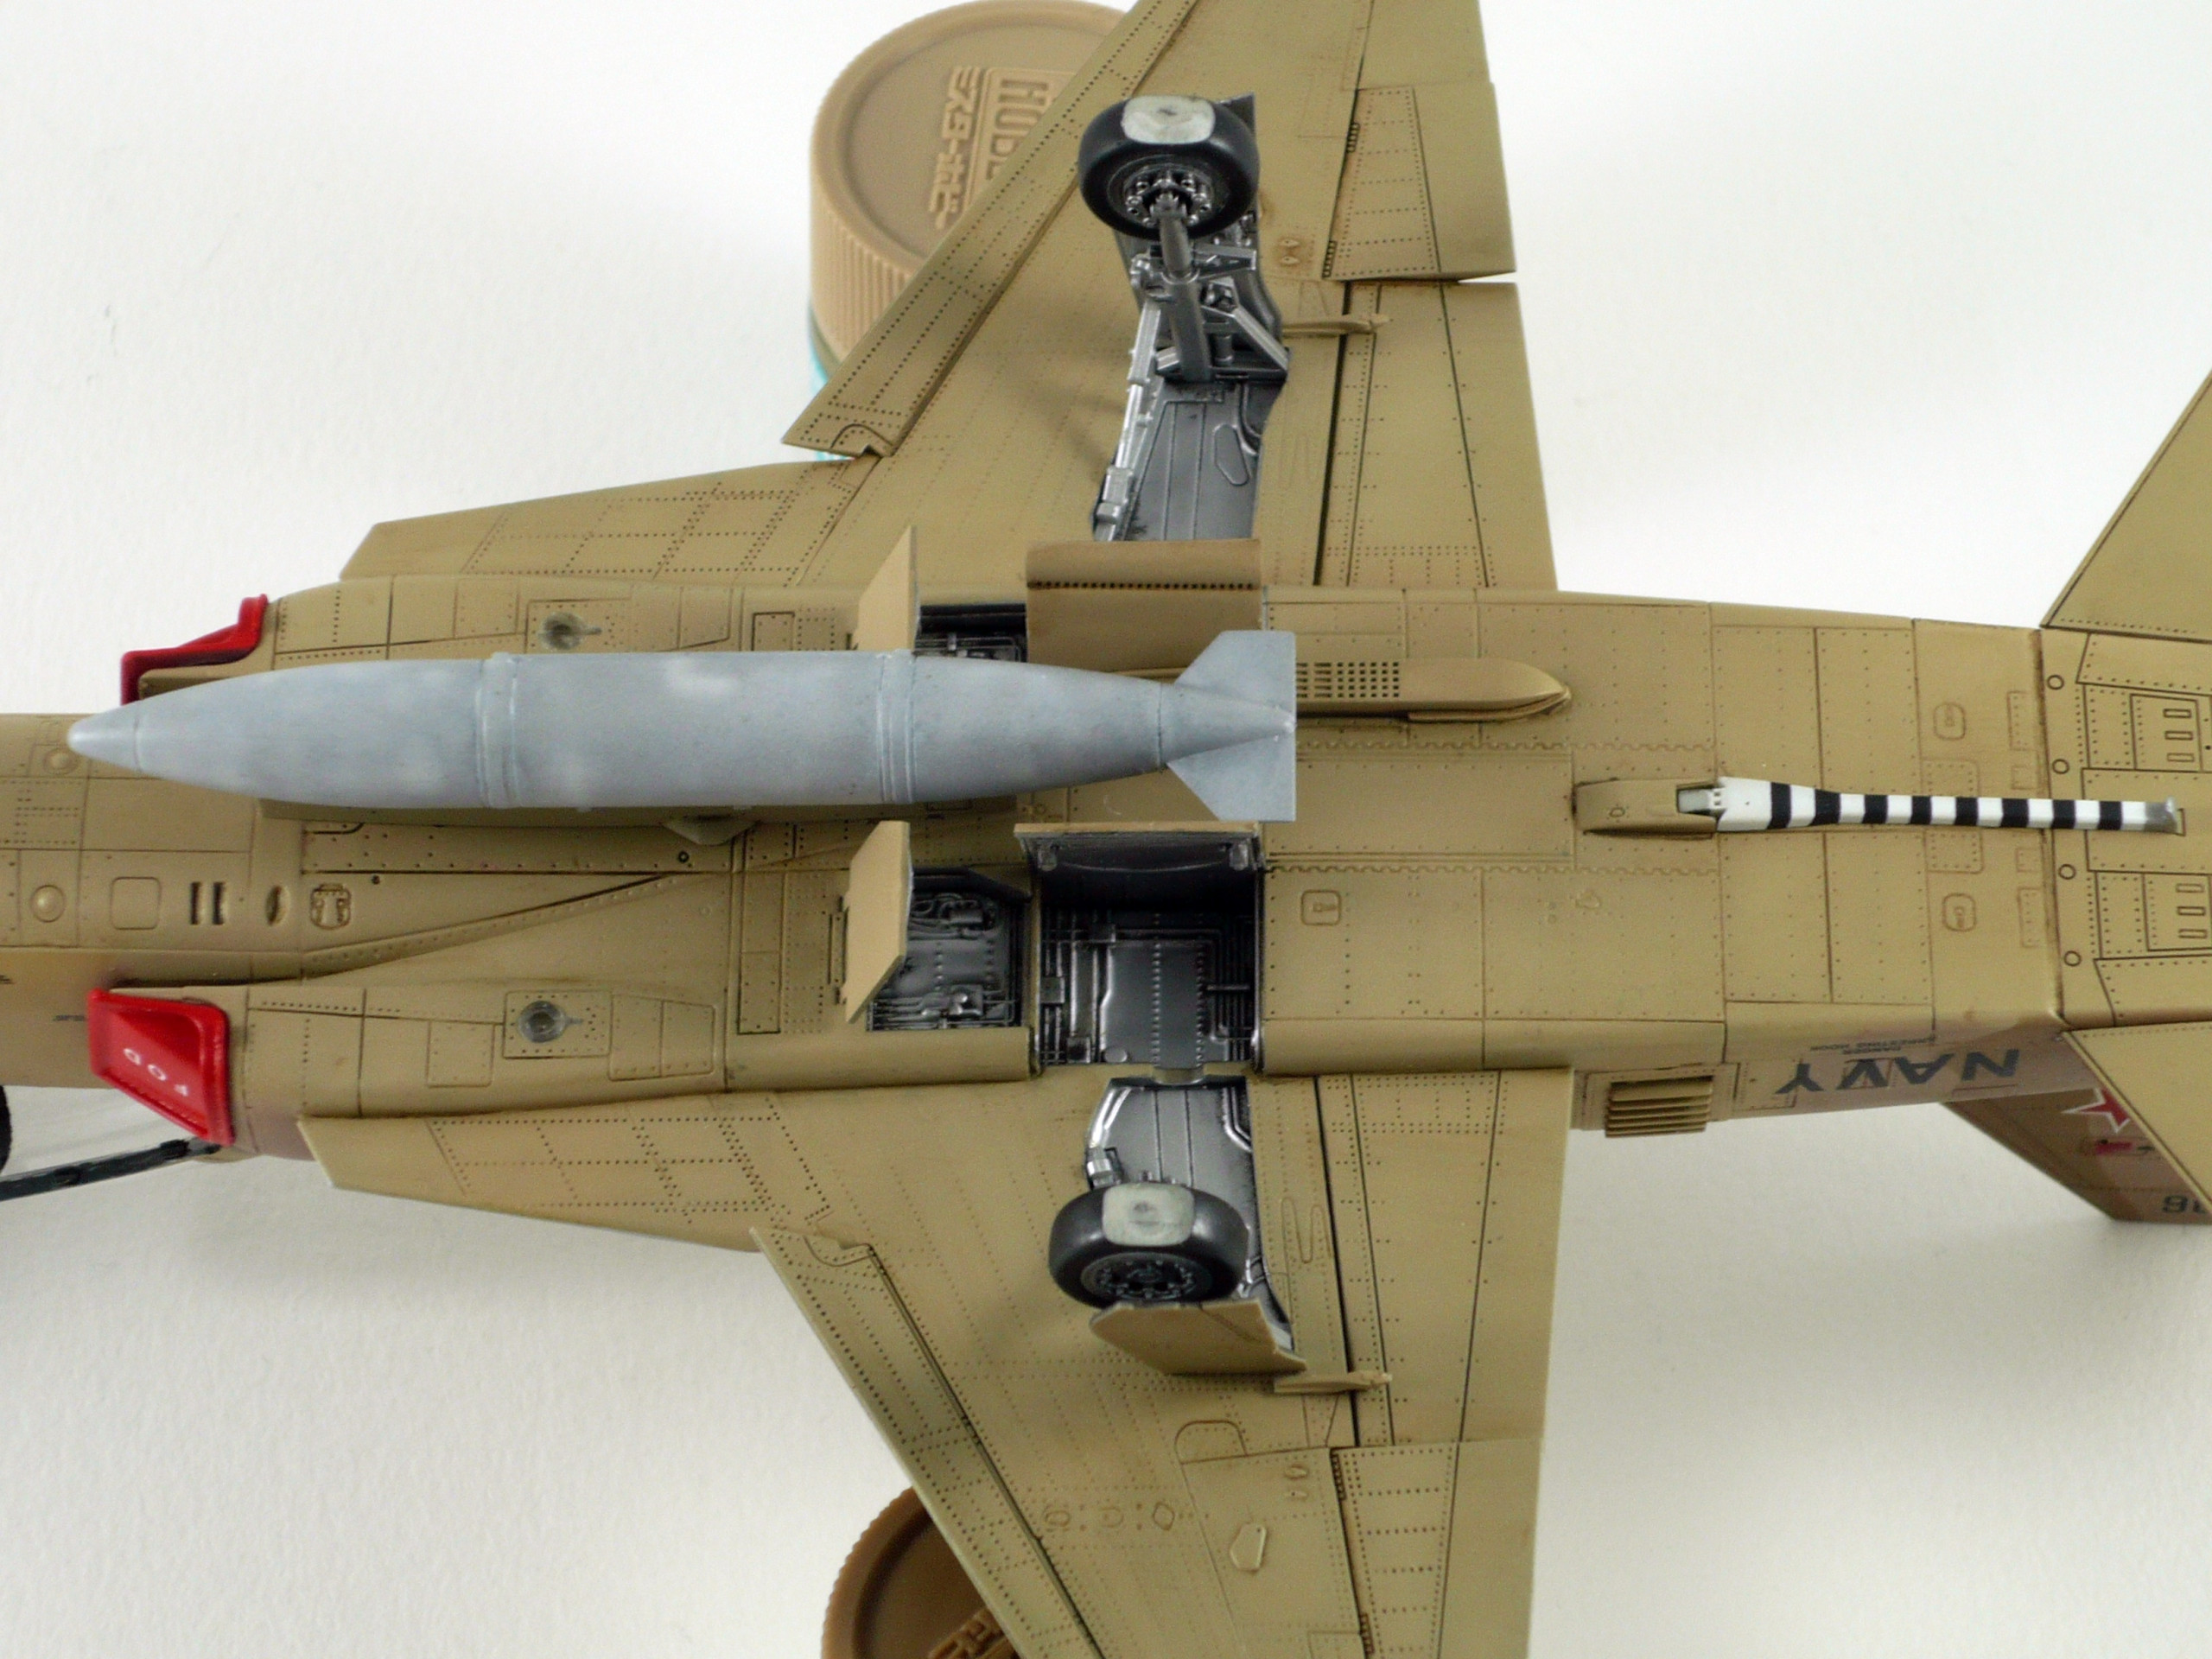
Then we took a break to fix the landing gear…After the black primer applied and dried, we sprayed the whole system by using Mig Ammo/Alclad’s Aluminum and polished aluminum for the suspensions. The wheels sprayed with Alclad aluminum and Mig Ammo Rubber black. We weathered the landing gear using Mig ammo PLW Black night wash.
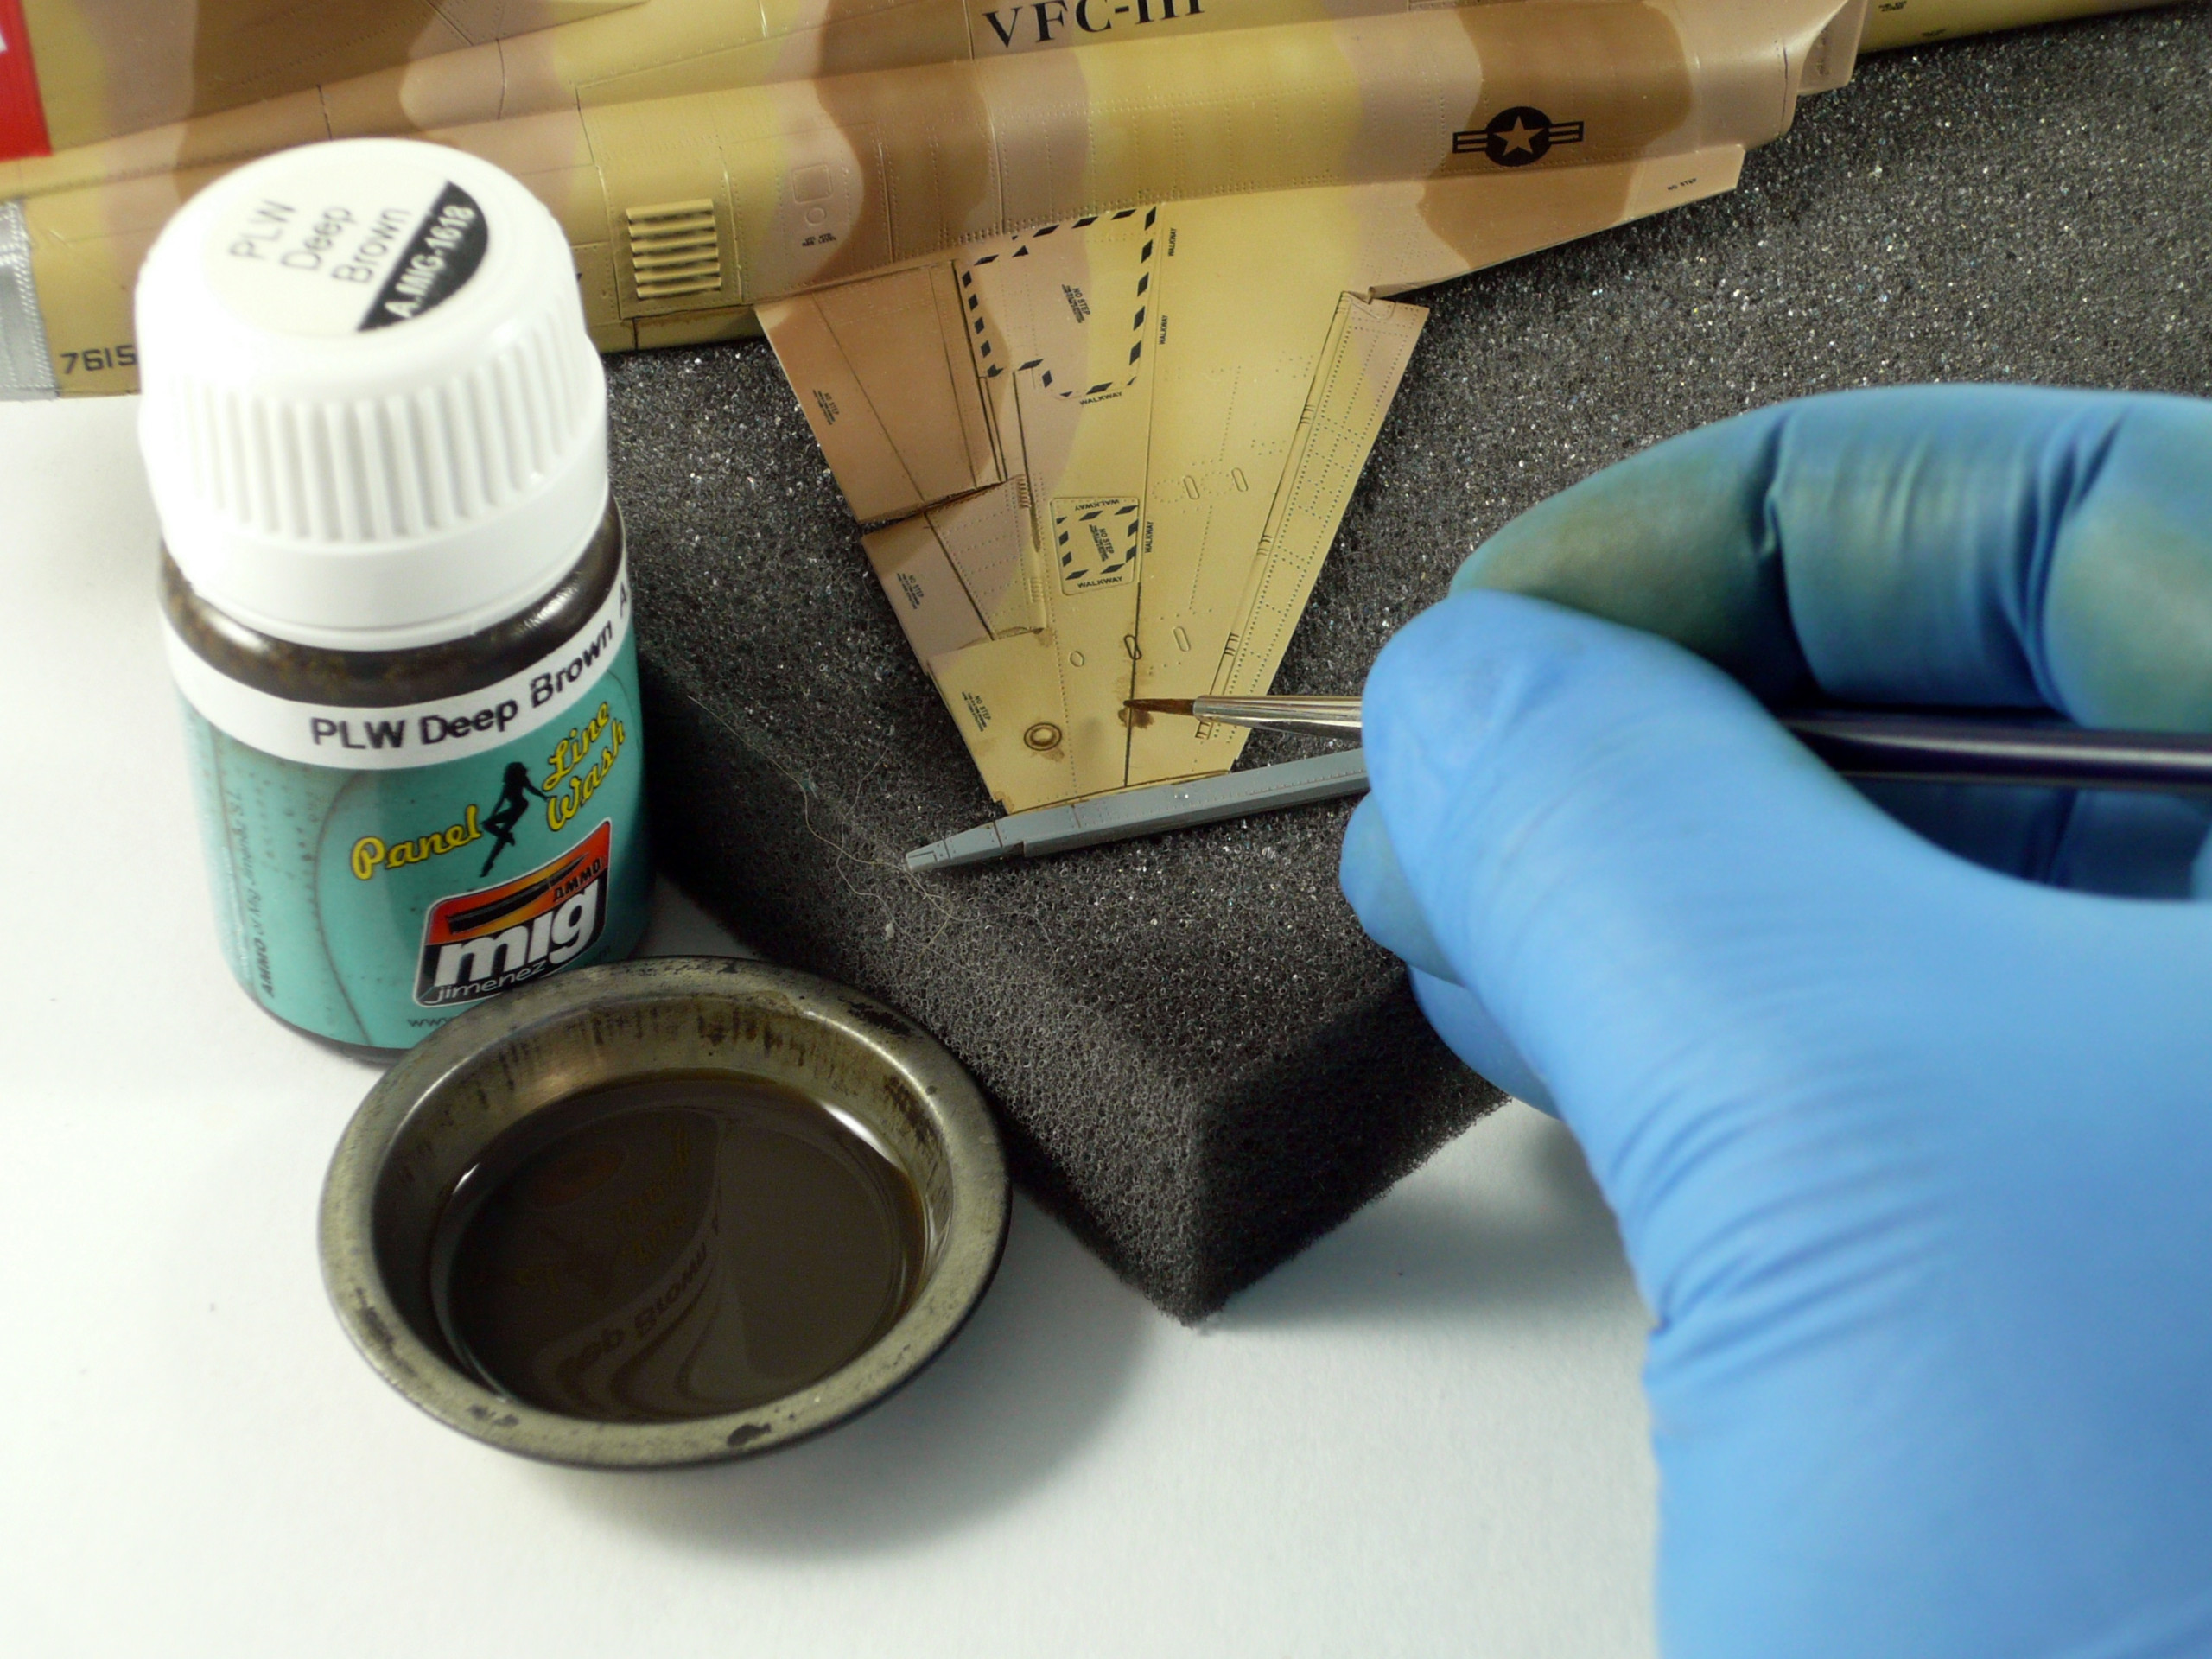
After placing decals to the whole model, weathering stage started using PLW Deep Brown for the whole cammo areas. (pic 12). Give it 2 hours to dry and then remove the excess with a cotton bud and some thinners help. Next stage was to enhance some panel lines and area’s in both upper and lower surfaces…For that reason I used Mig Ammo’s Panel Line Washes.A light brown and Yellow ocher were my 2 plw’s of choice to give some effects and offer realism to the model…I used them like oils and not like panel line washes to mark the areas and give them some tone. Brown was used to the 2 brown color of the cammo, Yellow ocher to the sand. For the wheel wells I used Mig Ammo’s oil stains/grease and PLW Black night (final pics)
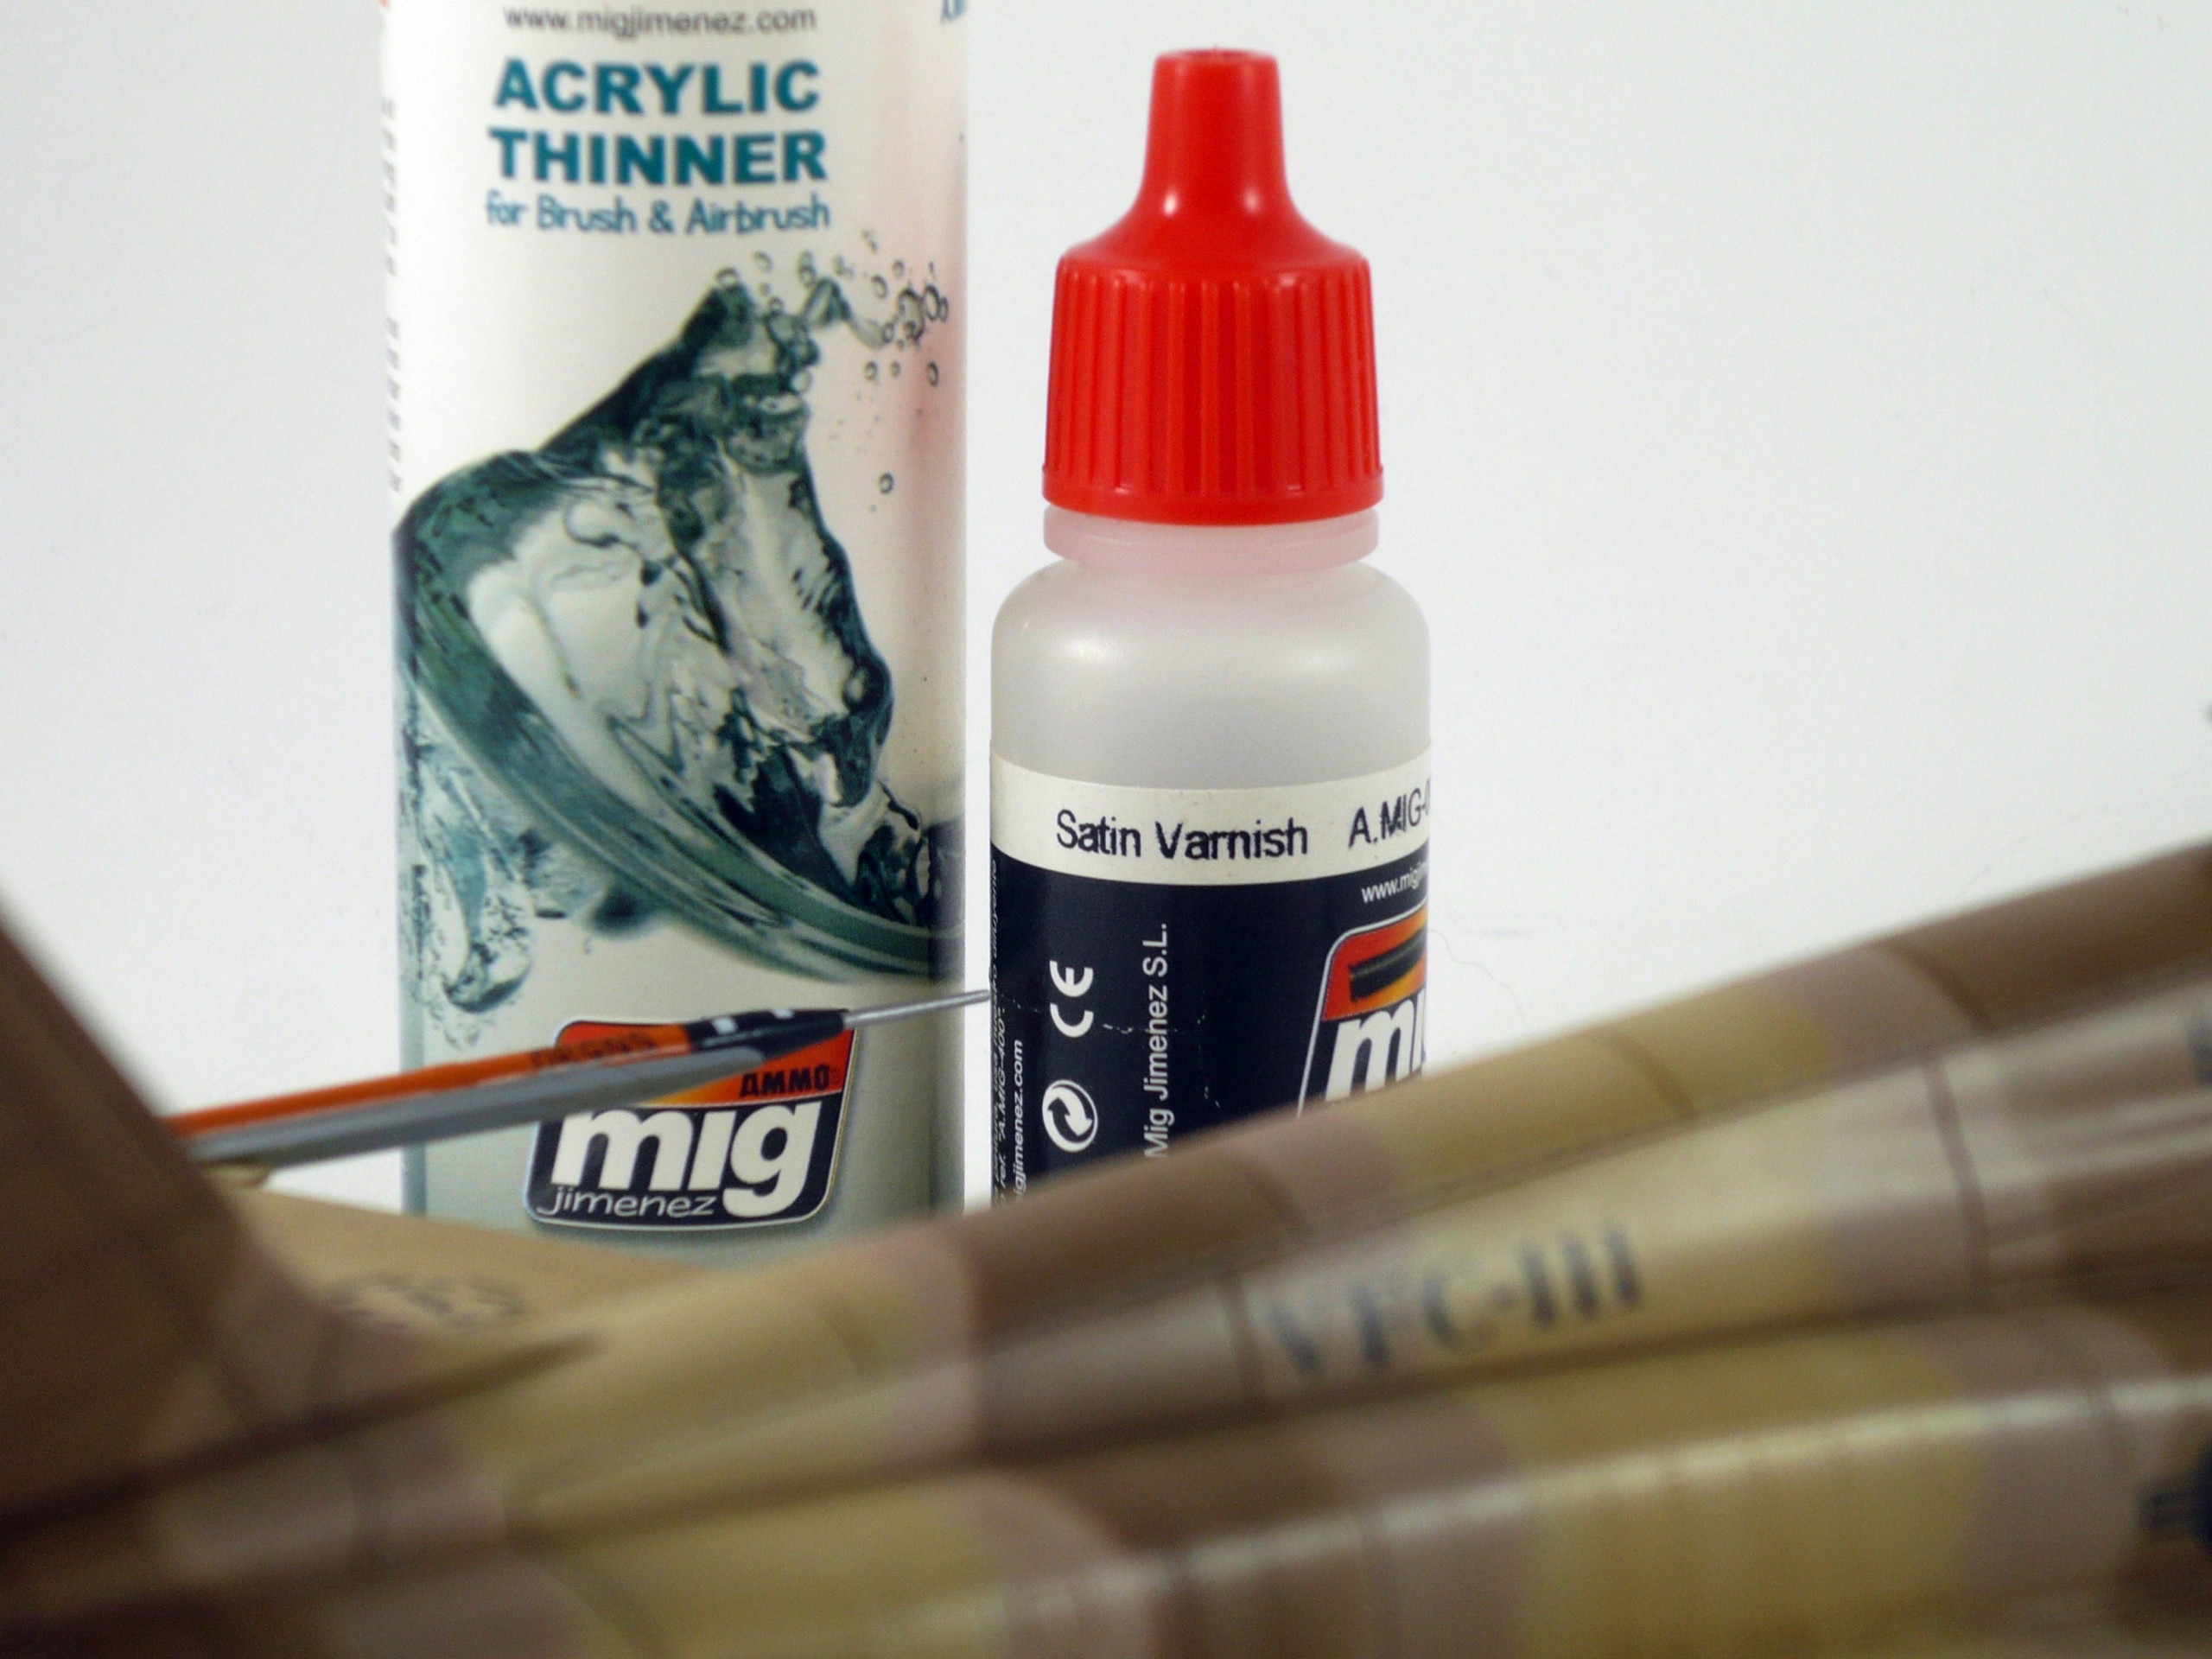
Finally I sprayed the model with a satin varnish from Ammo in a 50/50 mix with Ammo’s acrylic thinners. Give it at least 24 hours to dry before touching it…
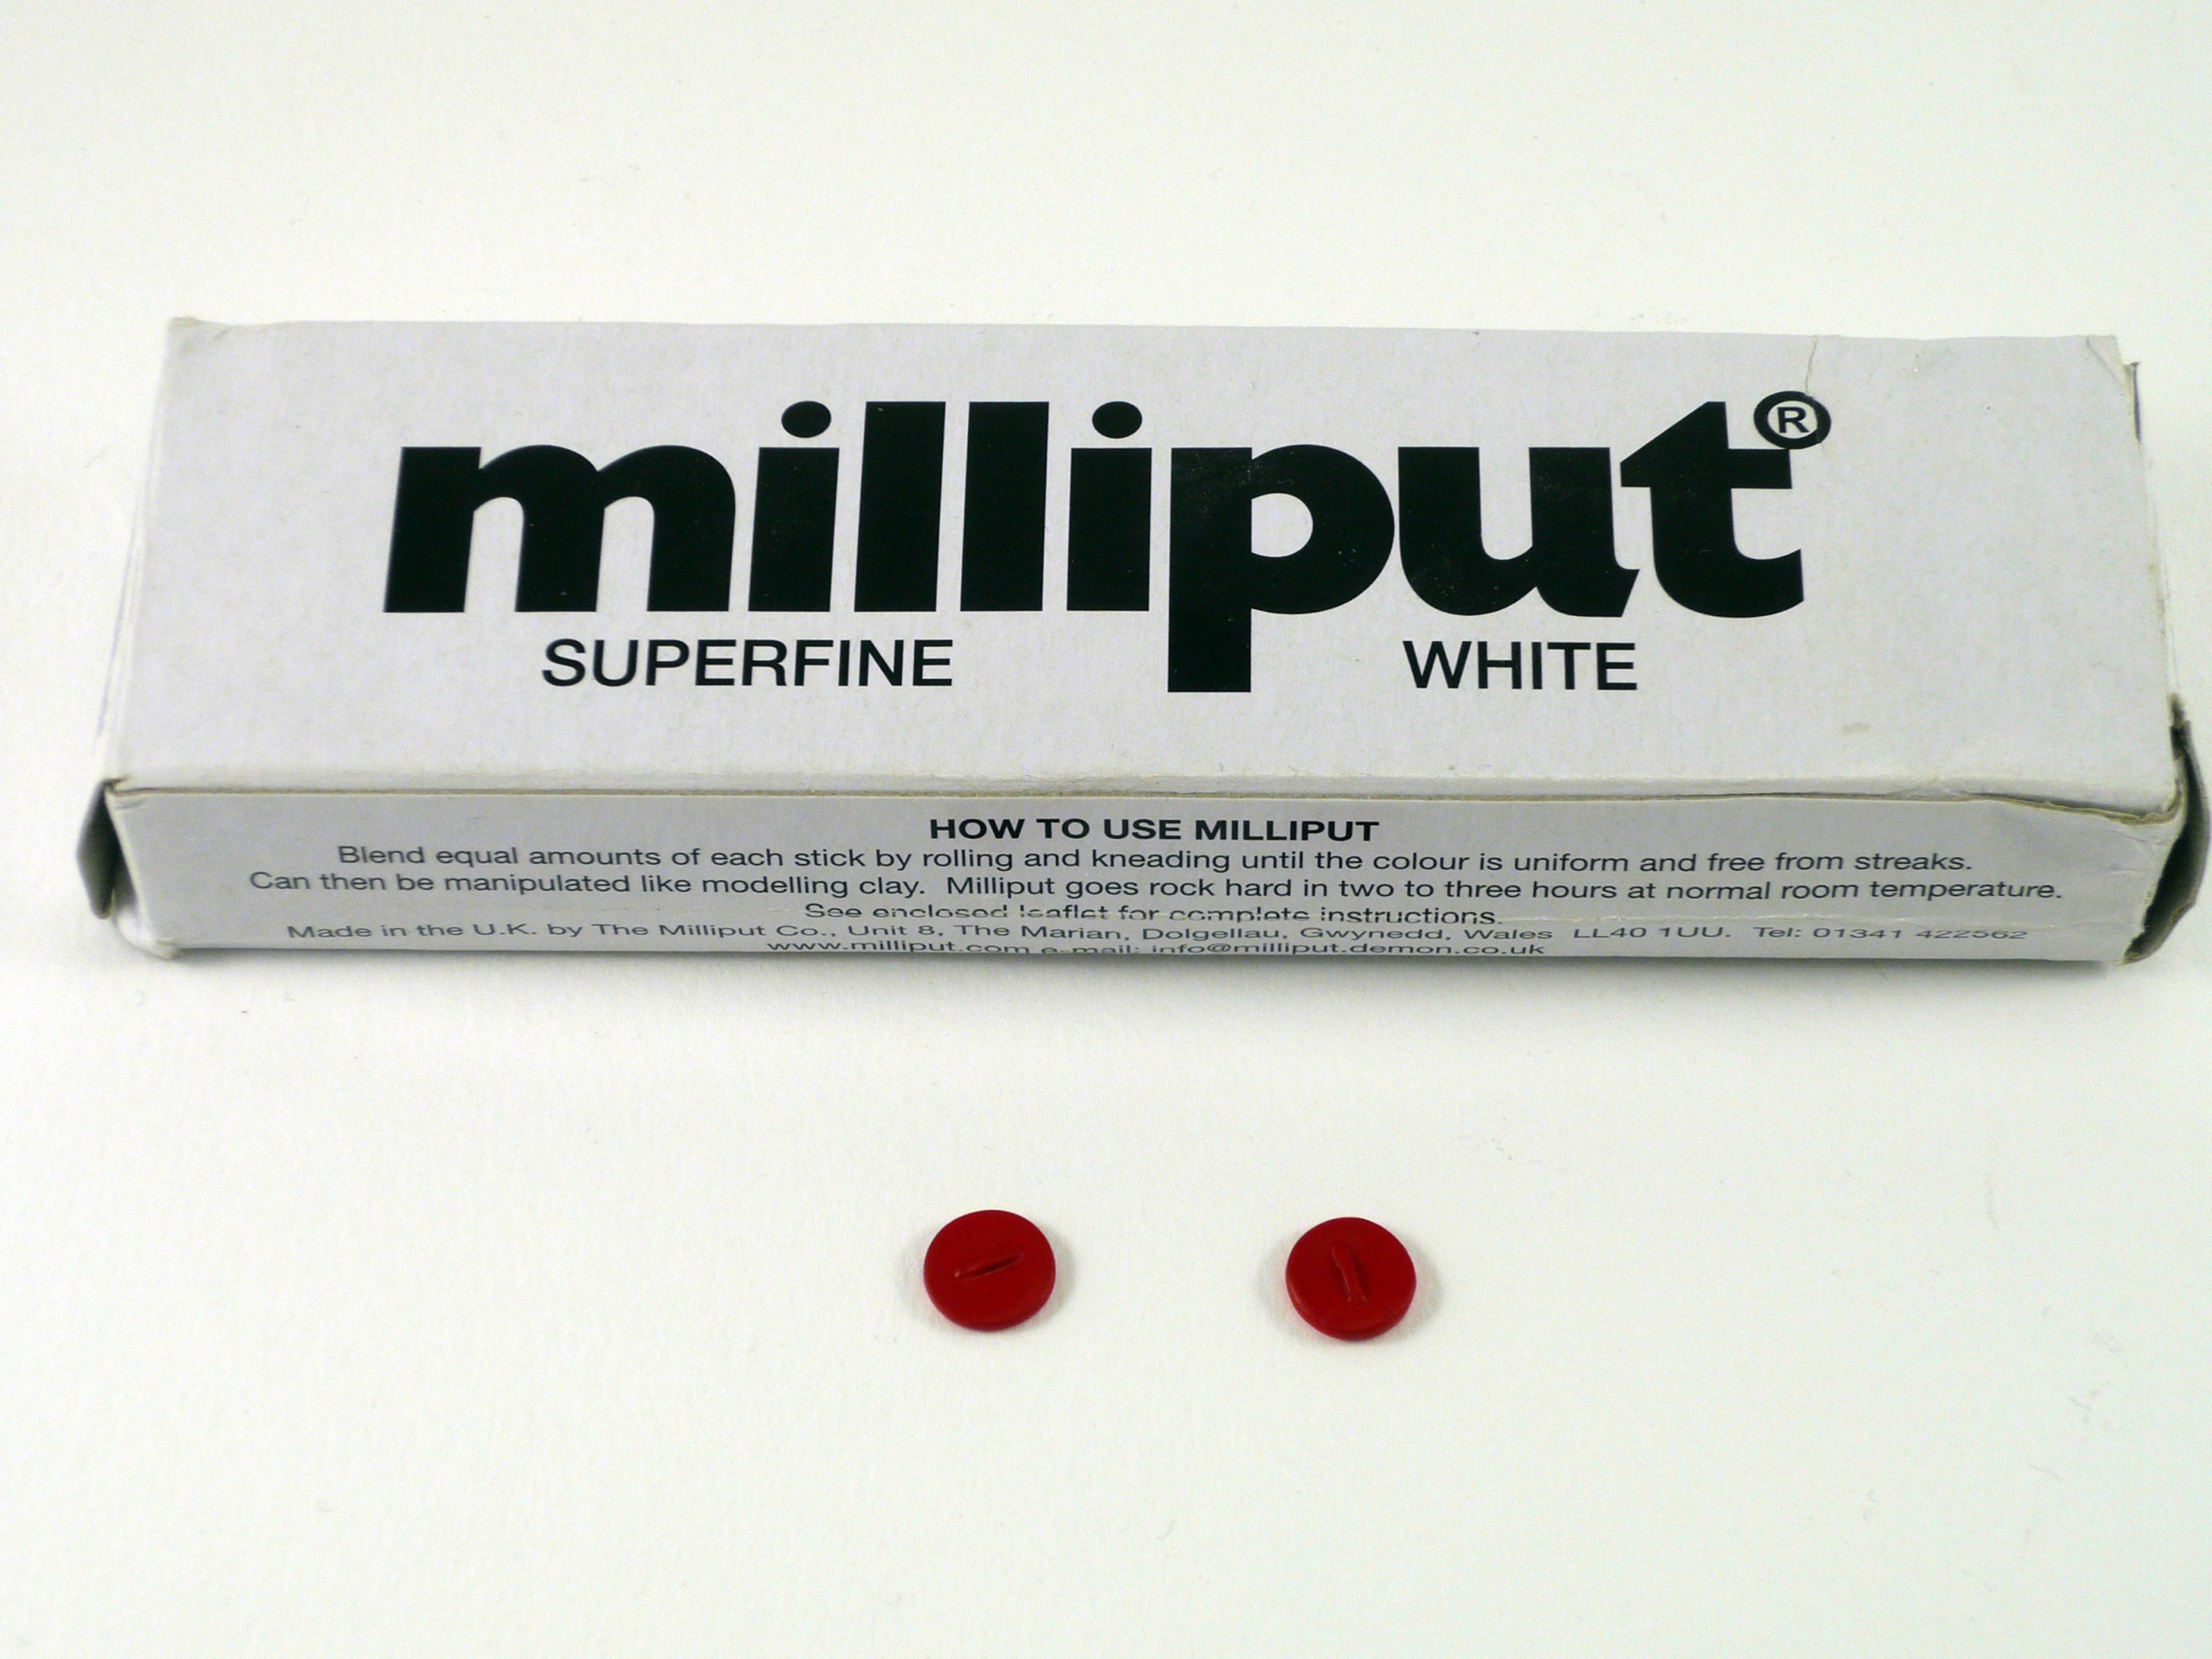
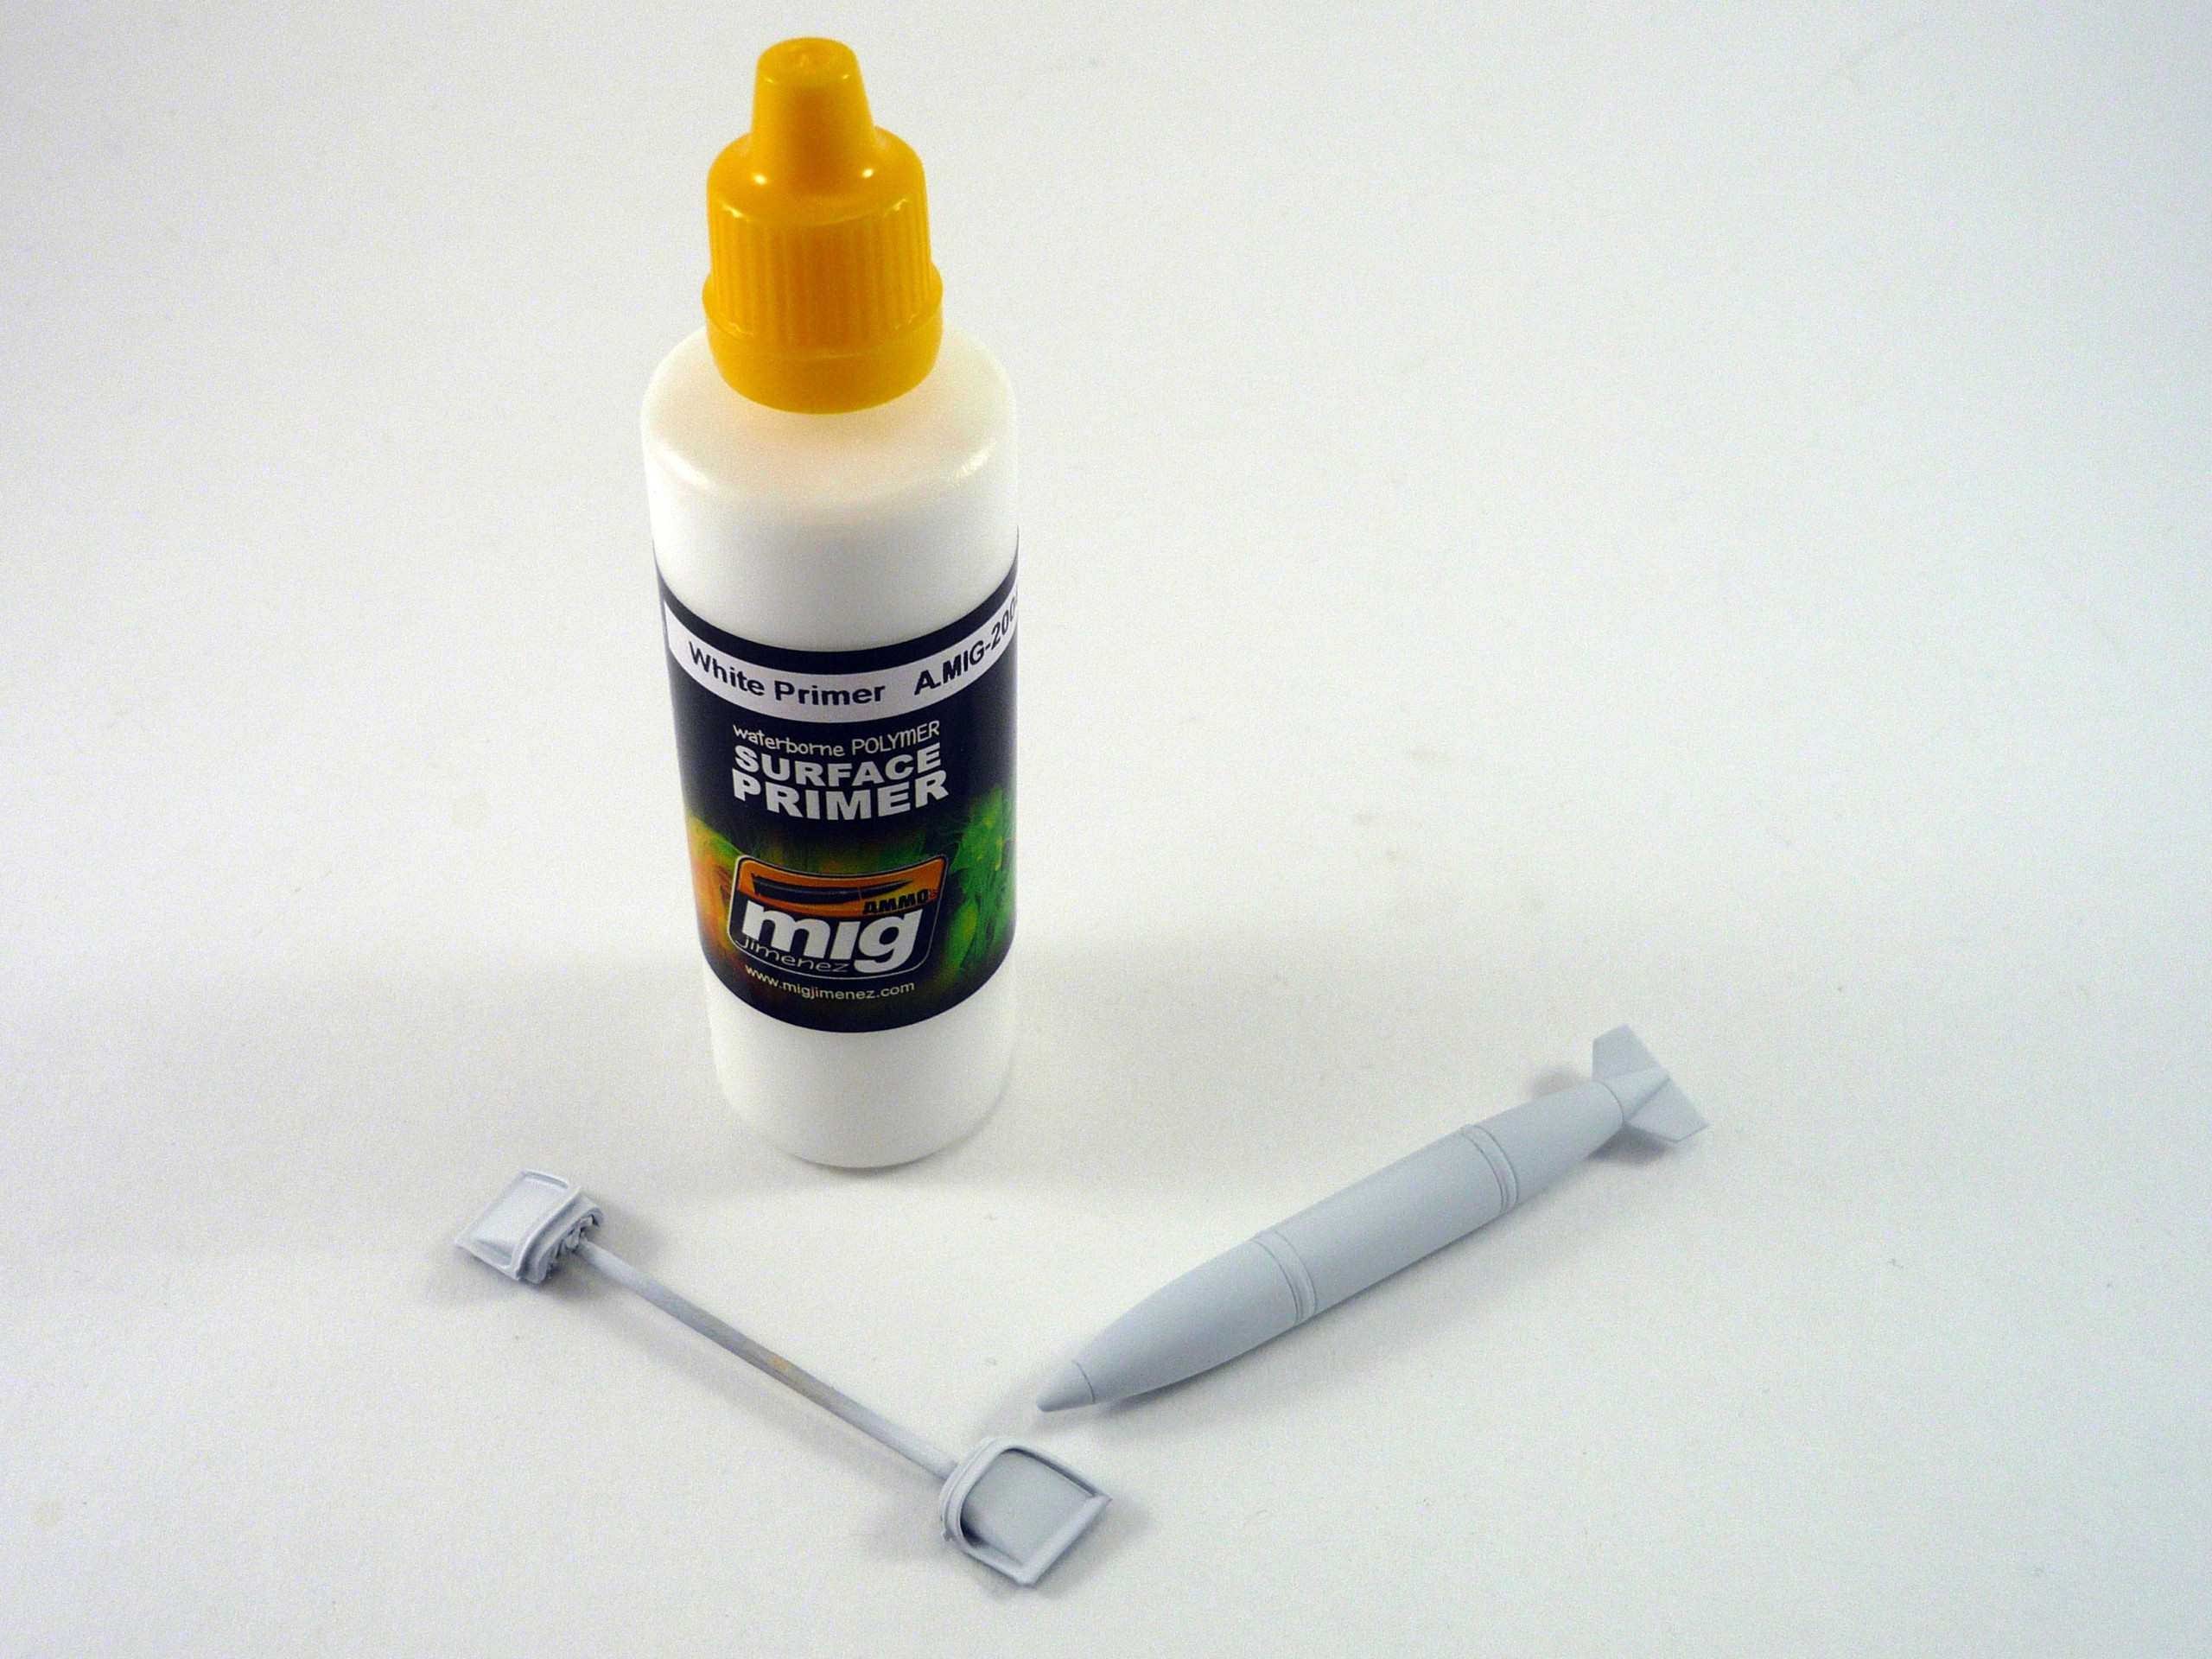
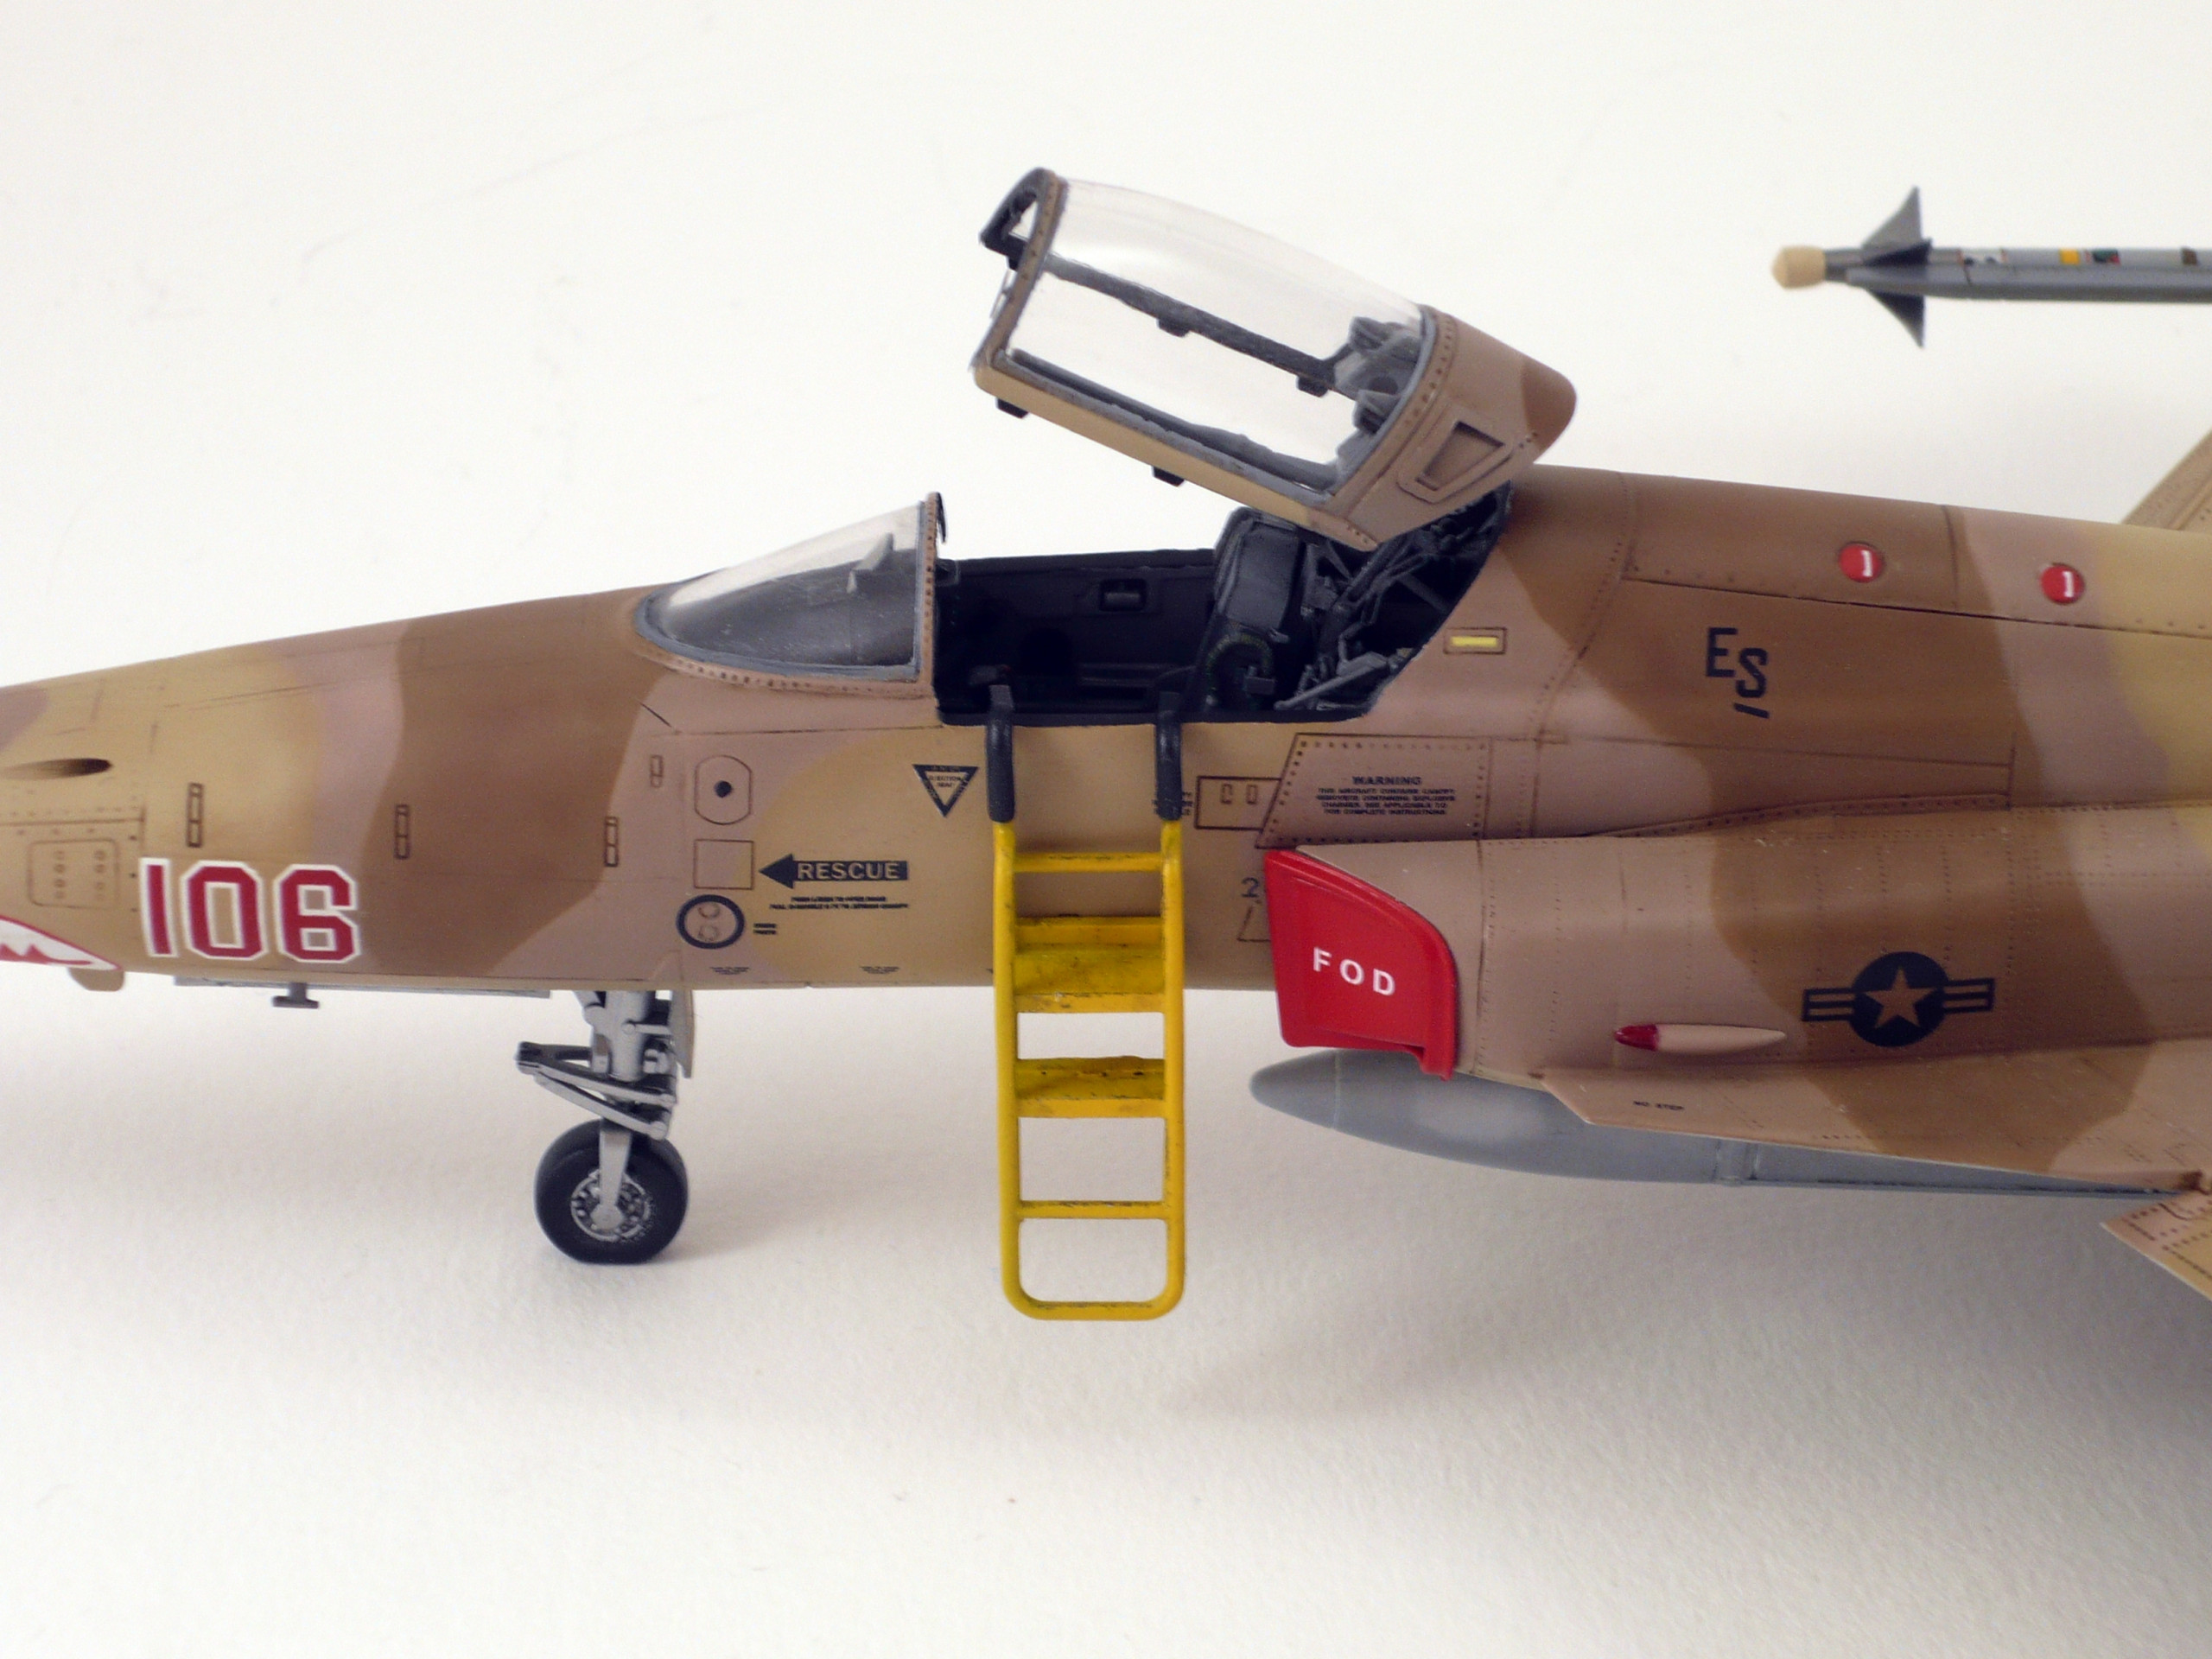
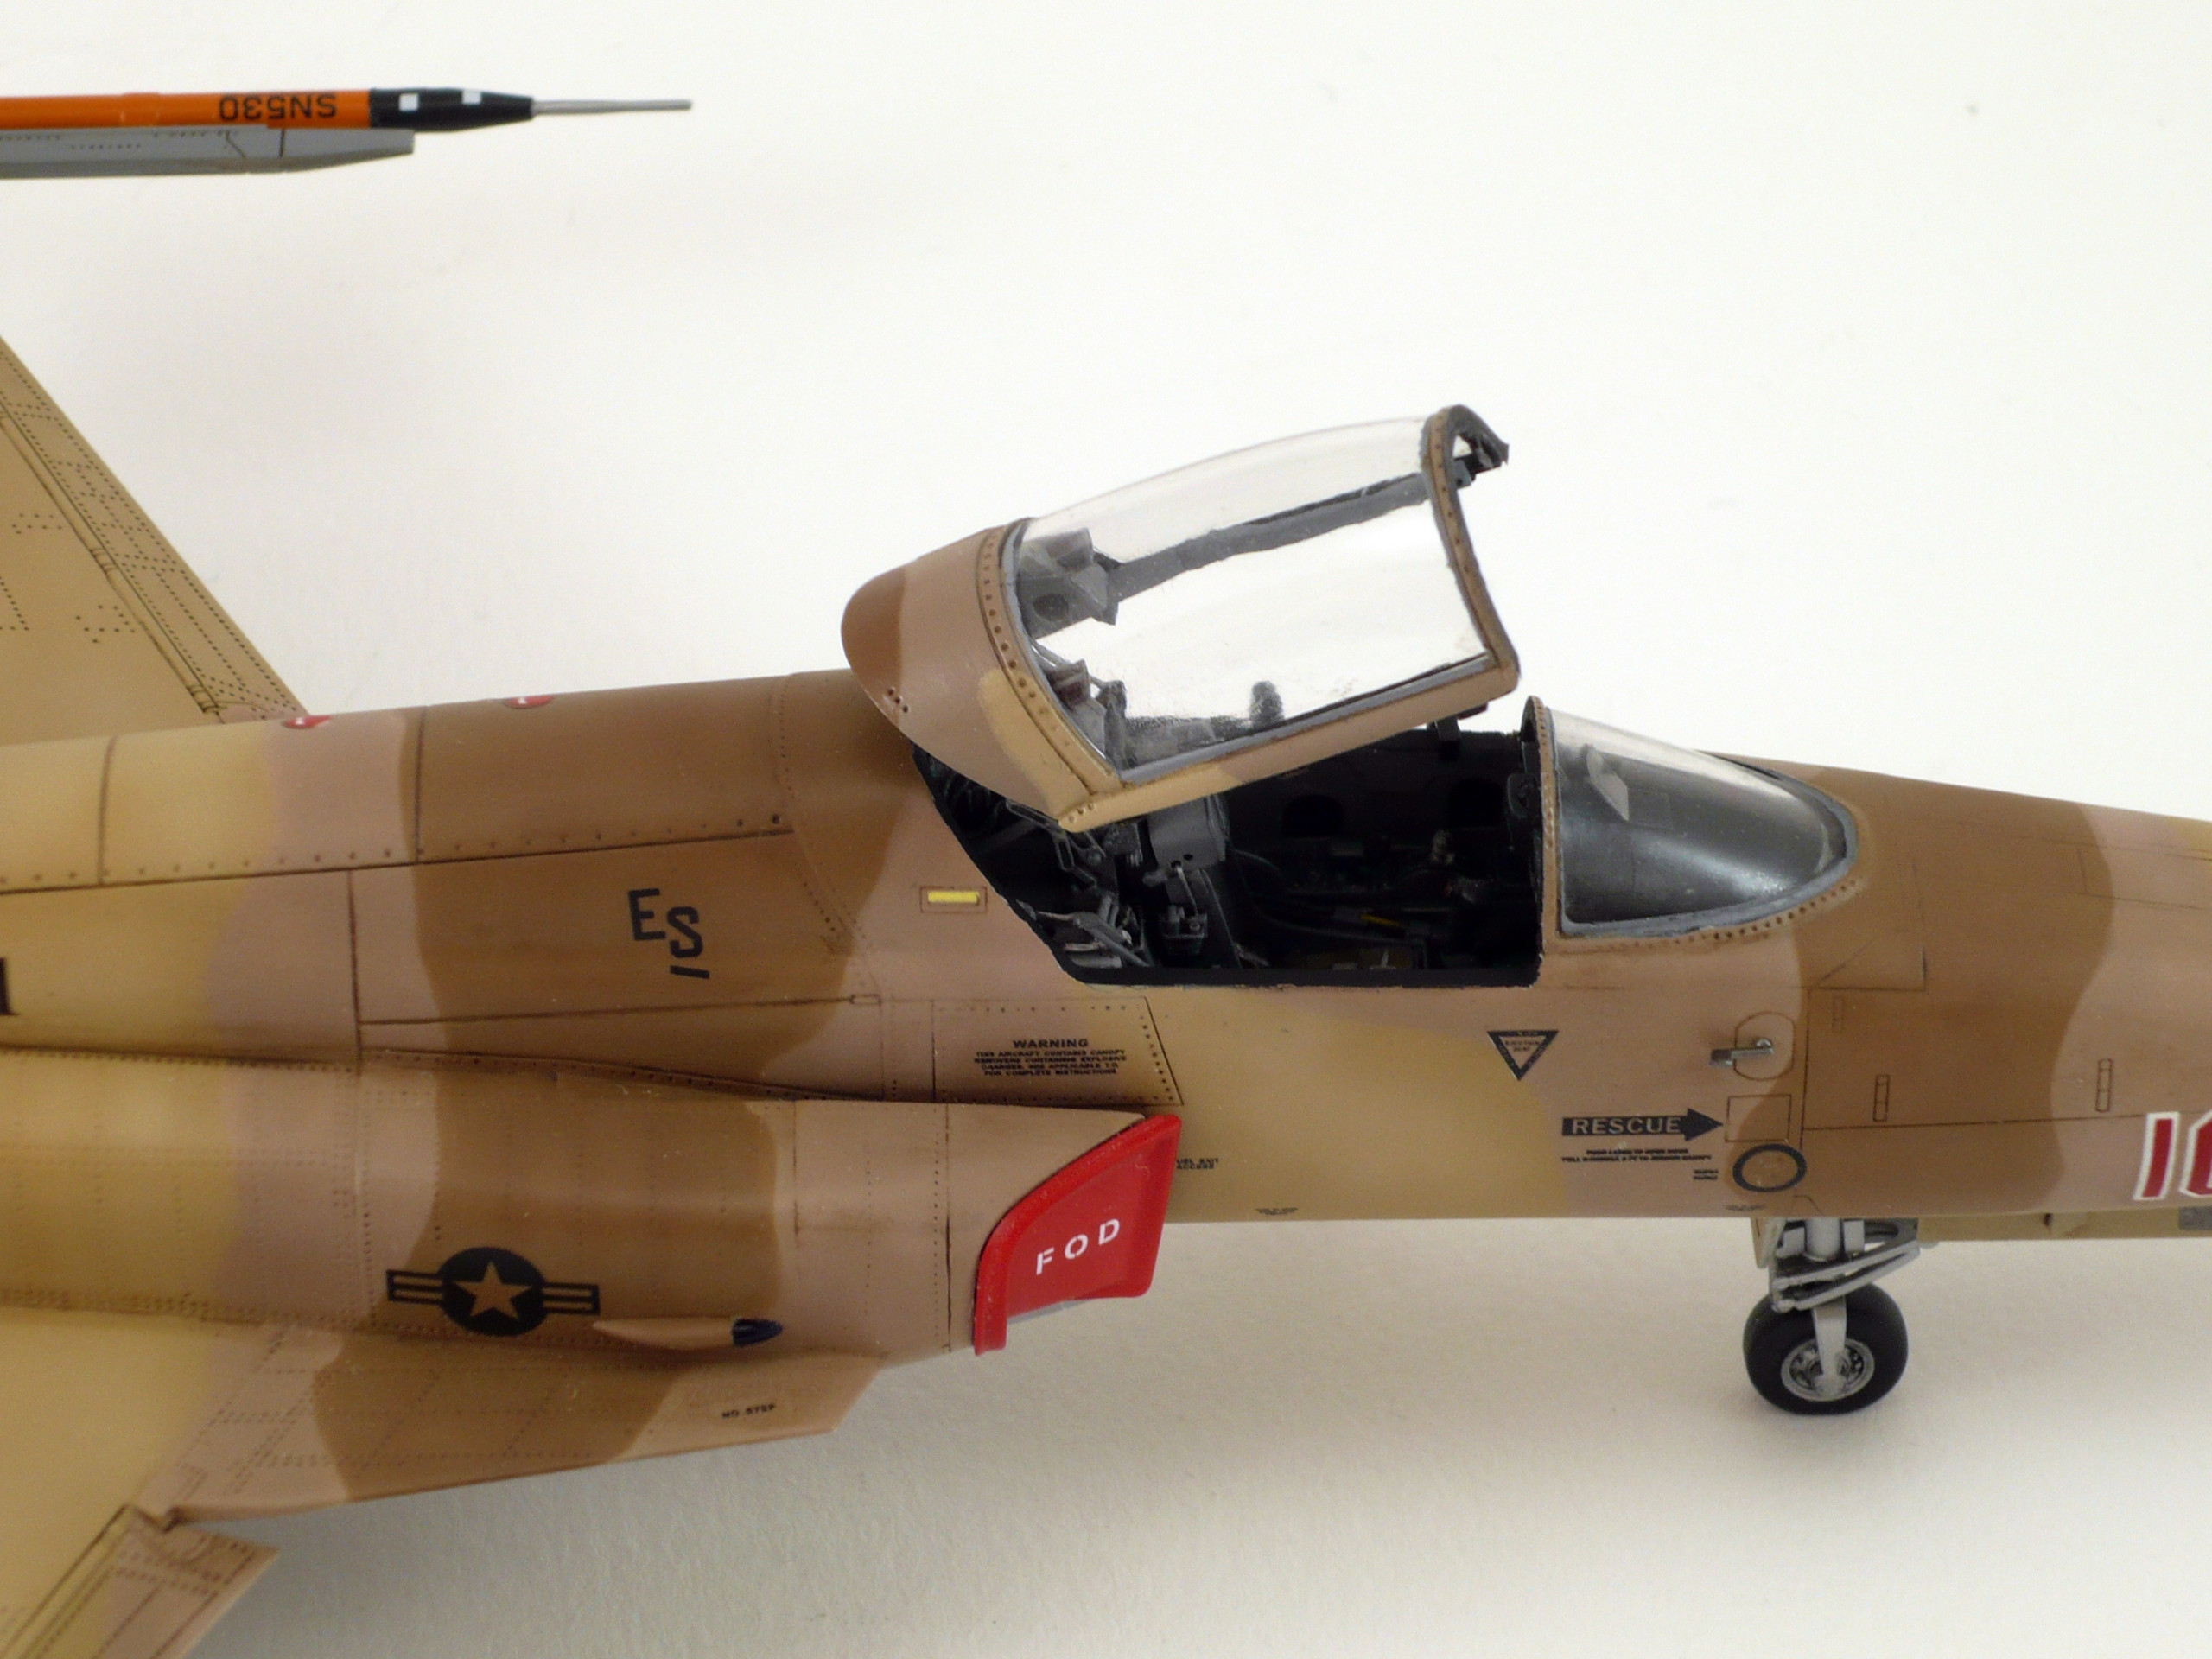
For the FOD’s I used DEFmodels resin parts. It’s a high quality set and gives nice result if you treat it with caution. For the engine’s nozzles FOD’s I used Milliput epoxy putty. I sprayed them with Mig Ammo white primer and then painted with Tamiya’s XF -7 flat red. Then sprayed with a satin varnish from Ammo and the result it’s pretty convincing (pic.13&14)
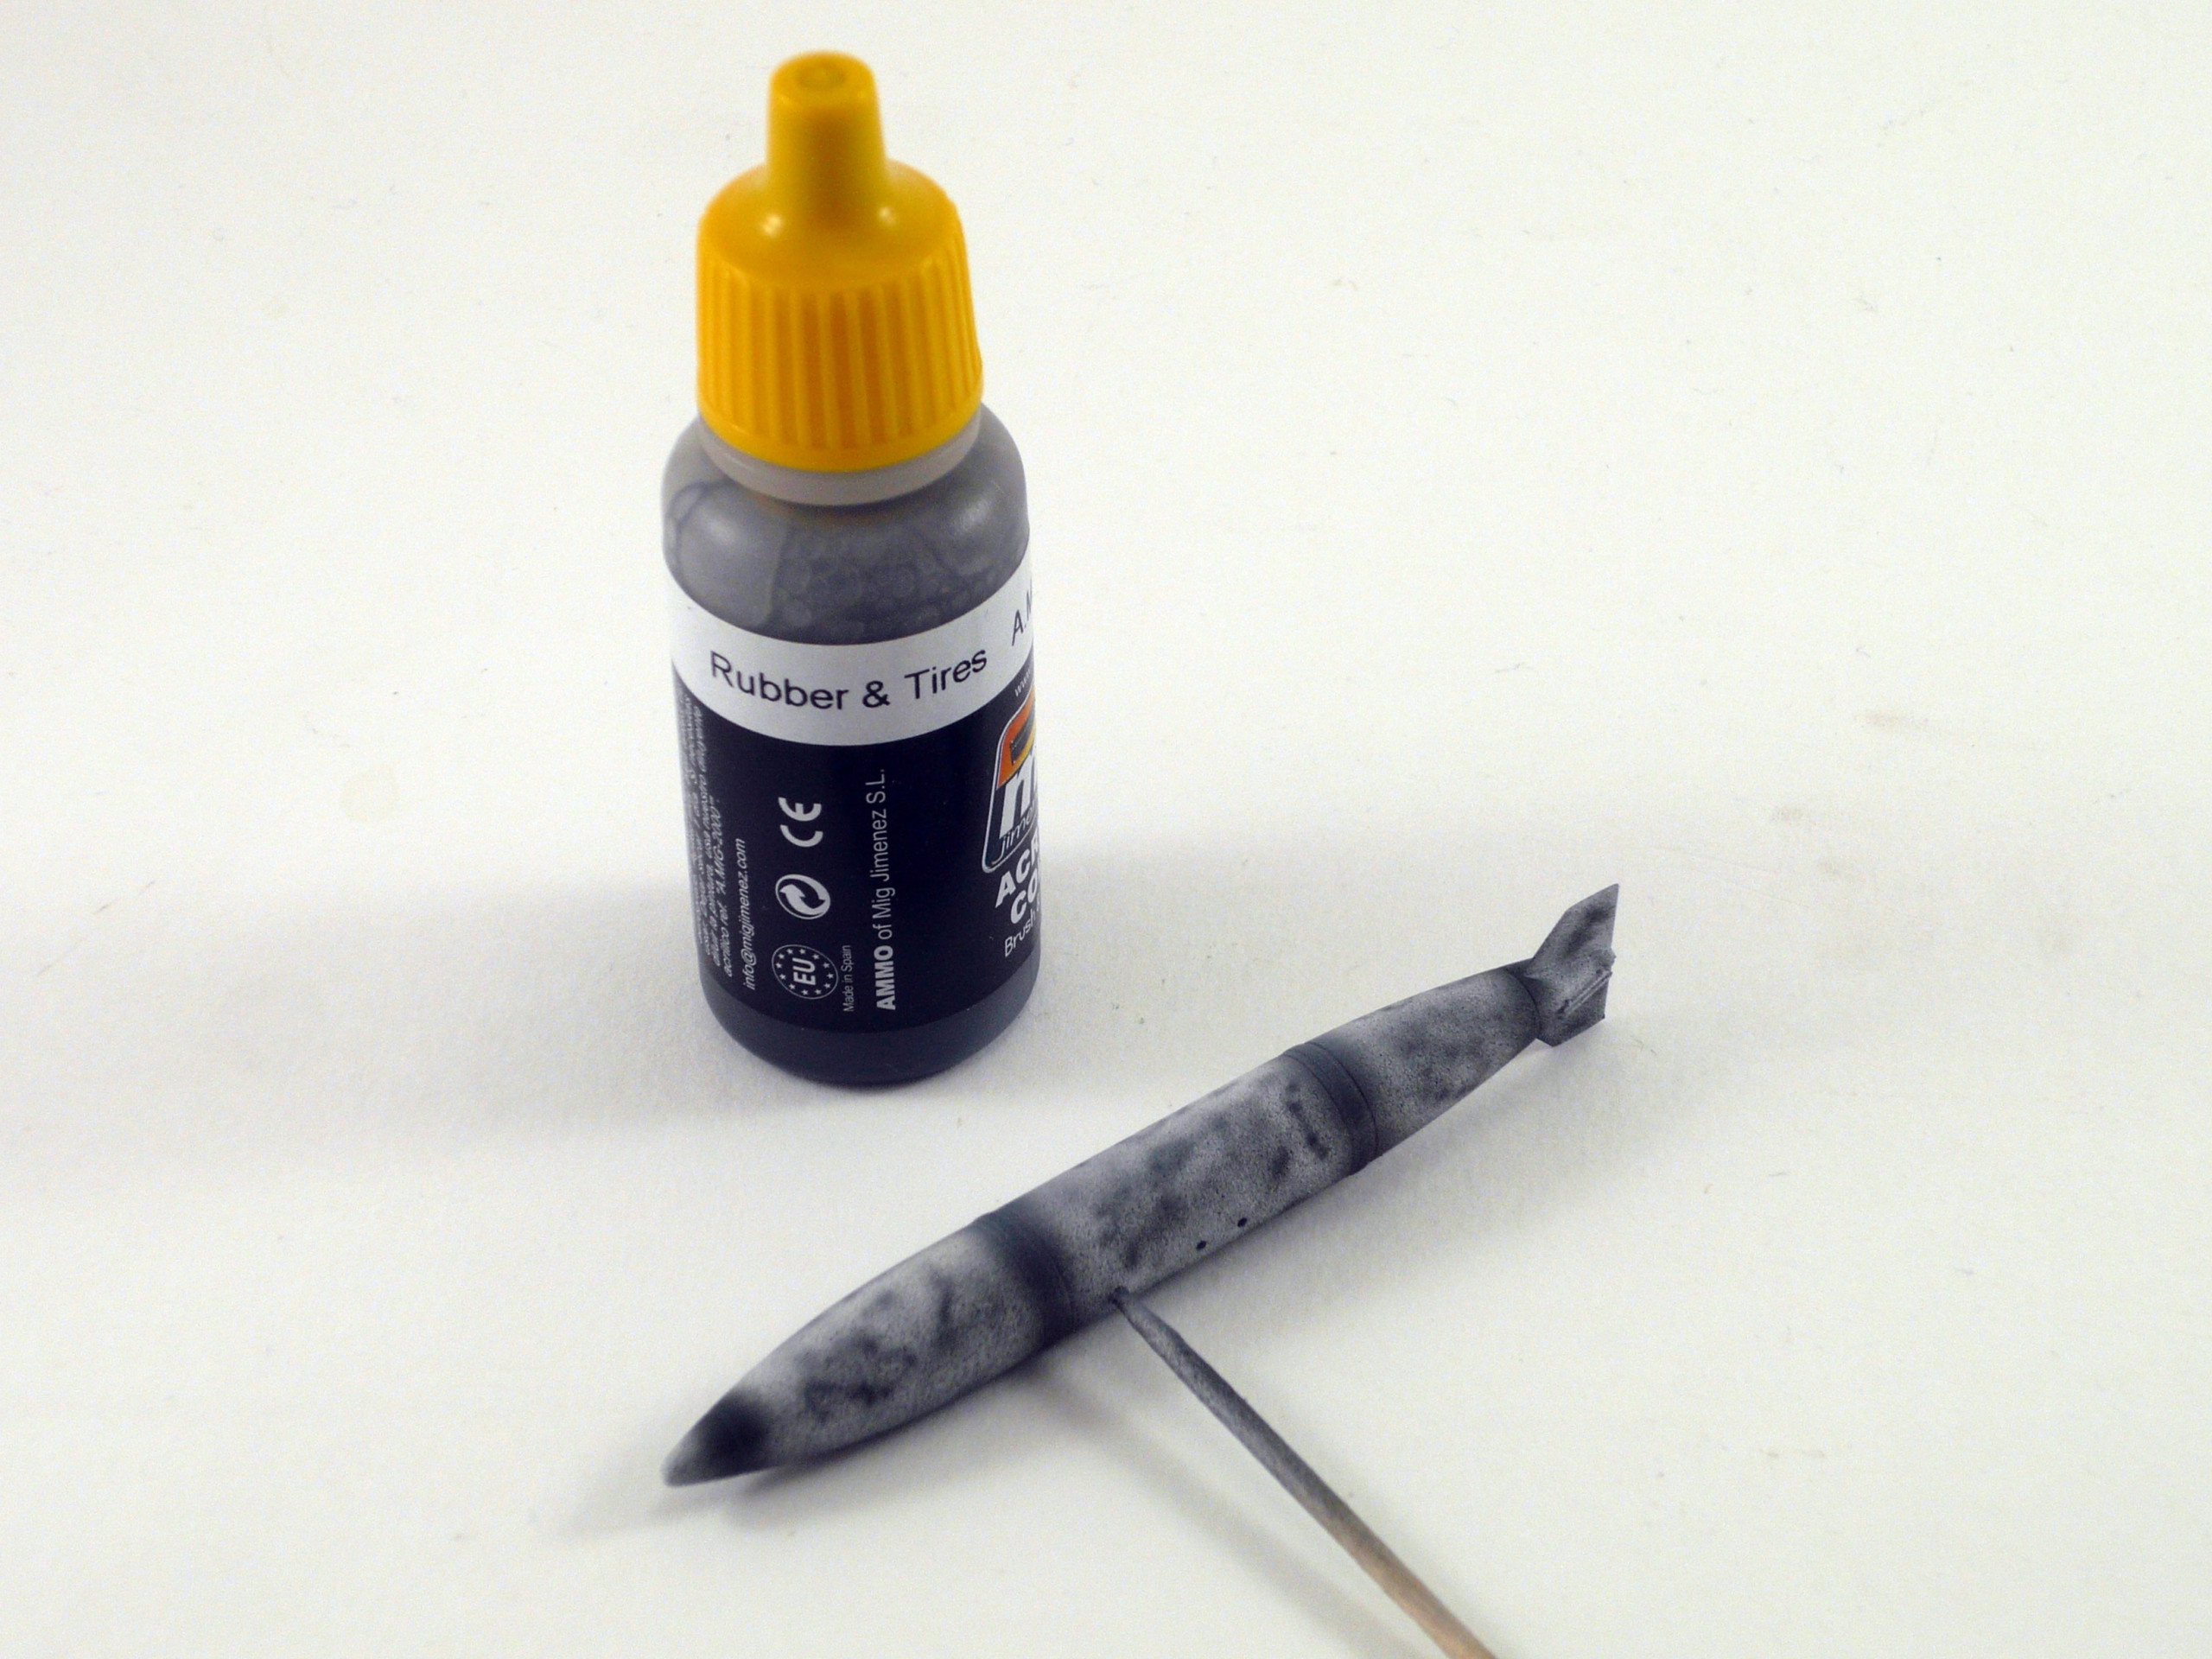
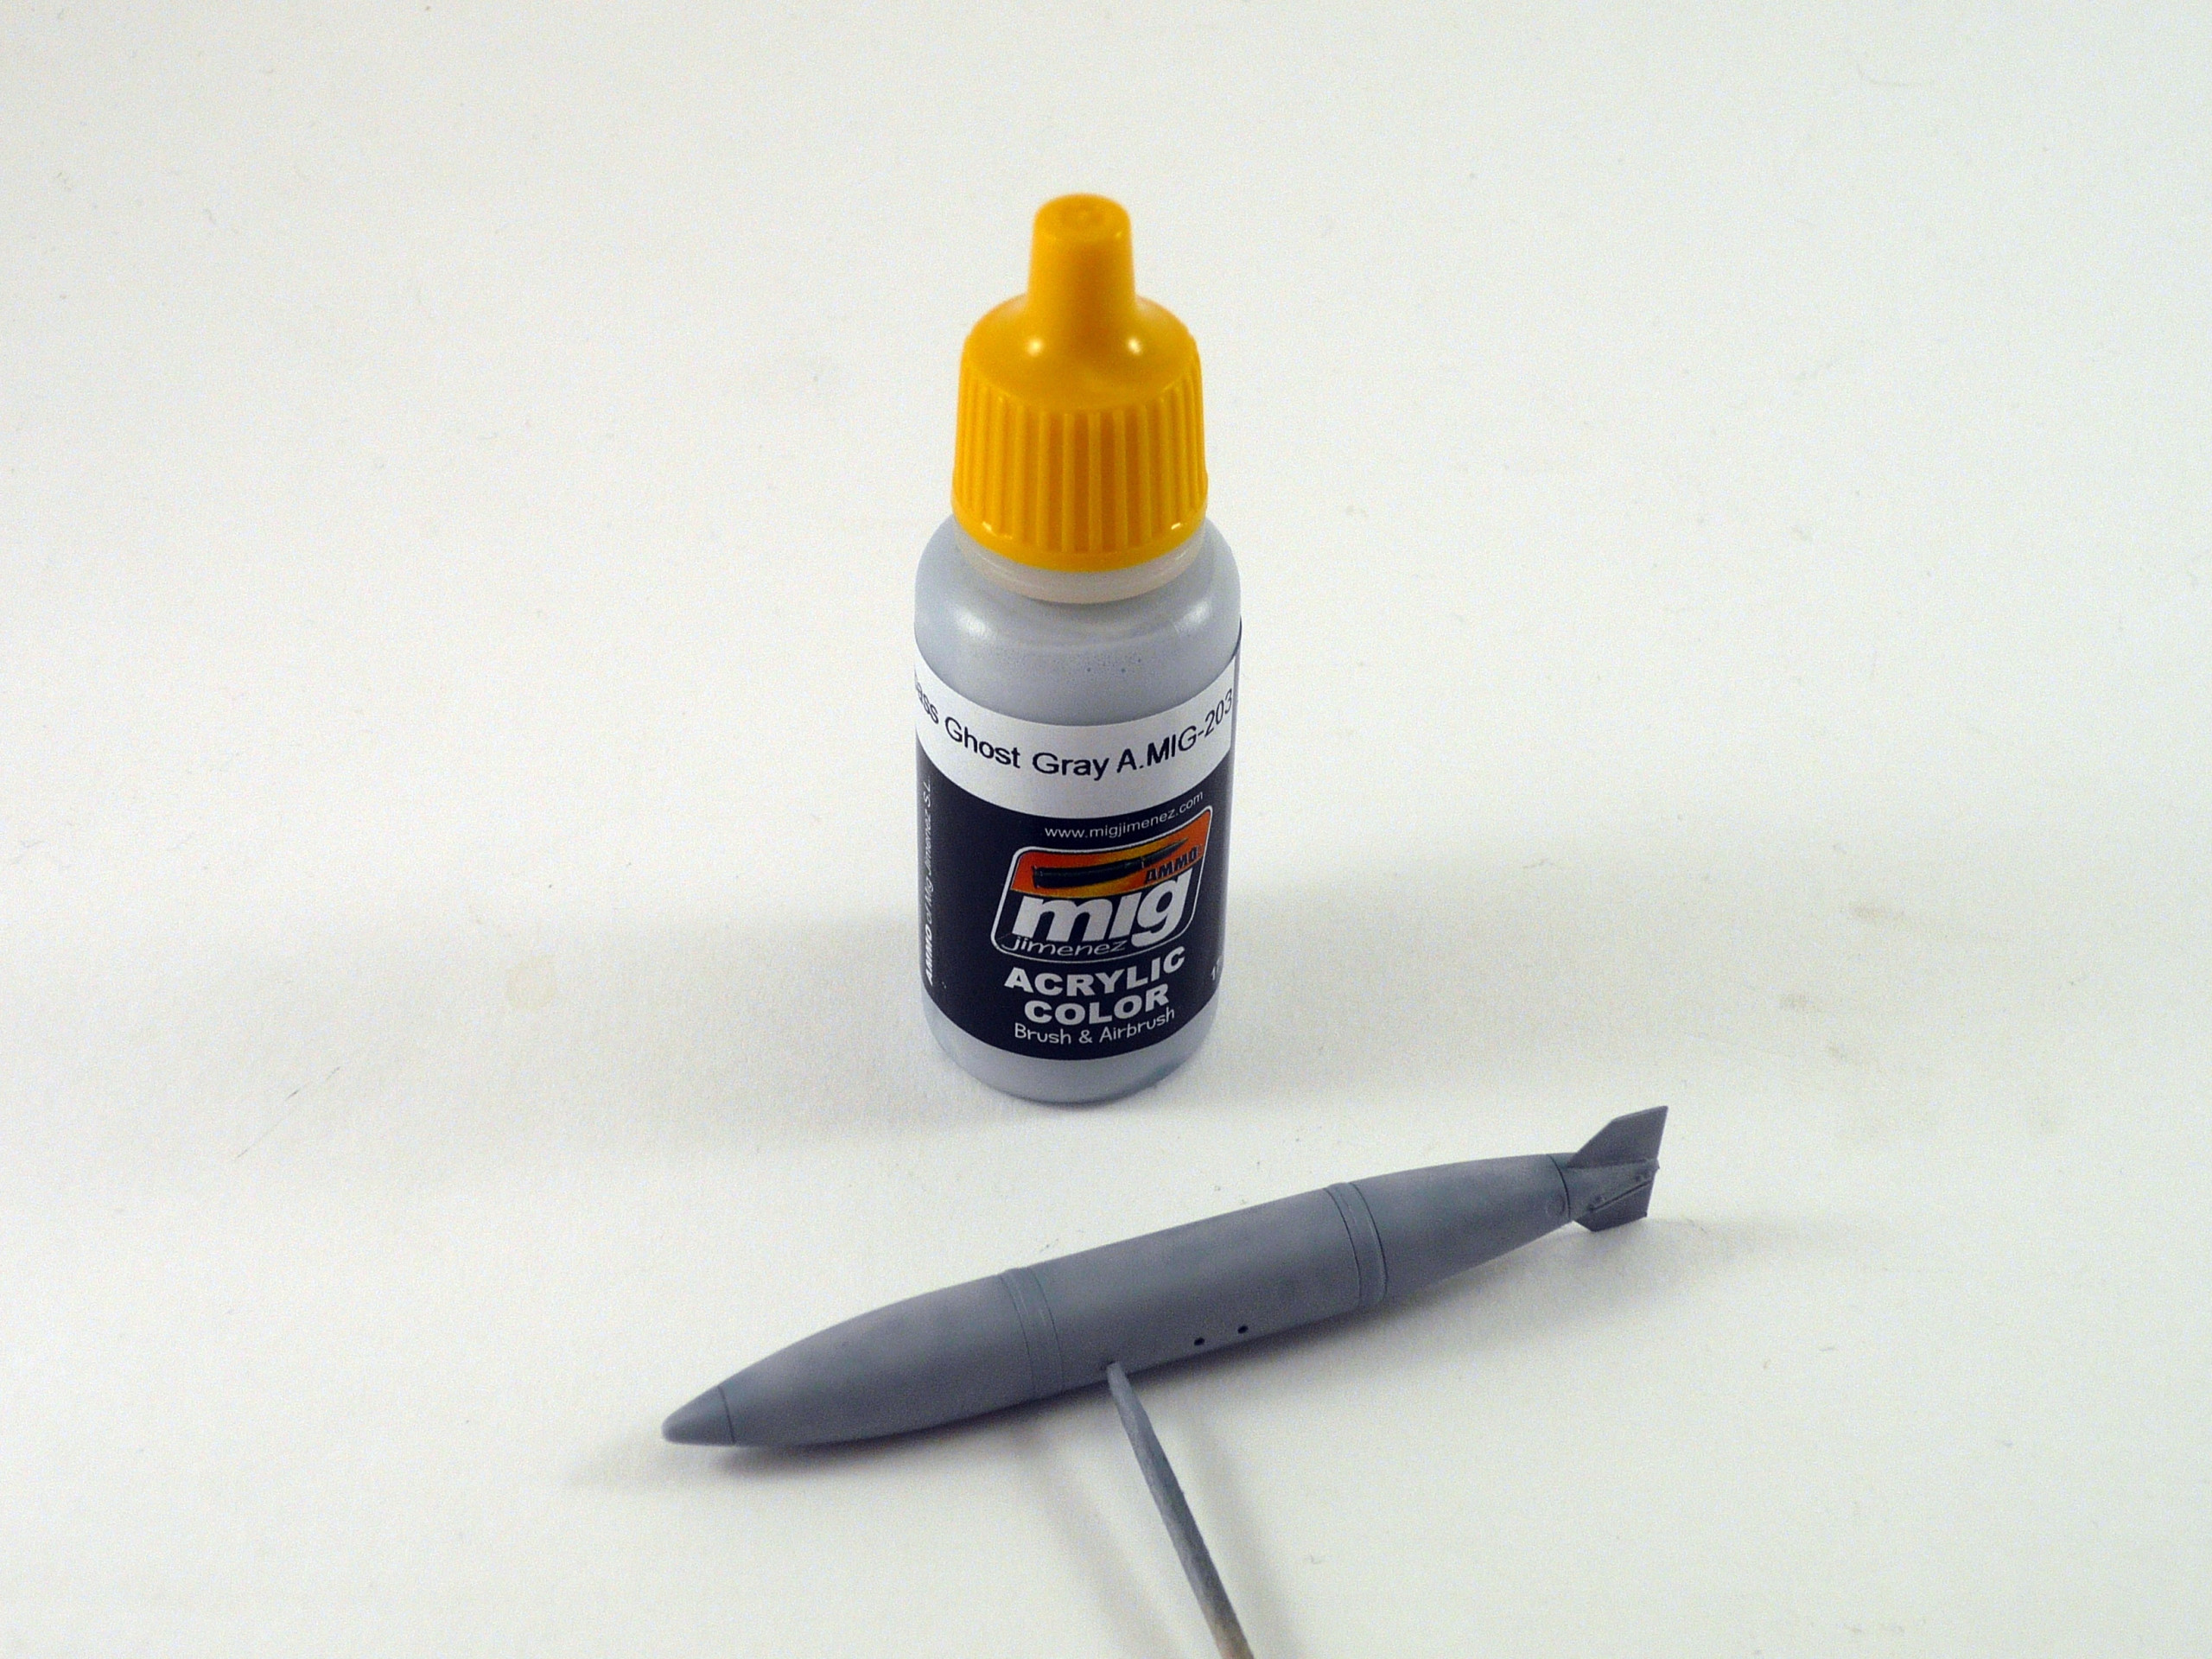
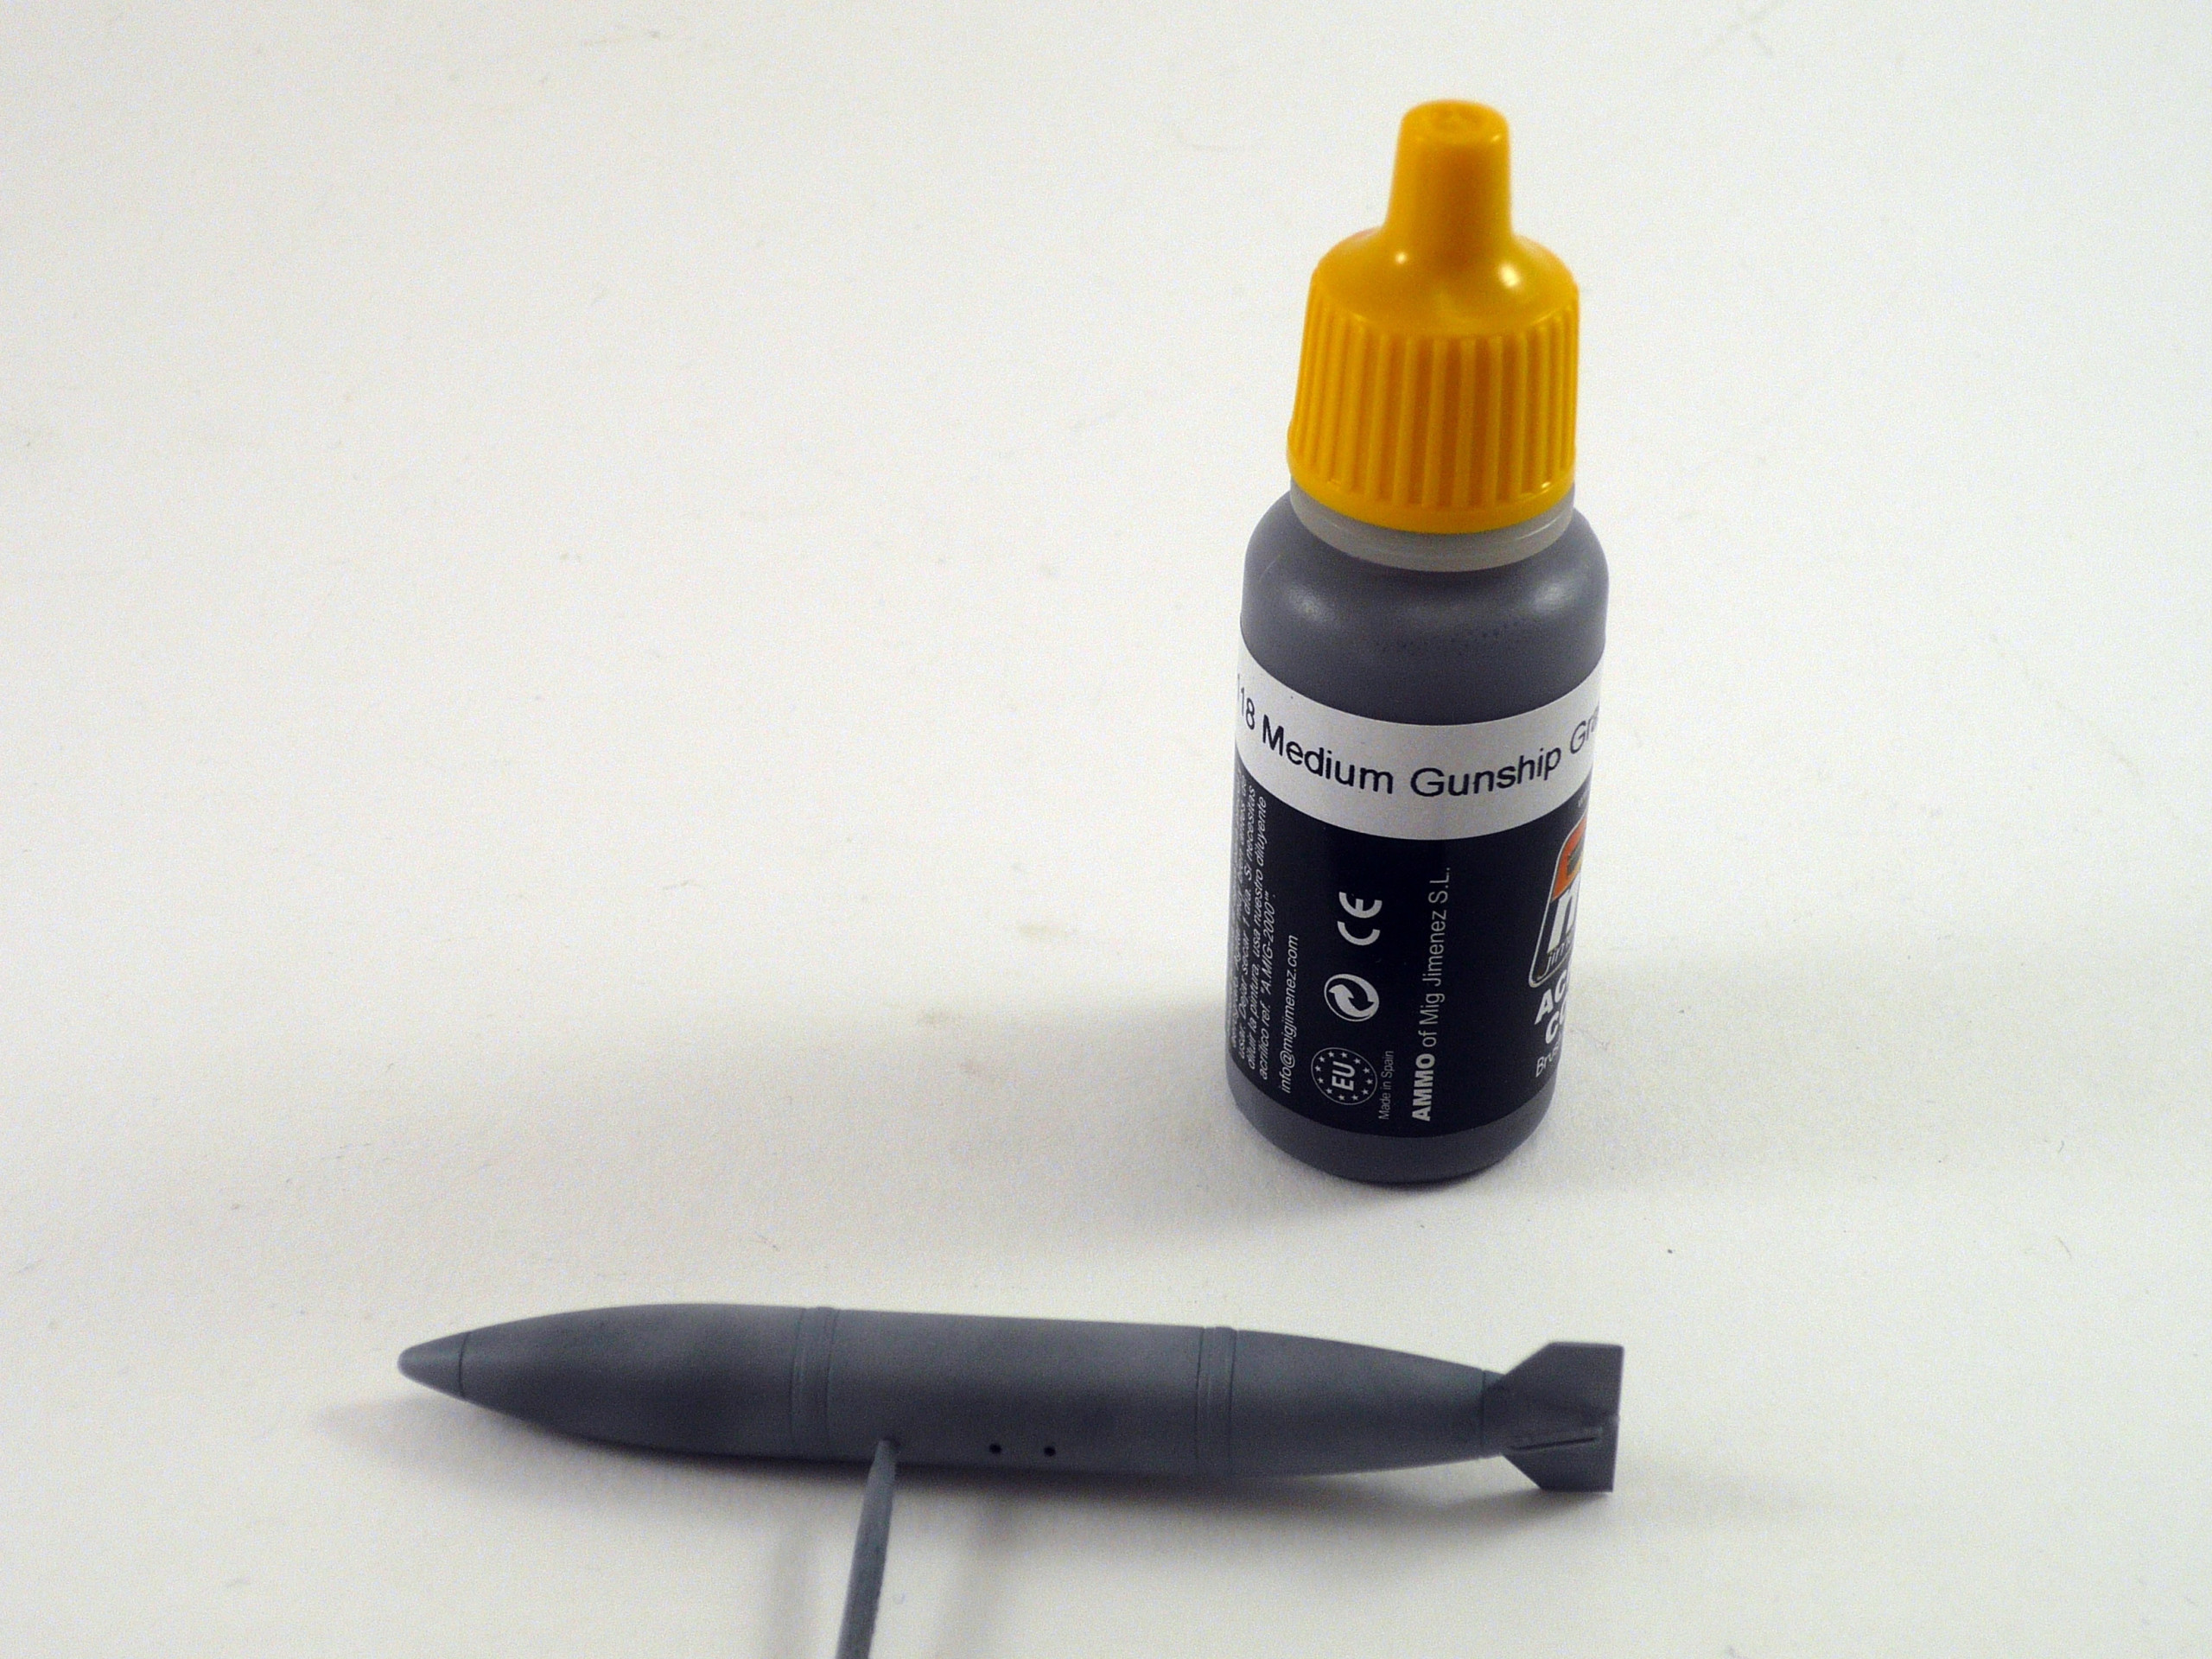
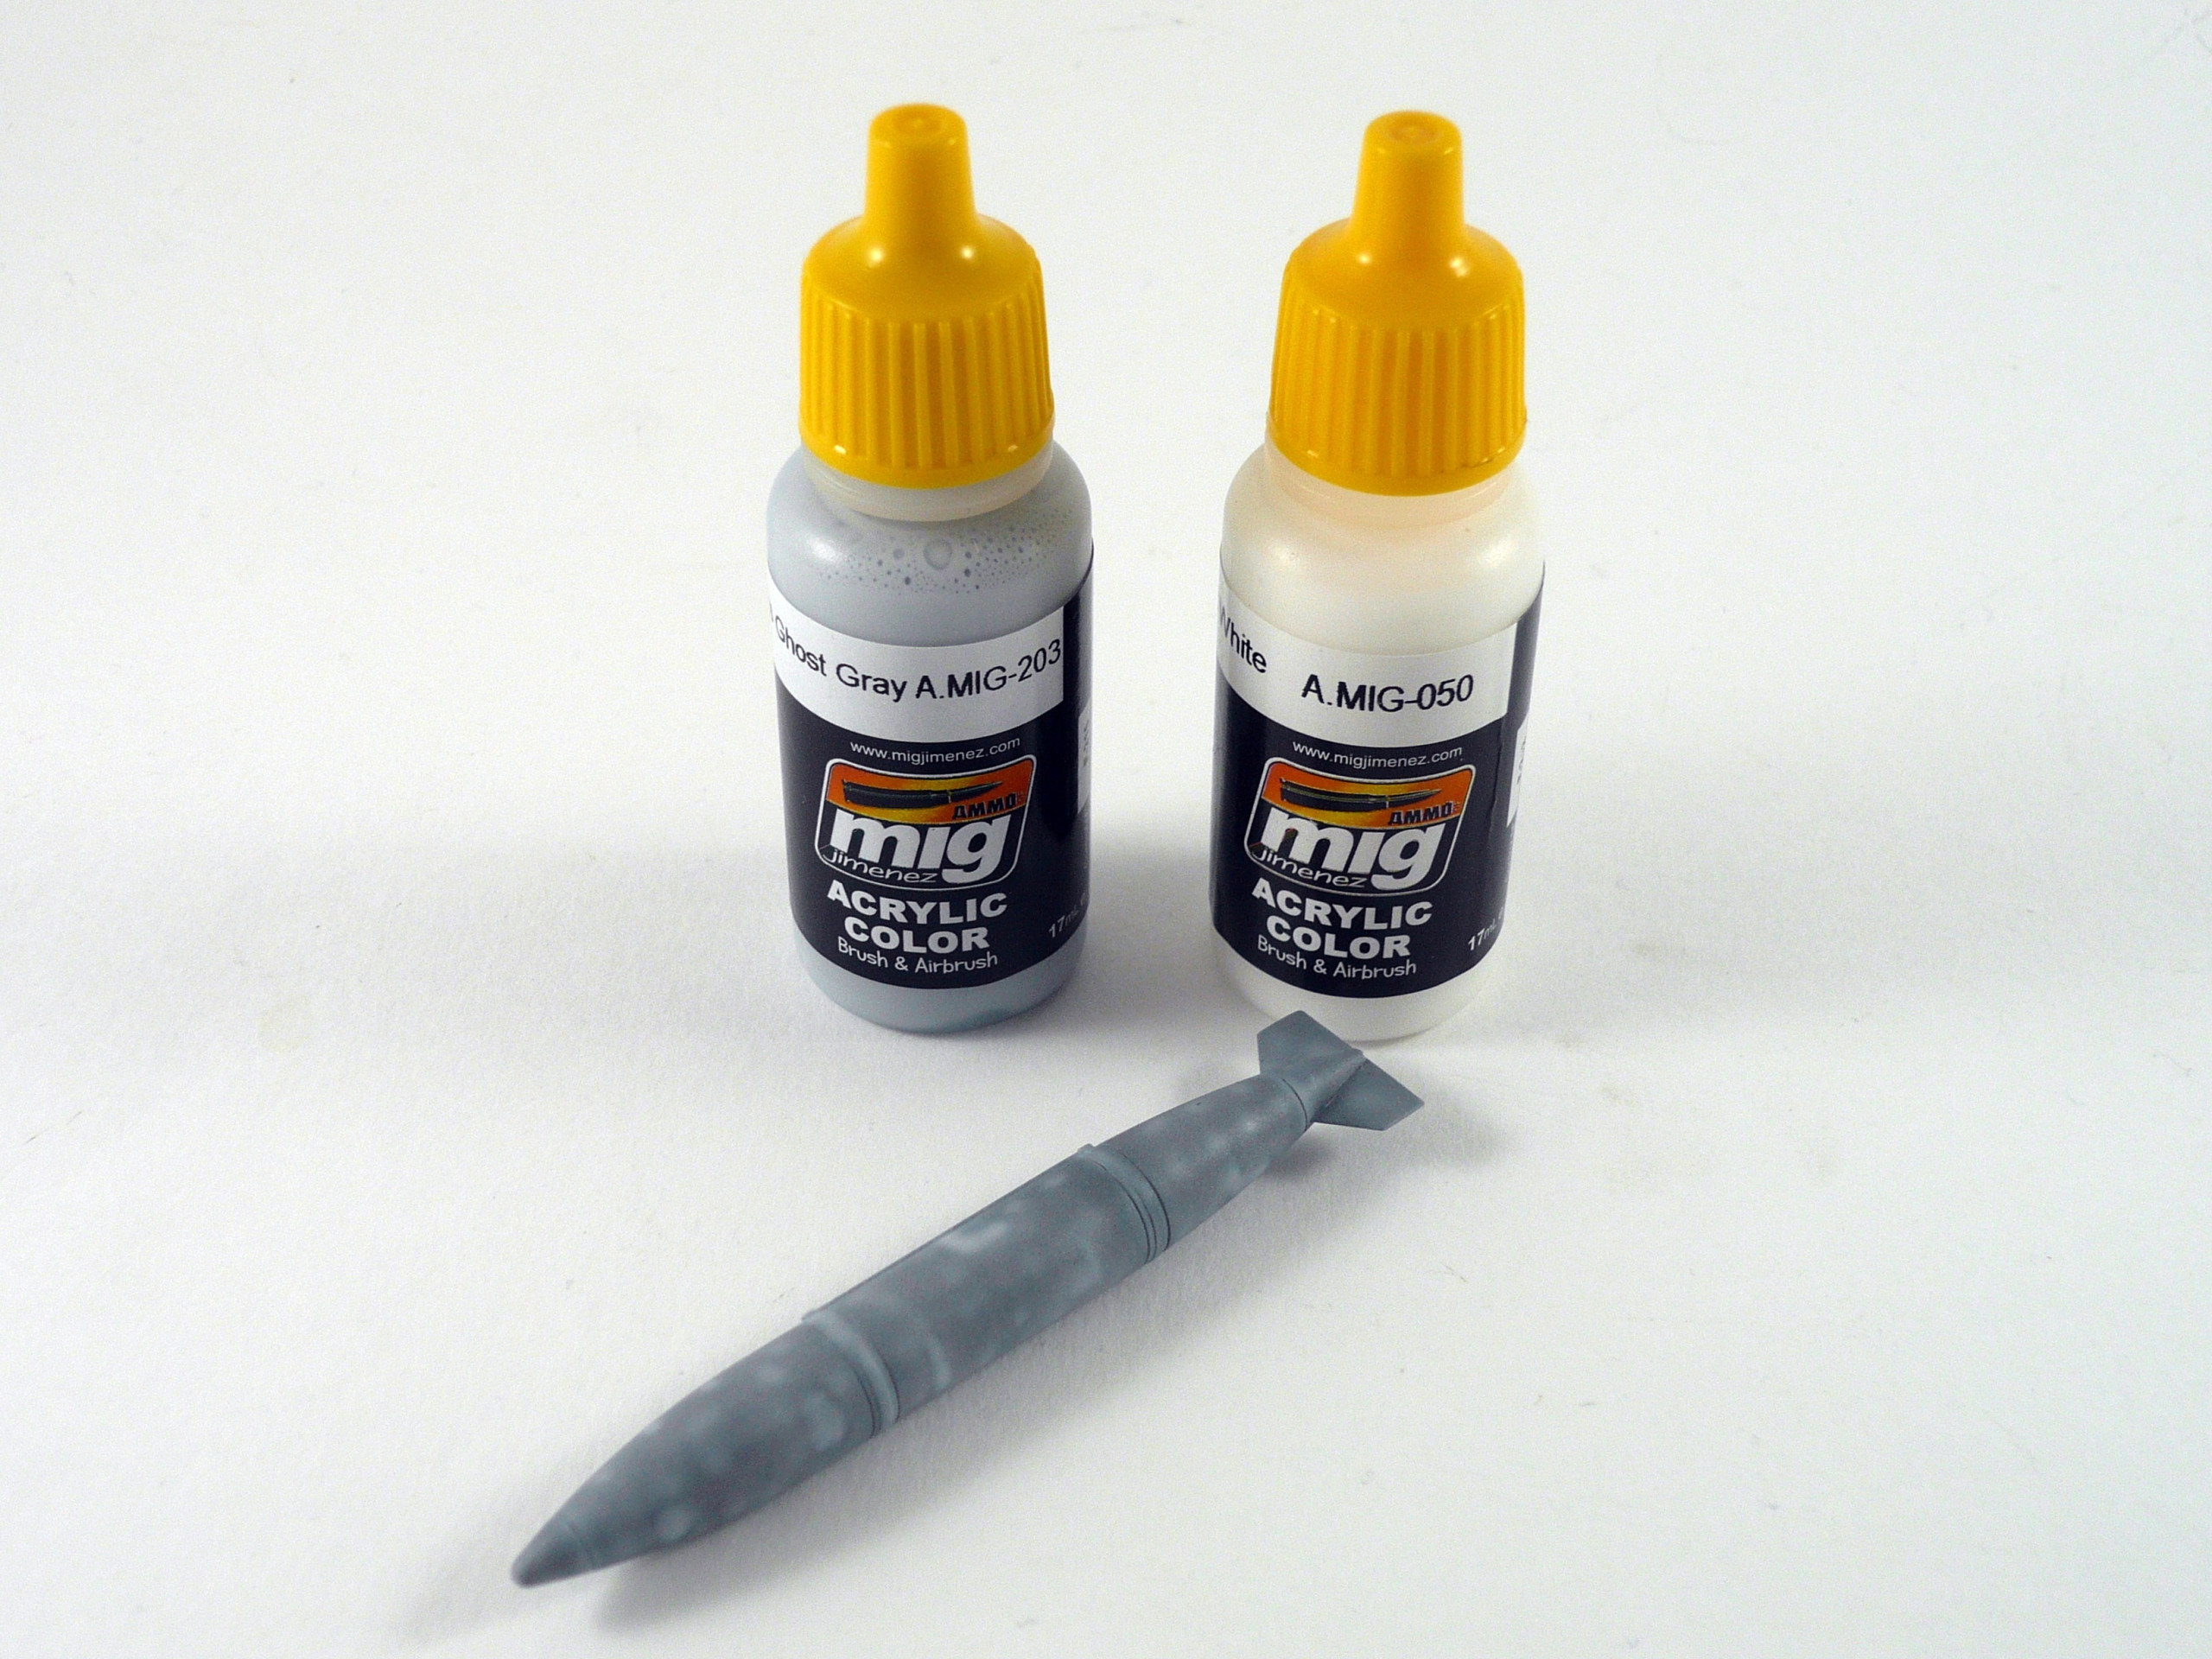
The tank painted in gray tones…First we sprayed it with white primer (pic 14). Then we gave it preshade using tire&rubber color from ammo (pic 15). After that we sprayed it with compass ghost gray from ammo (pic.16) and gave it a dark filter with medium gunship gray from ammo range (pic.17). Last step is to give it some highlights and patterns using a mix of ghost gray and white and an overall filter of a light ghost gray. Then we gave it a wash to blend it all and a satin varnish.(pic.18 and final pics)
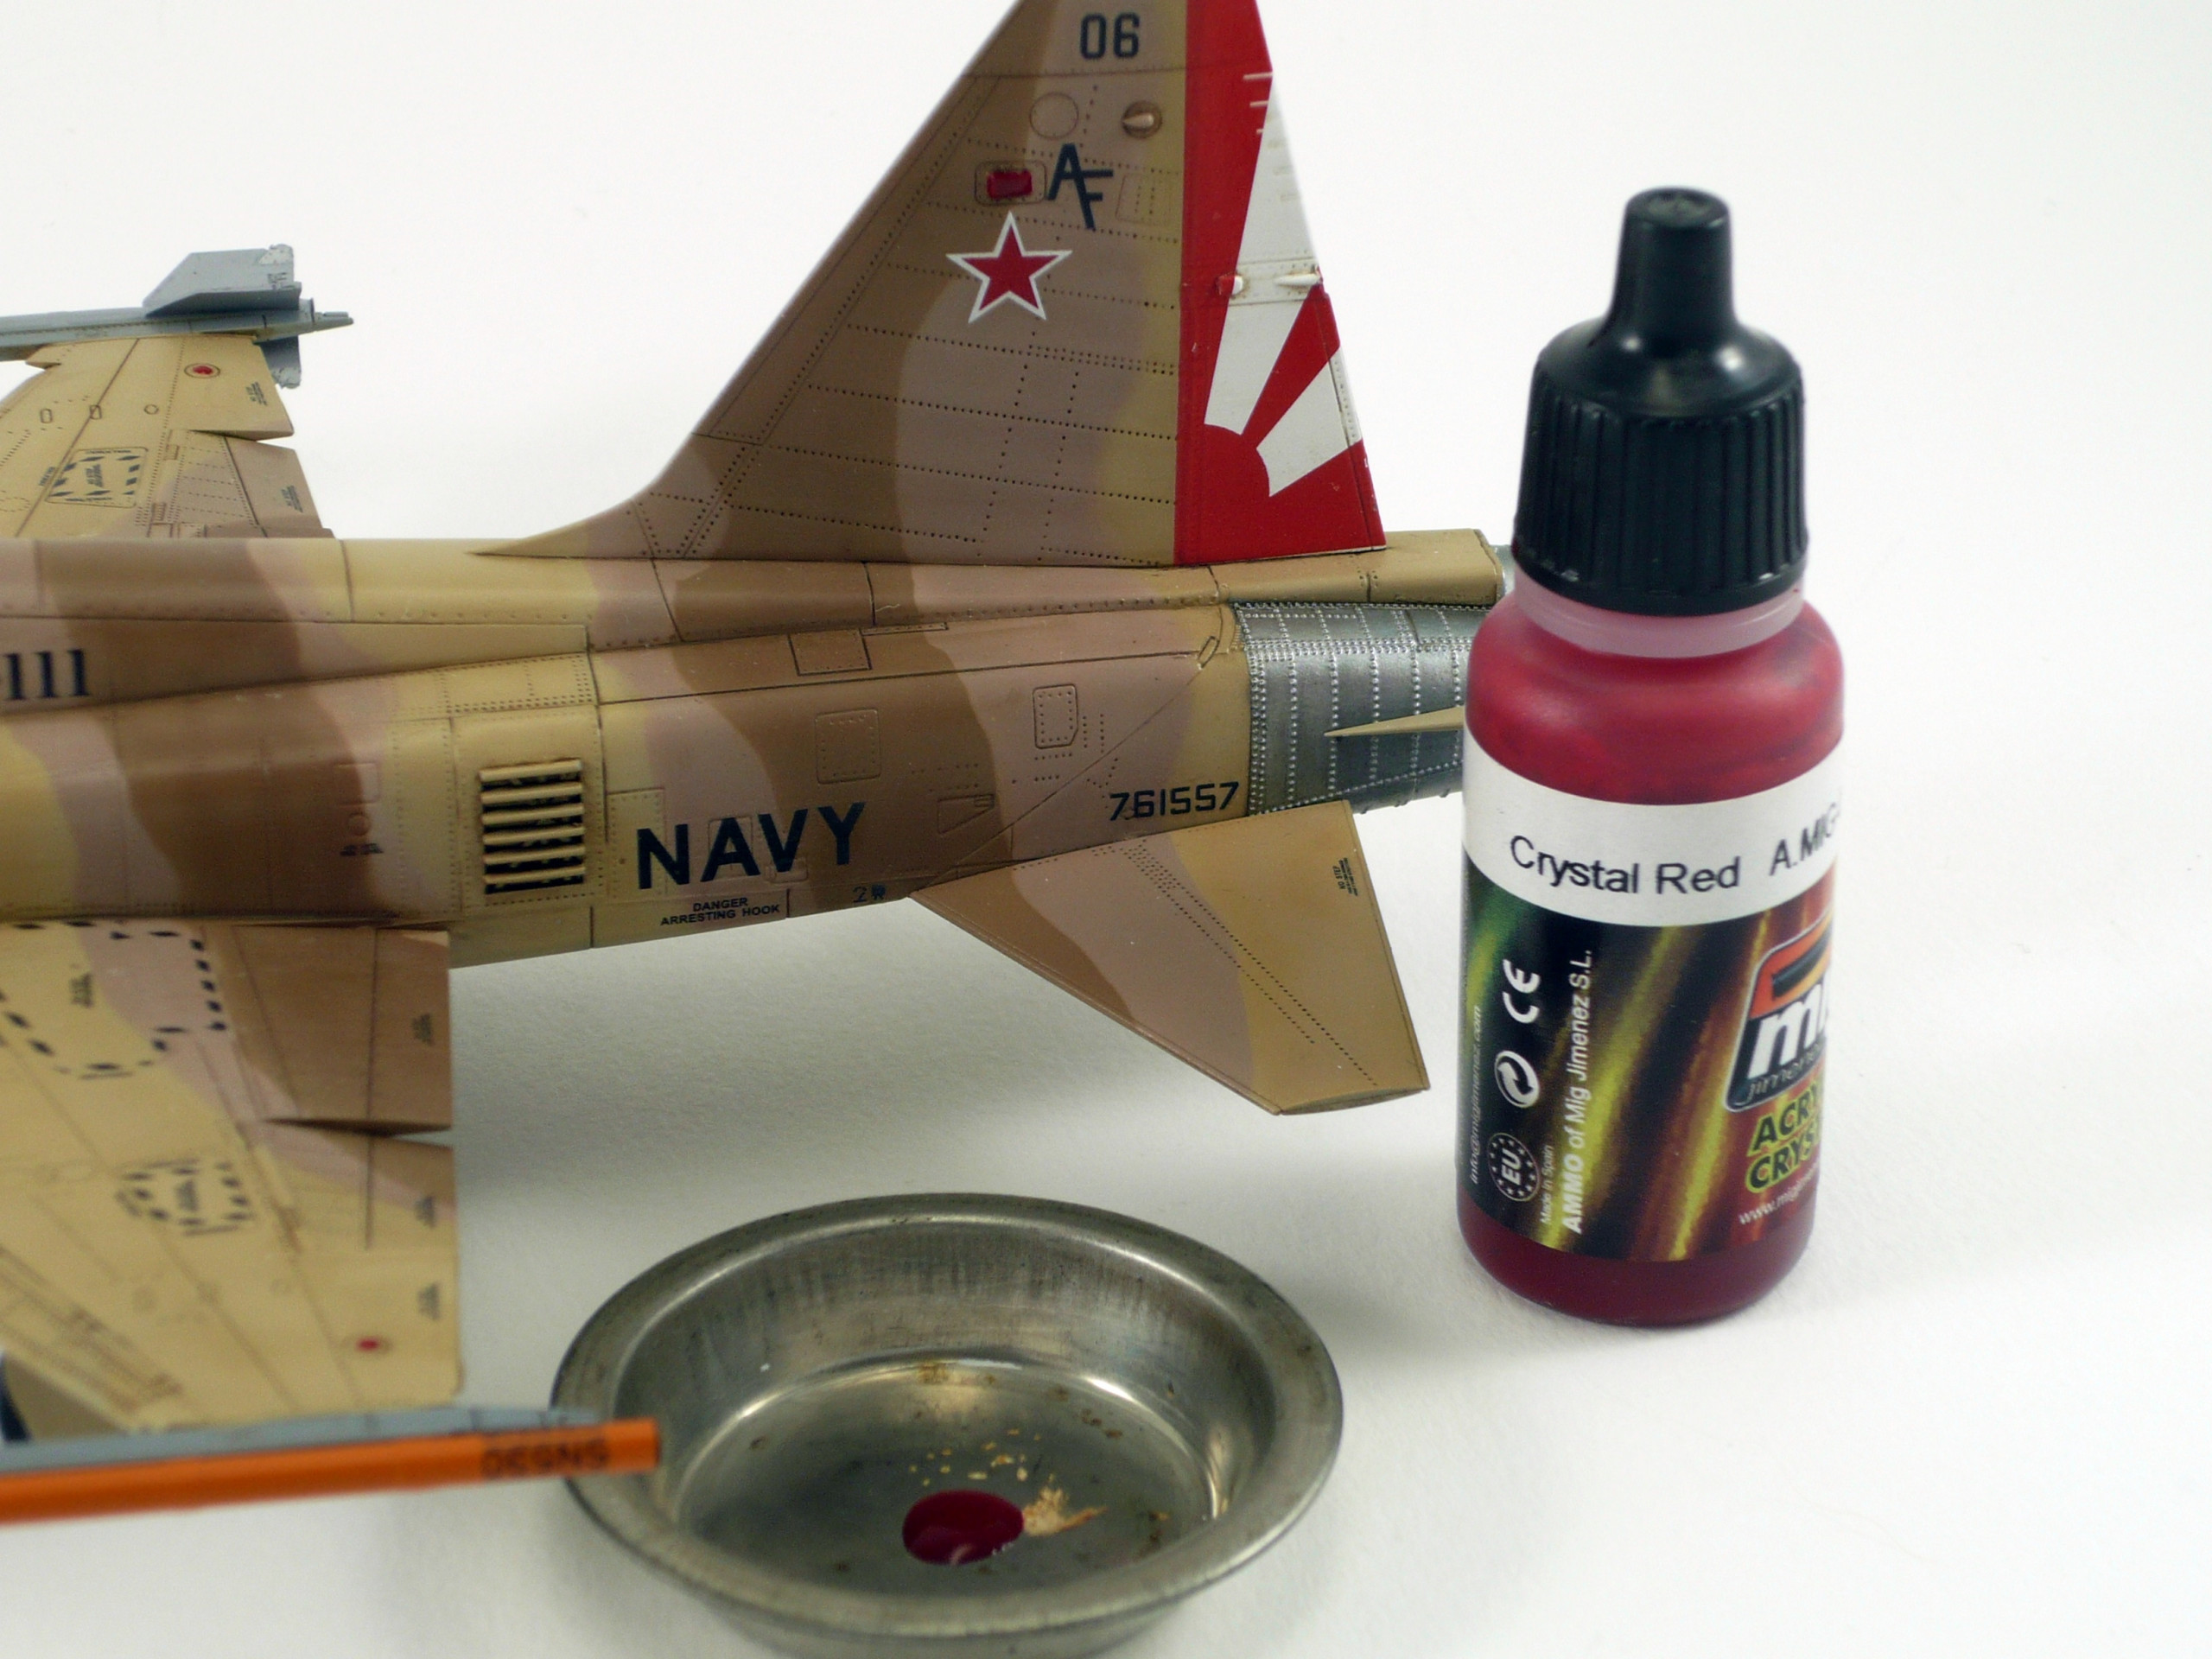
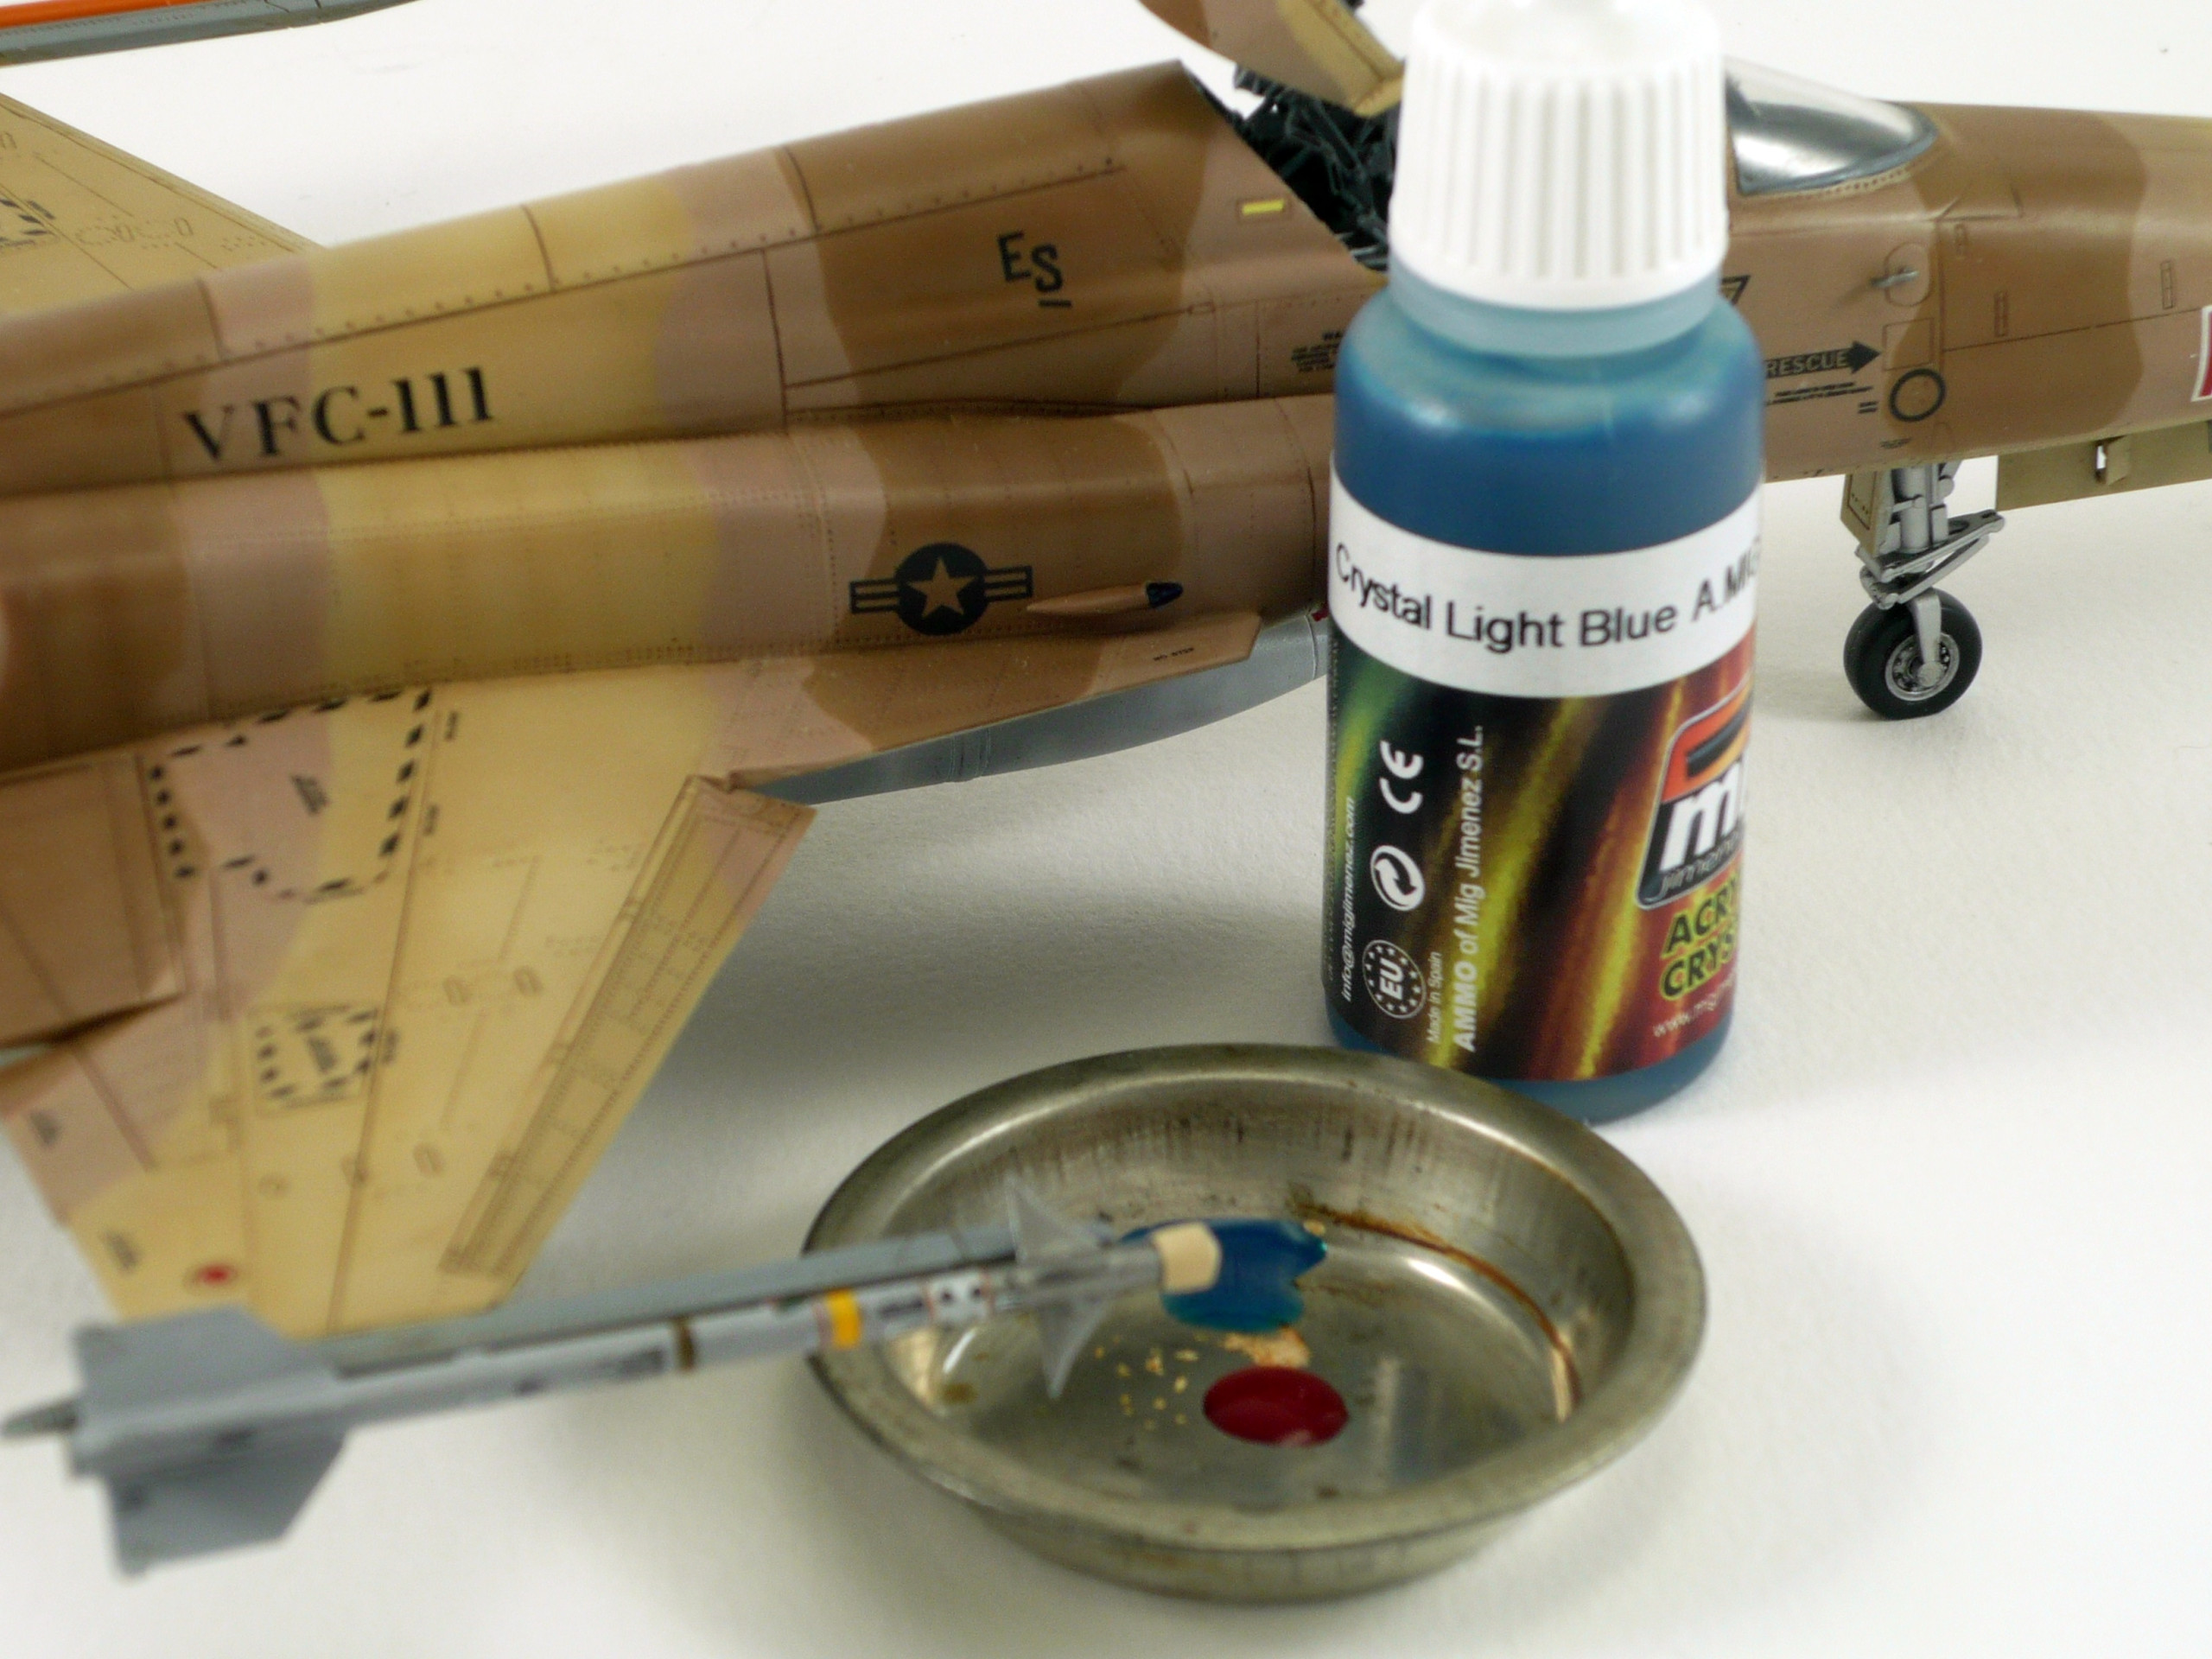
For the formation lights I used Mig Ammo’s crystal red and blue (pic.21&22)
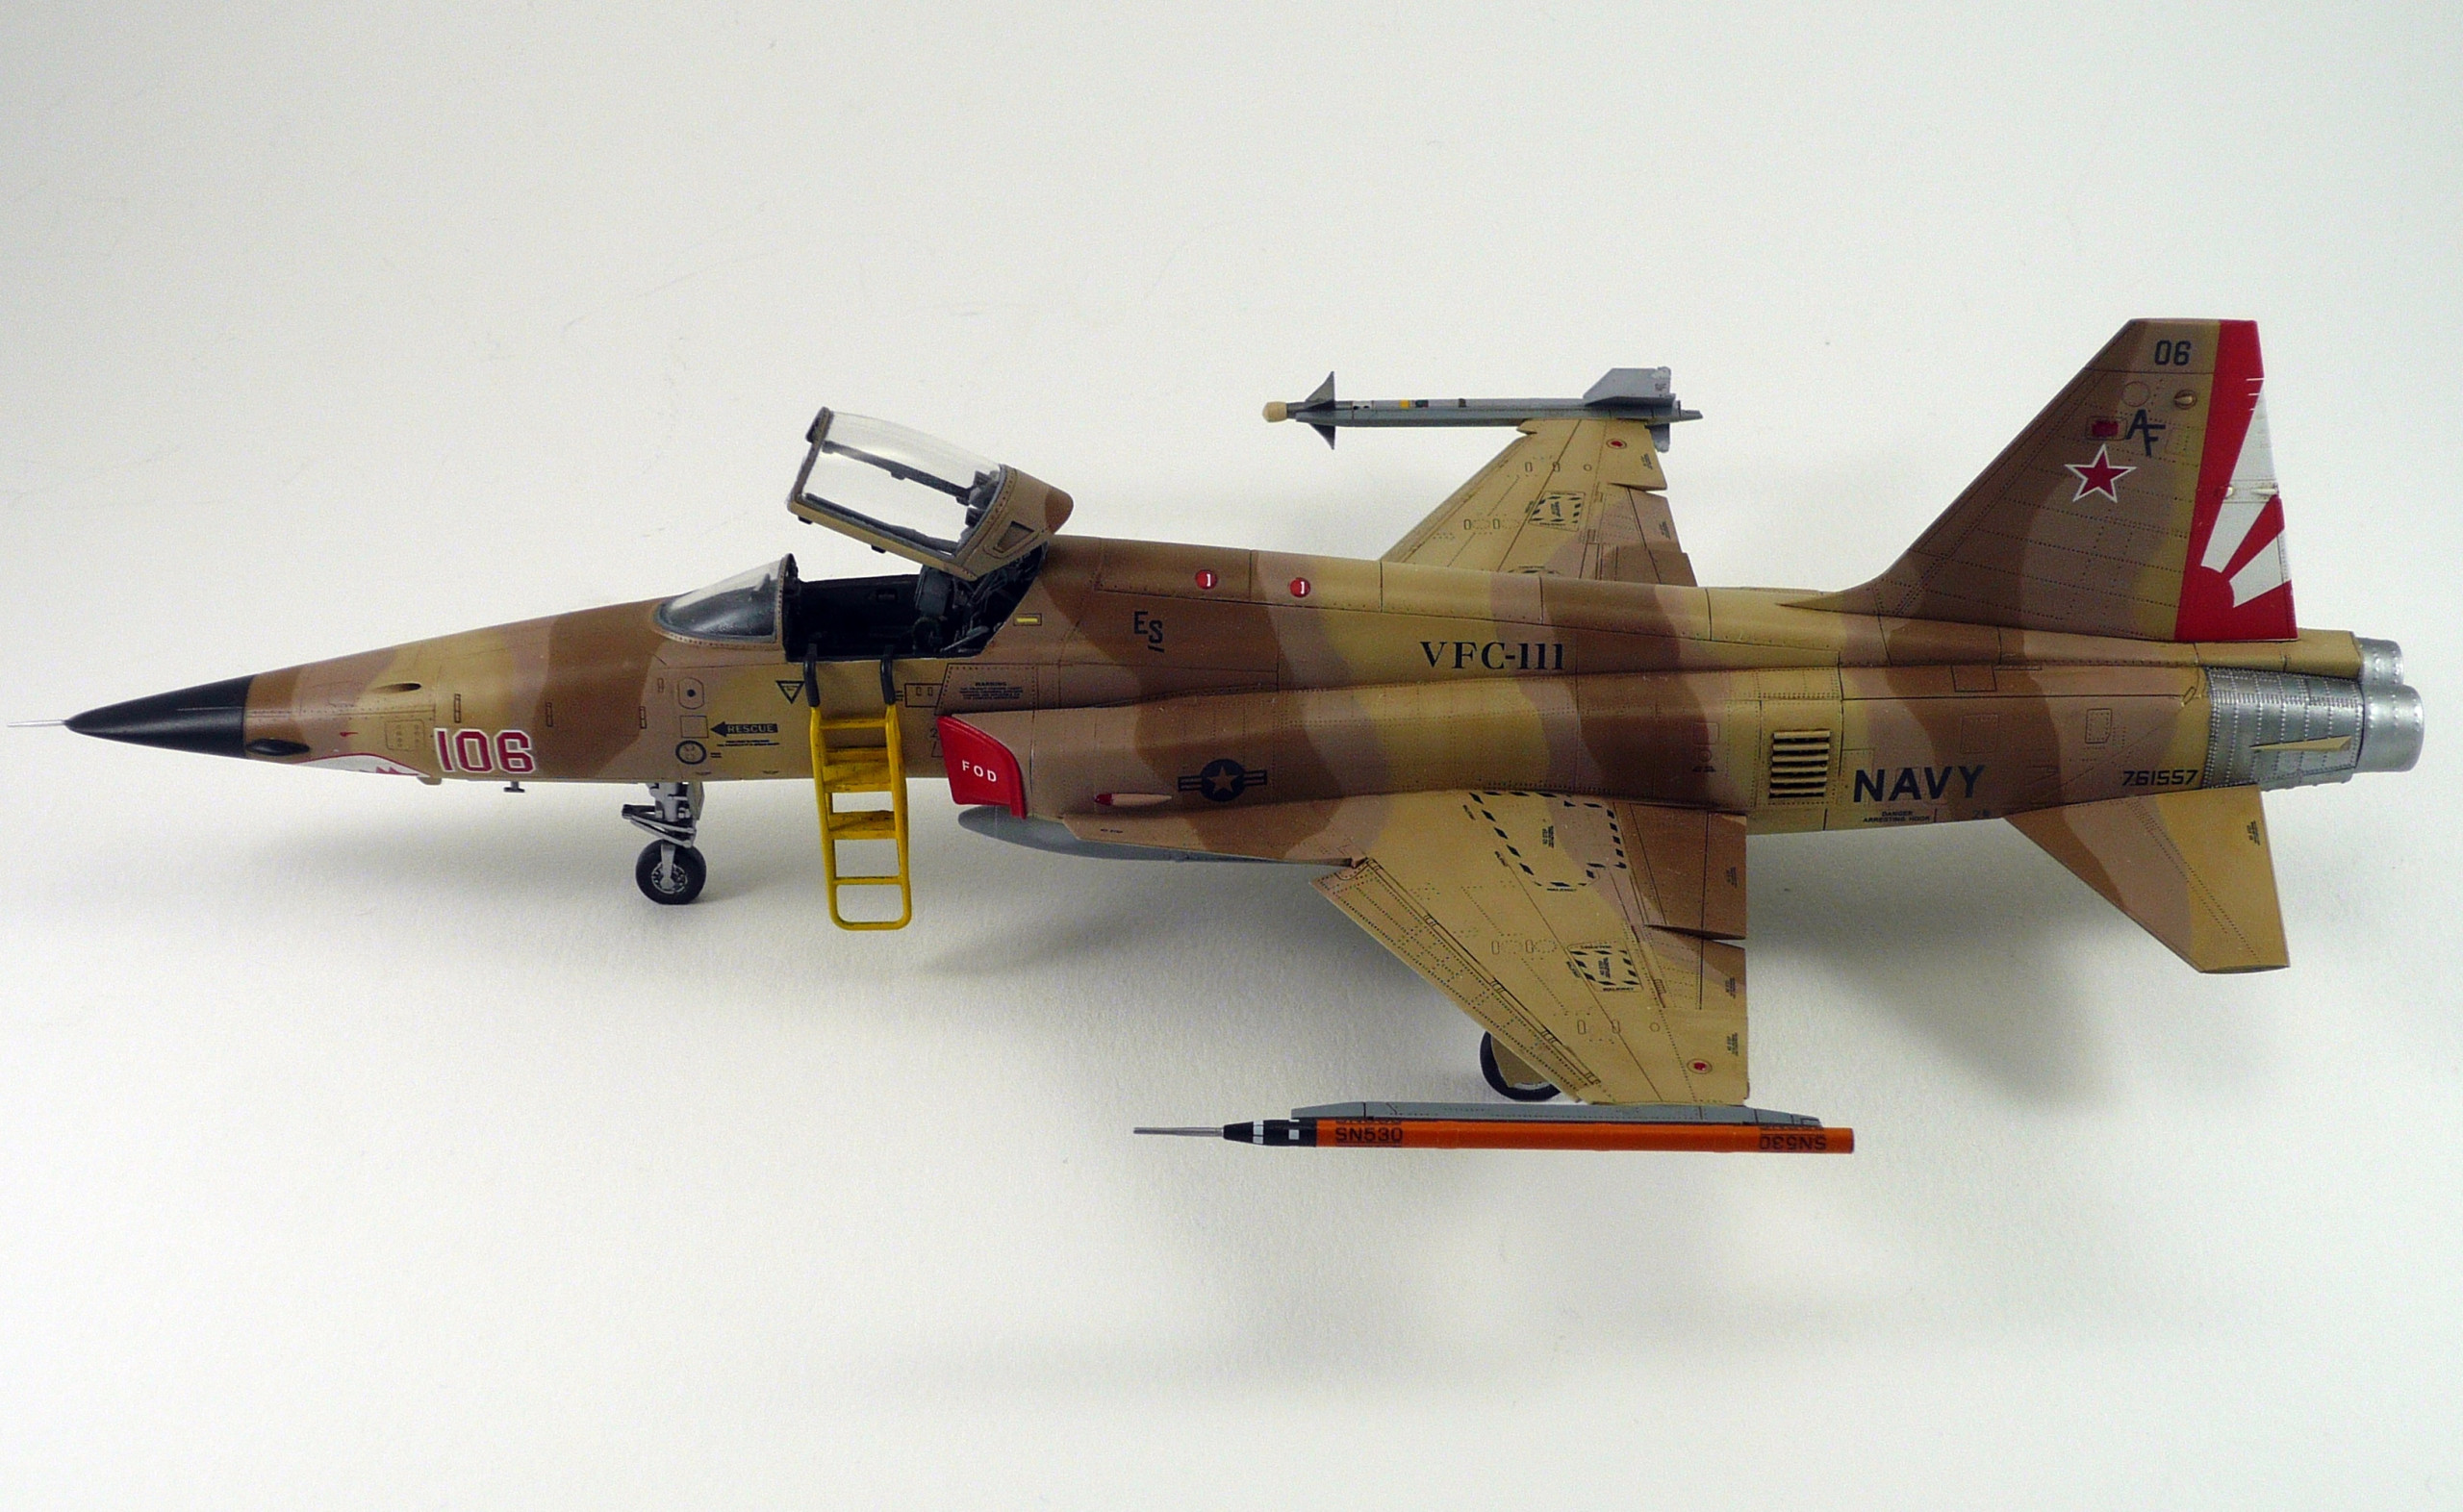
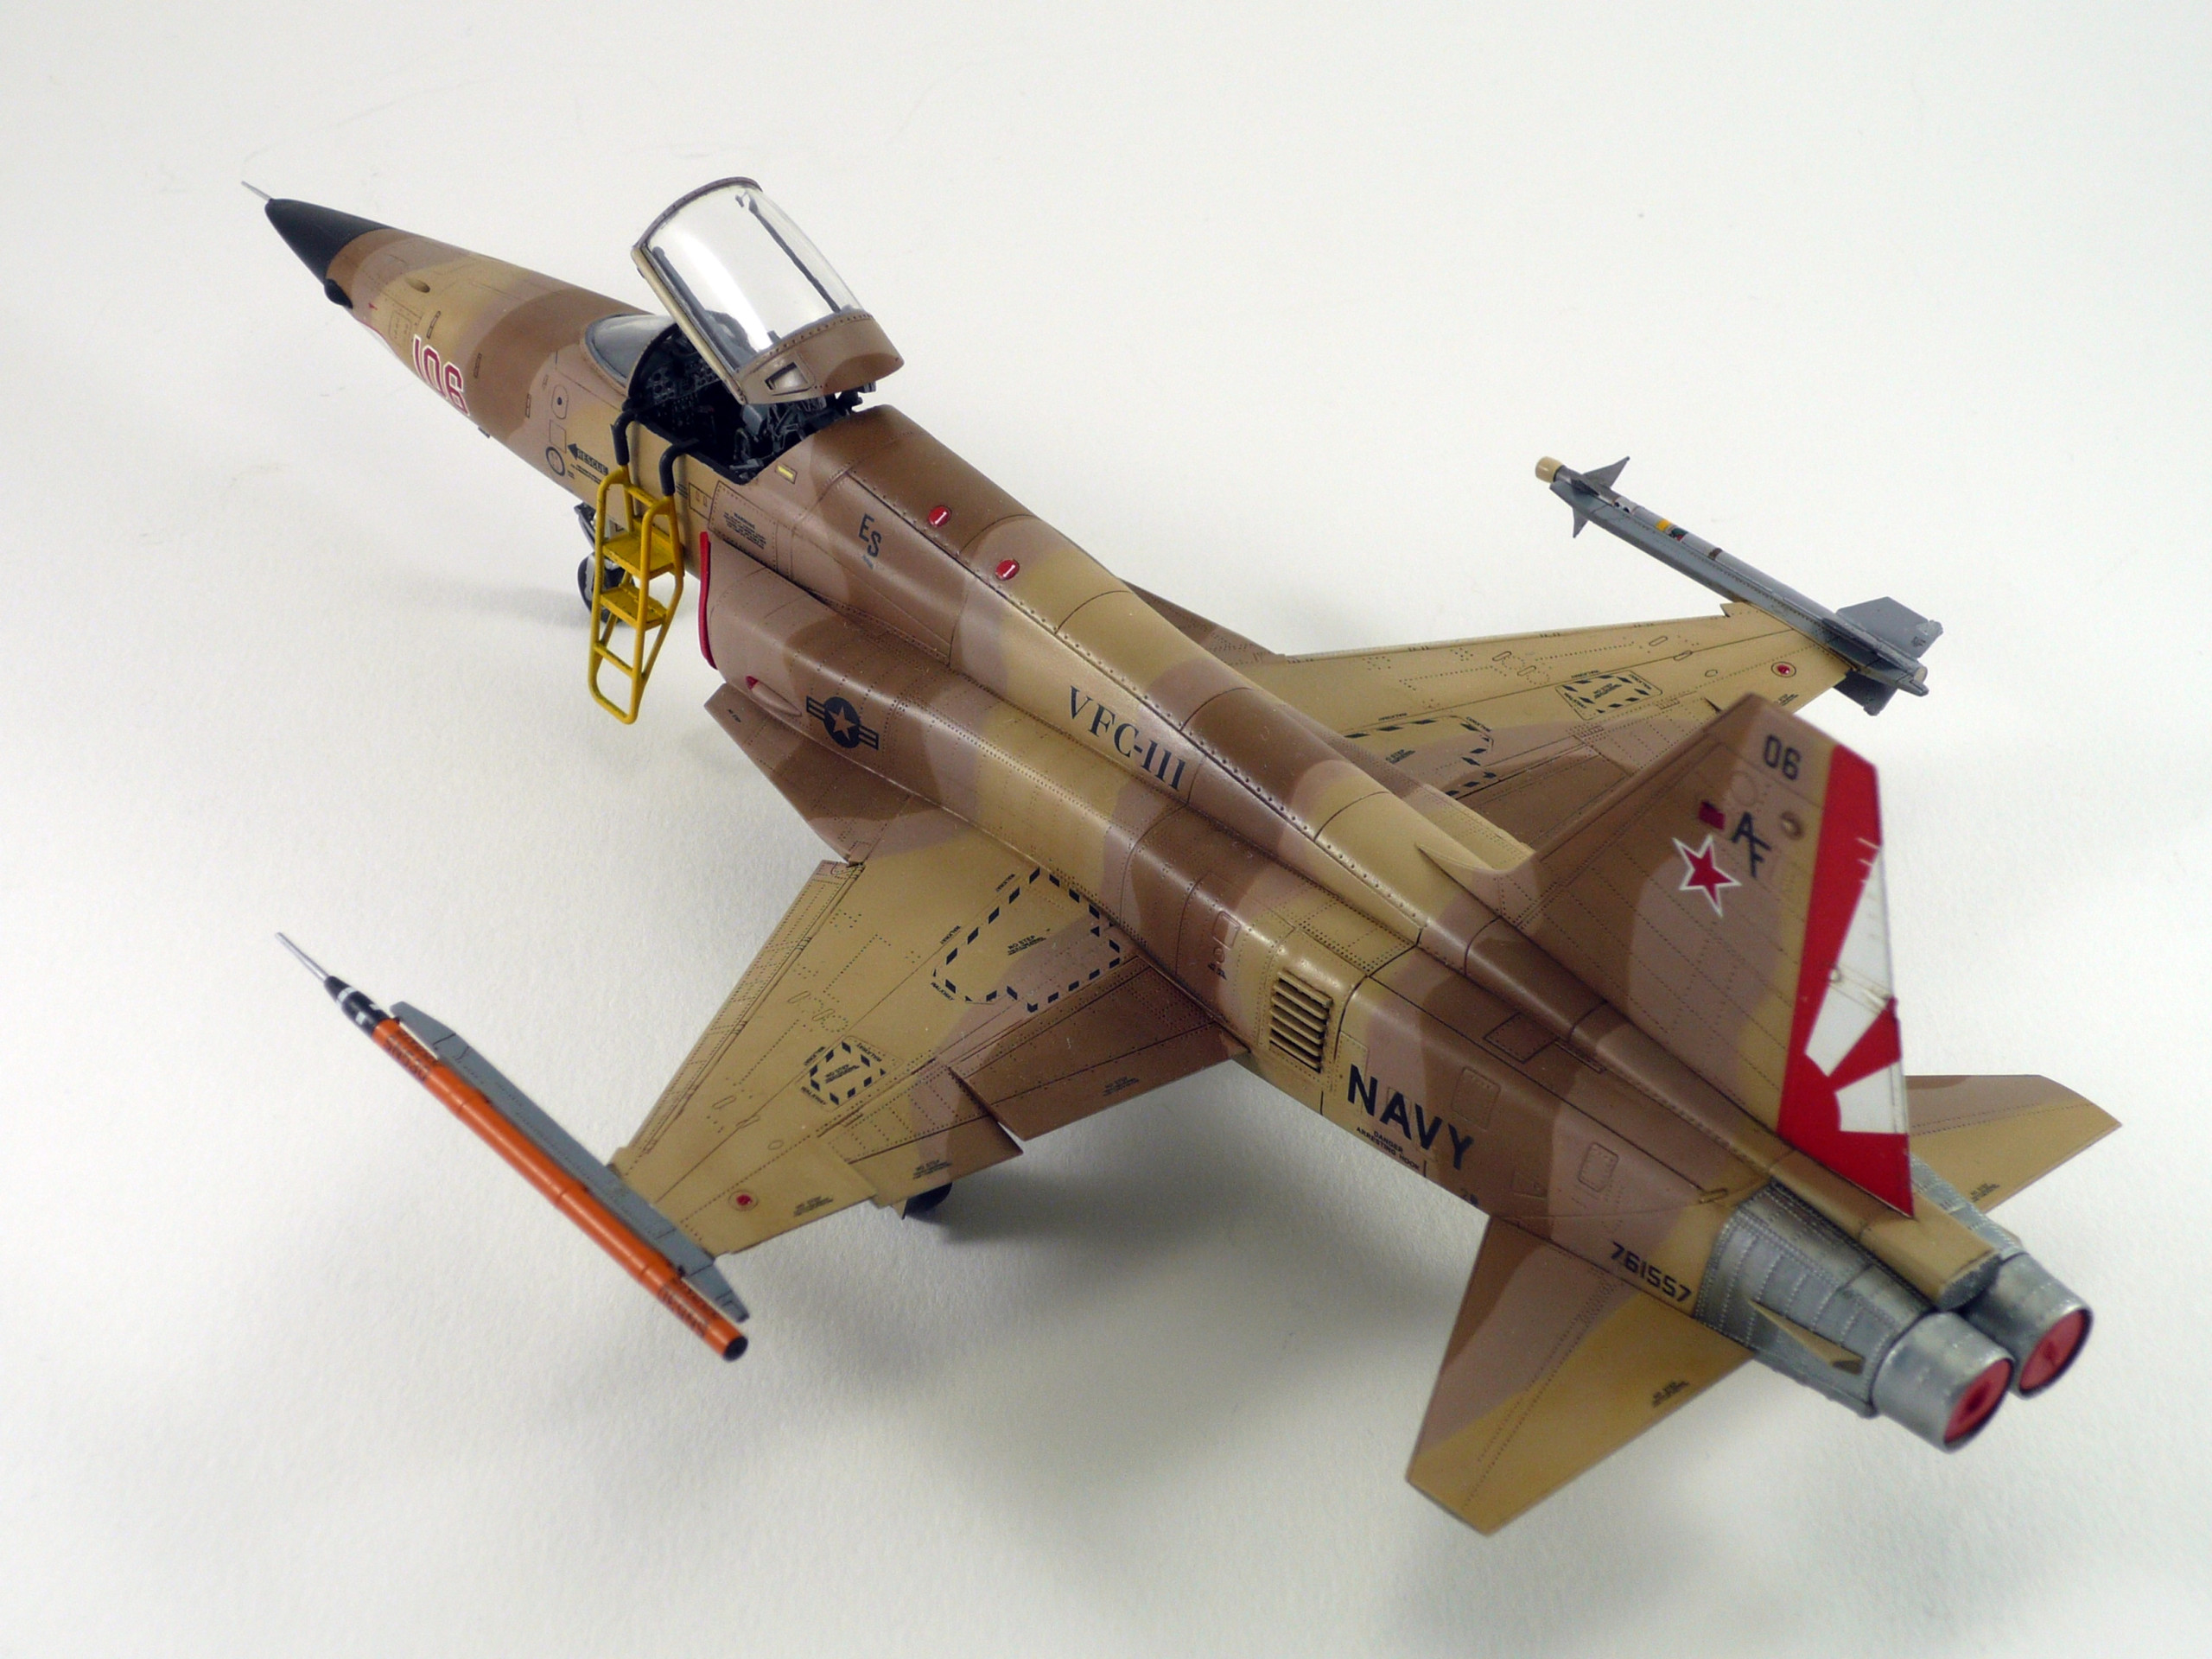
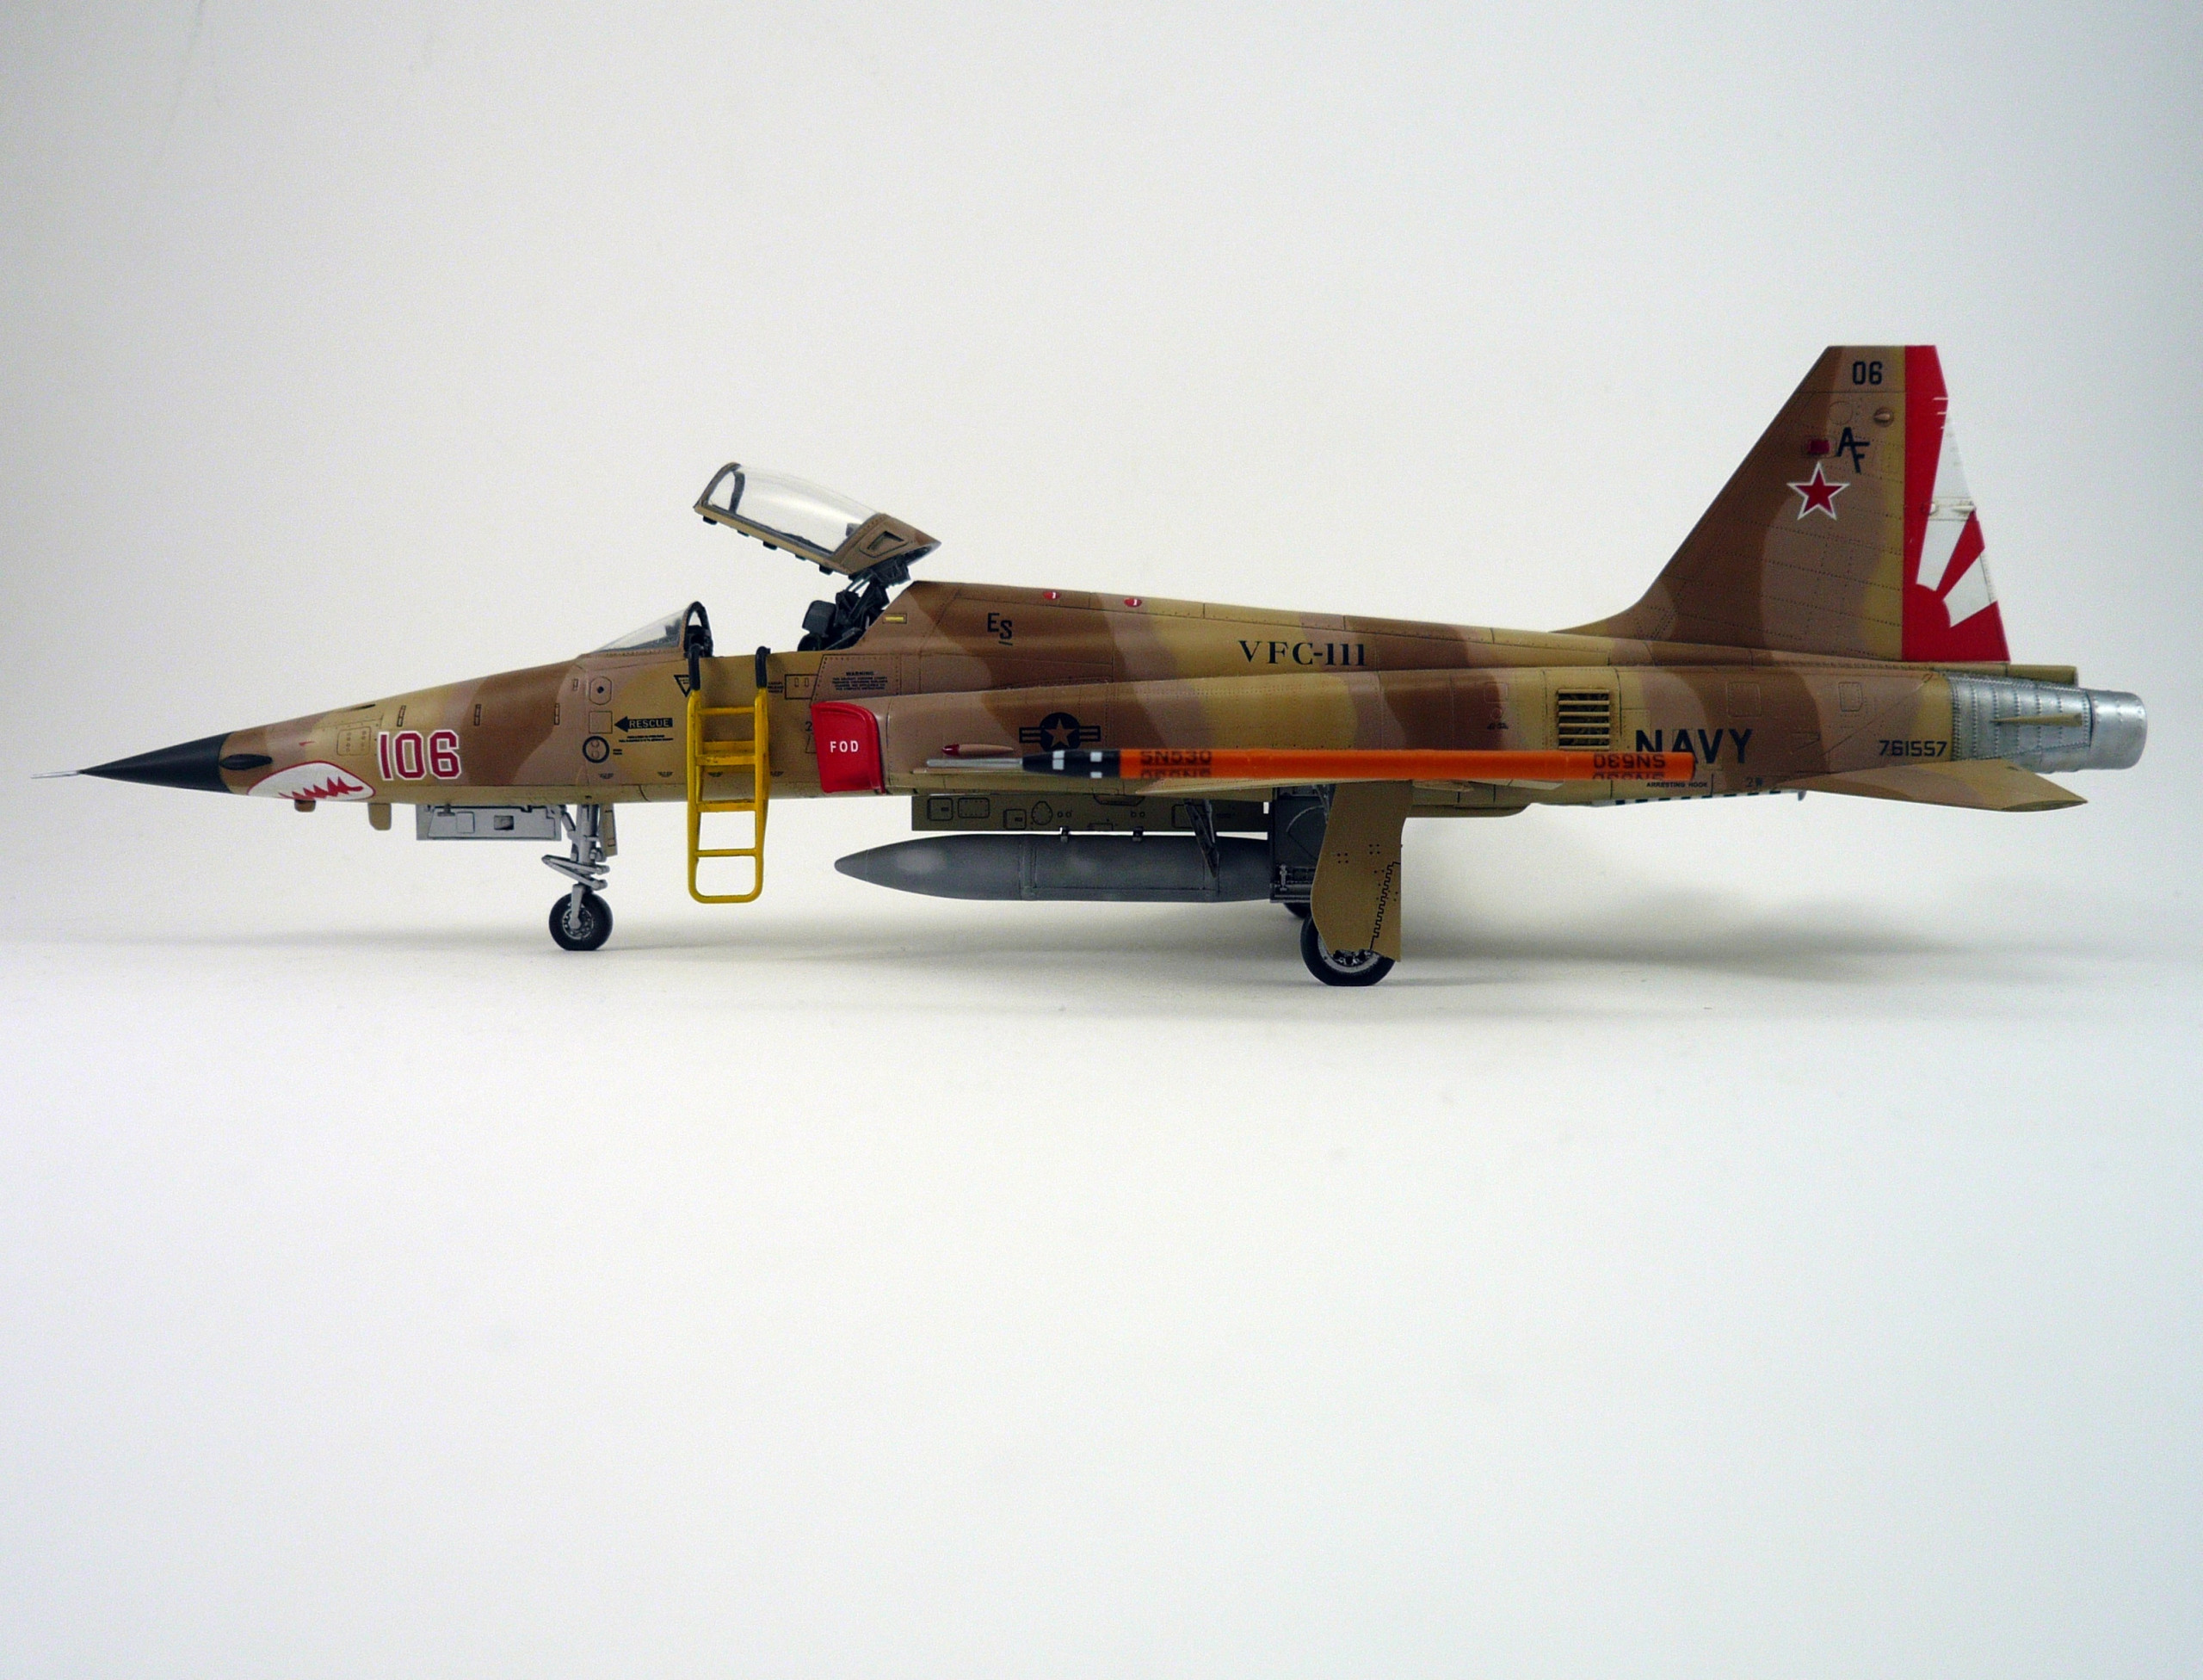
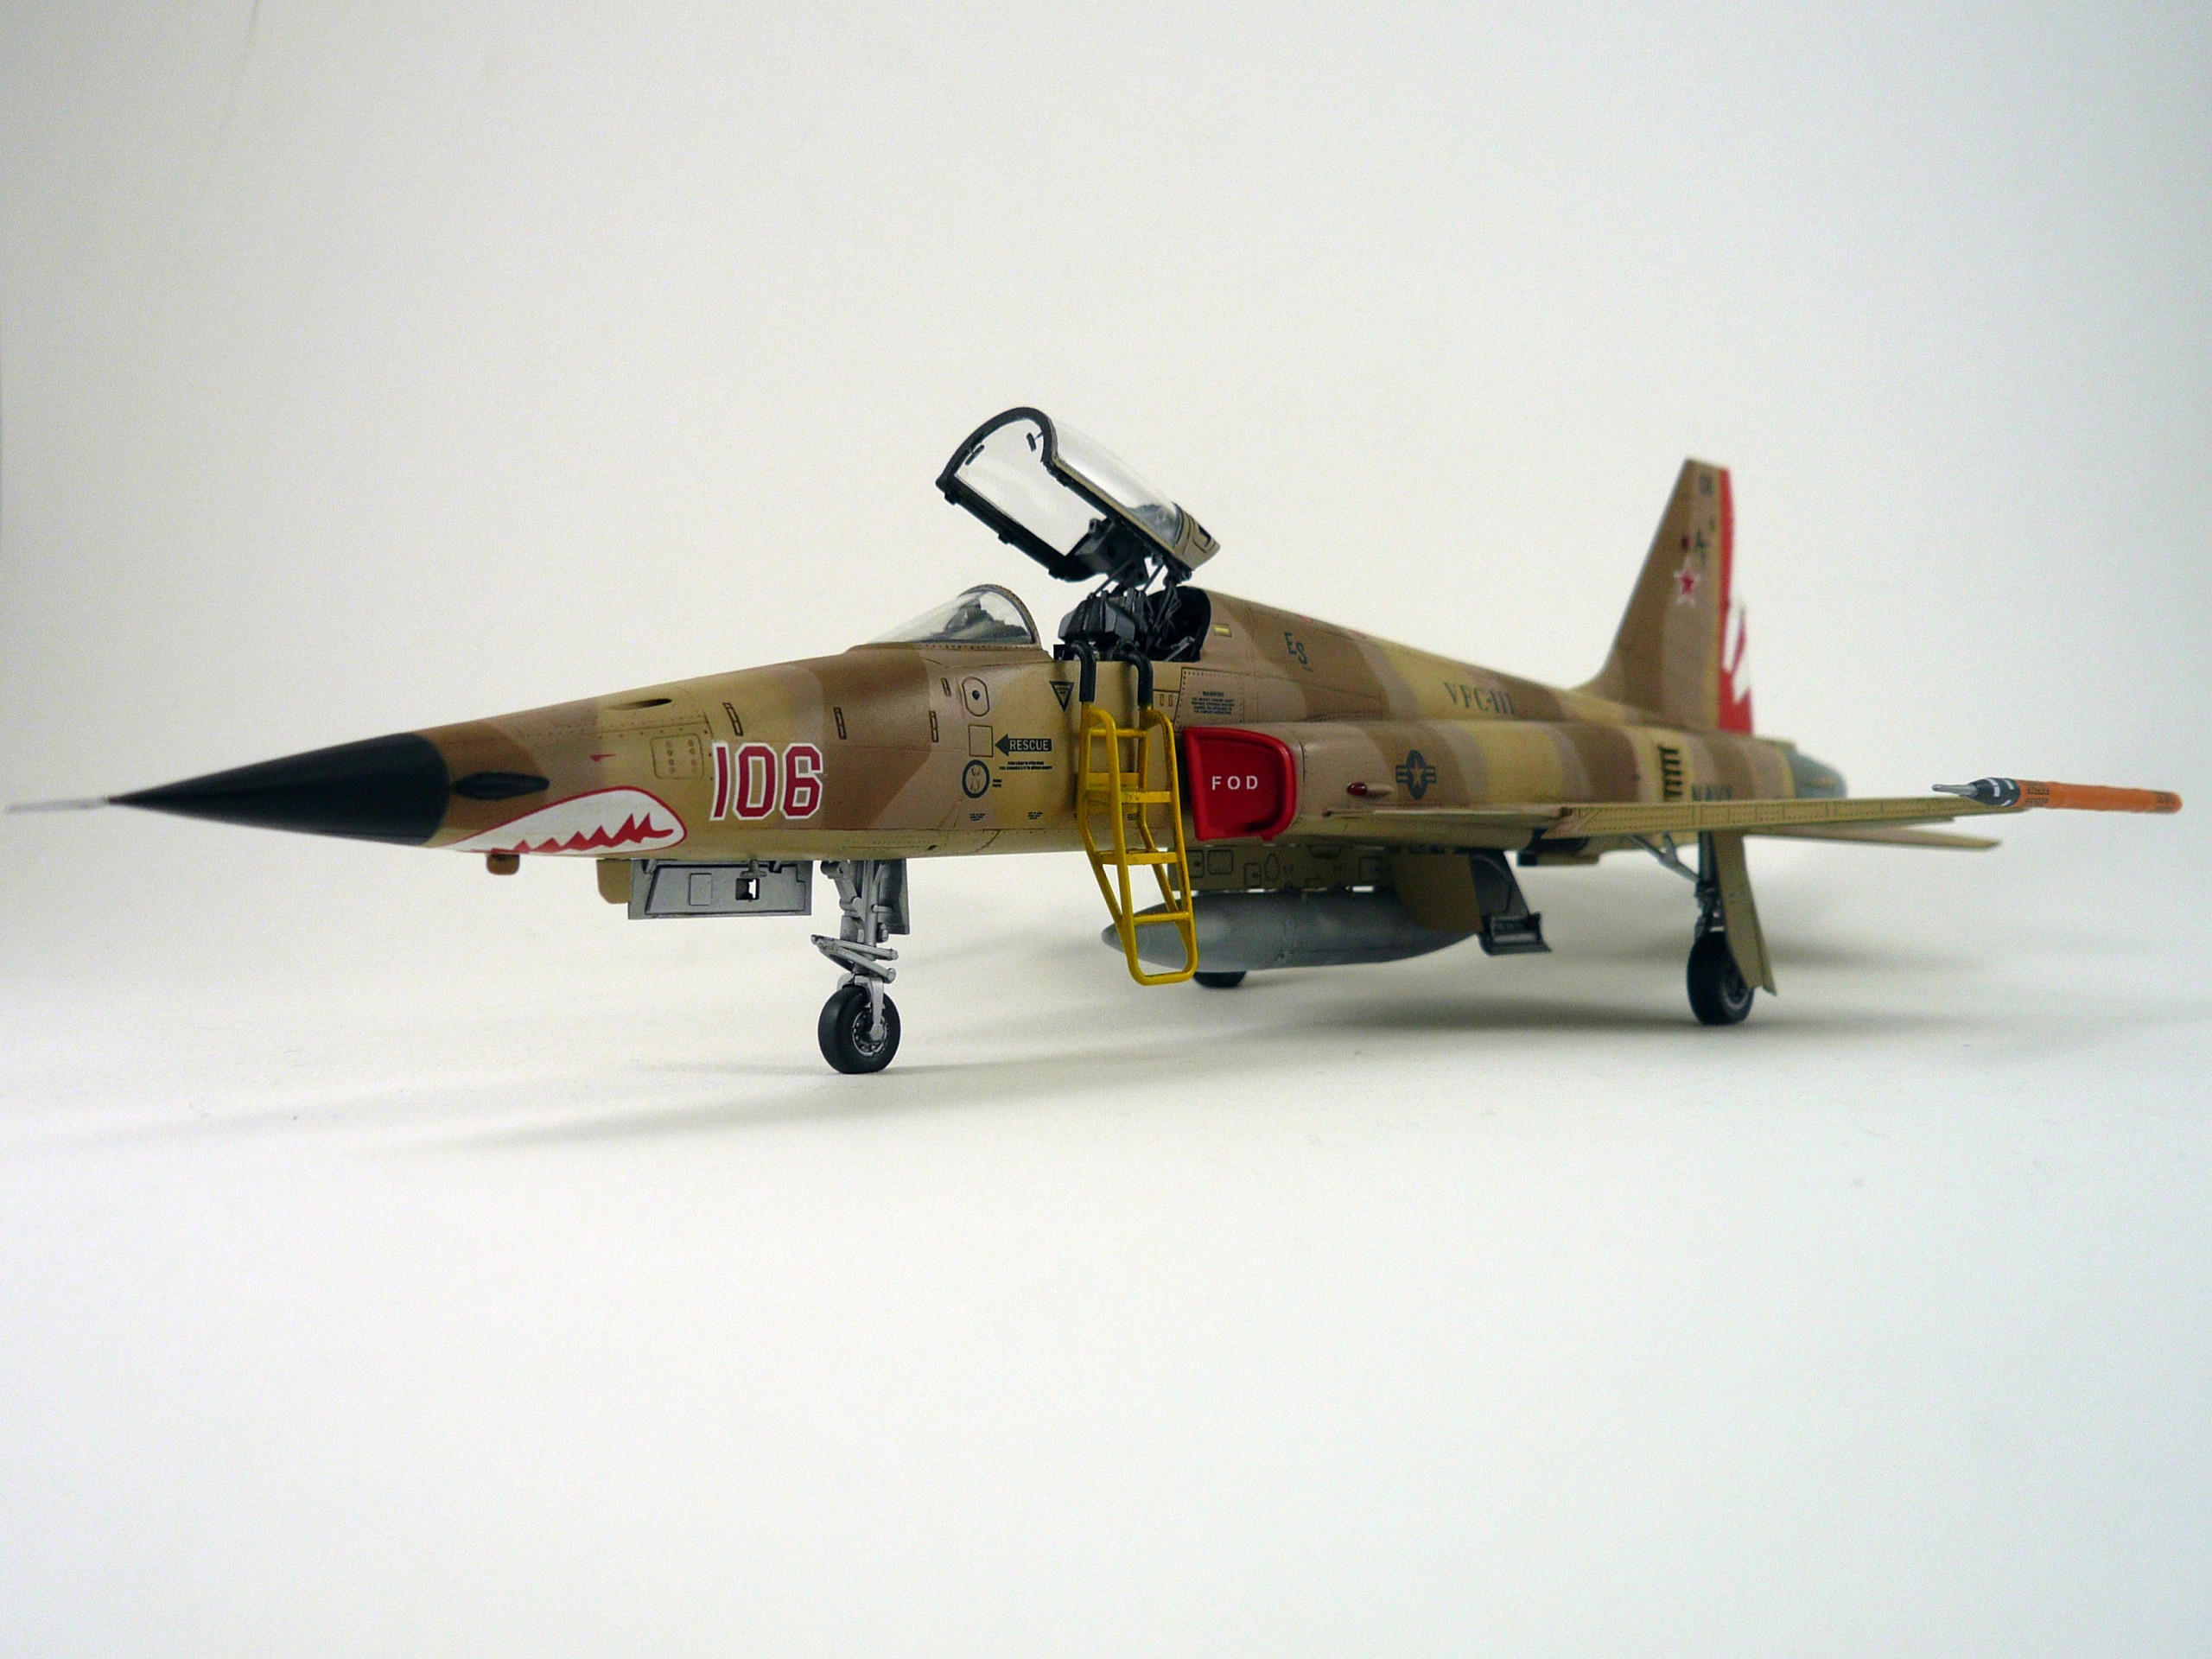
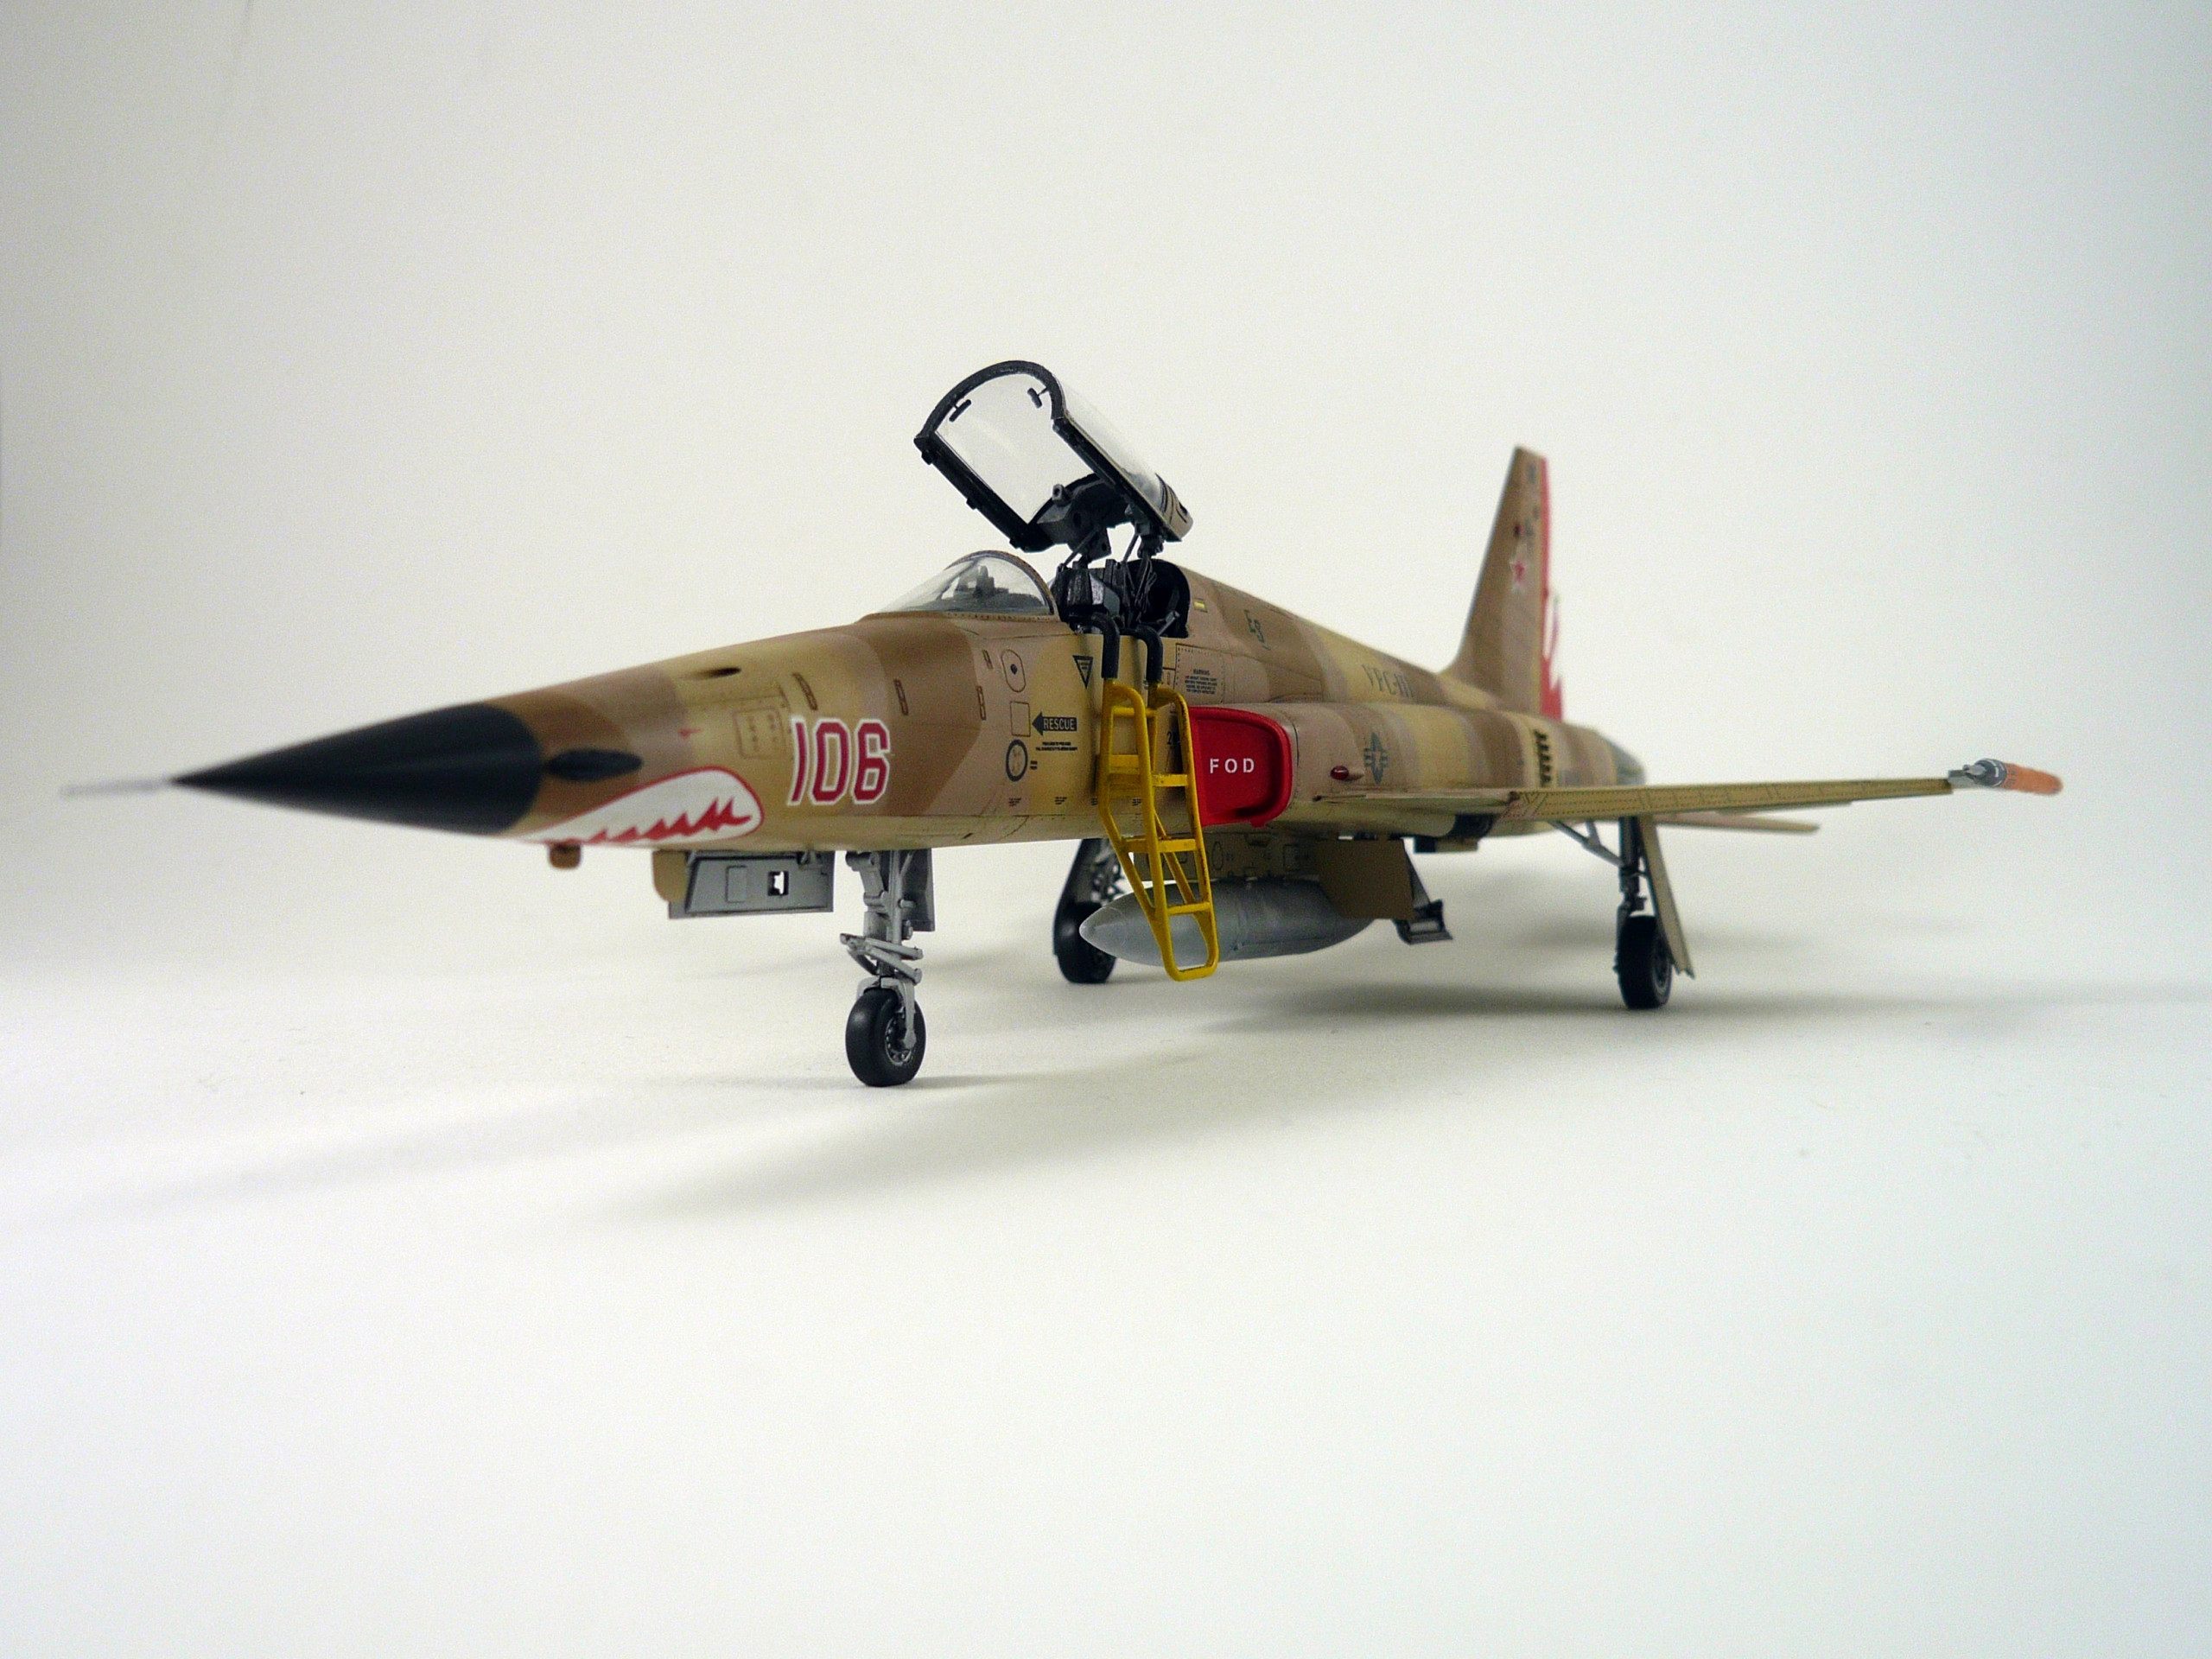
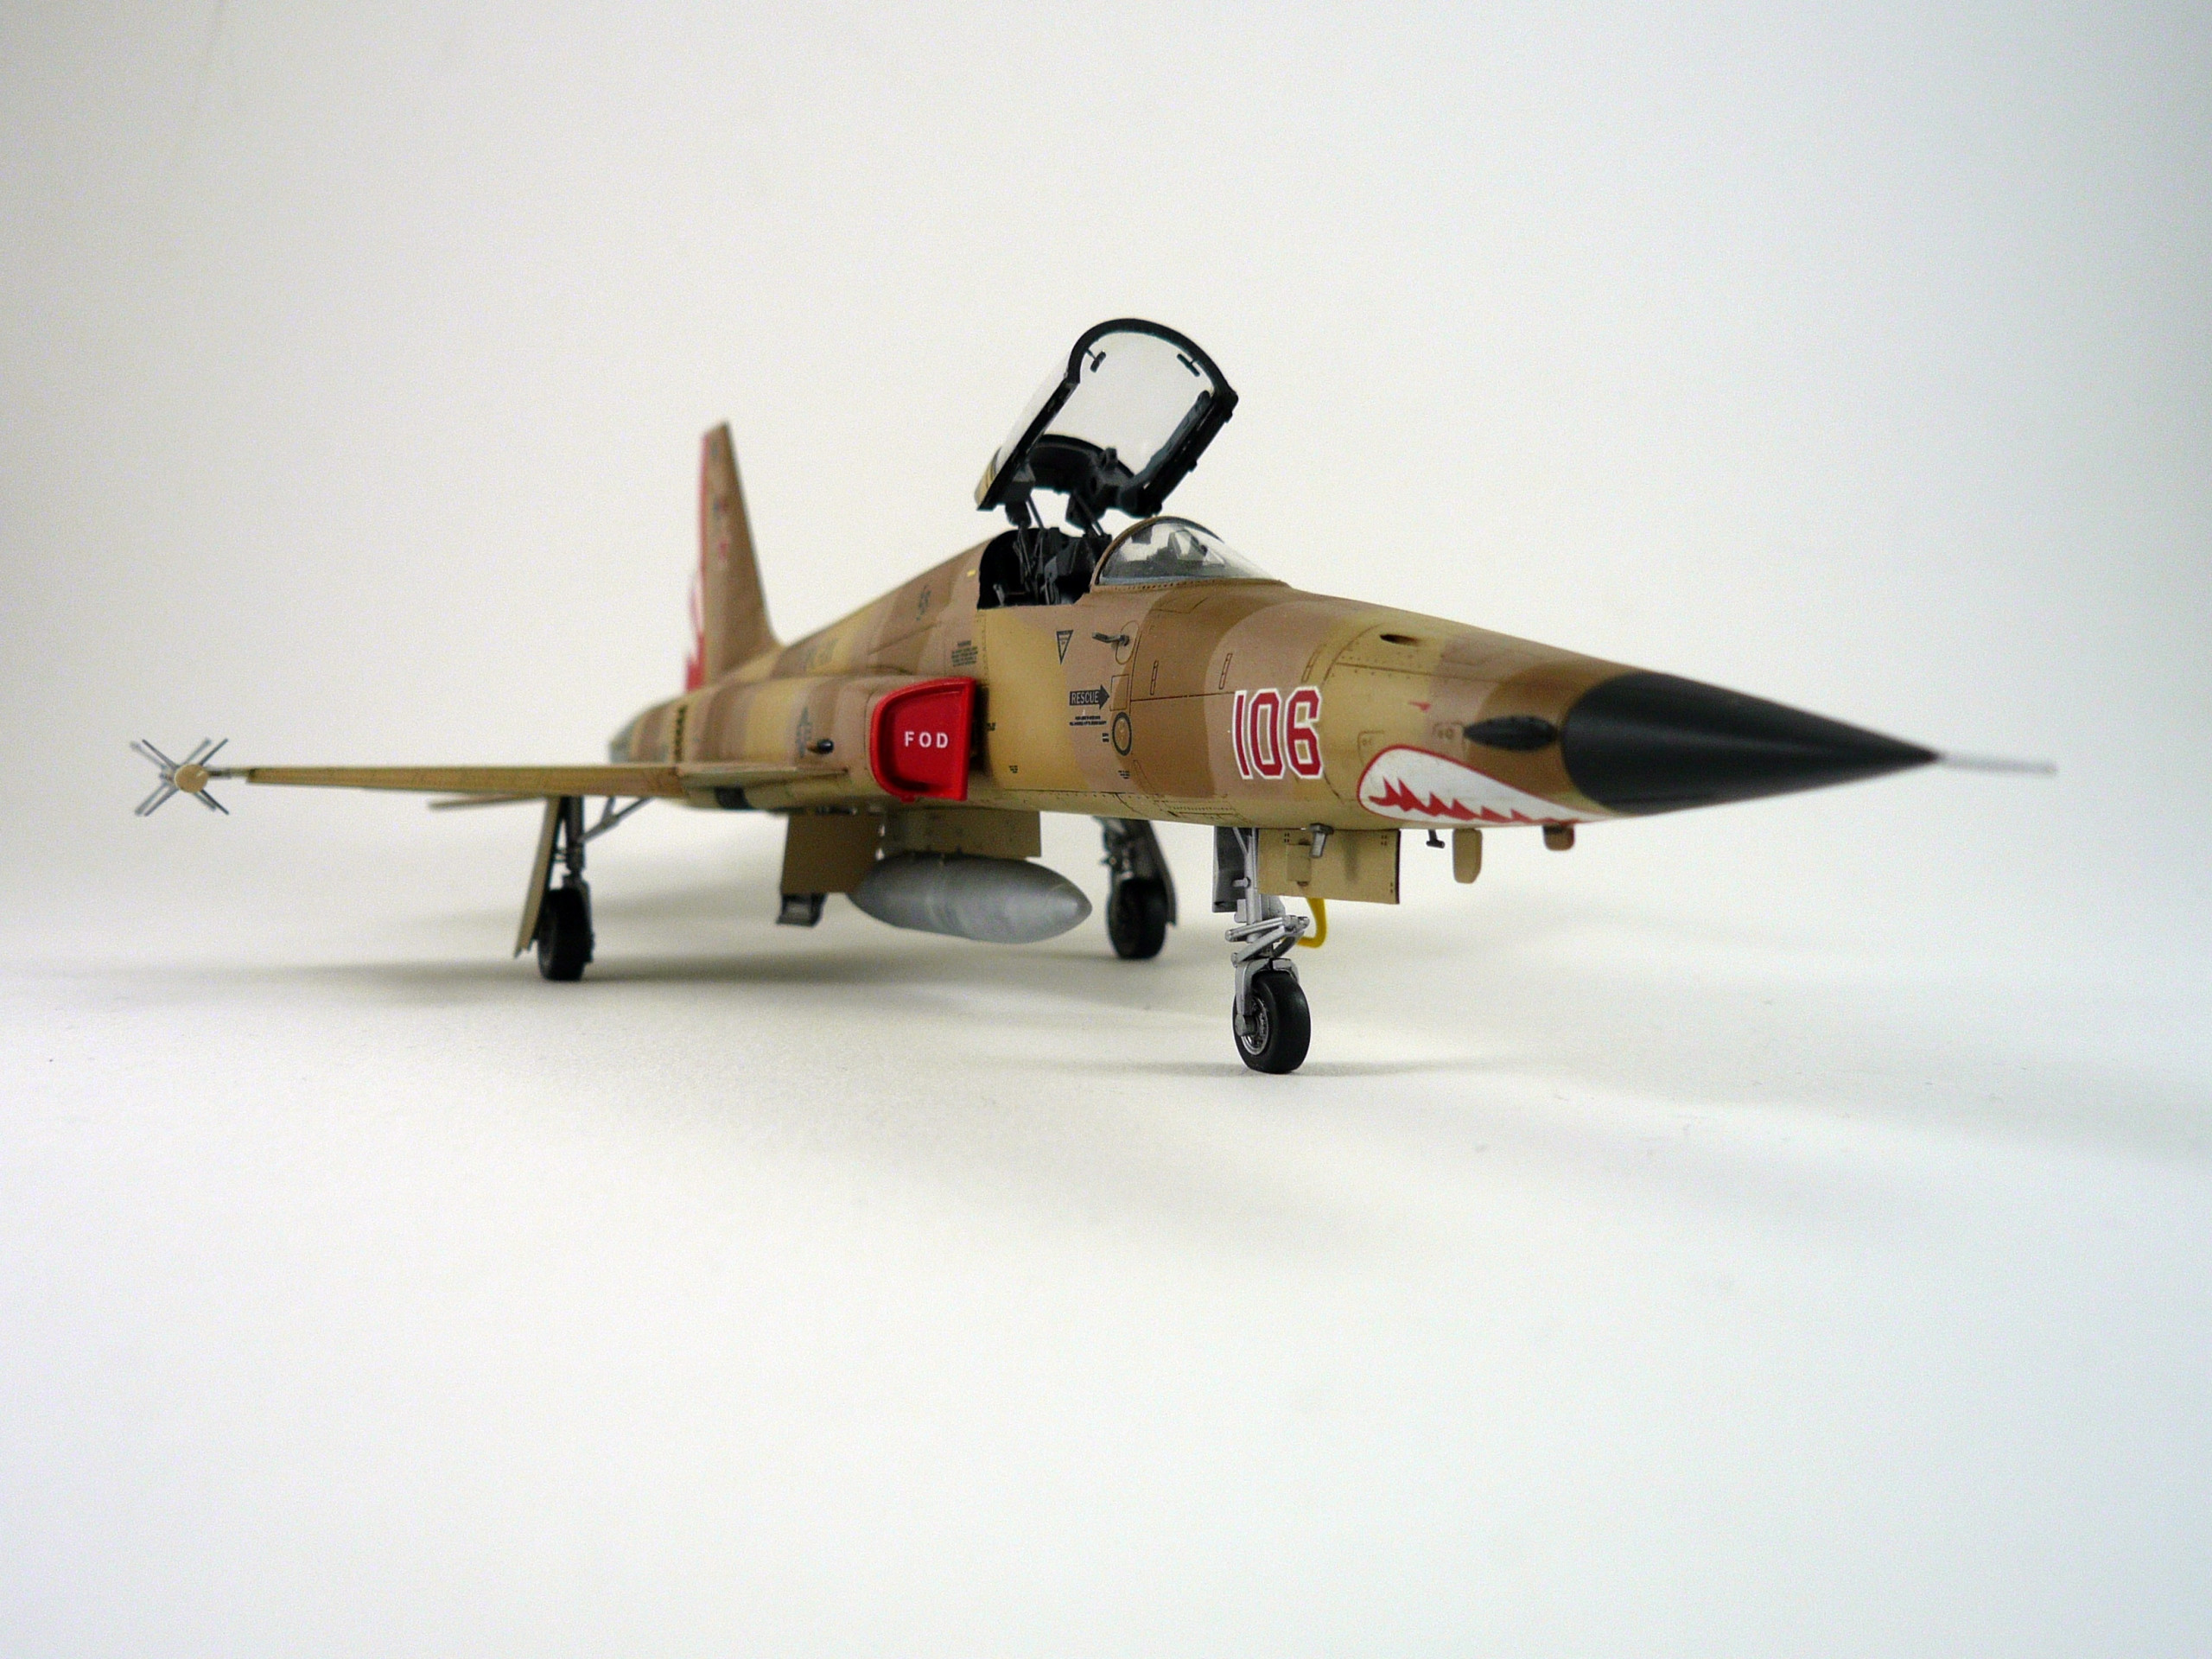
Final Reveal pics following….
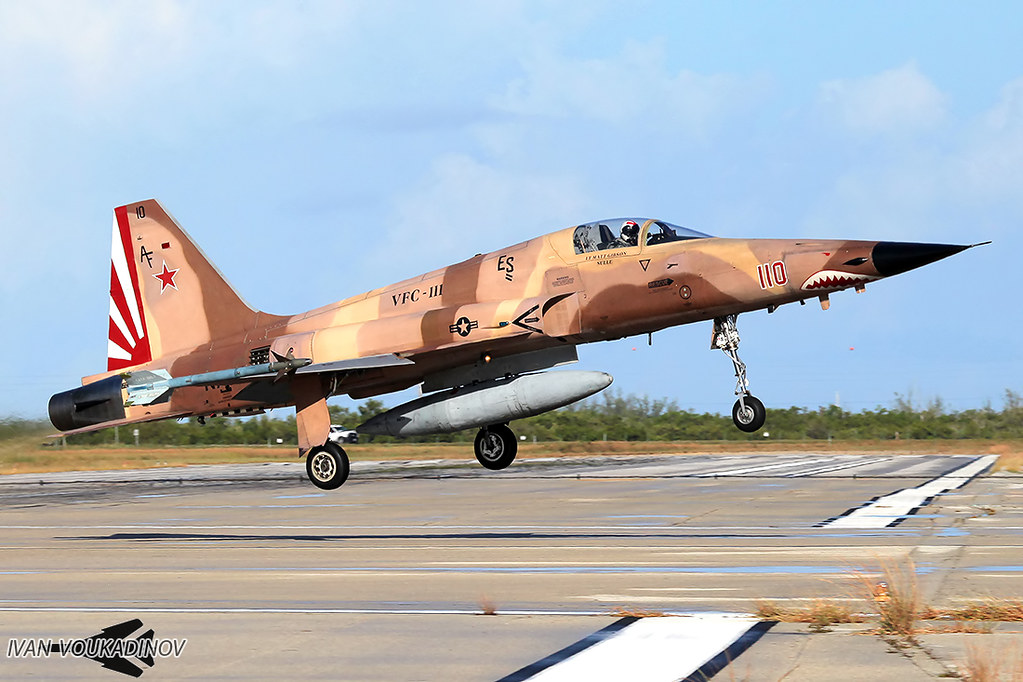
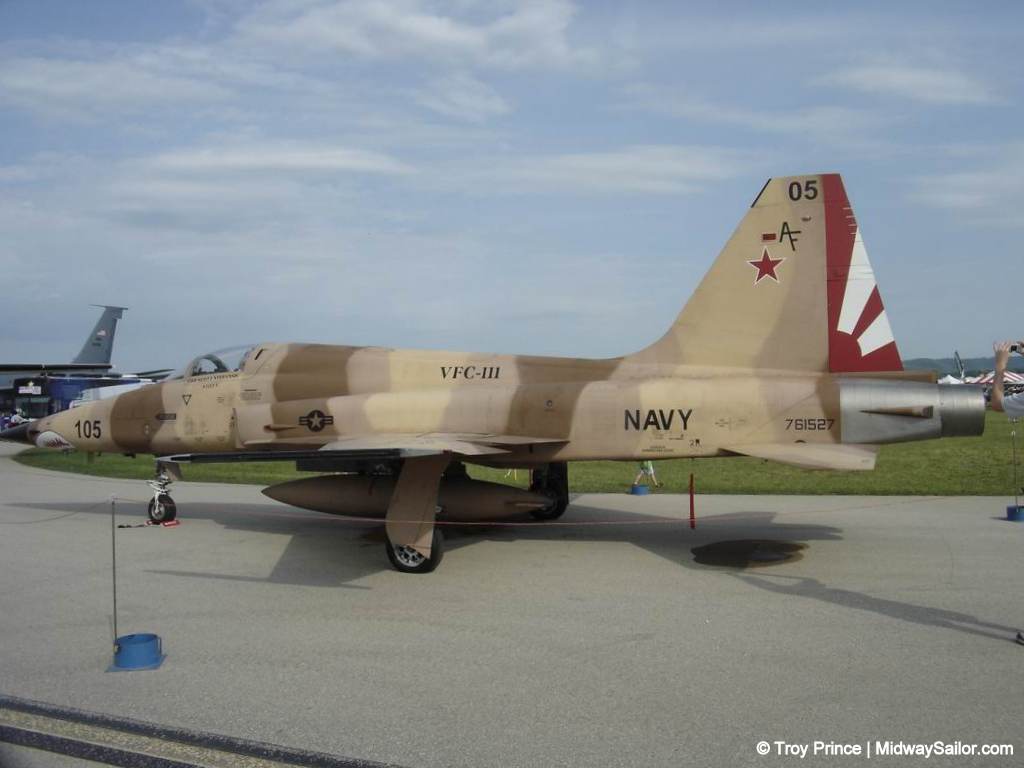
VFC-111 SUNDOWNERS: “Florida’s Bad Guys”