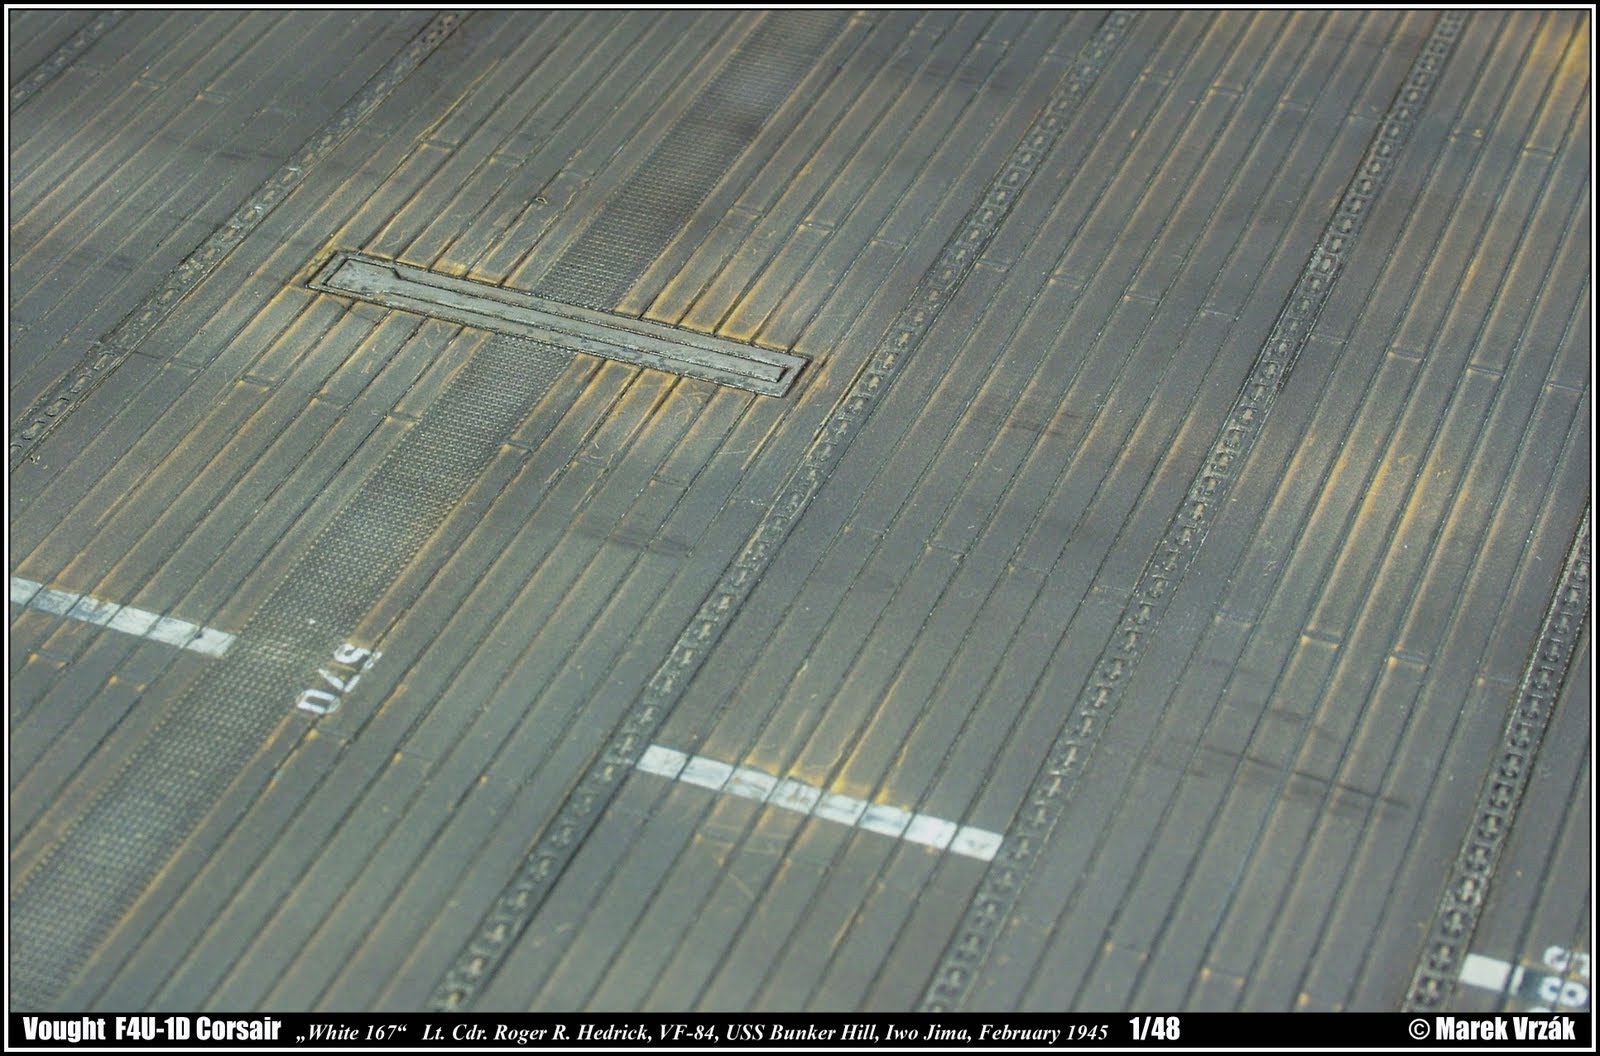
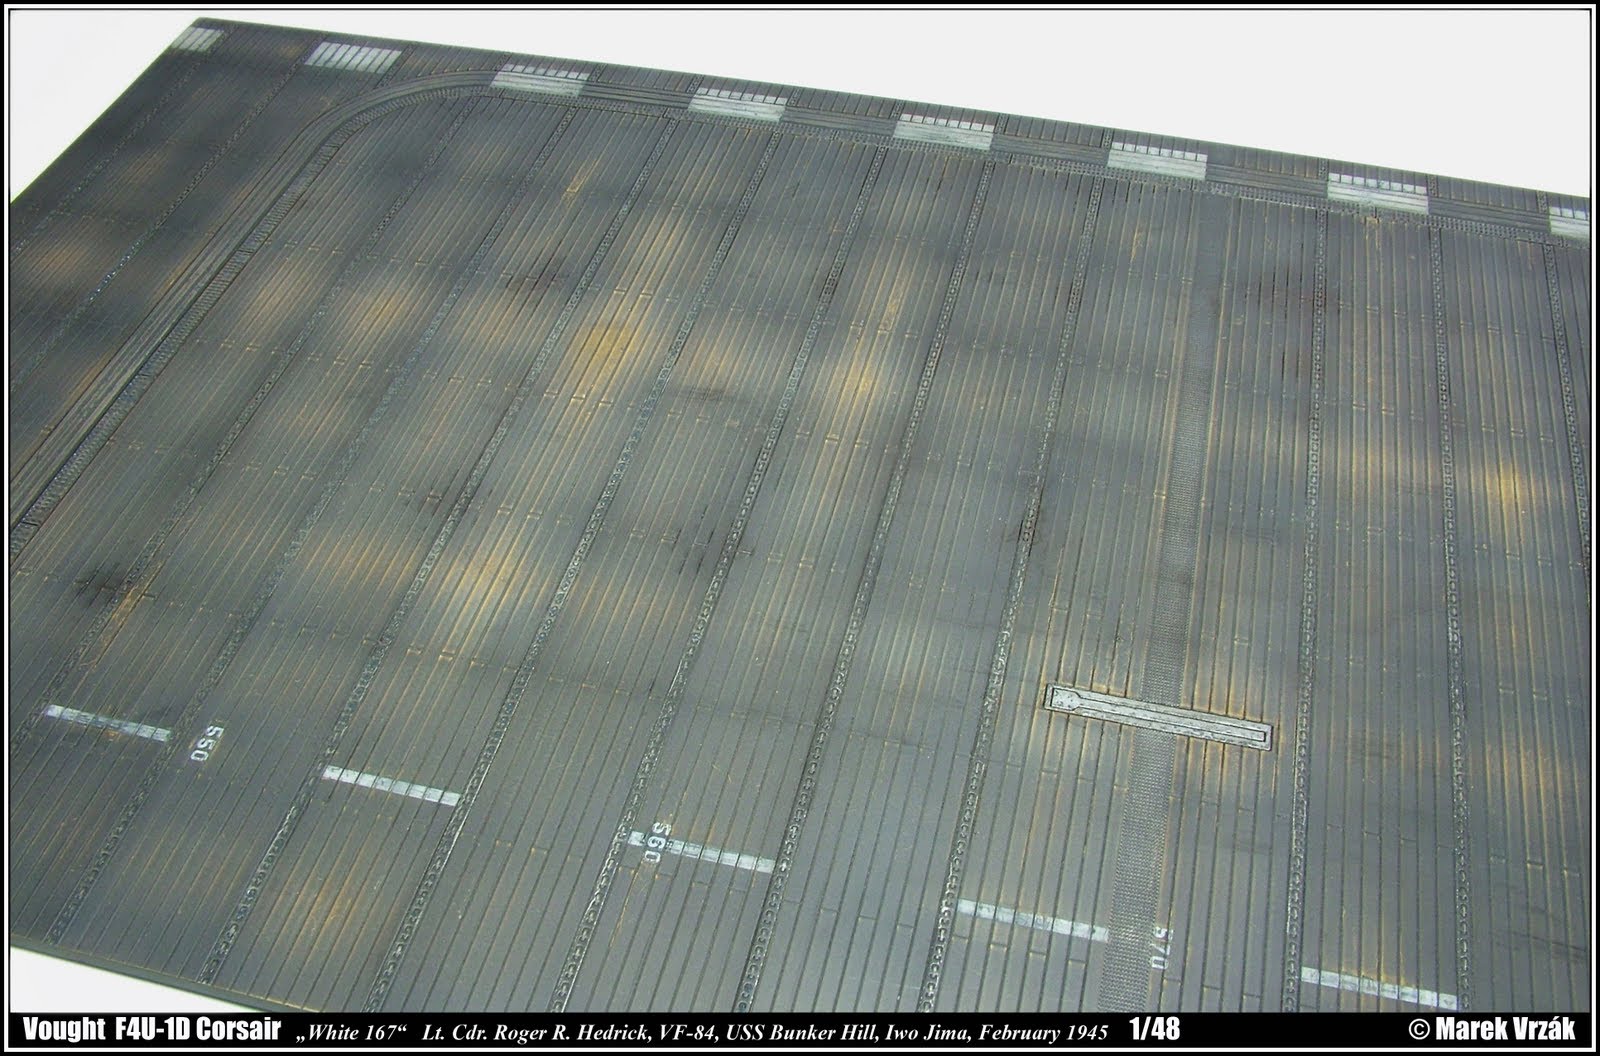
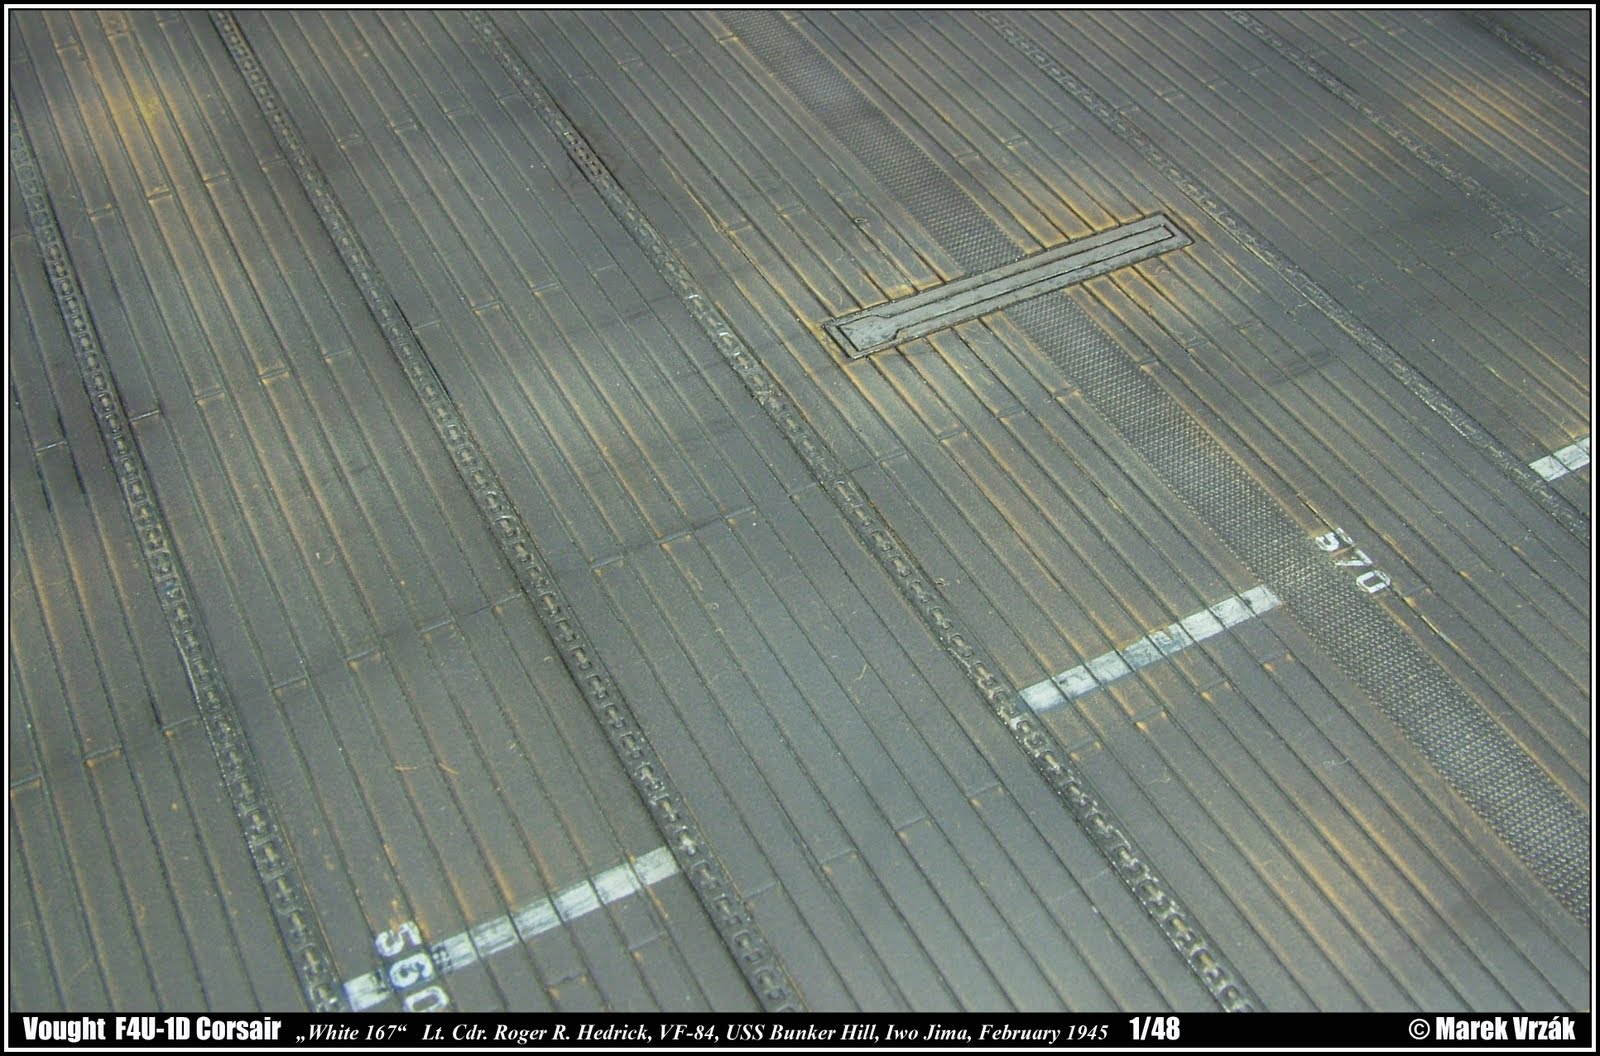
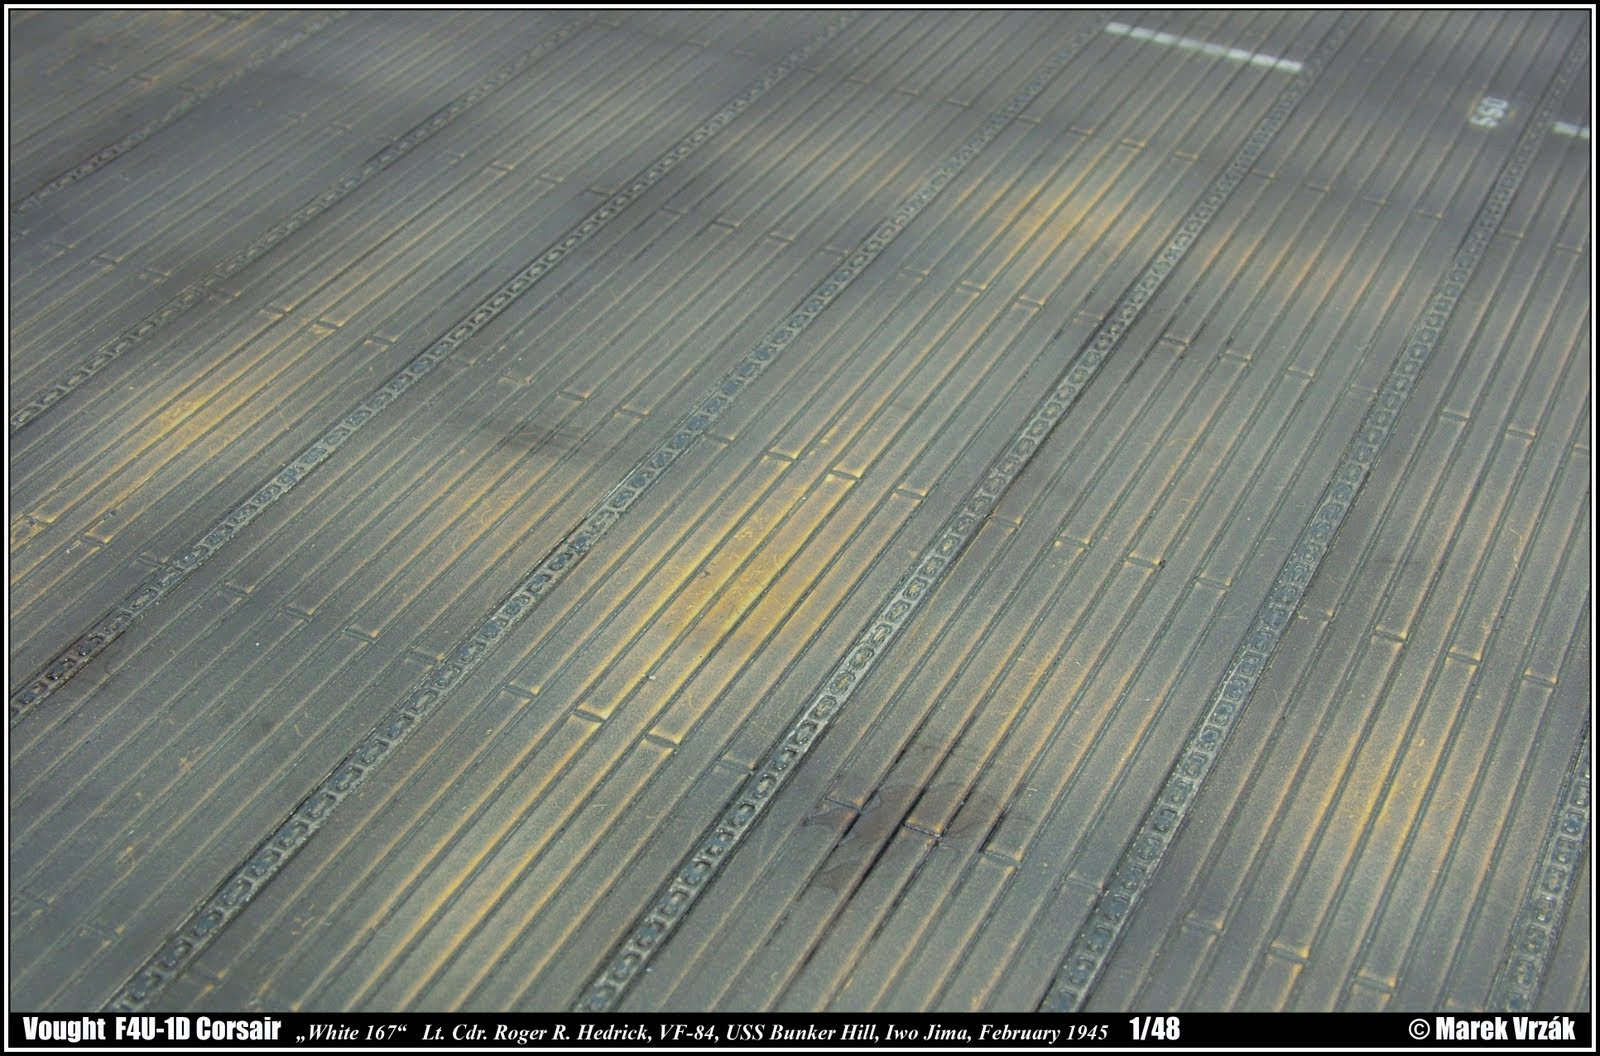
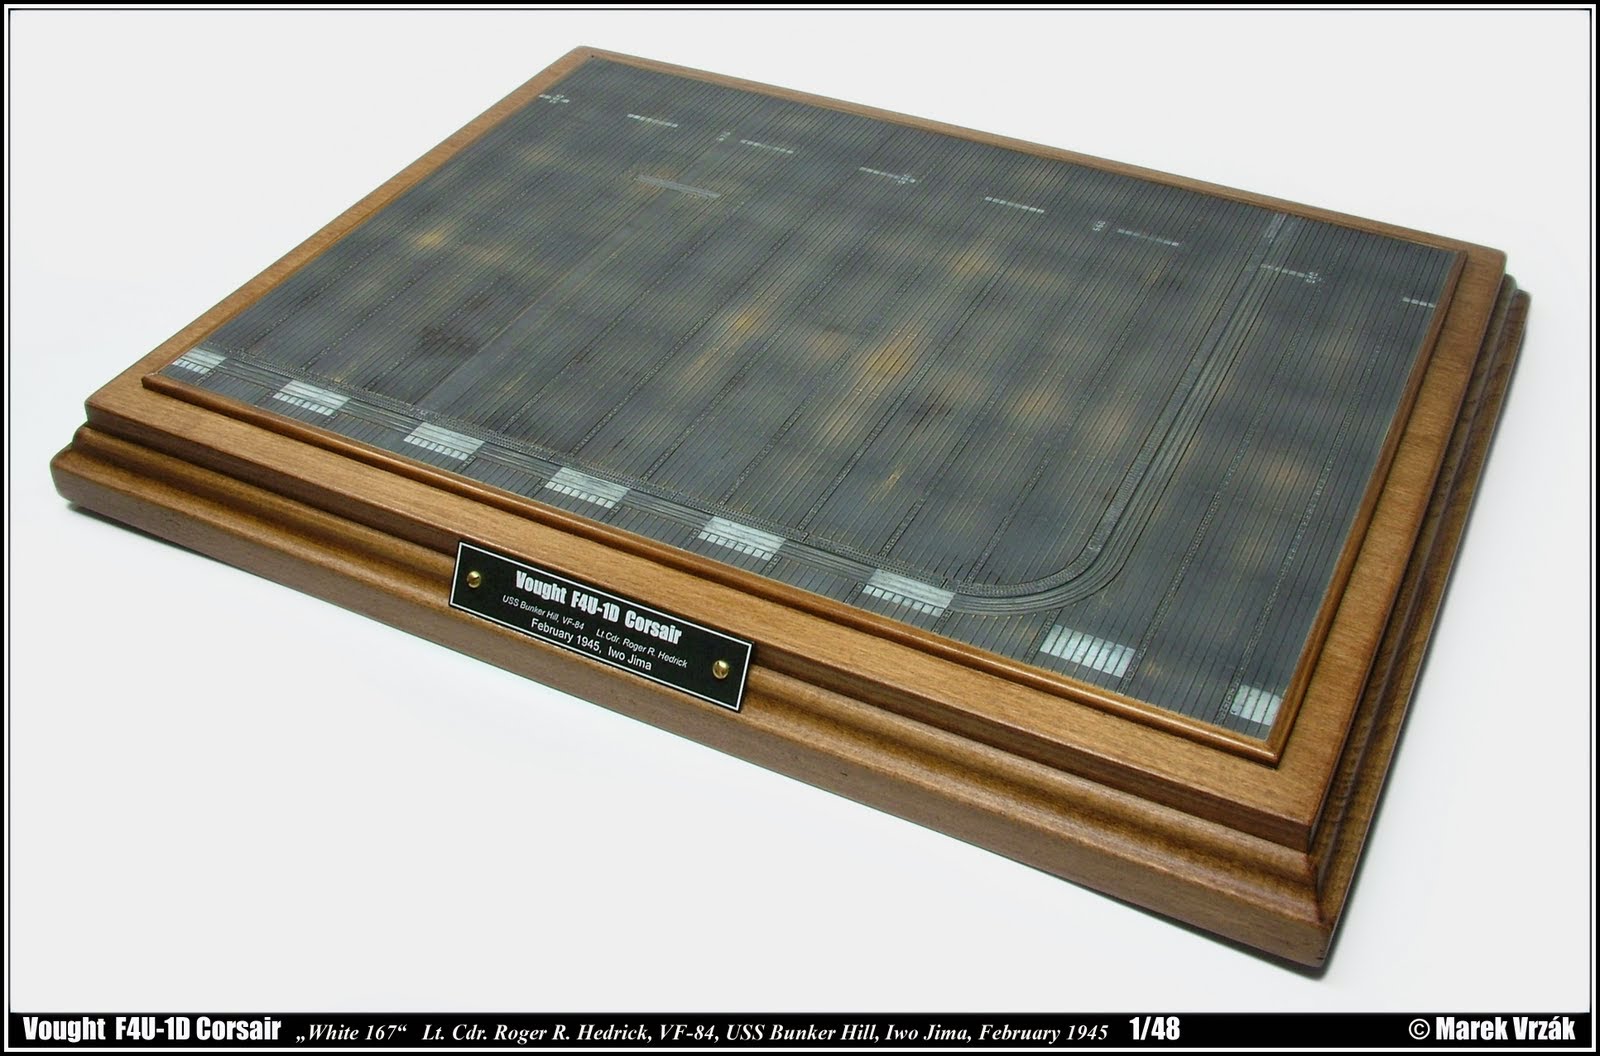
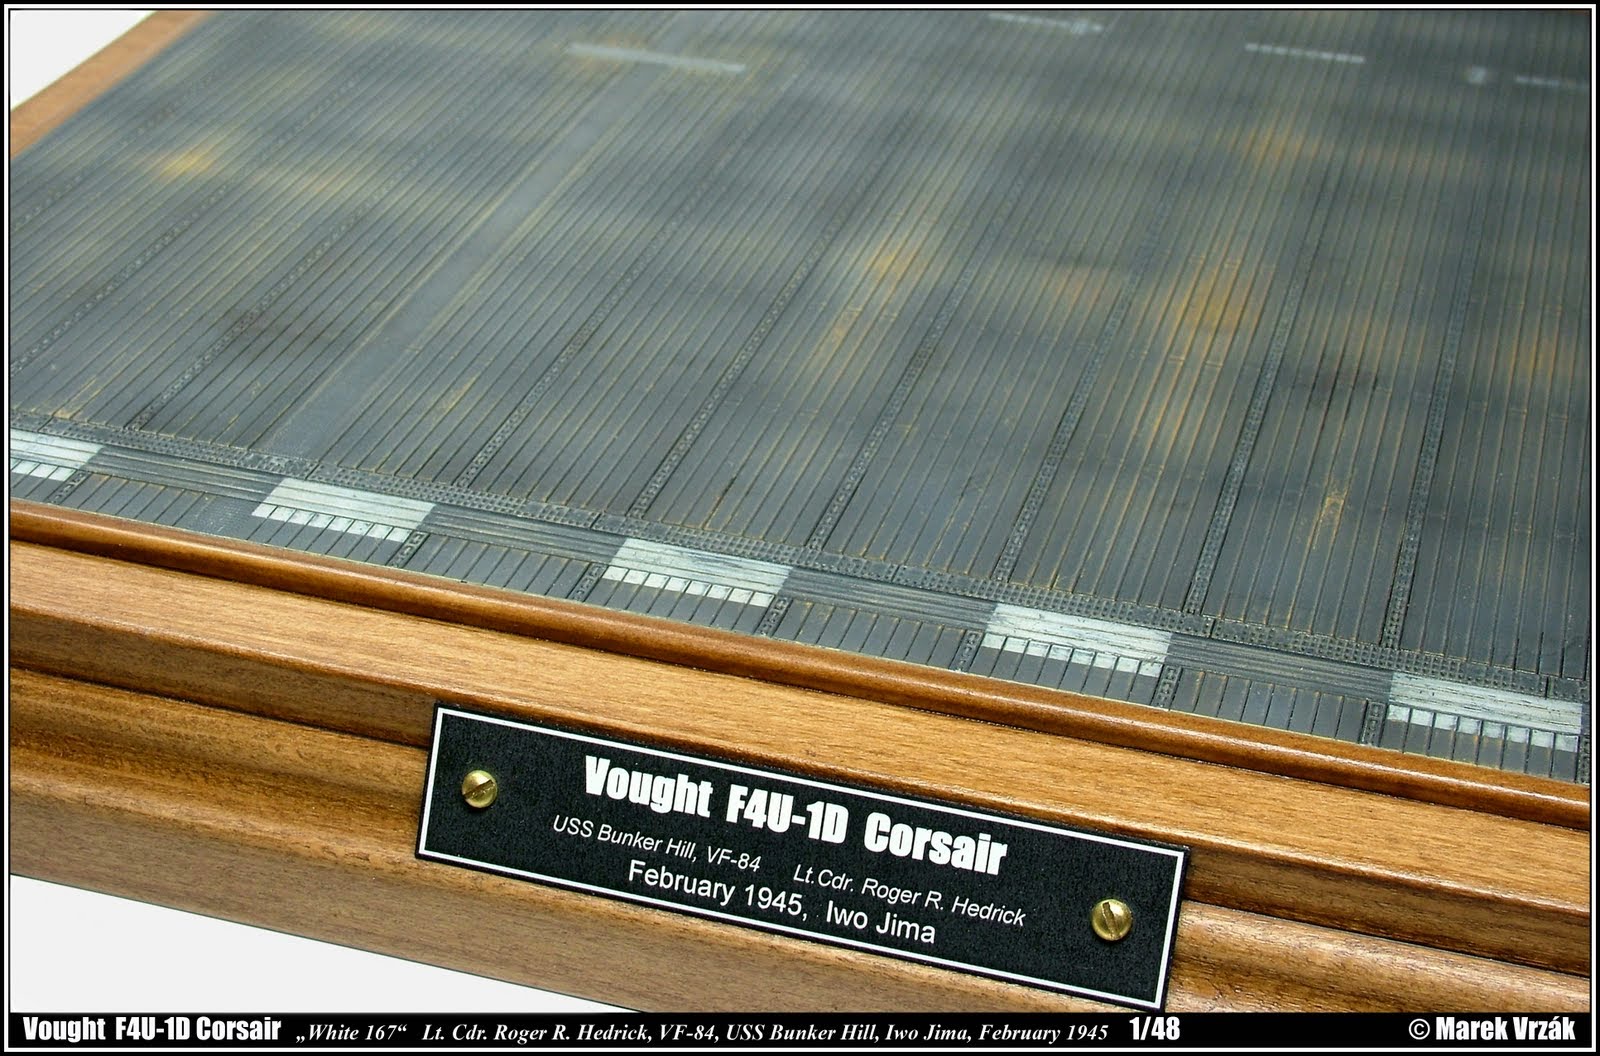
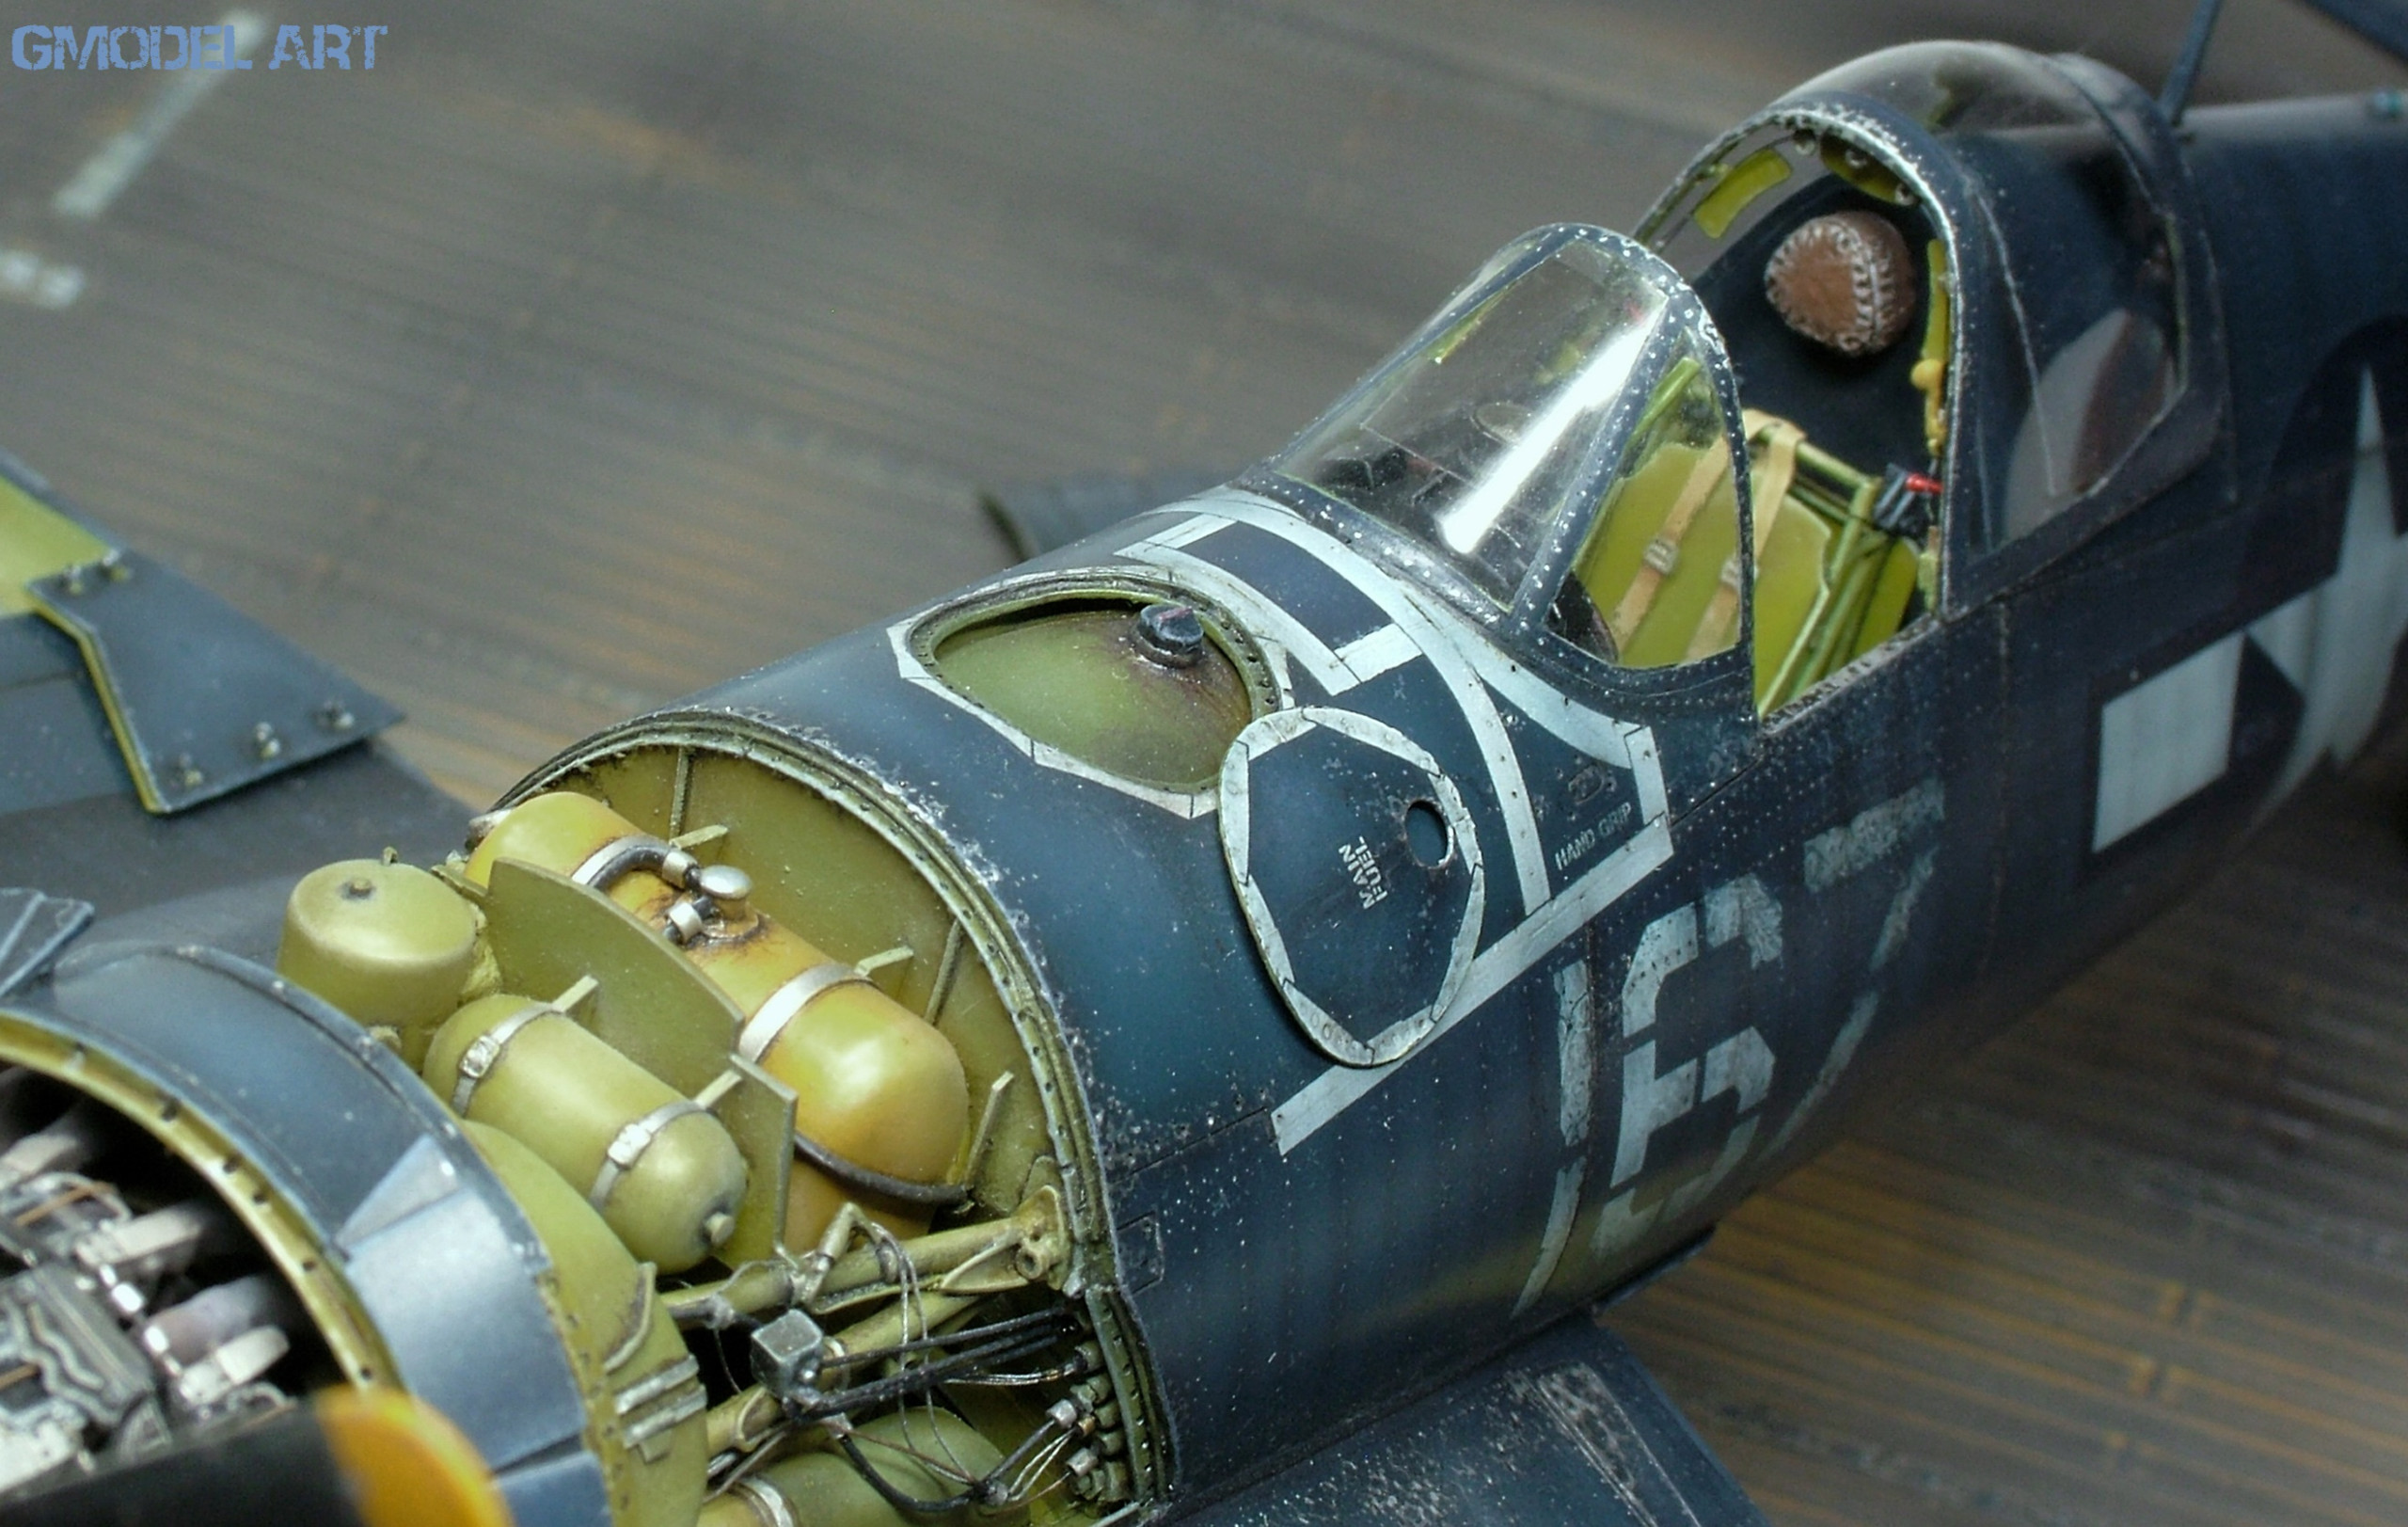
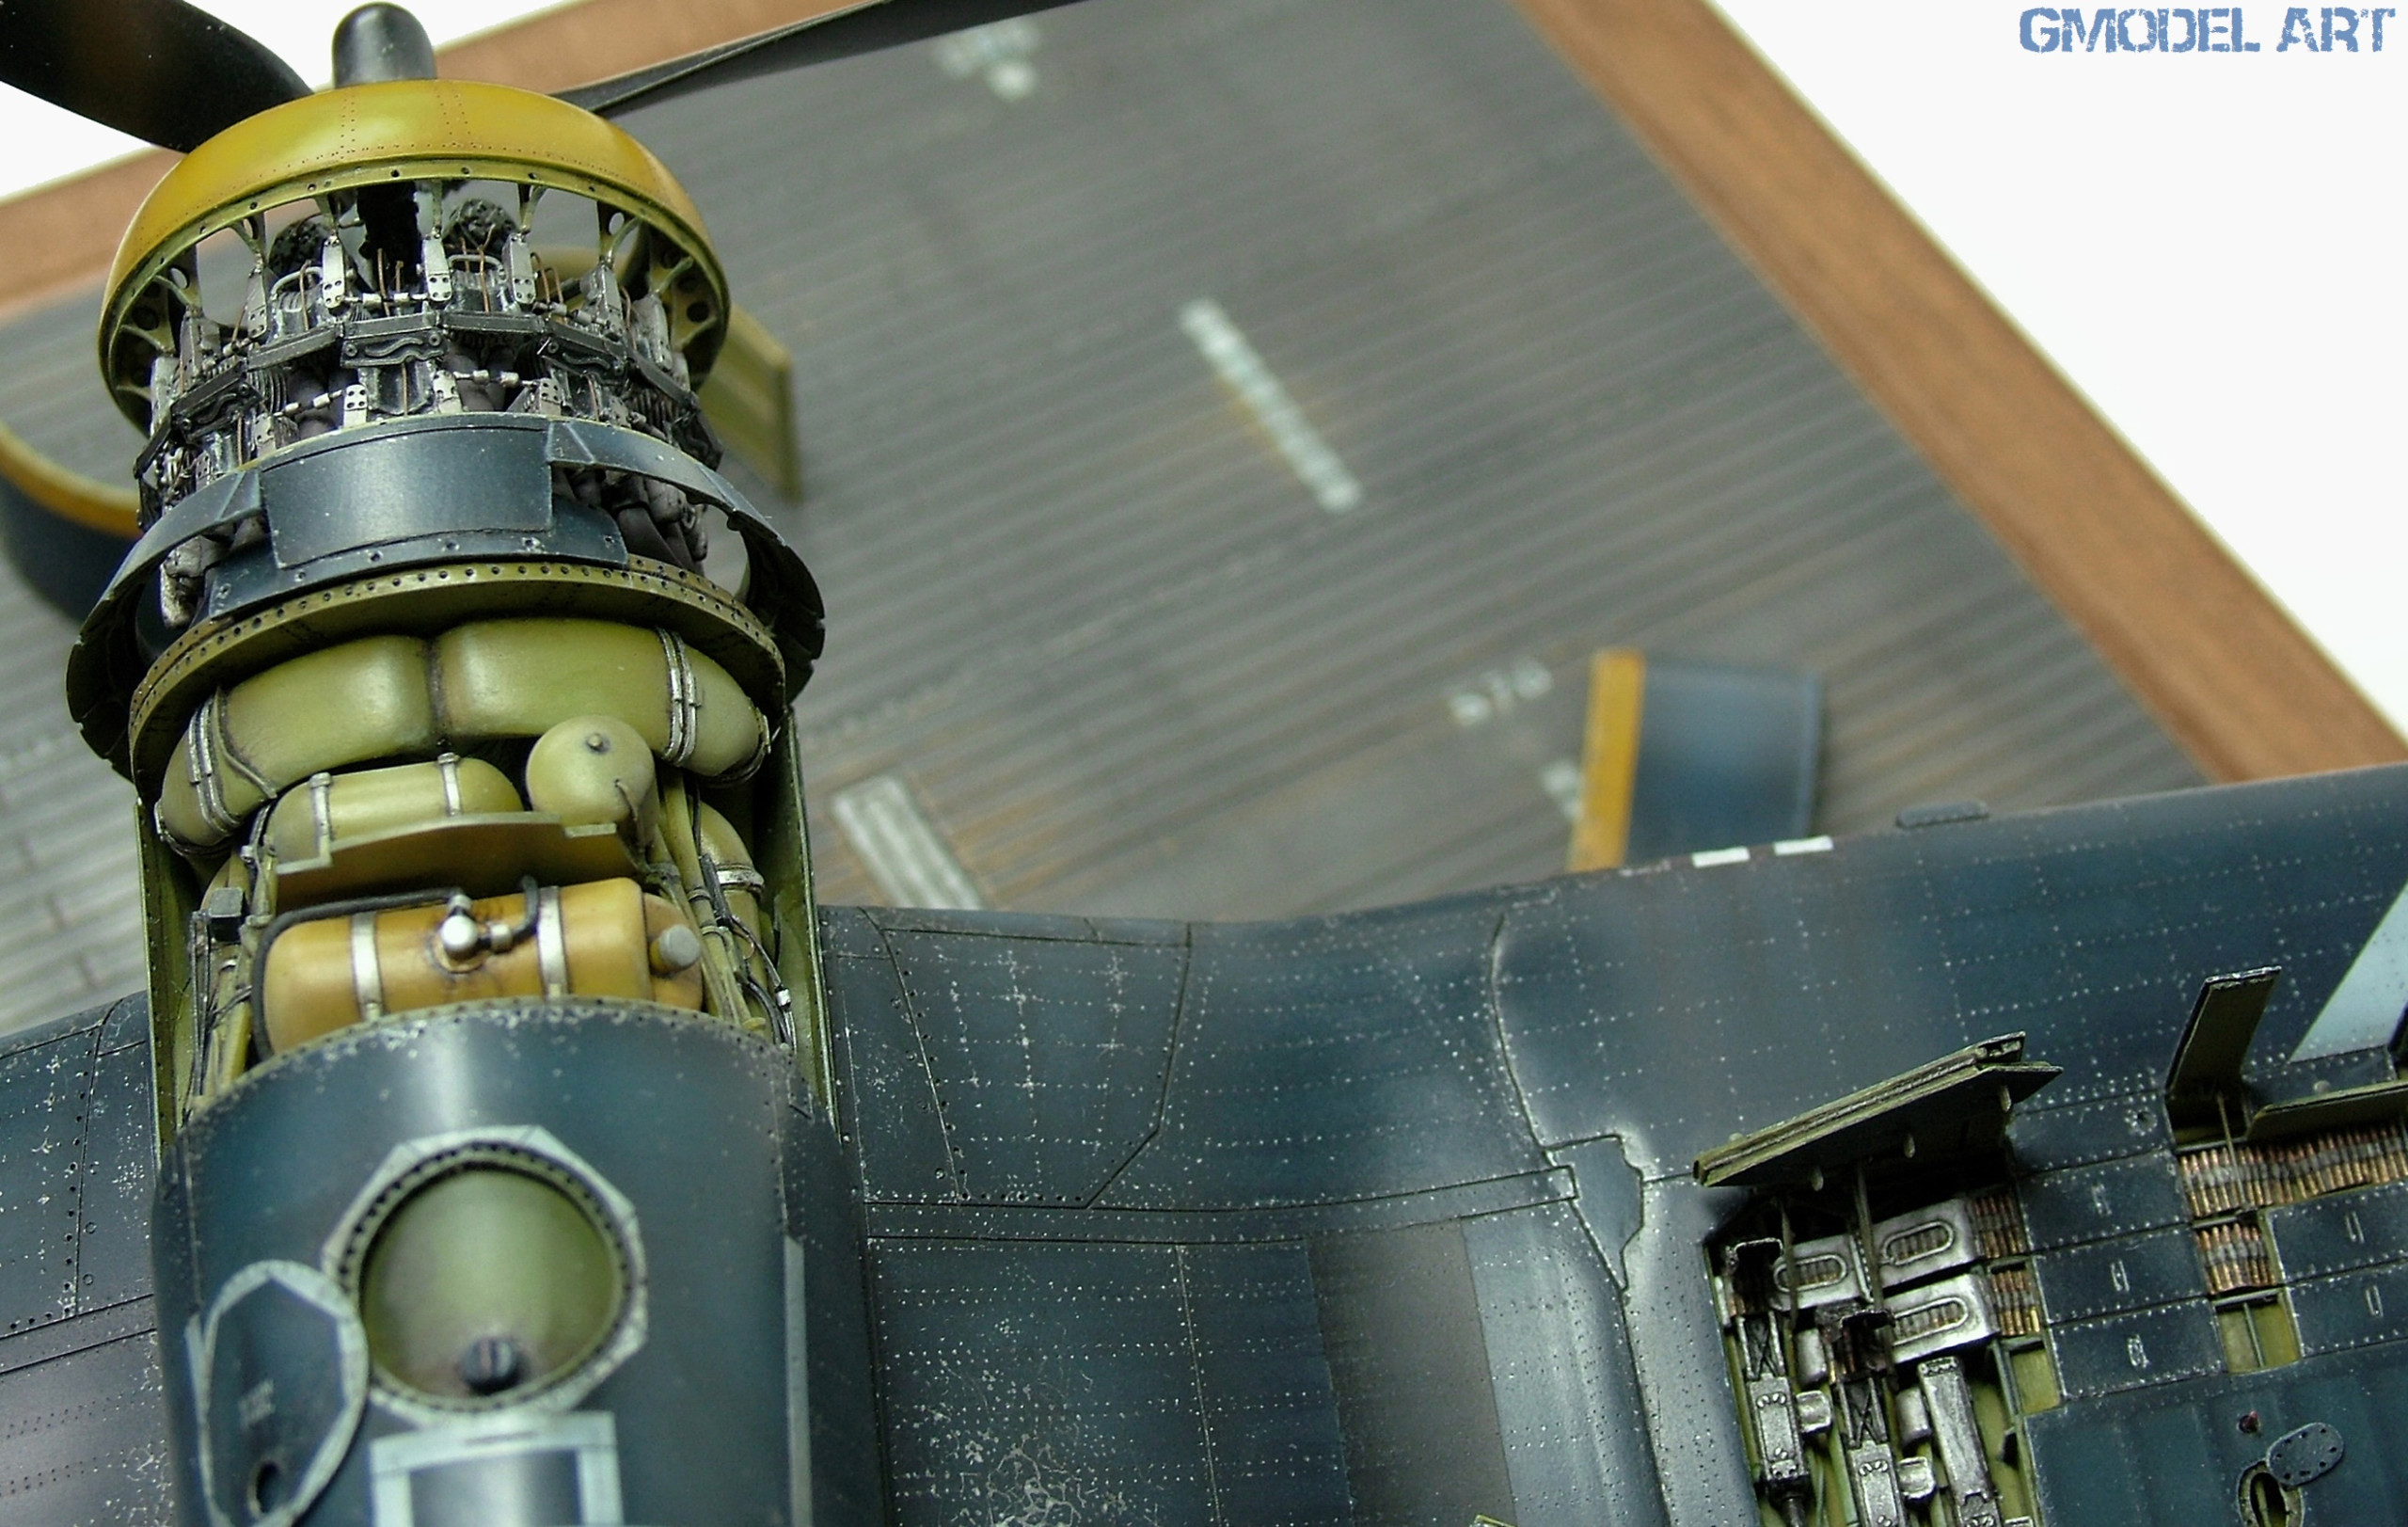
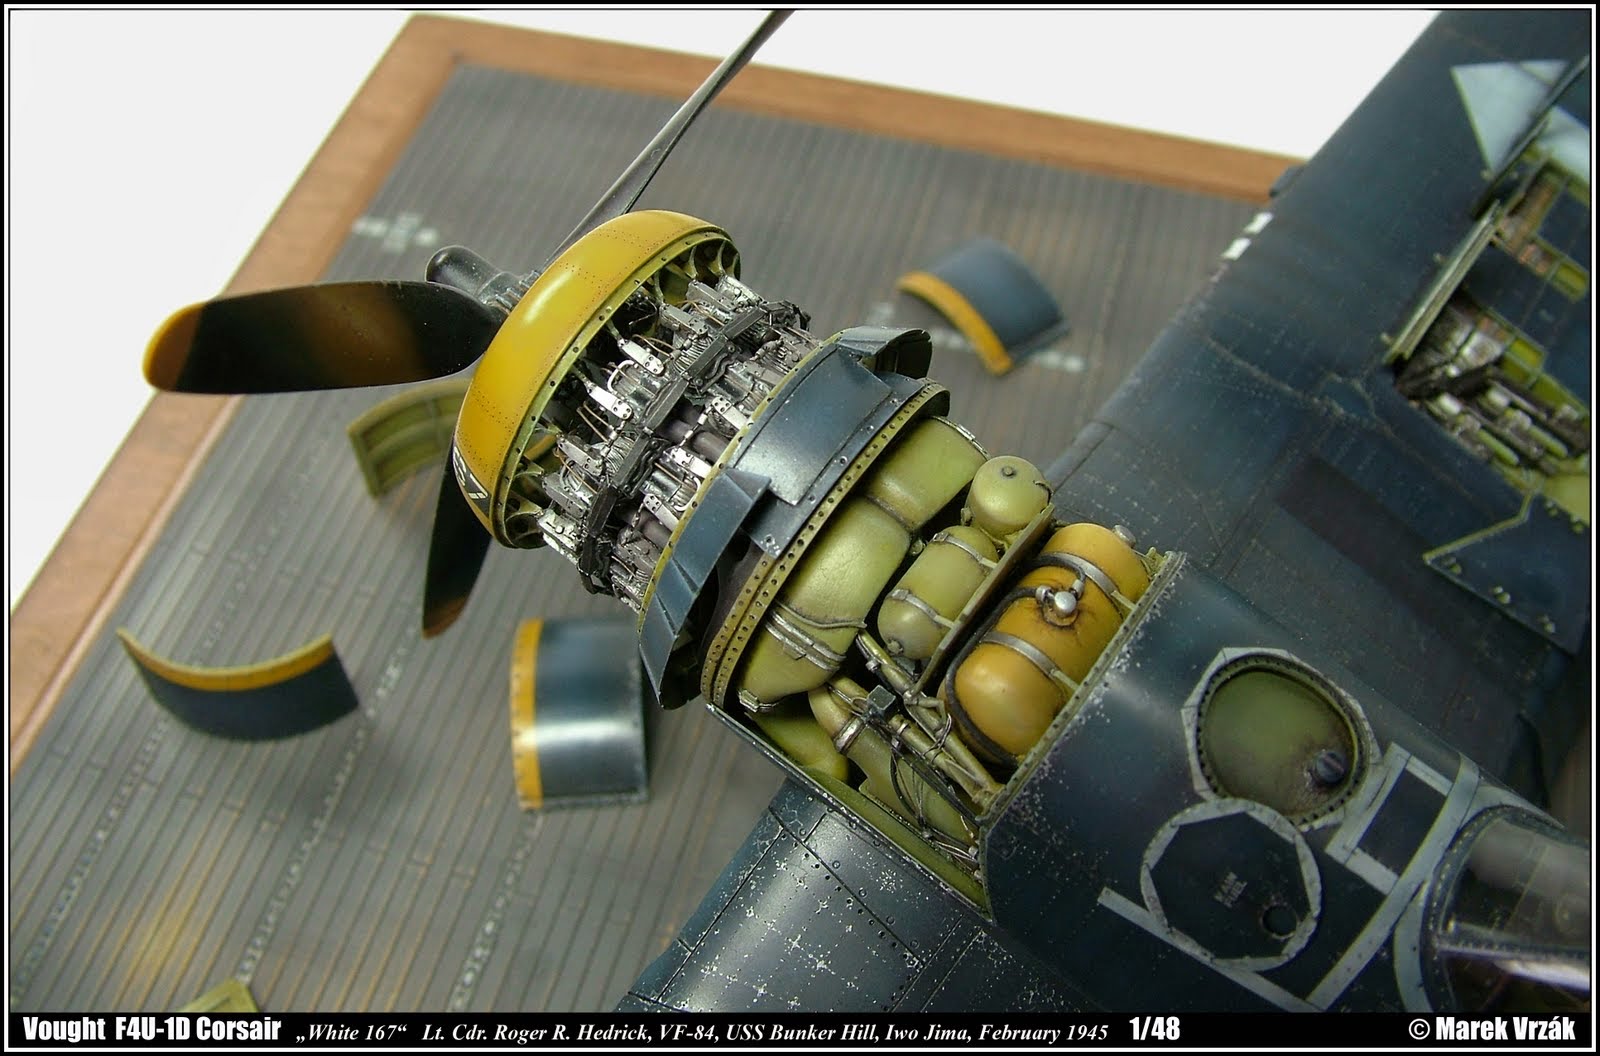
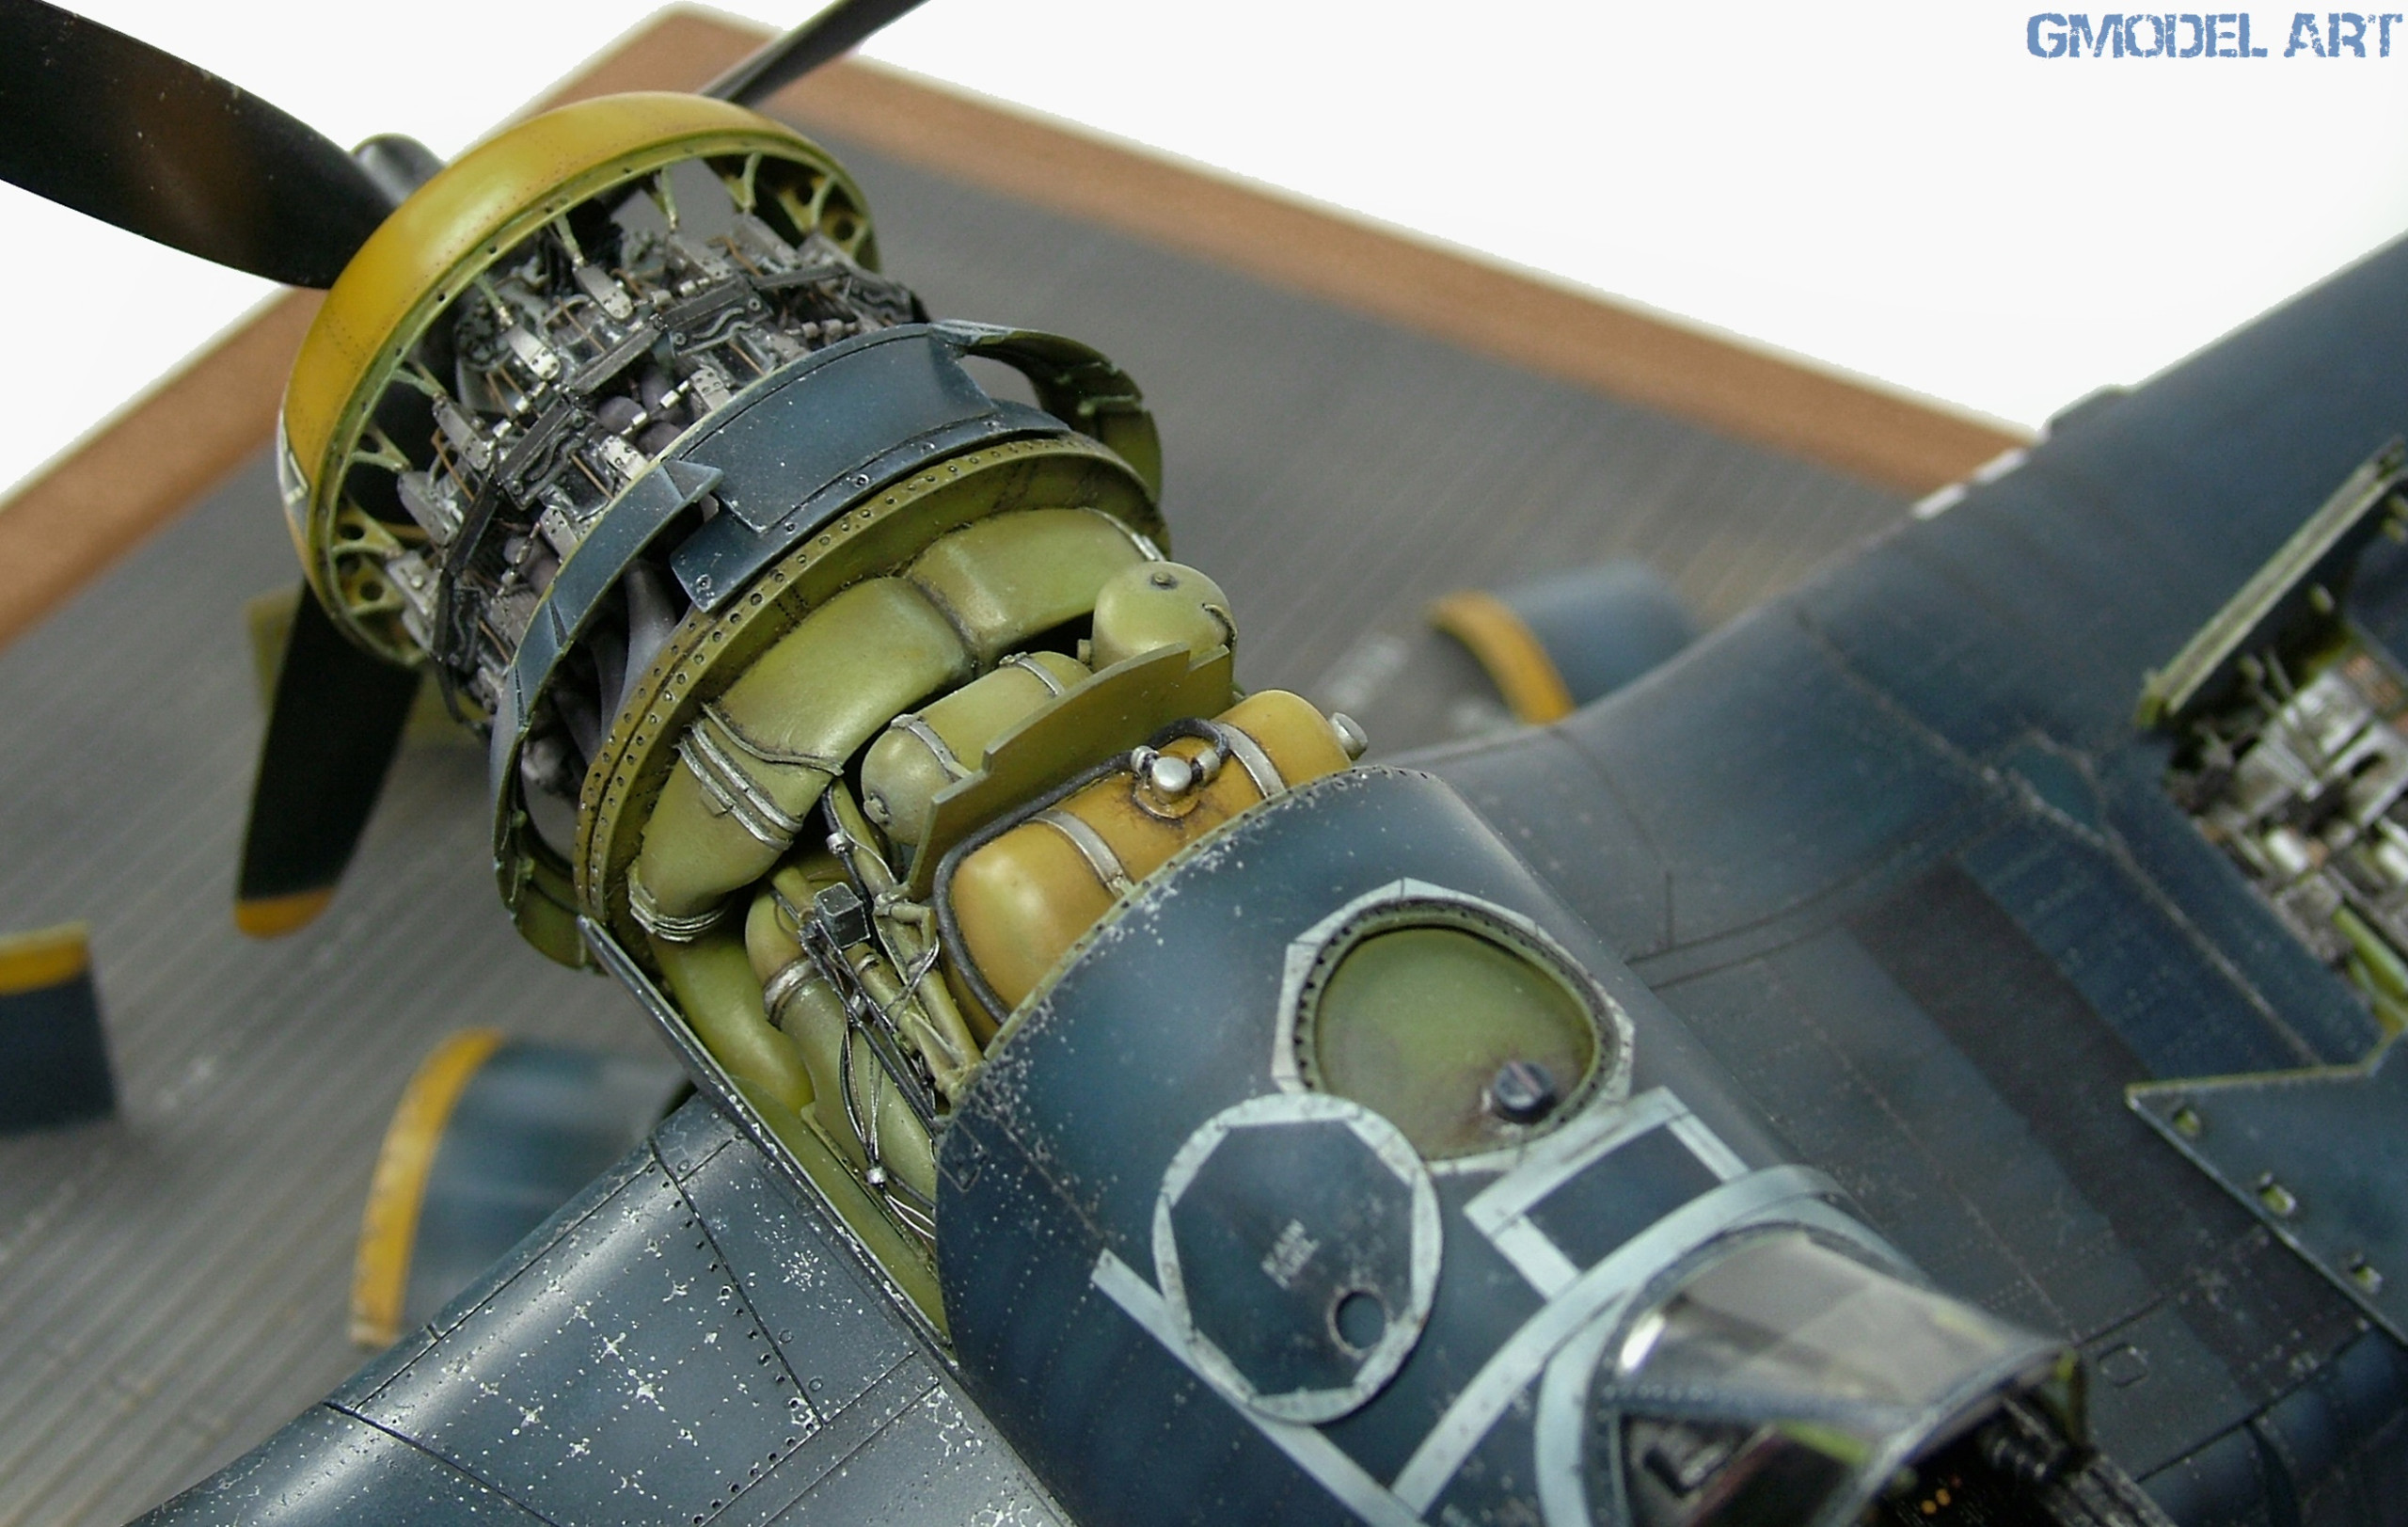
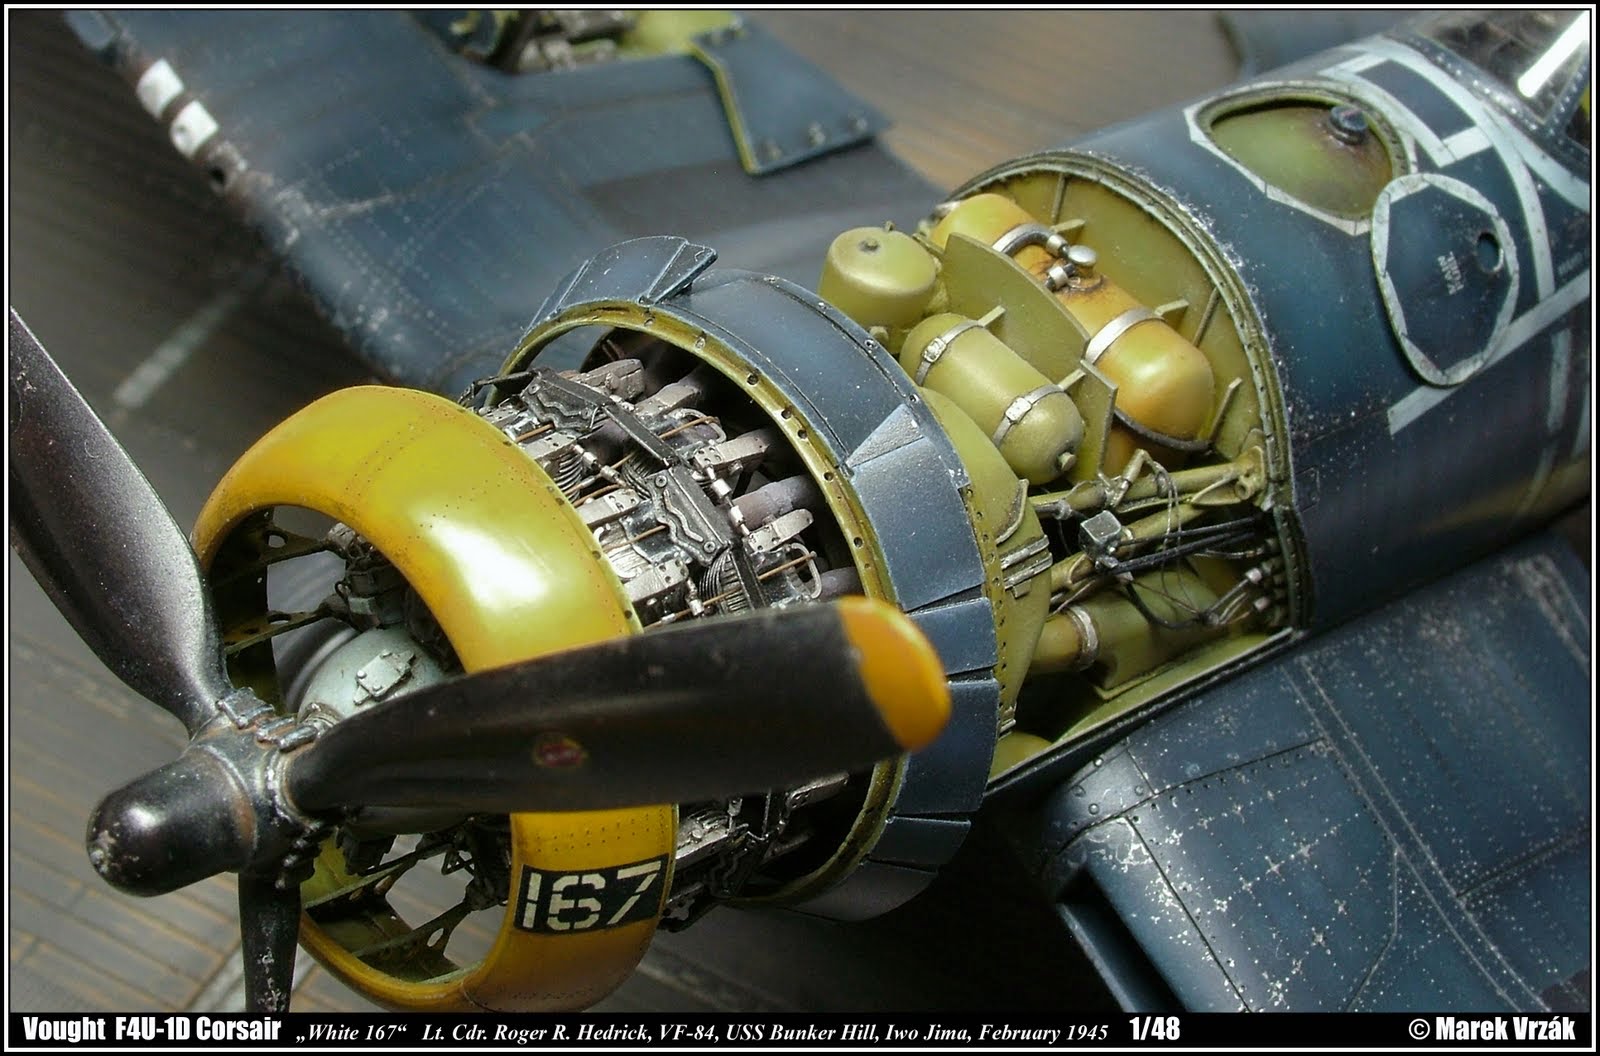
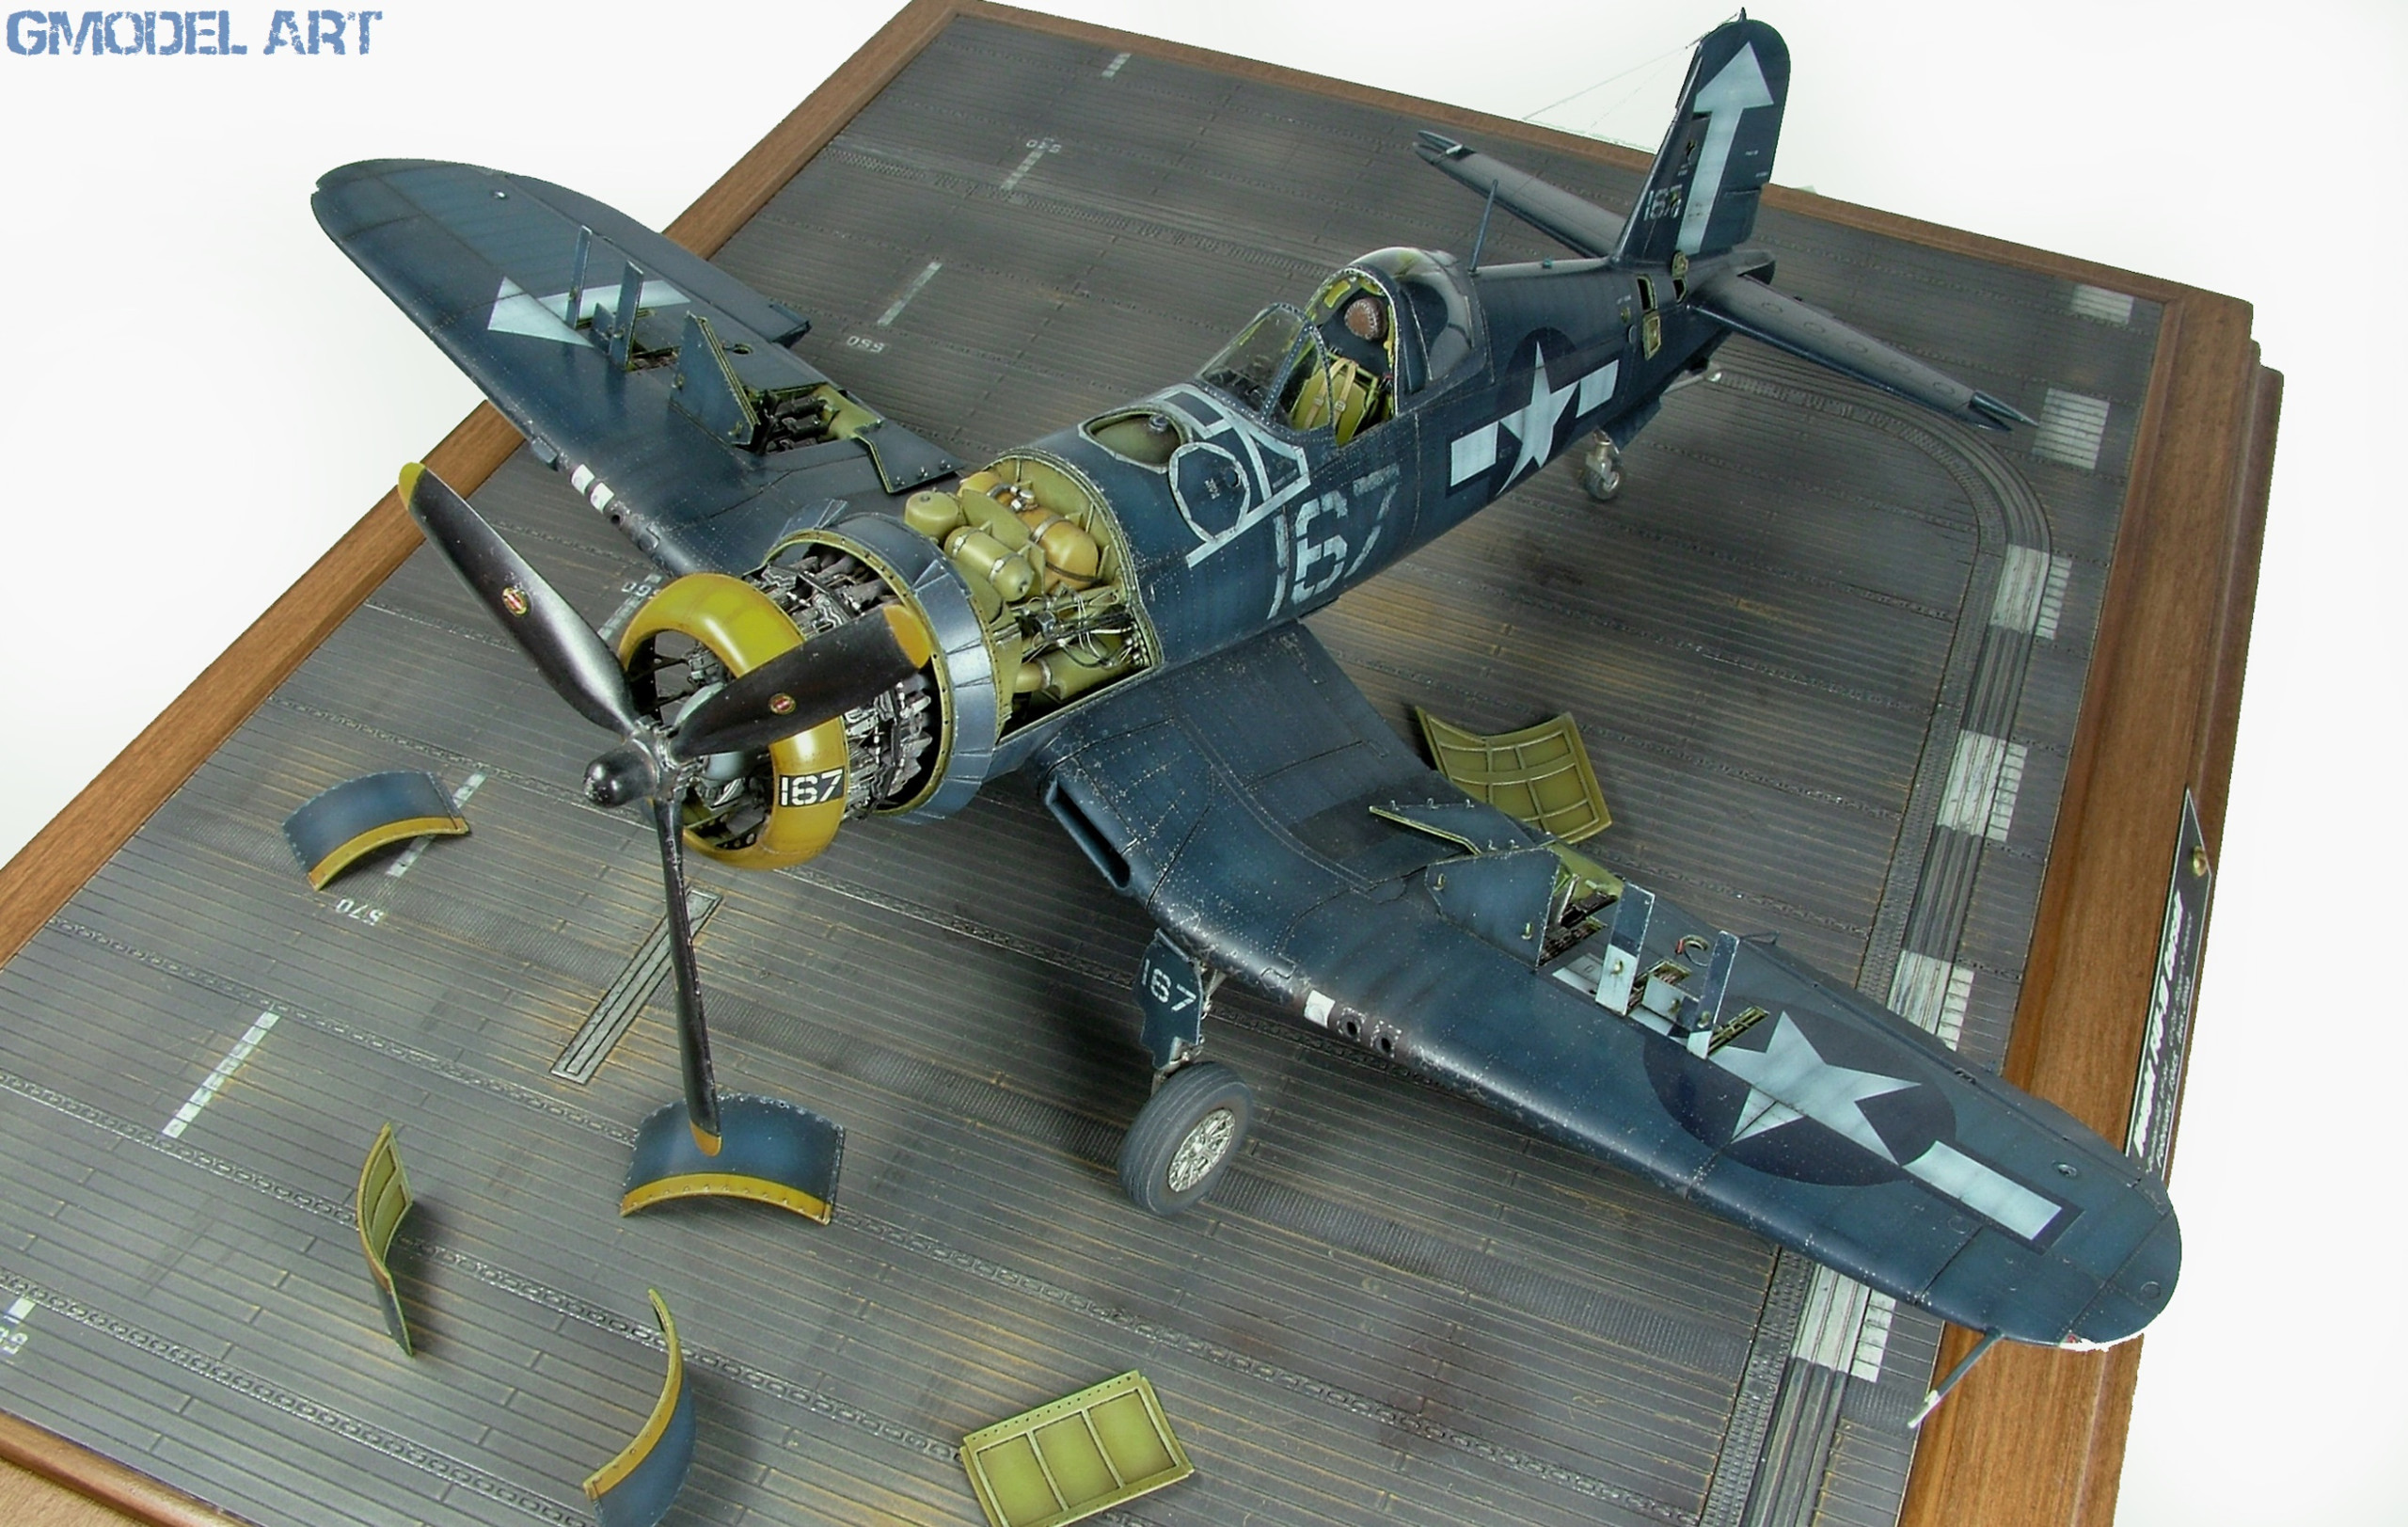
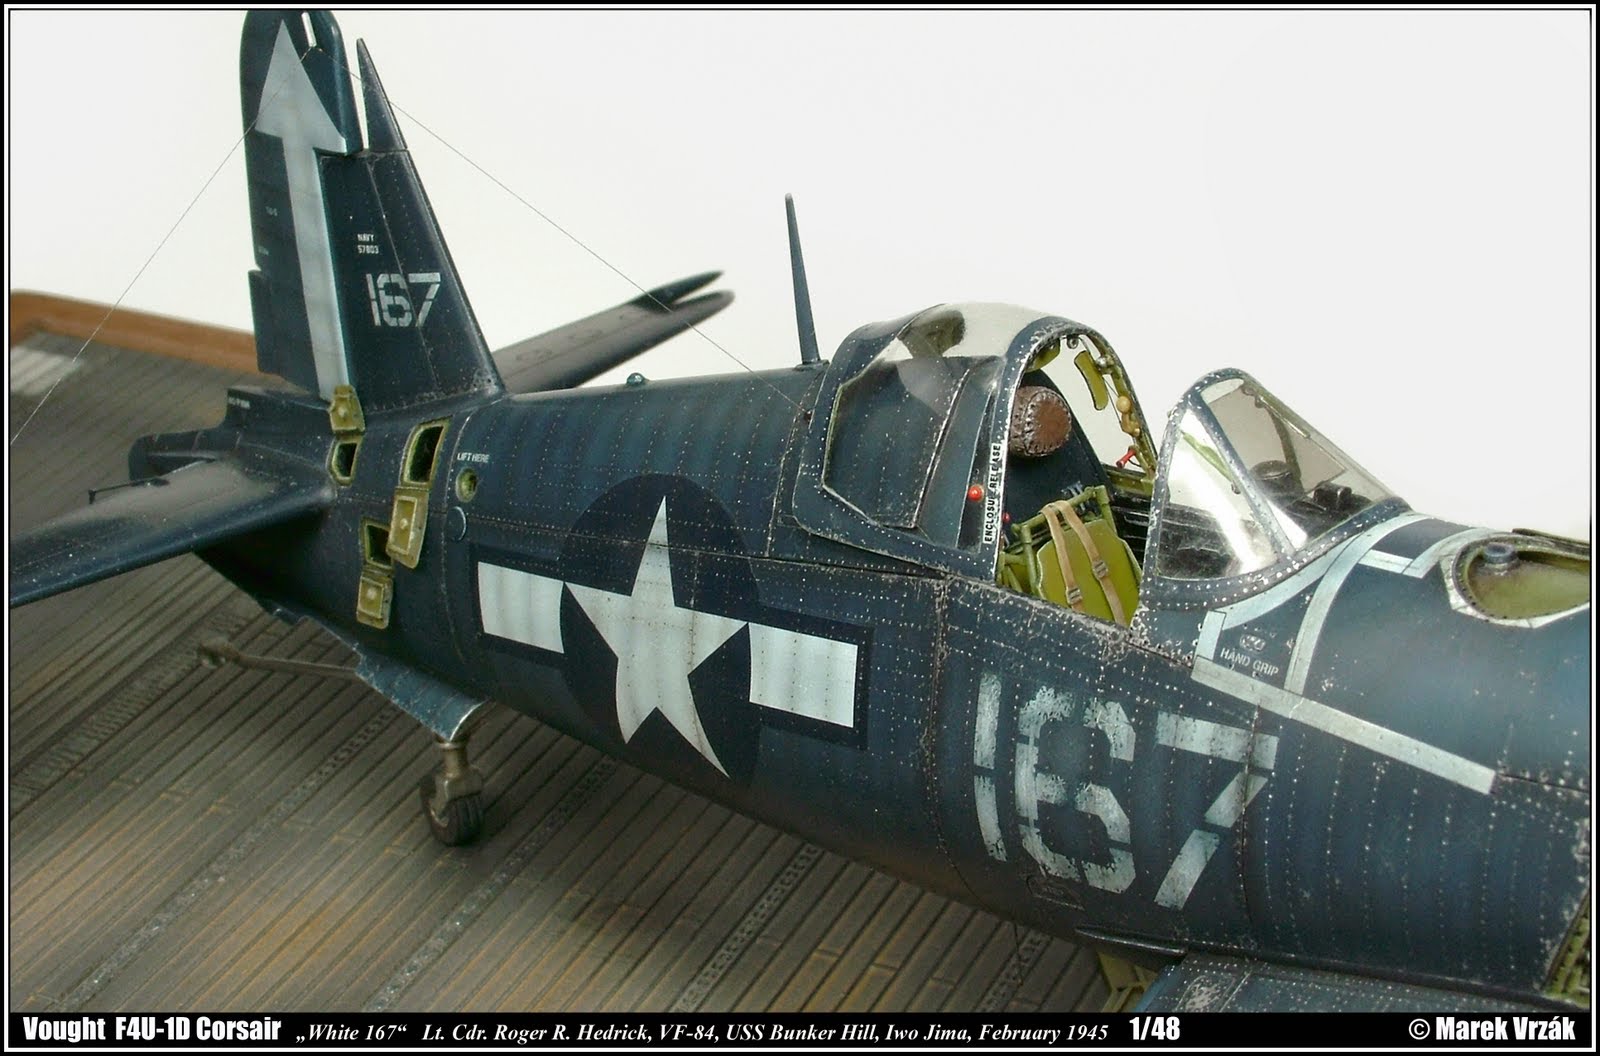
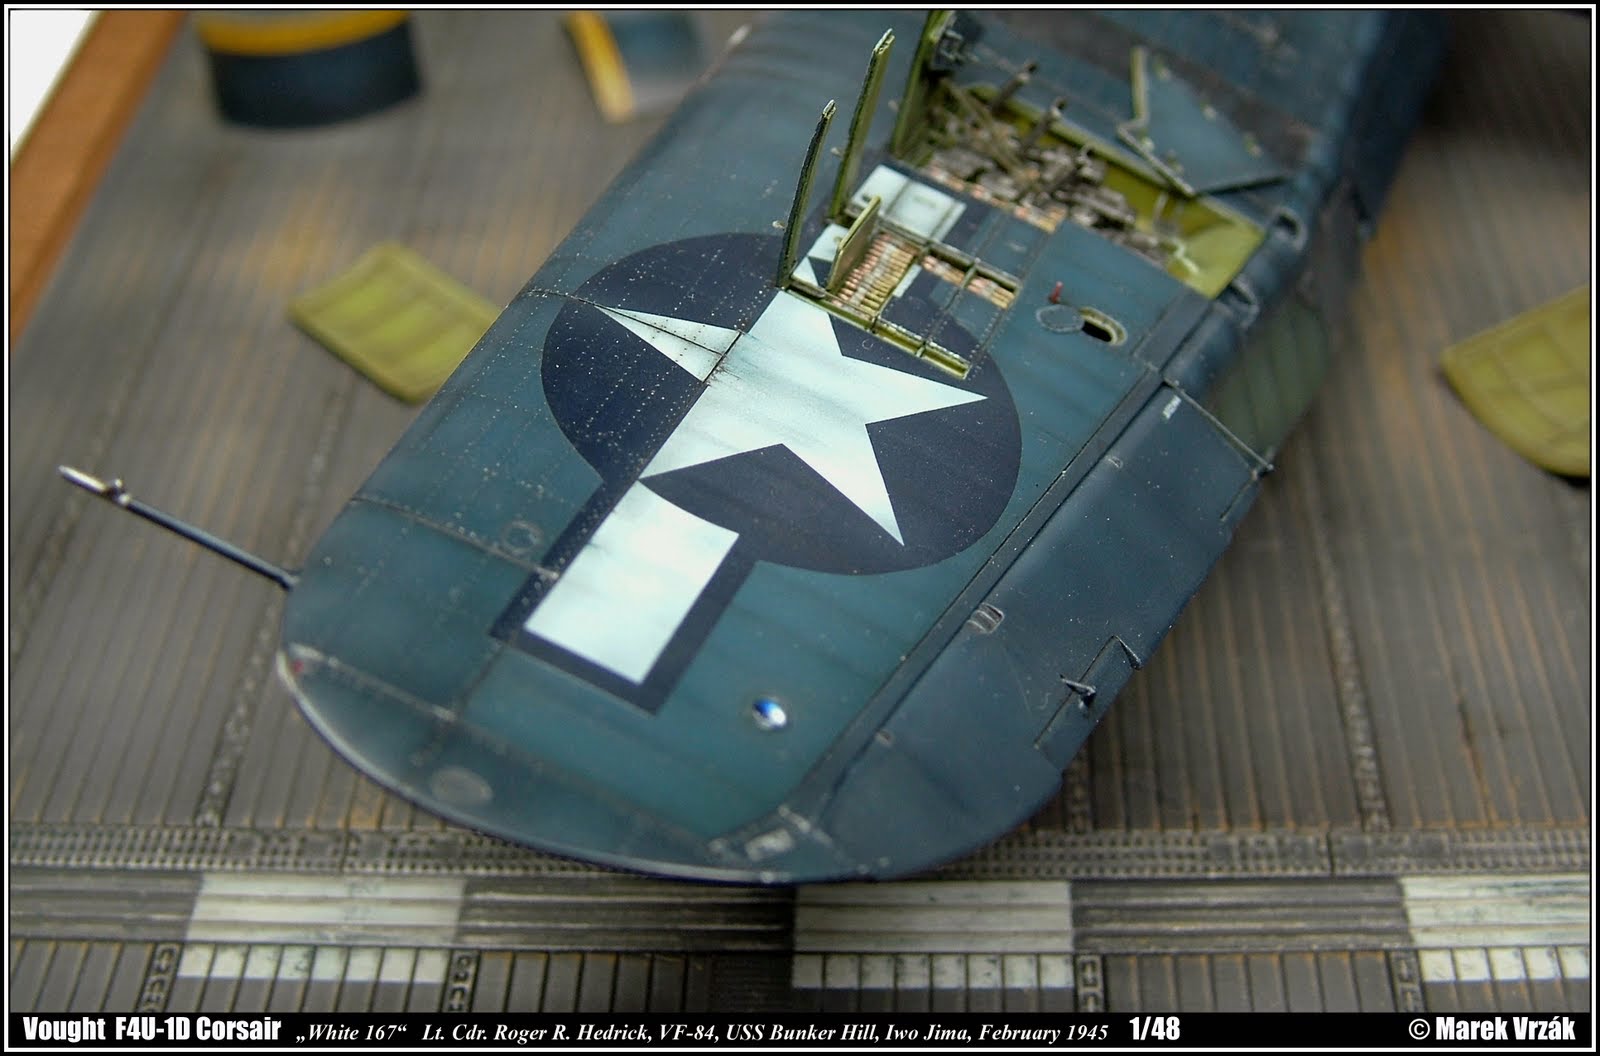
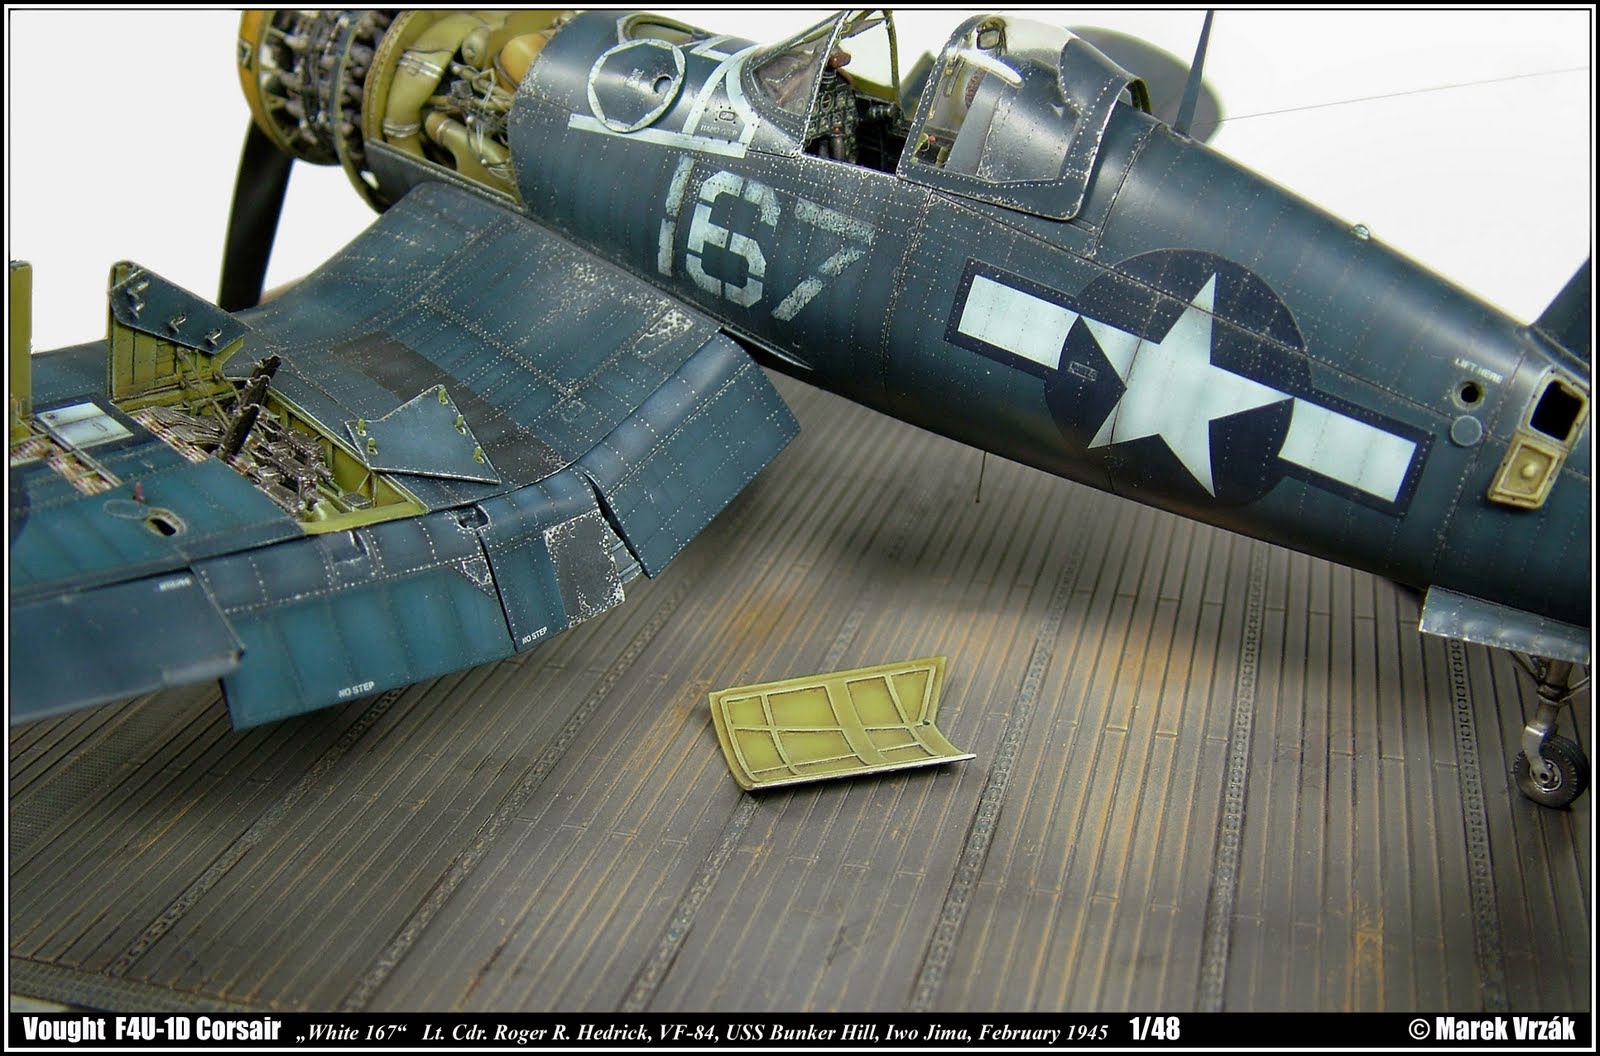
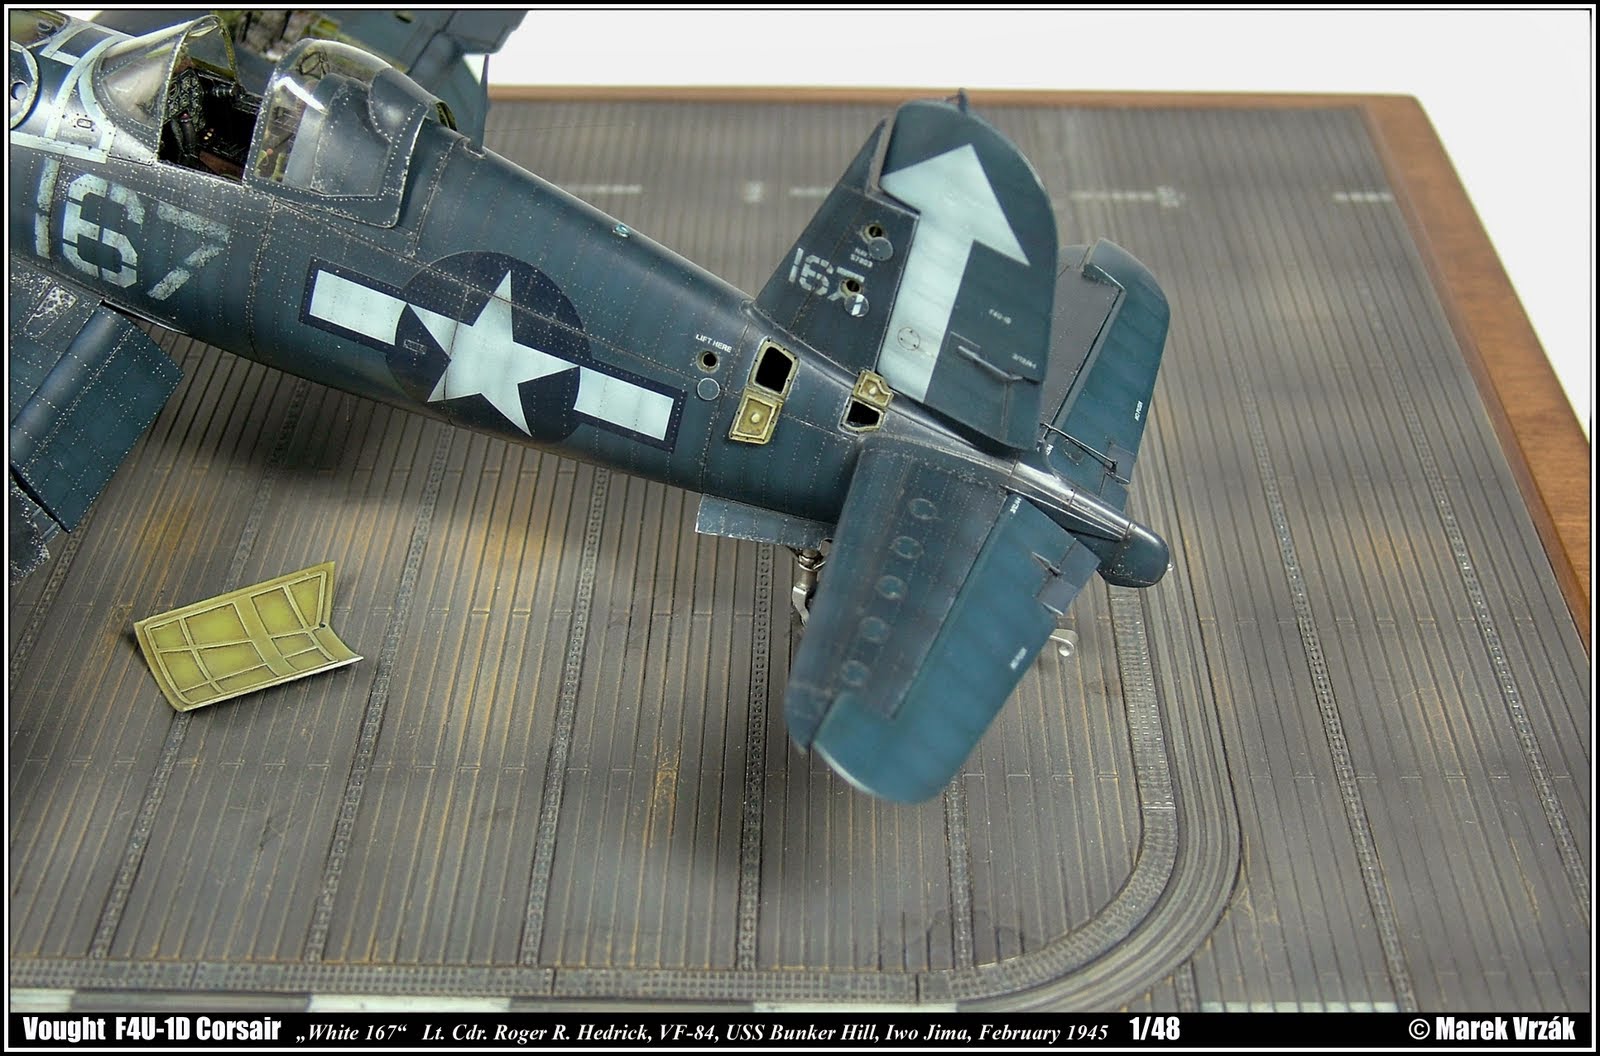
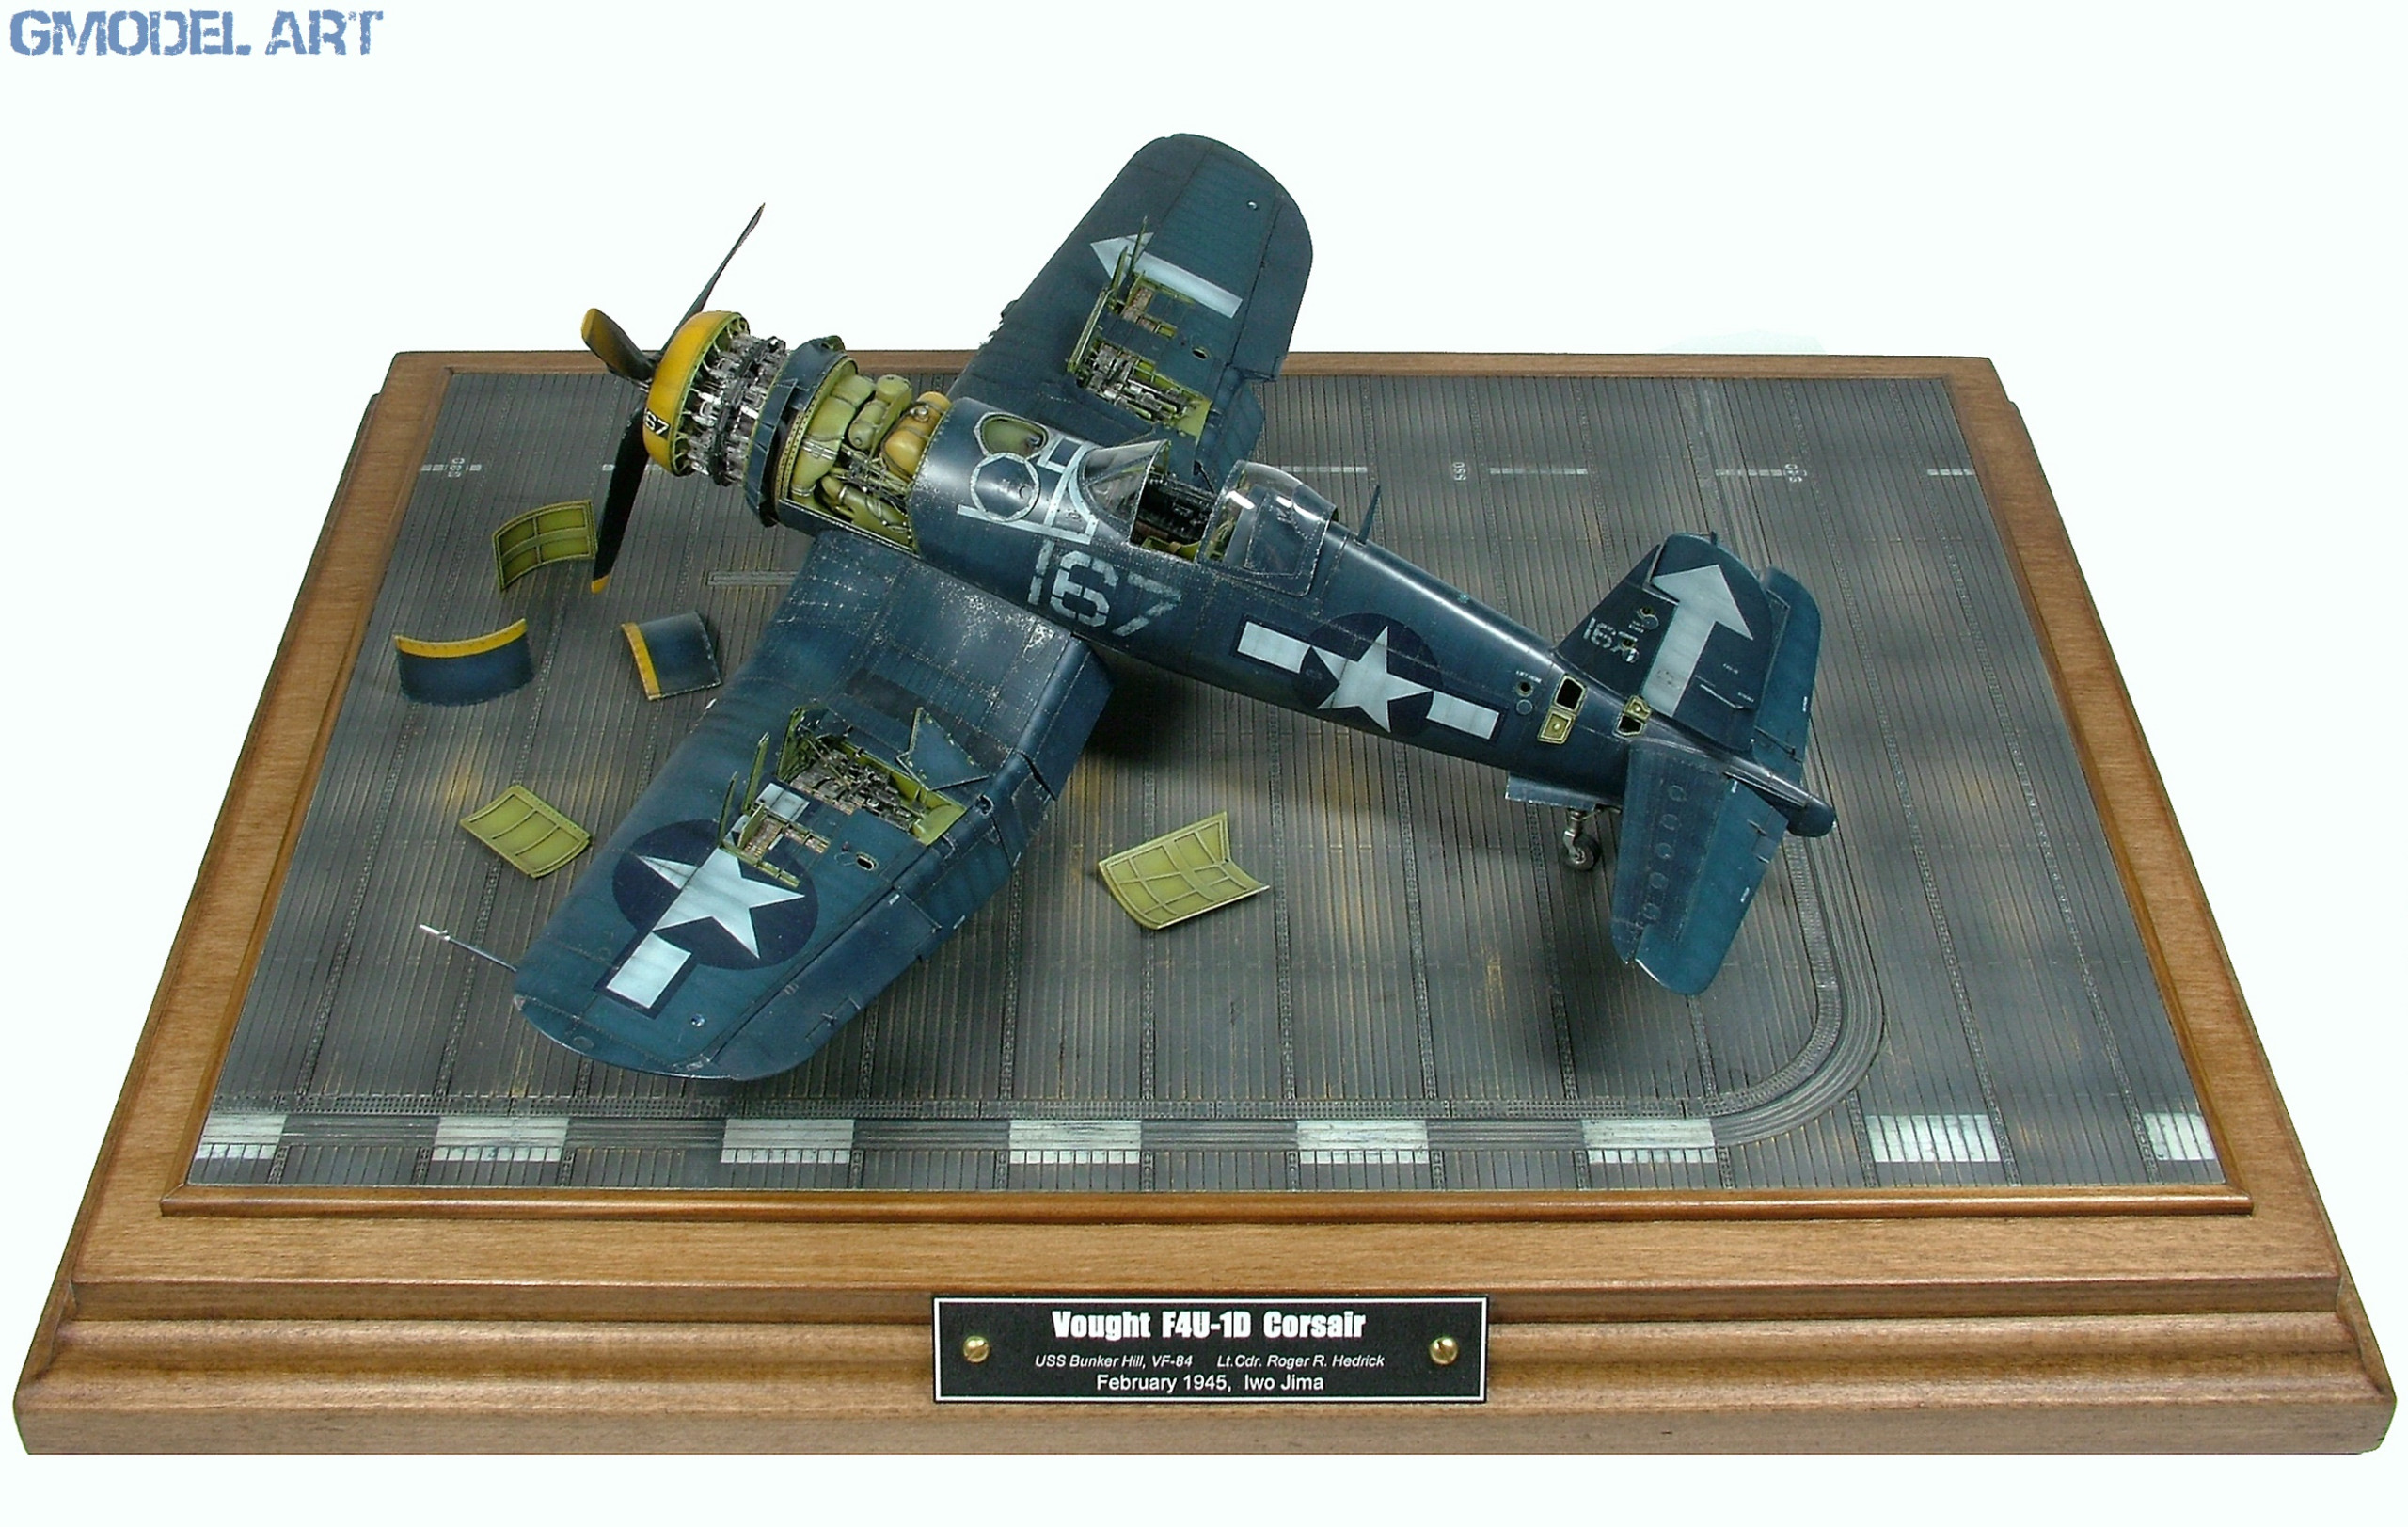
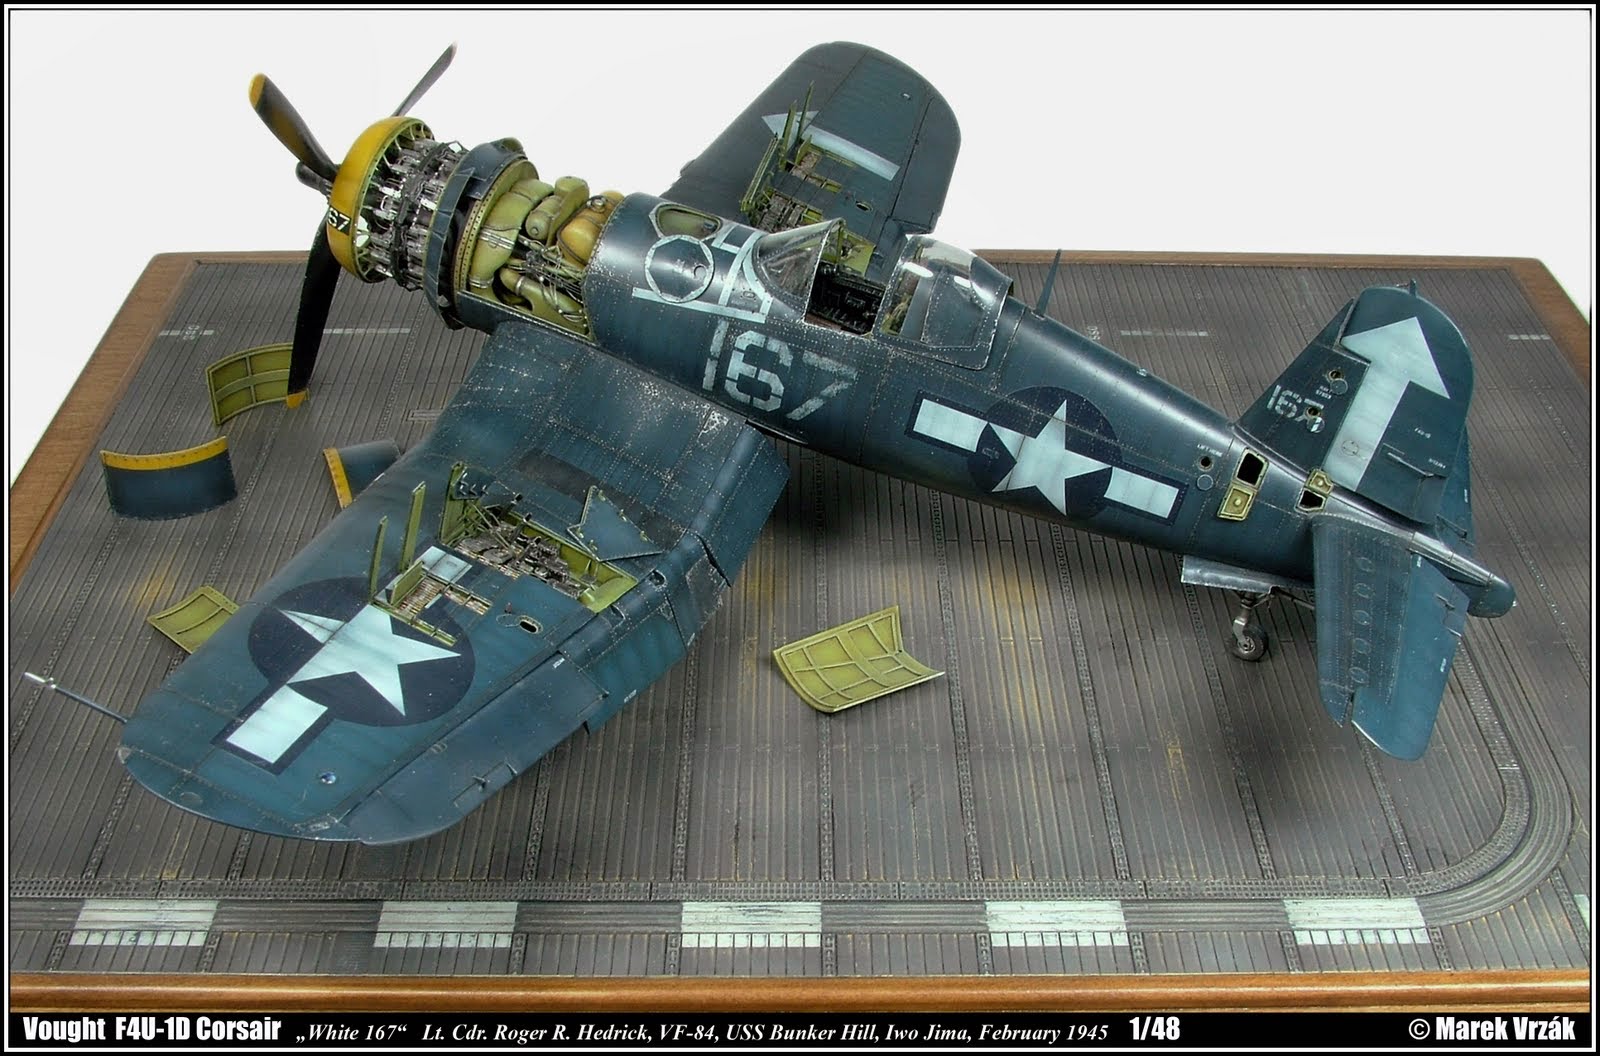
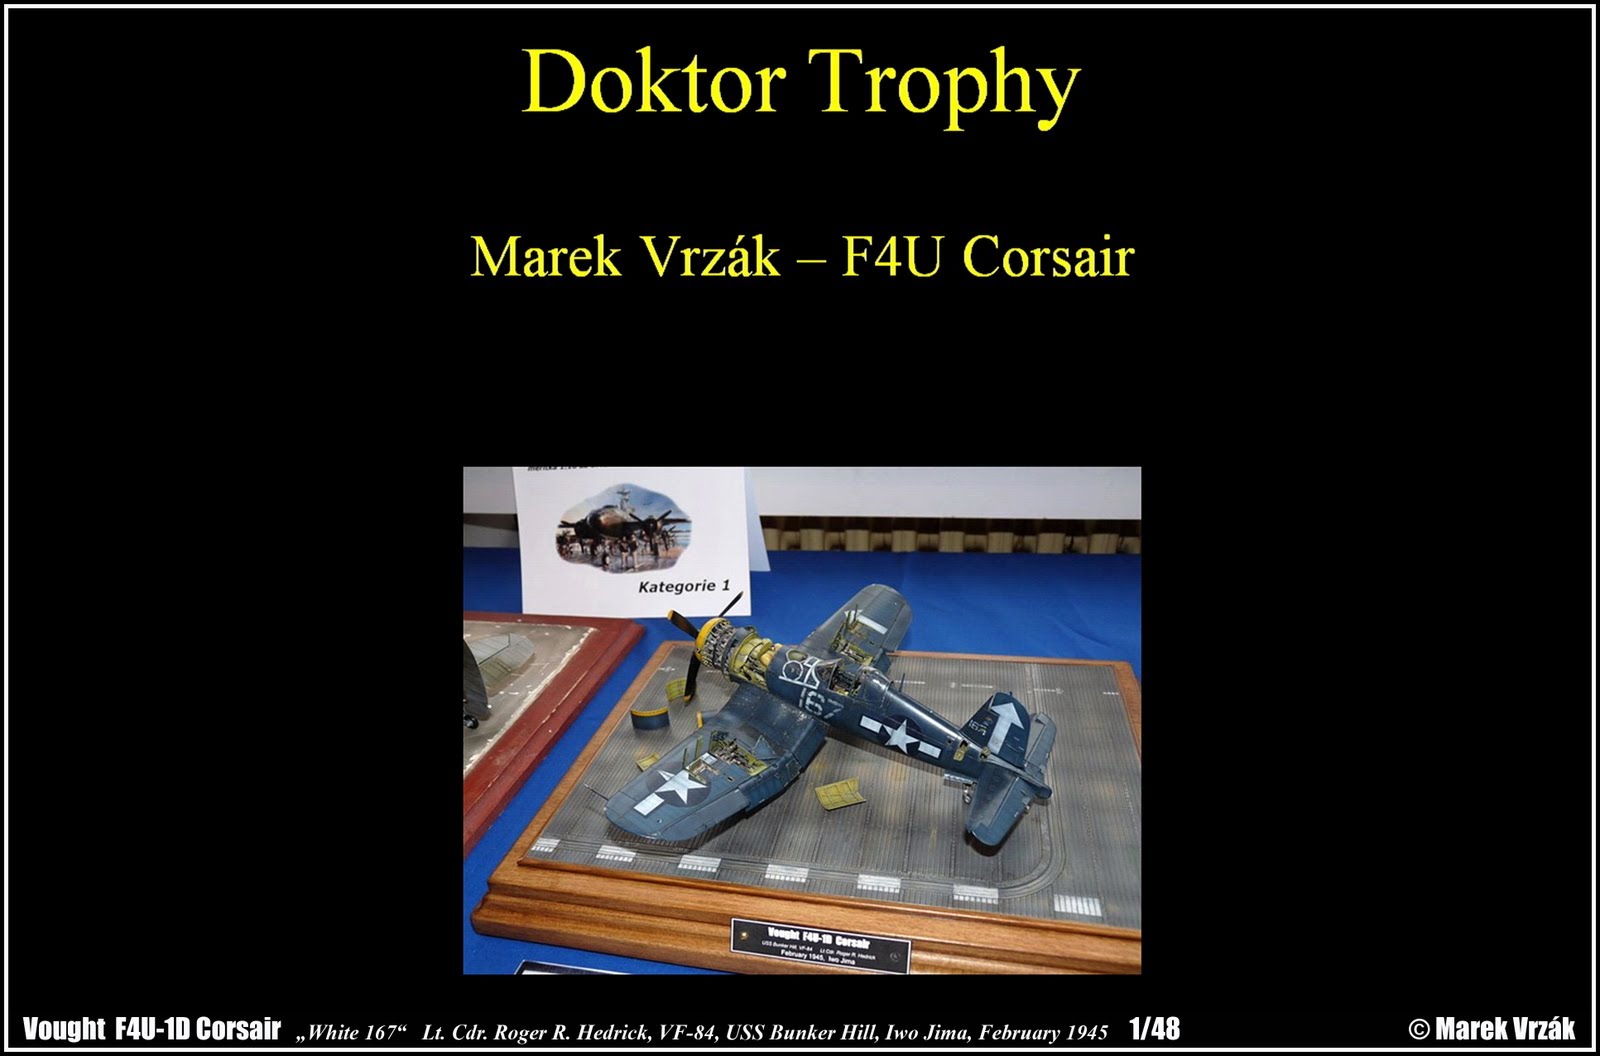
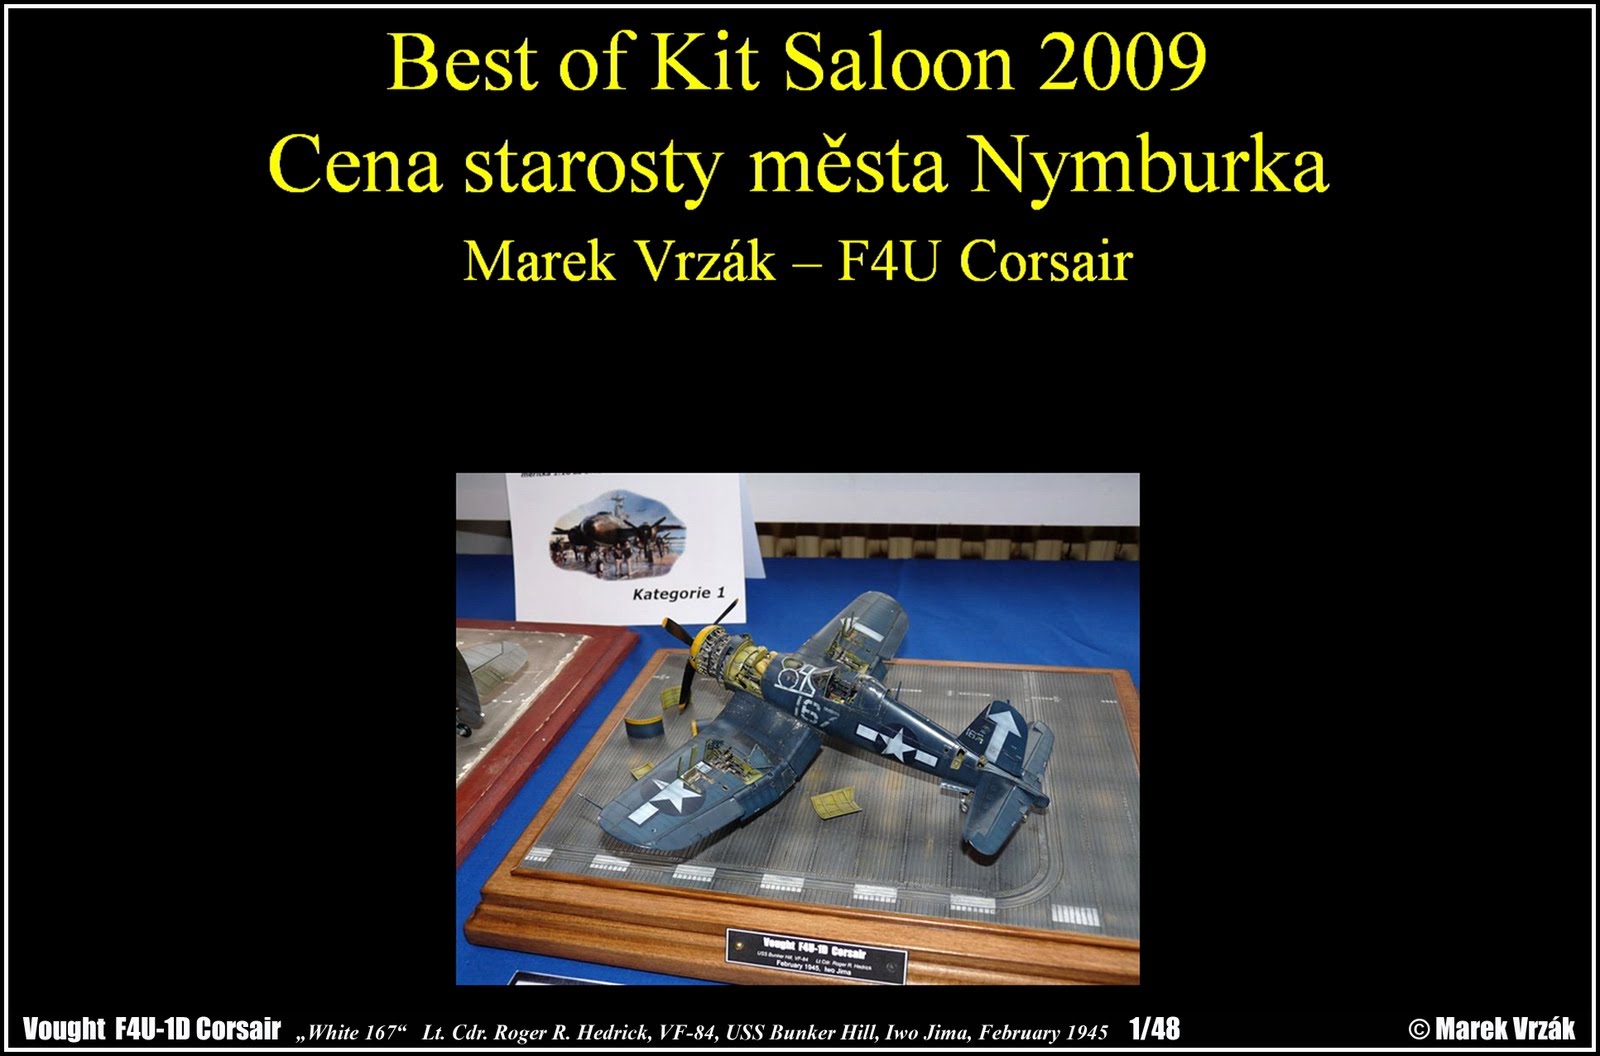
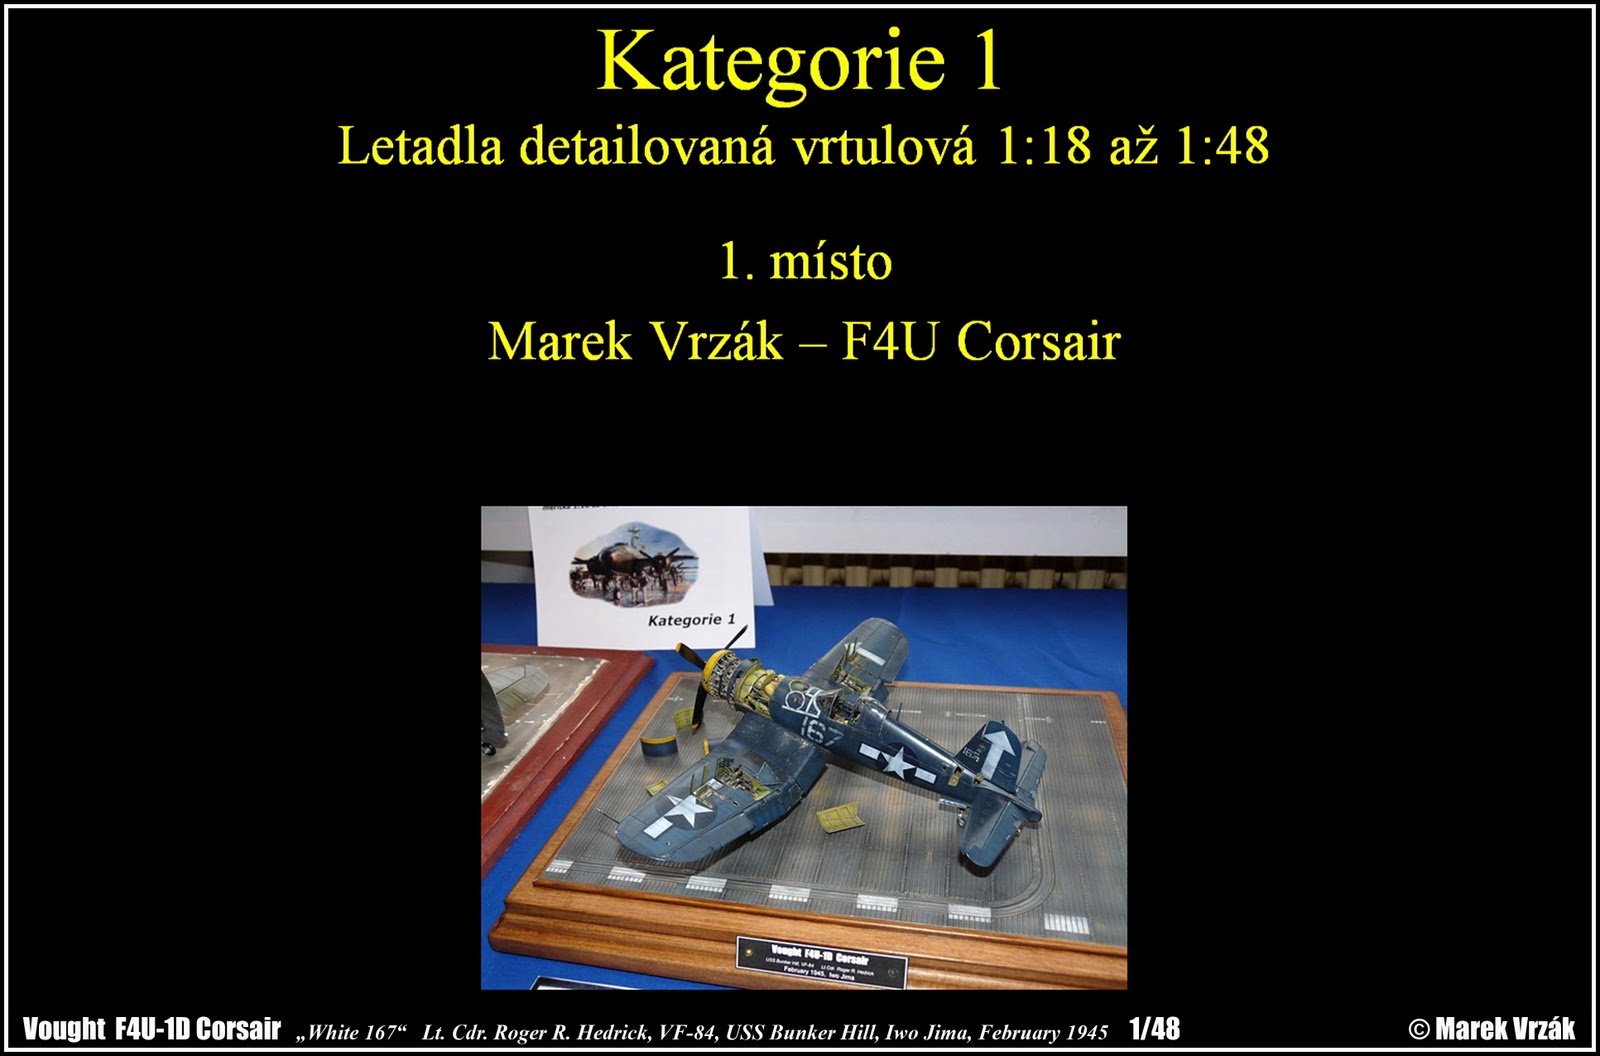
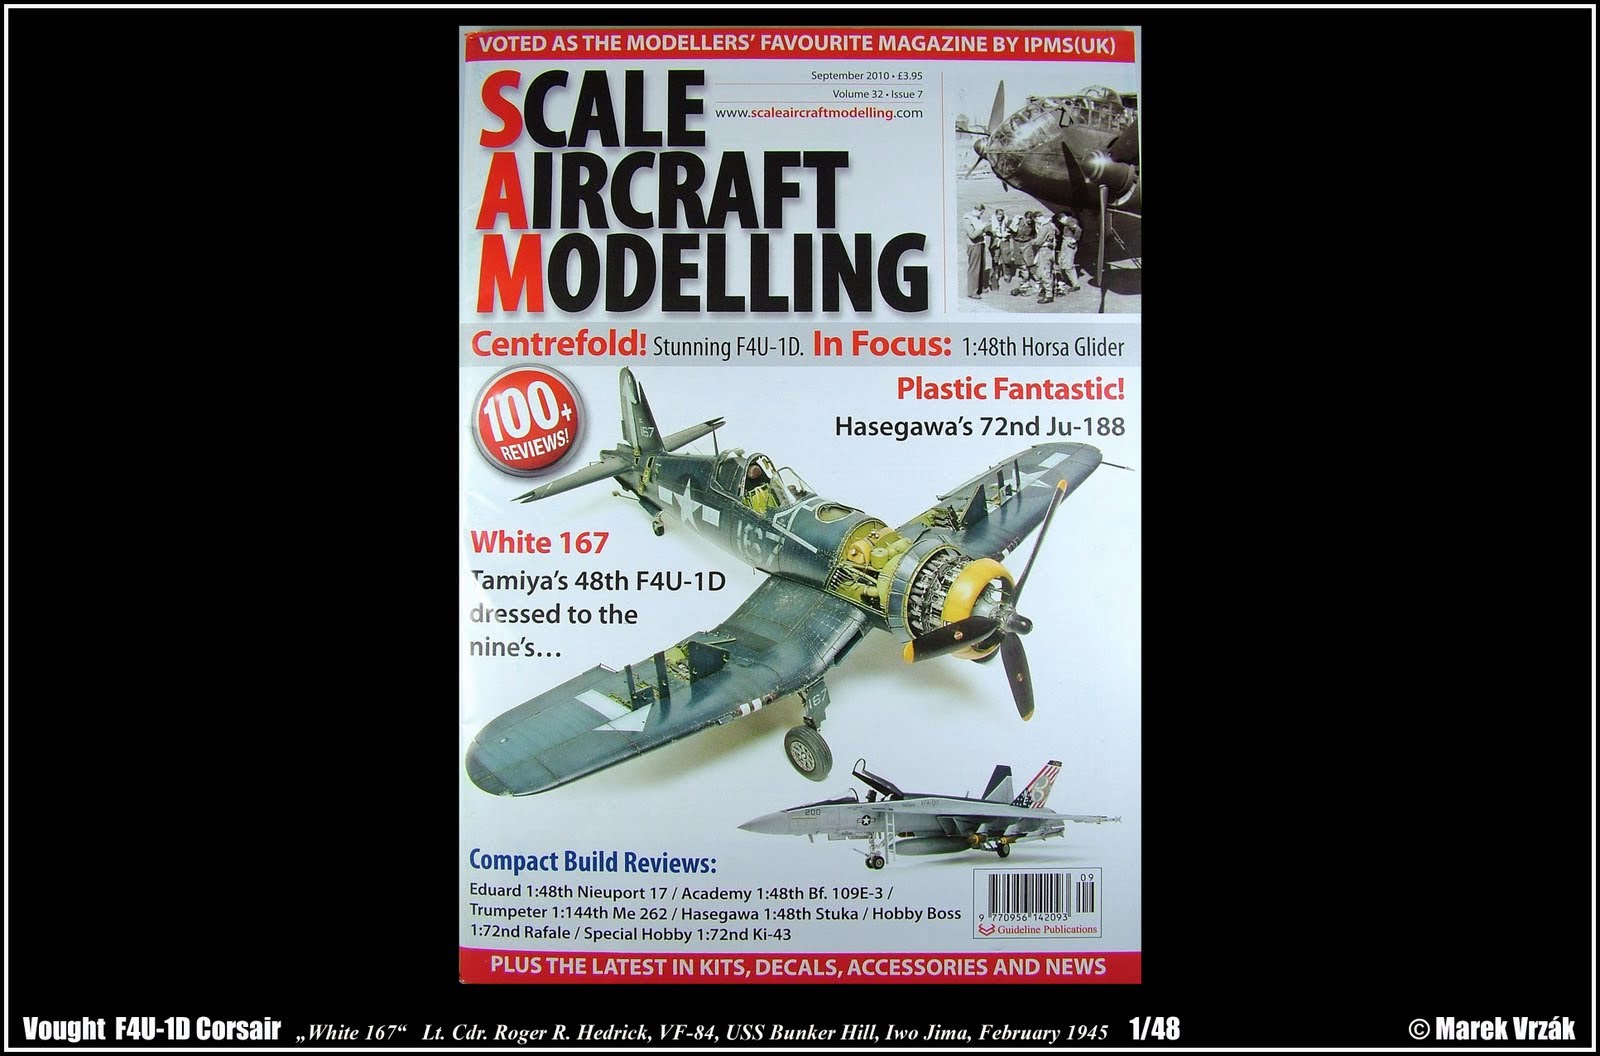
F4U-1D Corsair “white 167″PART 3
The Known-Unknown “White 167” or the Modelling Marathon
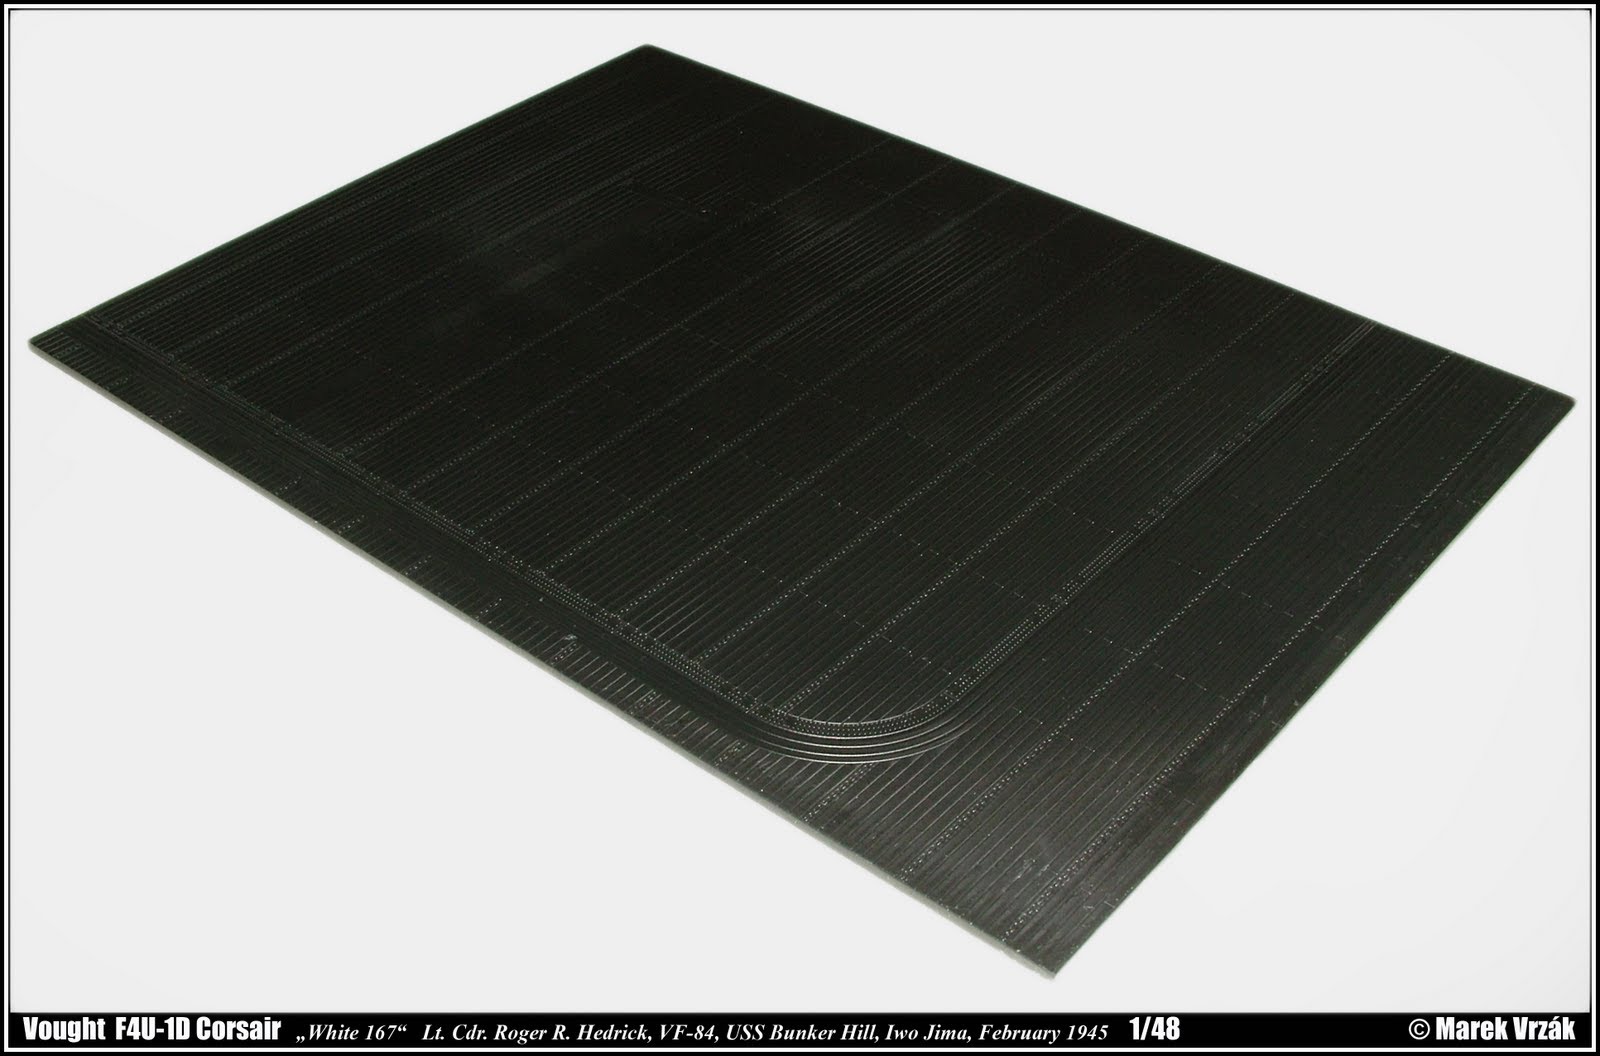
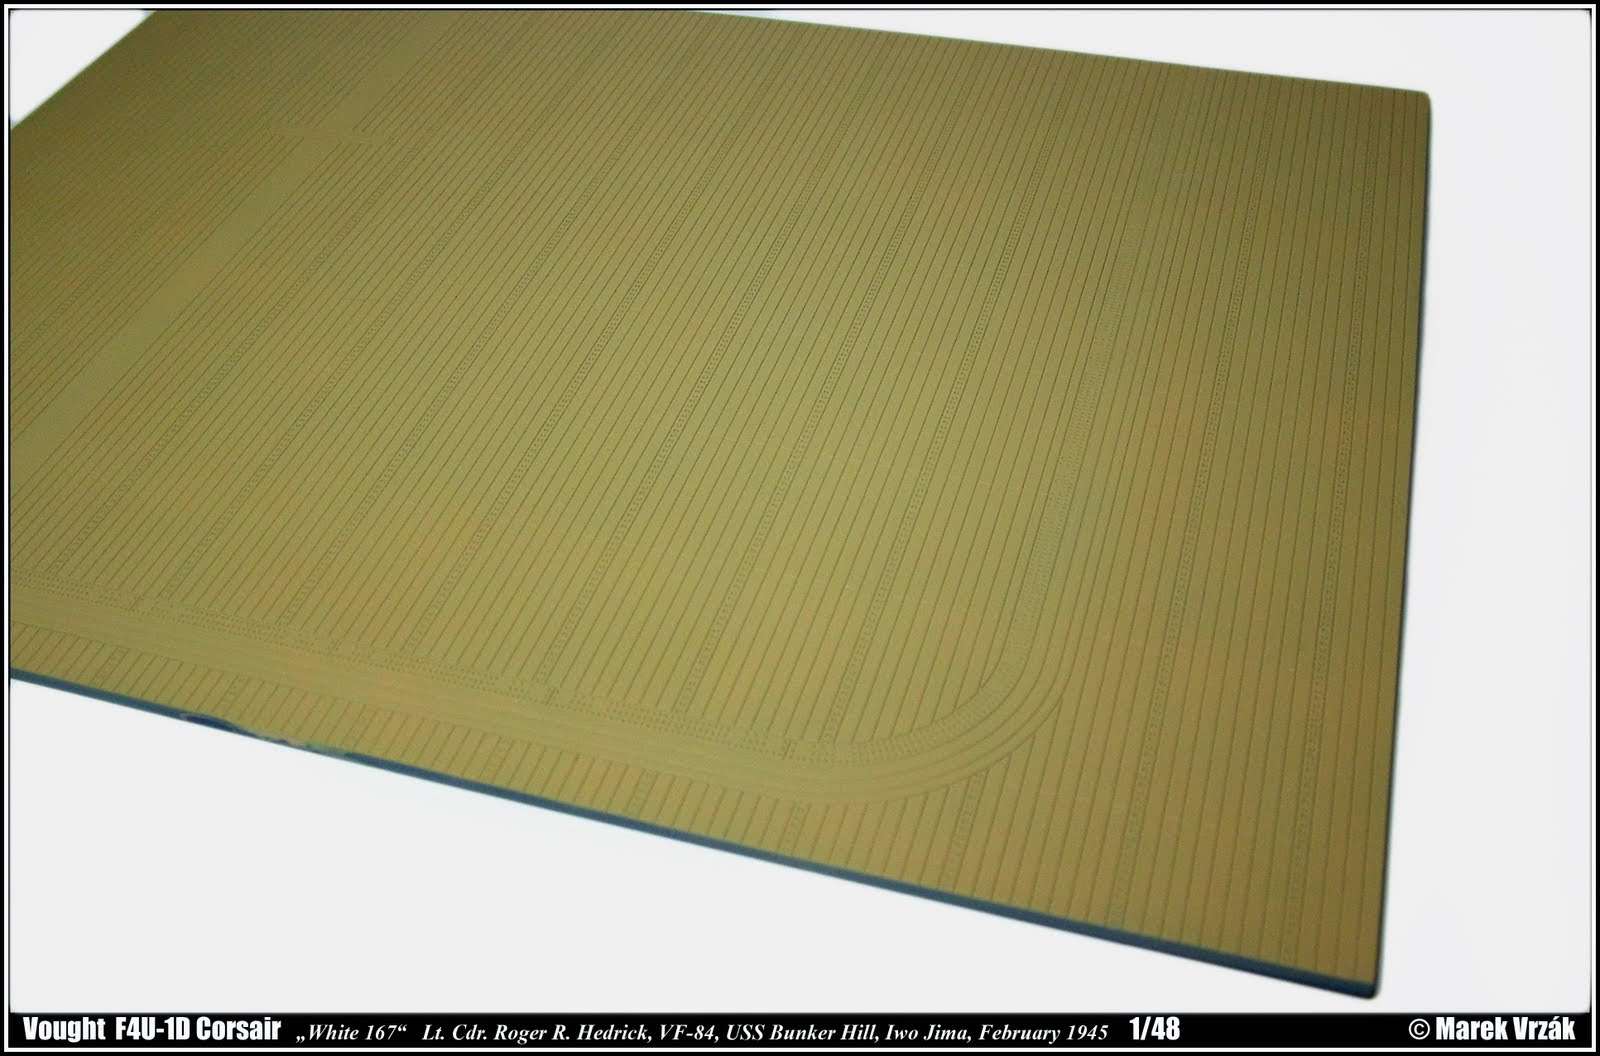
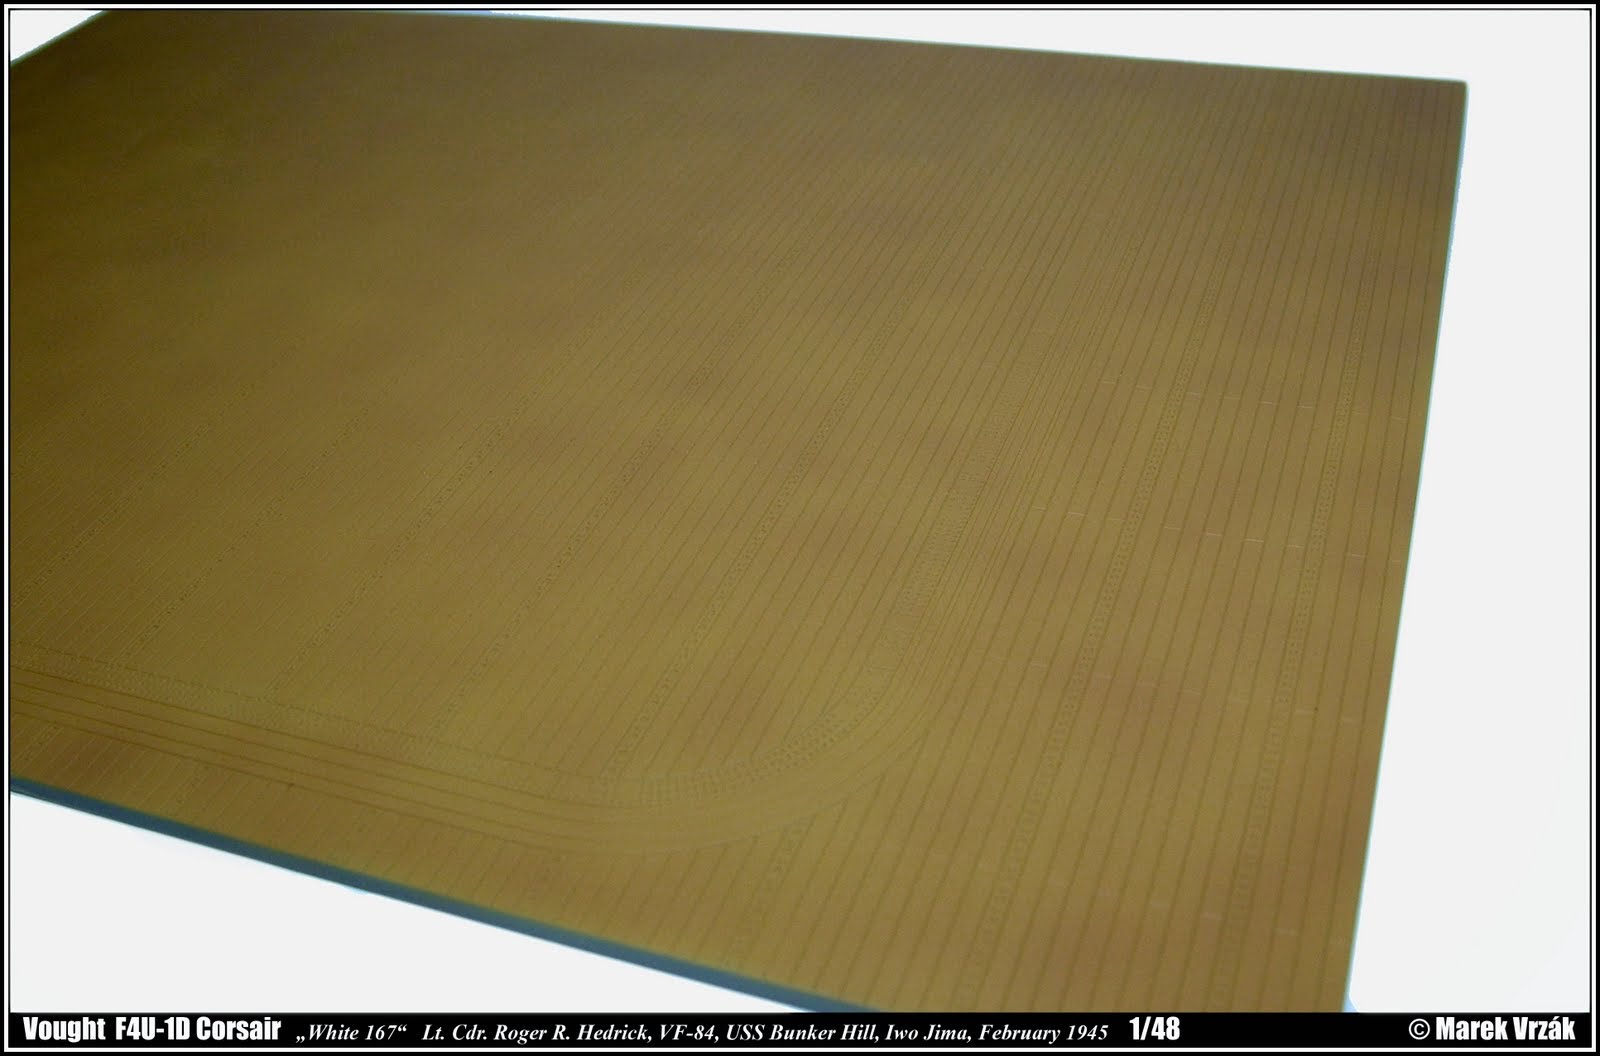
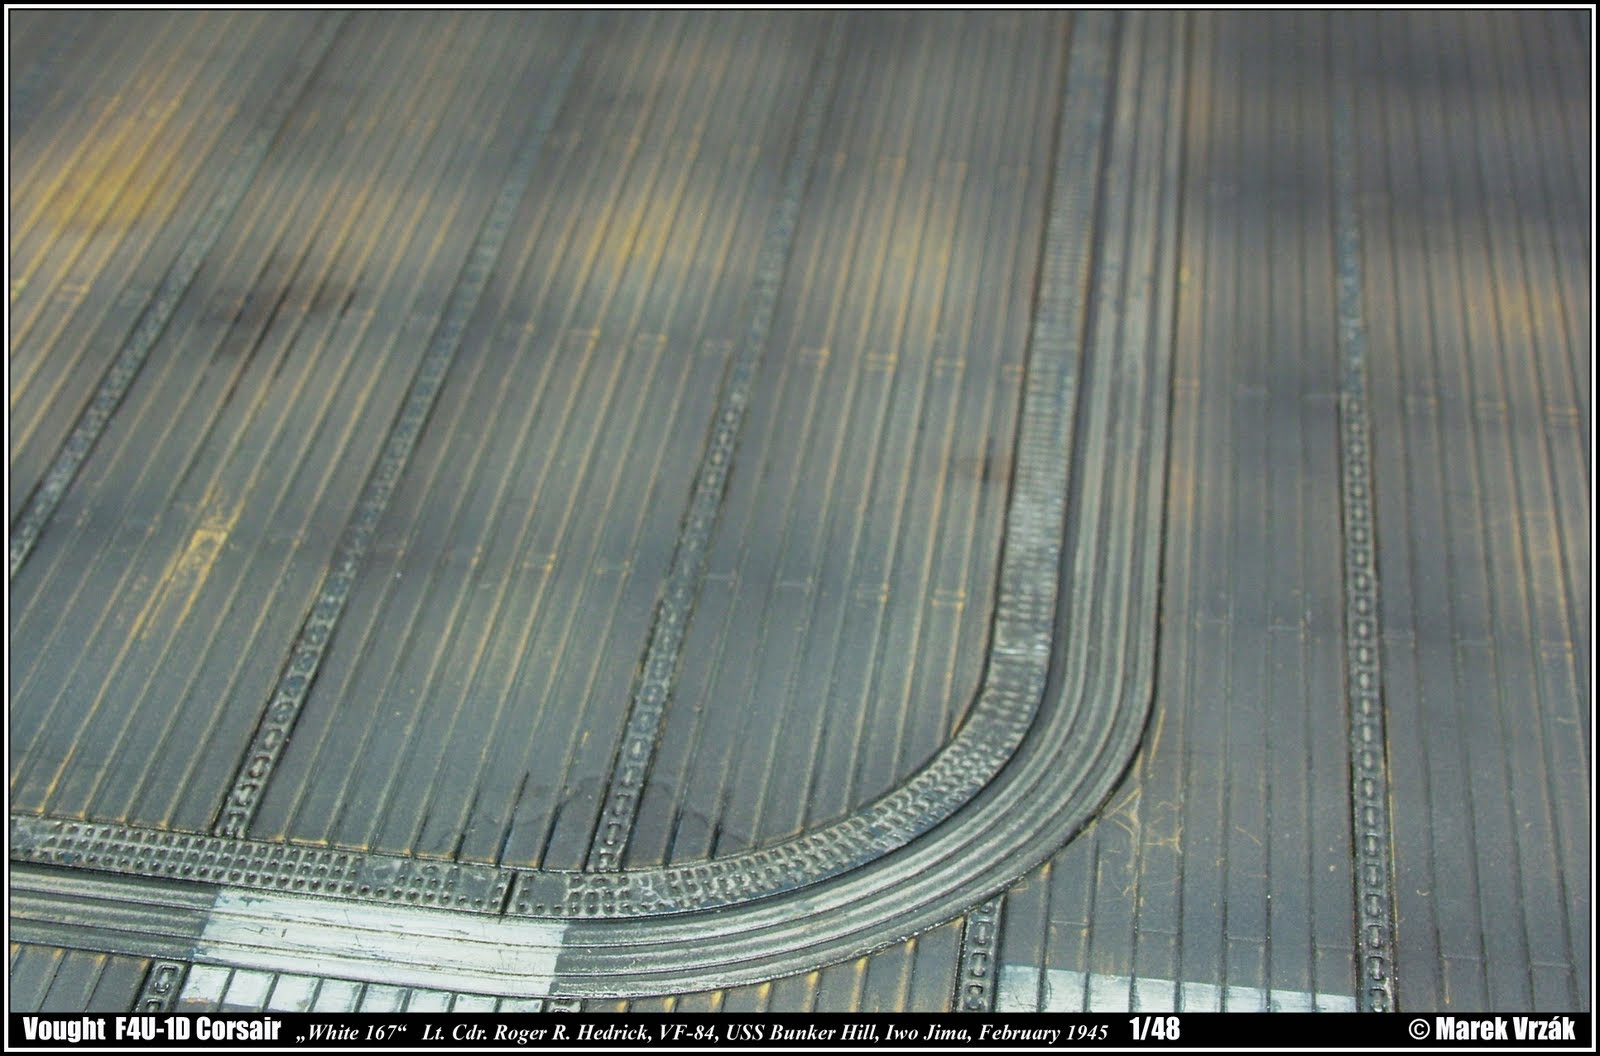
Surface Adjustments:
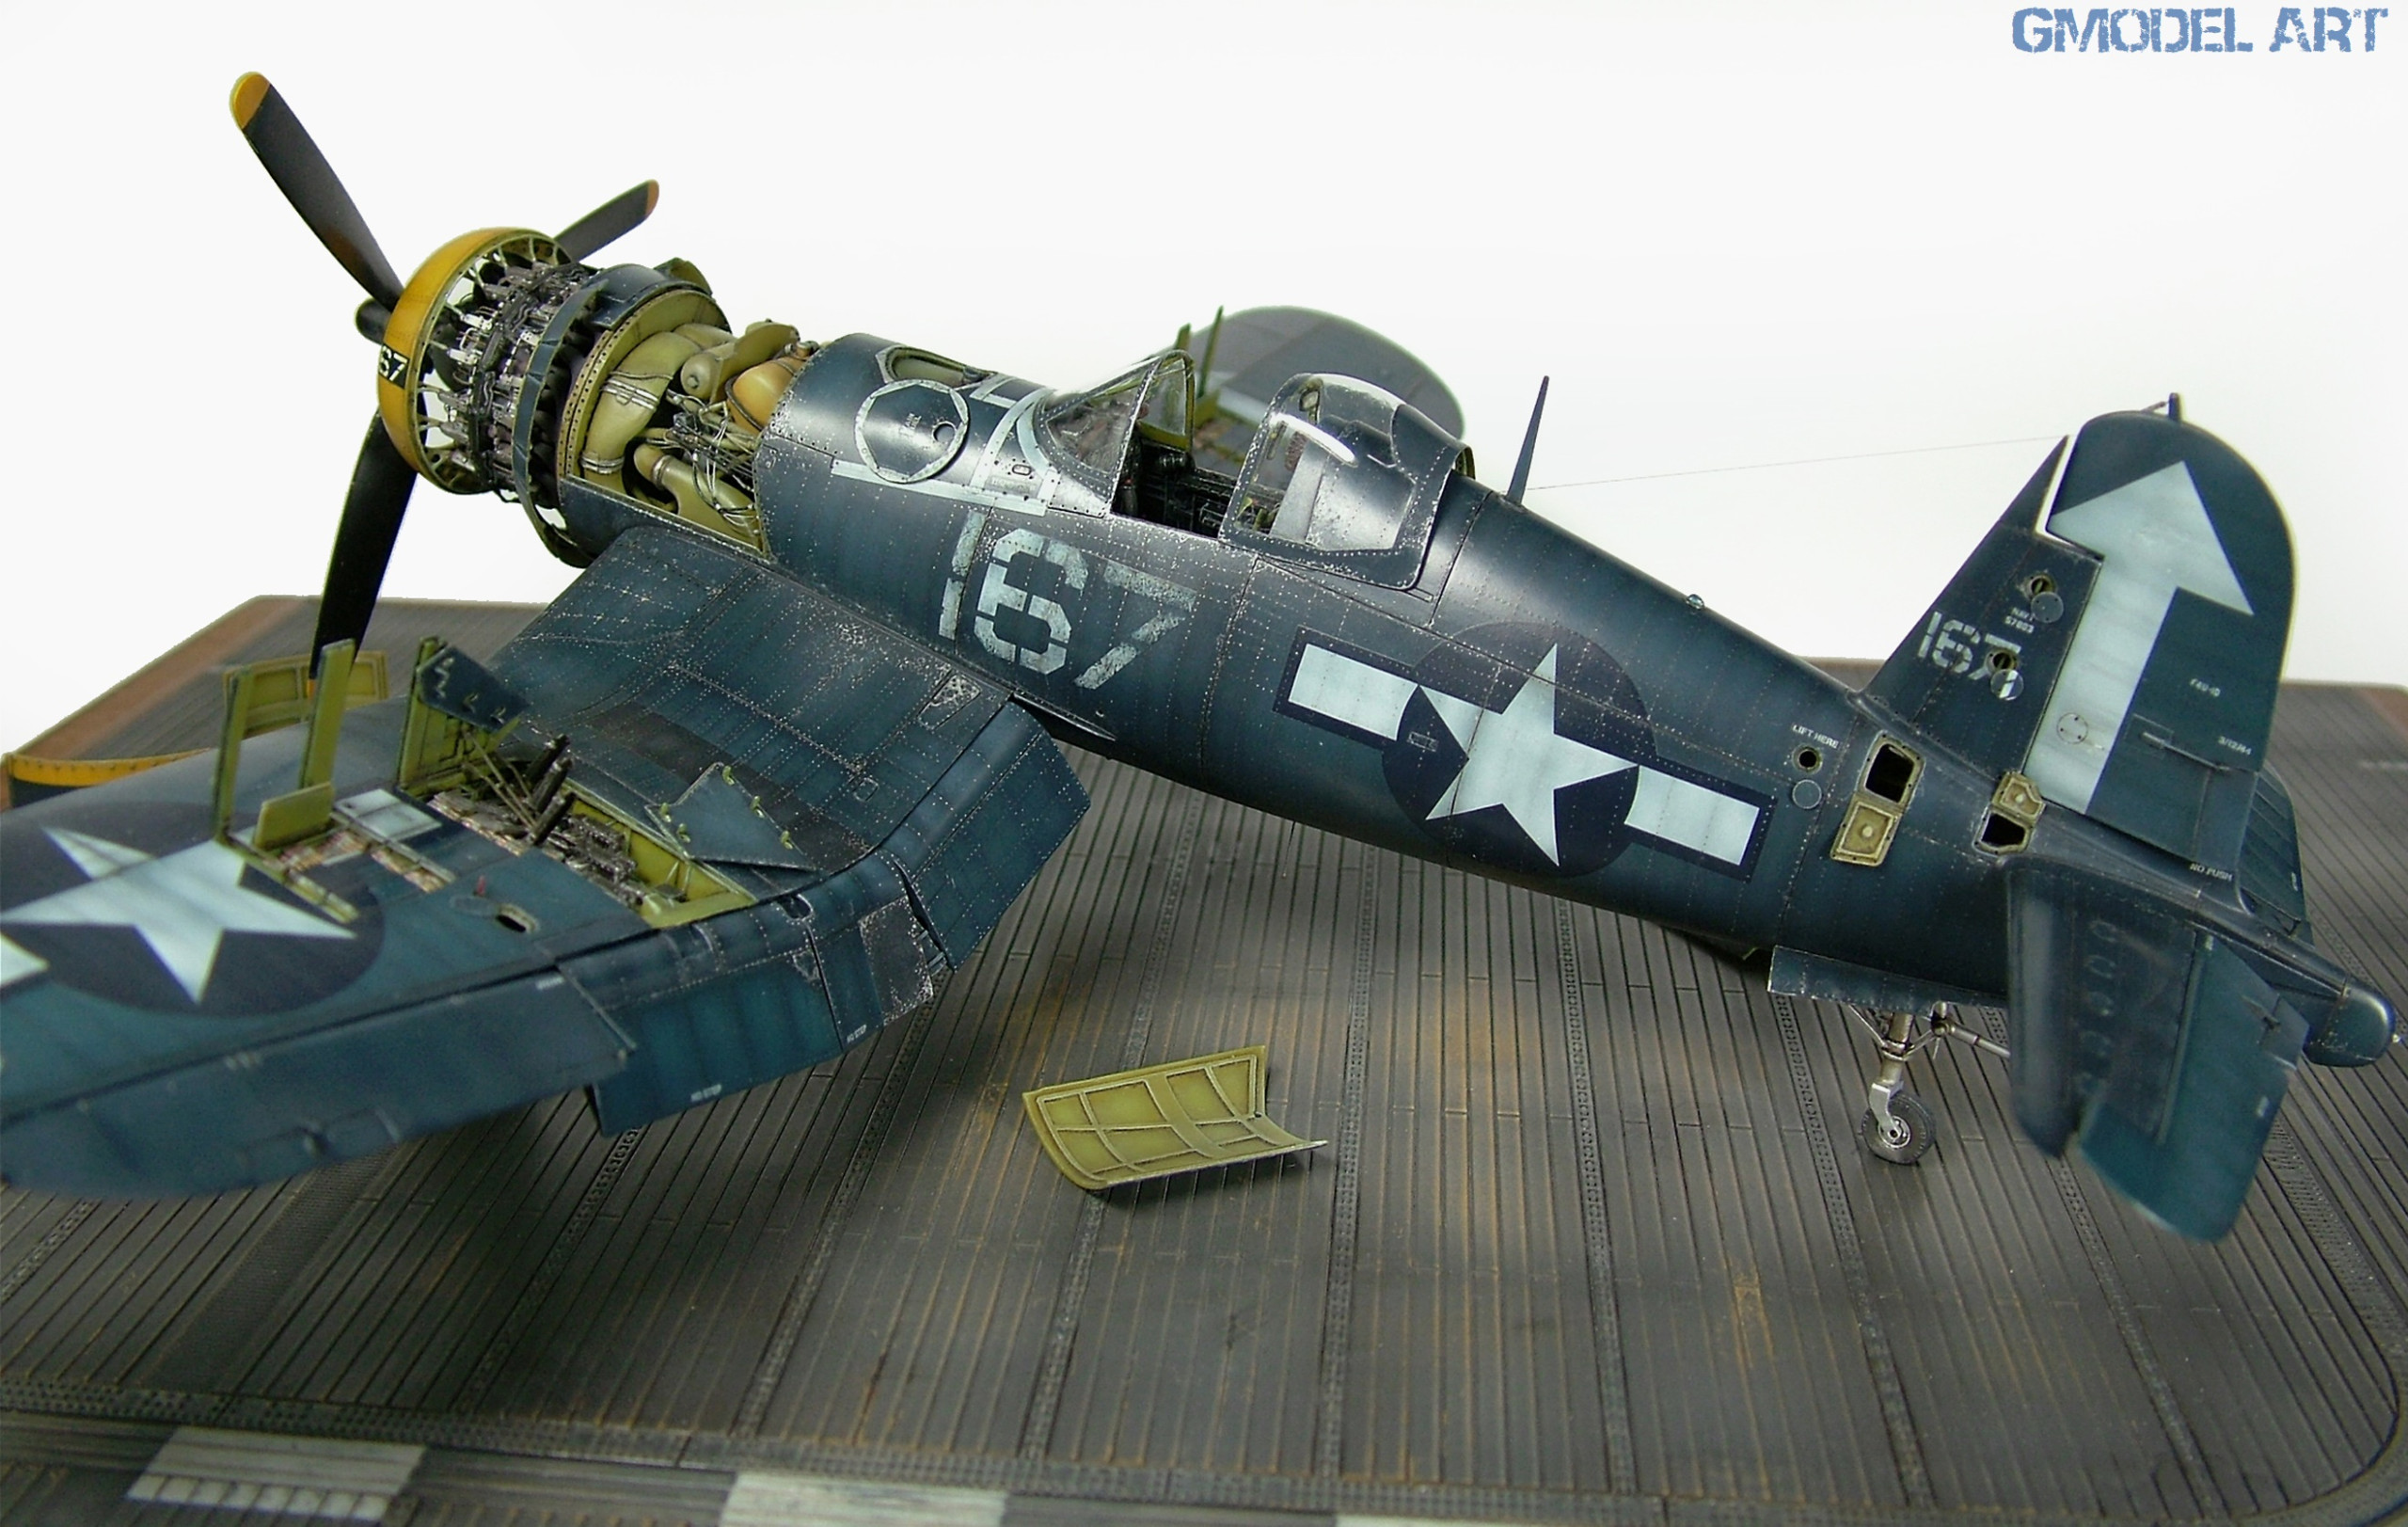
Painting and coloring of non-movable surfaces took place just before the completion of the model.
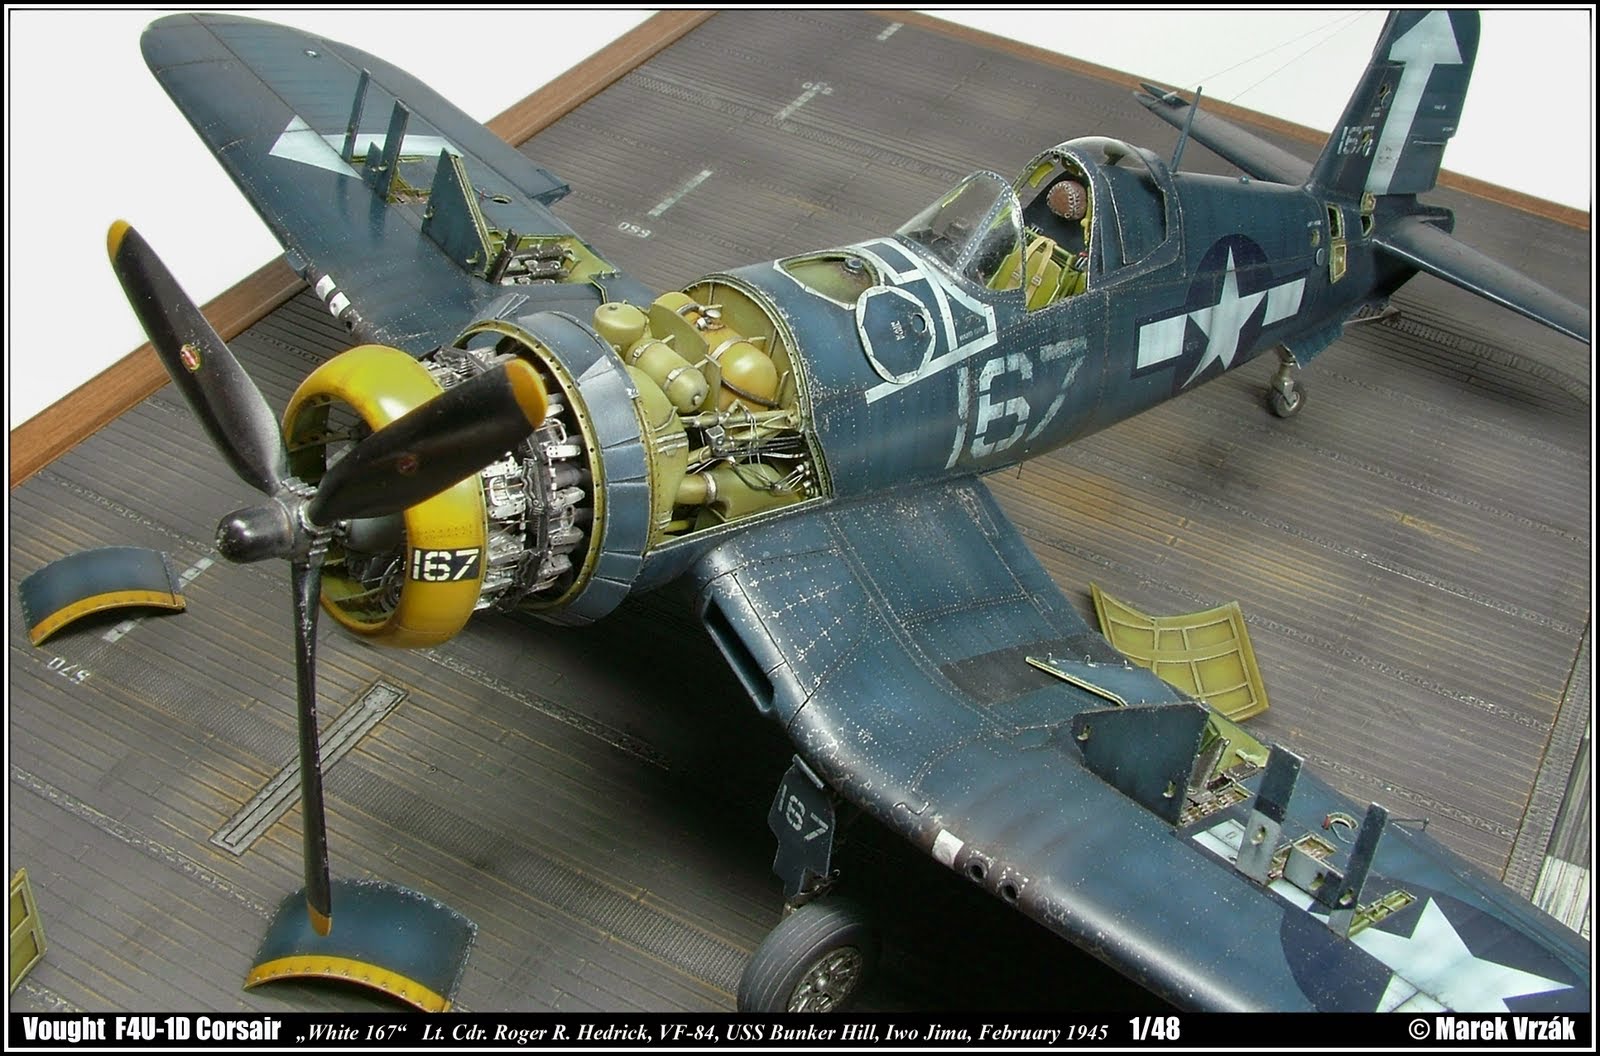
First I oiled down the whole model with turpentine, sprayed Mr. Surfacer 1000, fixed a few minor scratches and then carefully polished to a mirror shine with Proxxon polish disks and a micro drill. I then gradually sprayed Glossy Sea Blue FS 15042 camouflage color mixed with several other shades of color from Gunze series C, depending on whether it was on the metal or platinum parts of the aircraft.
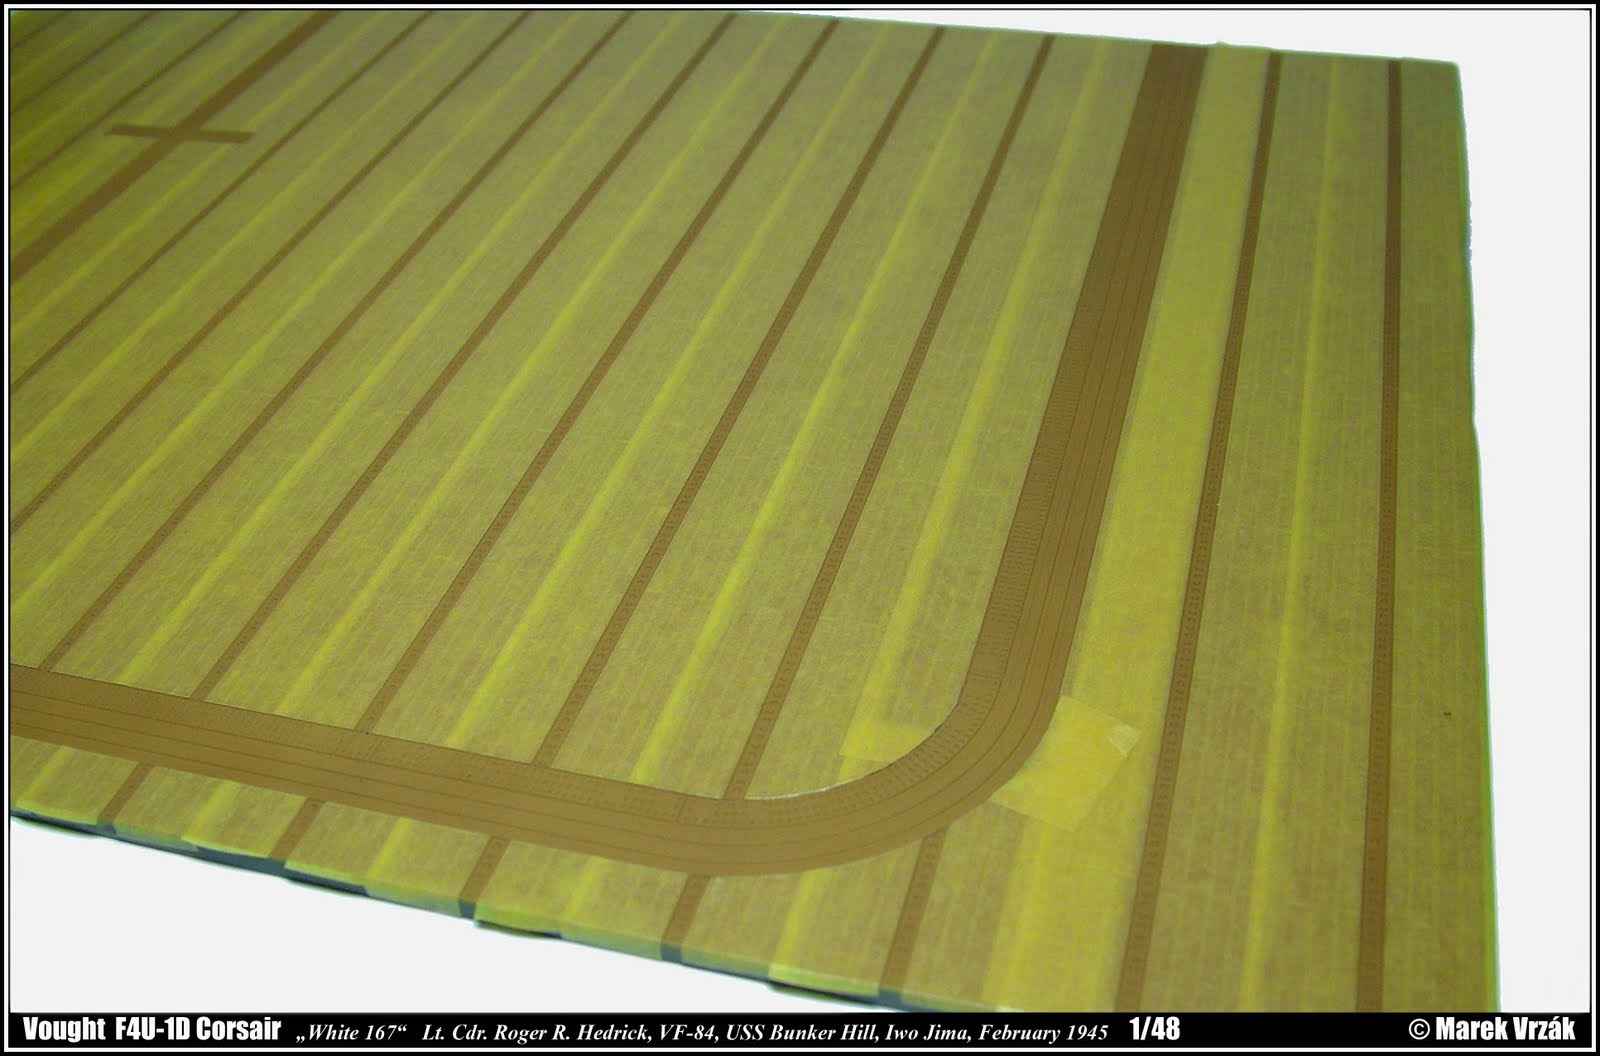
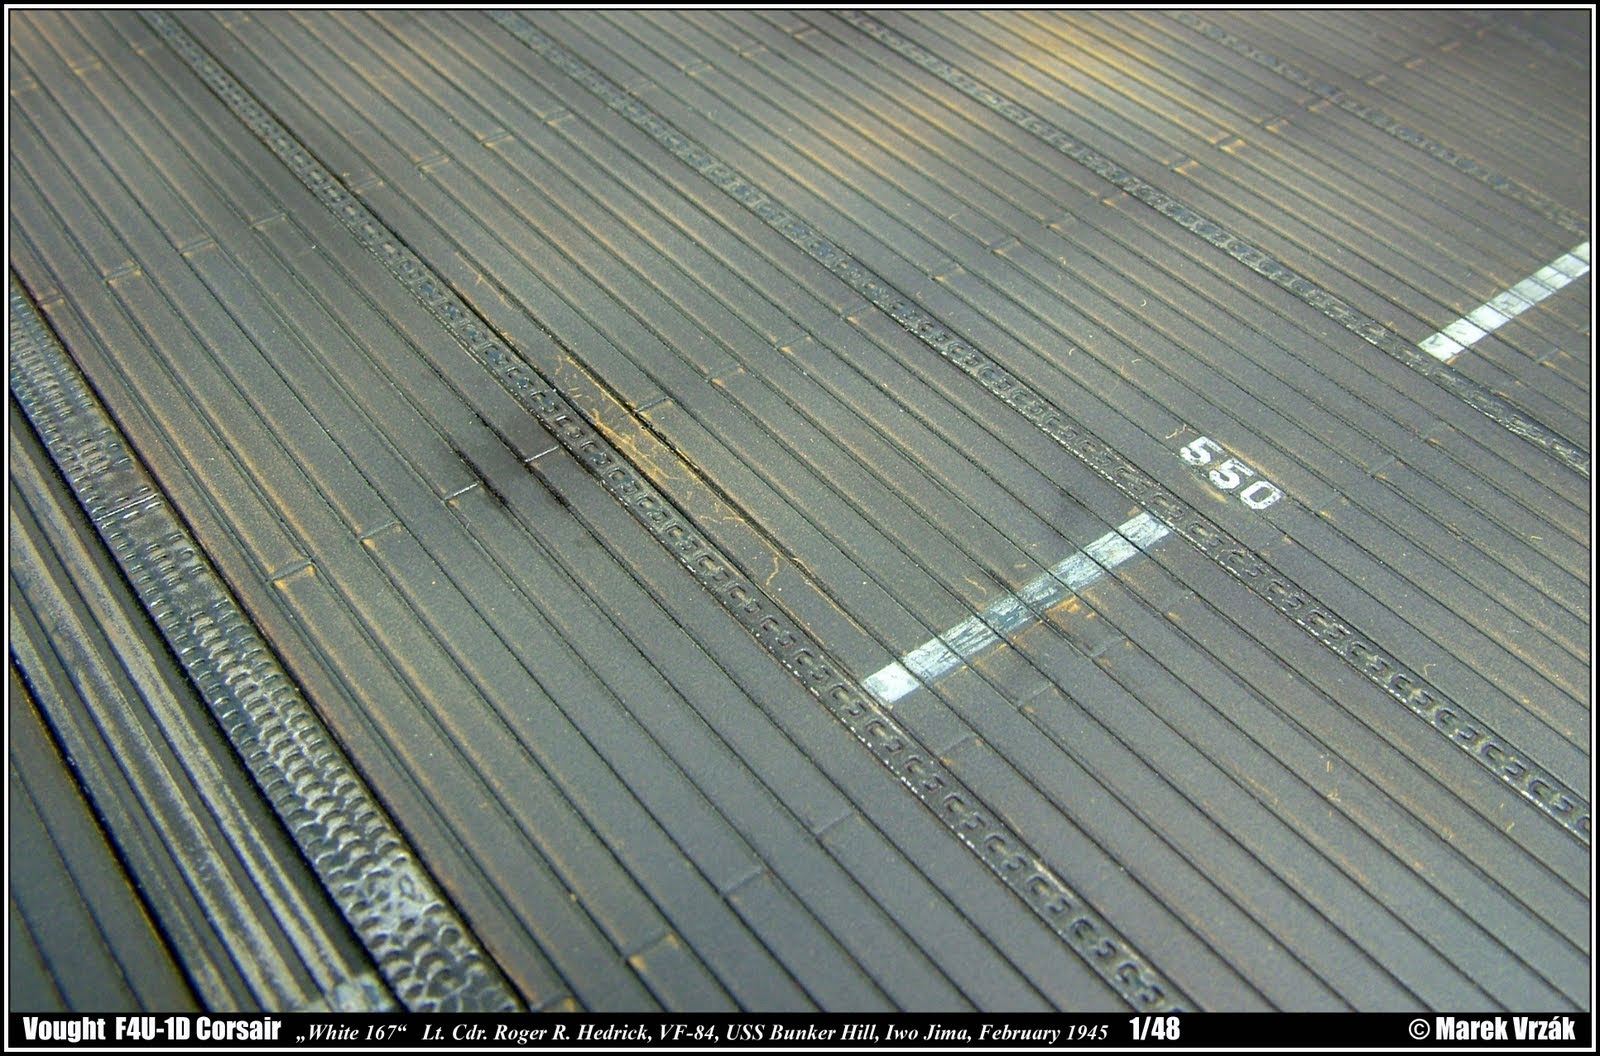
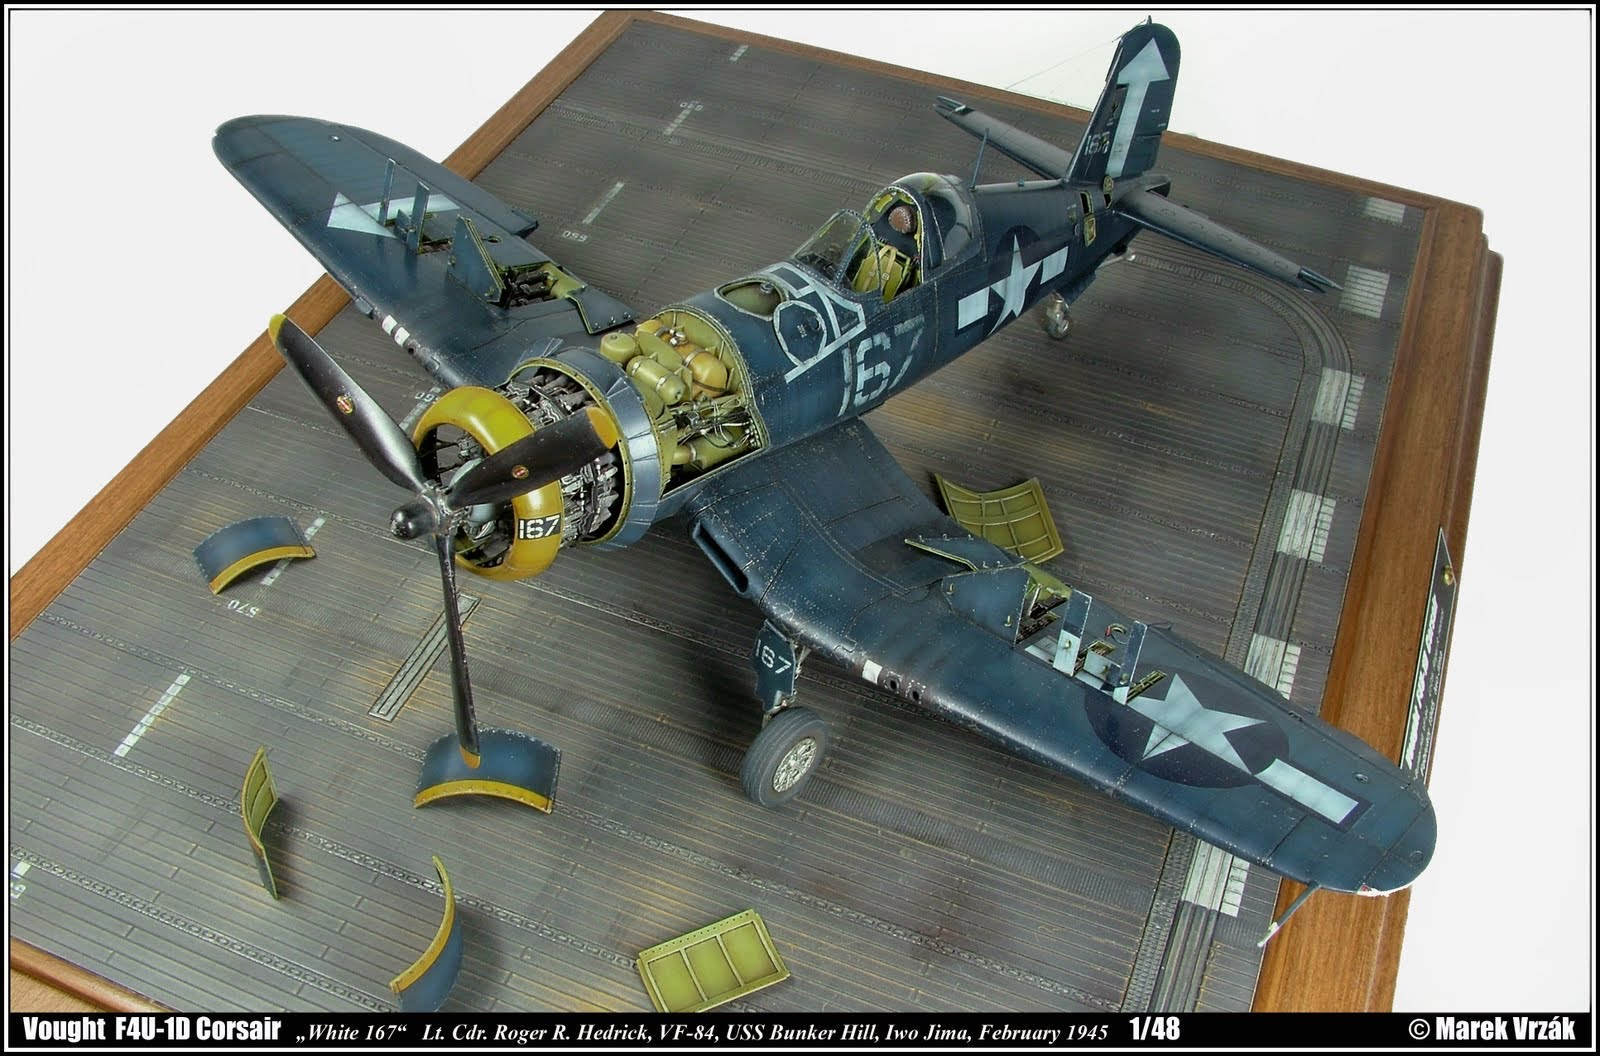
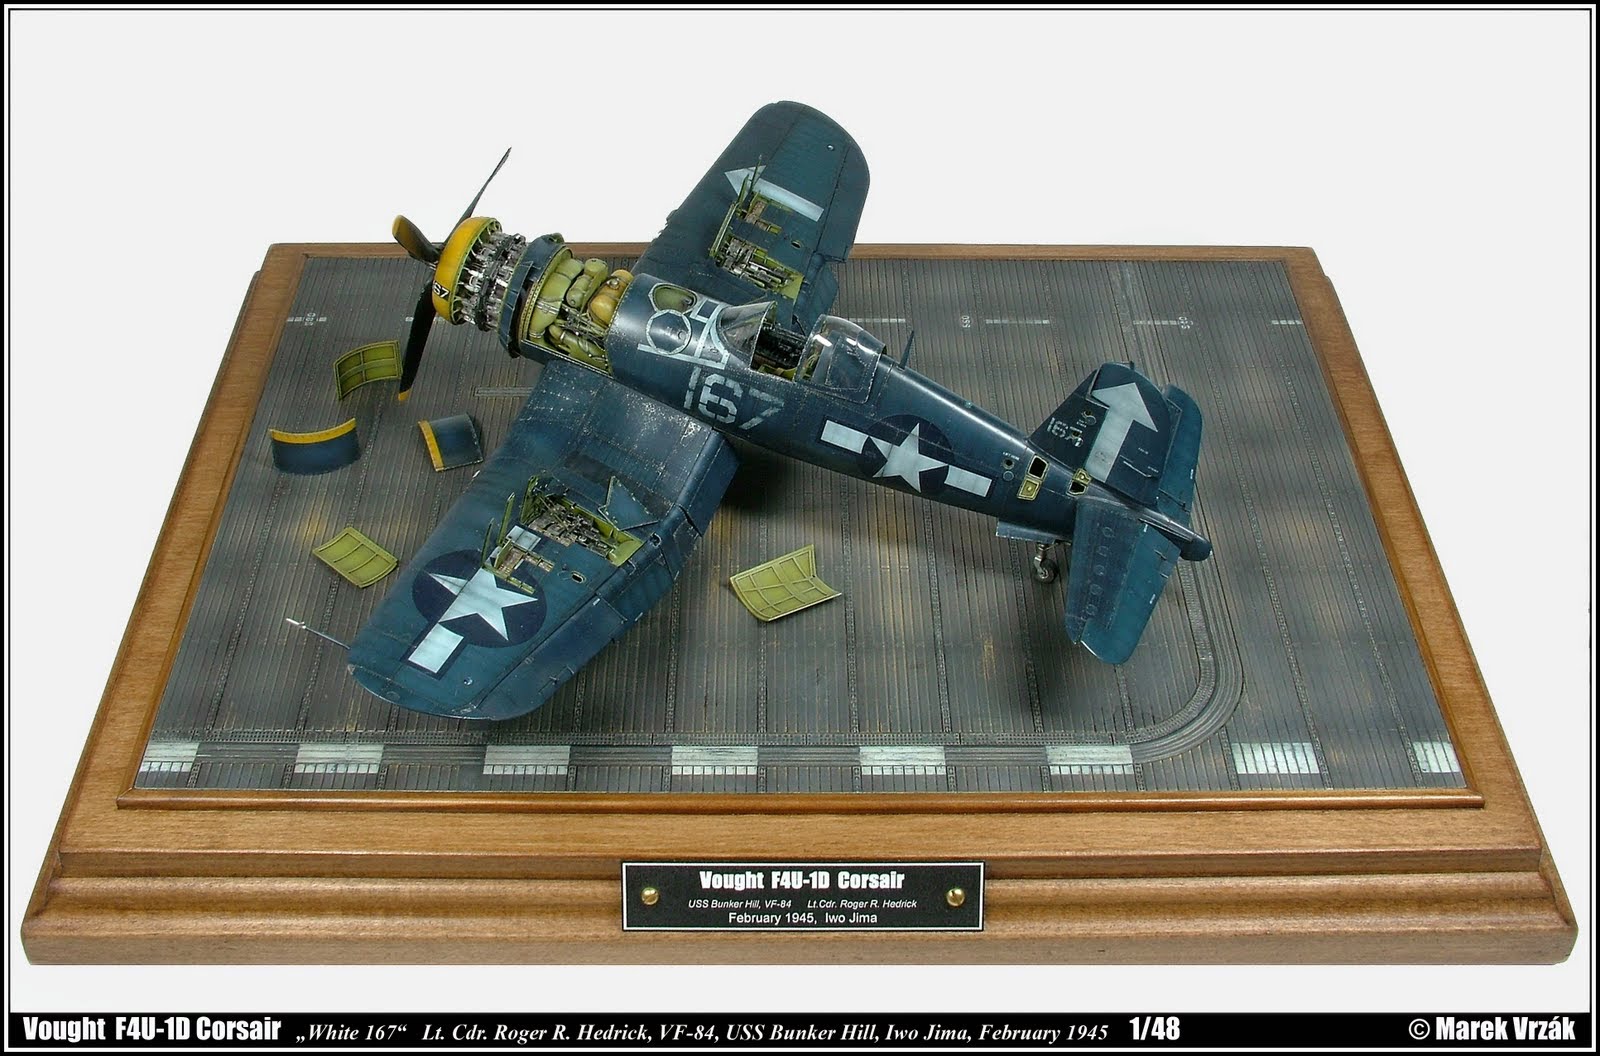
Shading was the next step after basic spraying. Darker shading was used around the outlines of the panels and lighter for the inner parts.
With the help of Mr. Setter and Softer water I added decals to the Gunze lacquered surface and then lightly sprayed a thinned camouflage color to minimize the contrast of the markings and merge with the surrounding surfaces. The next phase I sprayed the surfaces with semi-shine polish by Gunze and prepared the surface for the next patina techniques.
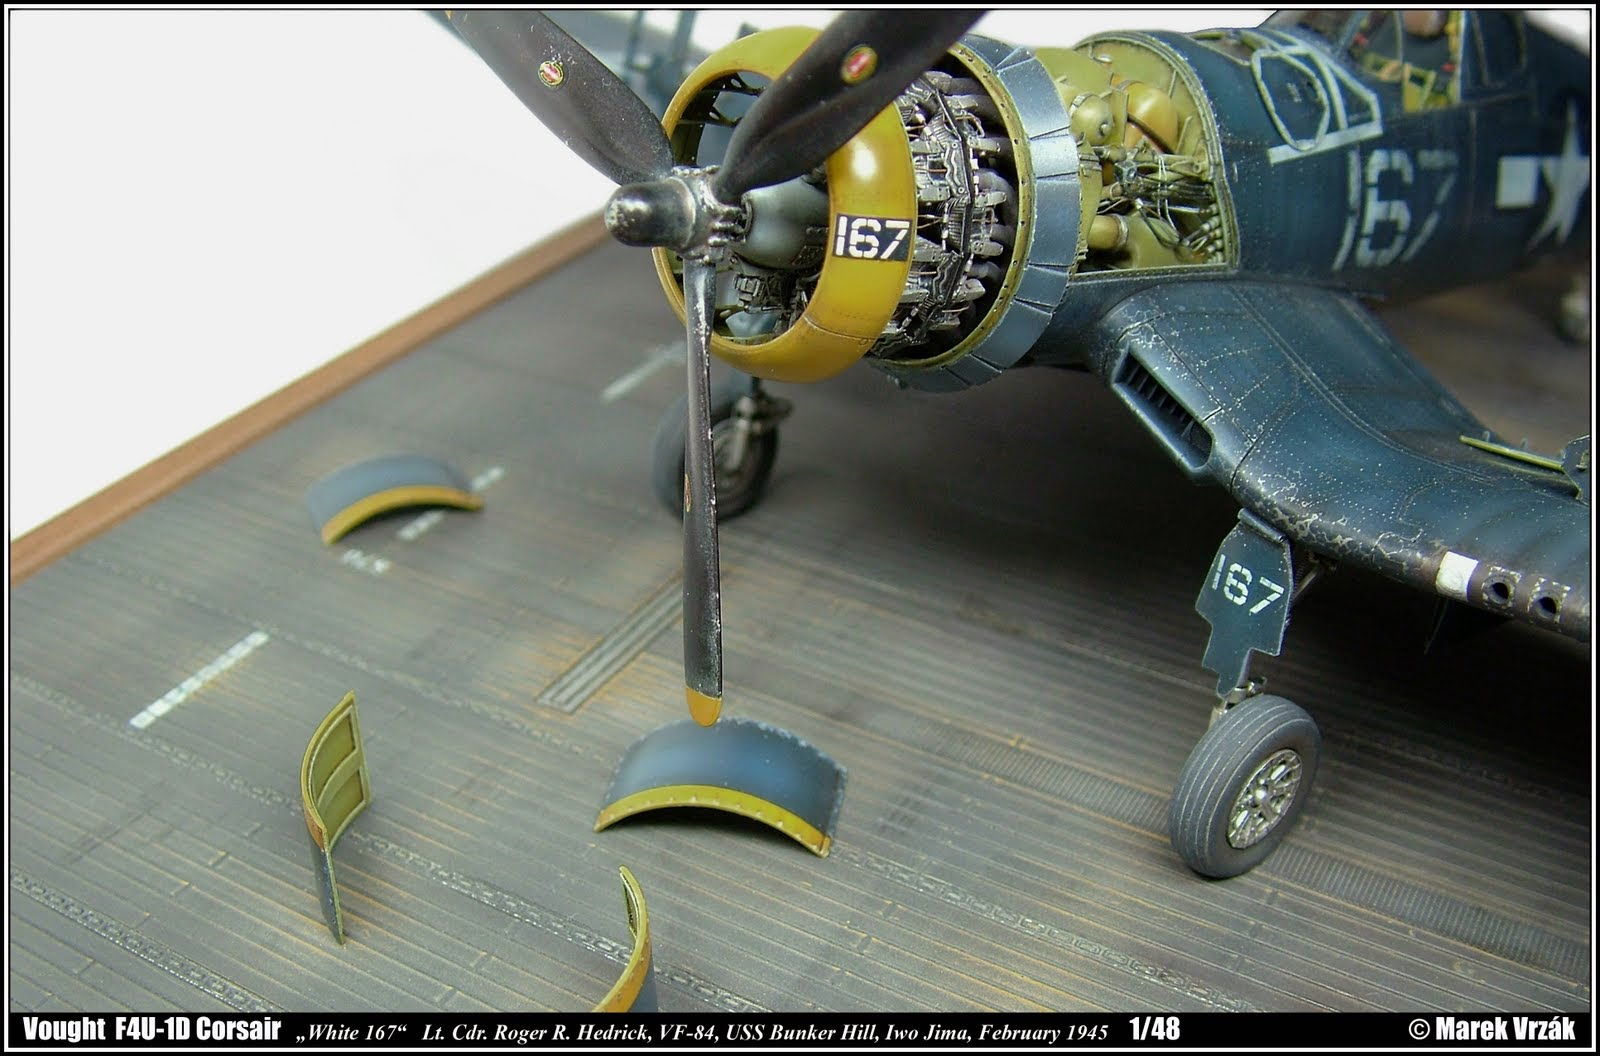
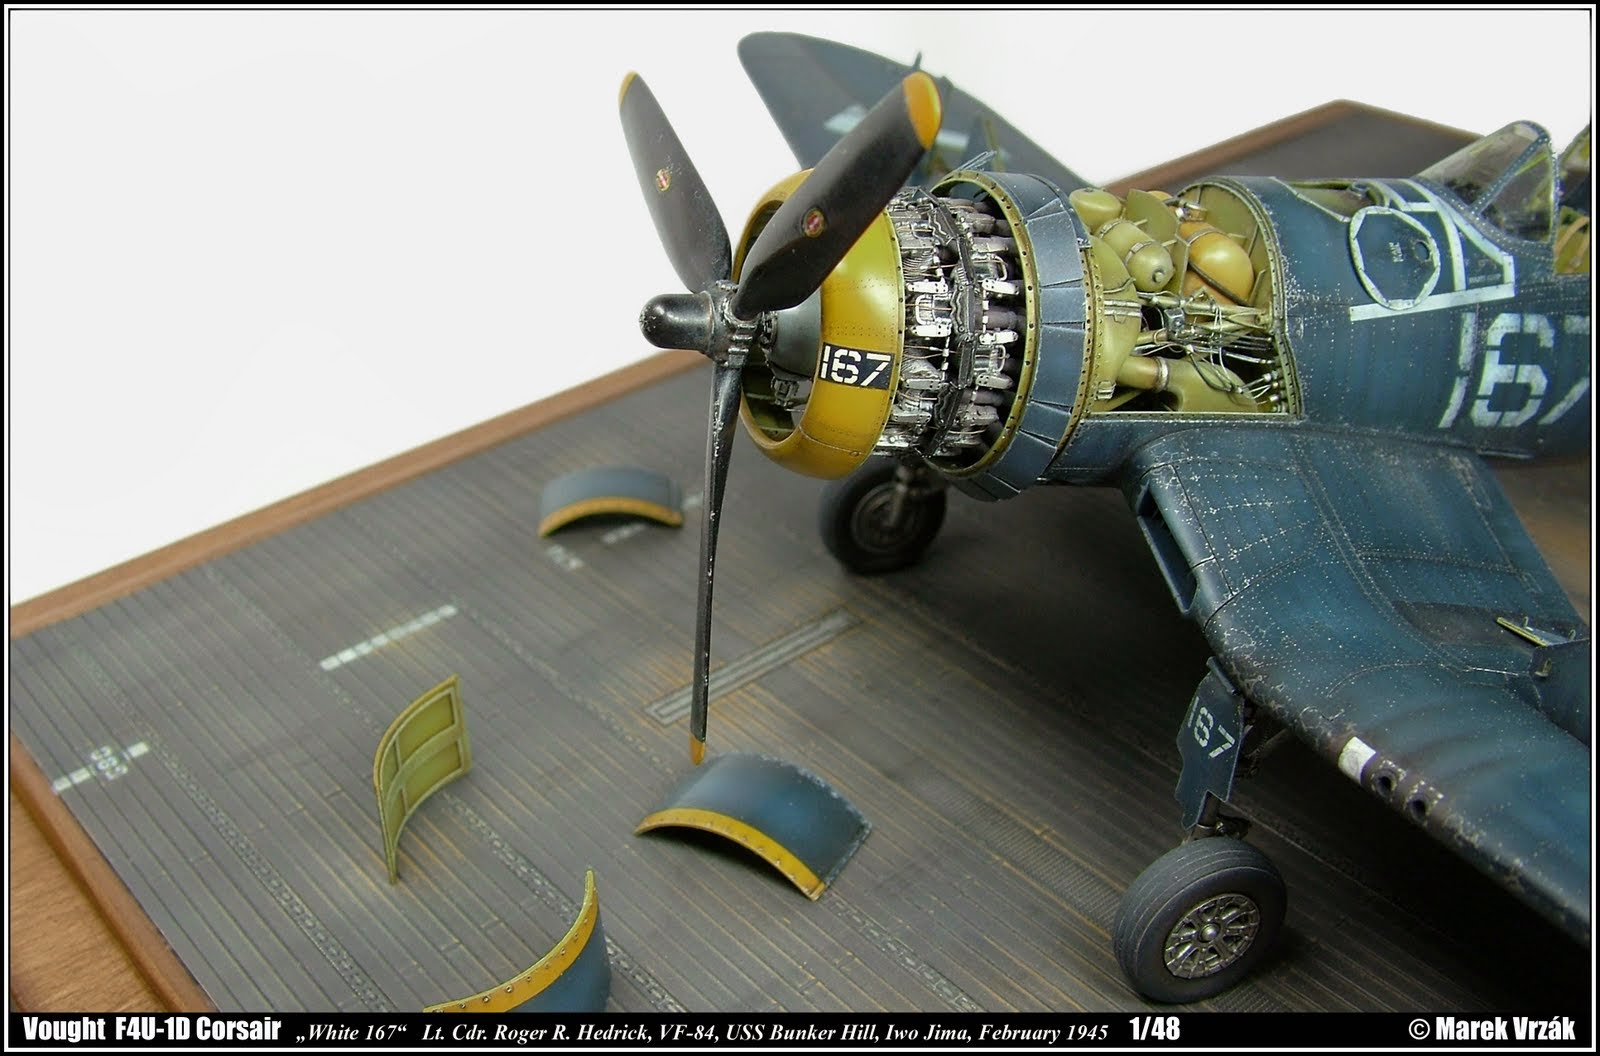
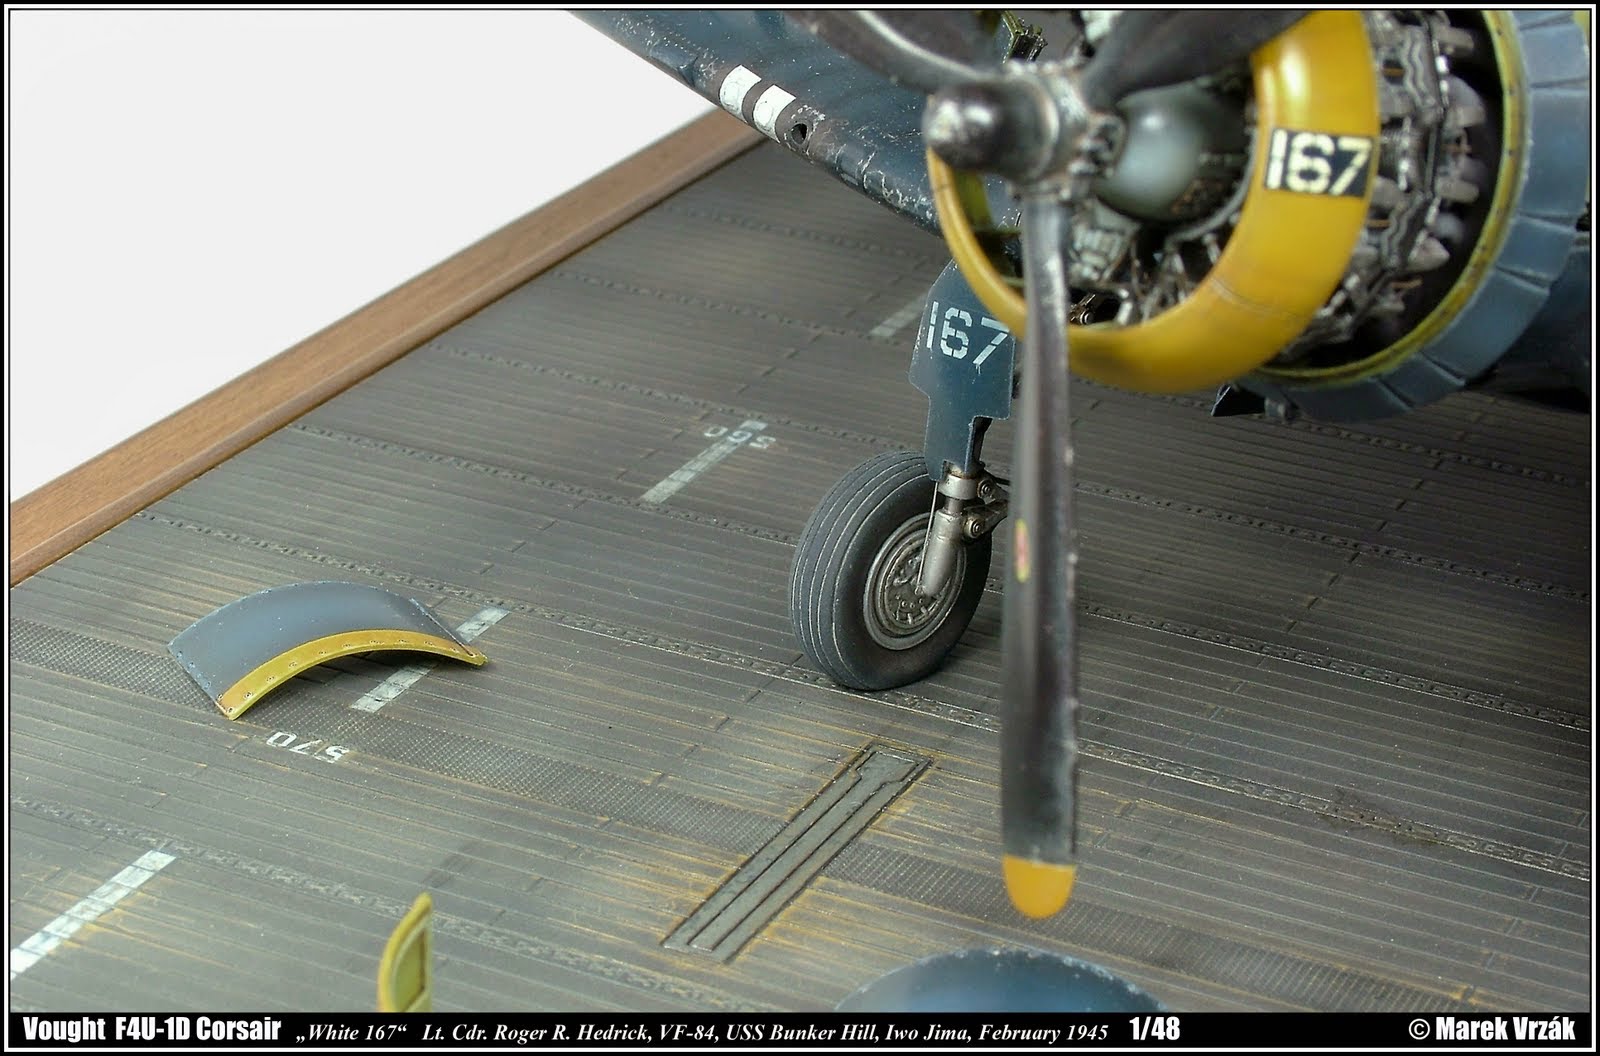
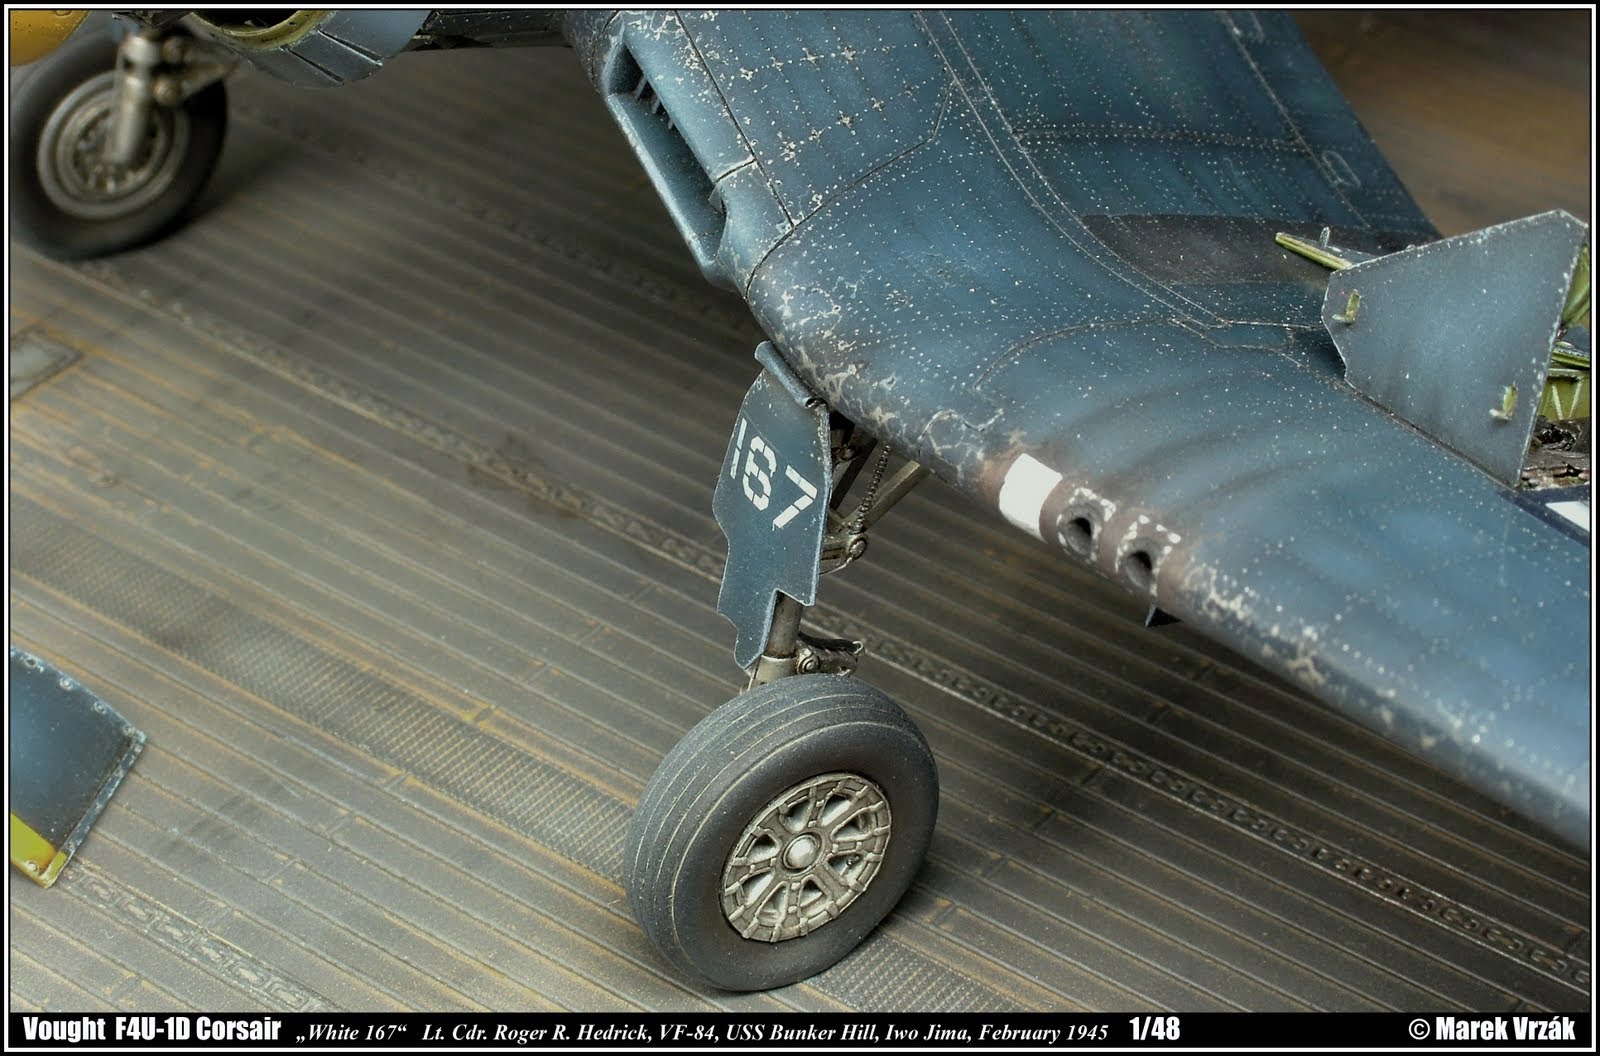
First Wash (darker dirt) added to the panel outlines and lightly to the line of rivets, brushing them with a Q-tip or brush. When dried out lightly dry brush edges and details that stand out with a light shade of dark blue camouflage with gray tints. Next I concentrated on the line of rivets detailing them using a black pastel along the rivets. Patina at the bullet openings, the leading edges of the wing and burnt muffler traces on the bottom part of the fuselage were done with the help of Agama dust shading, gradually stippling to the surface following with a matt polish by Gunze.
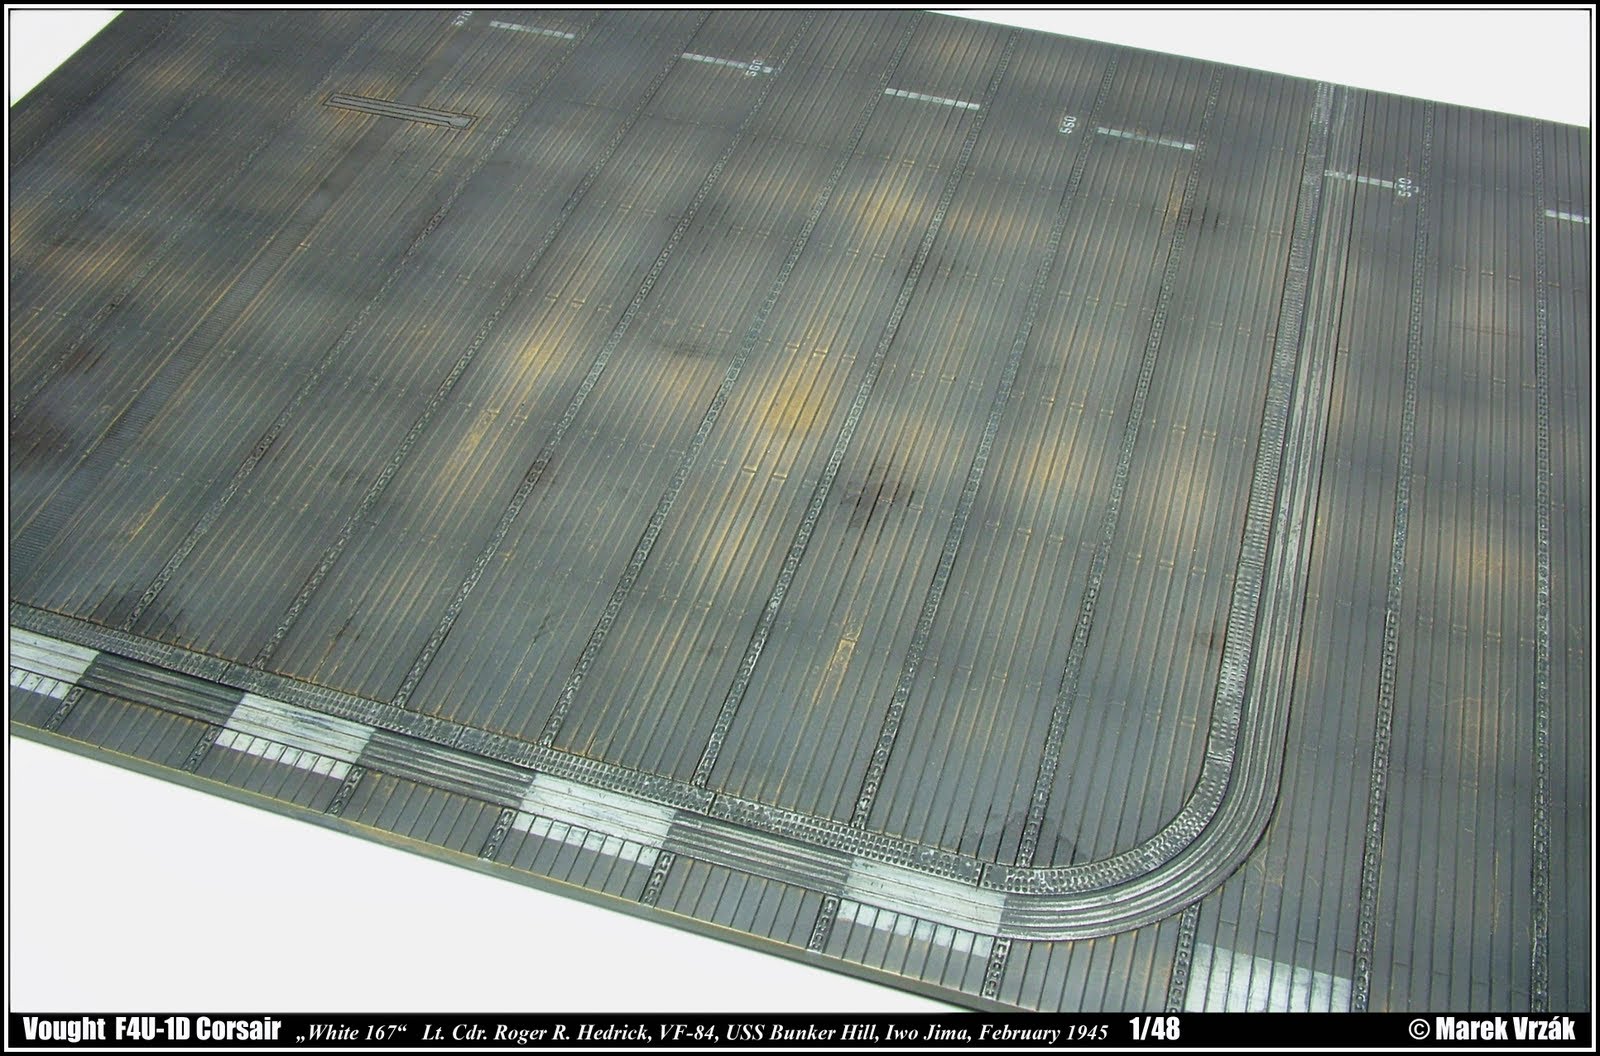
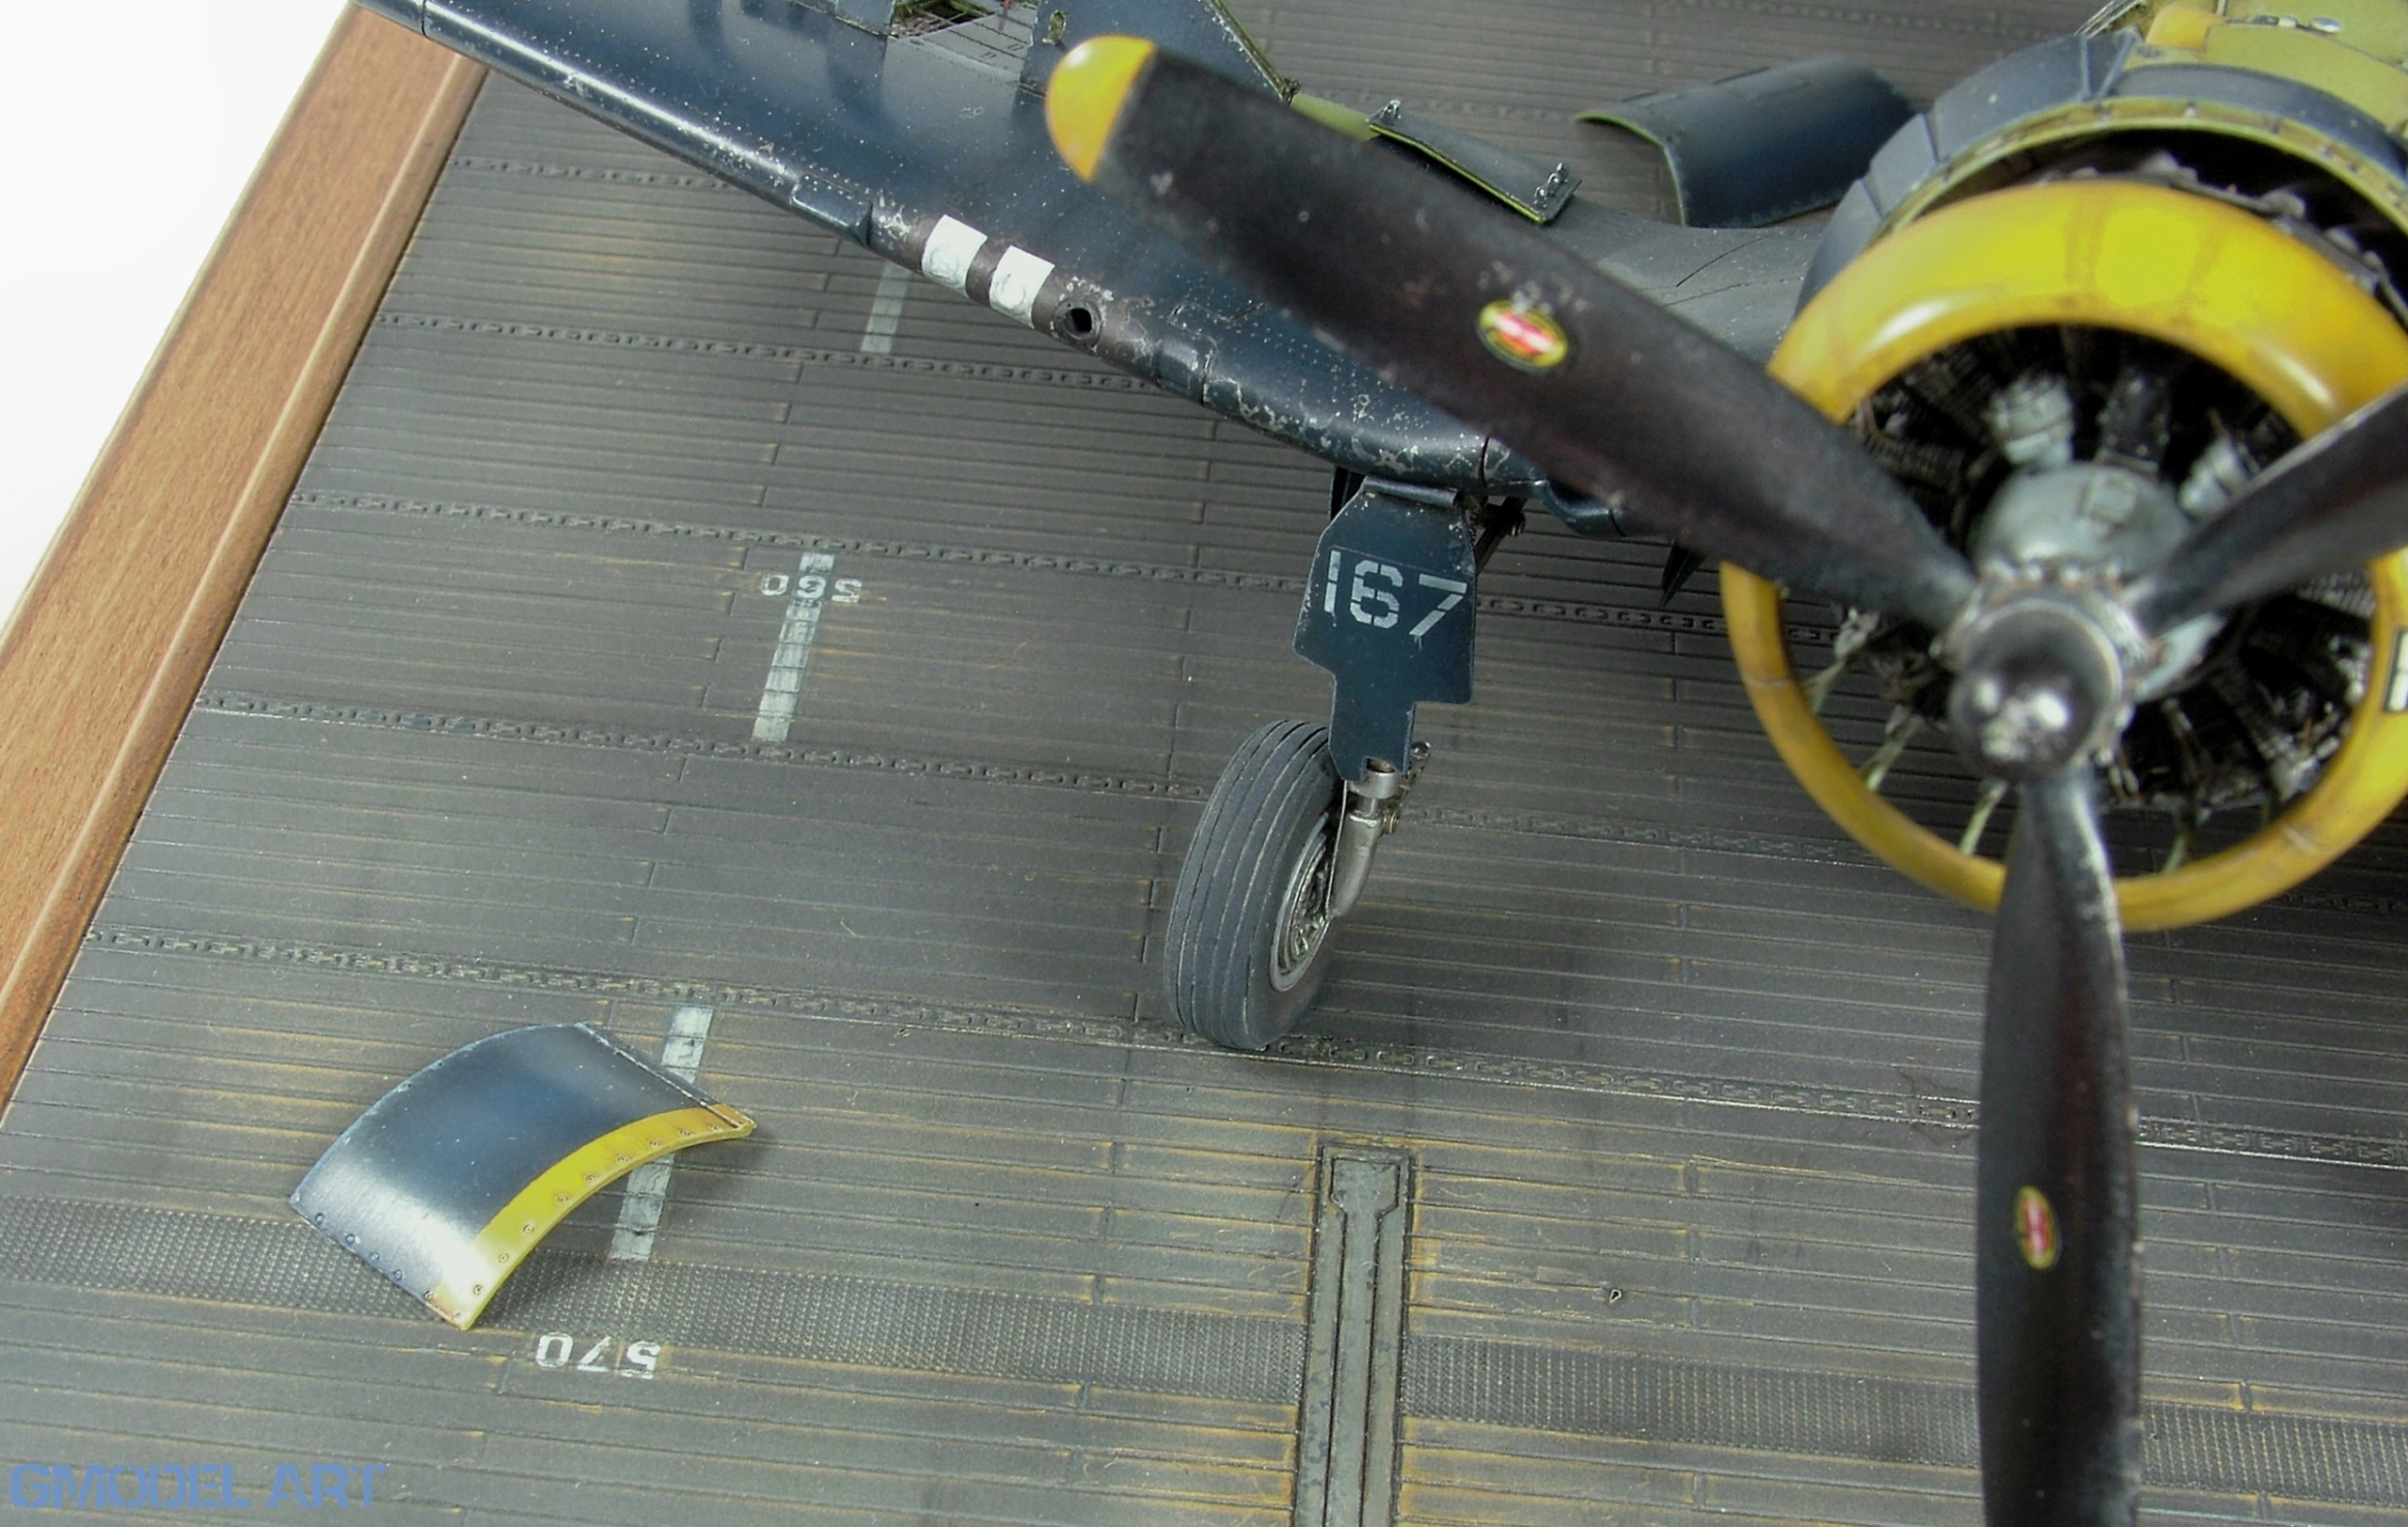
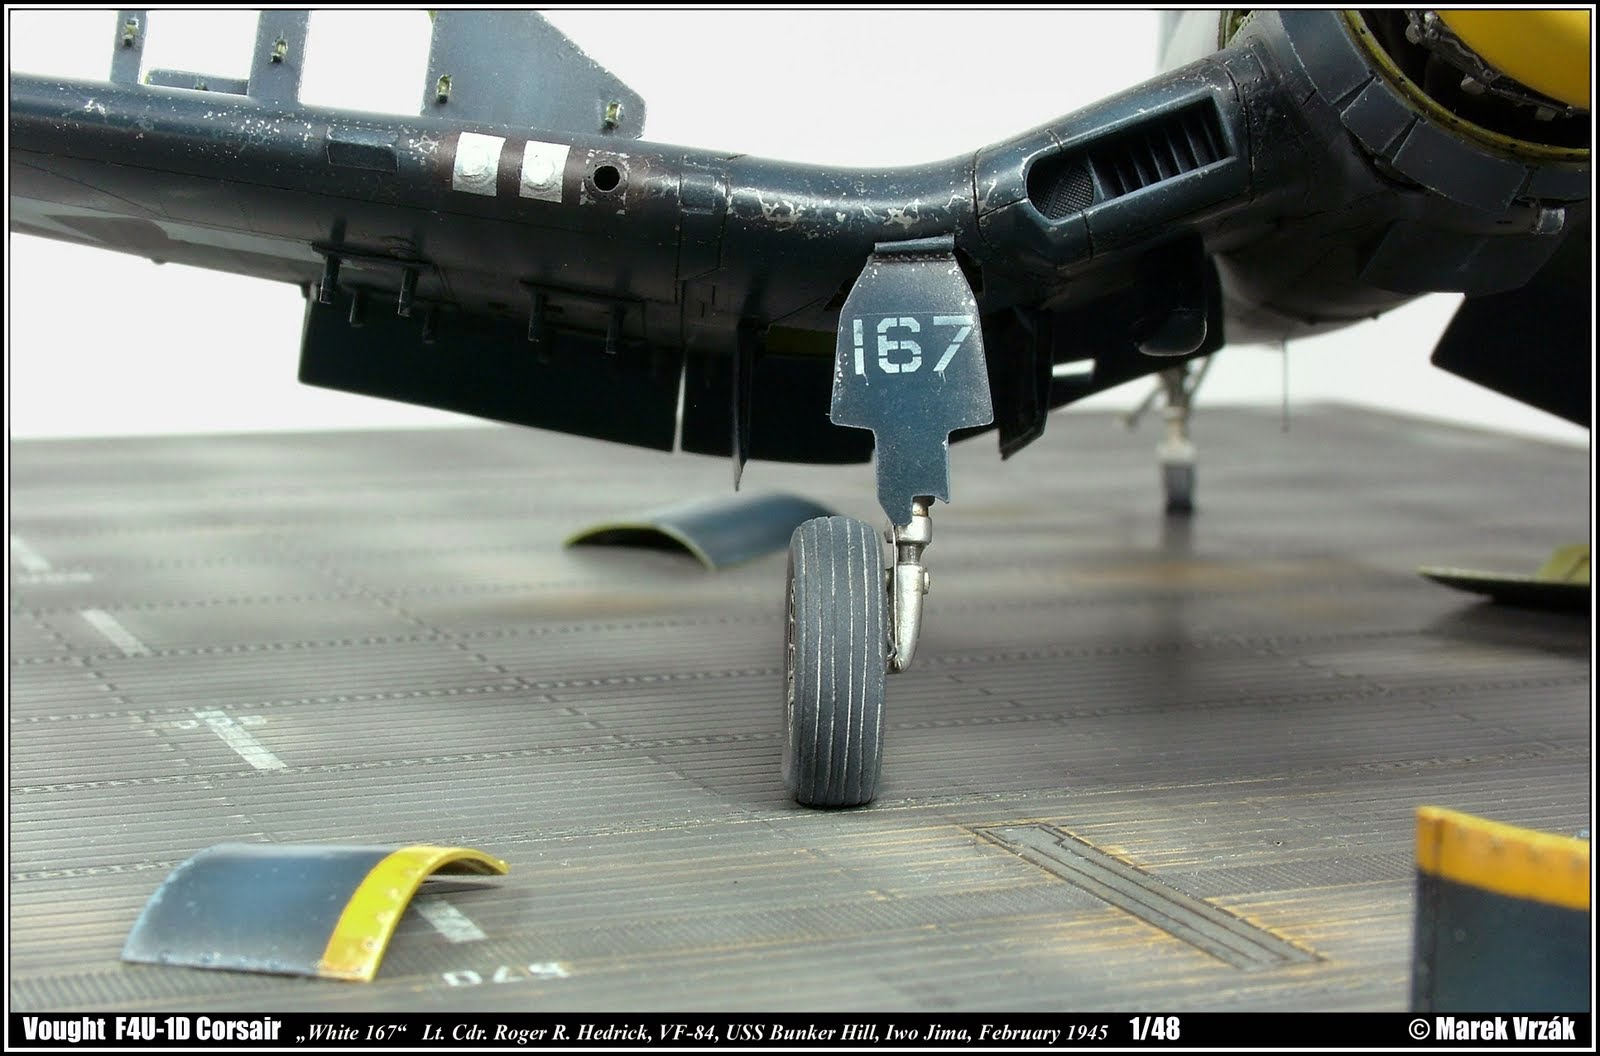
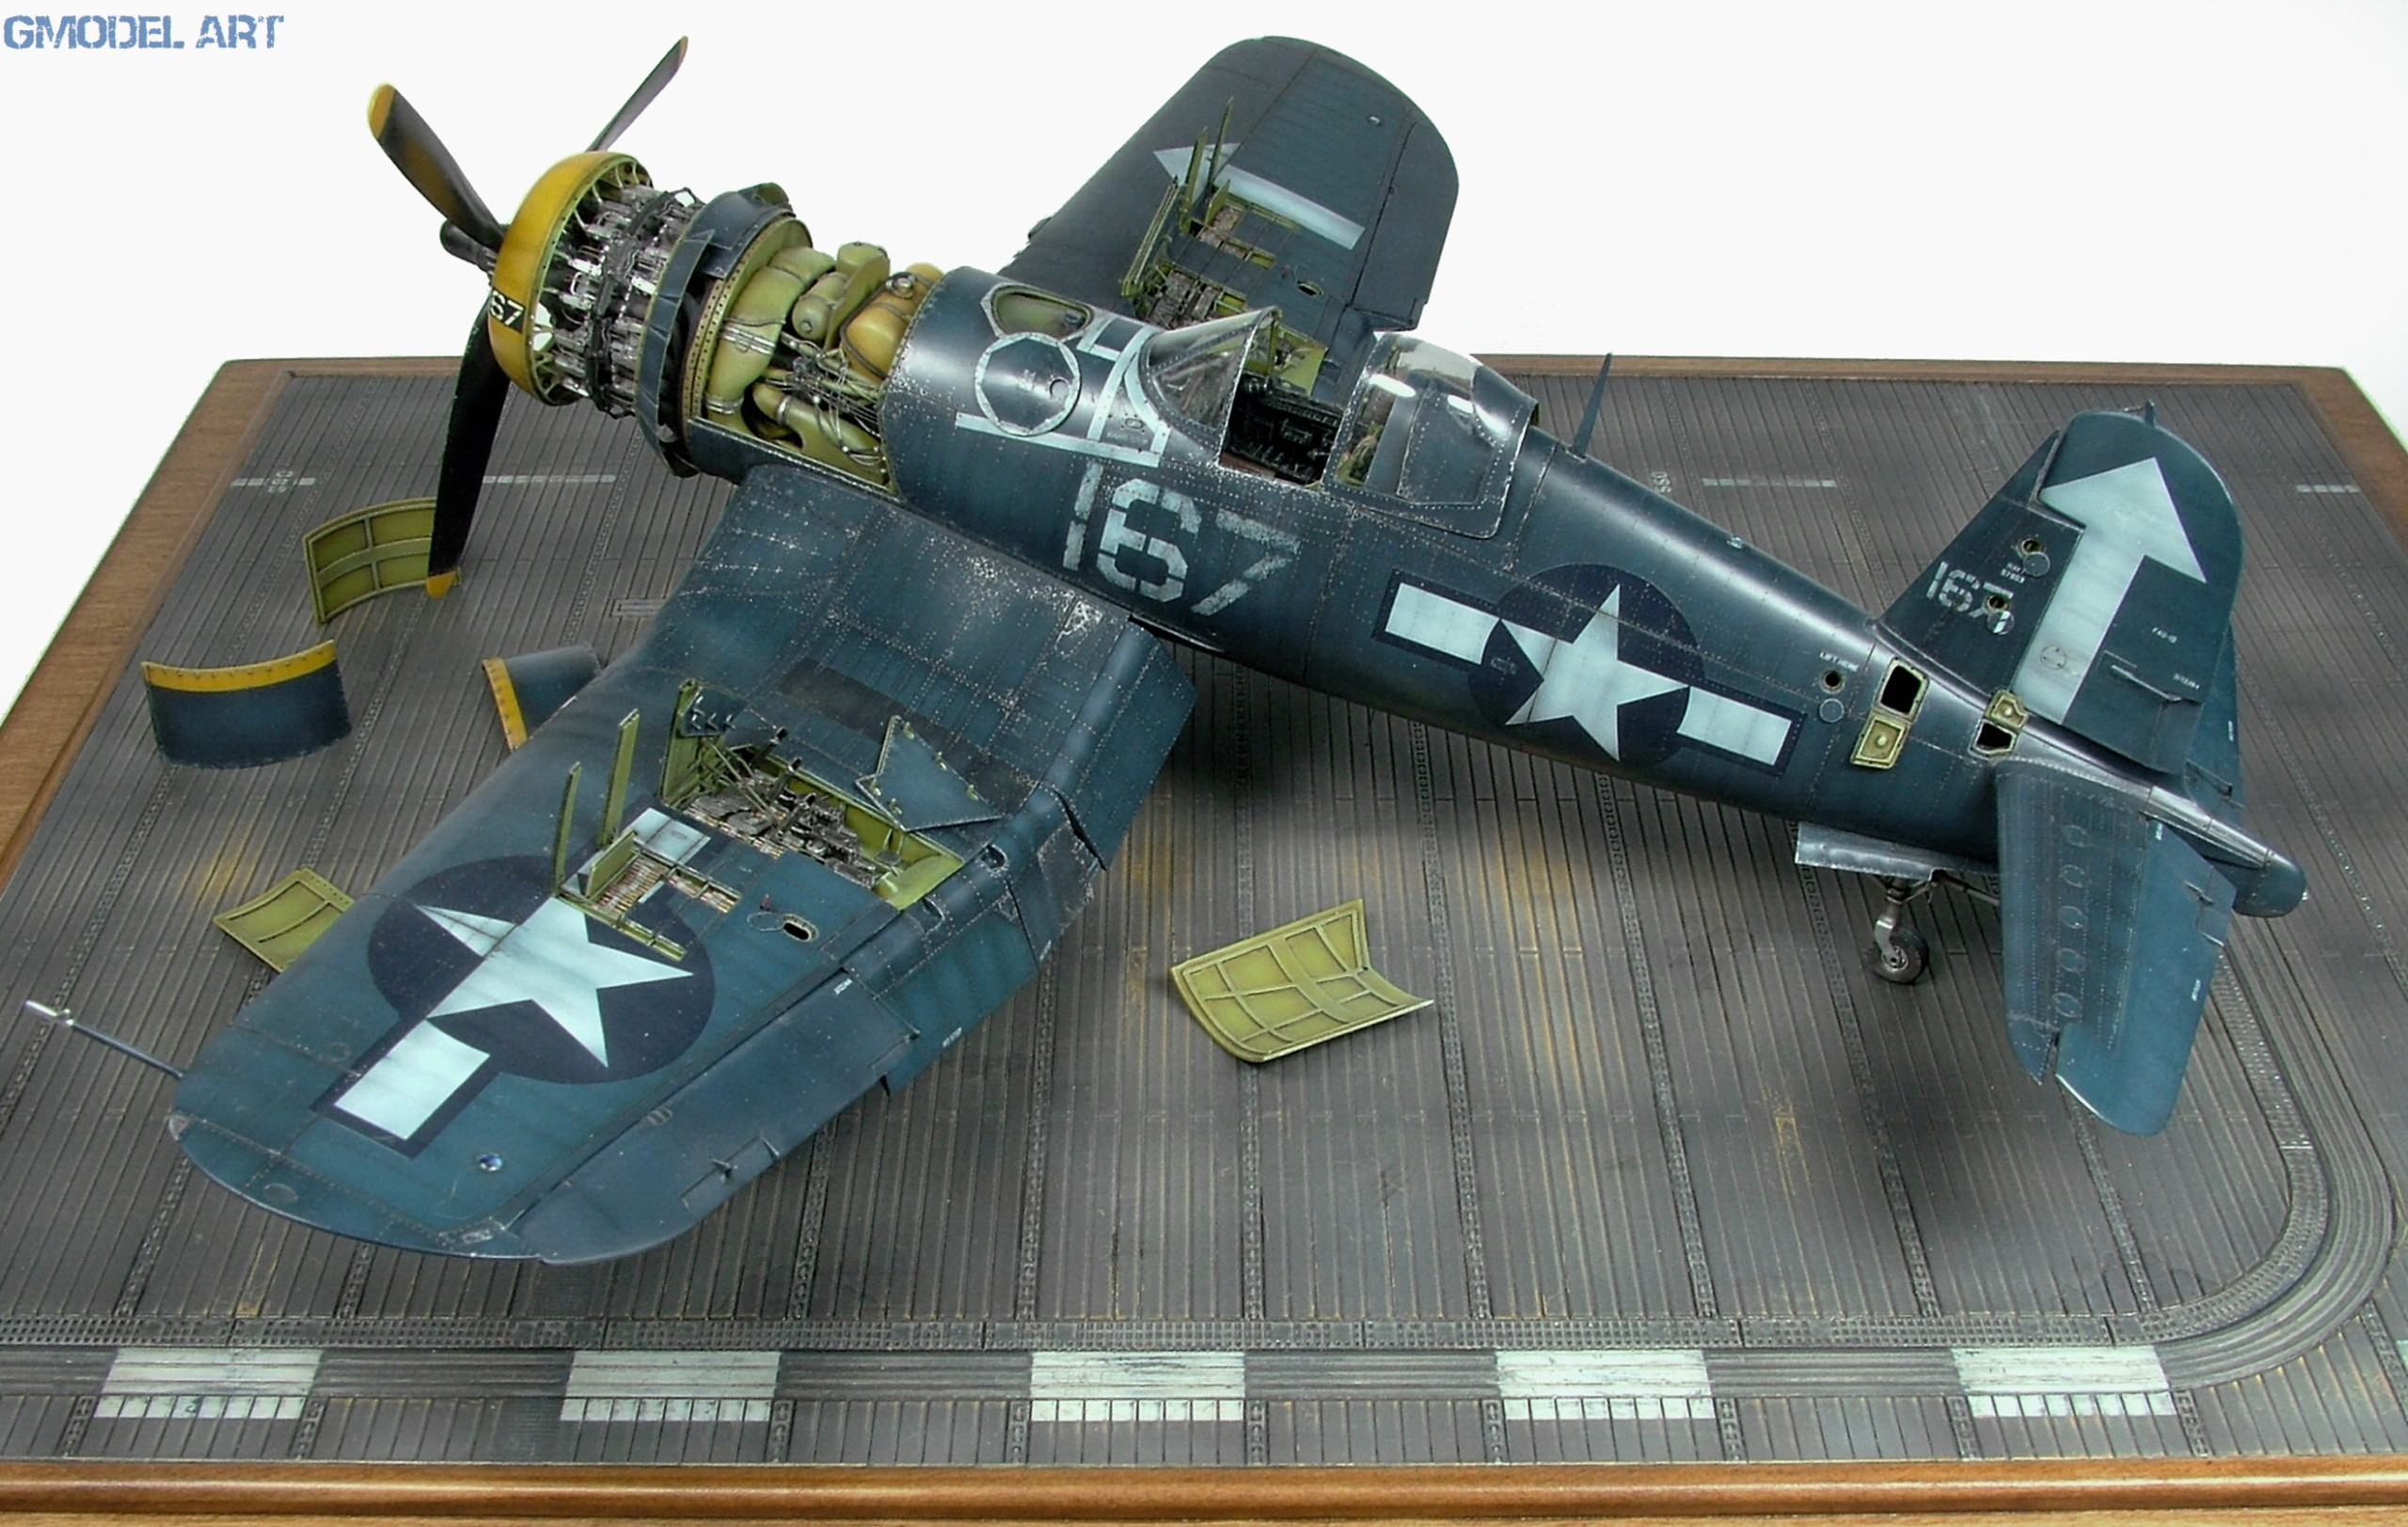
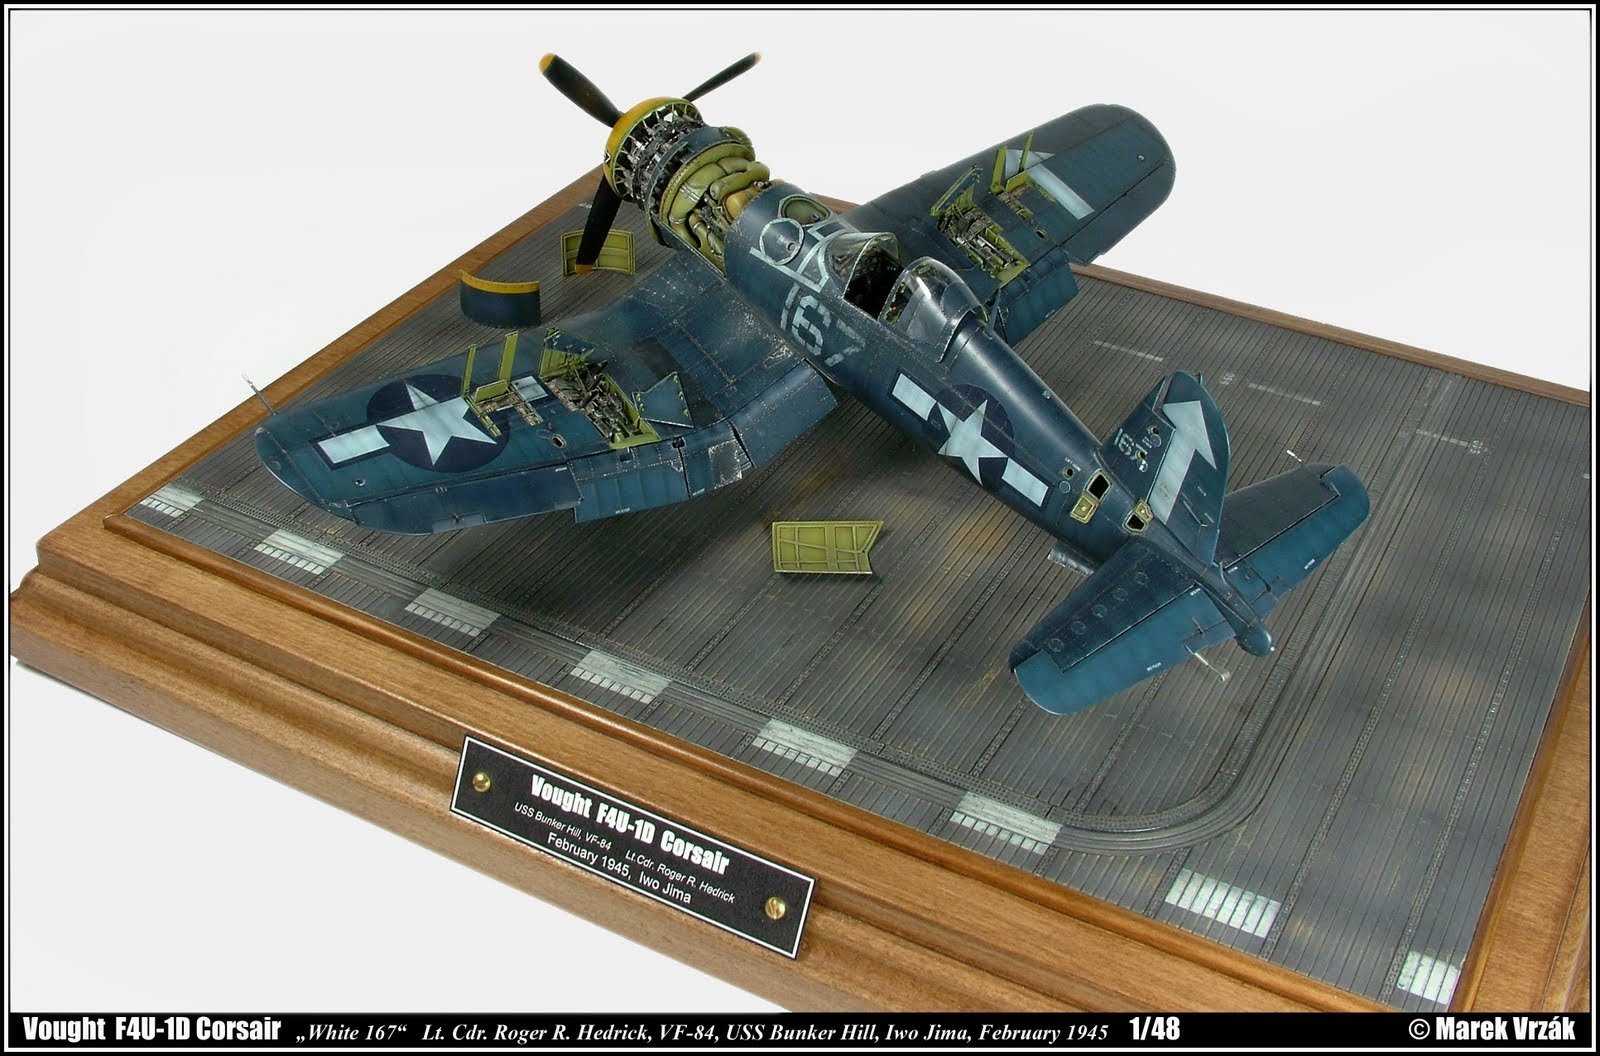
I firmly recommend using more types of patina techniques because of their differences and advantages on the final look. For example, the patina on the fuselage, the white number “167” was created not only by an air brush but also by tiny stippling thinned out blue color used to imitate the scratched out white color from the numbers and then scratch using thin scratches with a very sharp toothpick and soft brush by Vallejo.
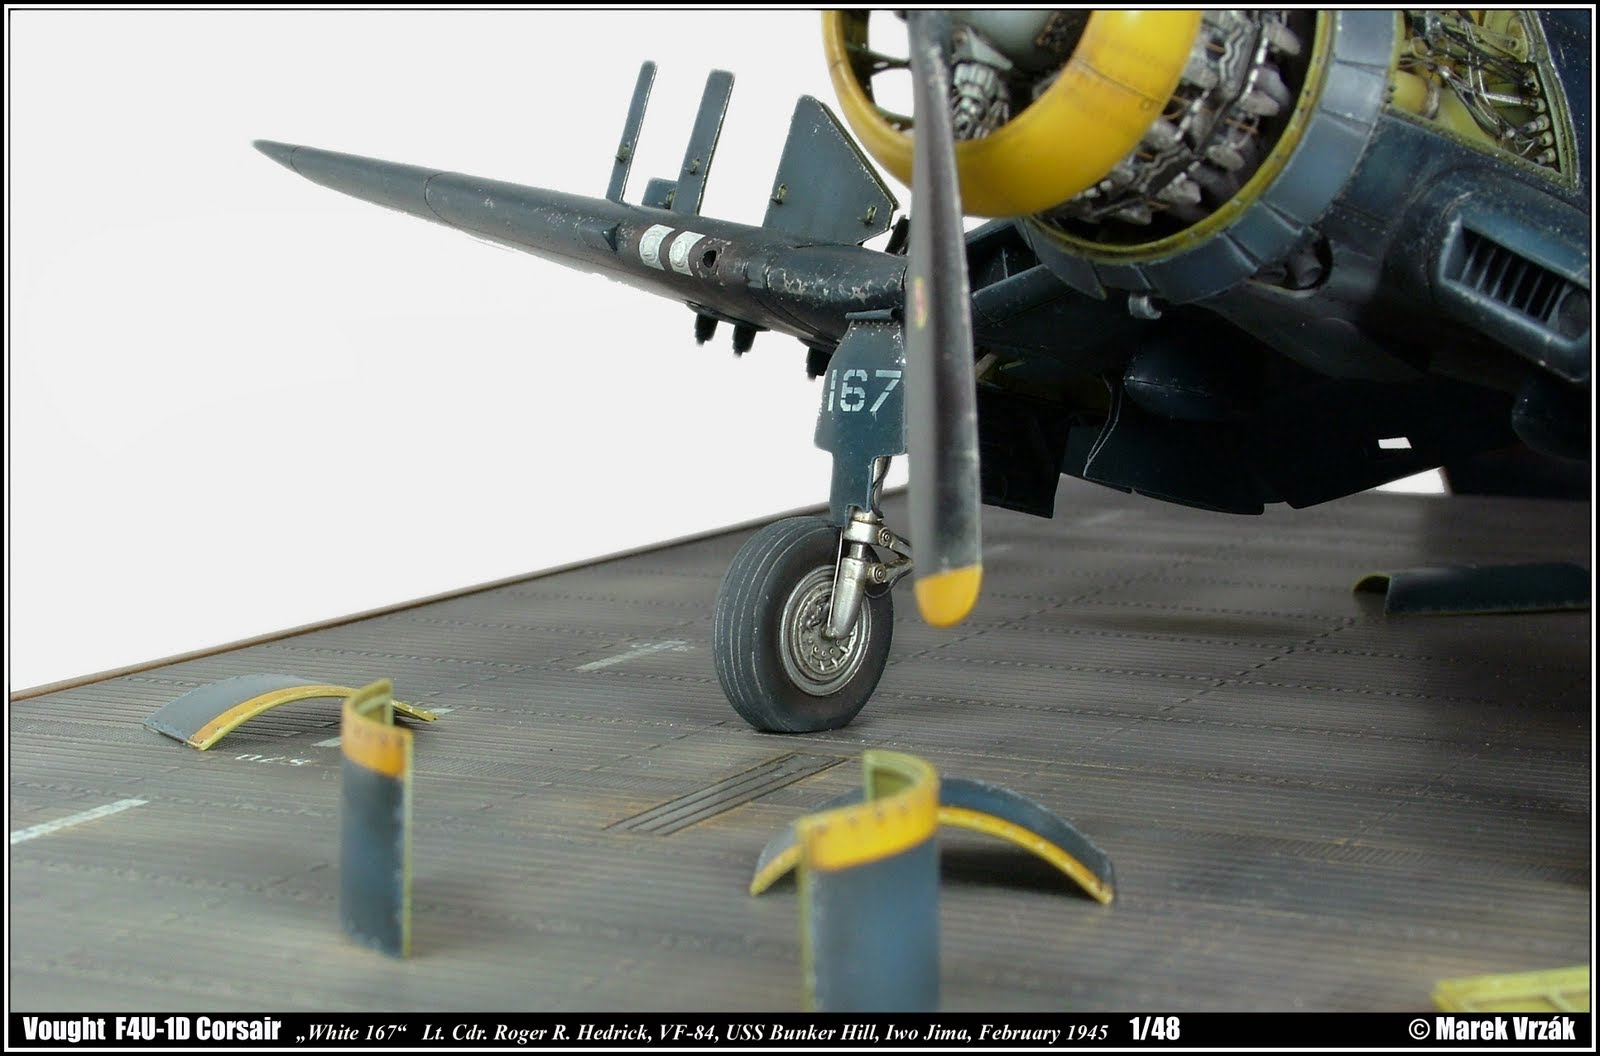
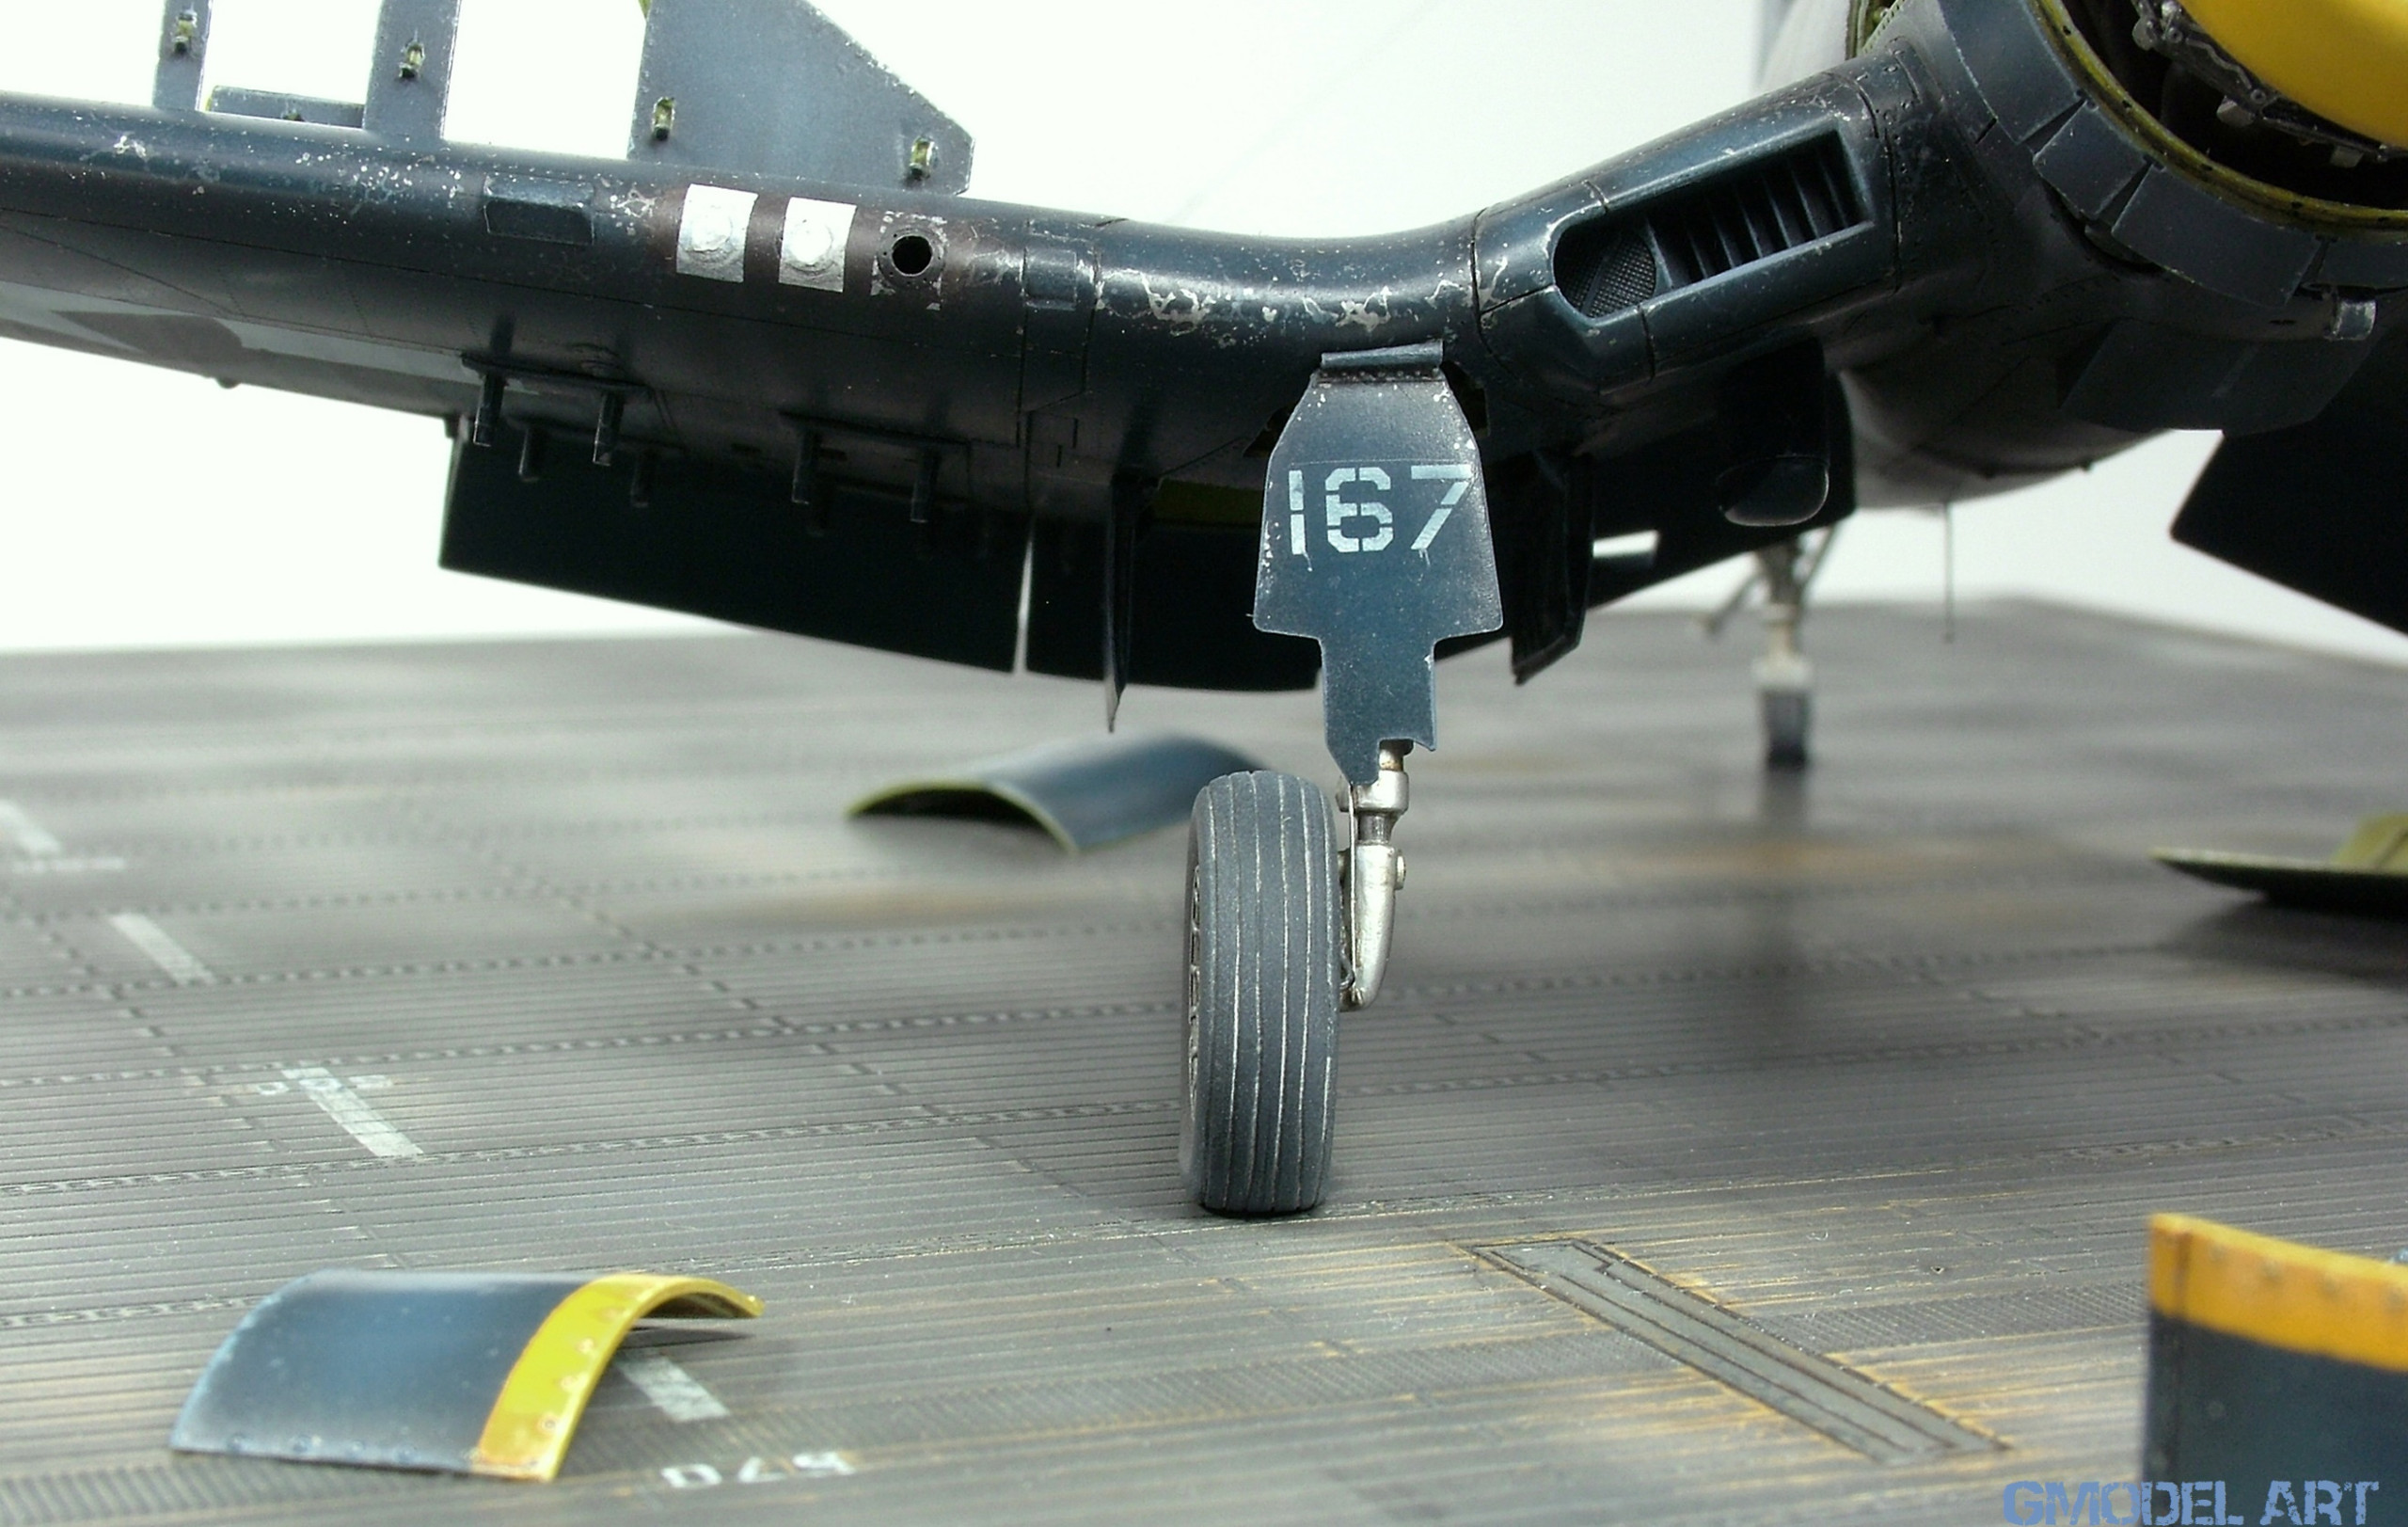
Chipping done on the exposed areas took the most work, it was important to distinguish the colors in a way corresponding to the actual plane itself, that is to the age and depth of the scratches or peeled areas. Most of the time the coloring combinations are of blue and gray shades from Vallejo on the brush, with which I work very well with. Within time I became fond of the da-Vinci 5/0 and Italery 00 brushes which have a very sharp soft tip but are sturdy enough at the top parts and hold the right amount of paint. For fresh scratches to the “metal” I favored the Agama metallic paste (metal, aluminum) mixed with Mr. Retarder Mild for a rustier look with some Vallejo rust colors on the rivets or screws. Fuel leaks are a combination of smothered oil colors, pastels and Vallejo.
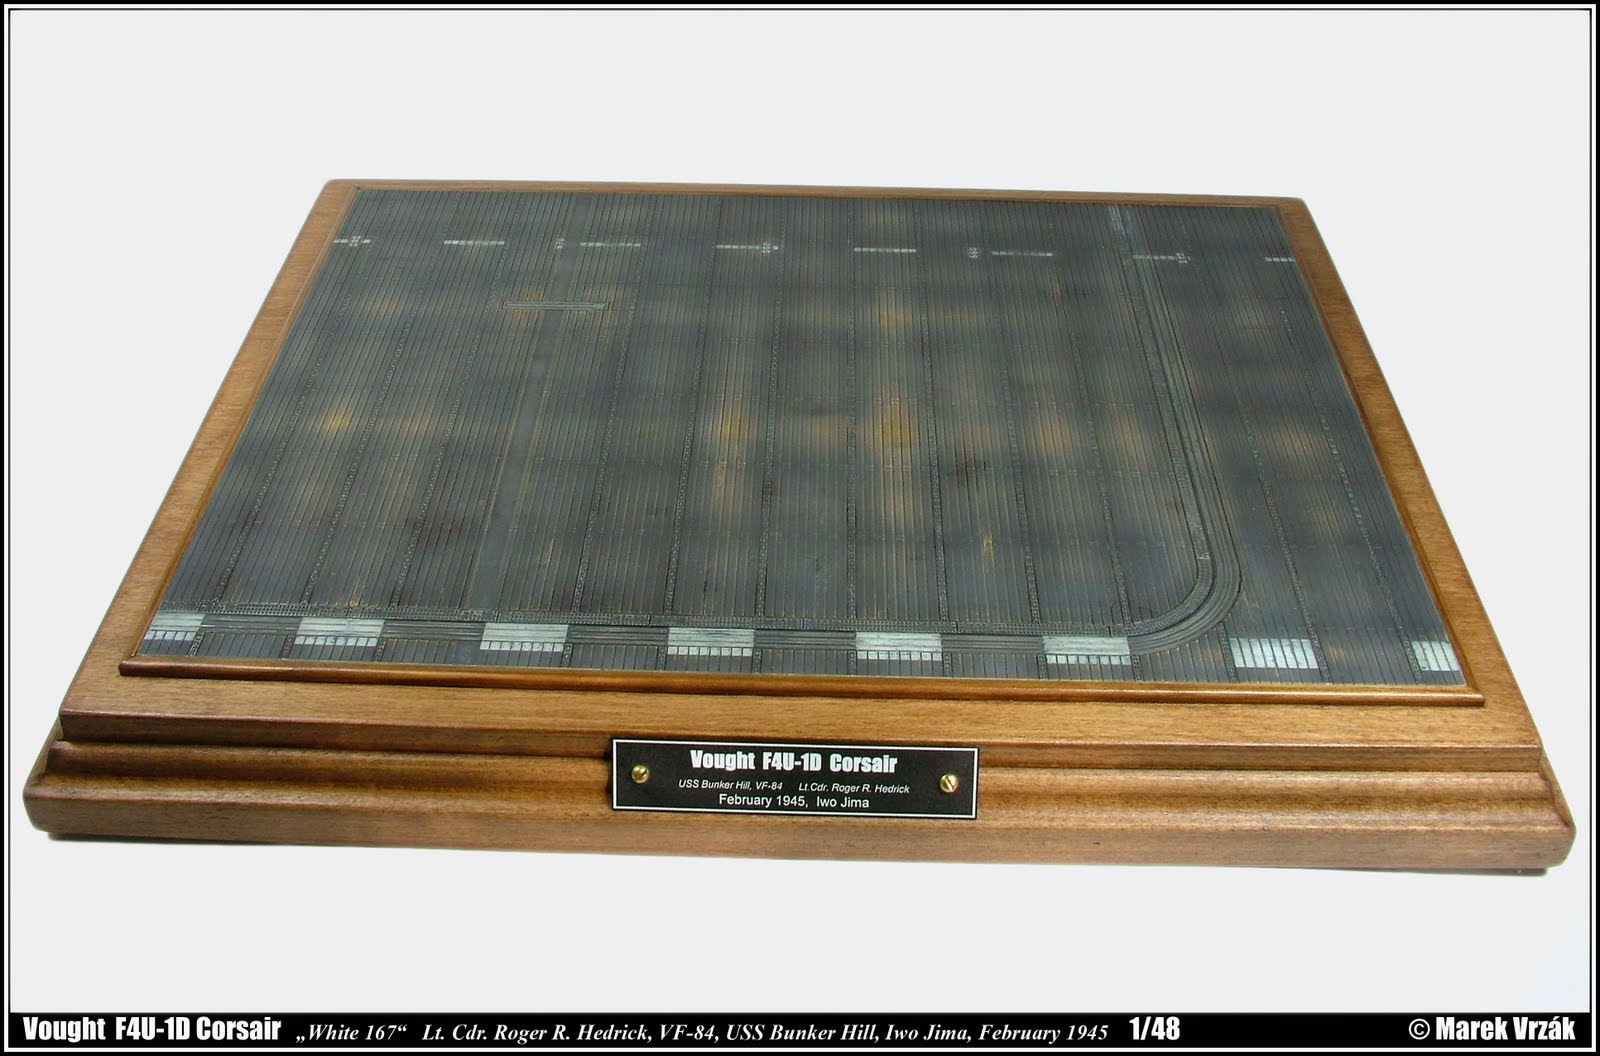
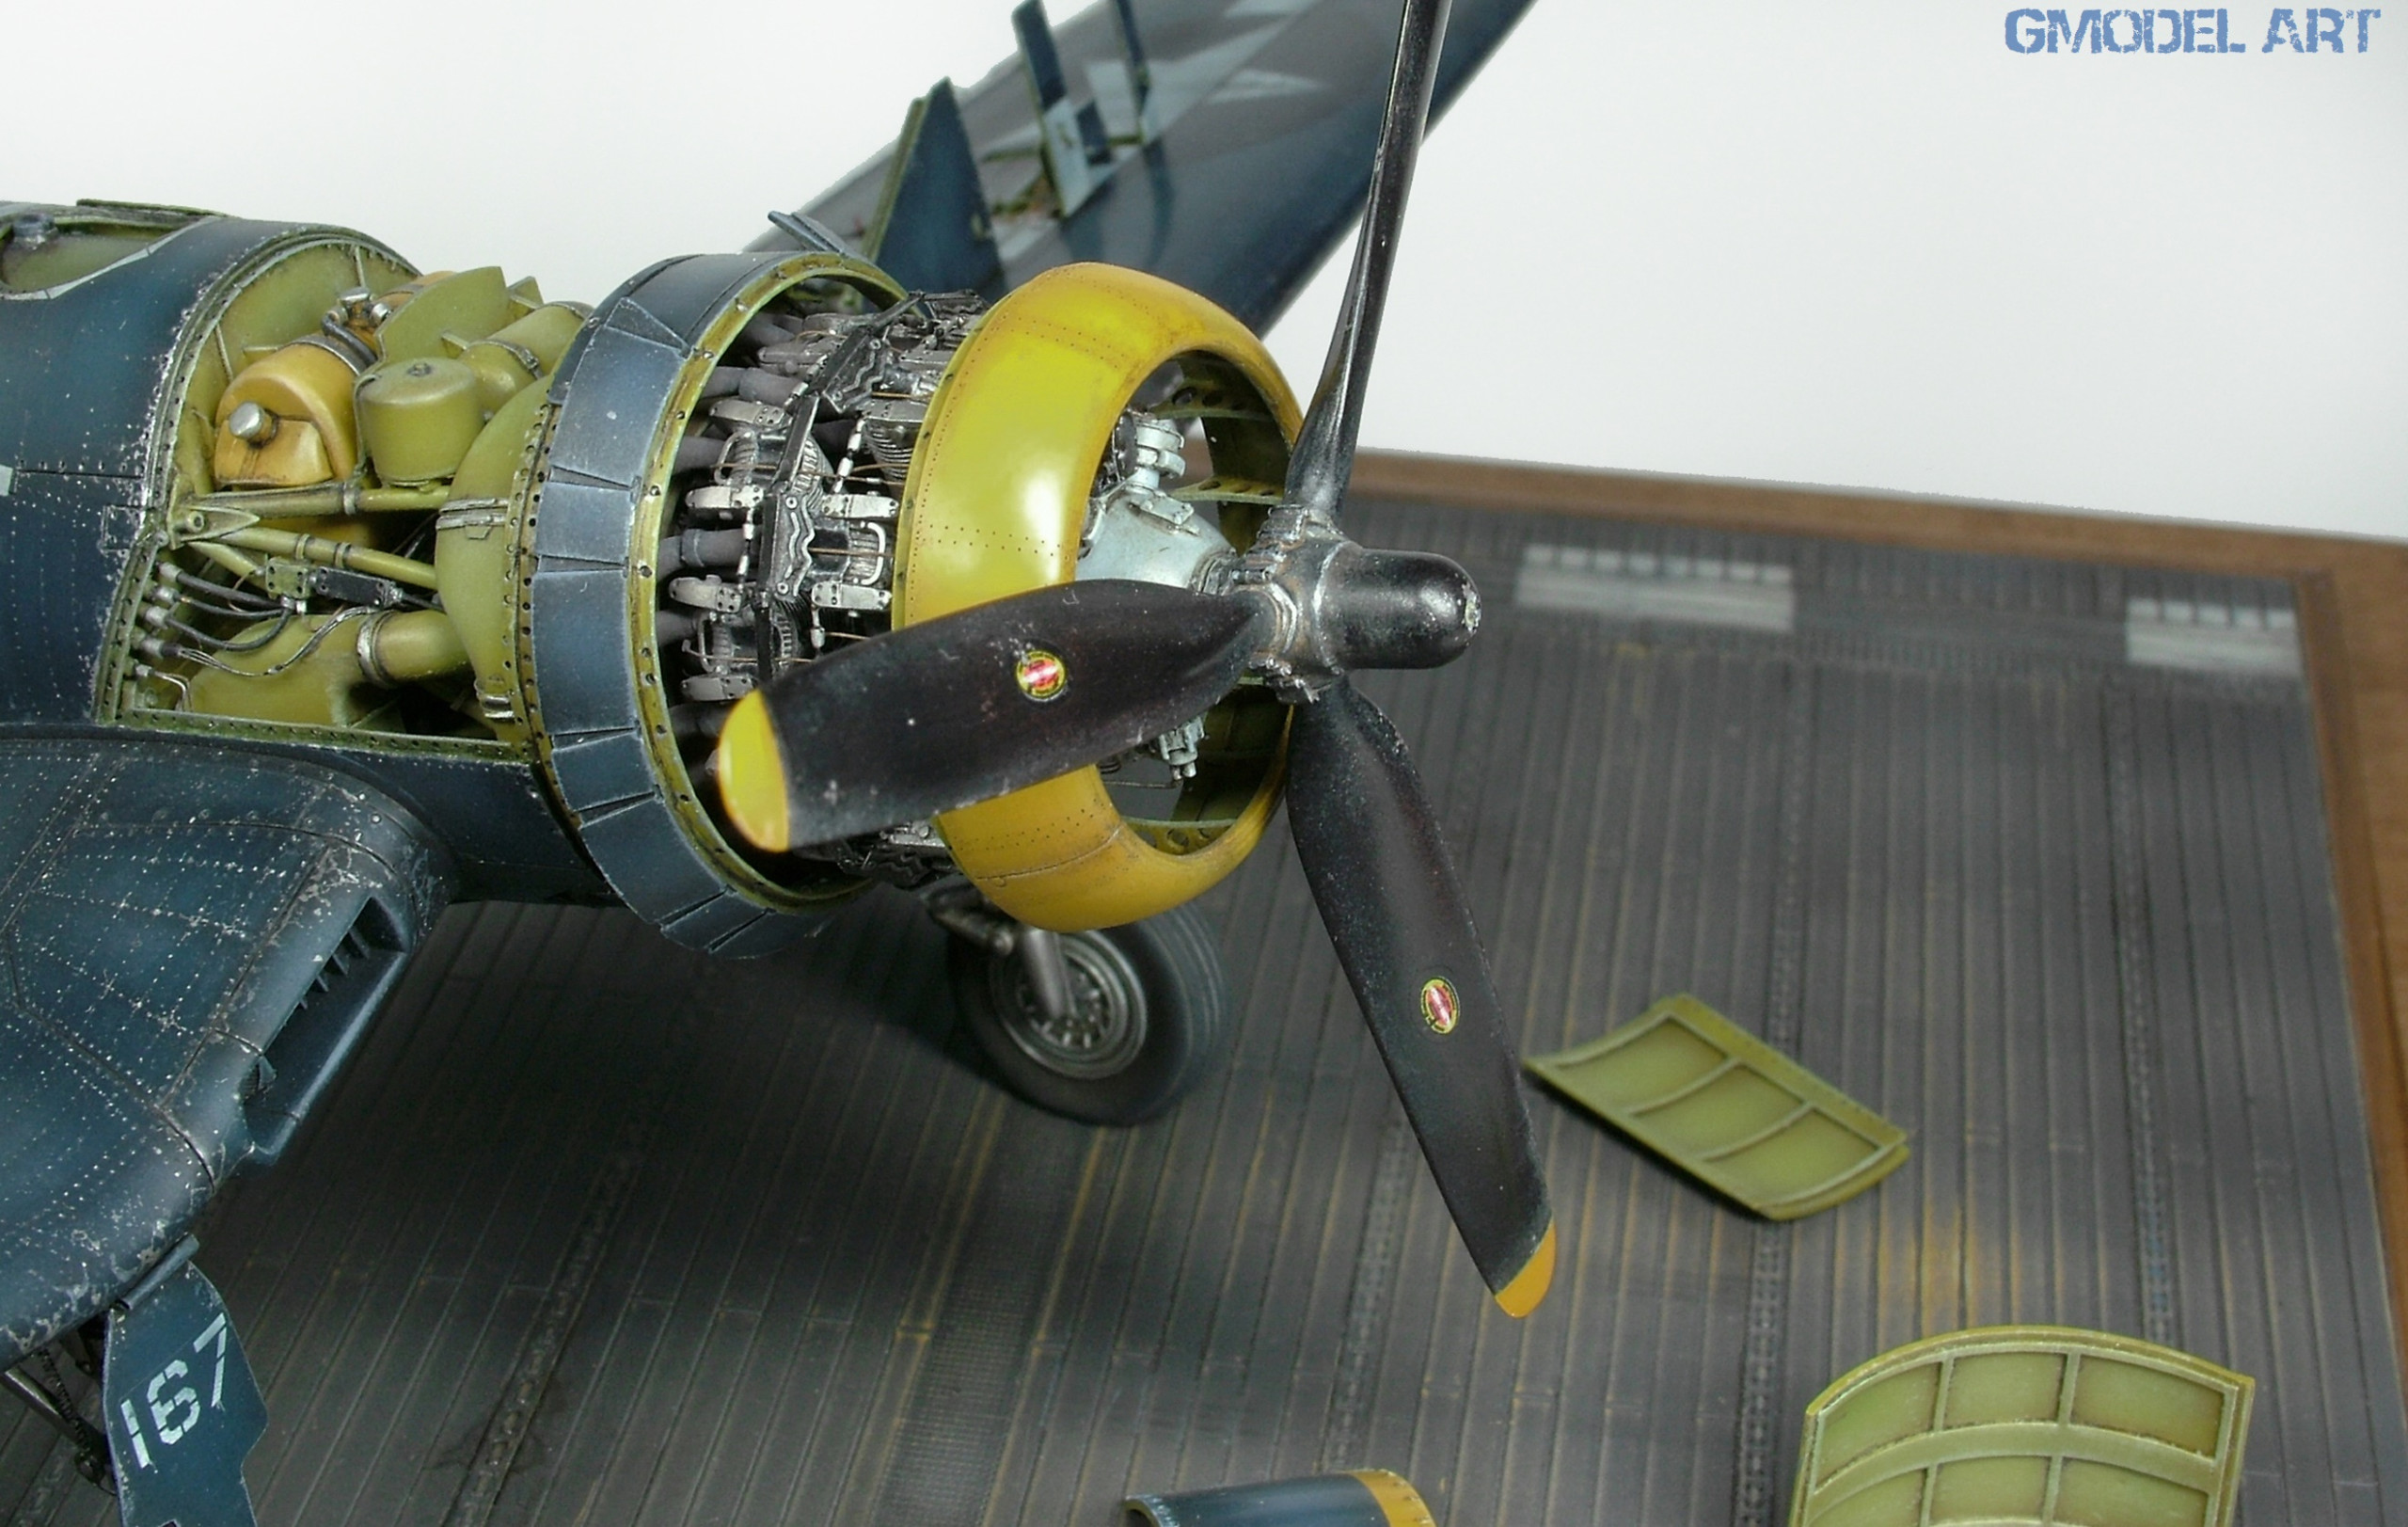
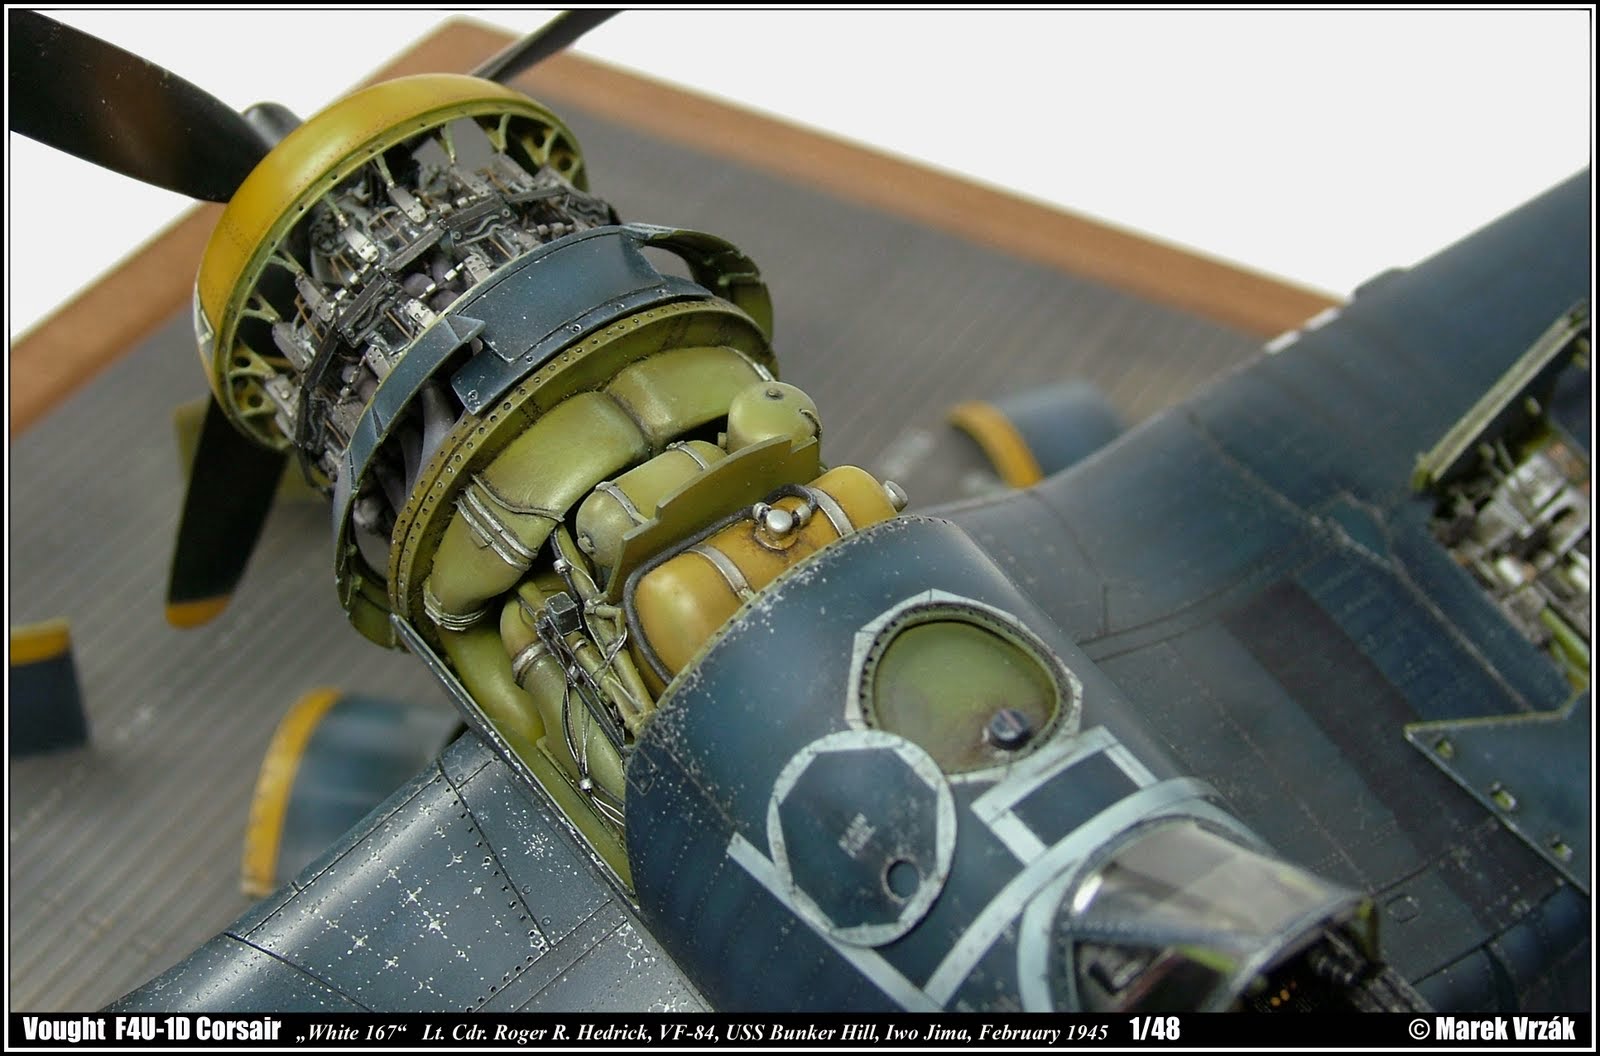
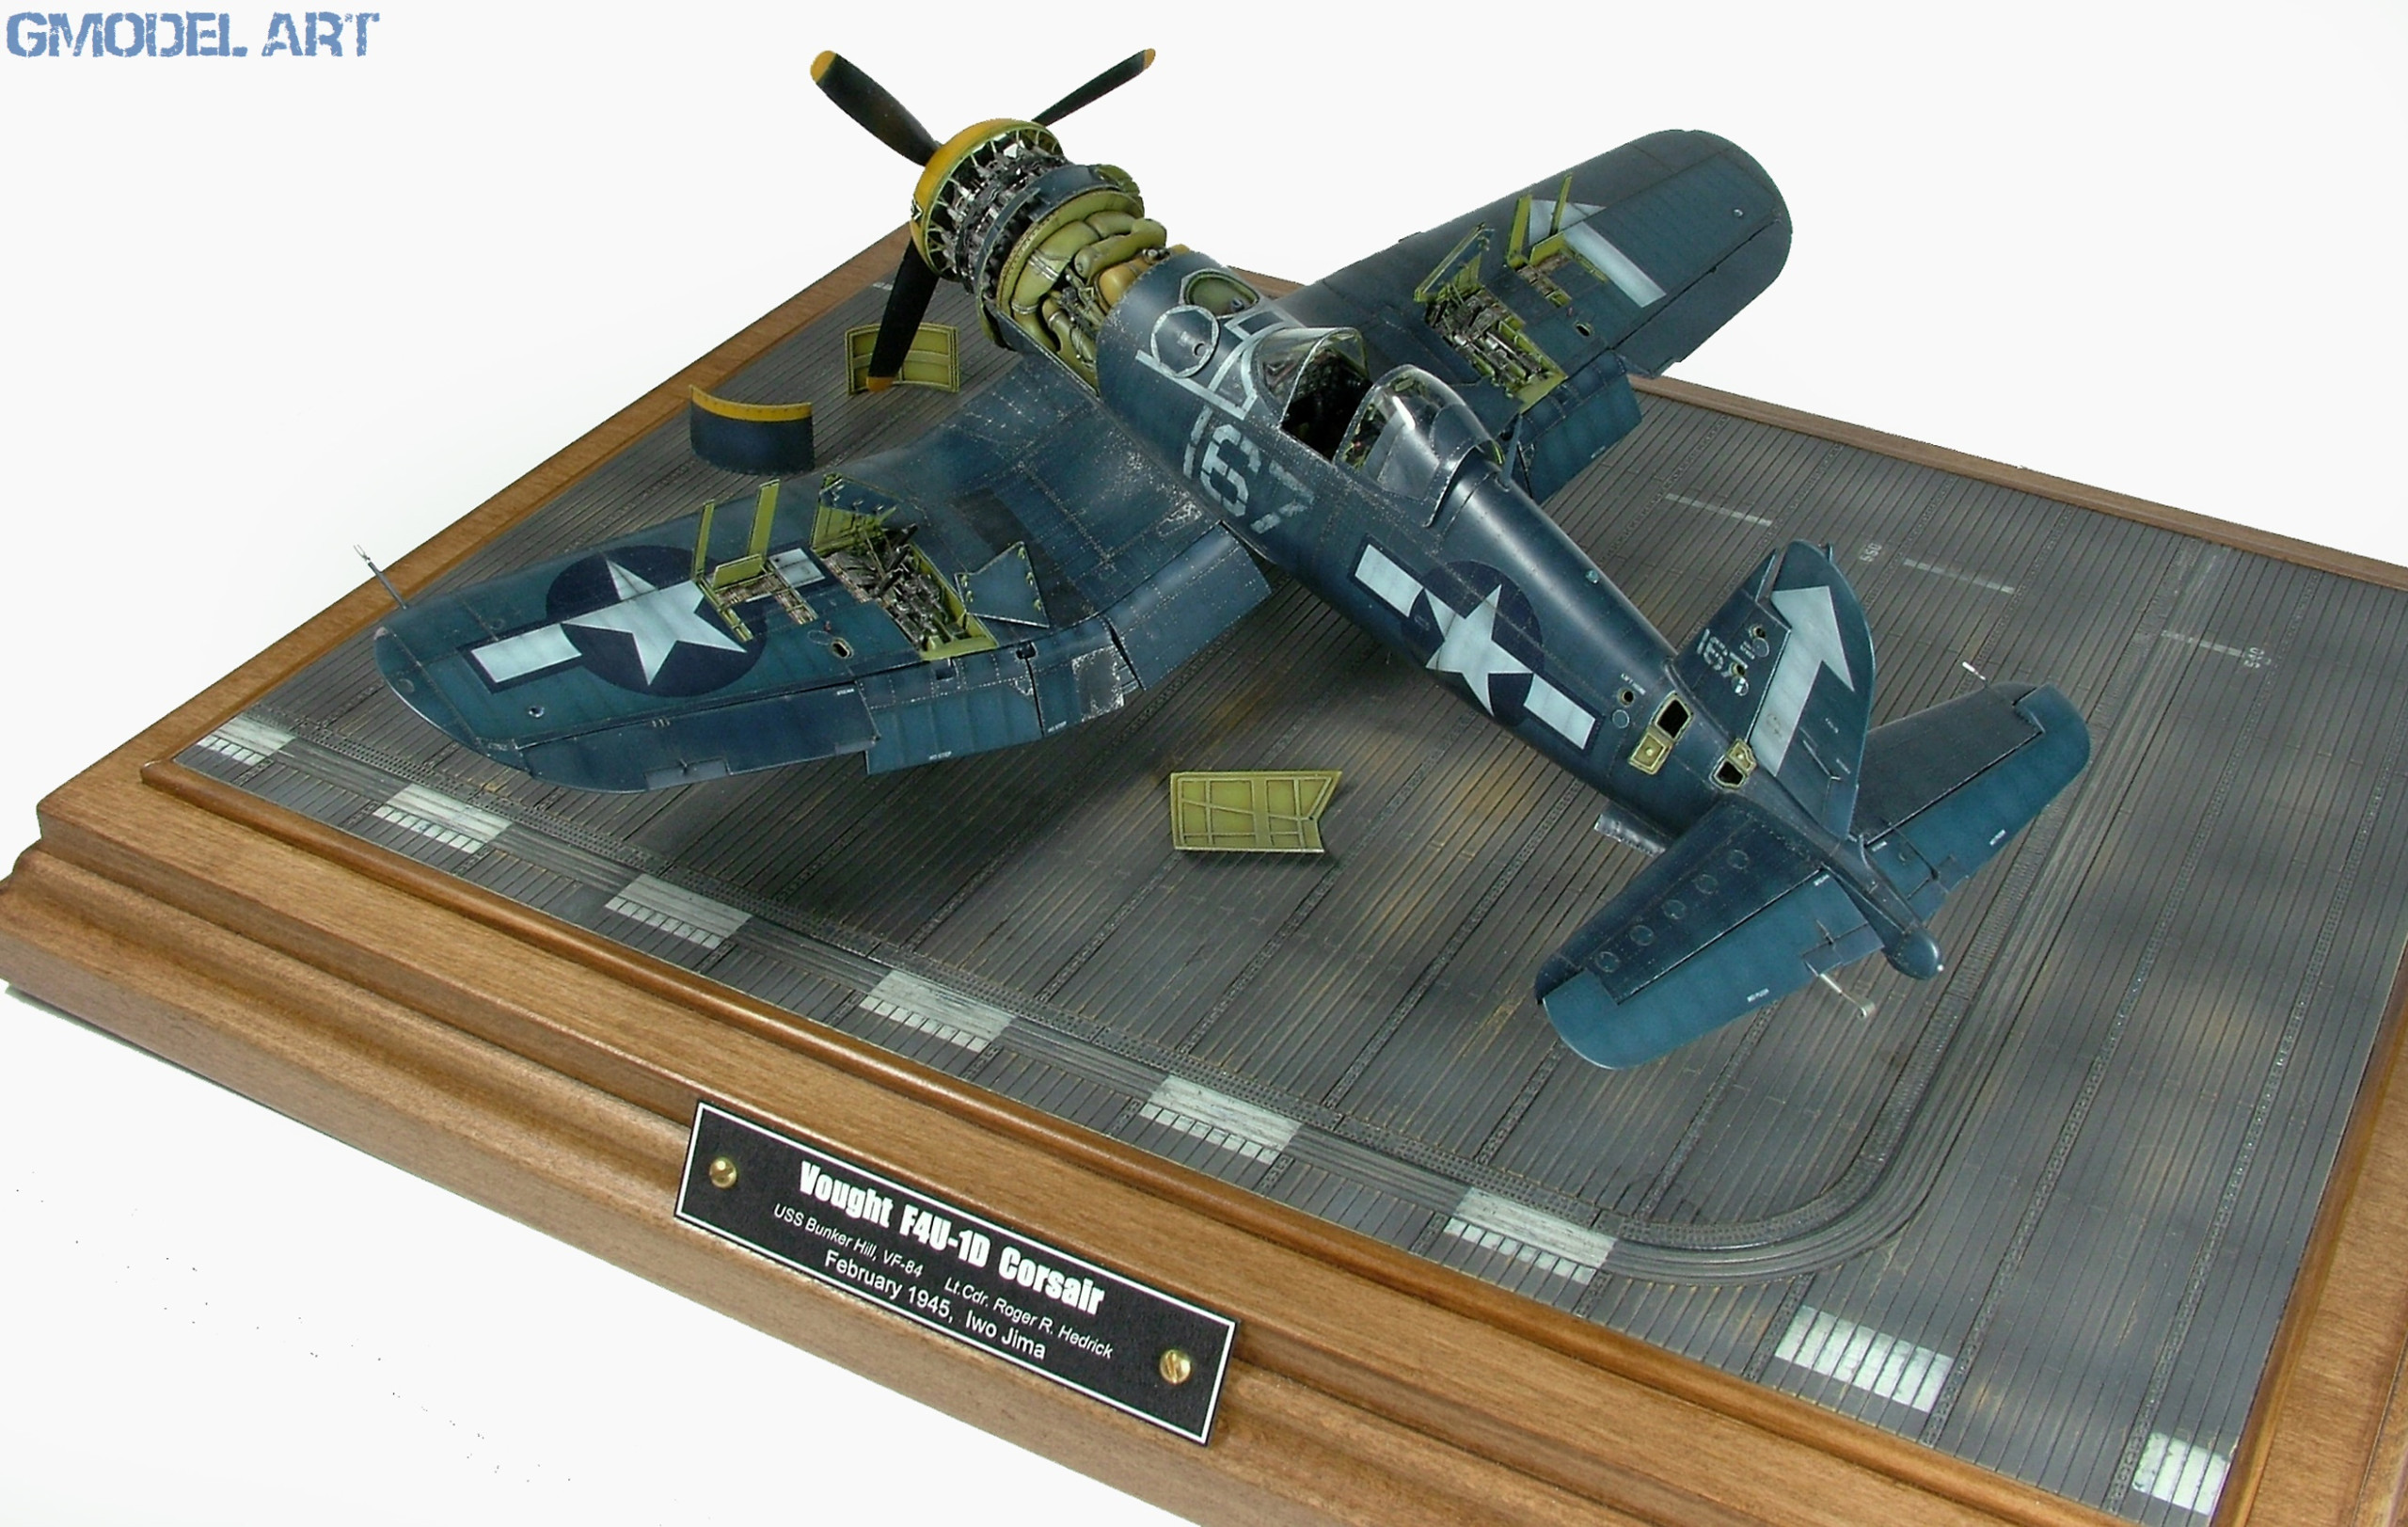
Final sprays with semi-gloss shine, some places a bit duller, ended the whole surface adjustment process. Last left was to sticker the rest of the plane with the left over sets and parts that could be to patinas and coloring of the model hazardous. Add the propeller and its done….
Sources:
Internet
• The Skull and Cross Bones Squaron Lee Cook (1998)
• Markings of the Aces US Navy (book 2, 1972) Charles Graham and Richard Hill
• The Hook (Journal of Carrier Aviation) Special issue 45th anniversary of VJ
day the carrier war in the pacific (1990)
• Detail and Scale F4U Corsair (part 1 & 2) Bert Kinzey (1998)
WarbirdTech Vought F4U Corsiar Barrett Tillman (1996)
F4U Corsair Adam Jarski (1993)
• Samolot Mysliwski F4U Corsair Zbigniew Jan Krala (1998)
• Squadron Signal Publications F4U Corsair in color Jim Sullivan (1981)