article
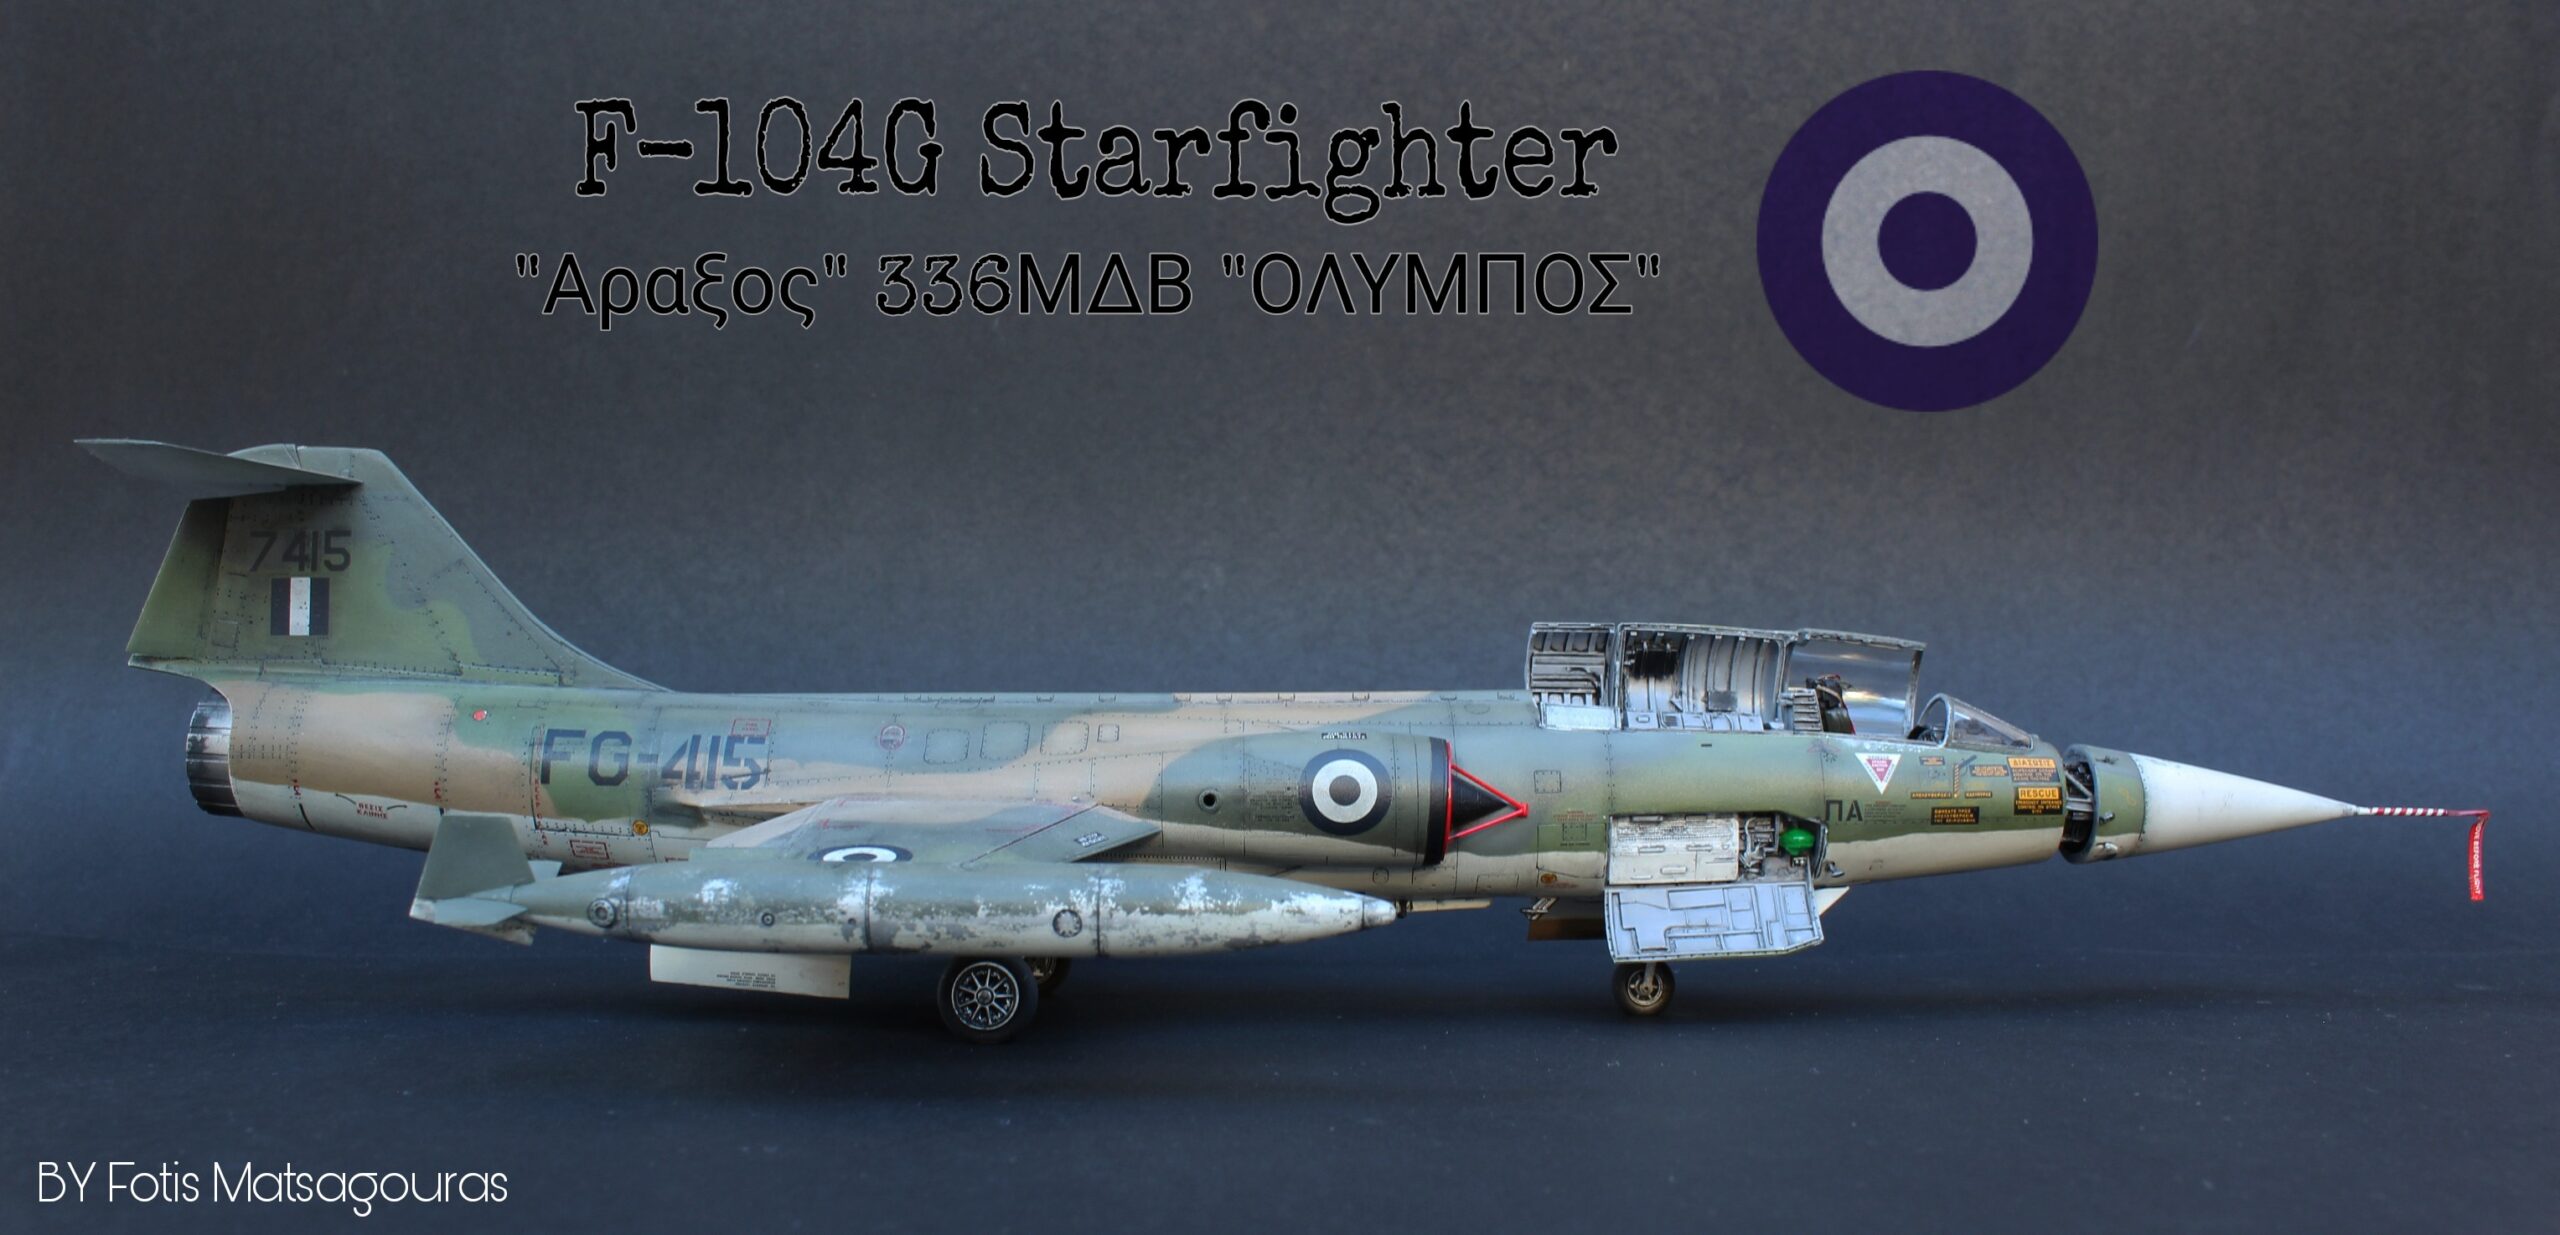
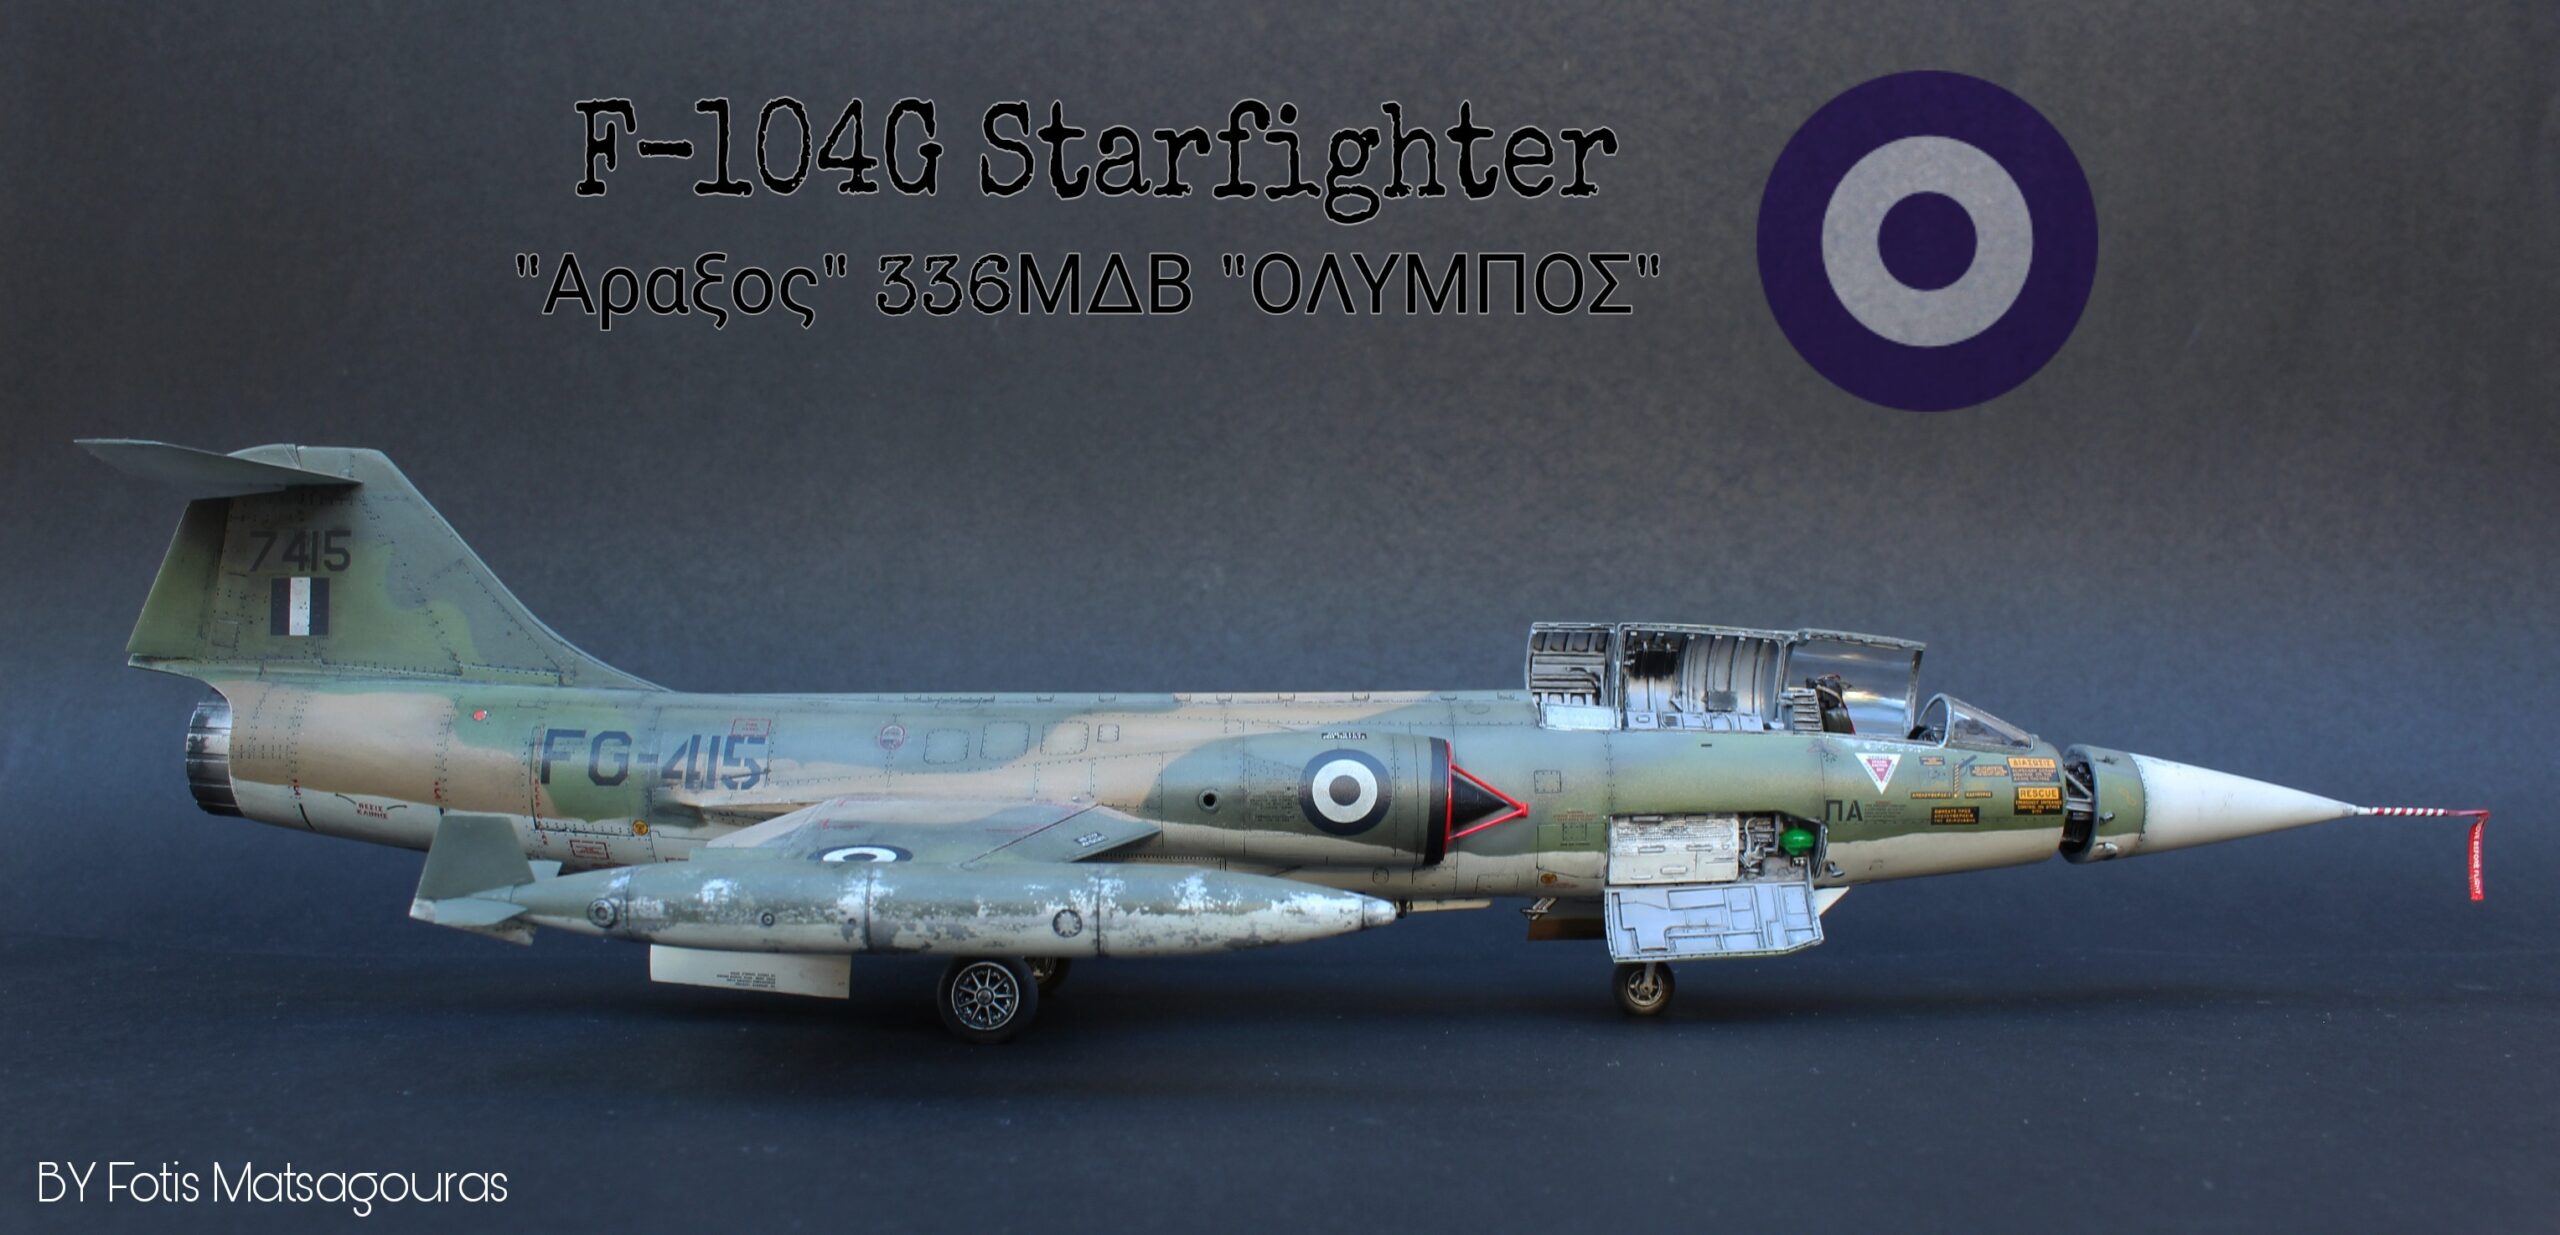
F-104G Starfighter HAF s/n 7415 – Hasegawa 1/48 Scale Build
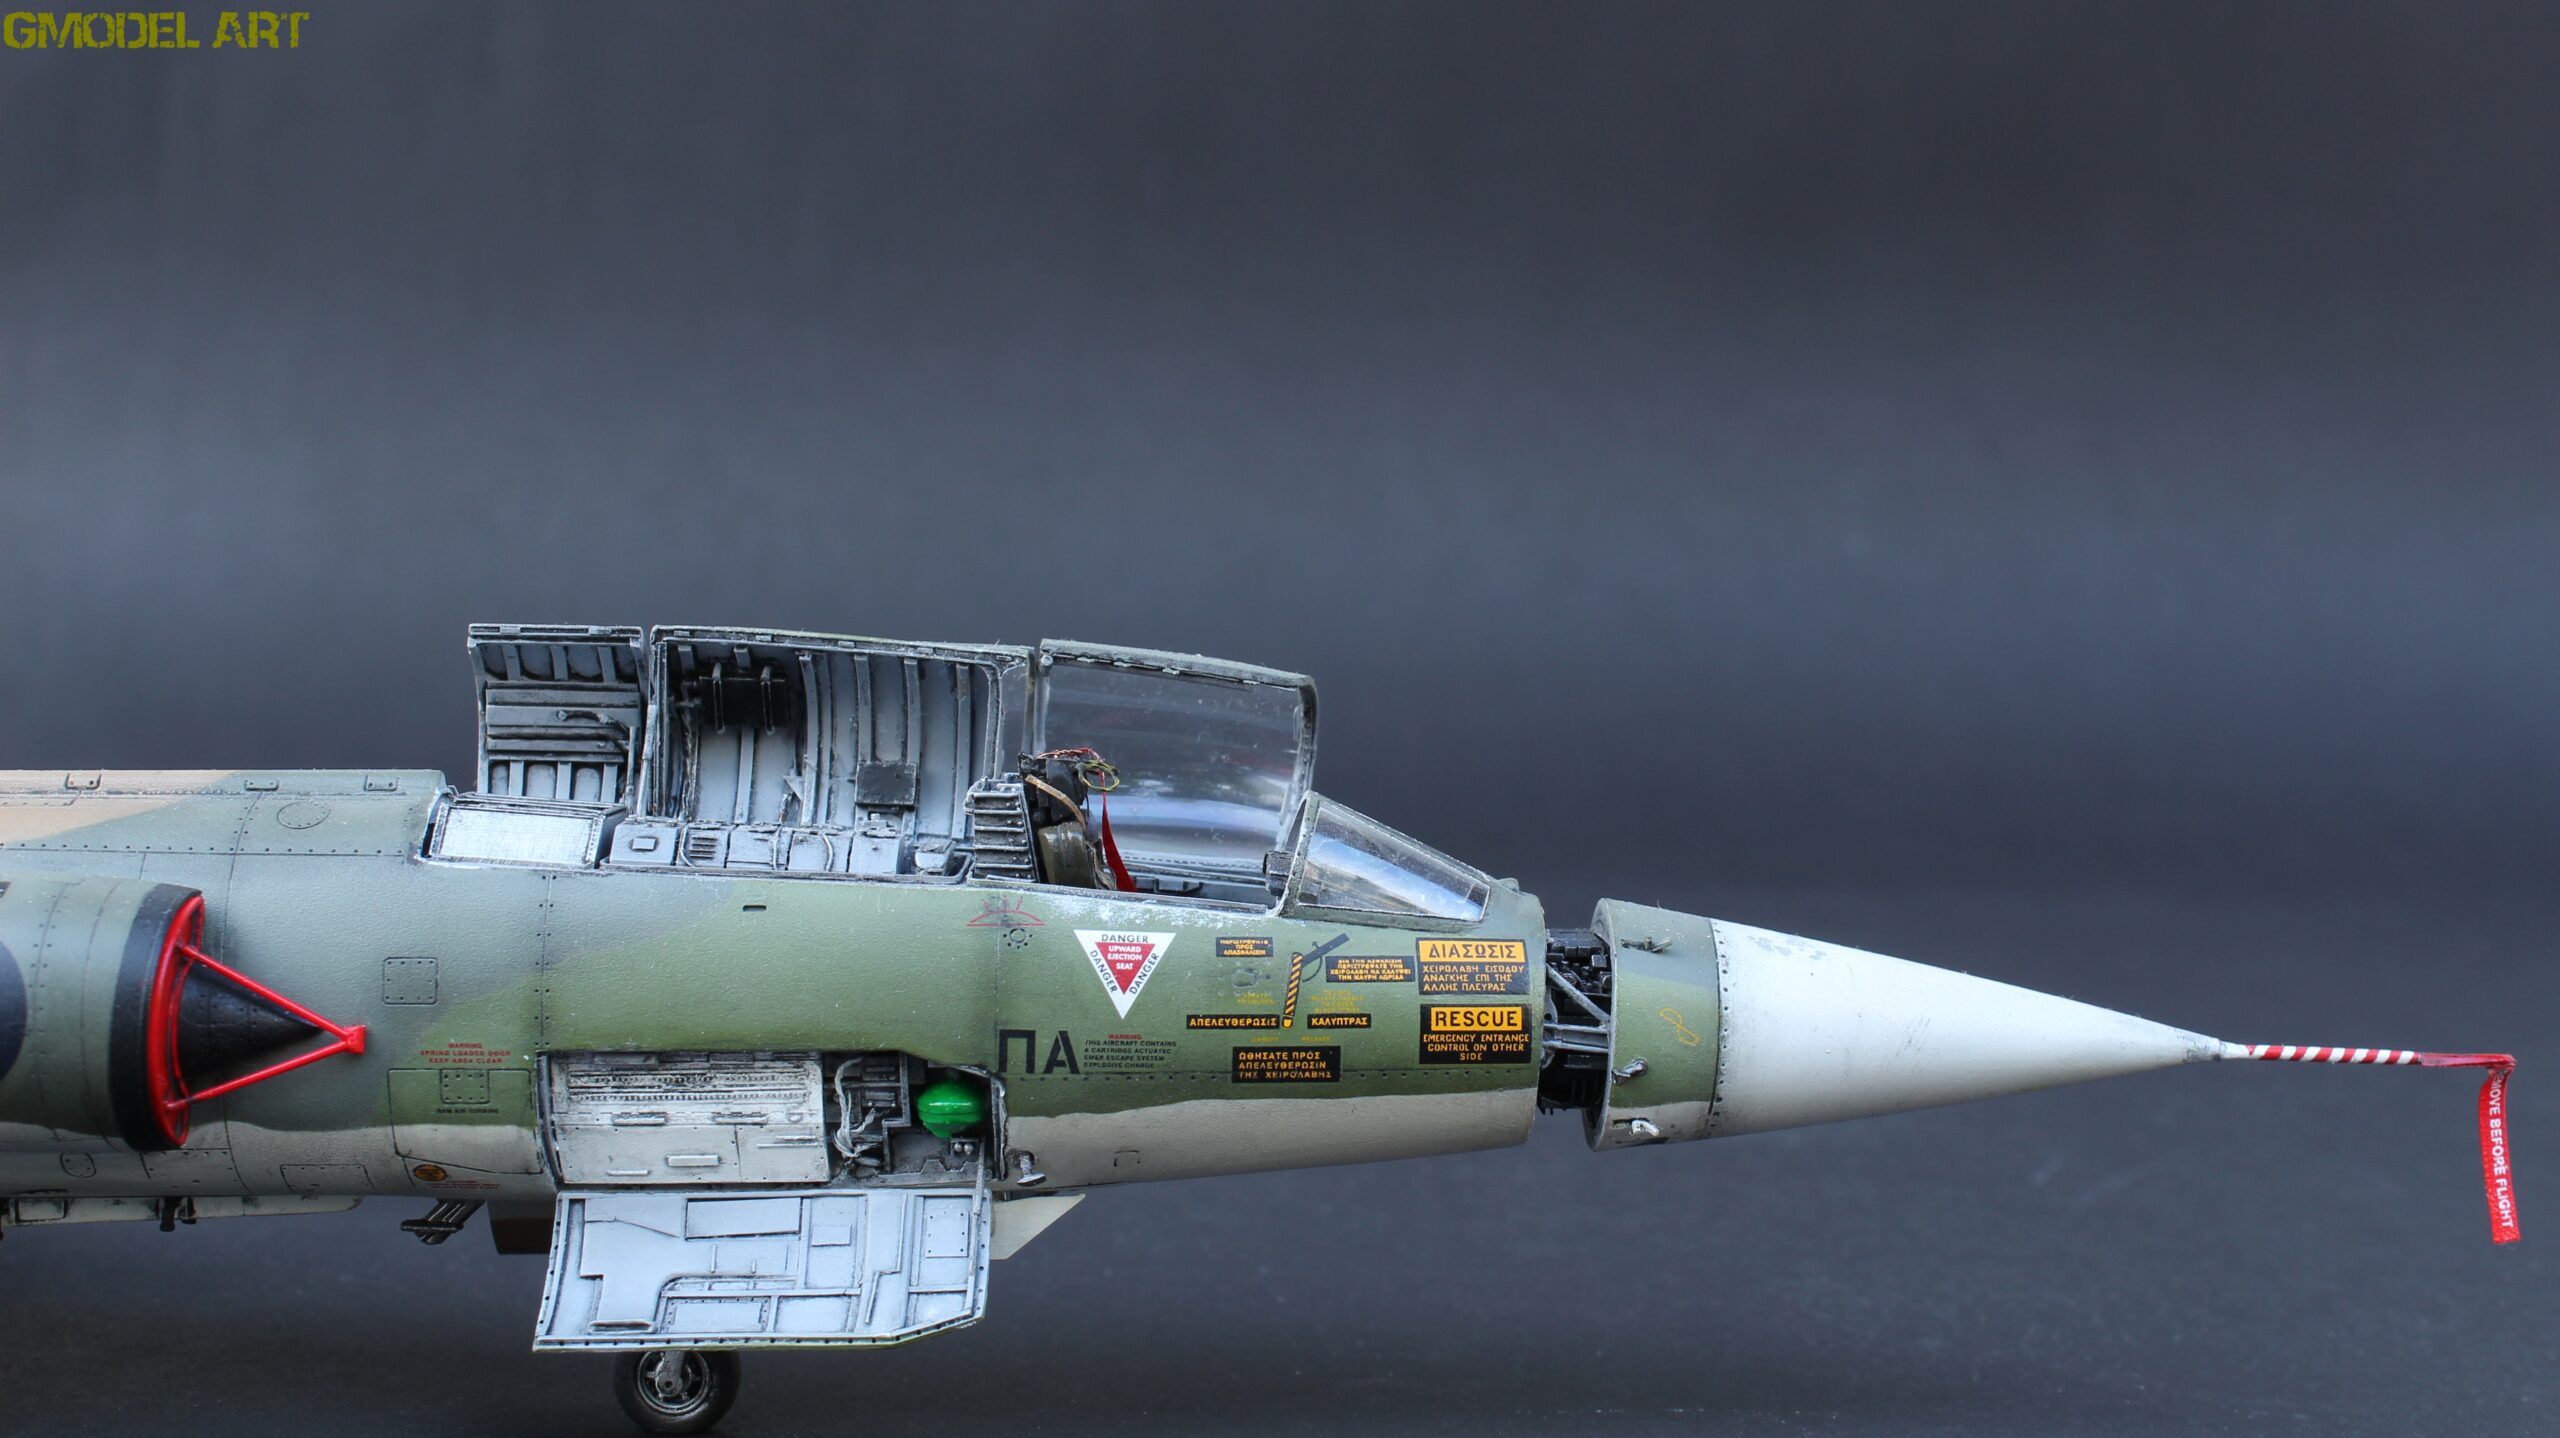
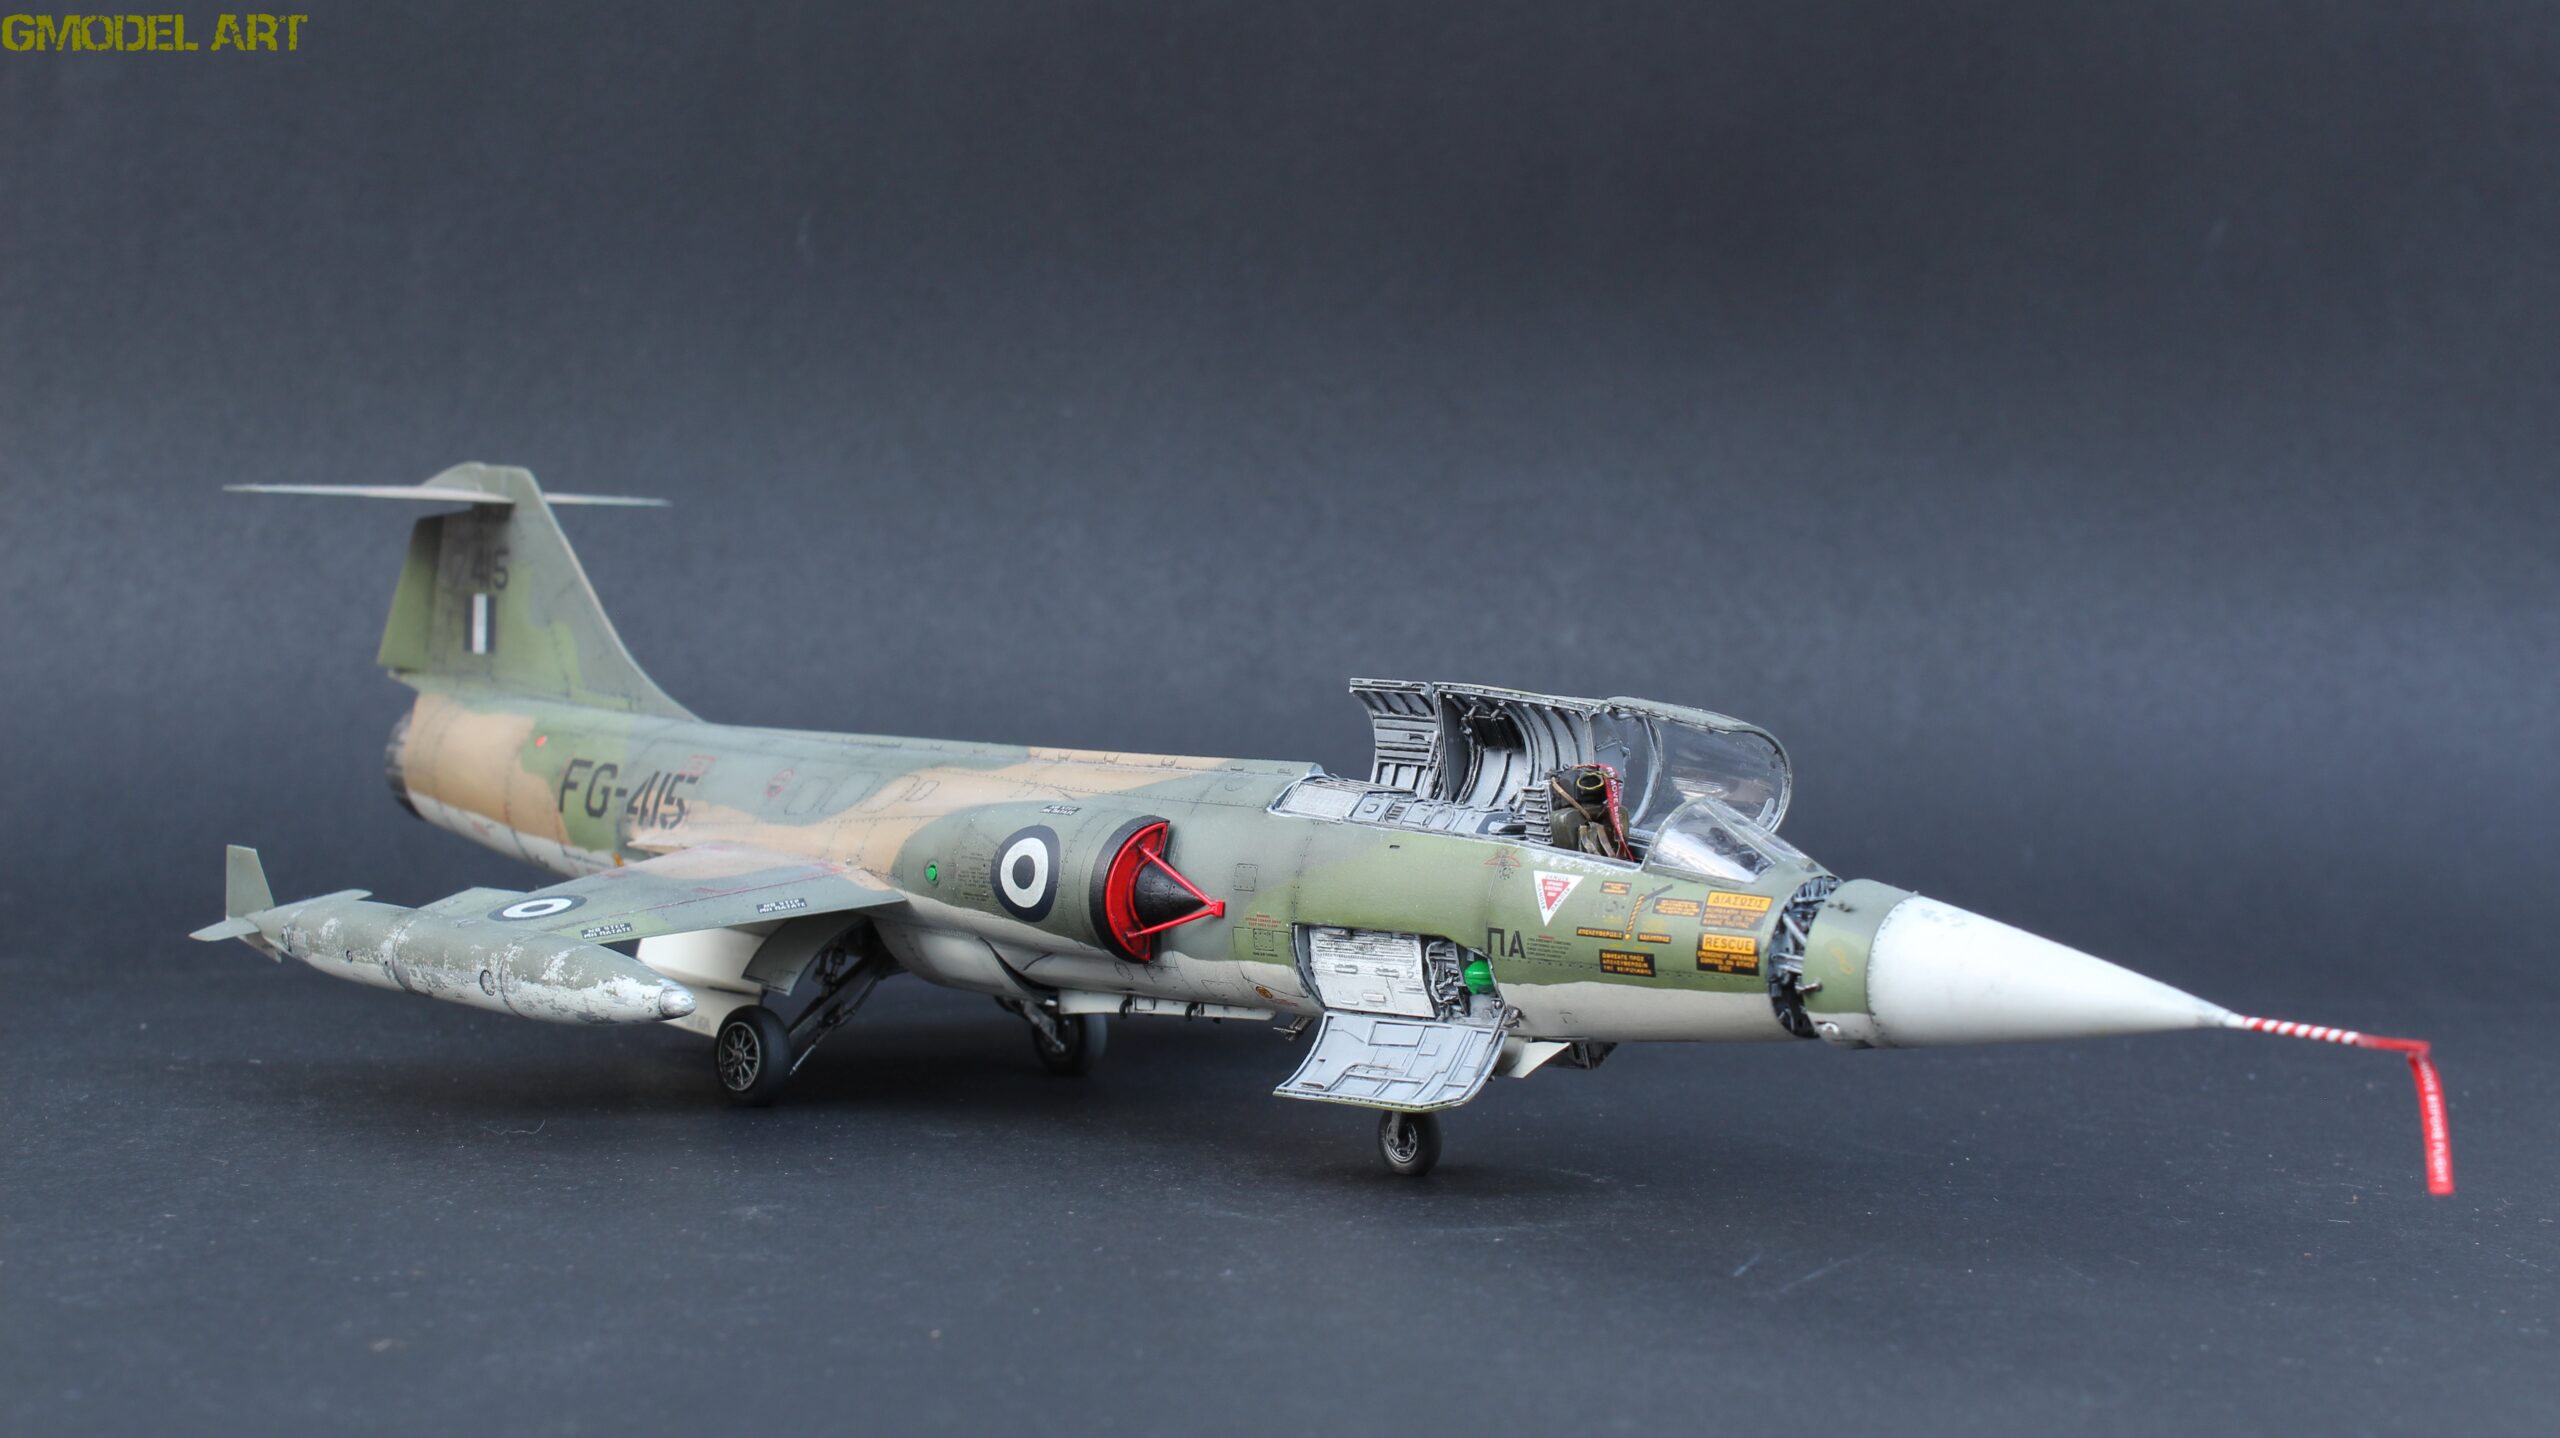
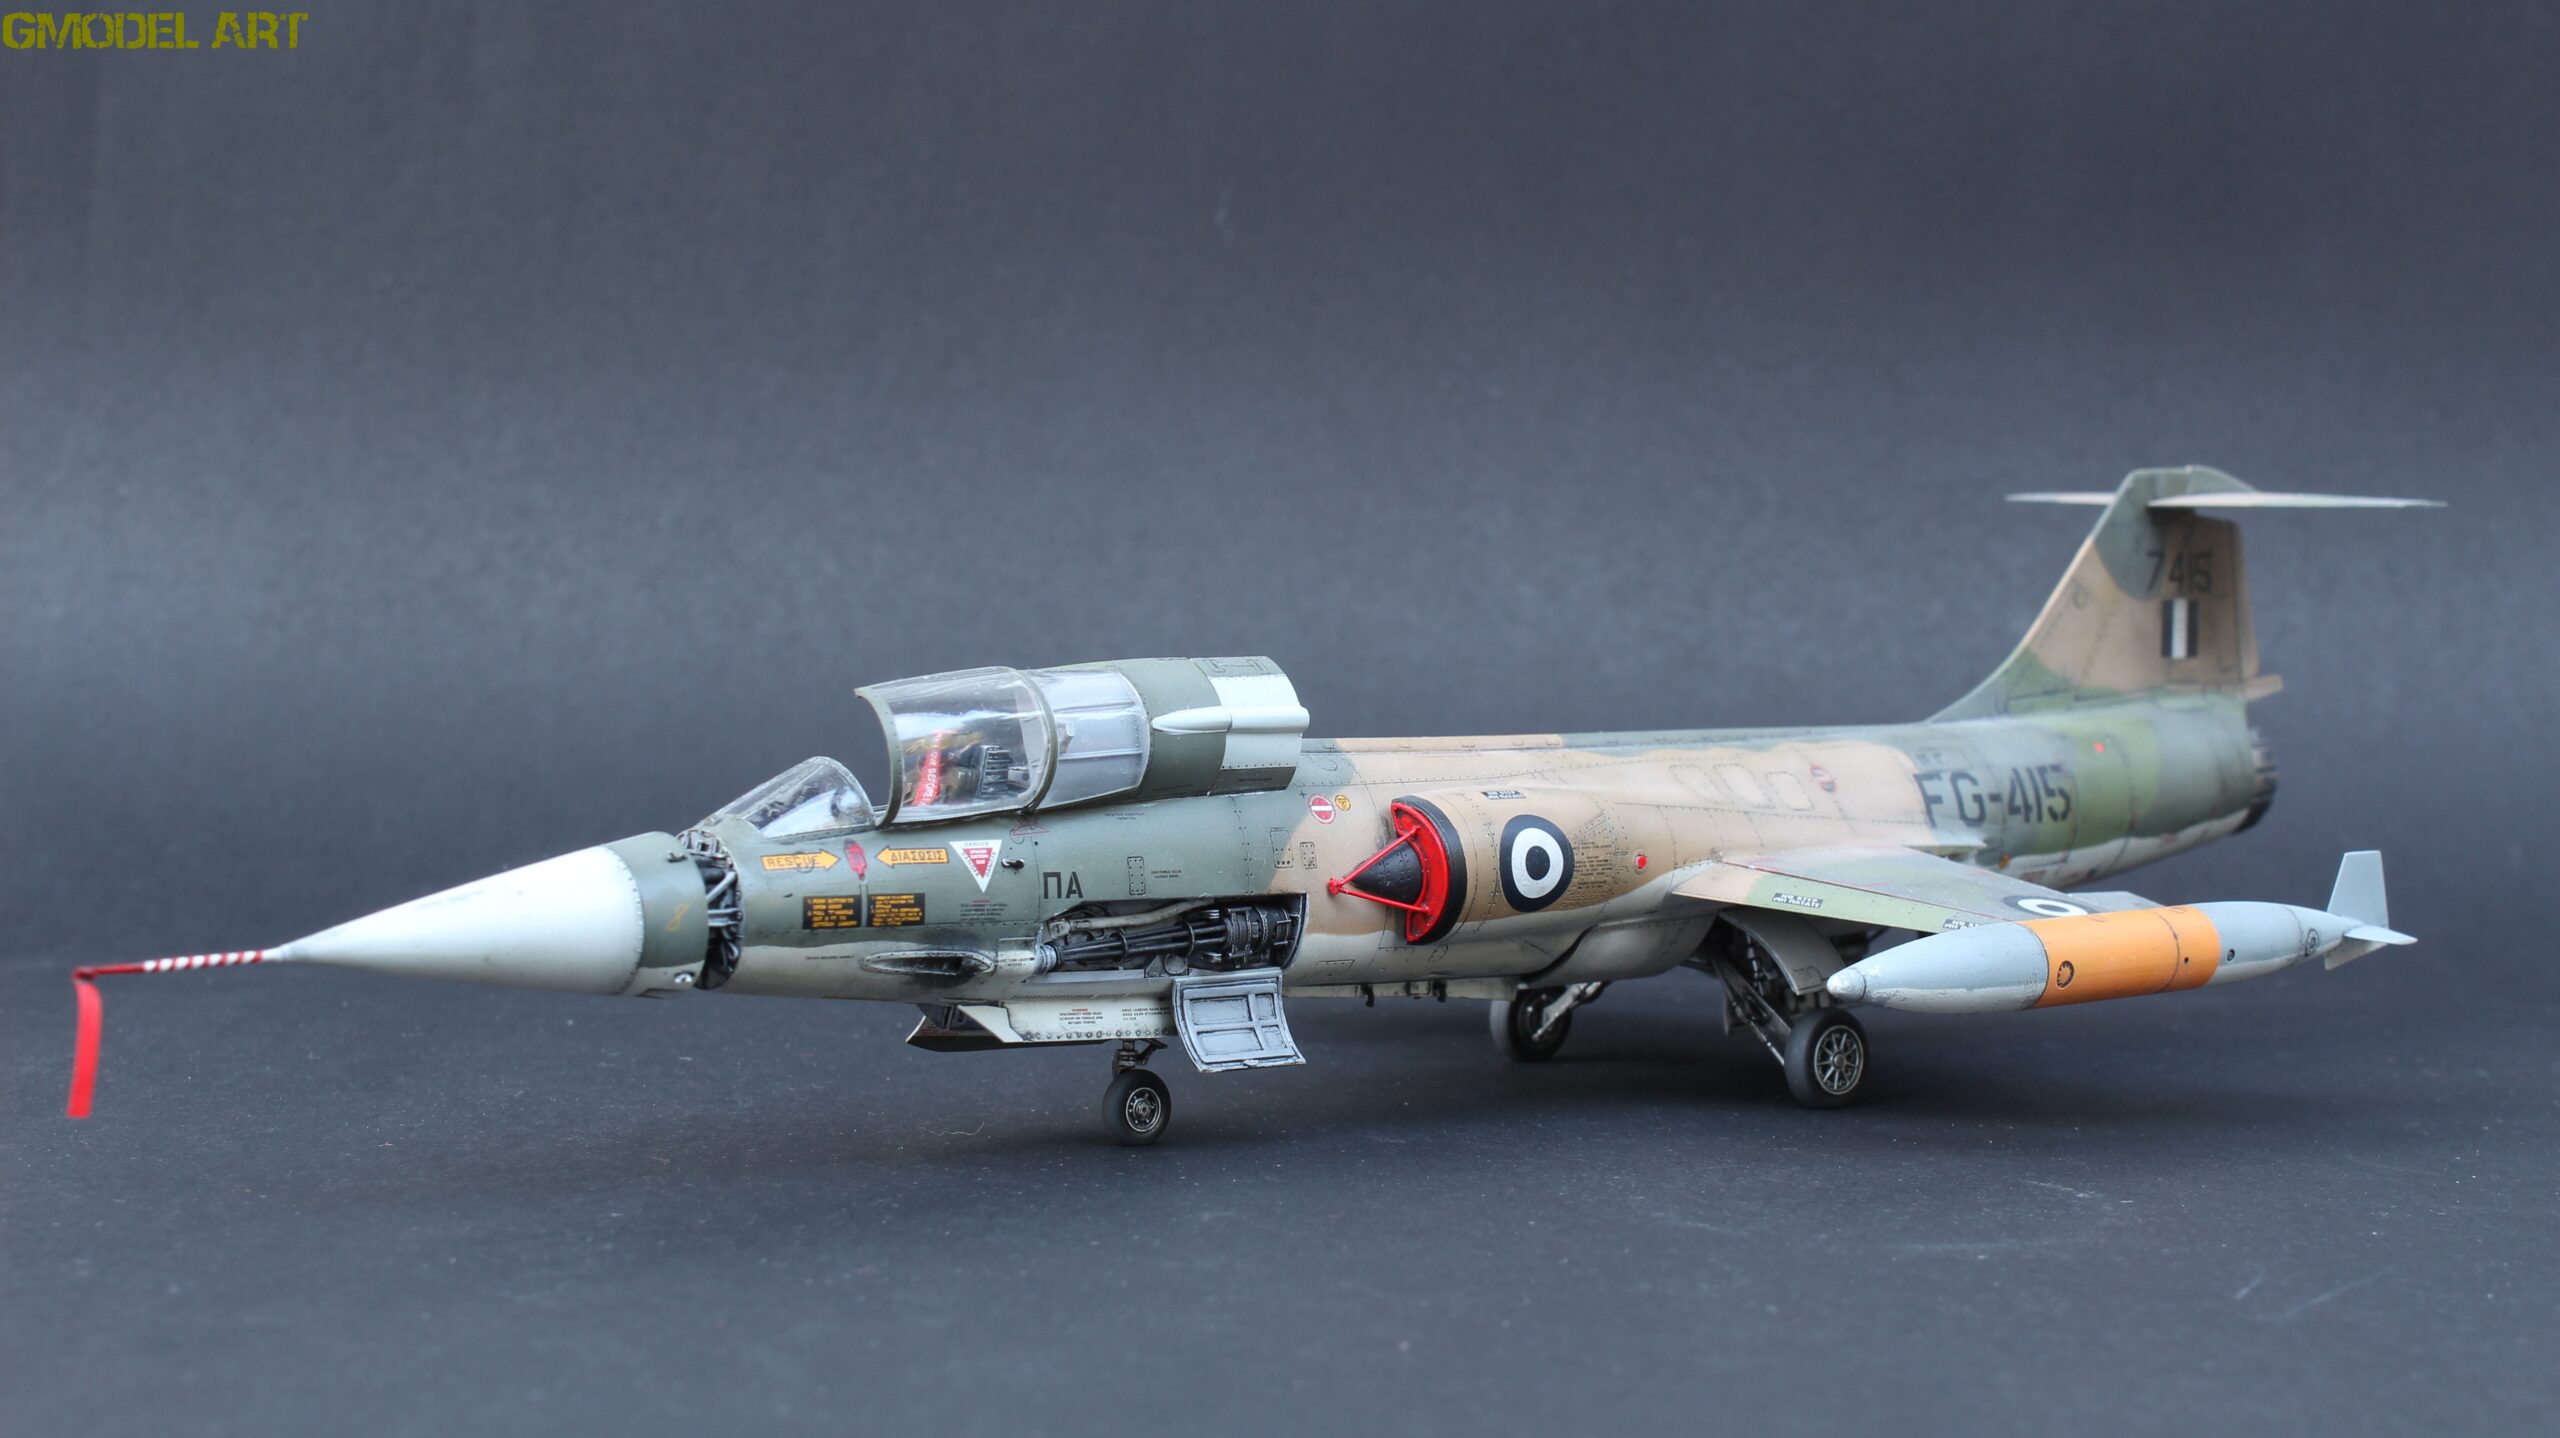
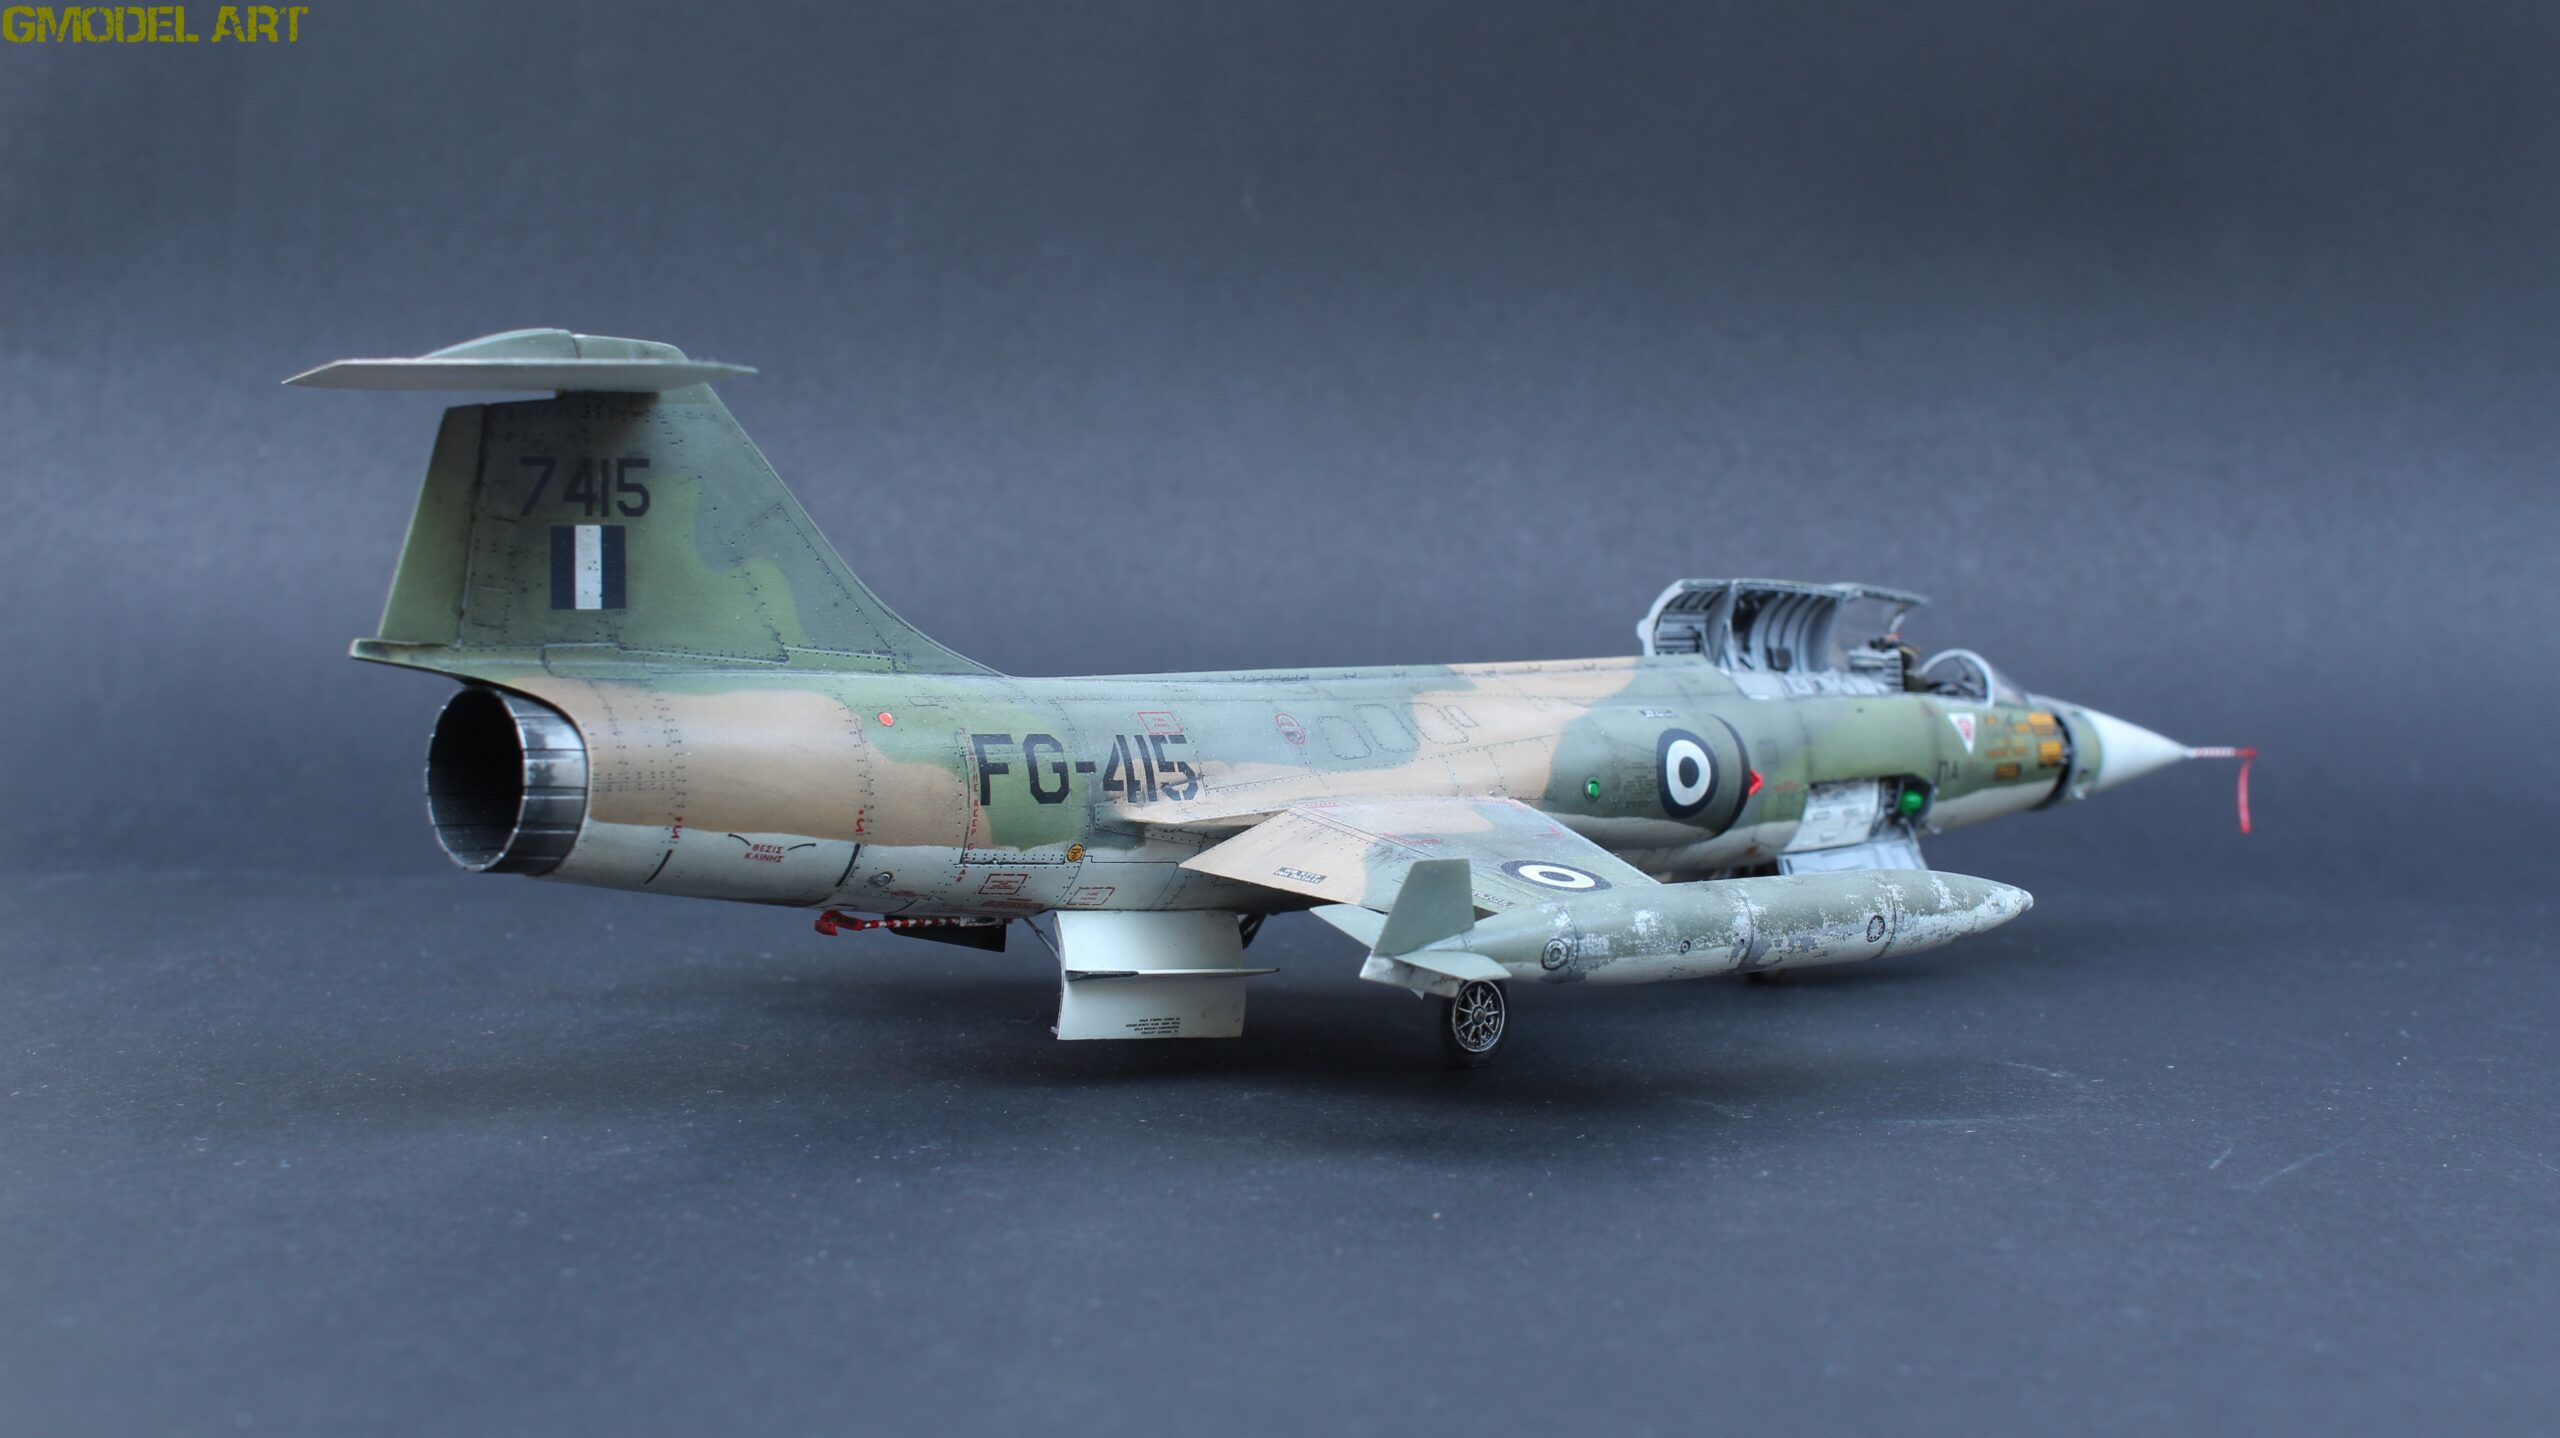
The Lockheed F-104G Starfighter Hellenic Air Force s/n 7415 is one of those aircraft that immediately stands out on a model display. Its extremely clean lines, compact fuselage and distinctive wings make the Starfighter a challenging but highly rewarding subject for scale modelers.
For this build, I chose the Hasegawa 1/48 scale F-104G Starfighter, a kit that offers very good overall detail and excellent fit. The fuselage and wings are particularly well represented, although the landing gear bays are noticeably simpler and require additional detailing if the goal is to achieve a more realistic appearance.
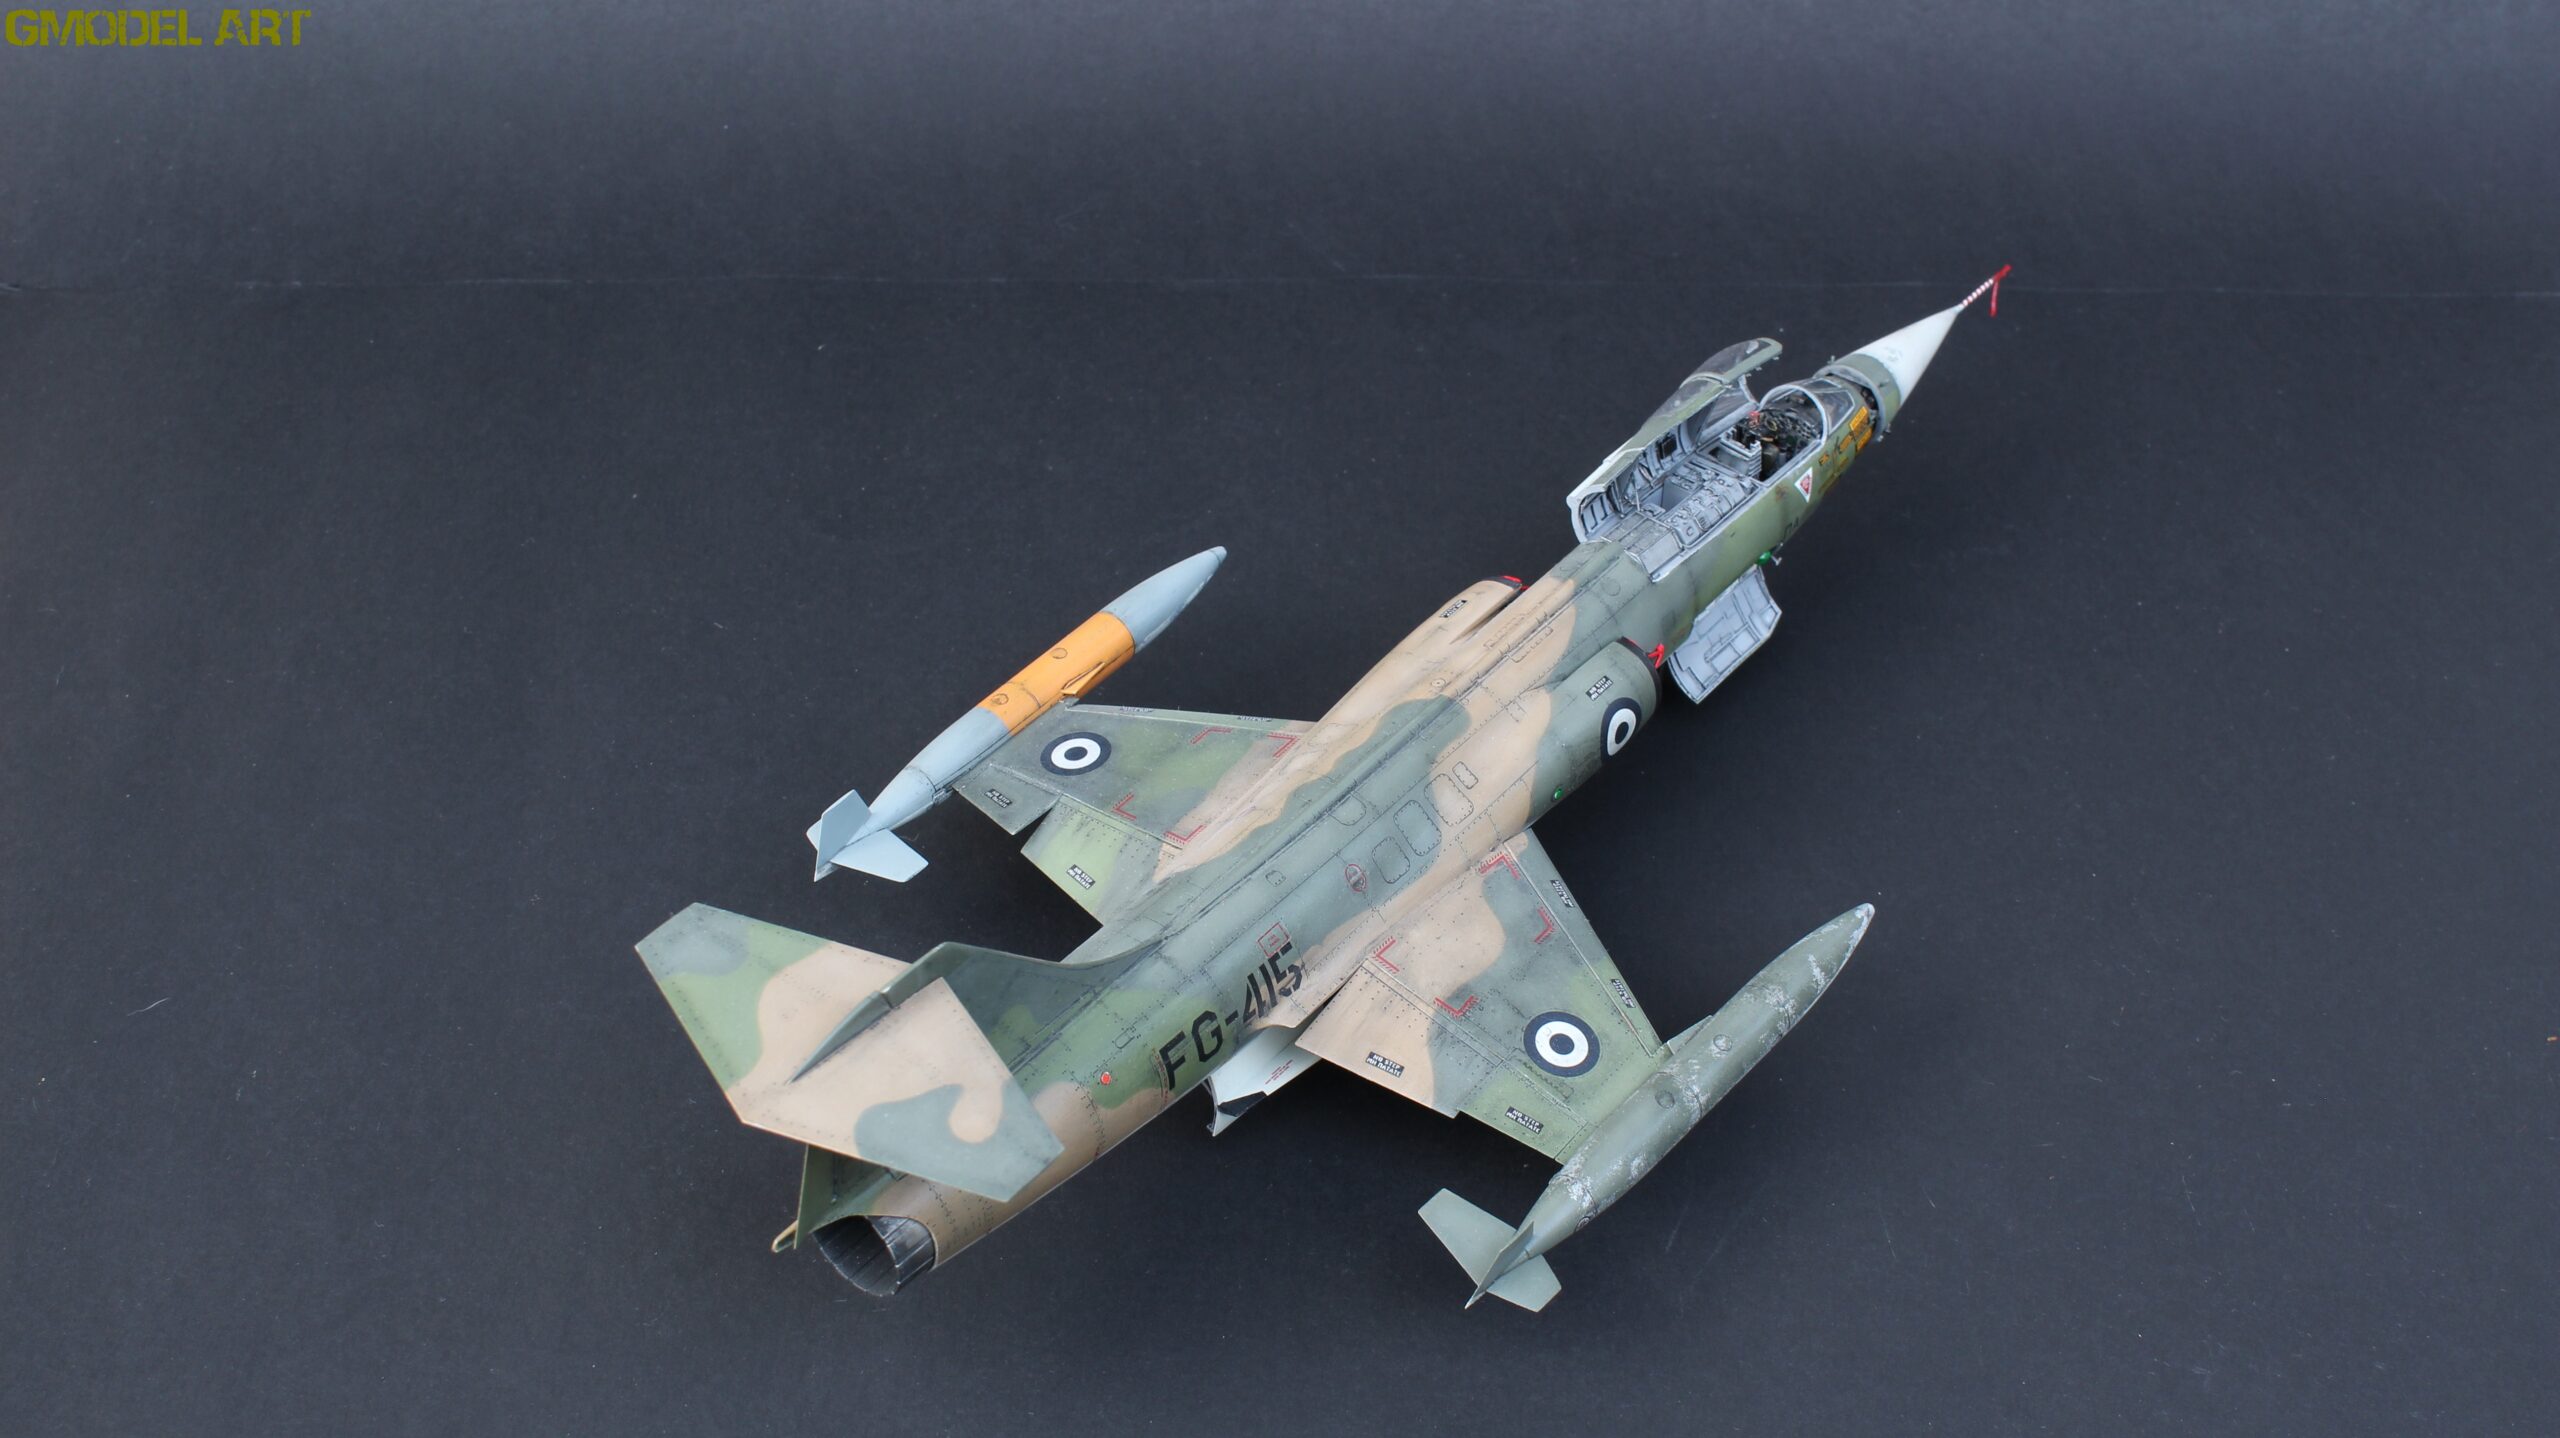
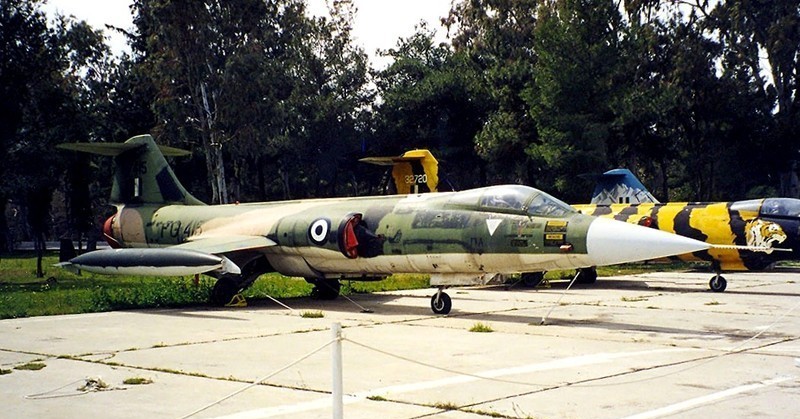
The Hasegawa kit also leaves relatively little room for deciding on a specific configuration because the basic kit provides only the two external fuel tanks. My first decision was therefore to select the aircraft variant and serial number I wanted to reproduce. In this case, the subject became F-104G Starfighter HAF s/n 7415.
I also decided not to use the kit decals for the “OLYMPUS” aircraft and instead planned the model around the selected Hellenic Air Force aircraft.
F-104G Starfighter – Planning the Build
Before starting construction, I decided to improve several areas of the Hasegawa kit with aftermarket components.
The main additions included:
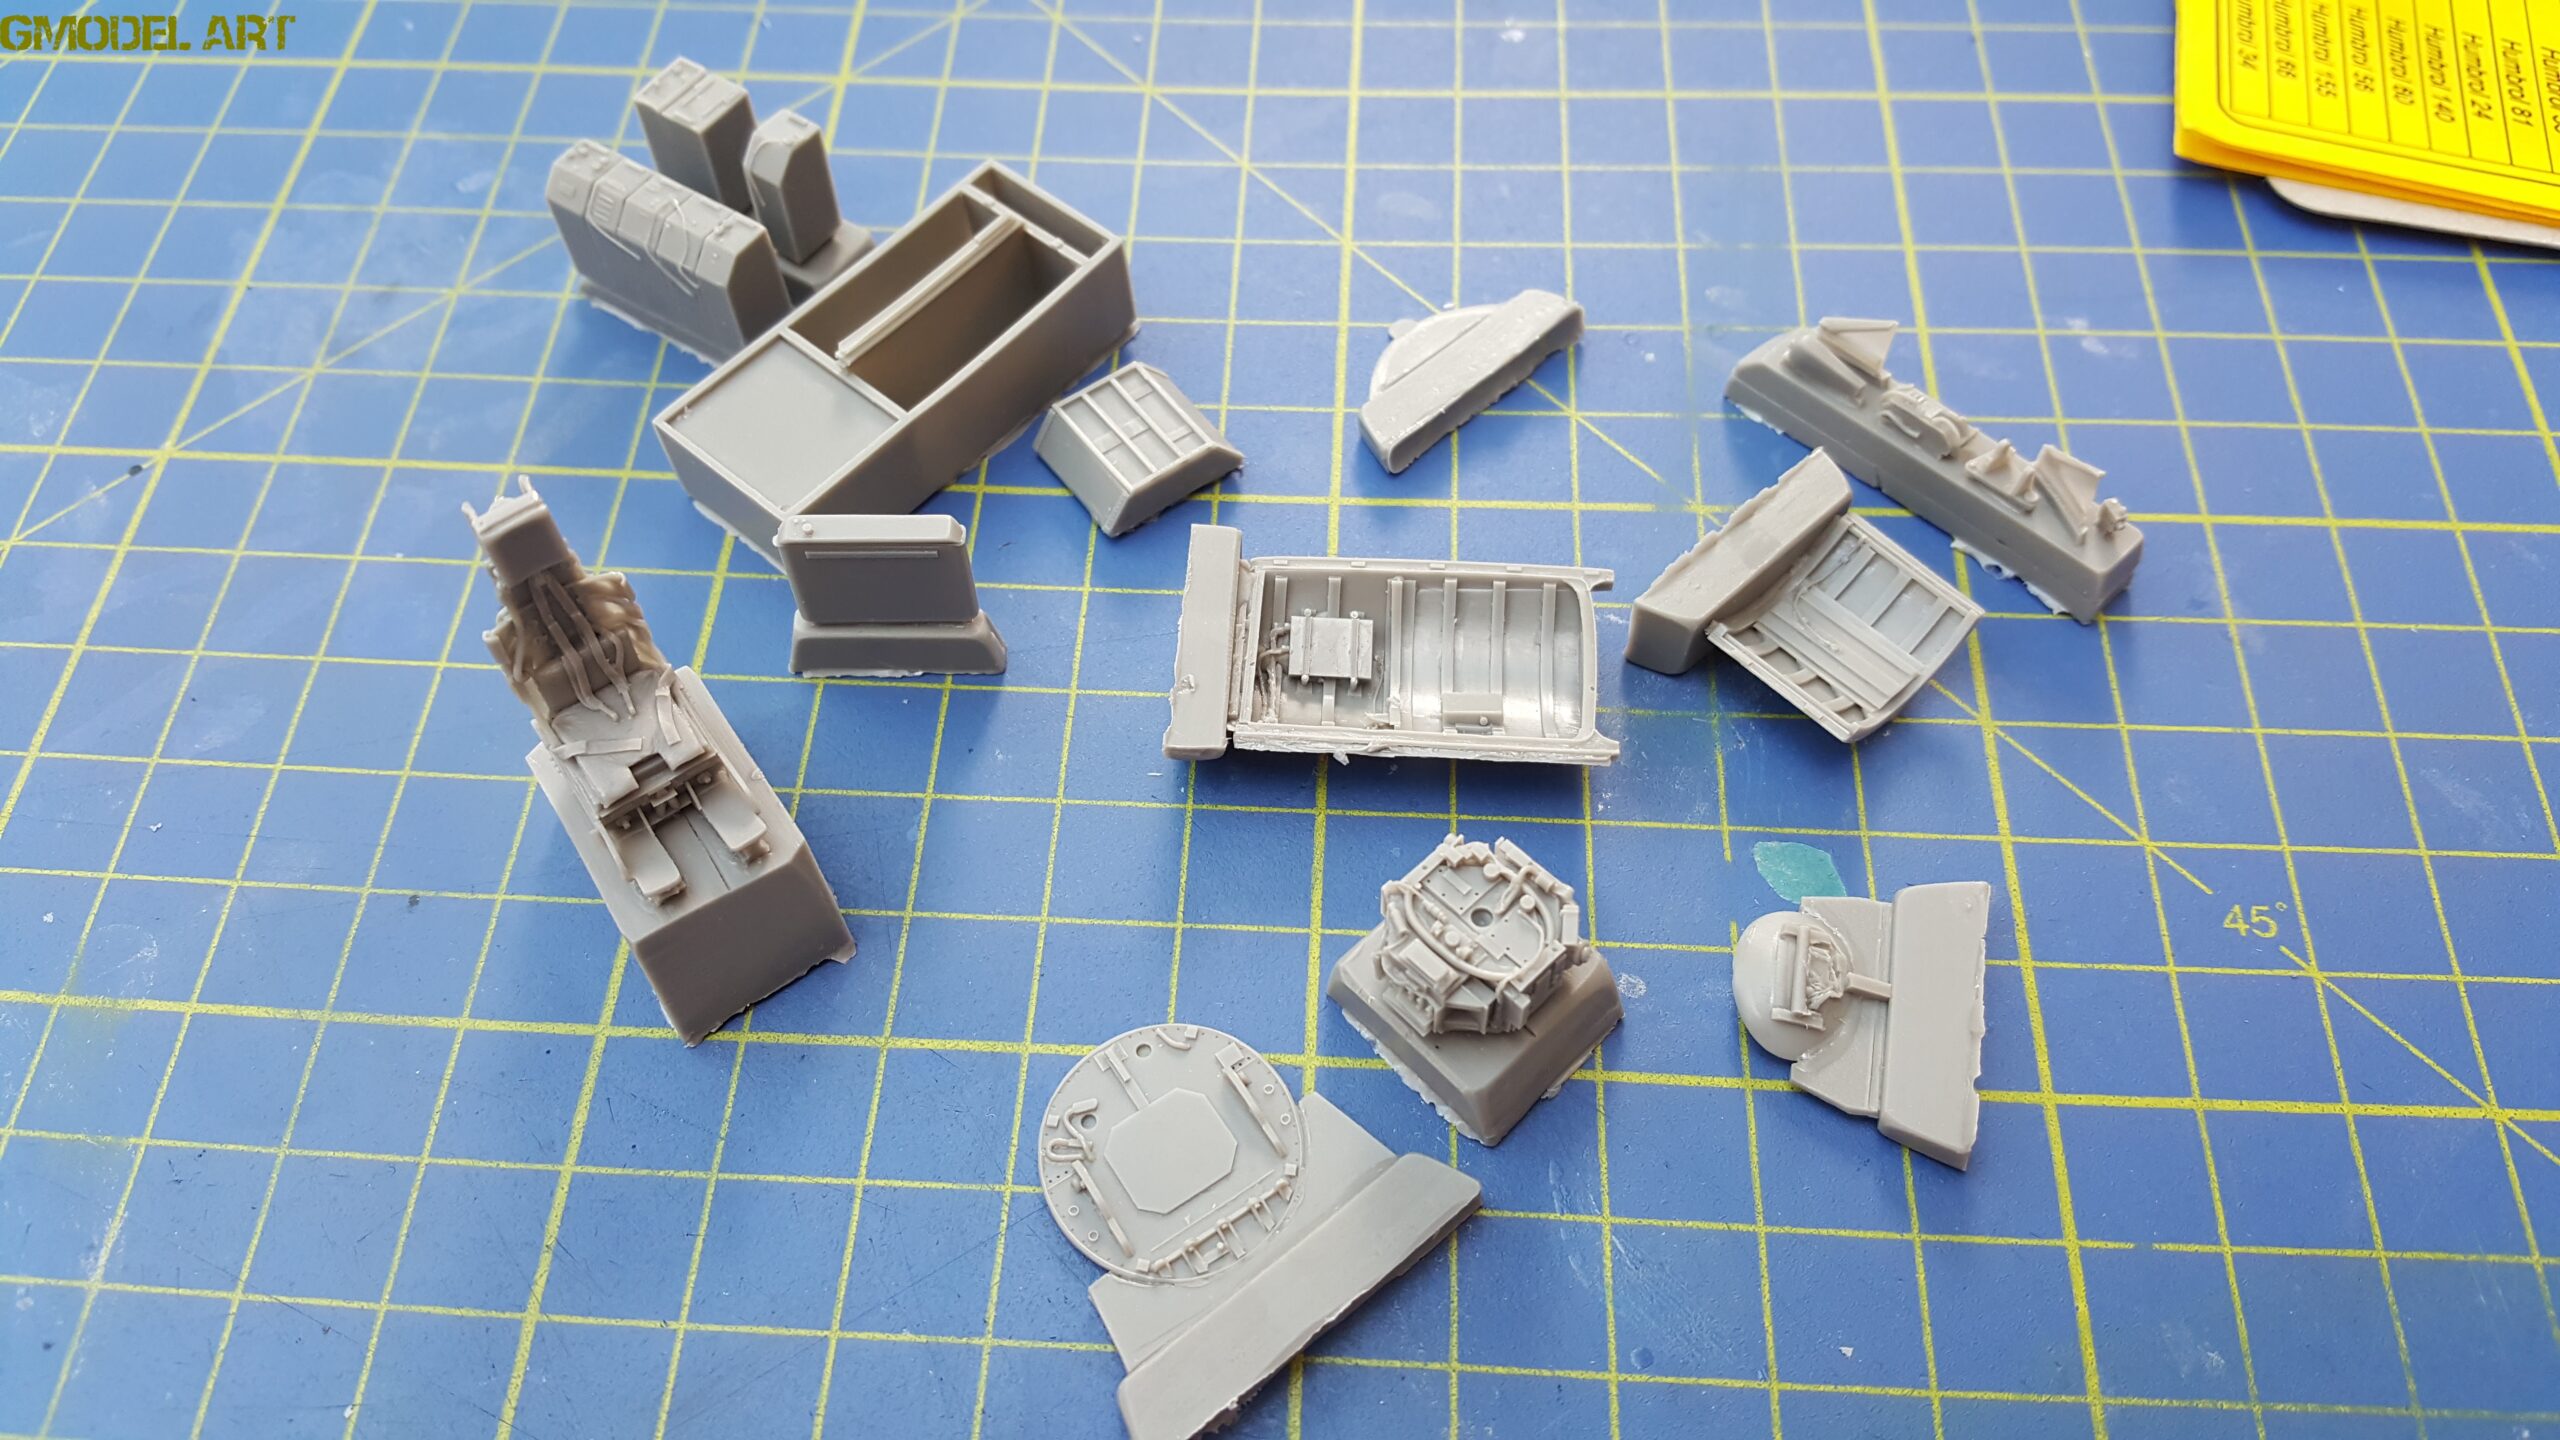
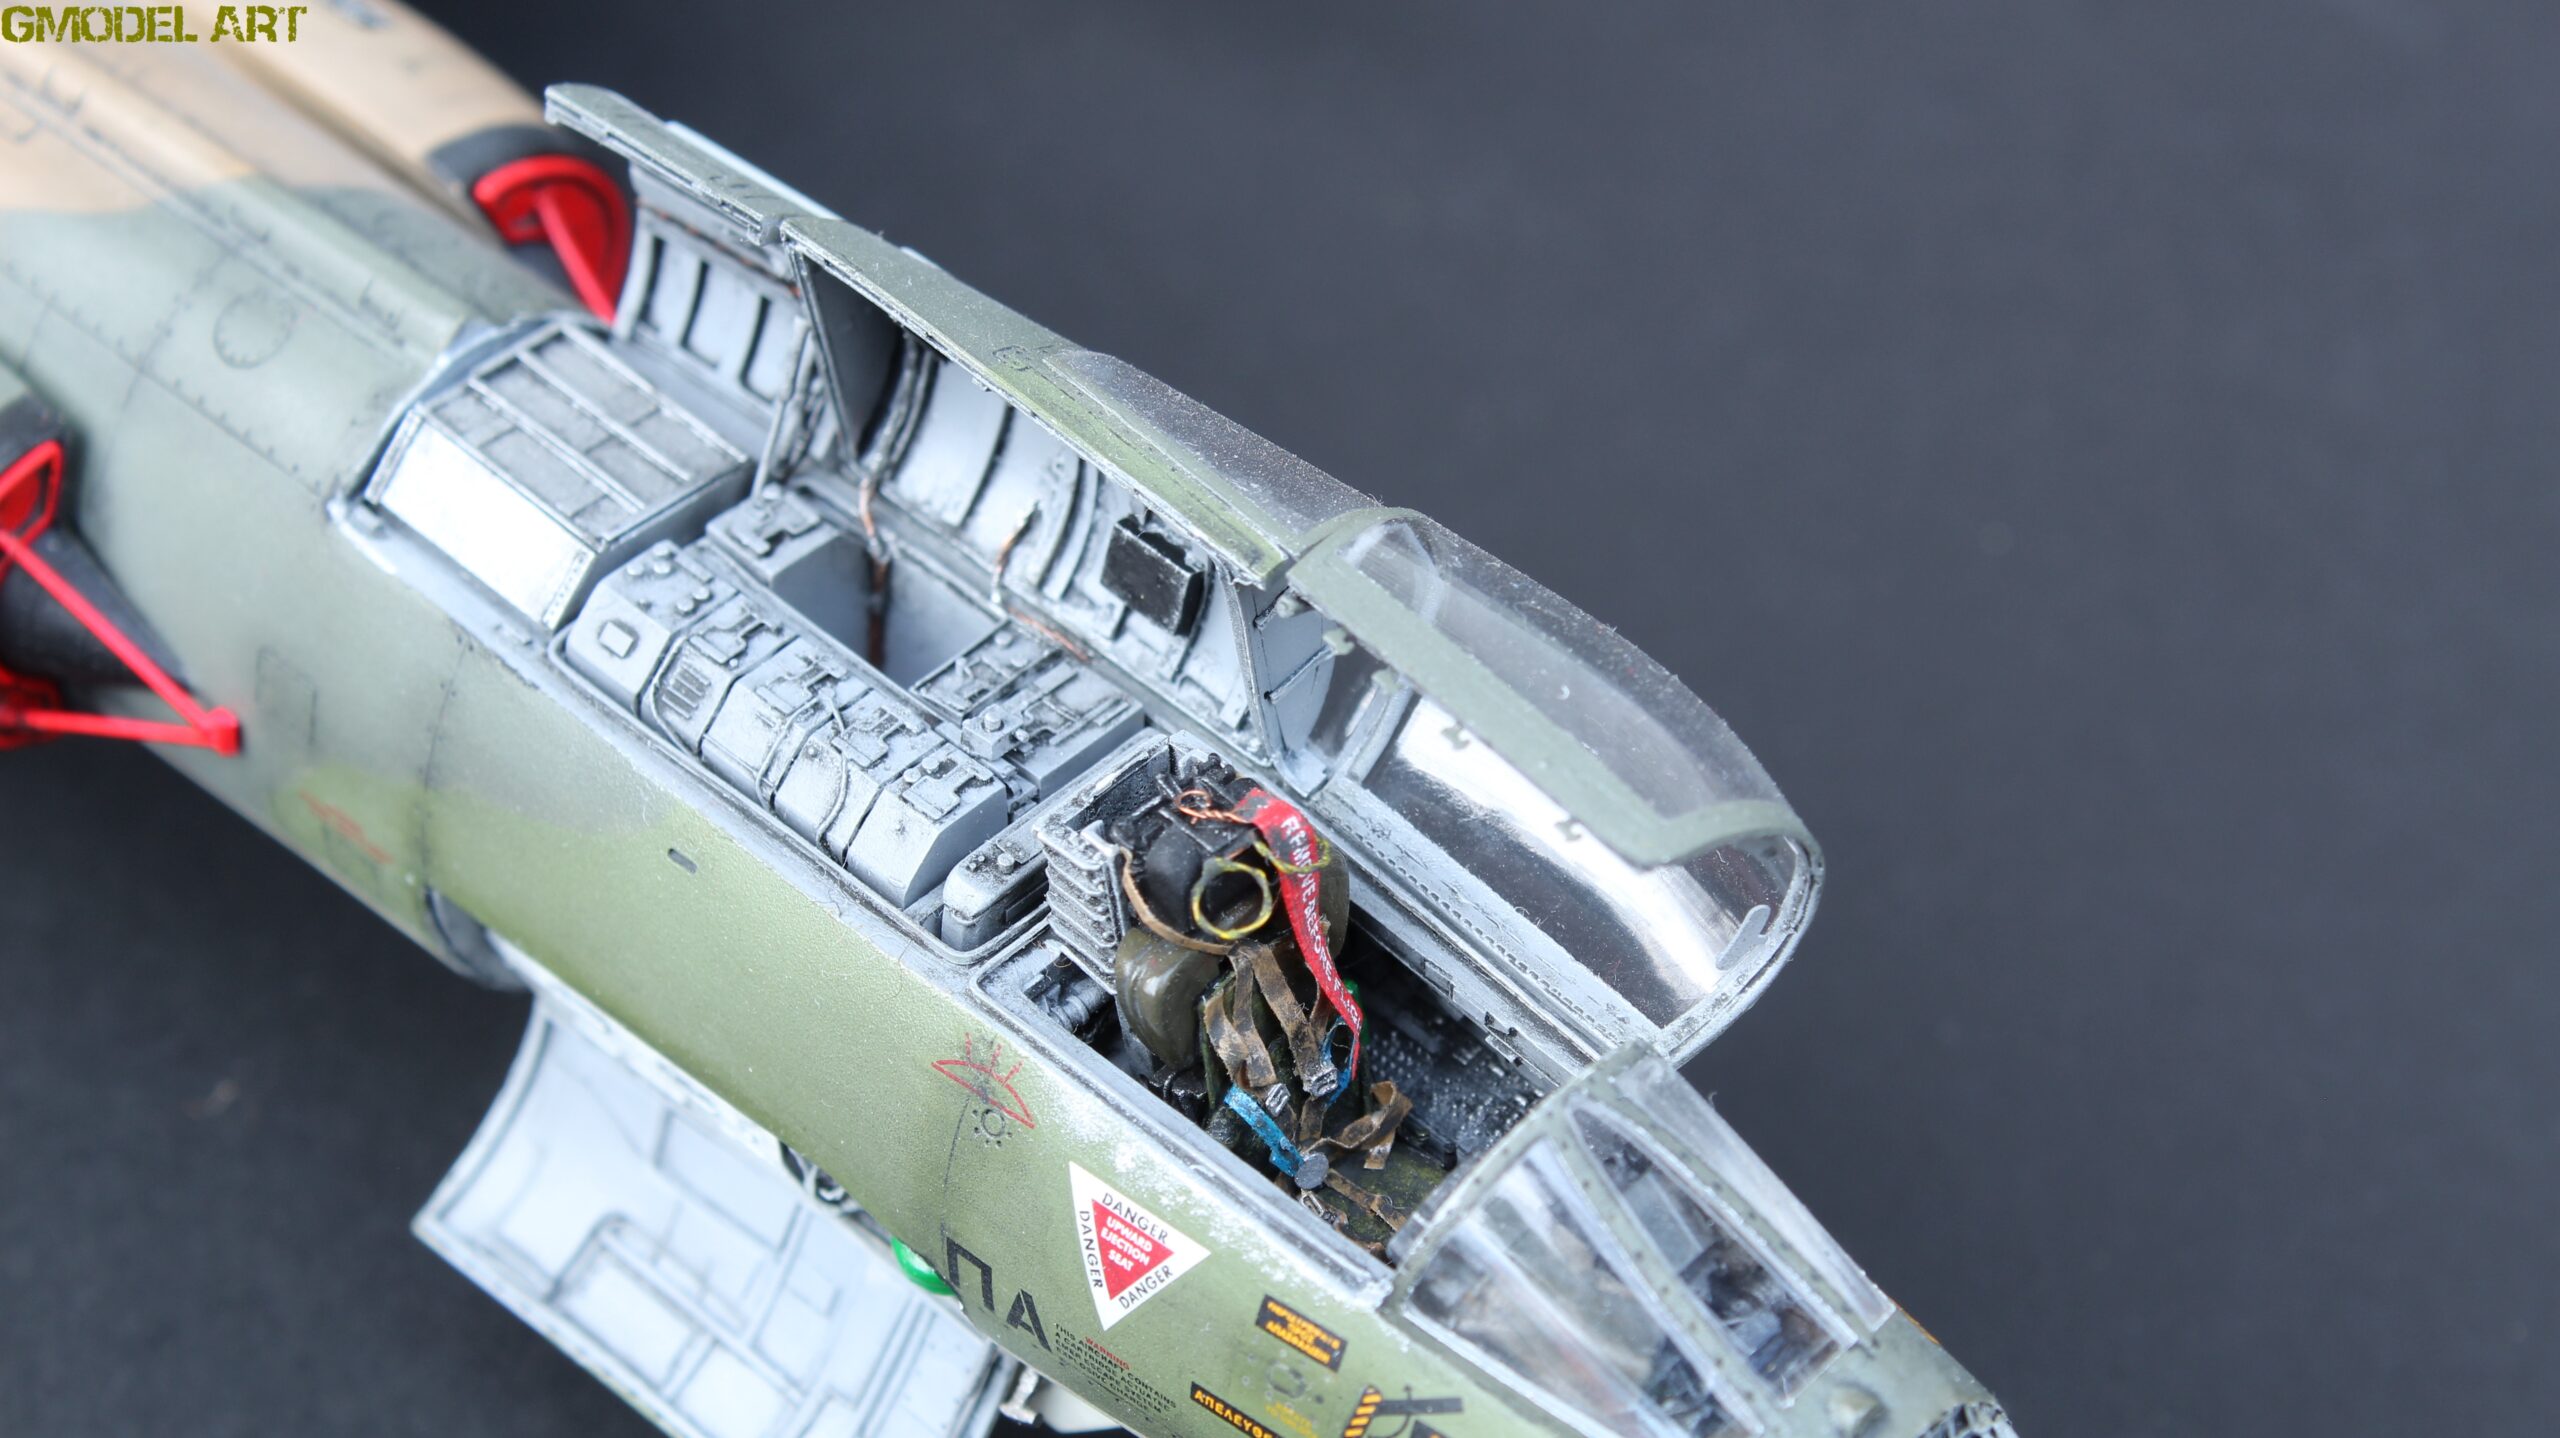
Resin ejection seat
Resin radar components
Electronic equipment behind the cockpit
Additional electronic boxes
Resin engine components
CMK photo-etched details
Additional scratch-built wiring
Icarus Decals
The purpose of these additions was not simply to add aftermarket parts for the sake of it. The goal was to improve the areas that would remain particularly visible on the finished model, especially the cockpit, radar, engine area and landing gear bays.
Cockpit and Electronics
As with many of my builds, construction began with the cockpit.
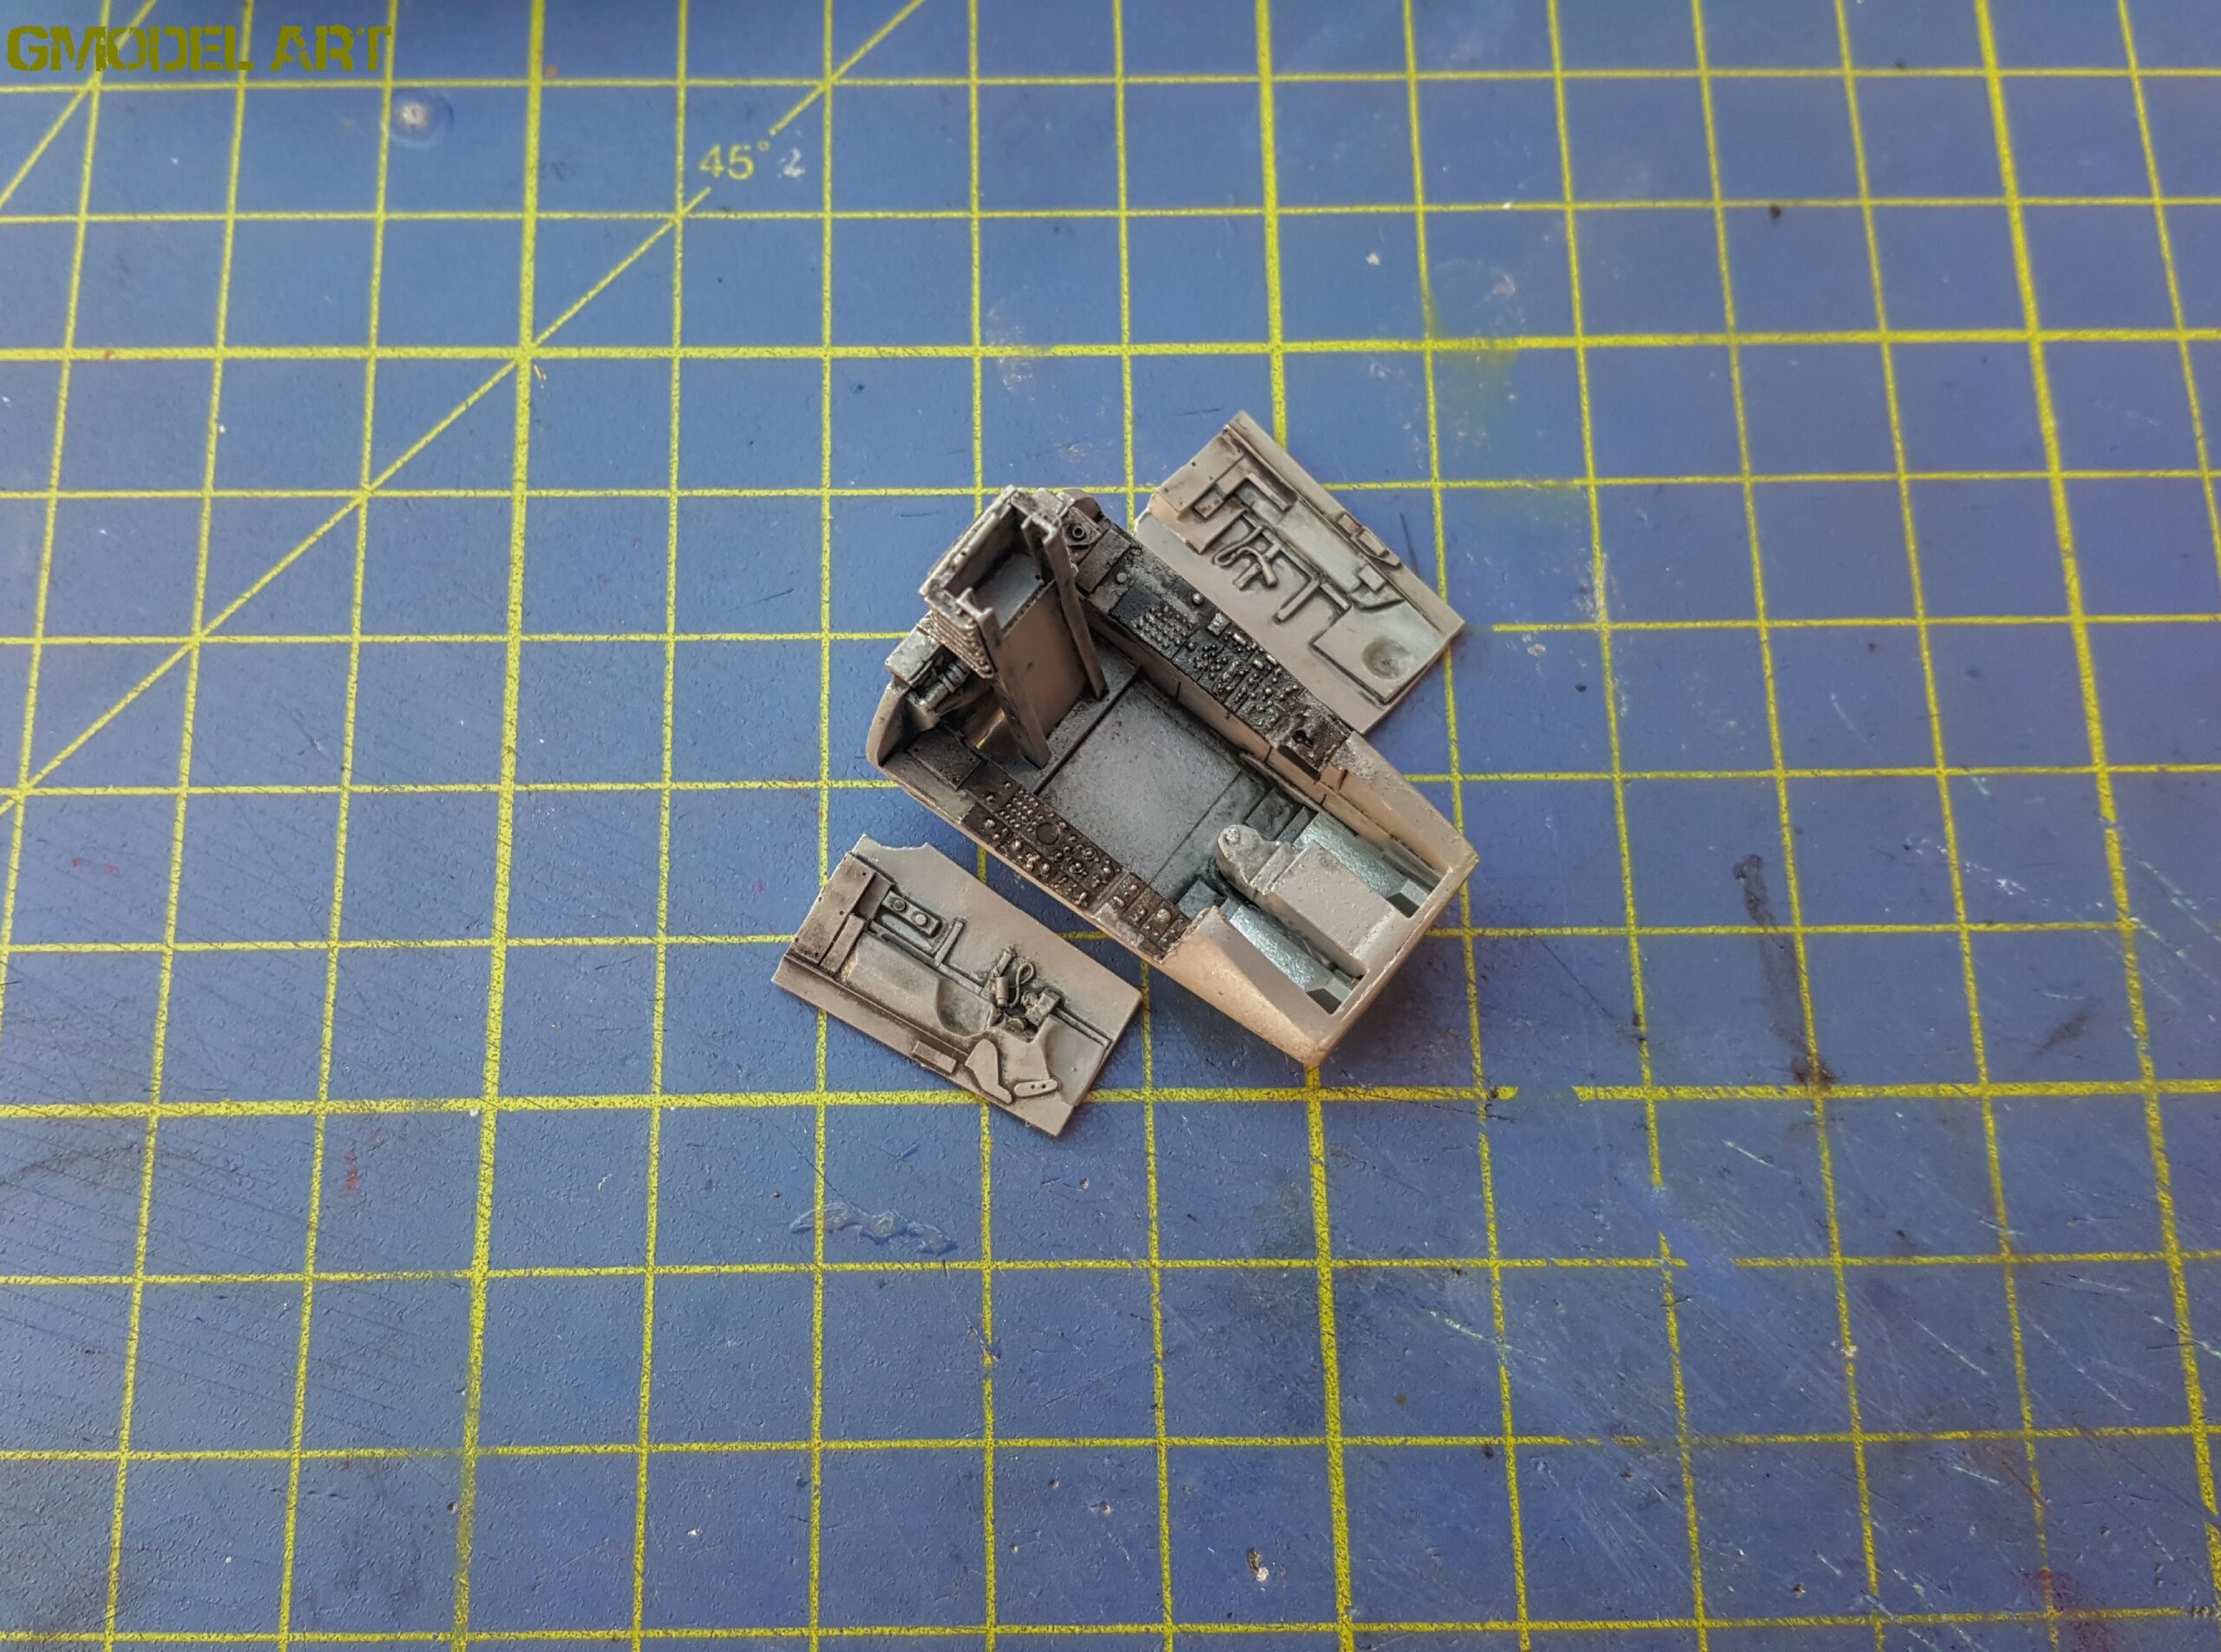
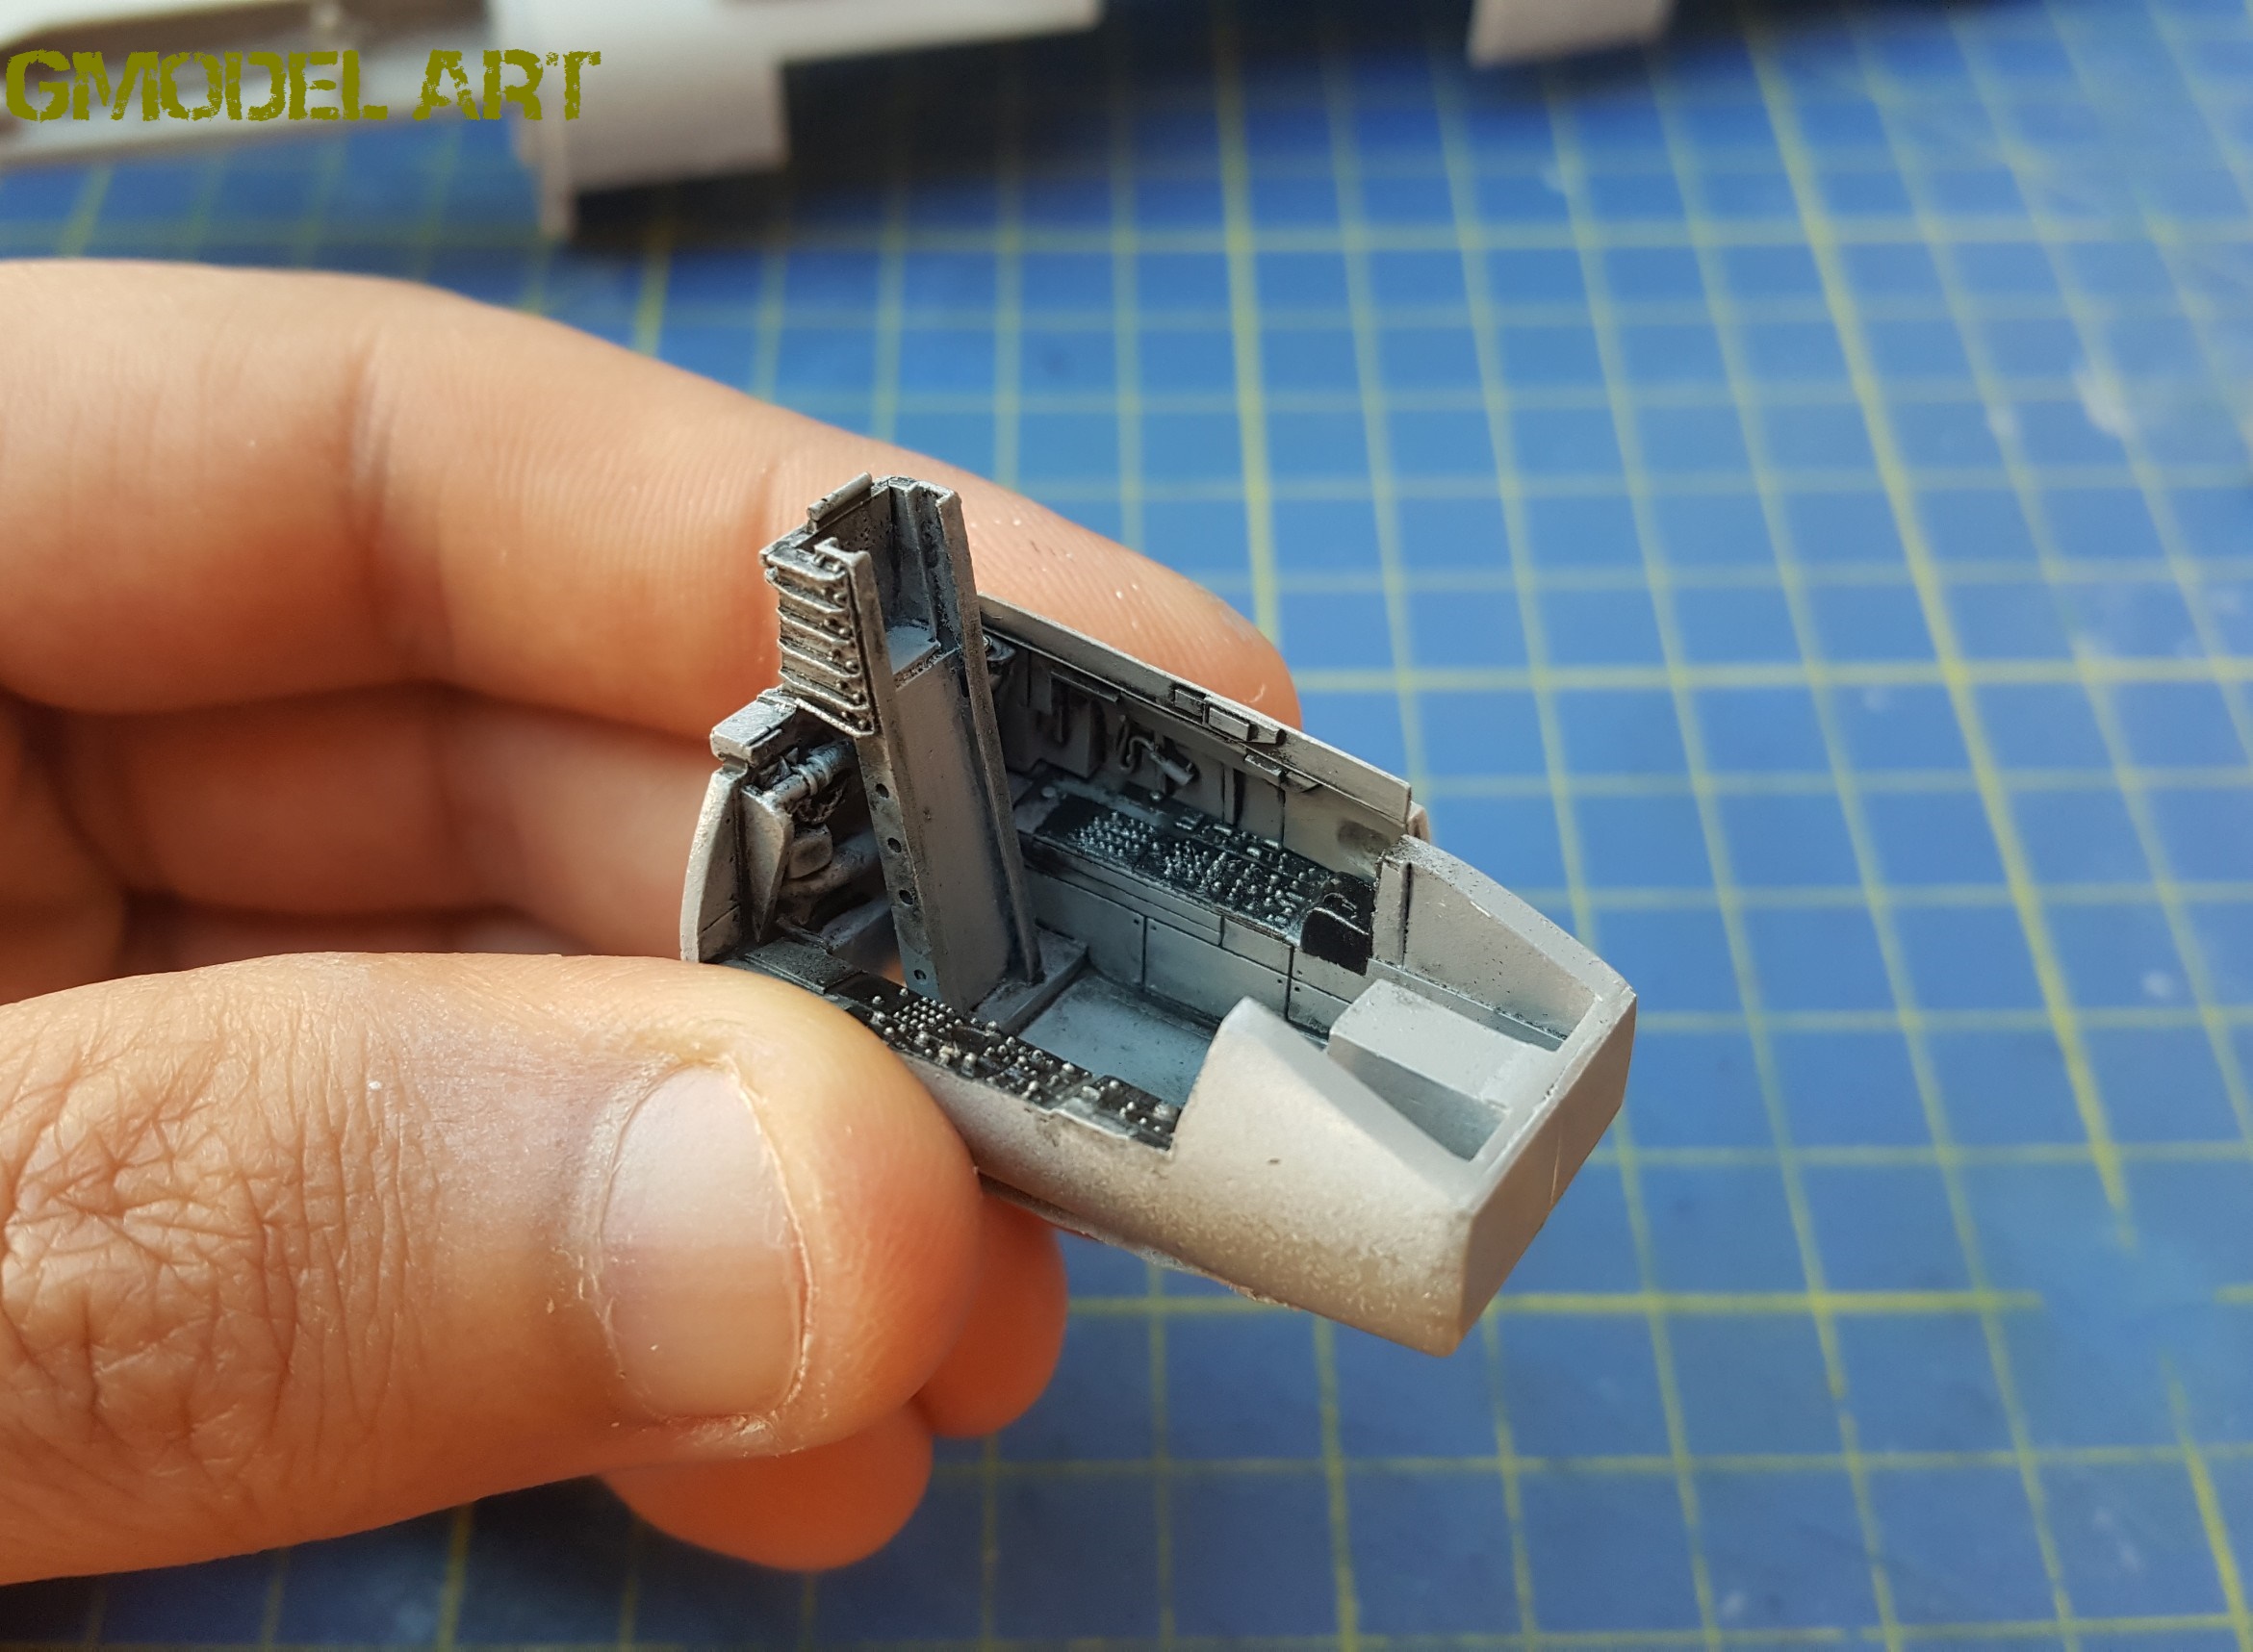
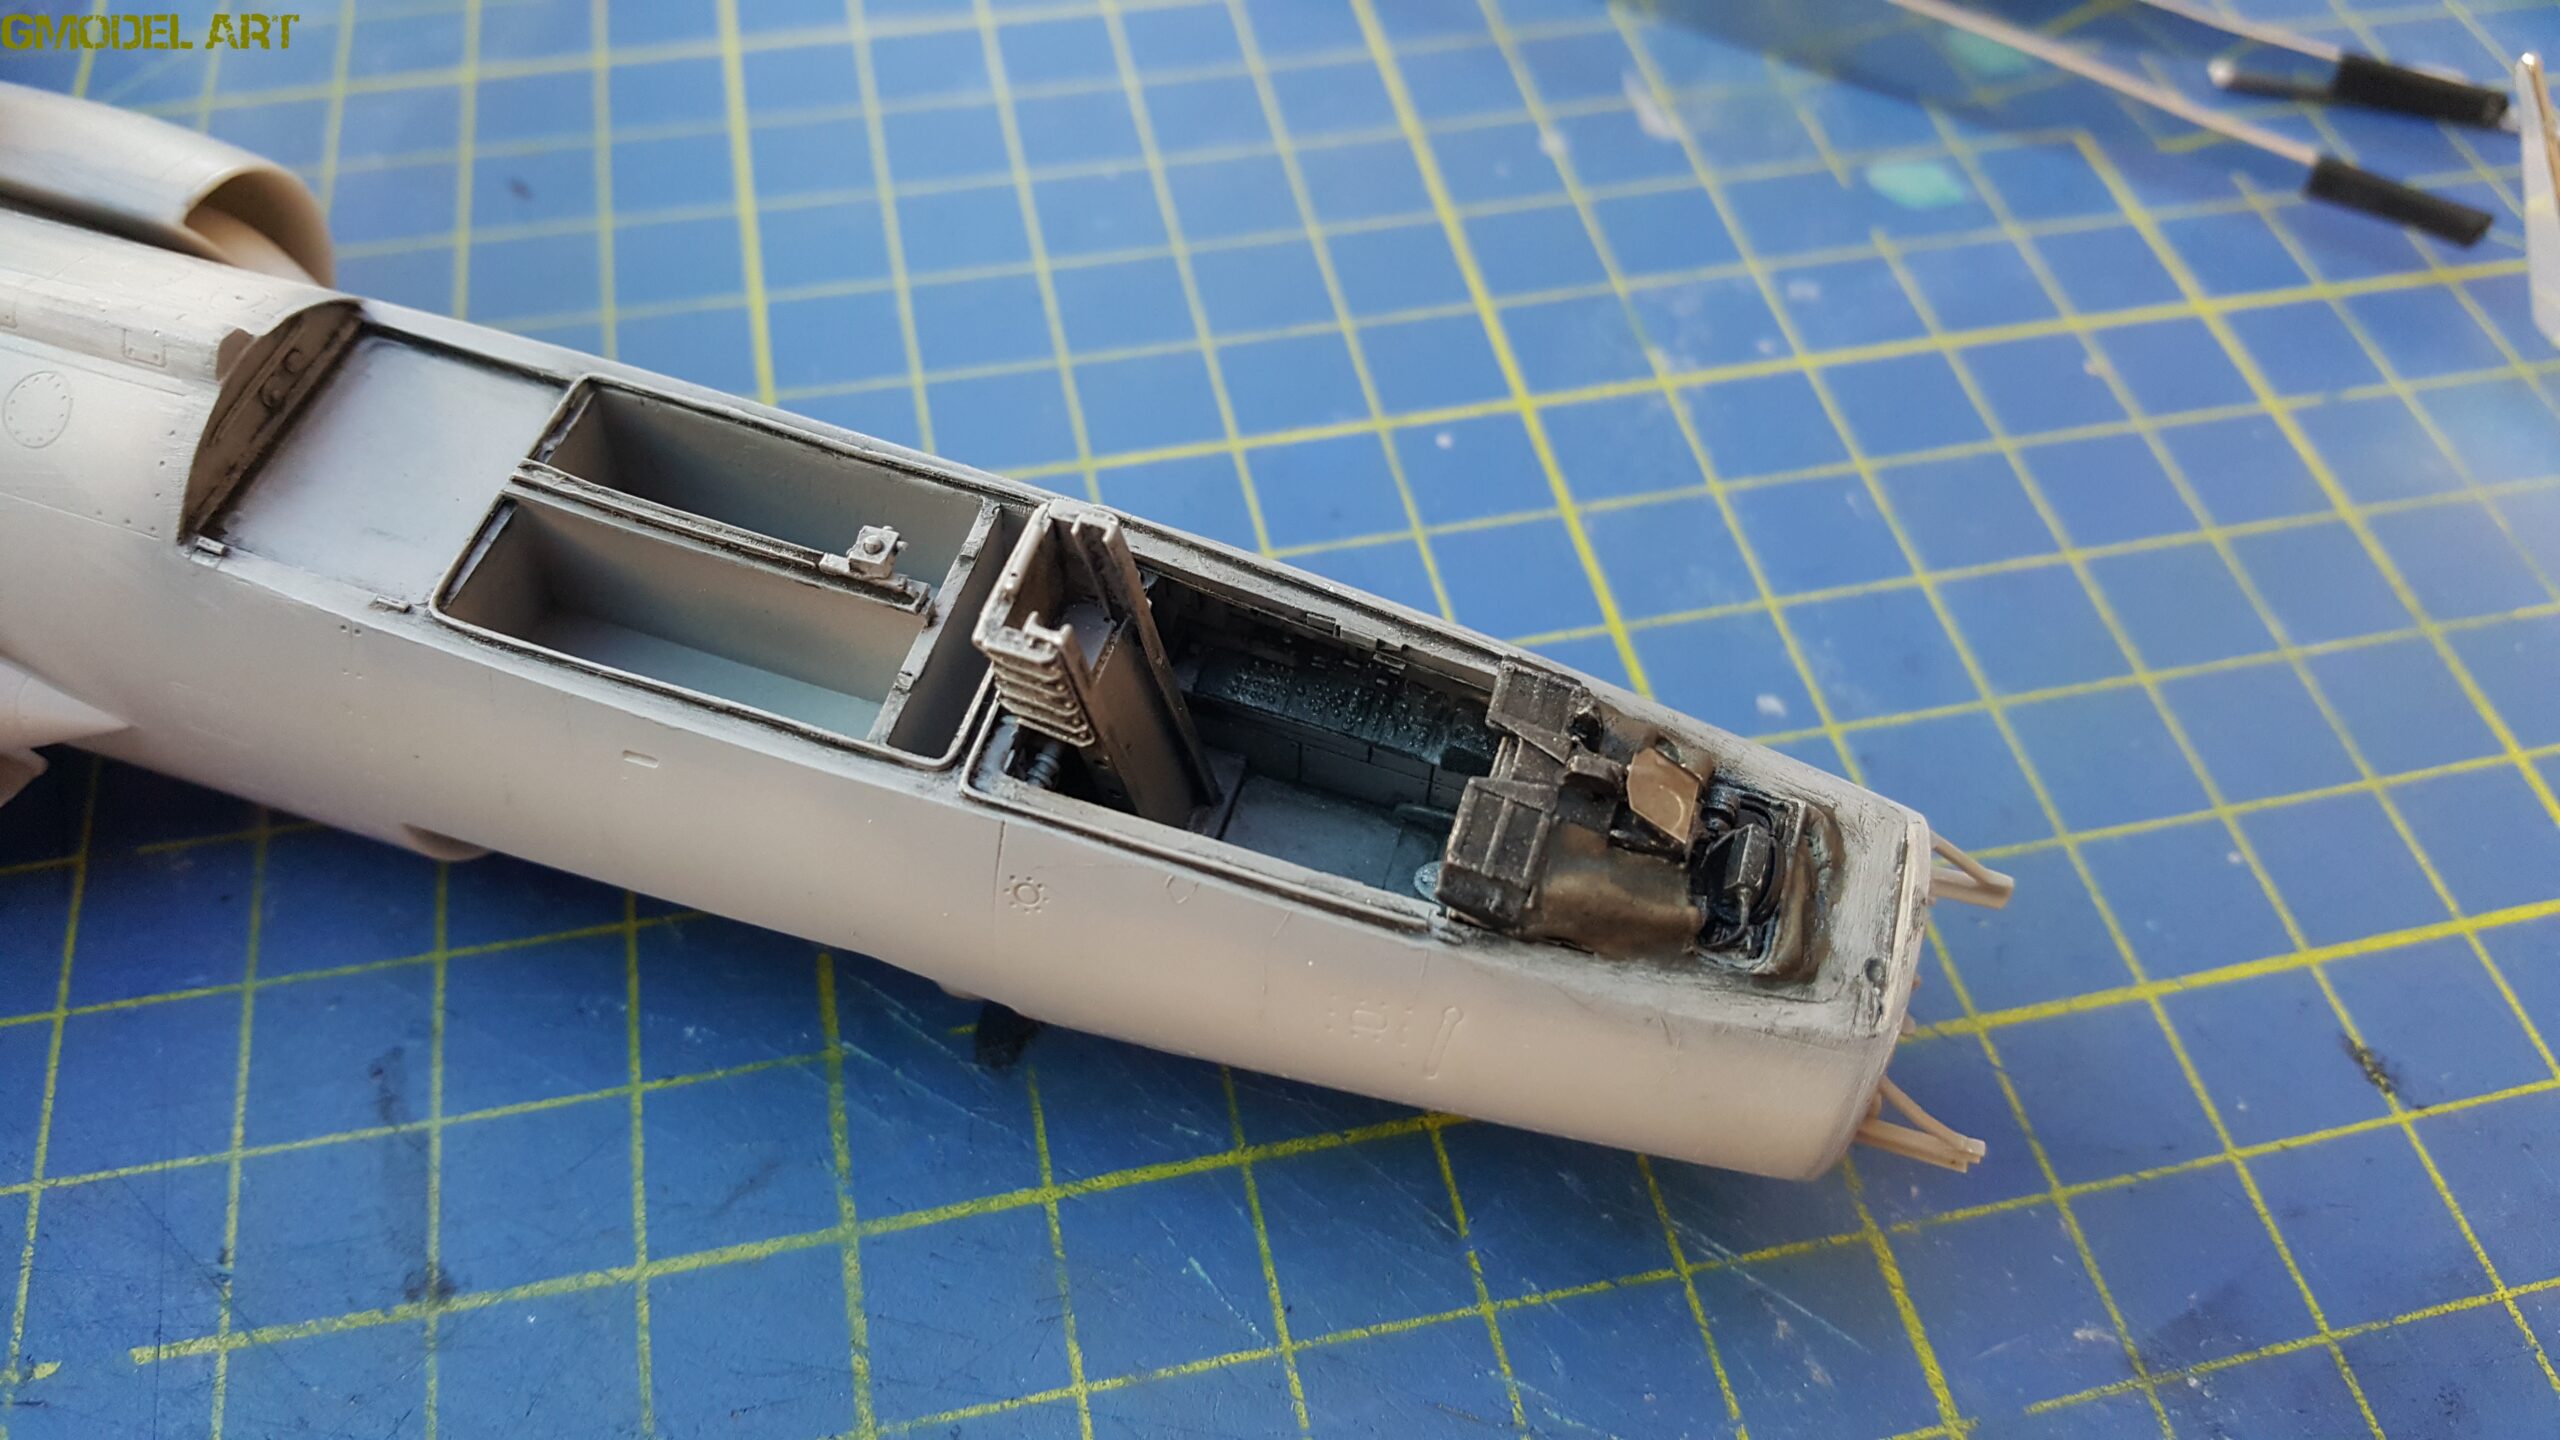
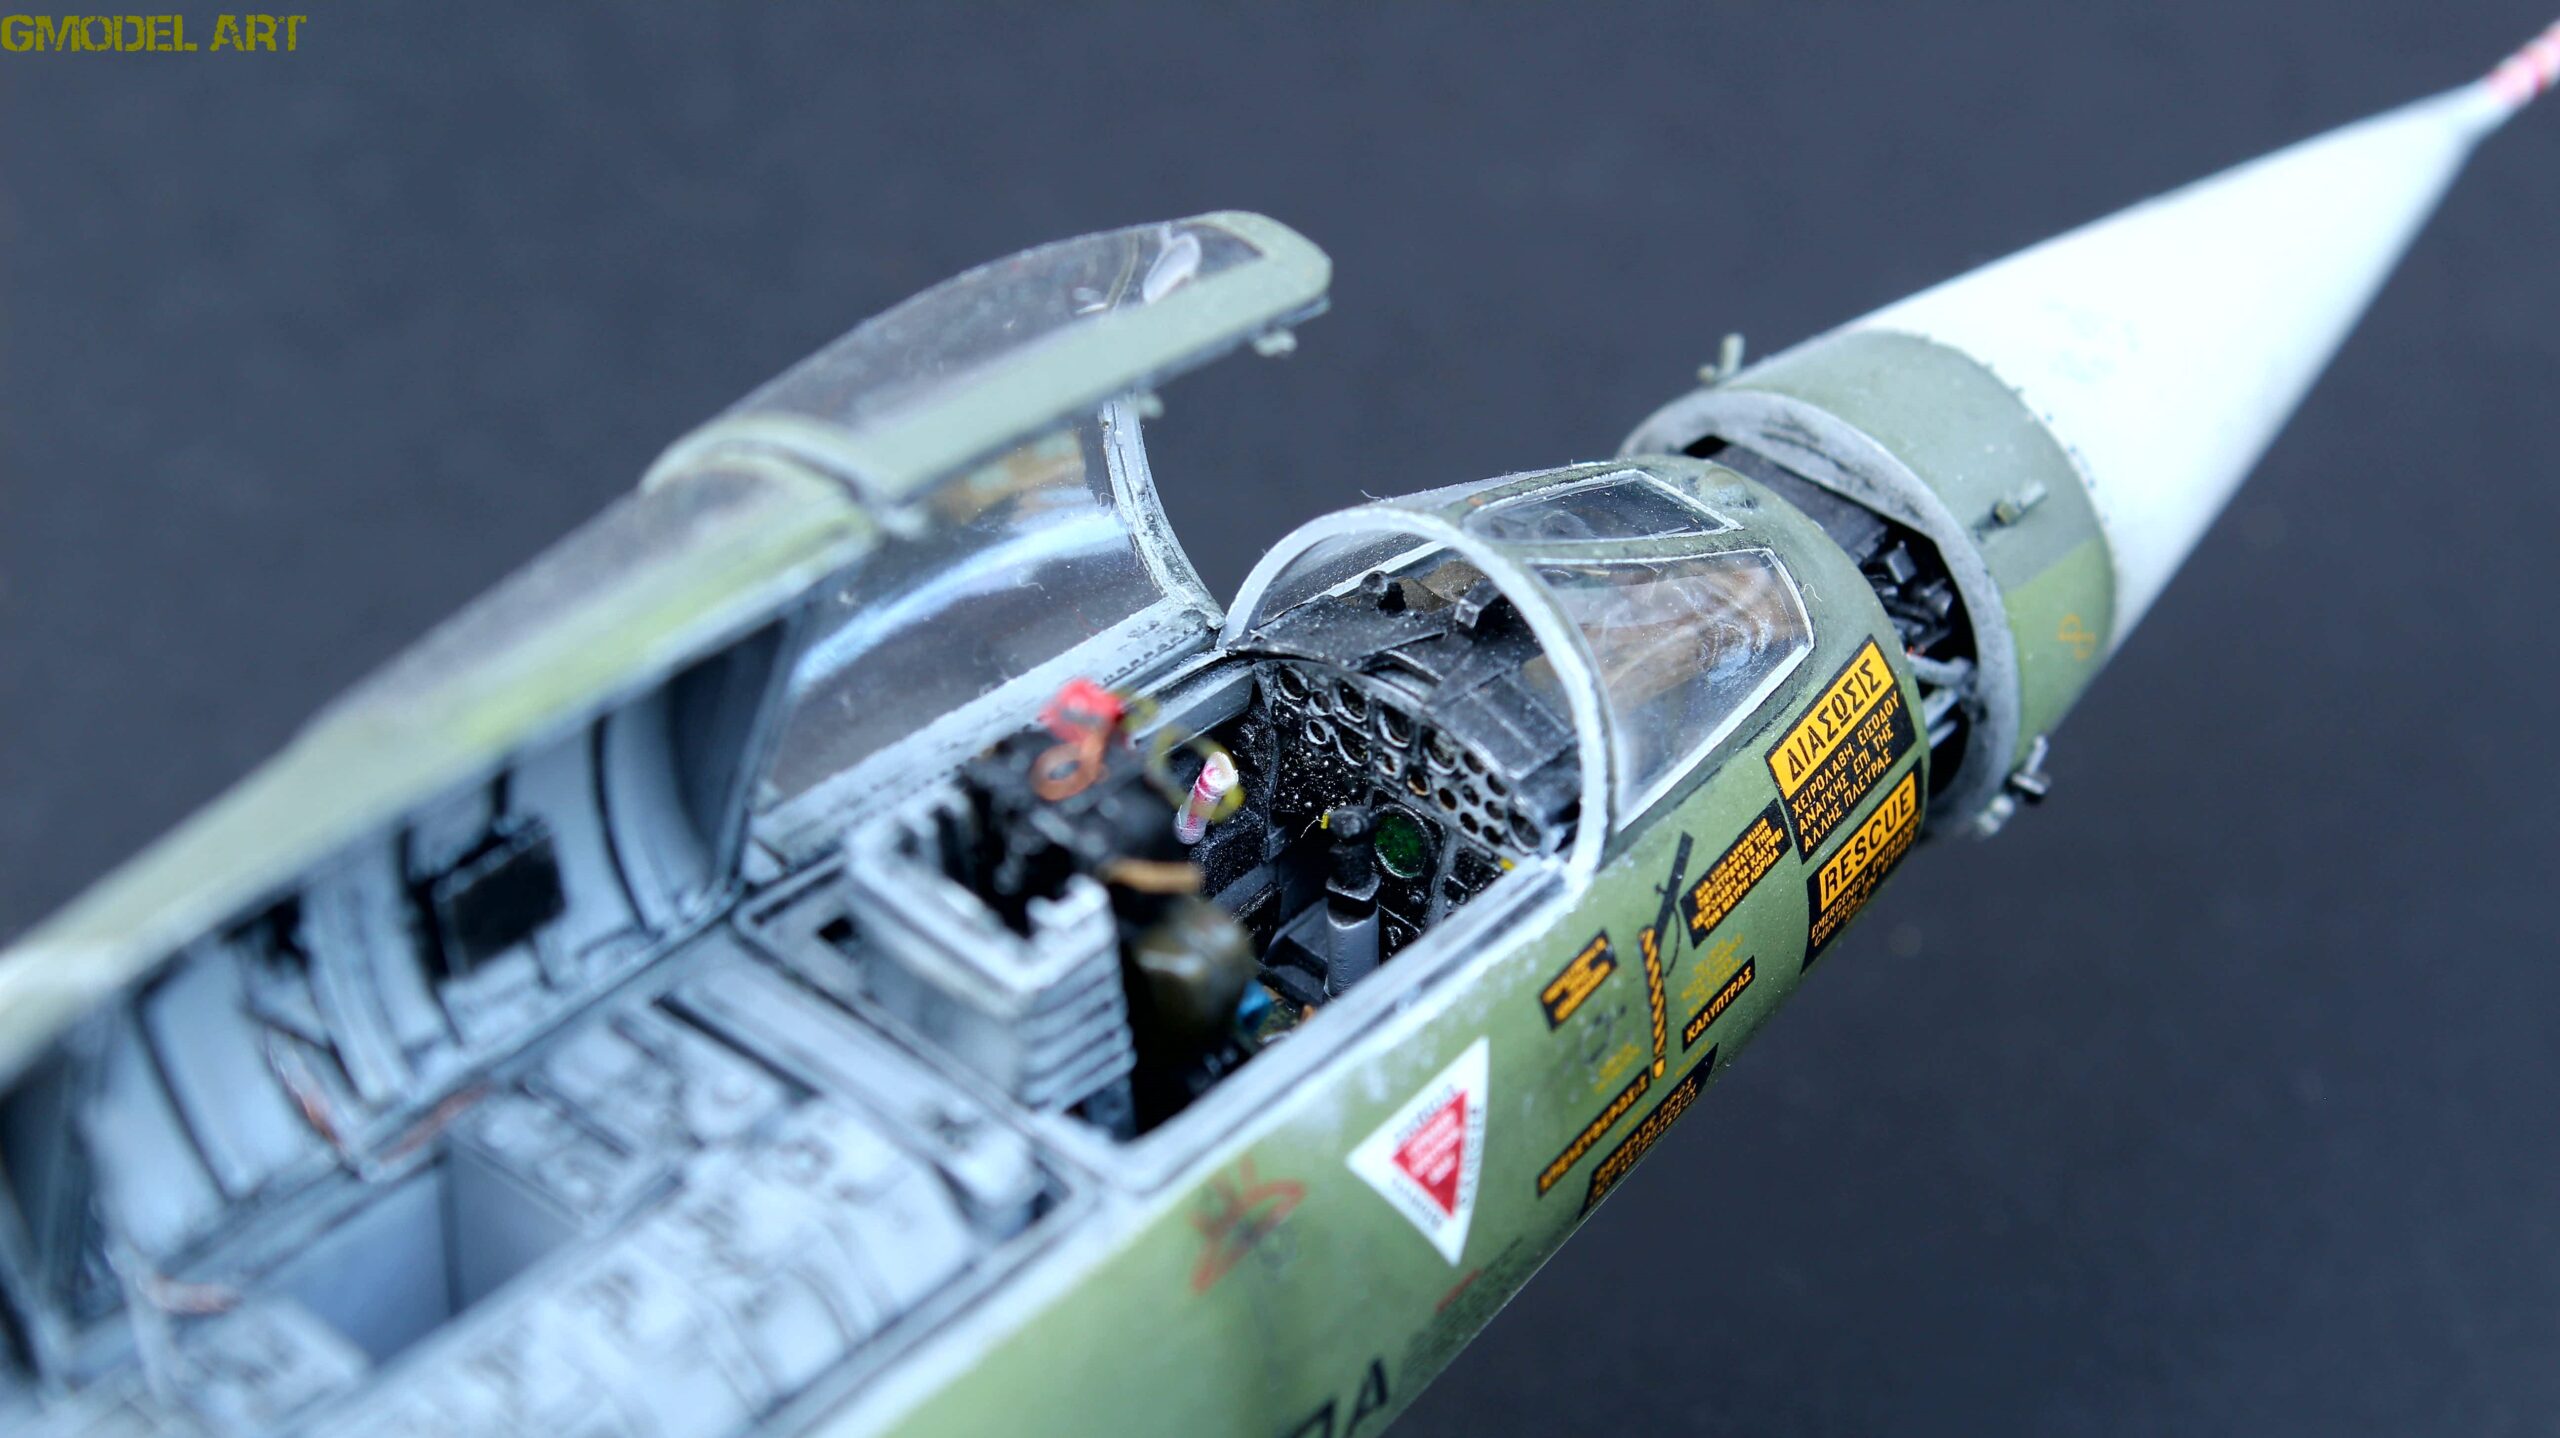
The first priority was to make sure that the resin cockpit fitted correctly inside the Hasegawa fuselage. The same attention was given to the electronic equipment installed behind the cockpit. The resin components required some adjustment and careful fitting before they could be positioned correctly.
Once the main resin components were in place, I added further internal details using parts from the CMK photo-etched set.
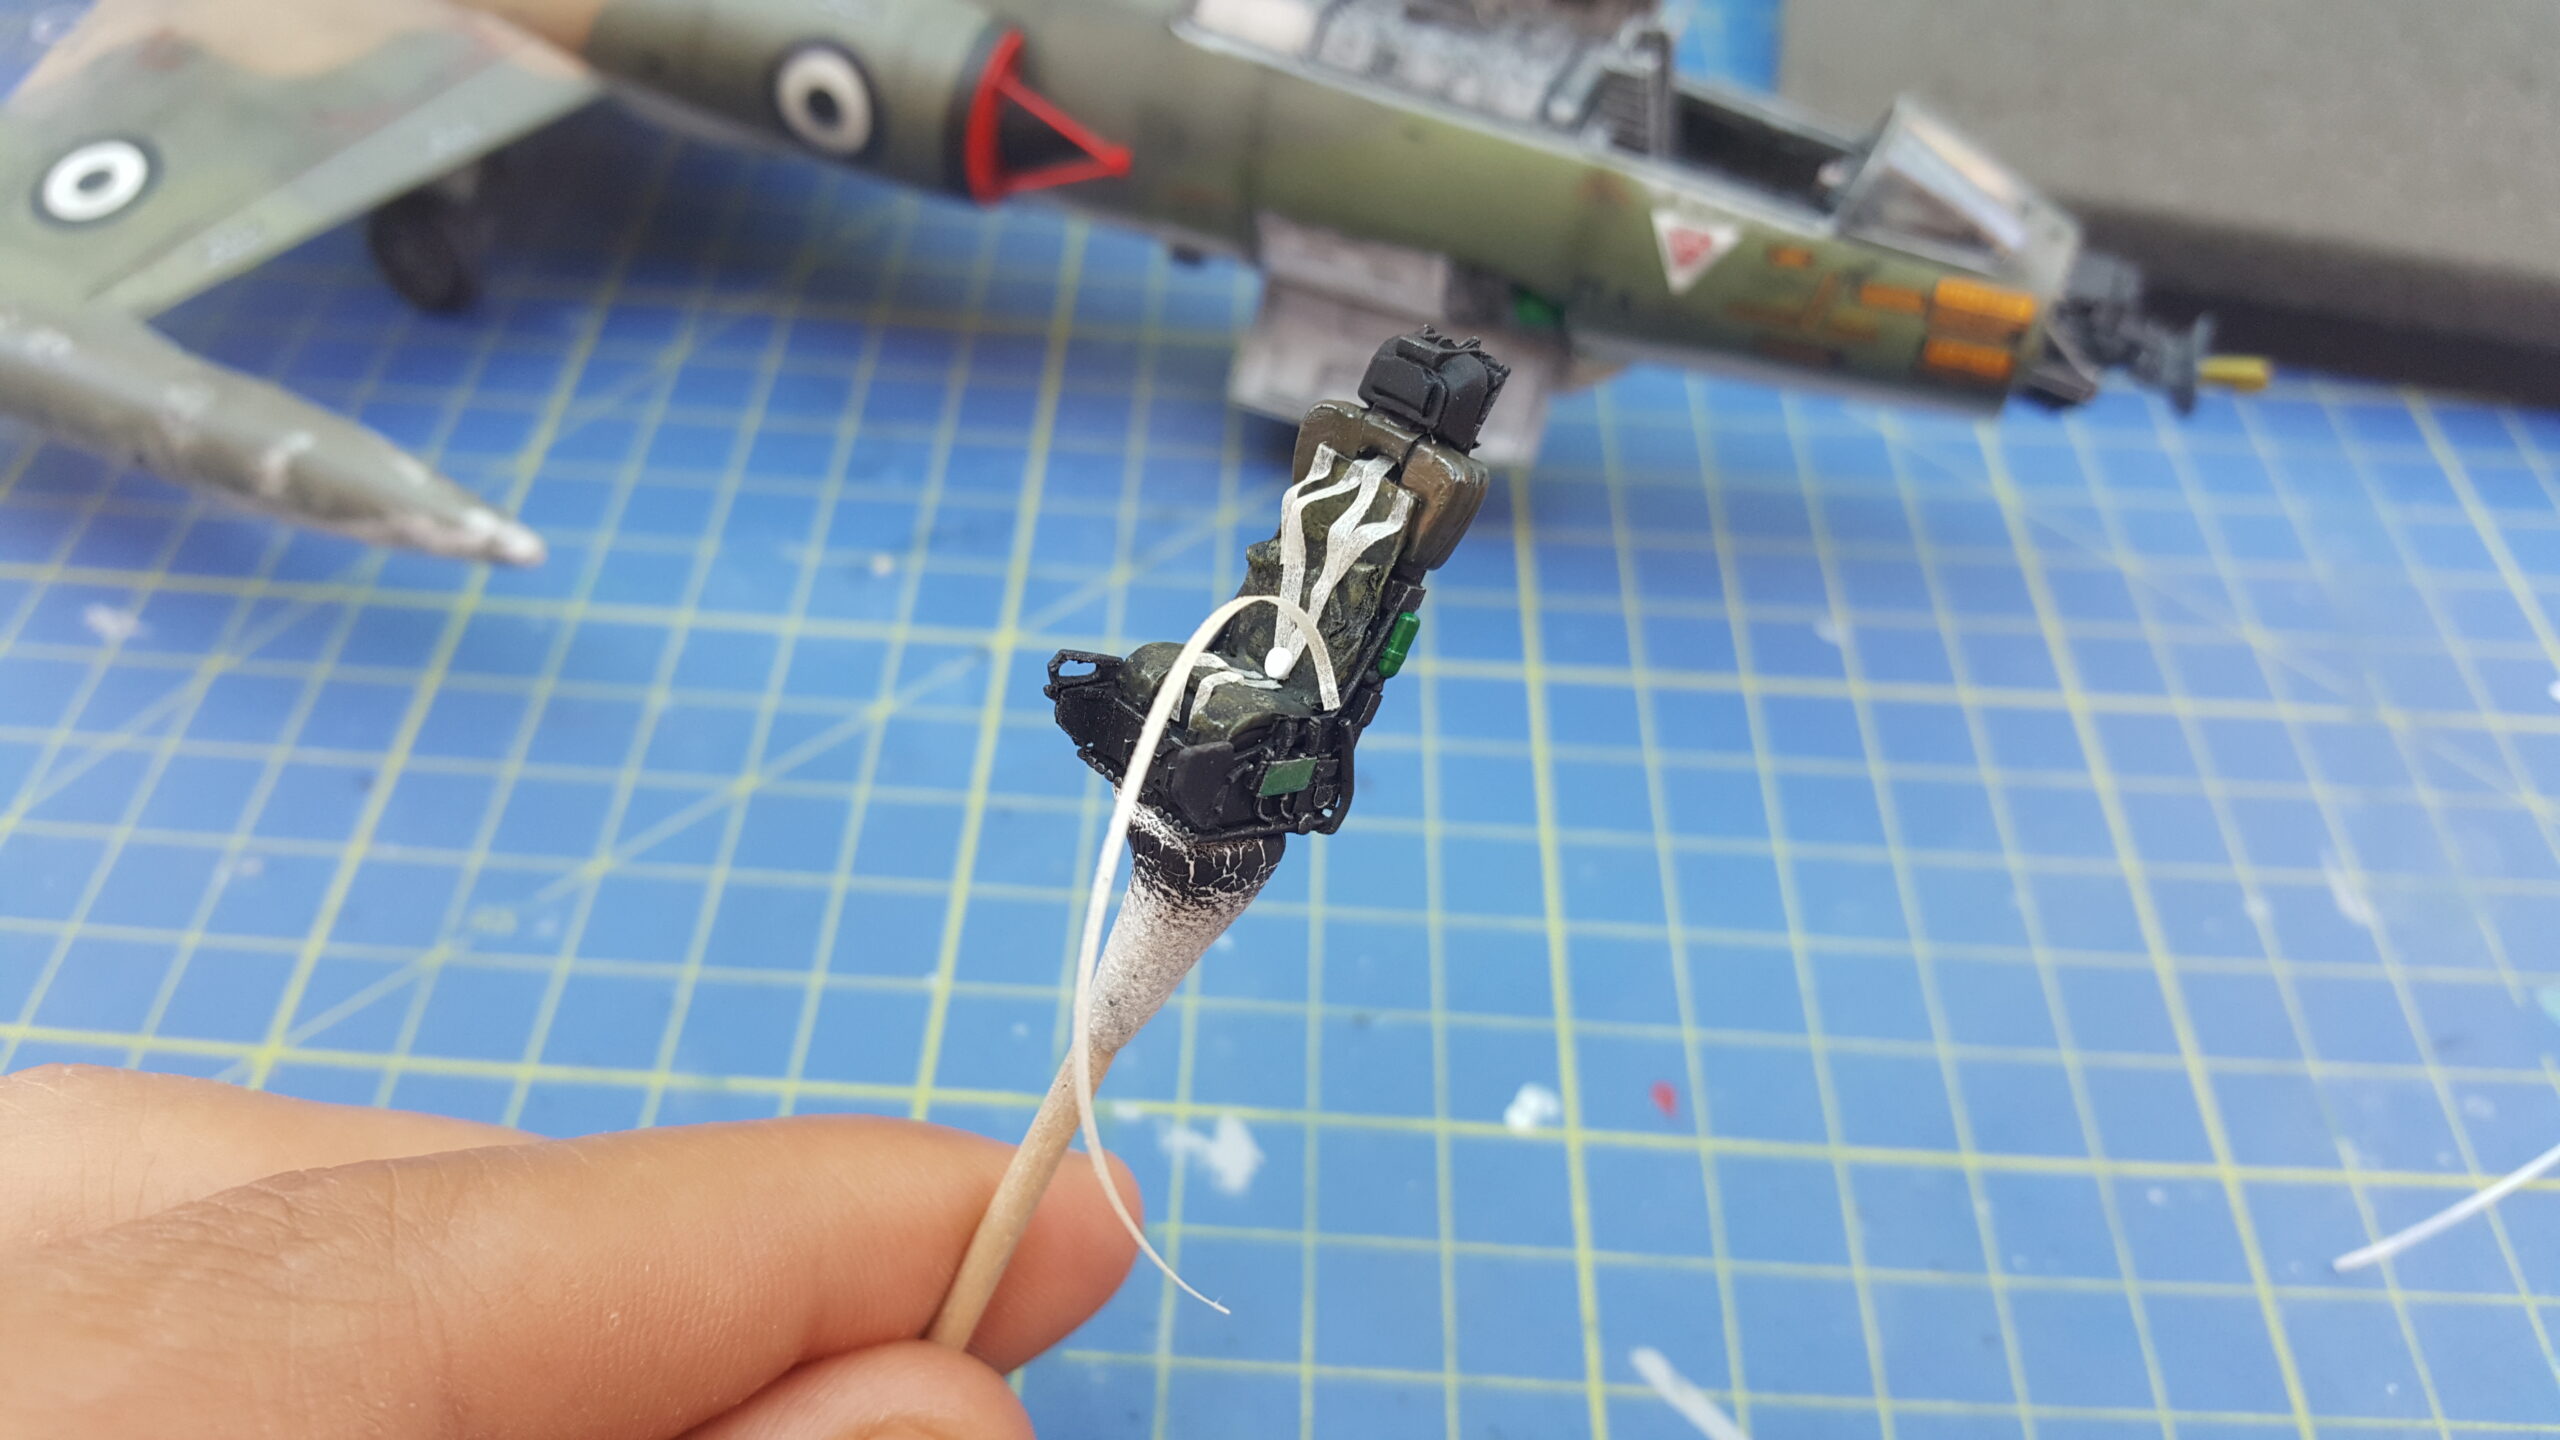
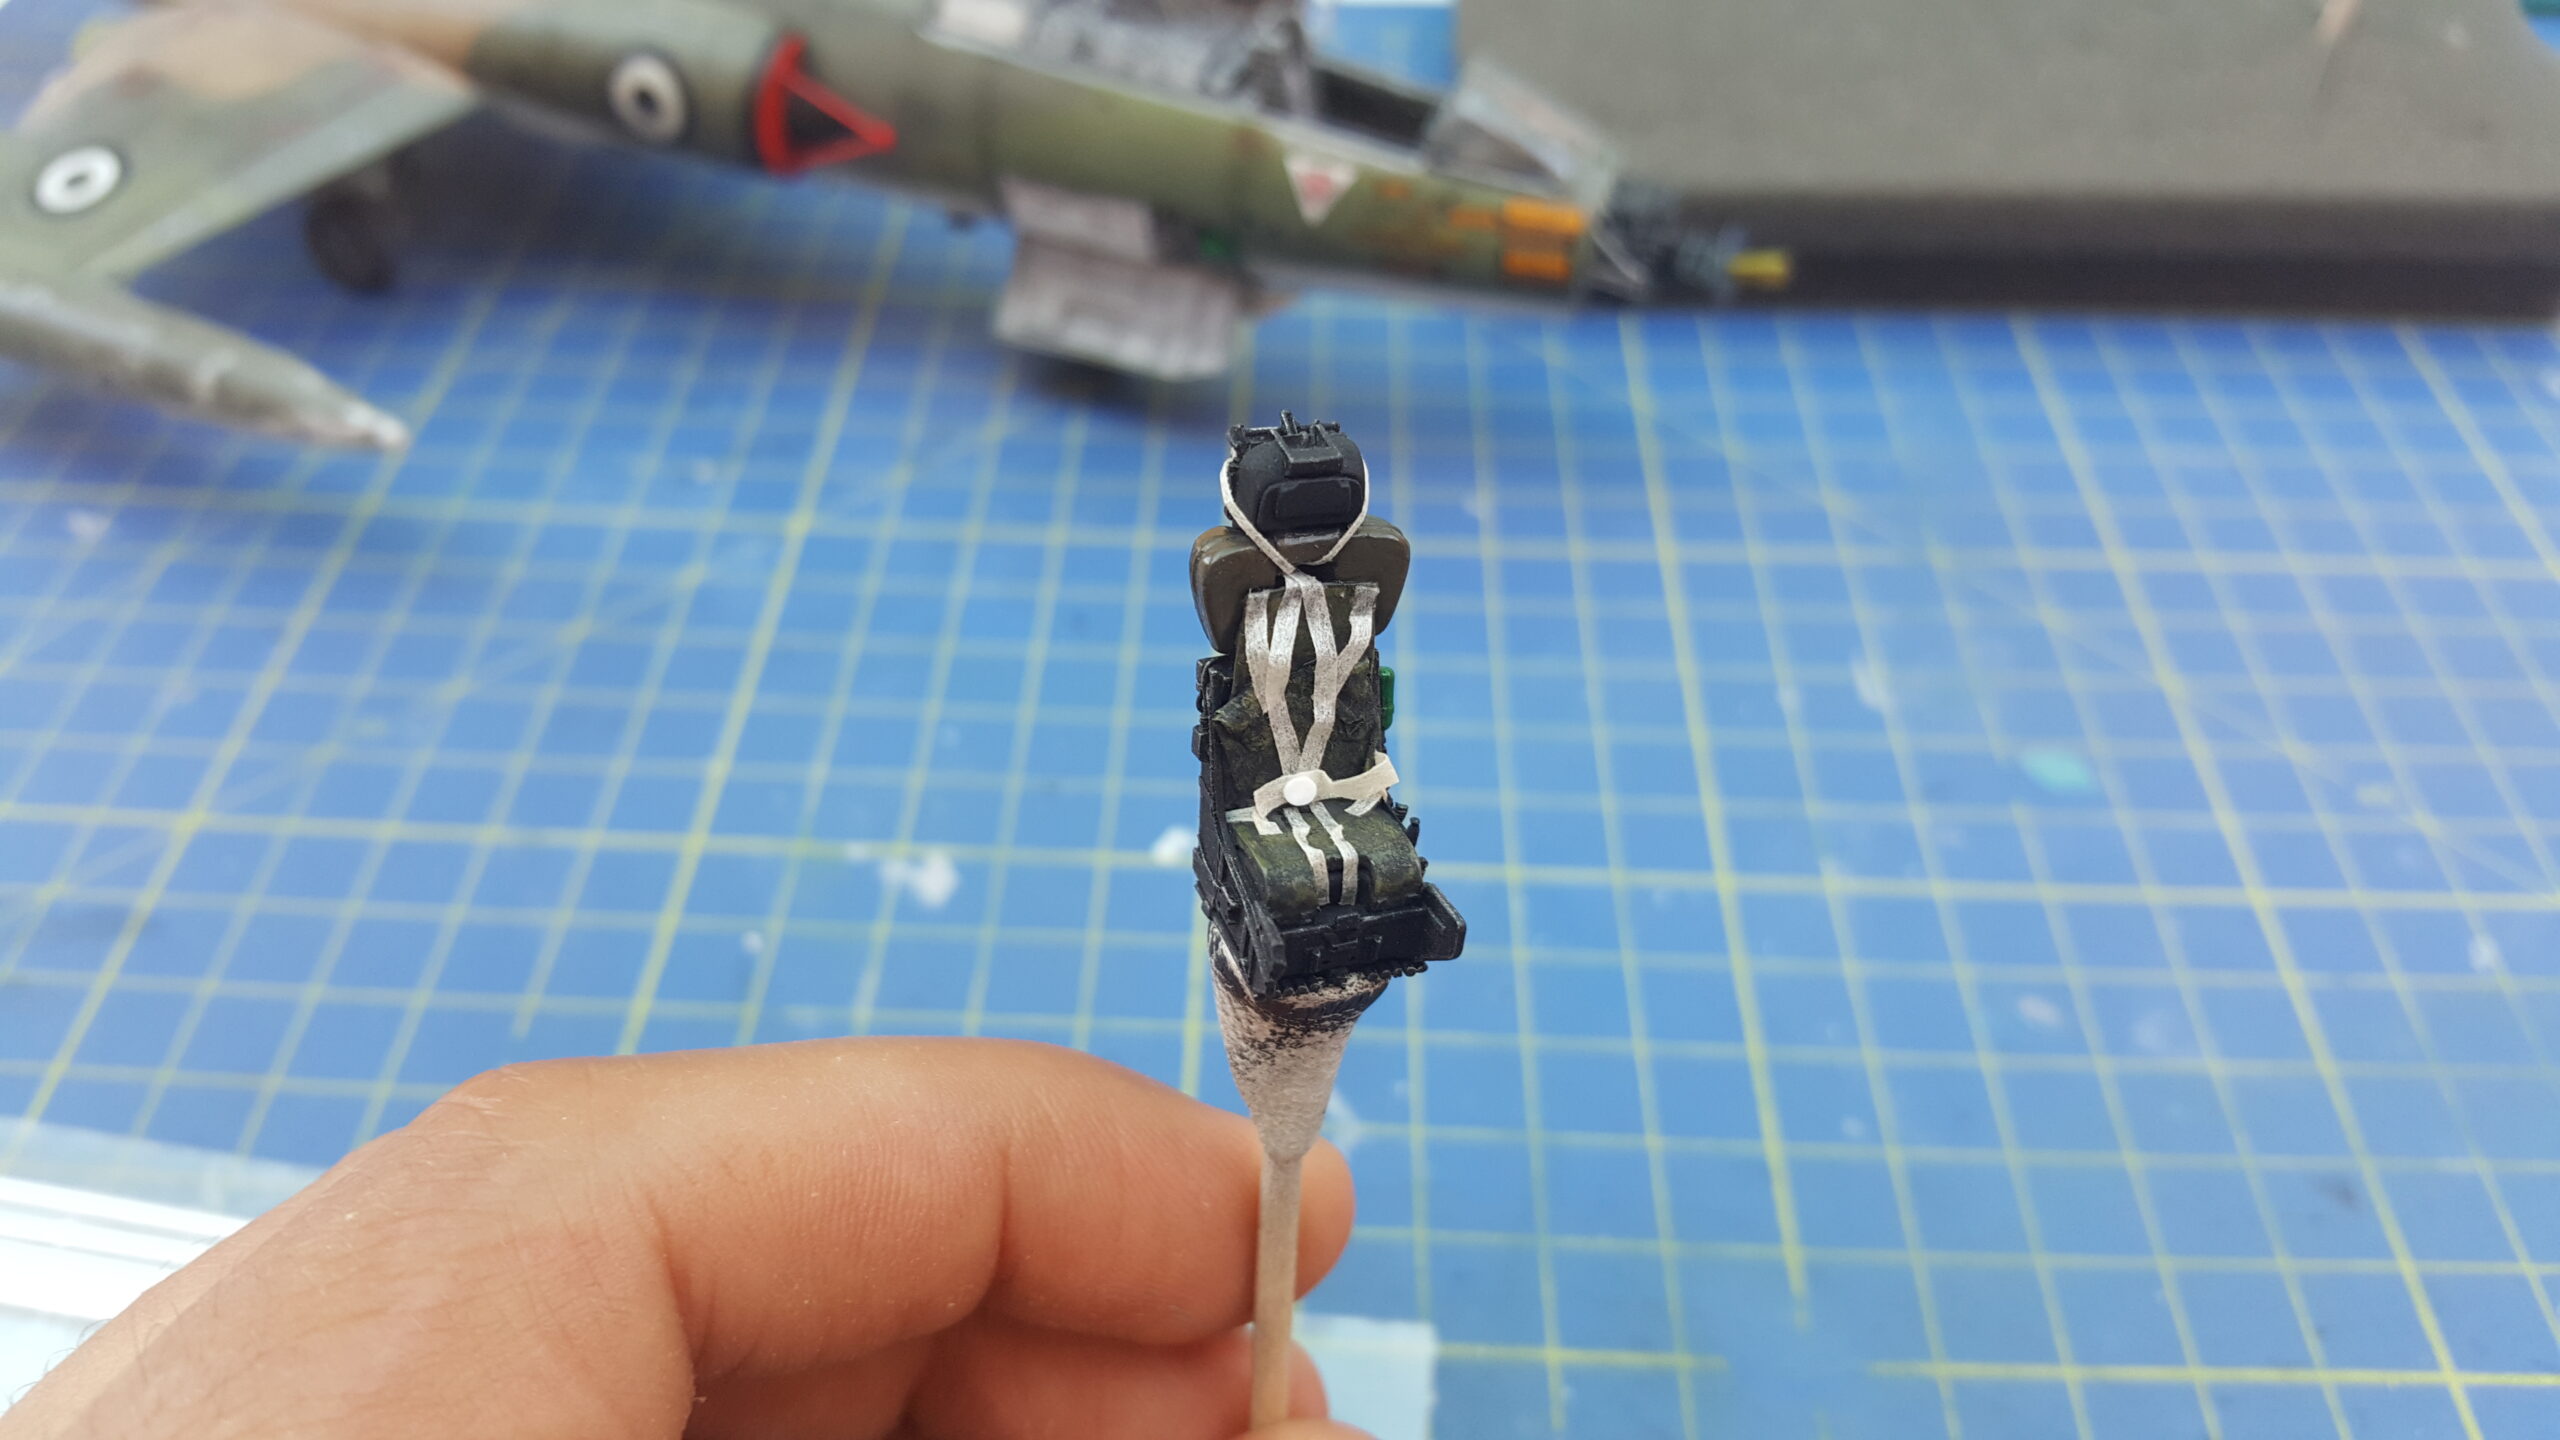
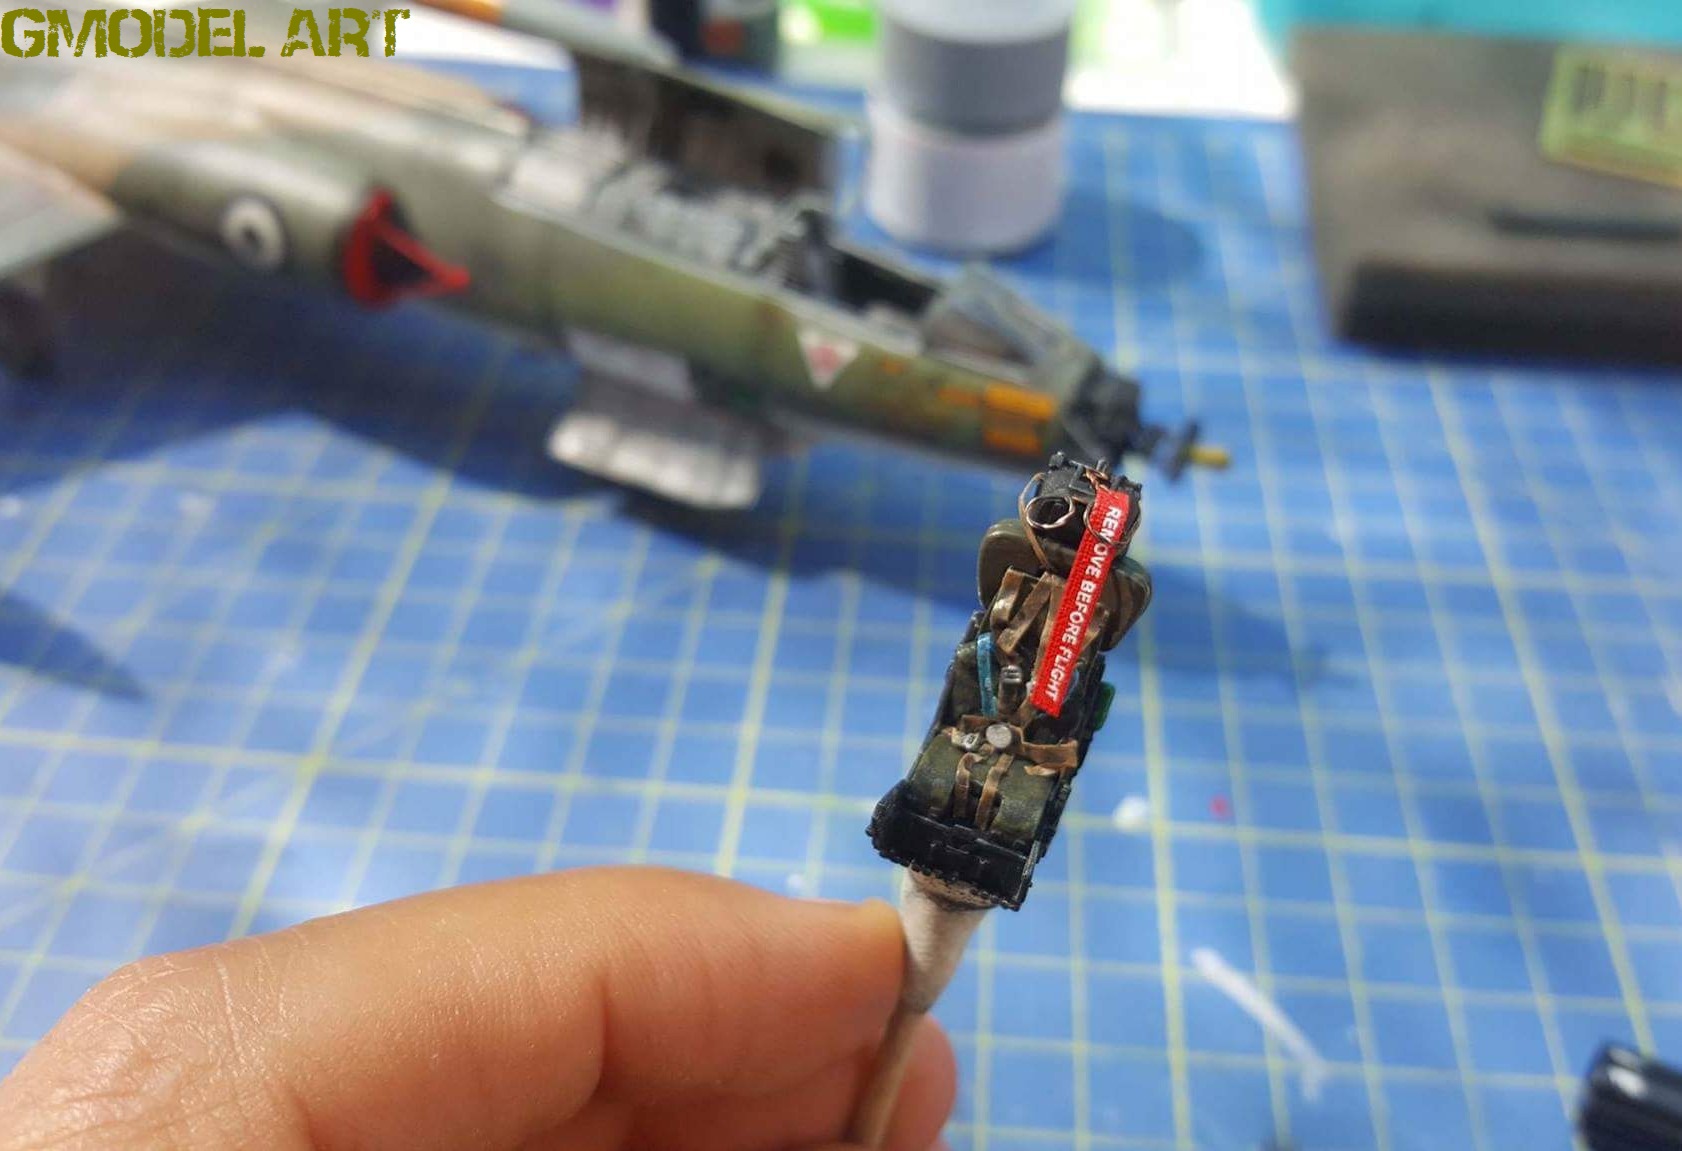
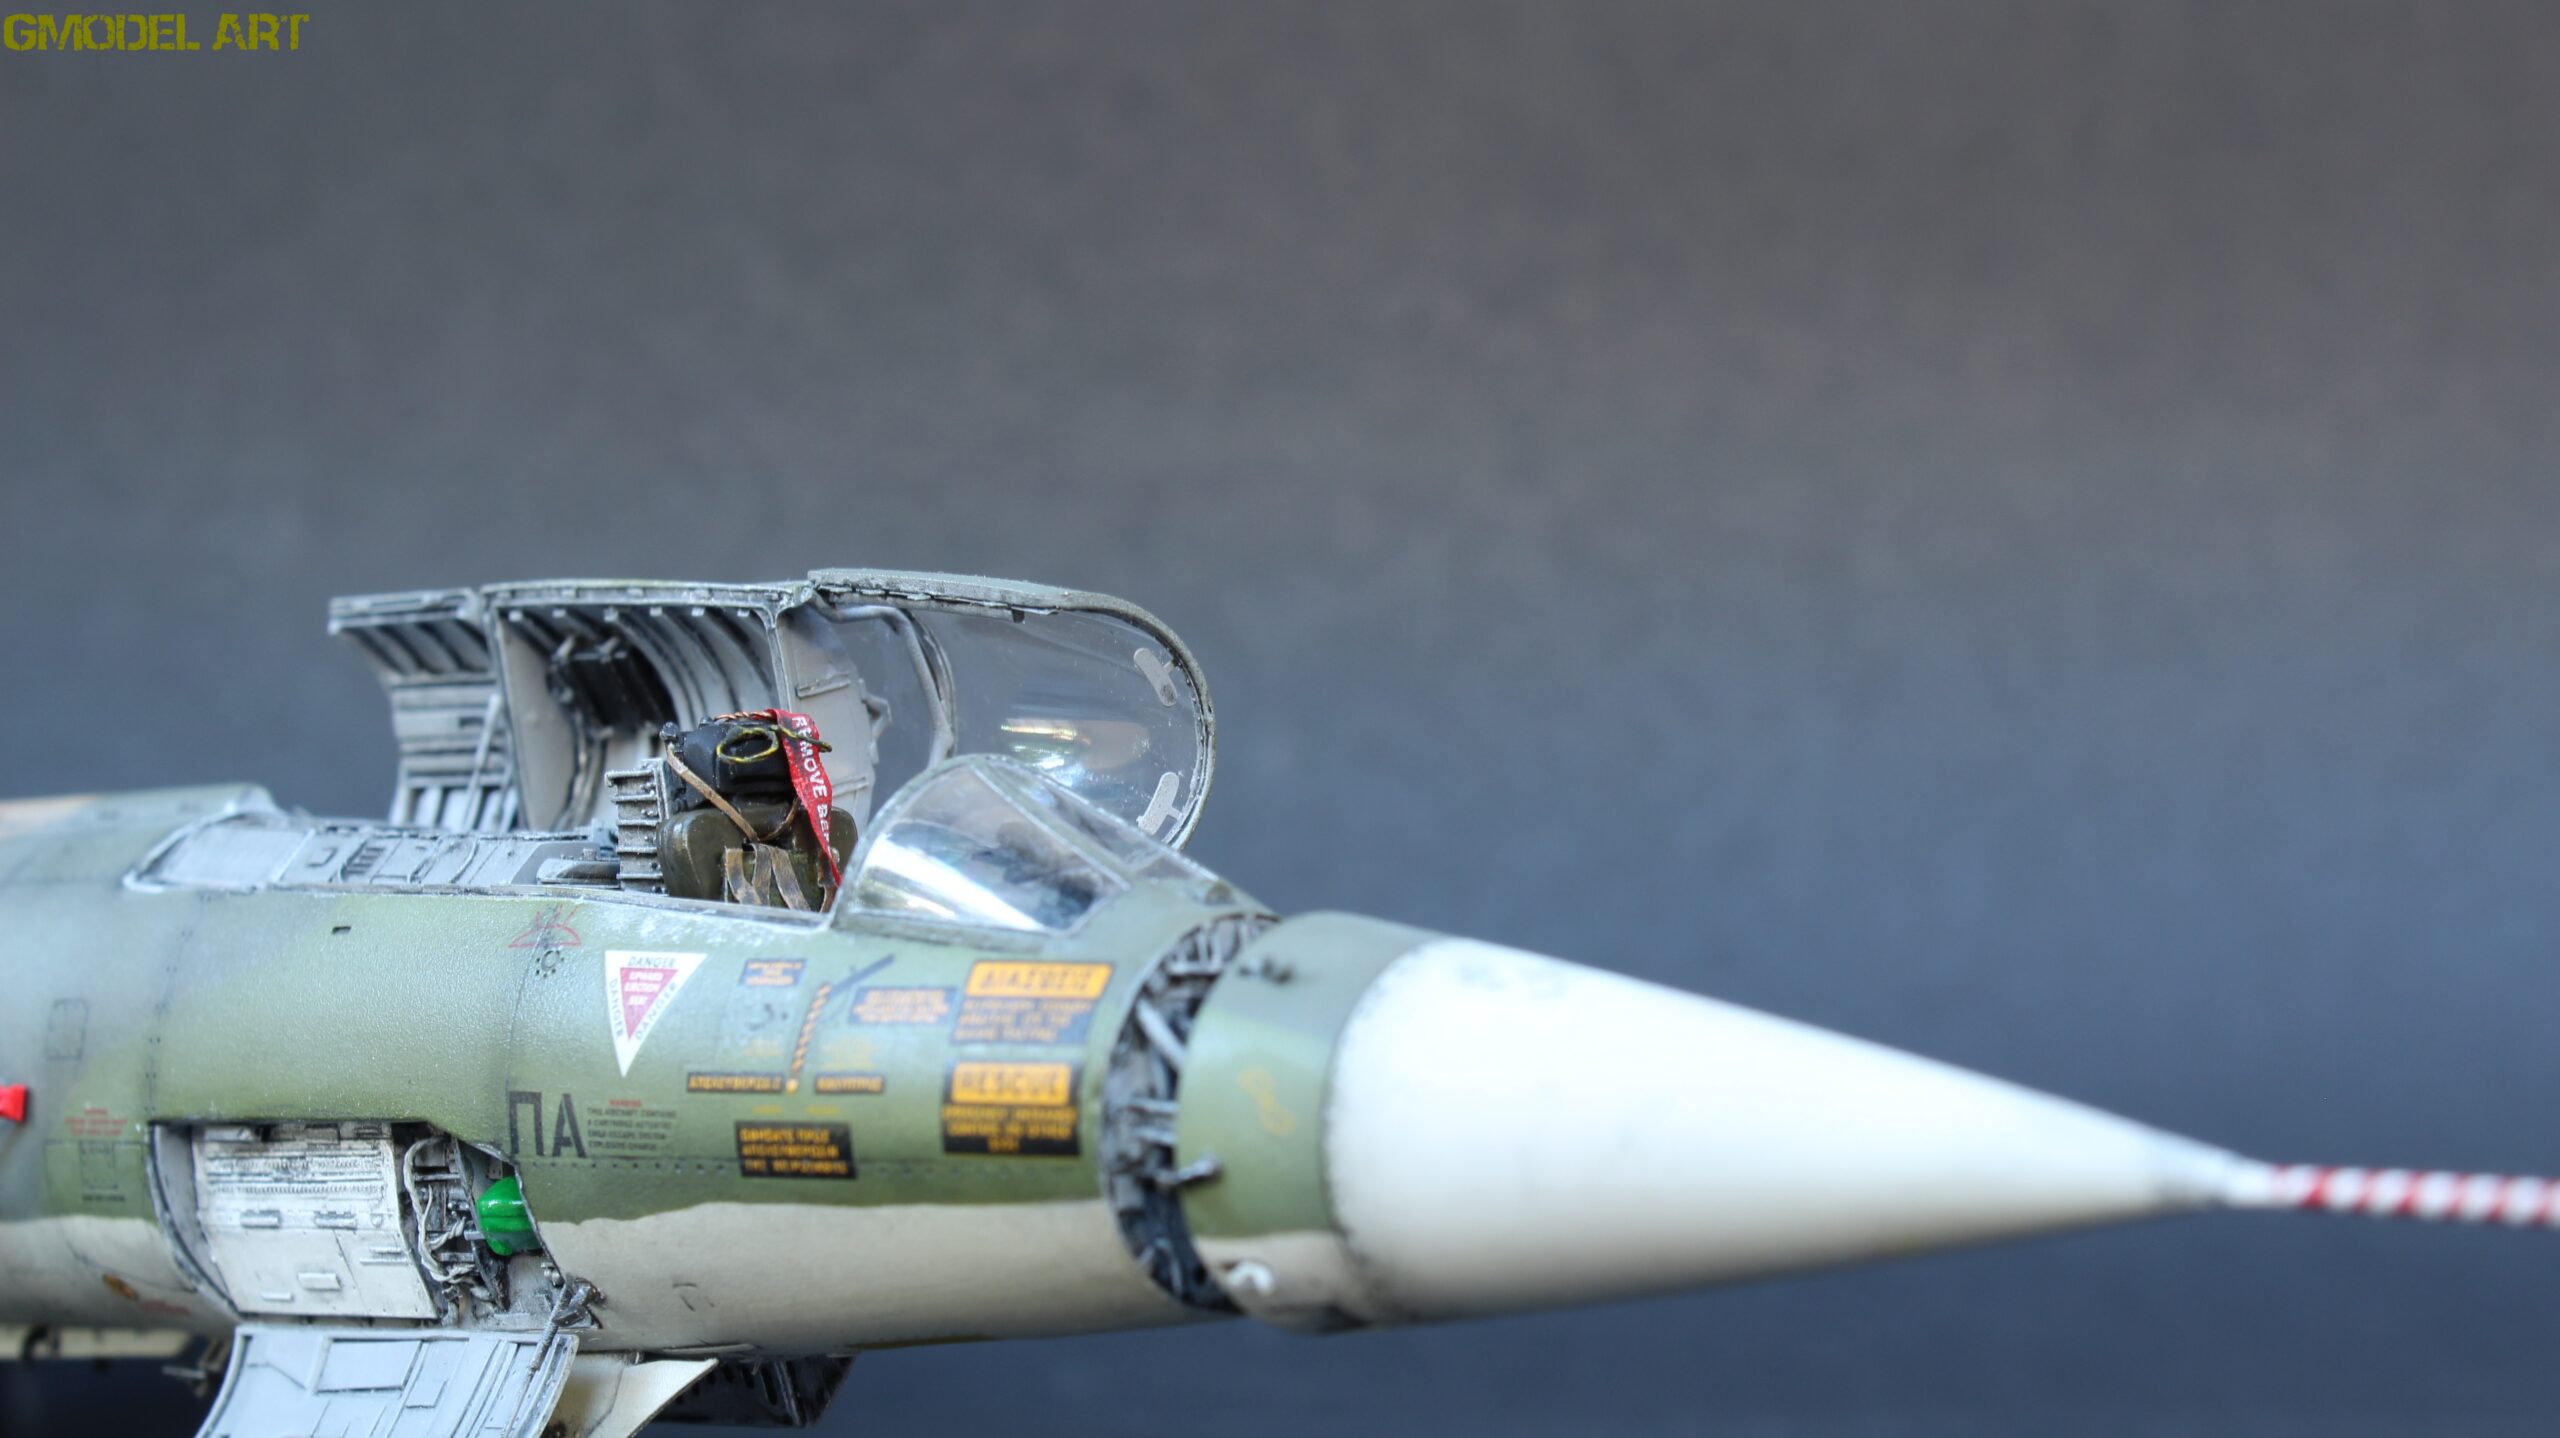
The ejection seat was another important part of the cockpit. The resin seat was already highly detailed, but I wanted to add more realistic seat belts and harnesses. These were produced from masking tape and supplemented with selected photo-etched components.
This combination gave the cockpit a considerably more convincing appearance than the basic kit parts alone.
Opening the F-104G Starfighter
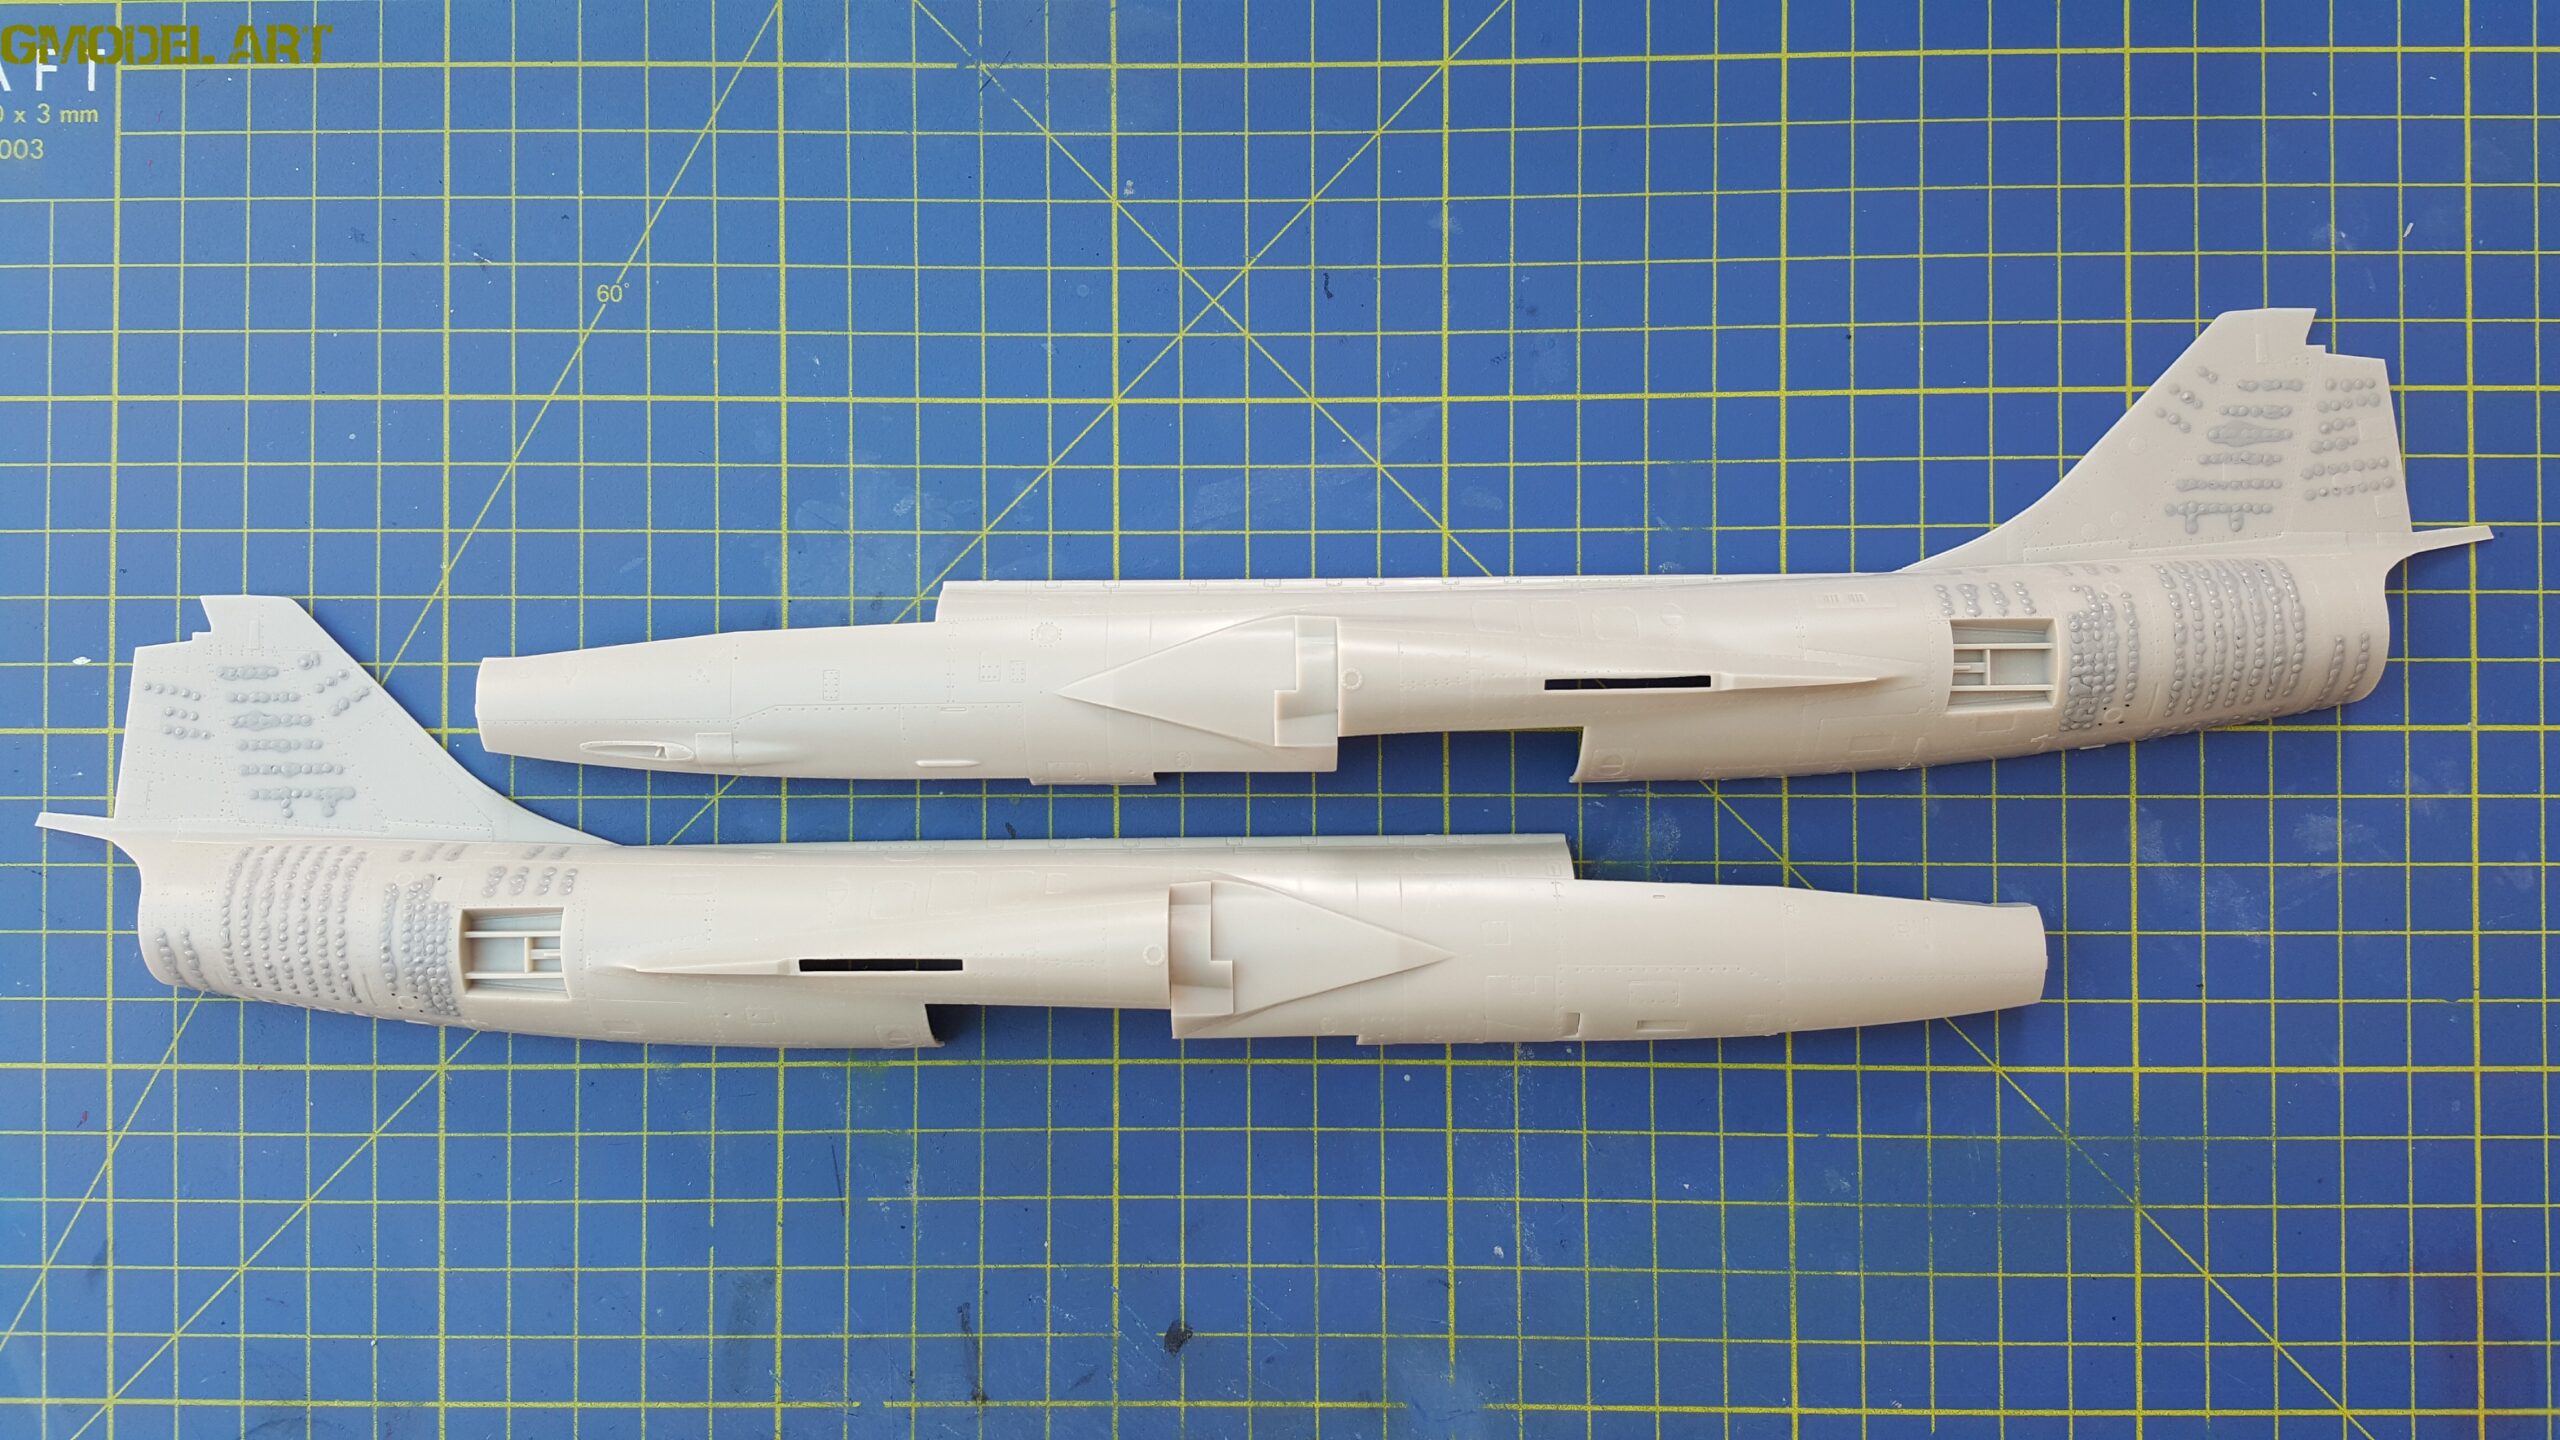
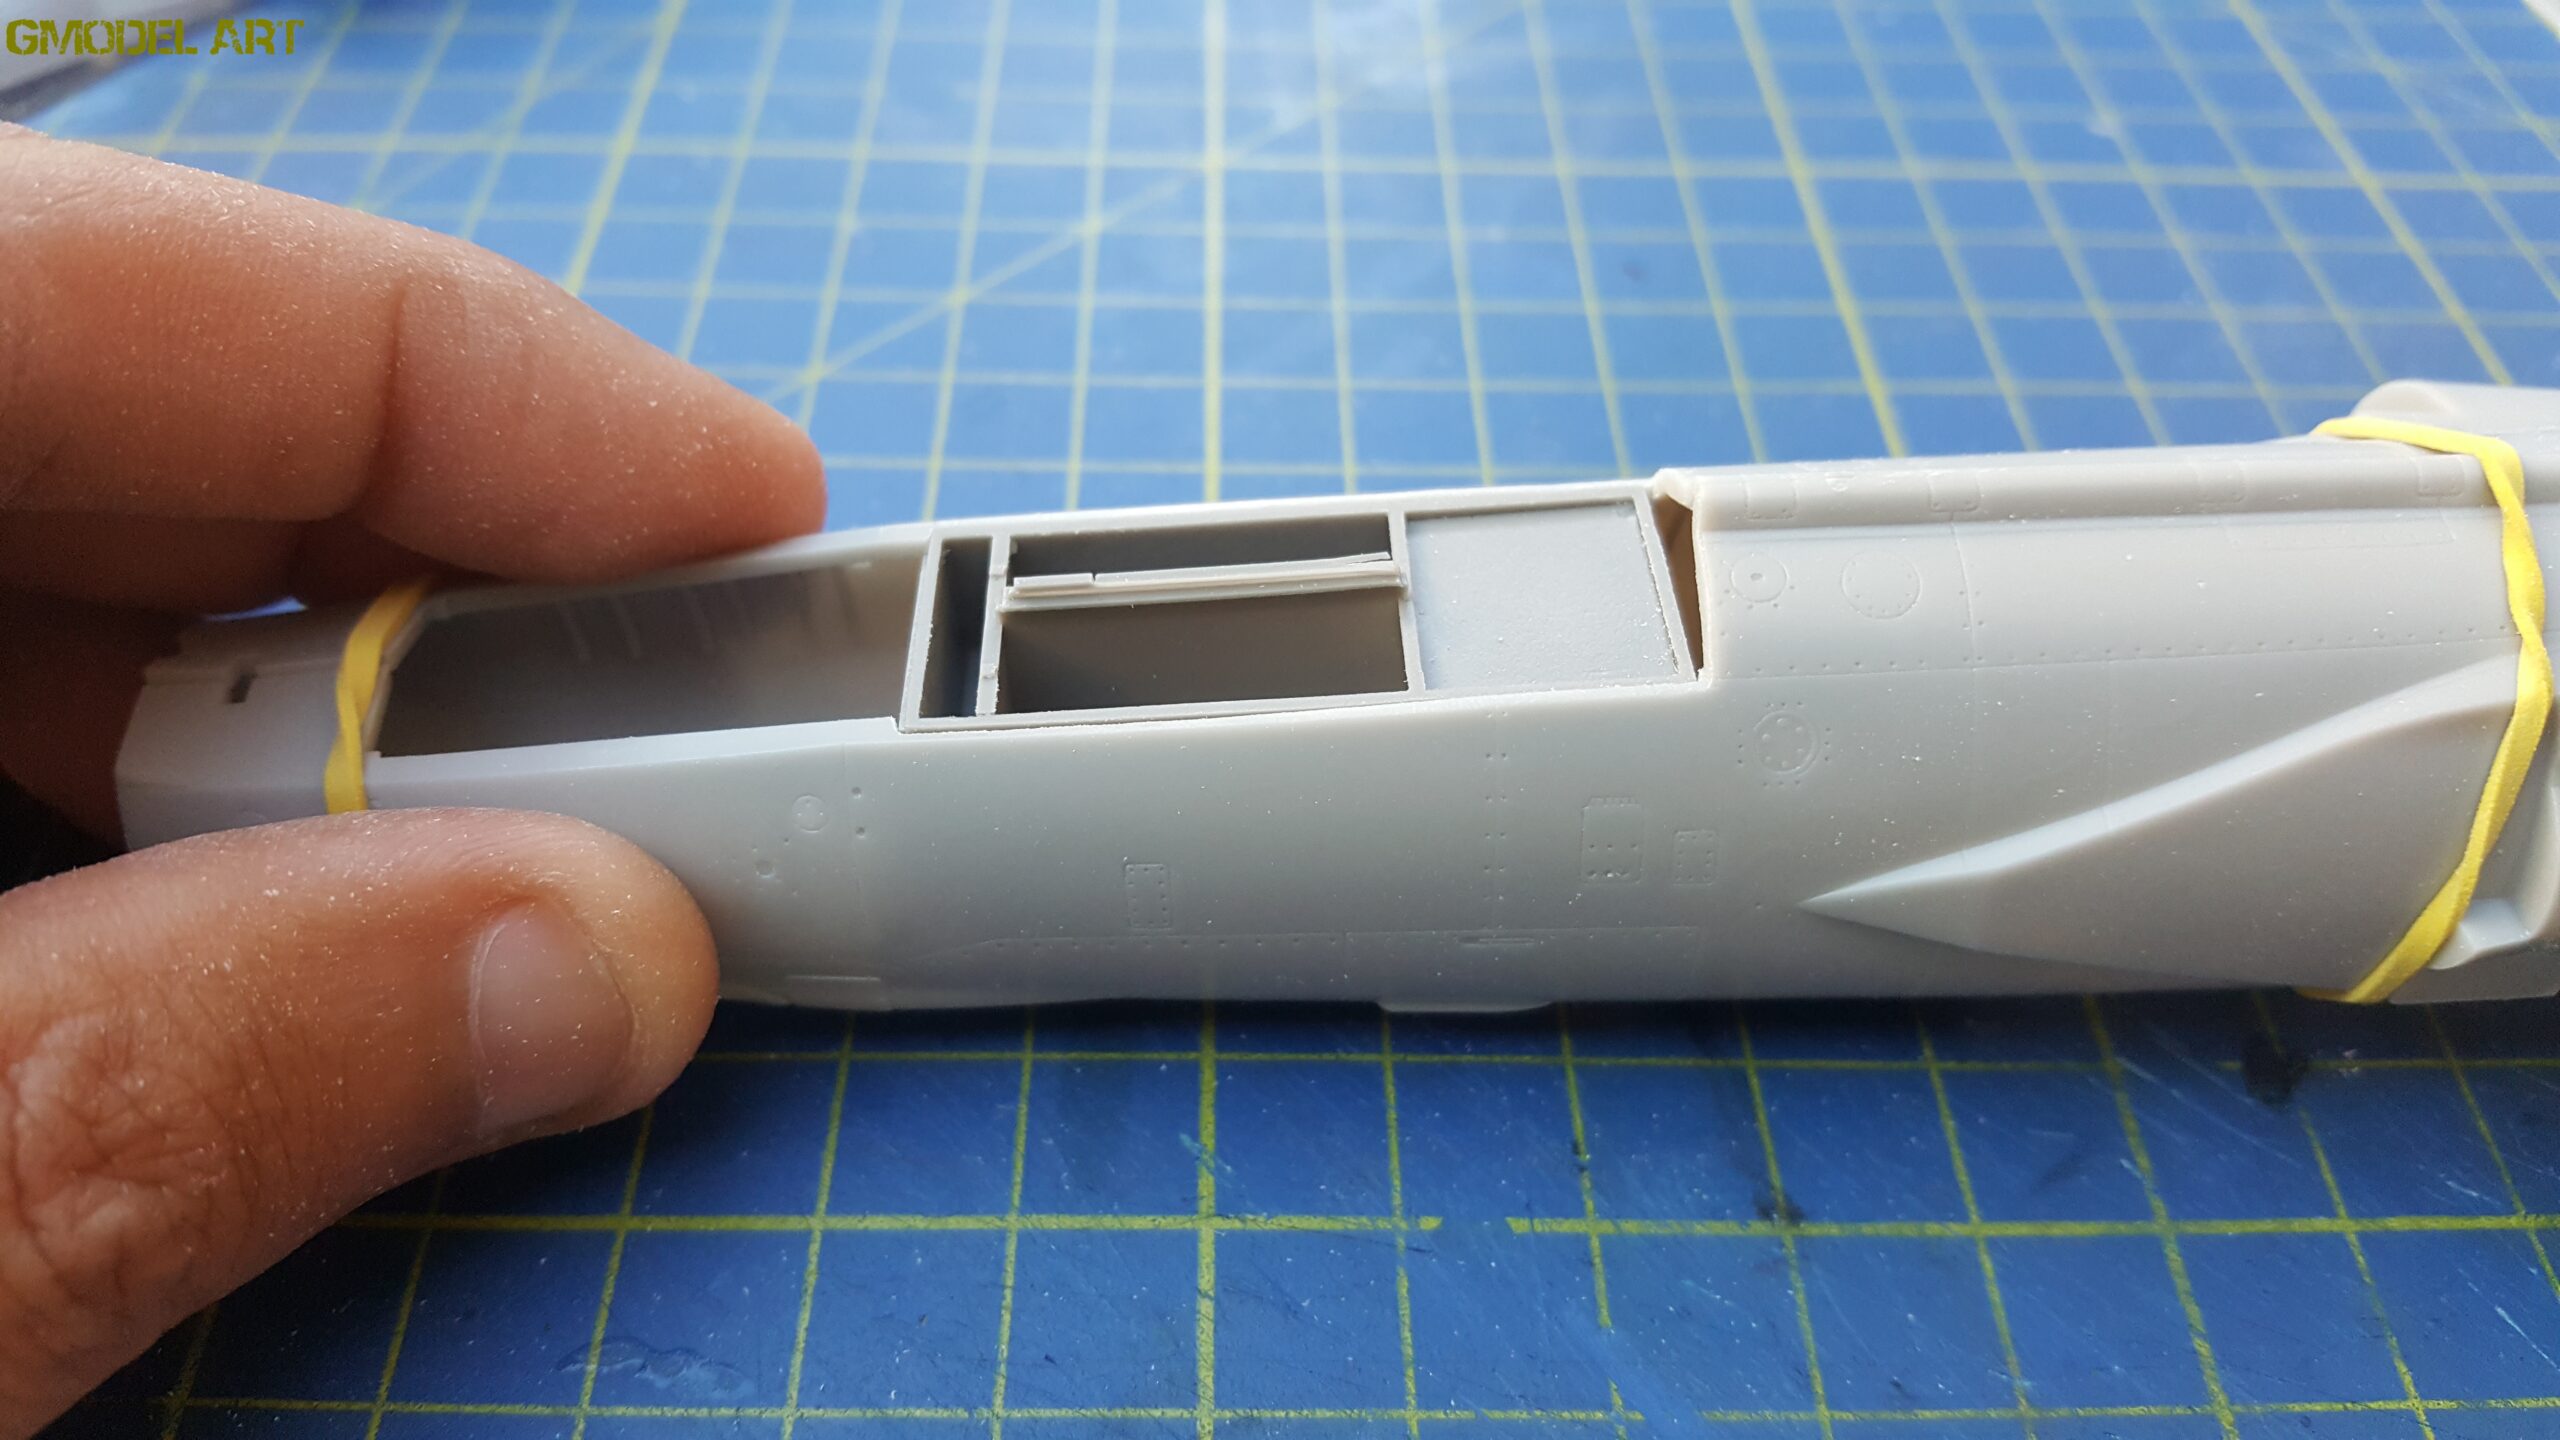
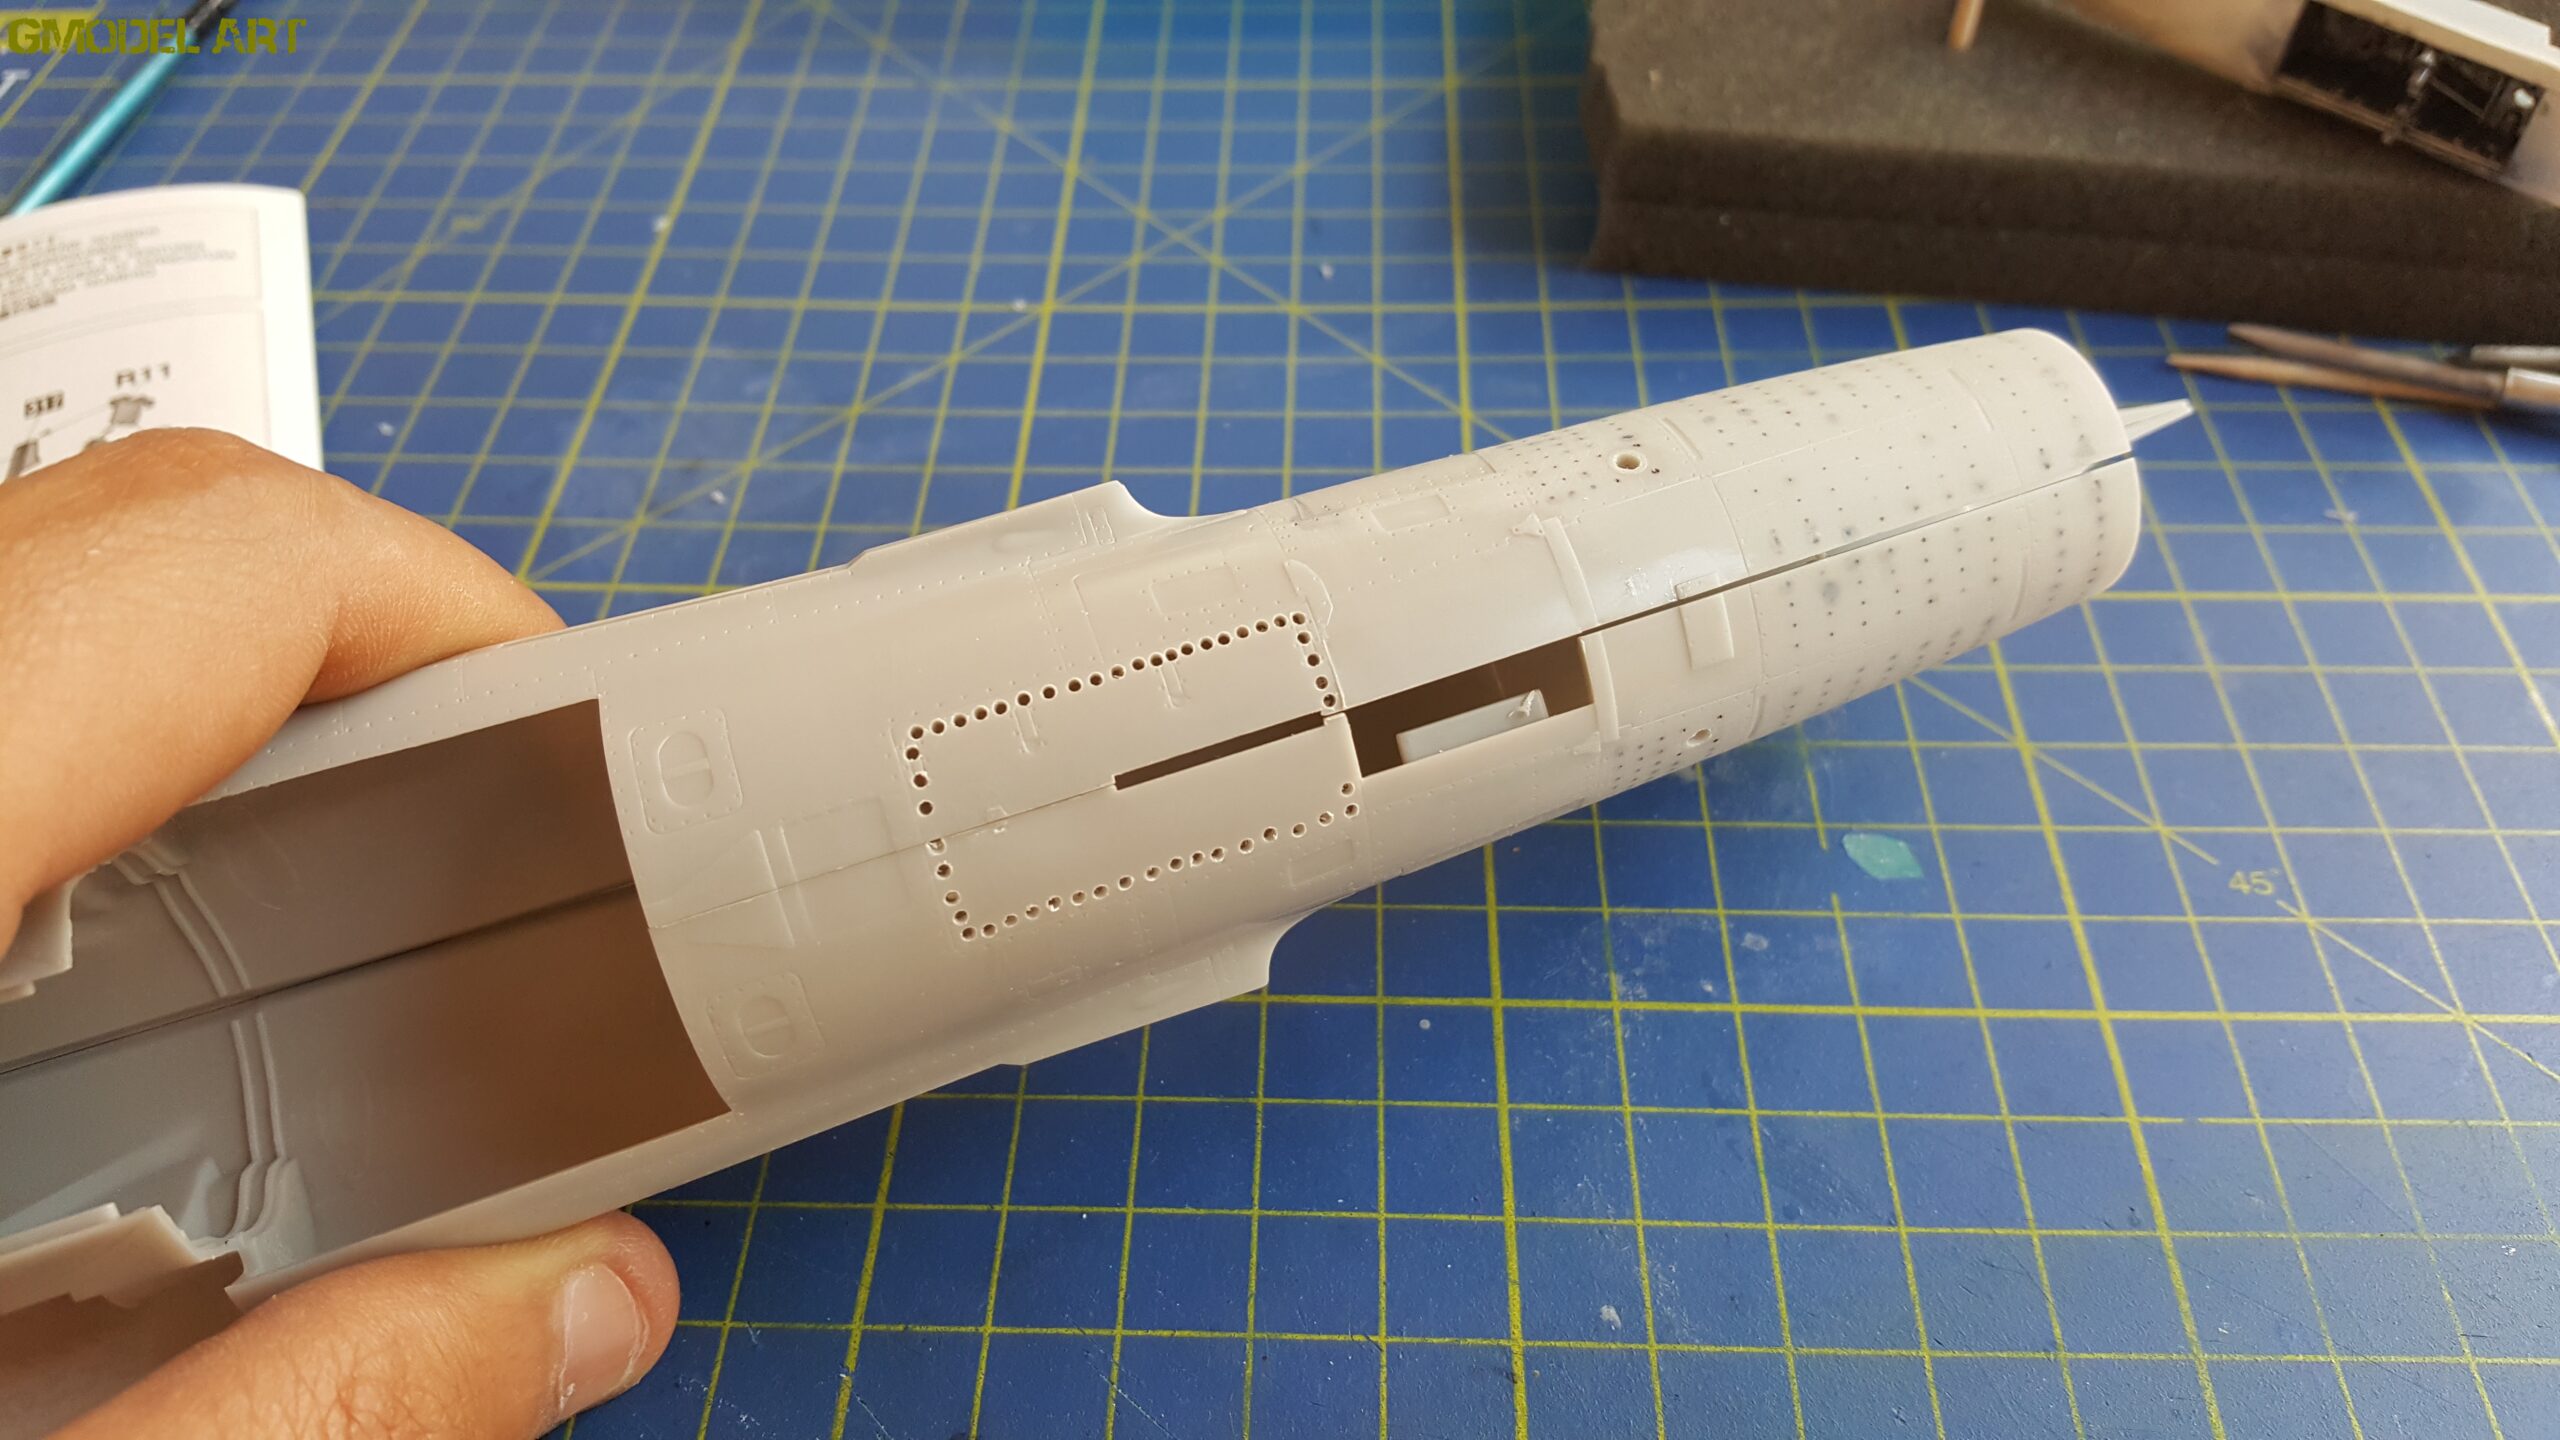
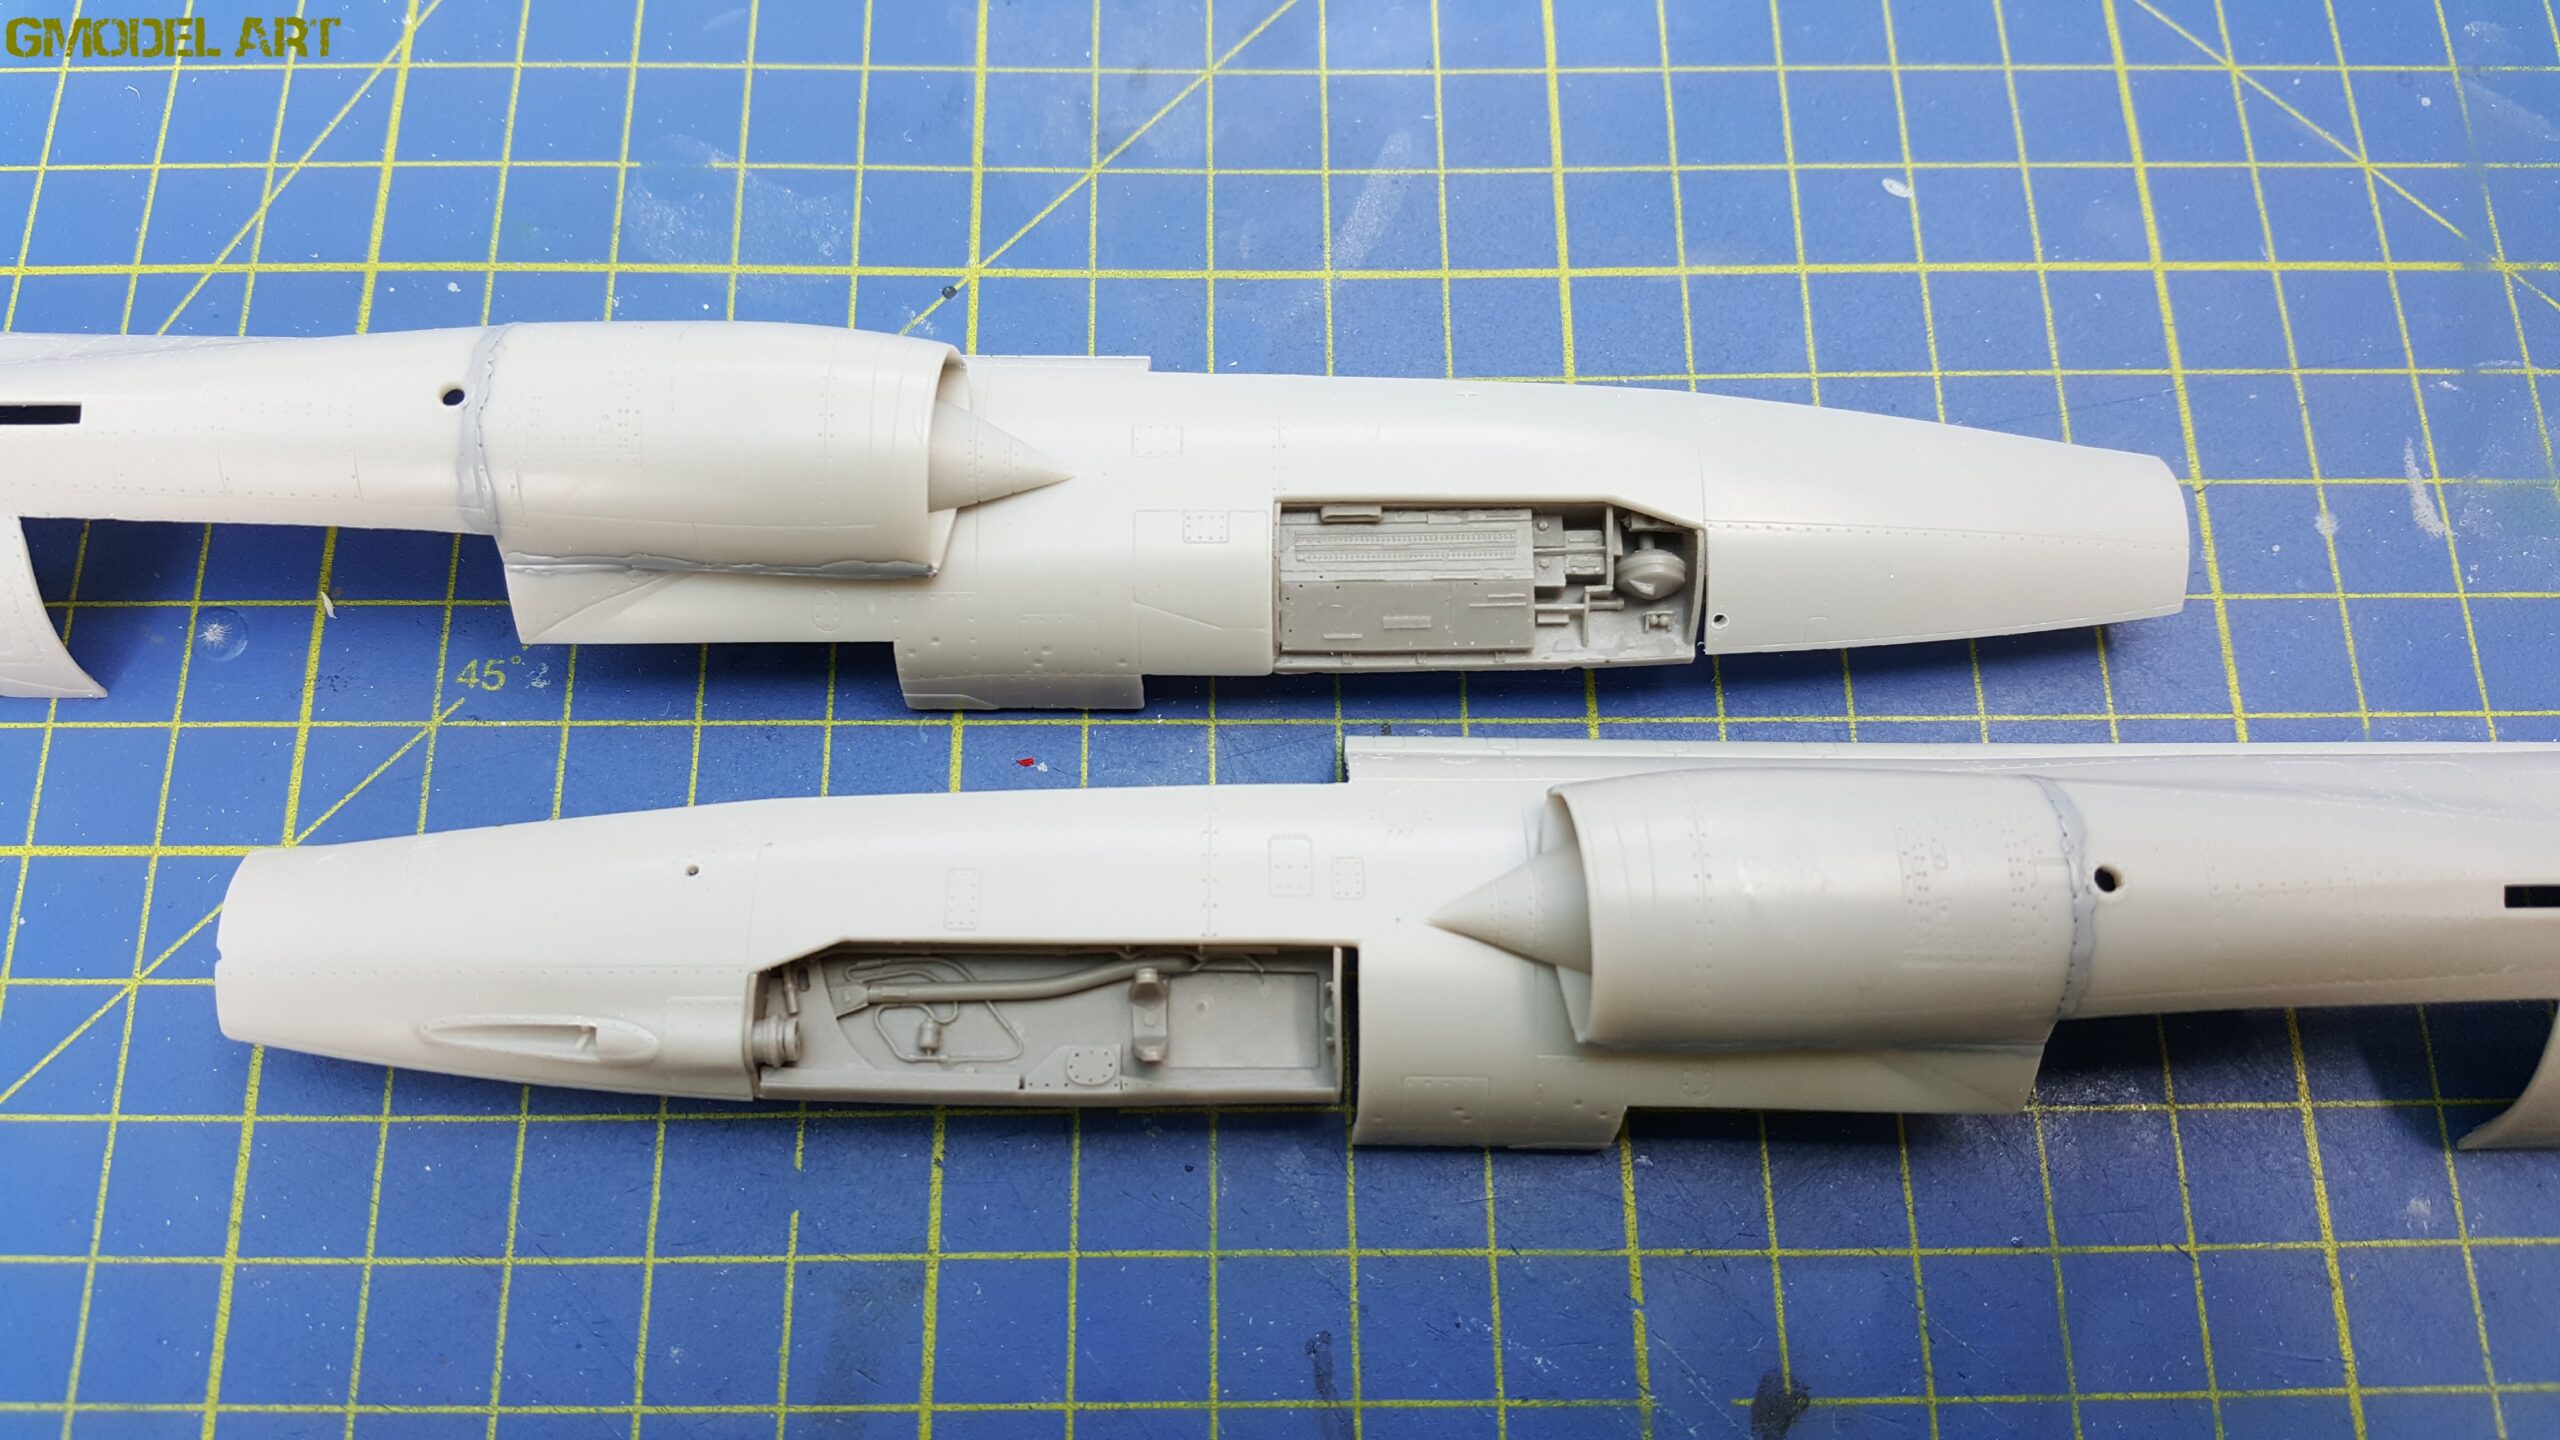
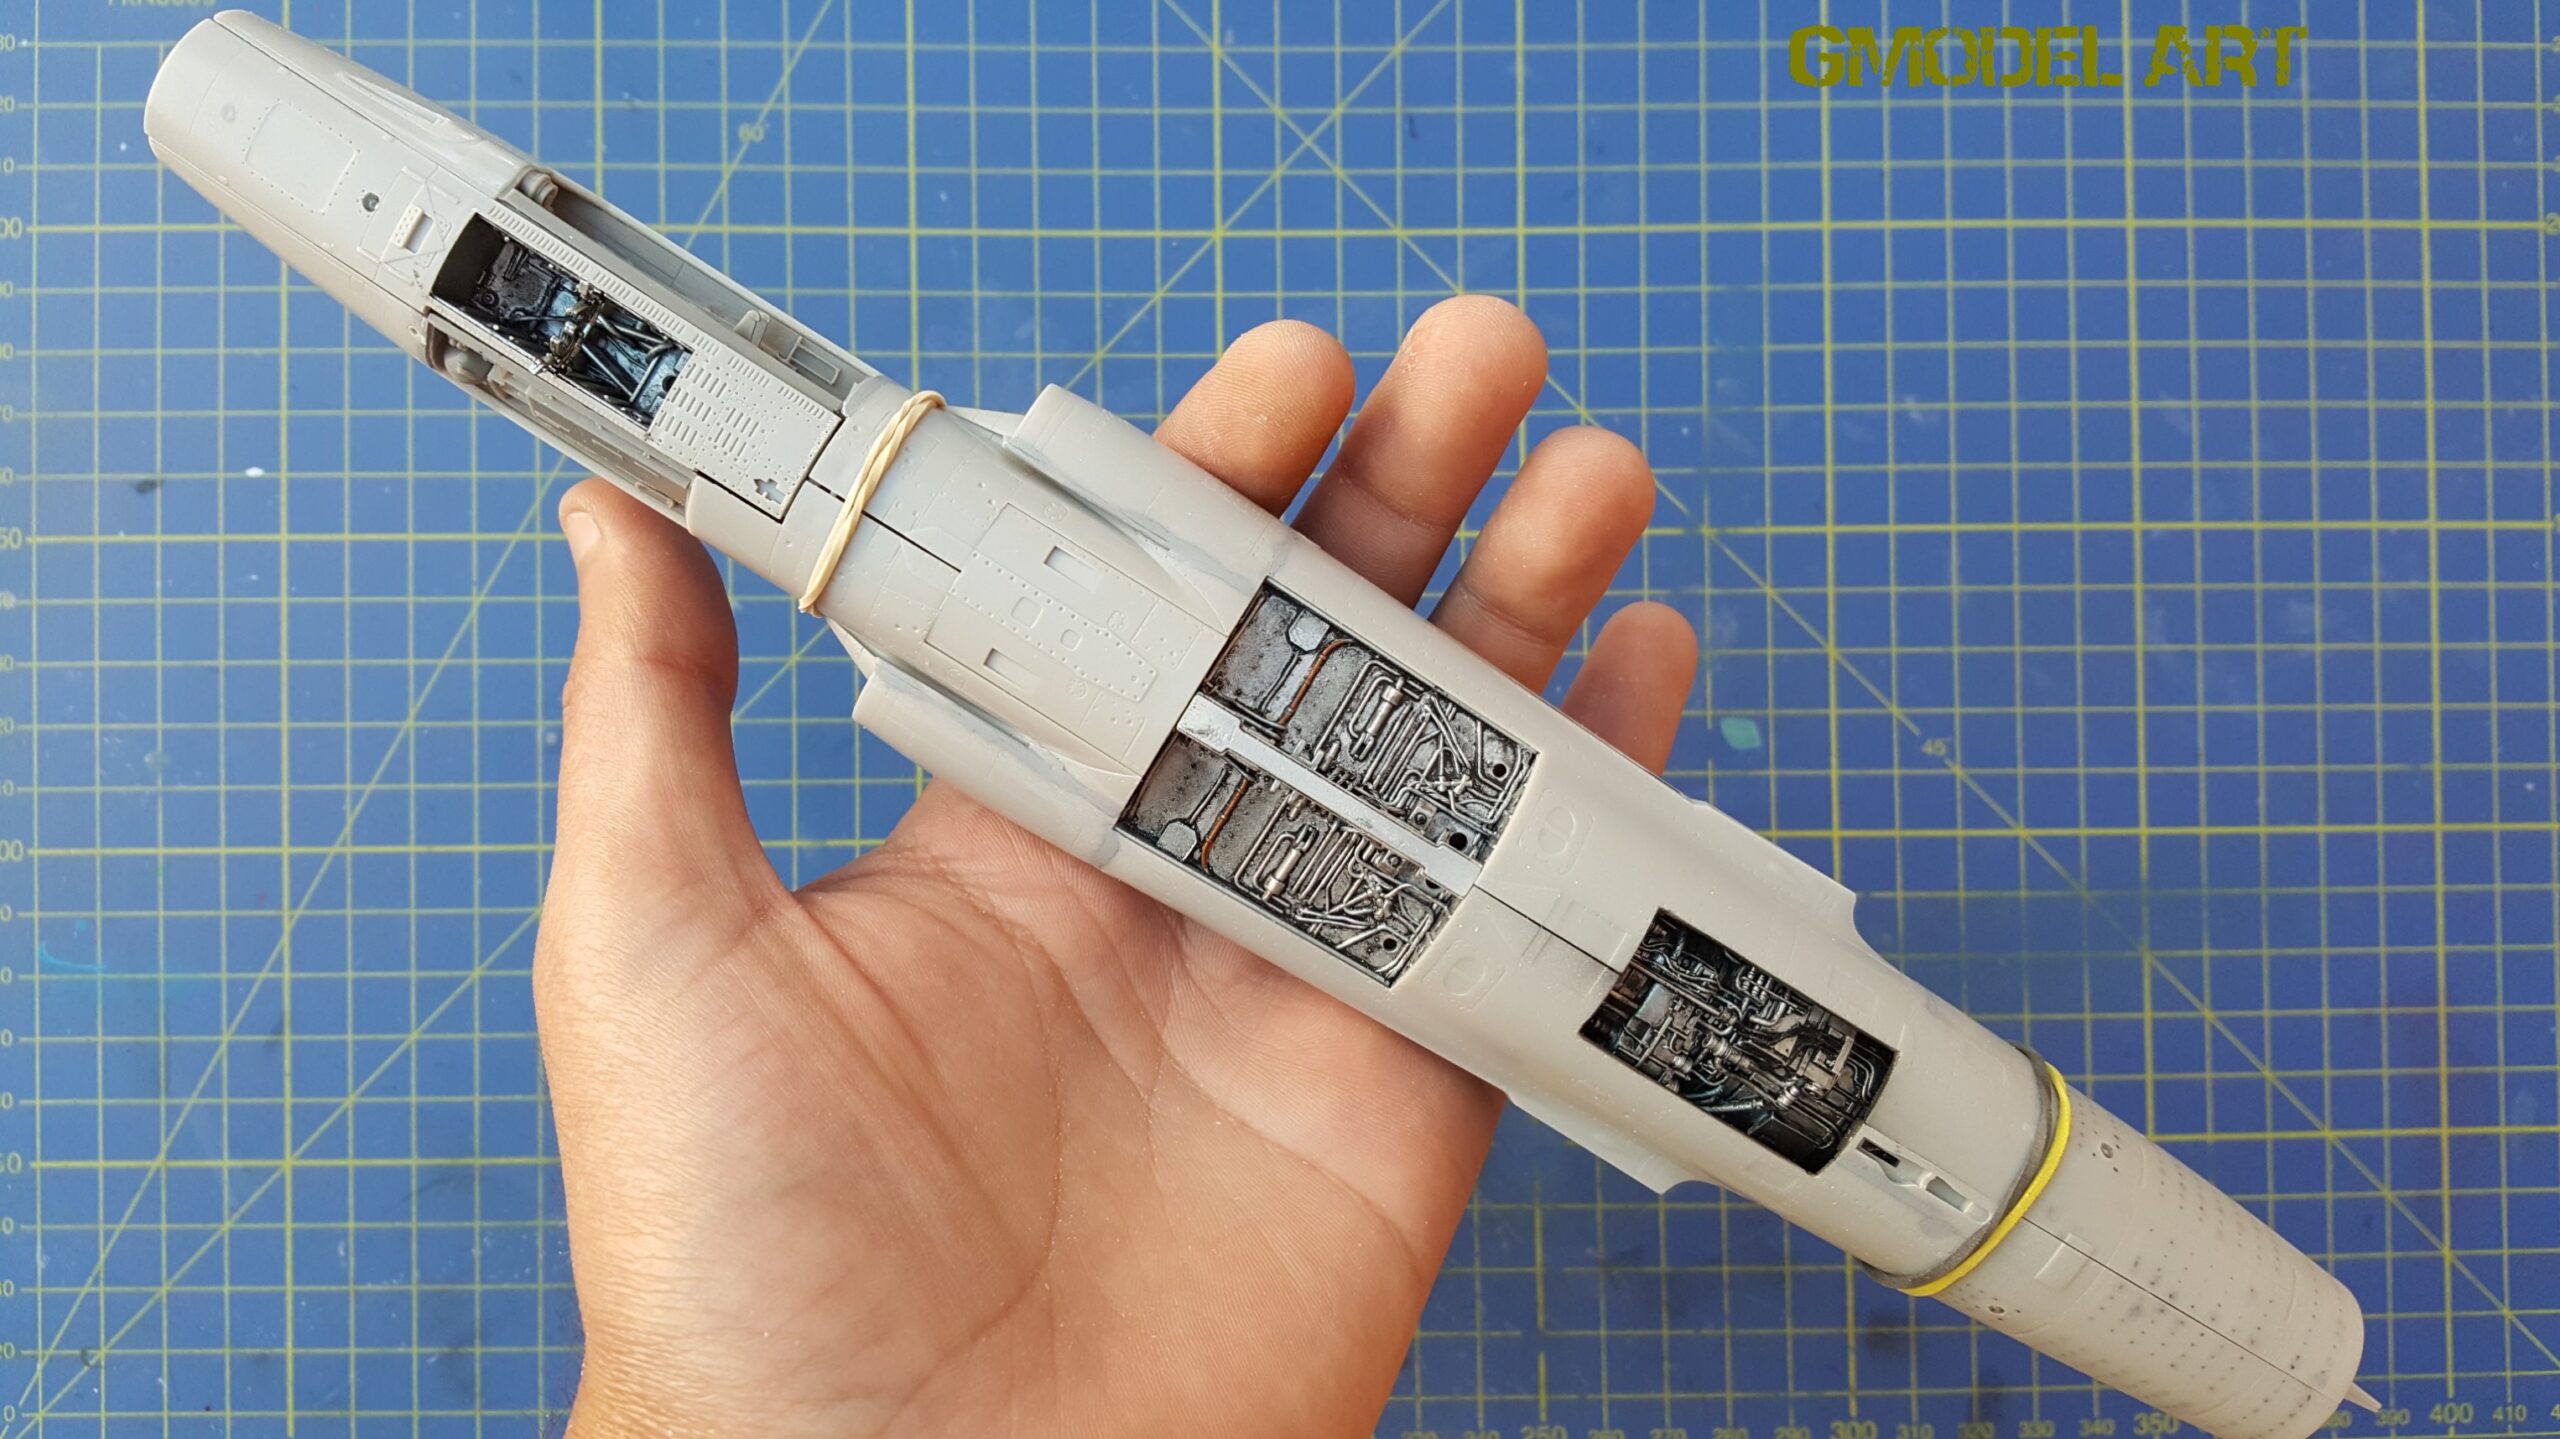
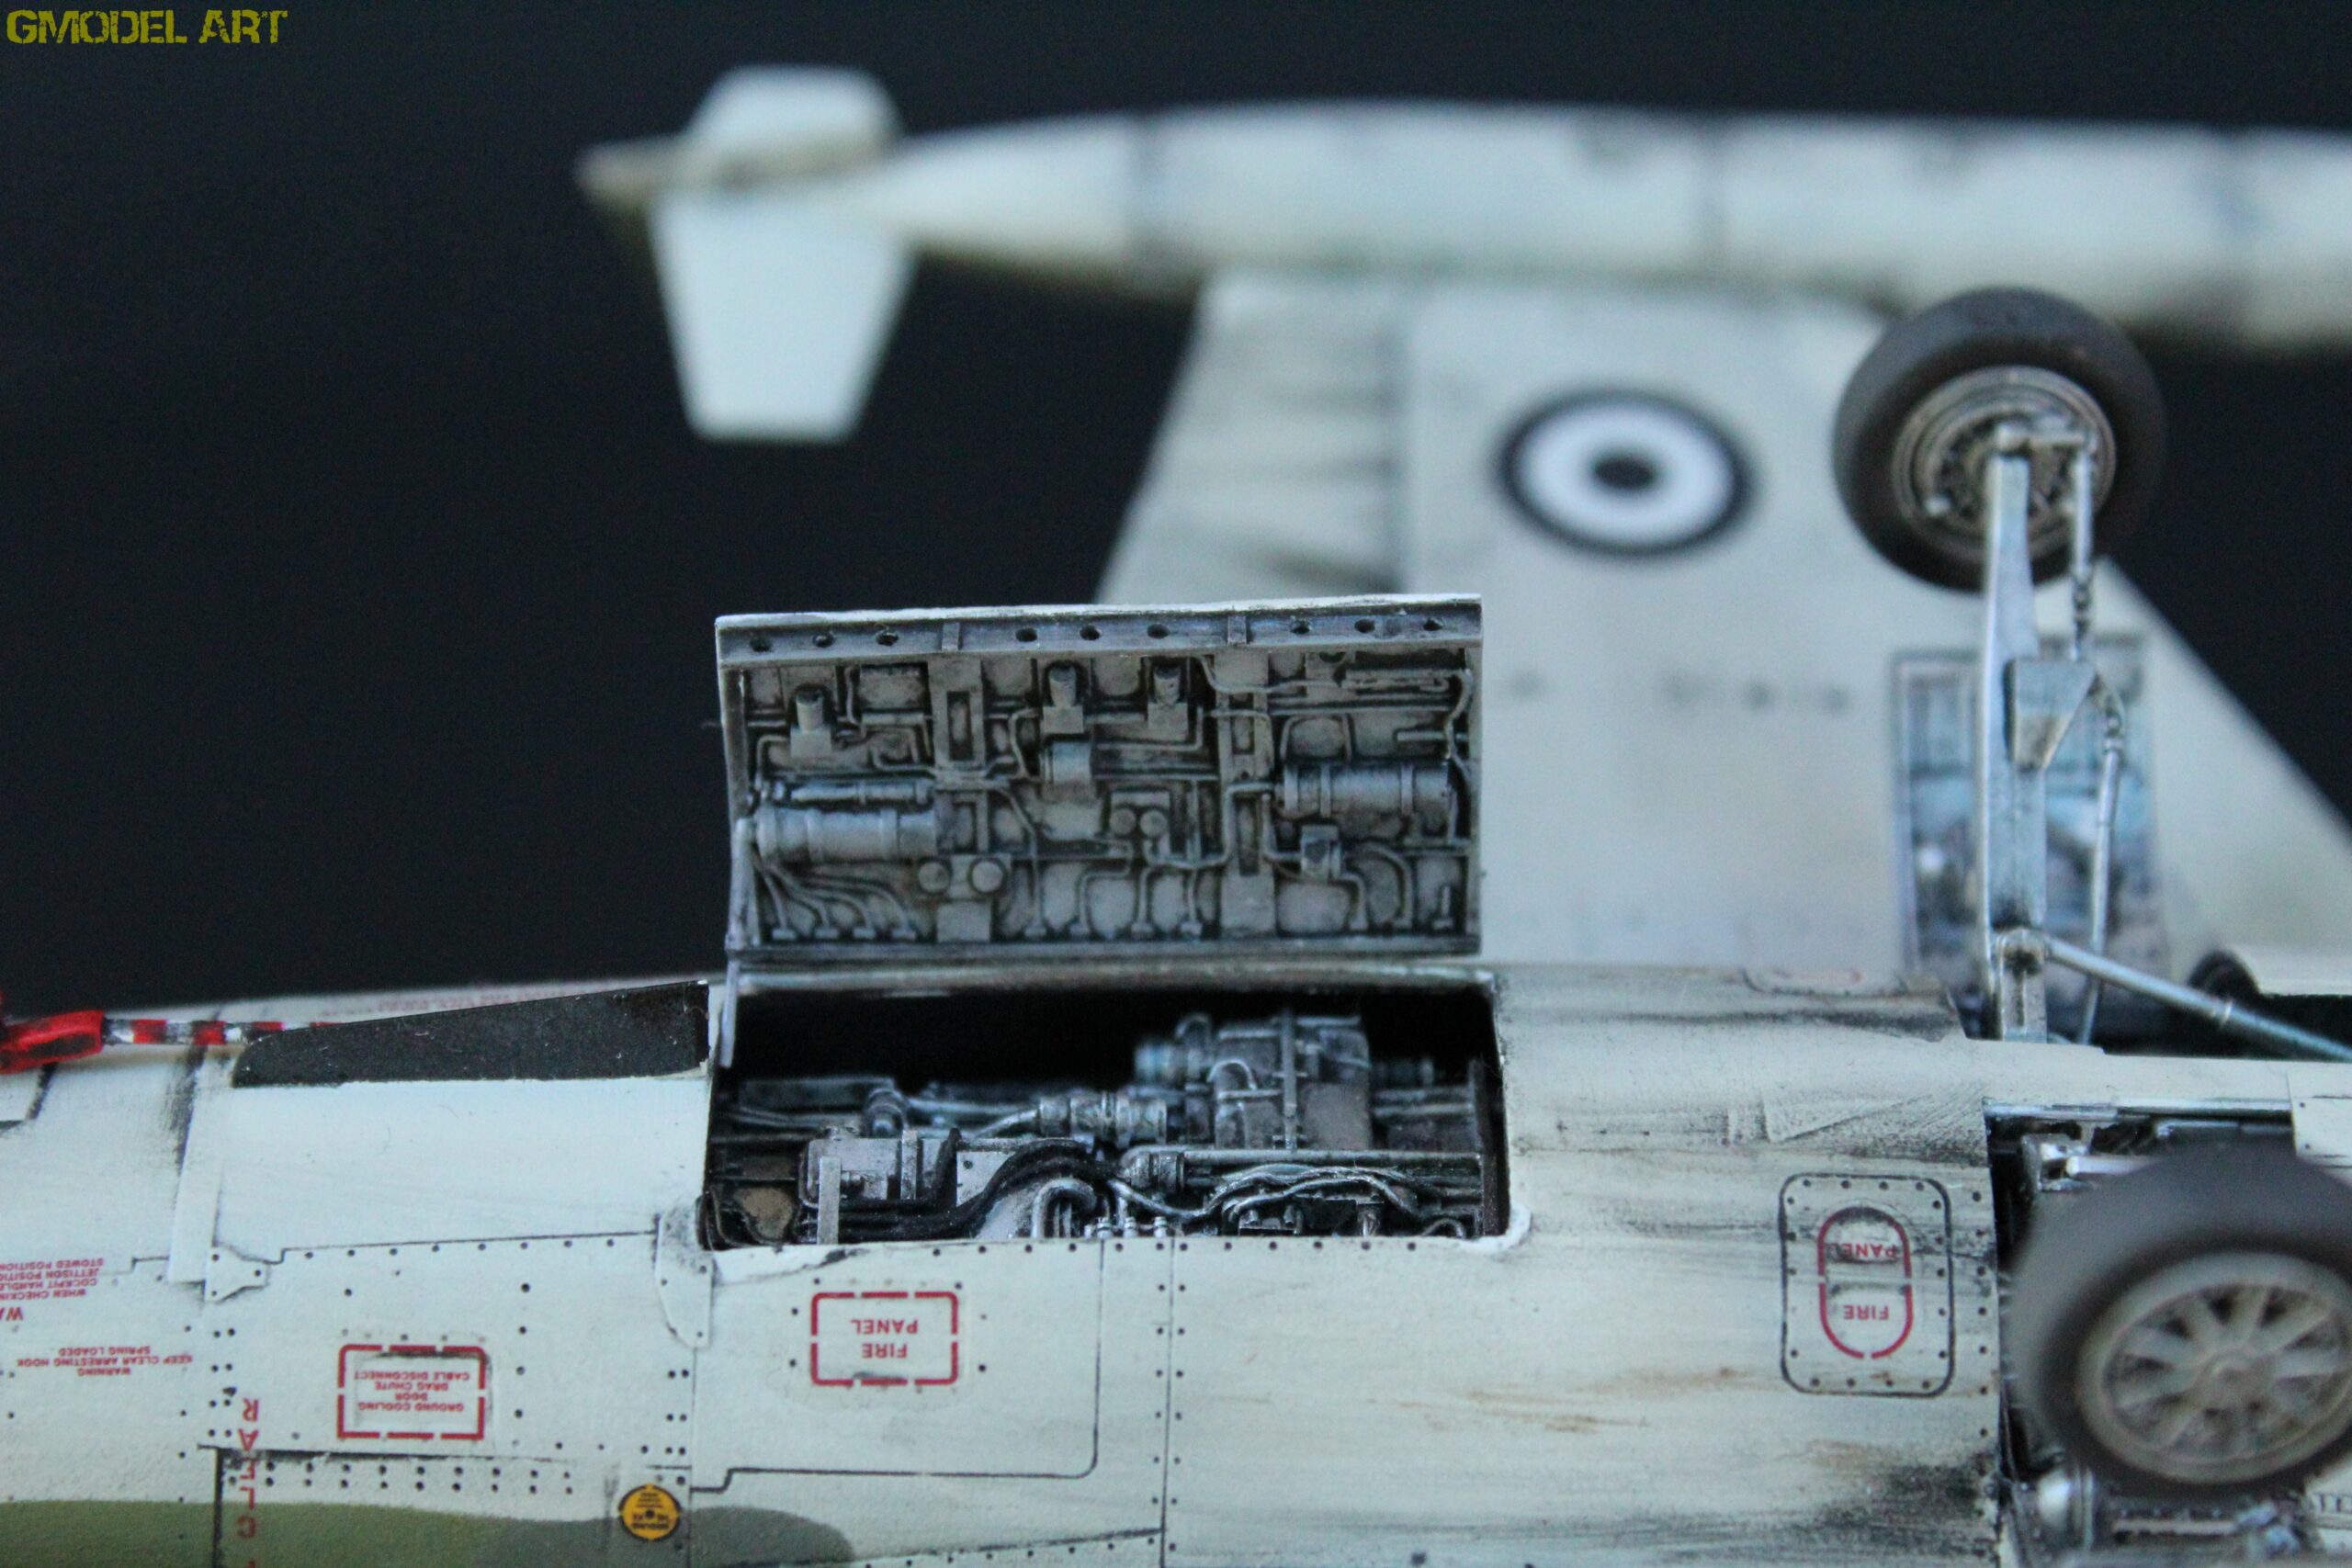
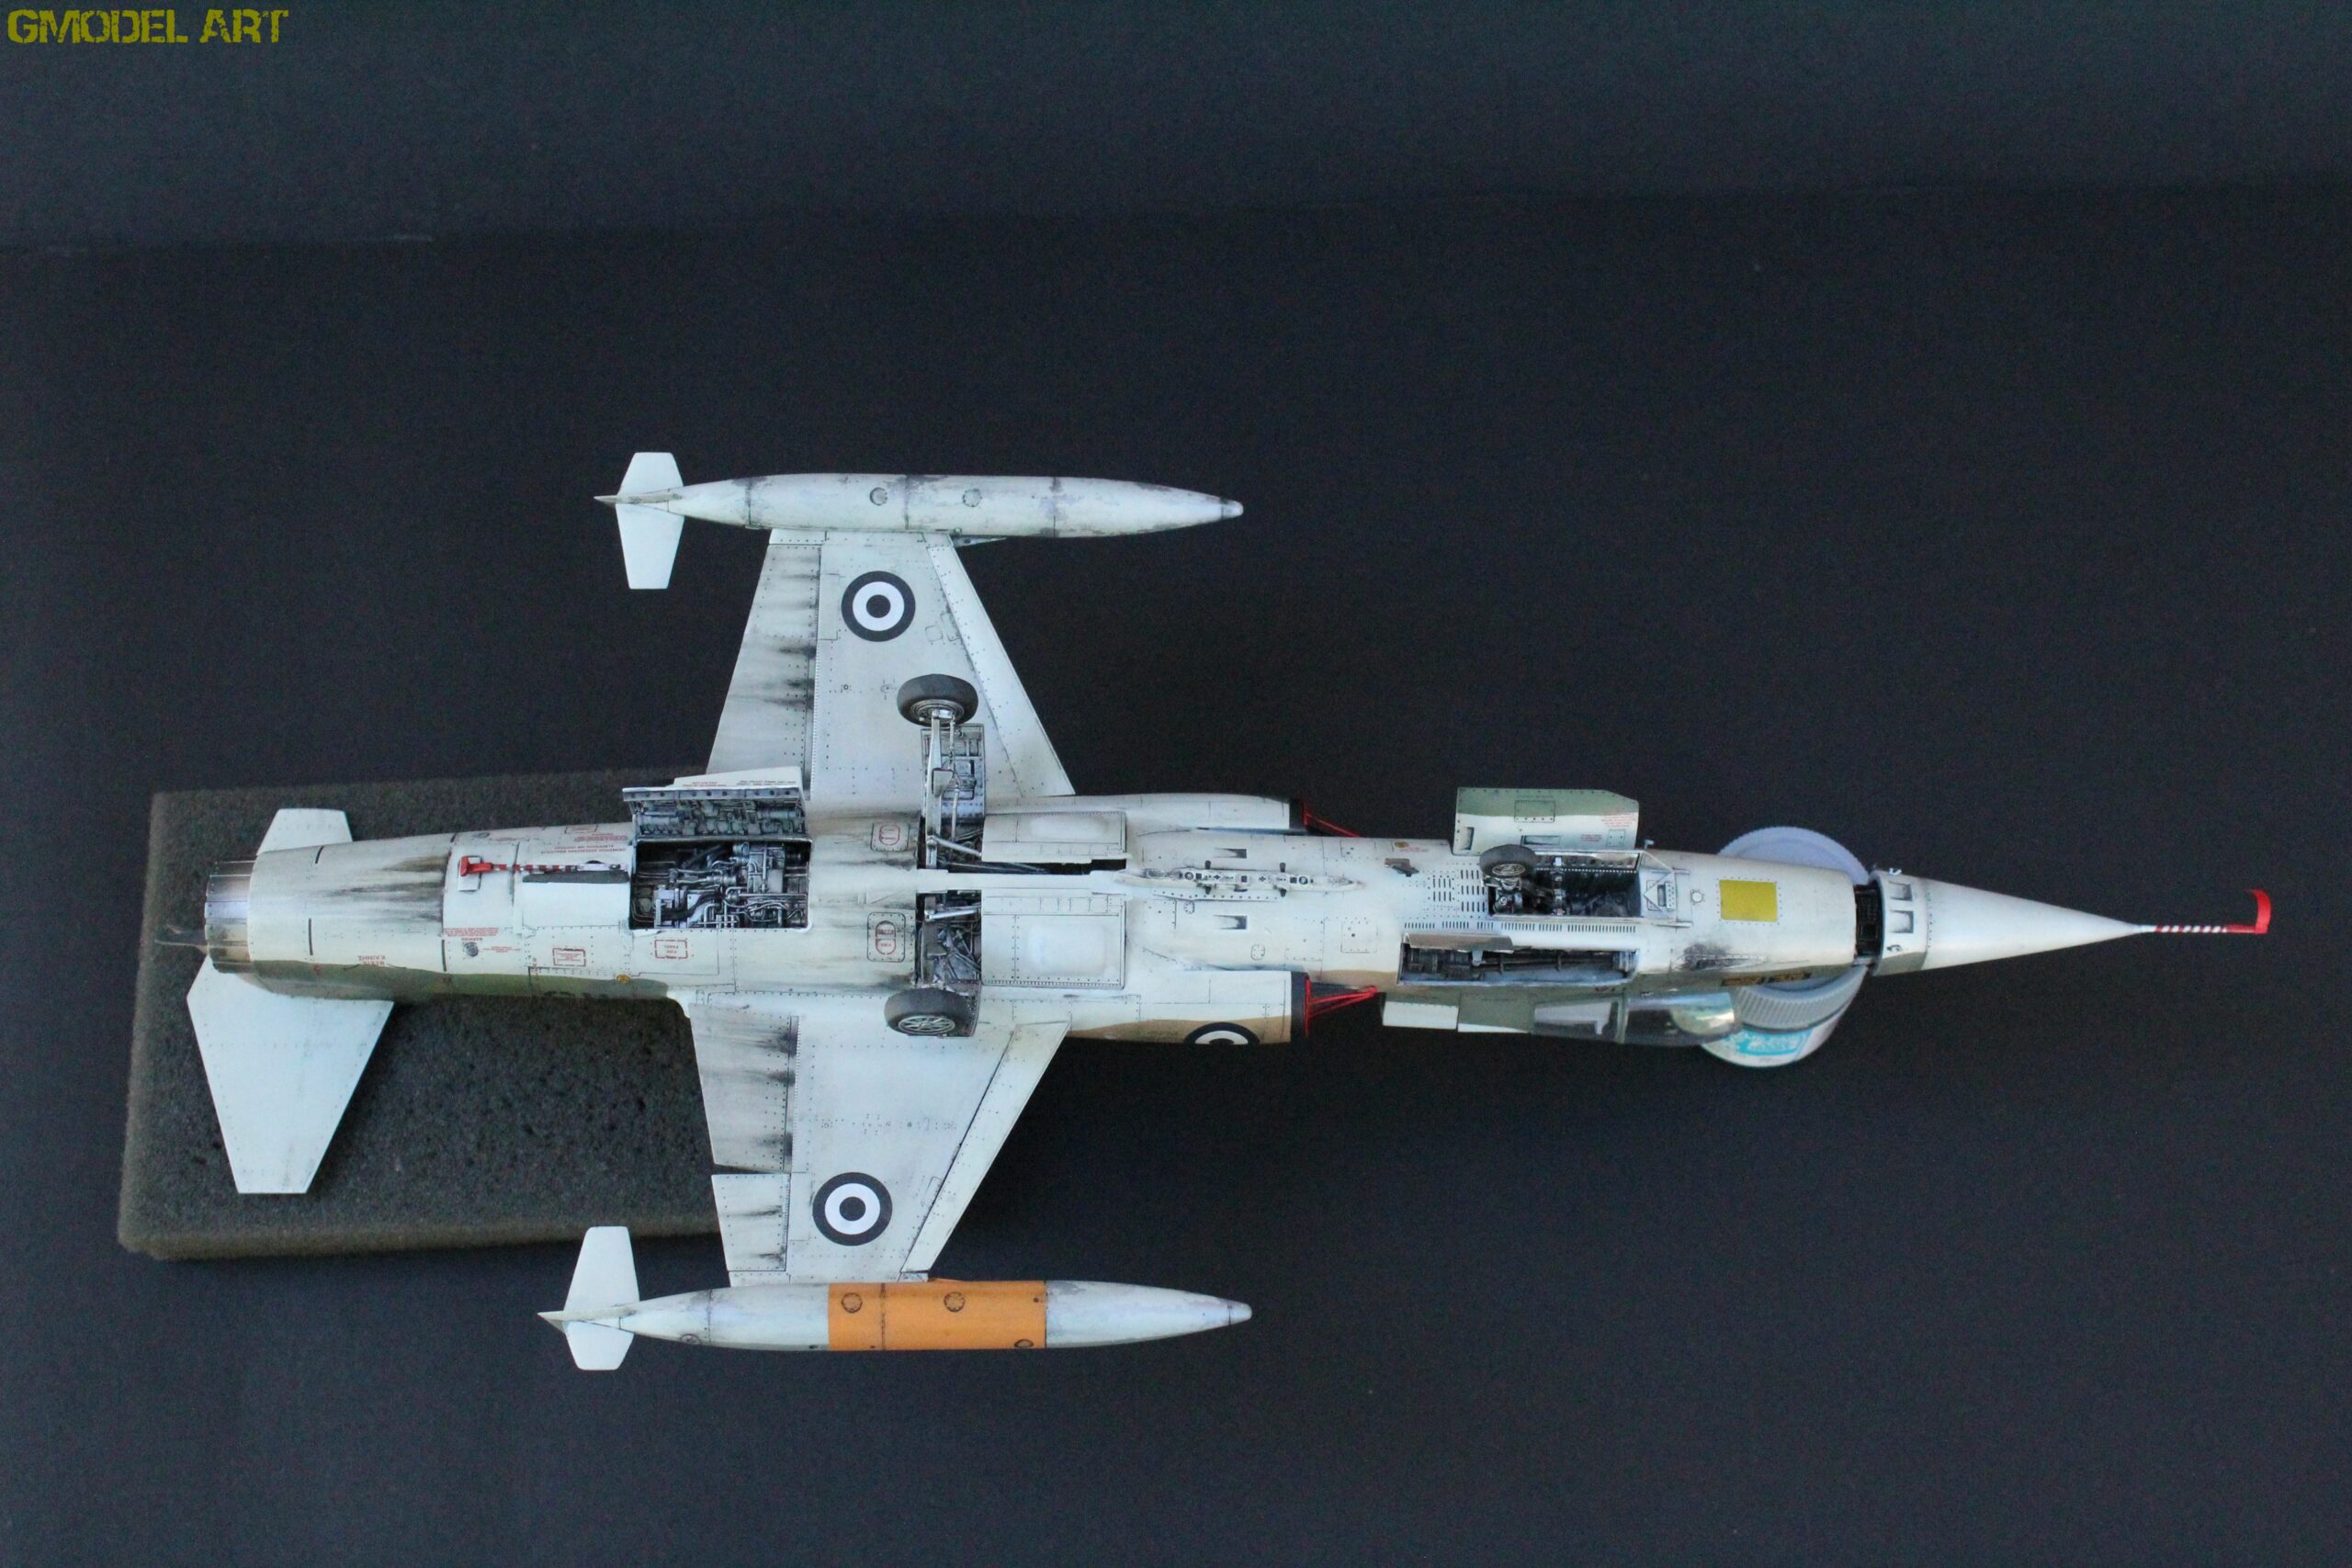
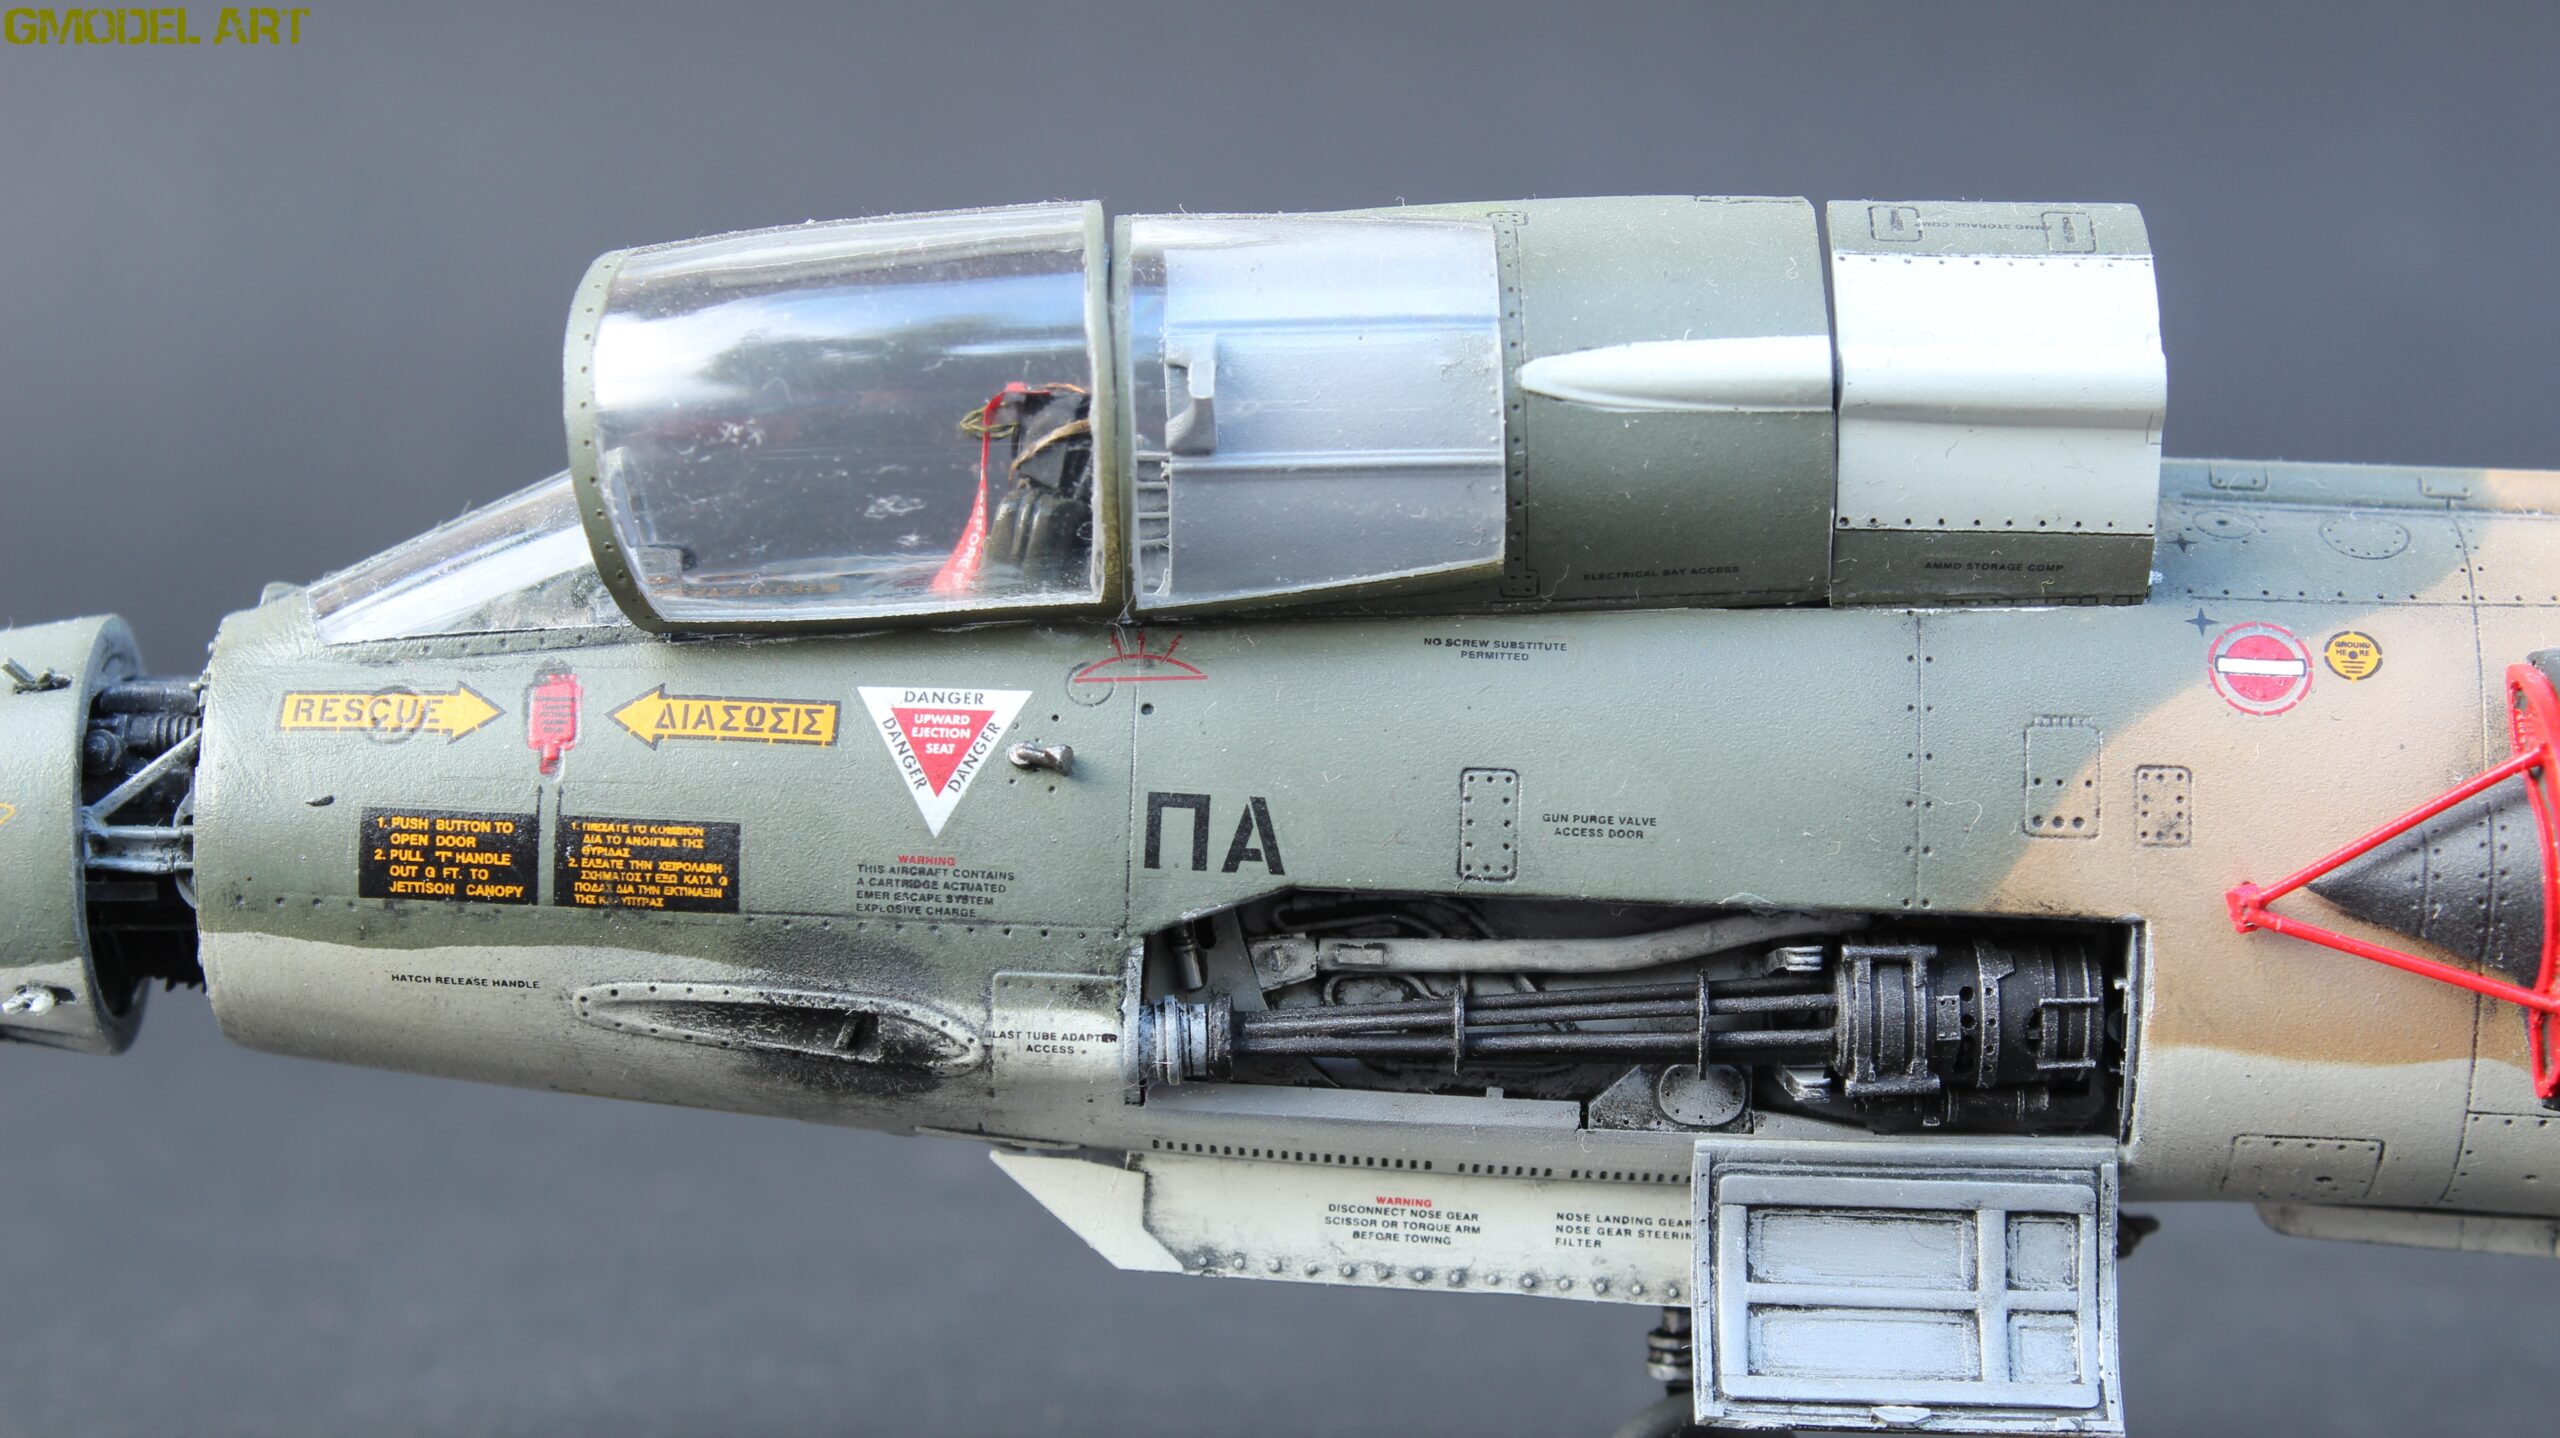
The next stage involved opening several panels on the F-104G Starfighter, including the access doors on the right and left sides of the fuselage, as well as the lower and rear engine access areas.
Before committing to the final assembly, I repeatedly test-fitted the resin components, the CMK engine and the radar assembly. This stage was particularly important because aftermarket resin parts can require considerable adjustment before they fit correctly inside an injection-molded plastic kit.
The radar and engine areas were planned to remain visible, so additional detailing was necessary to make the open panels look convincing.
F-104G Starfighter Landing Gear Bays
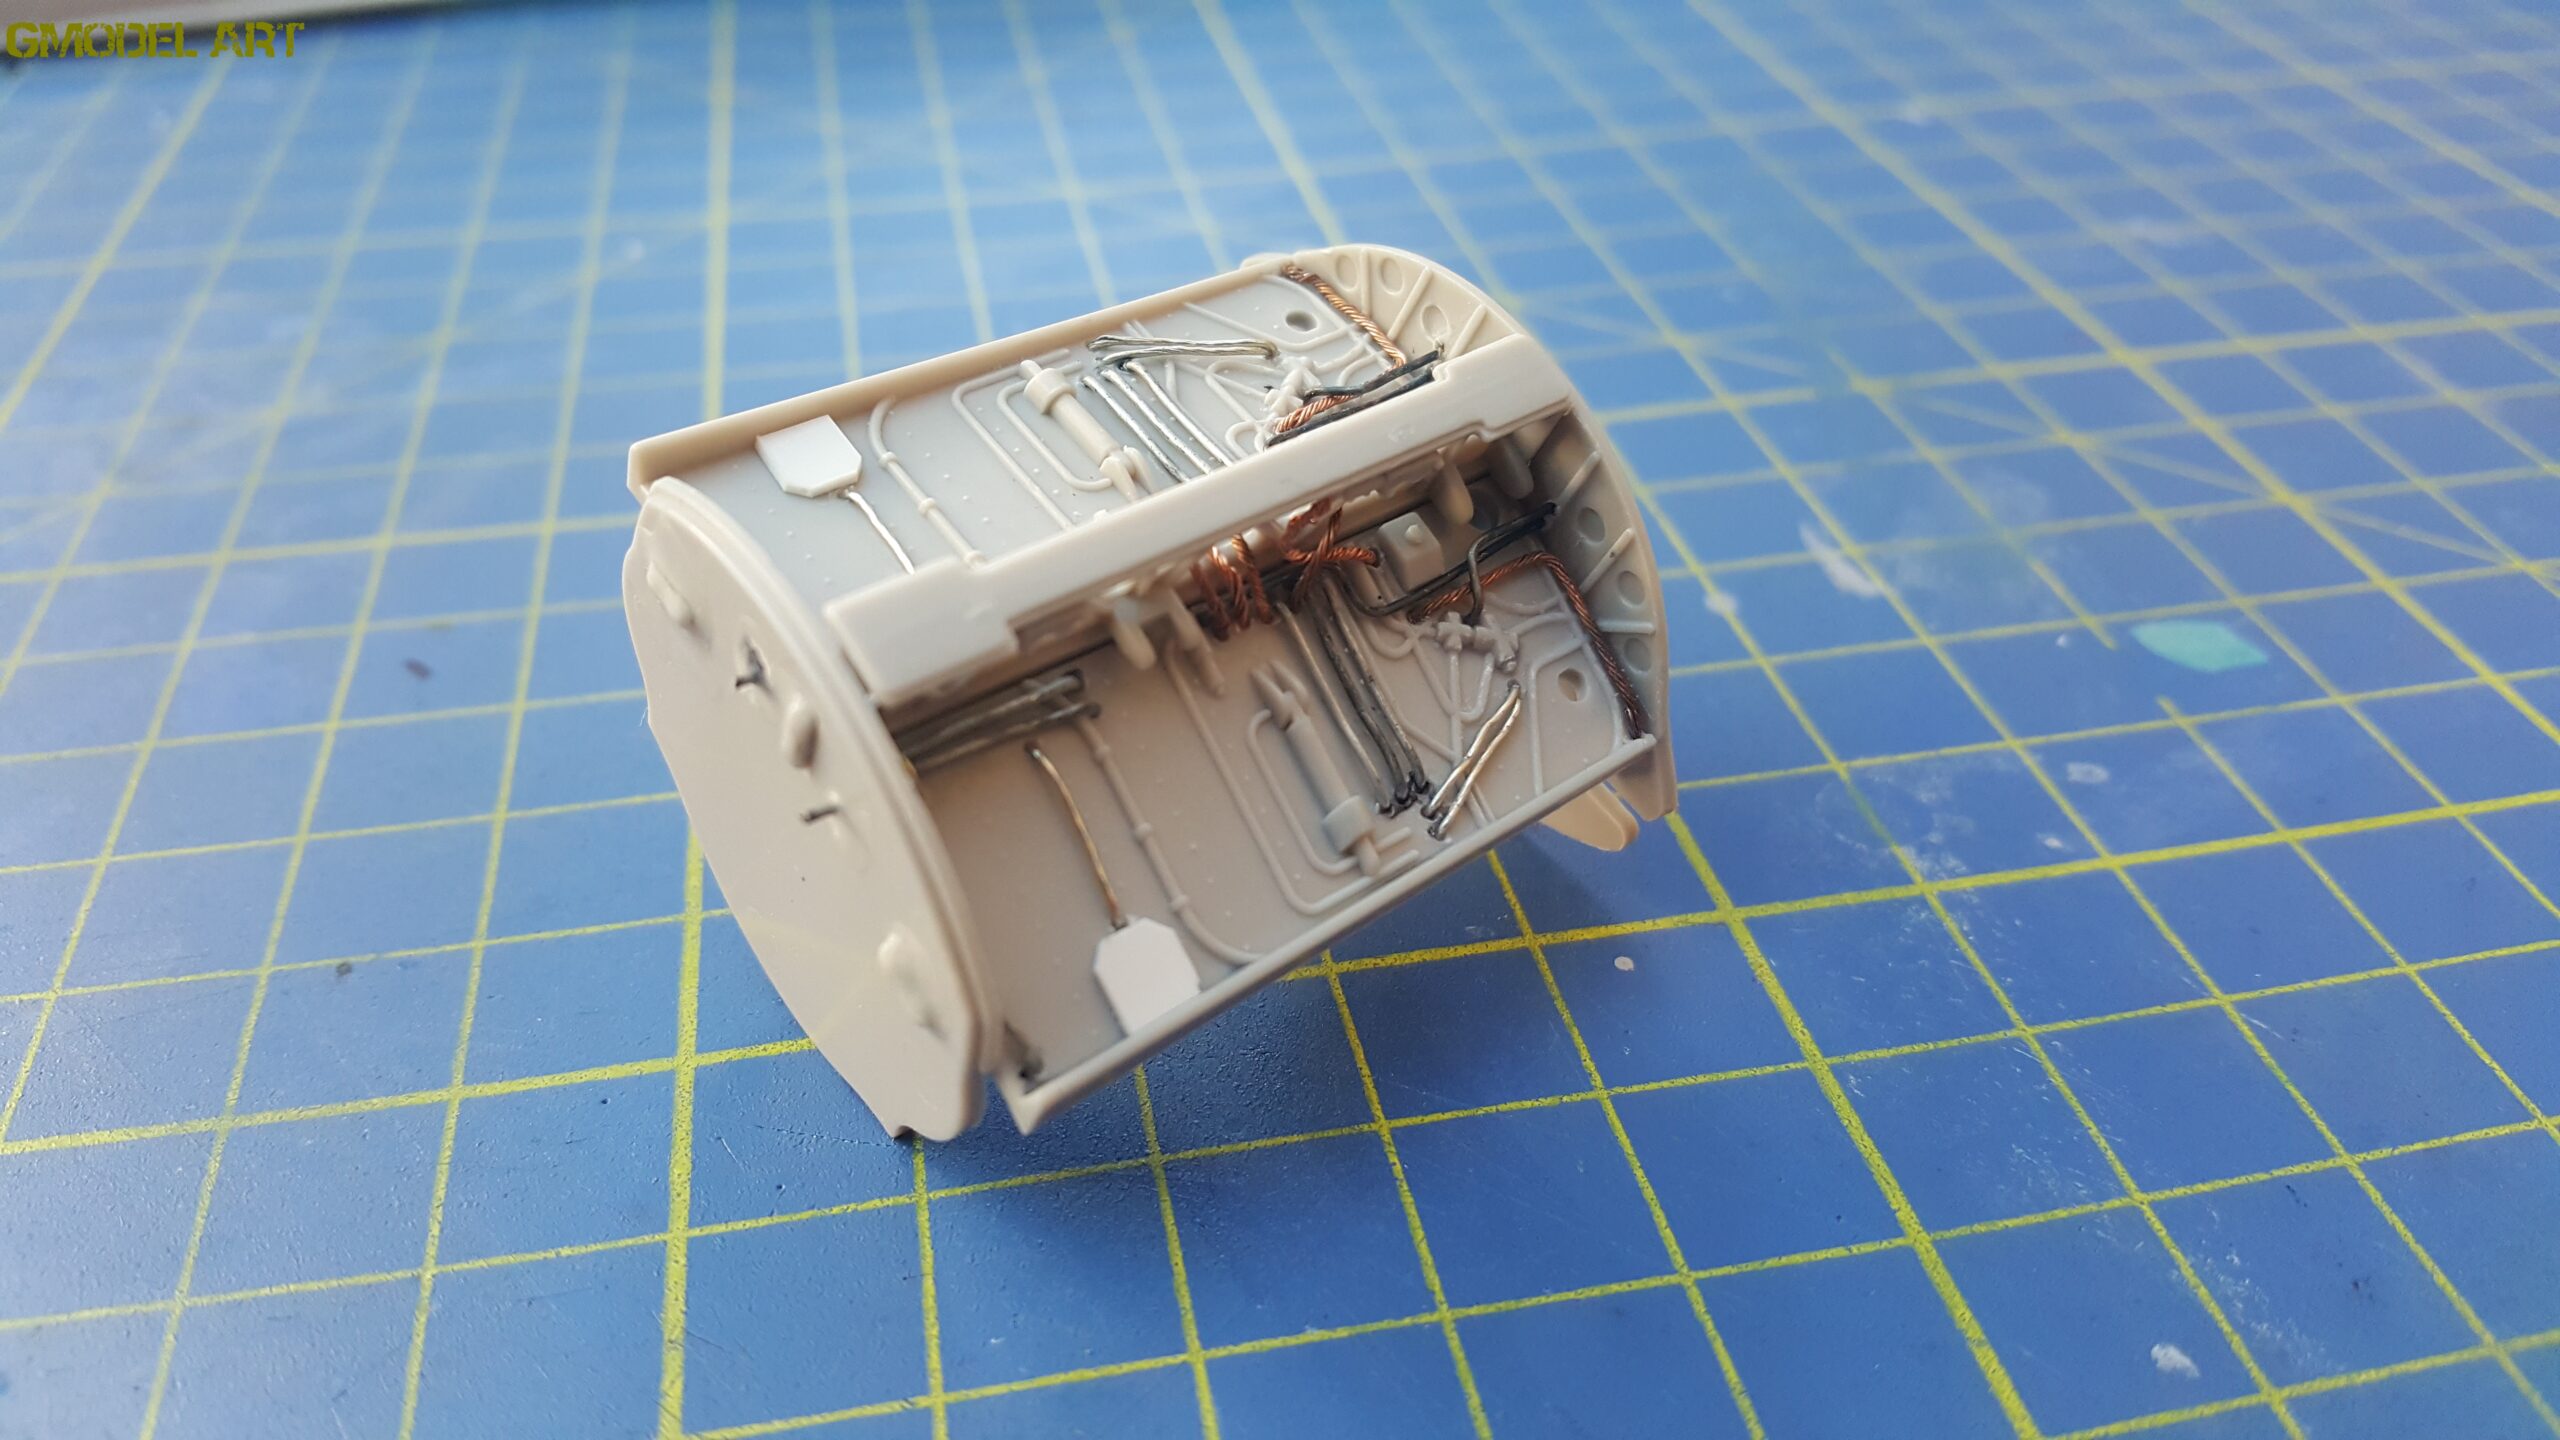
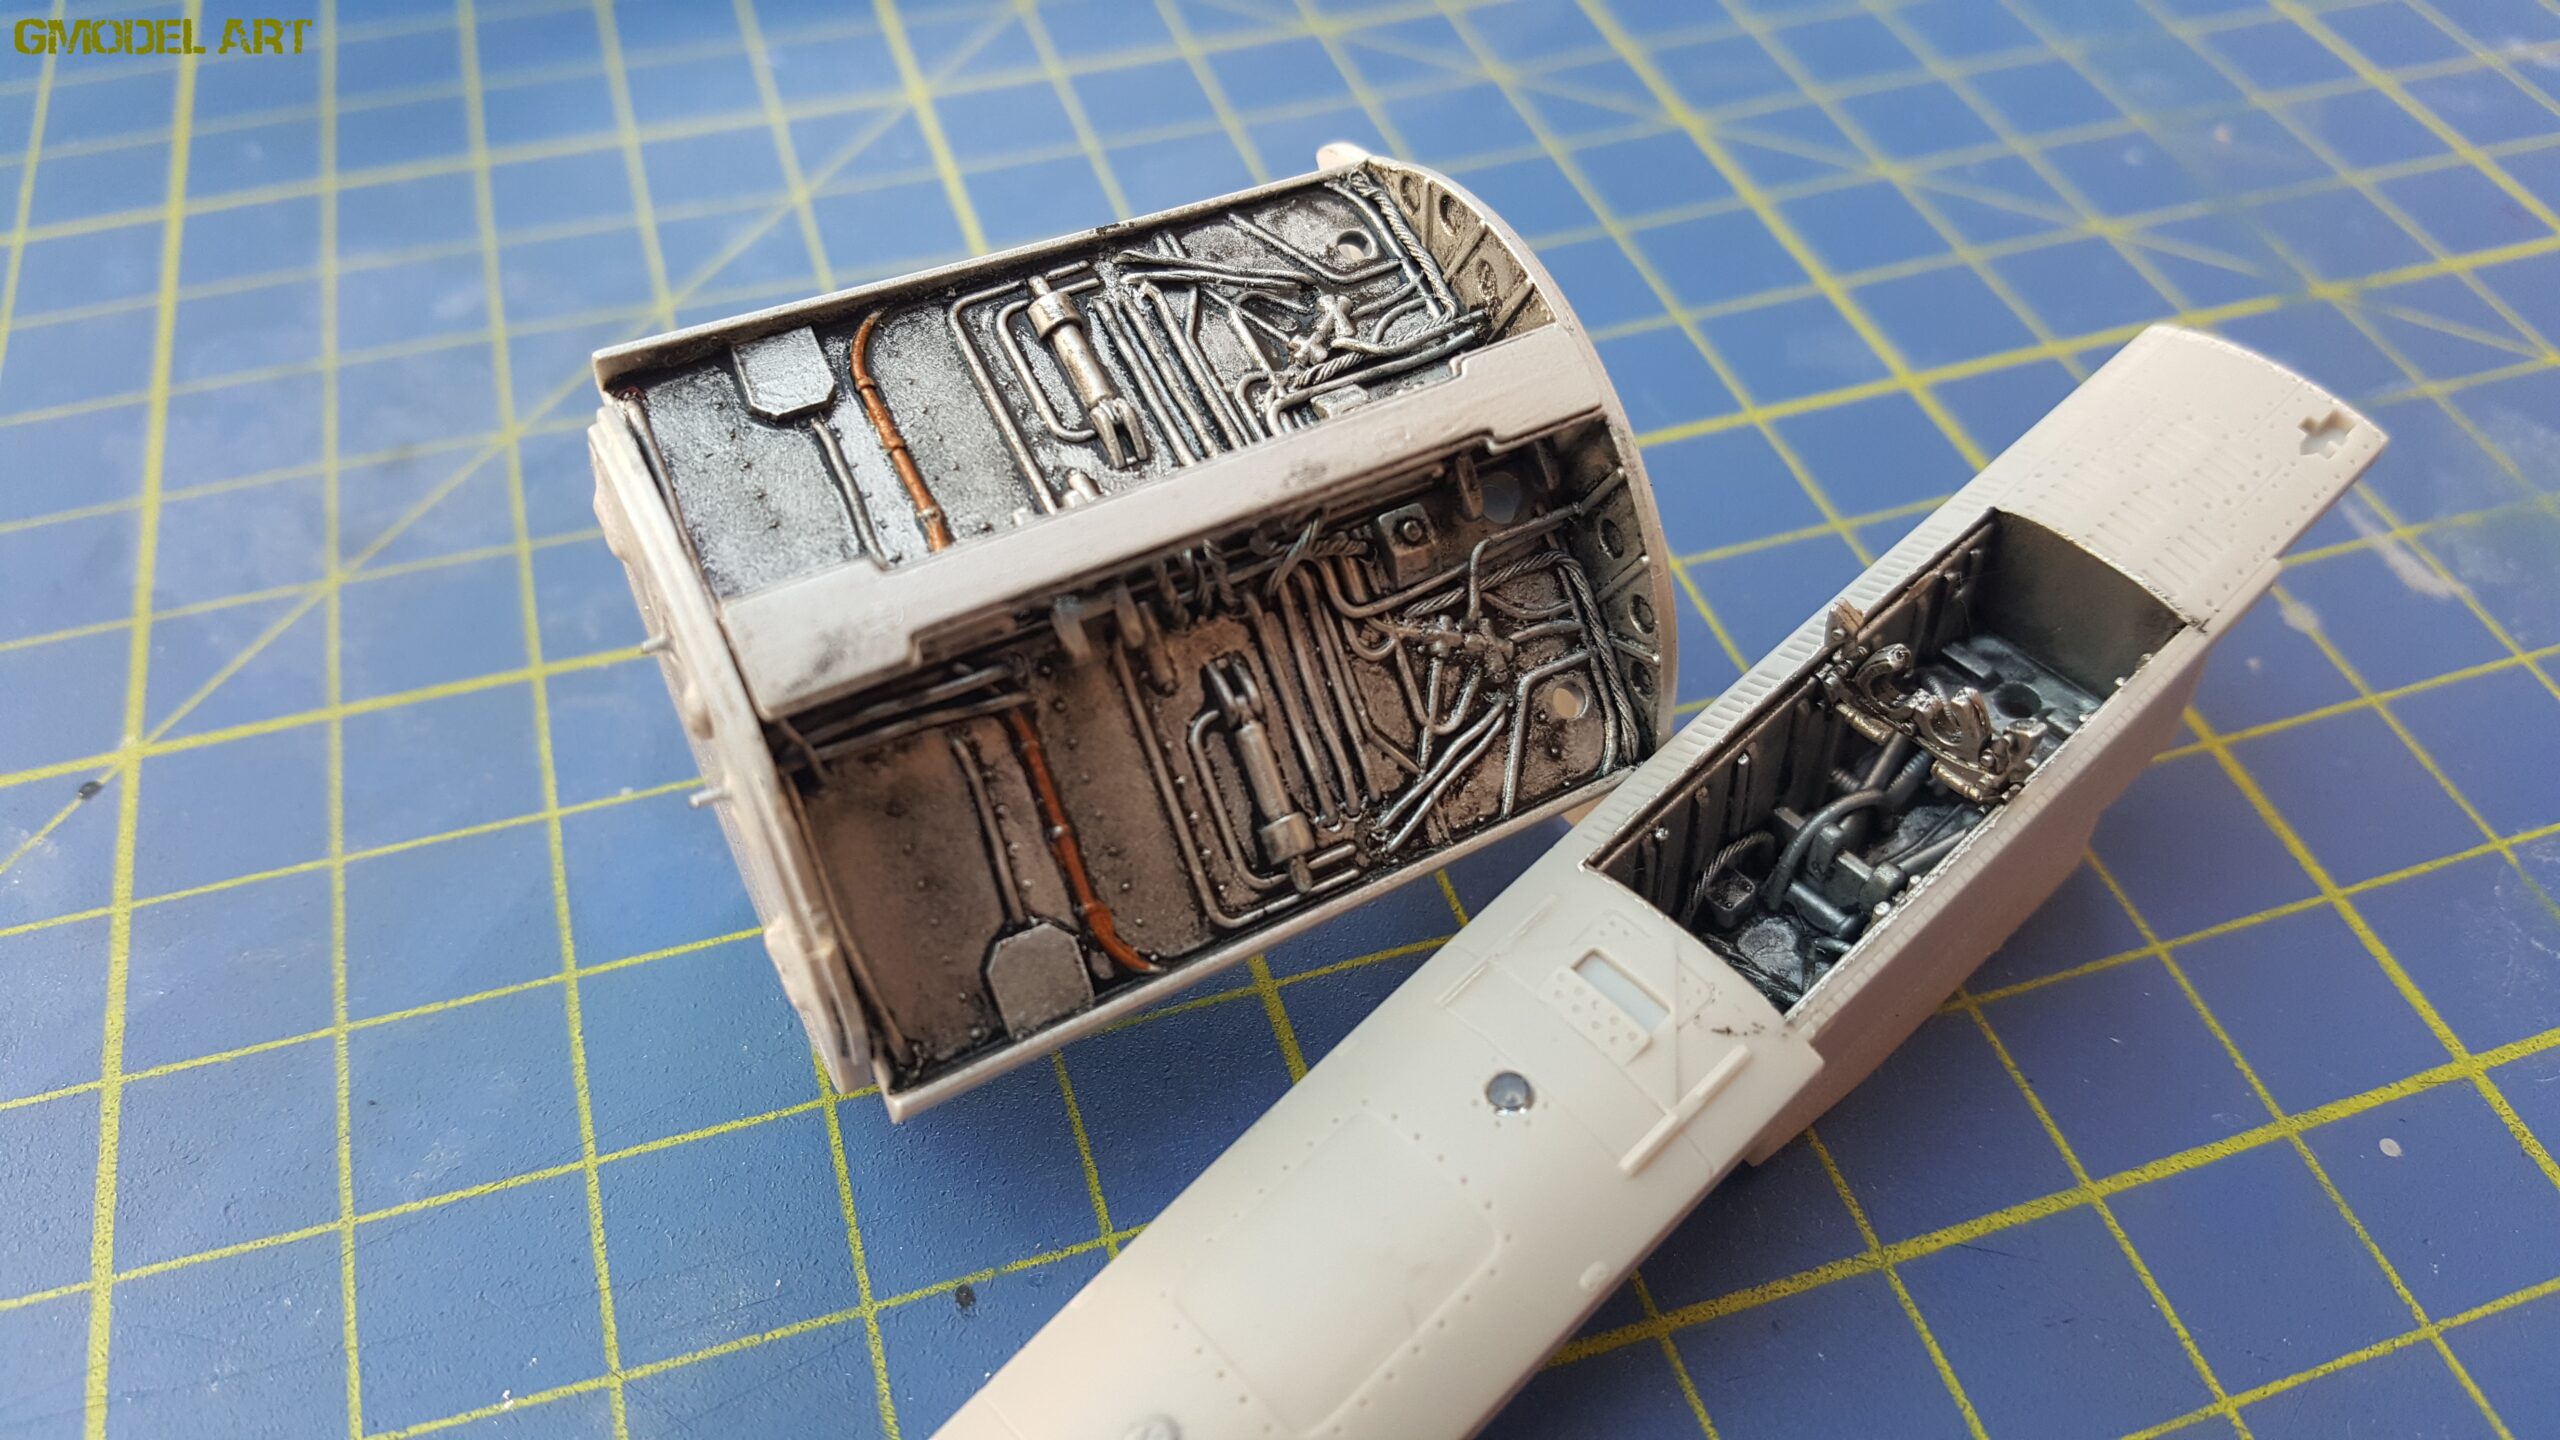
One of the weaker areas of the Hasegawa 1/48 F-104G kit is the landing gear bay detail.
Compared with the excellent overall surface detail of the kit, the wheel wells are relatively modest. Because of this, I decided to improve them using photographs of the real aircraft as references.
The most important addition was the extensive wiring and plumbing visible inside the landing gear bays. Adding cables individually helped transform the relatively plain kit parts into much more realistic representations of the original aircraft.
This is one of those areas where reference photographs make a major difference. Rather than simply adding random wires, I used photographs as a guide to reproduce the general arrangement and density of the equipment.
Engine Detail and Metallic Finishes
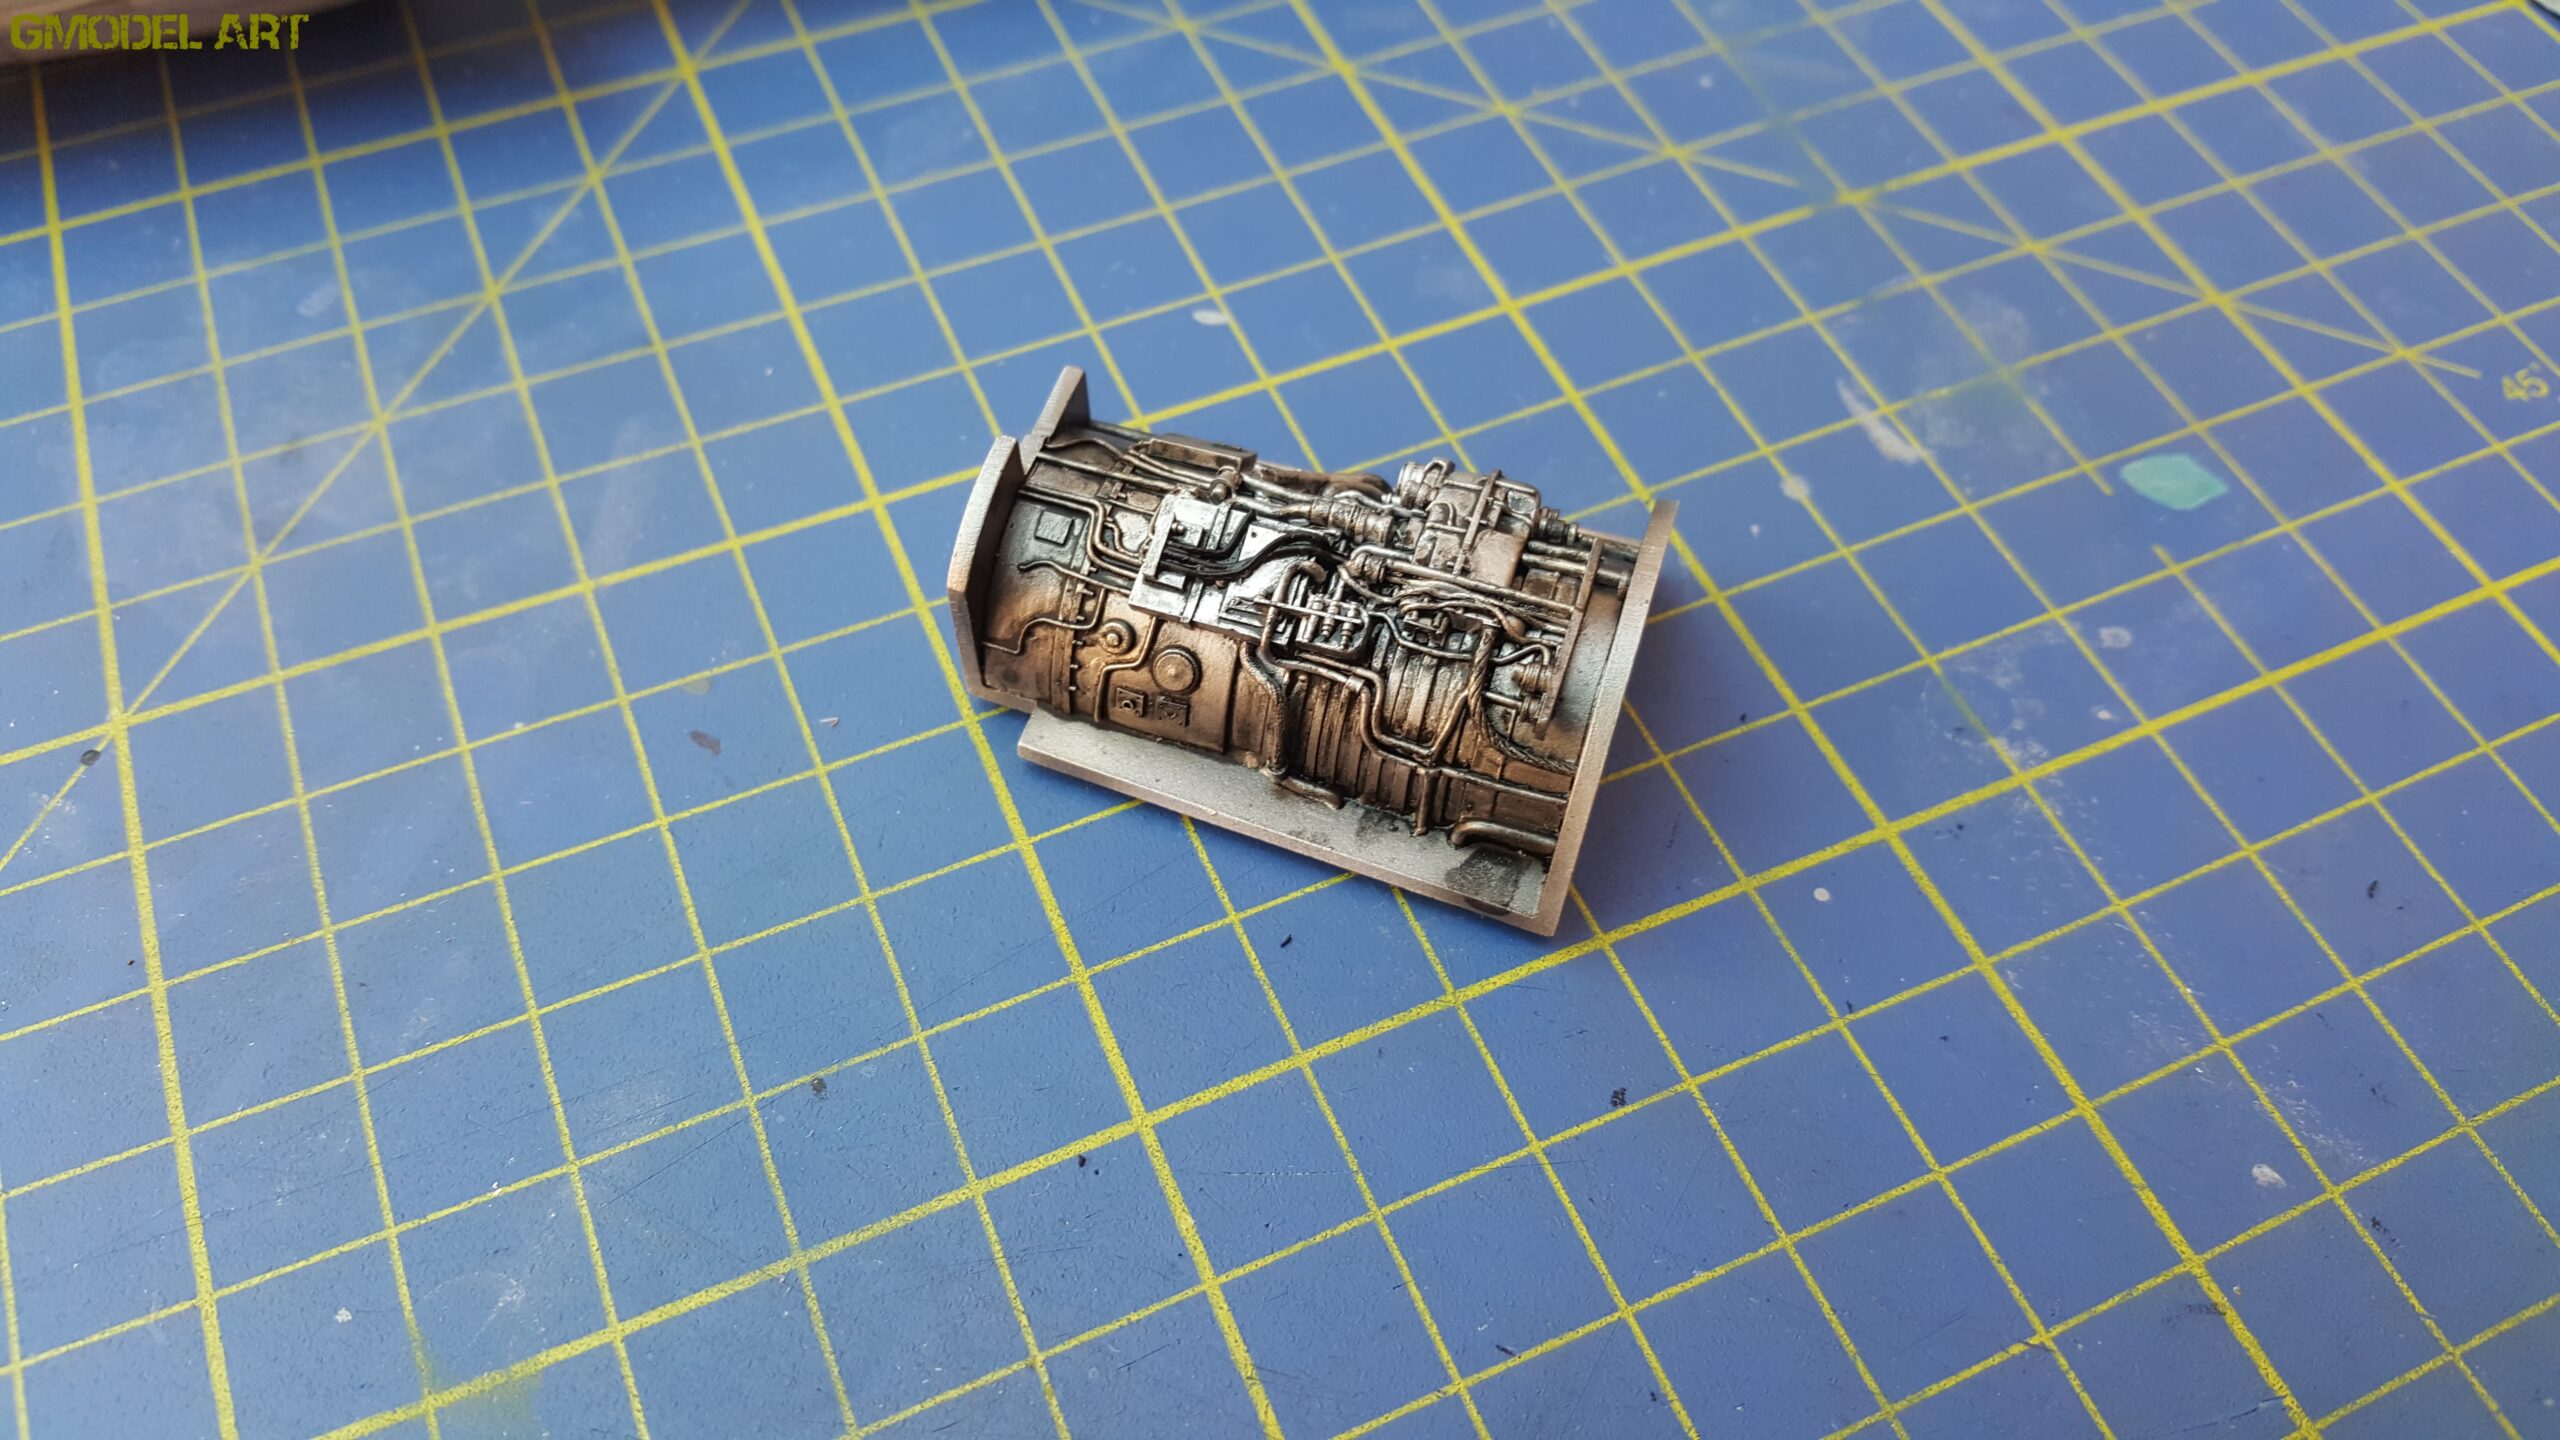
The engine components received several metallic finishes.
The small engine section was initially painted with Gunze black, followed by several shades of Alclad metallic paint.
The sequence used was:
| Stage | Paint |
|---|---|
| Base metallic | Alclad ALC-101 Aluminum |
| Second metallic shade | Alclad ALC-111 Magnesium |
| Final metallic effect | Alclad ALC-118 Gold Titanium |
Using several metallic shades rather than a single color helped create variation across the engine components and produced a more convincing metal appearance.
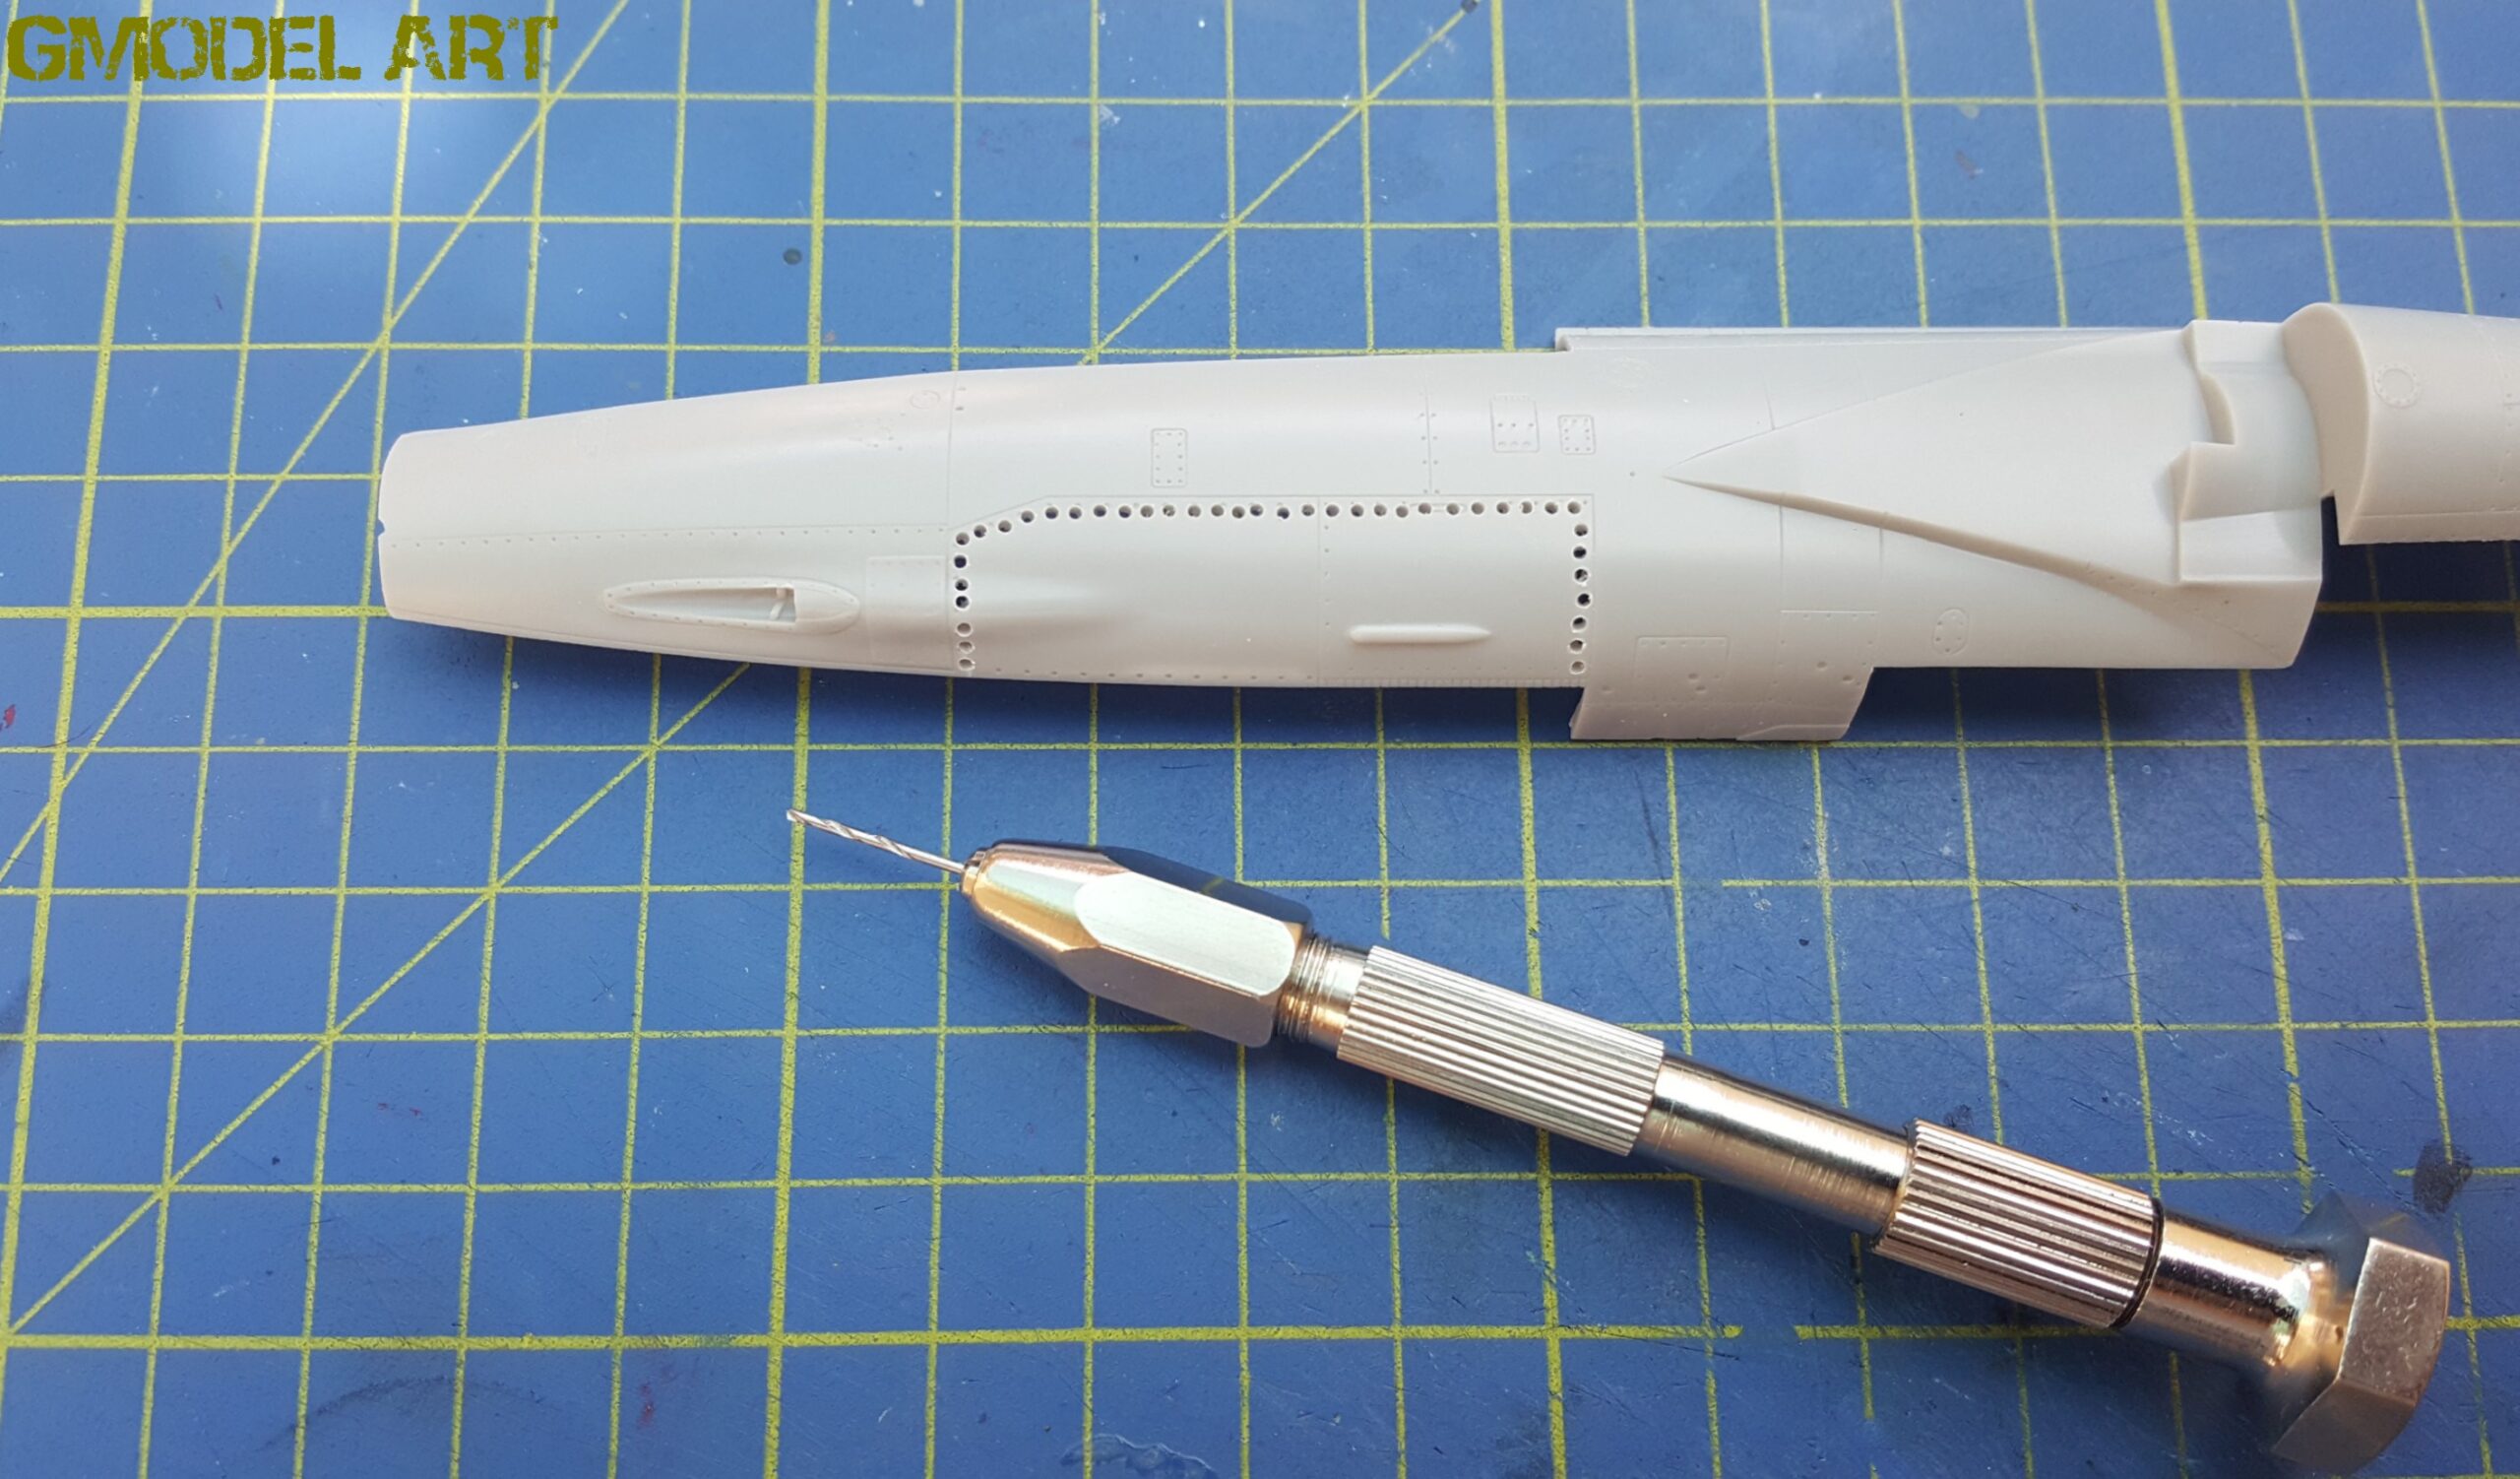
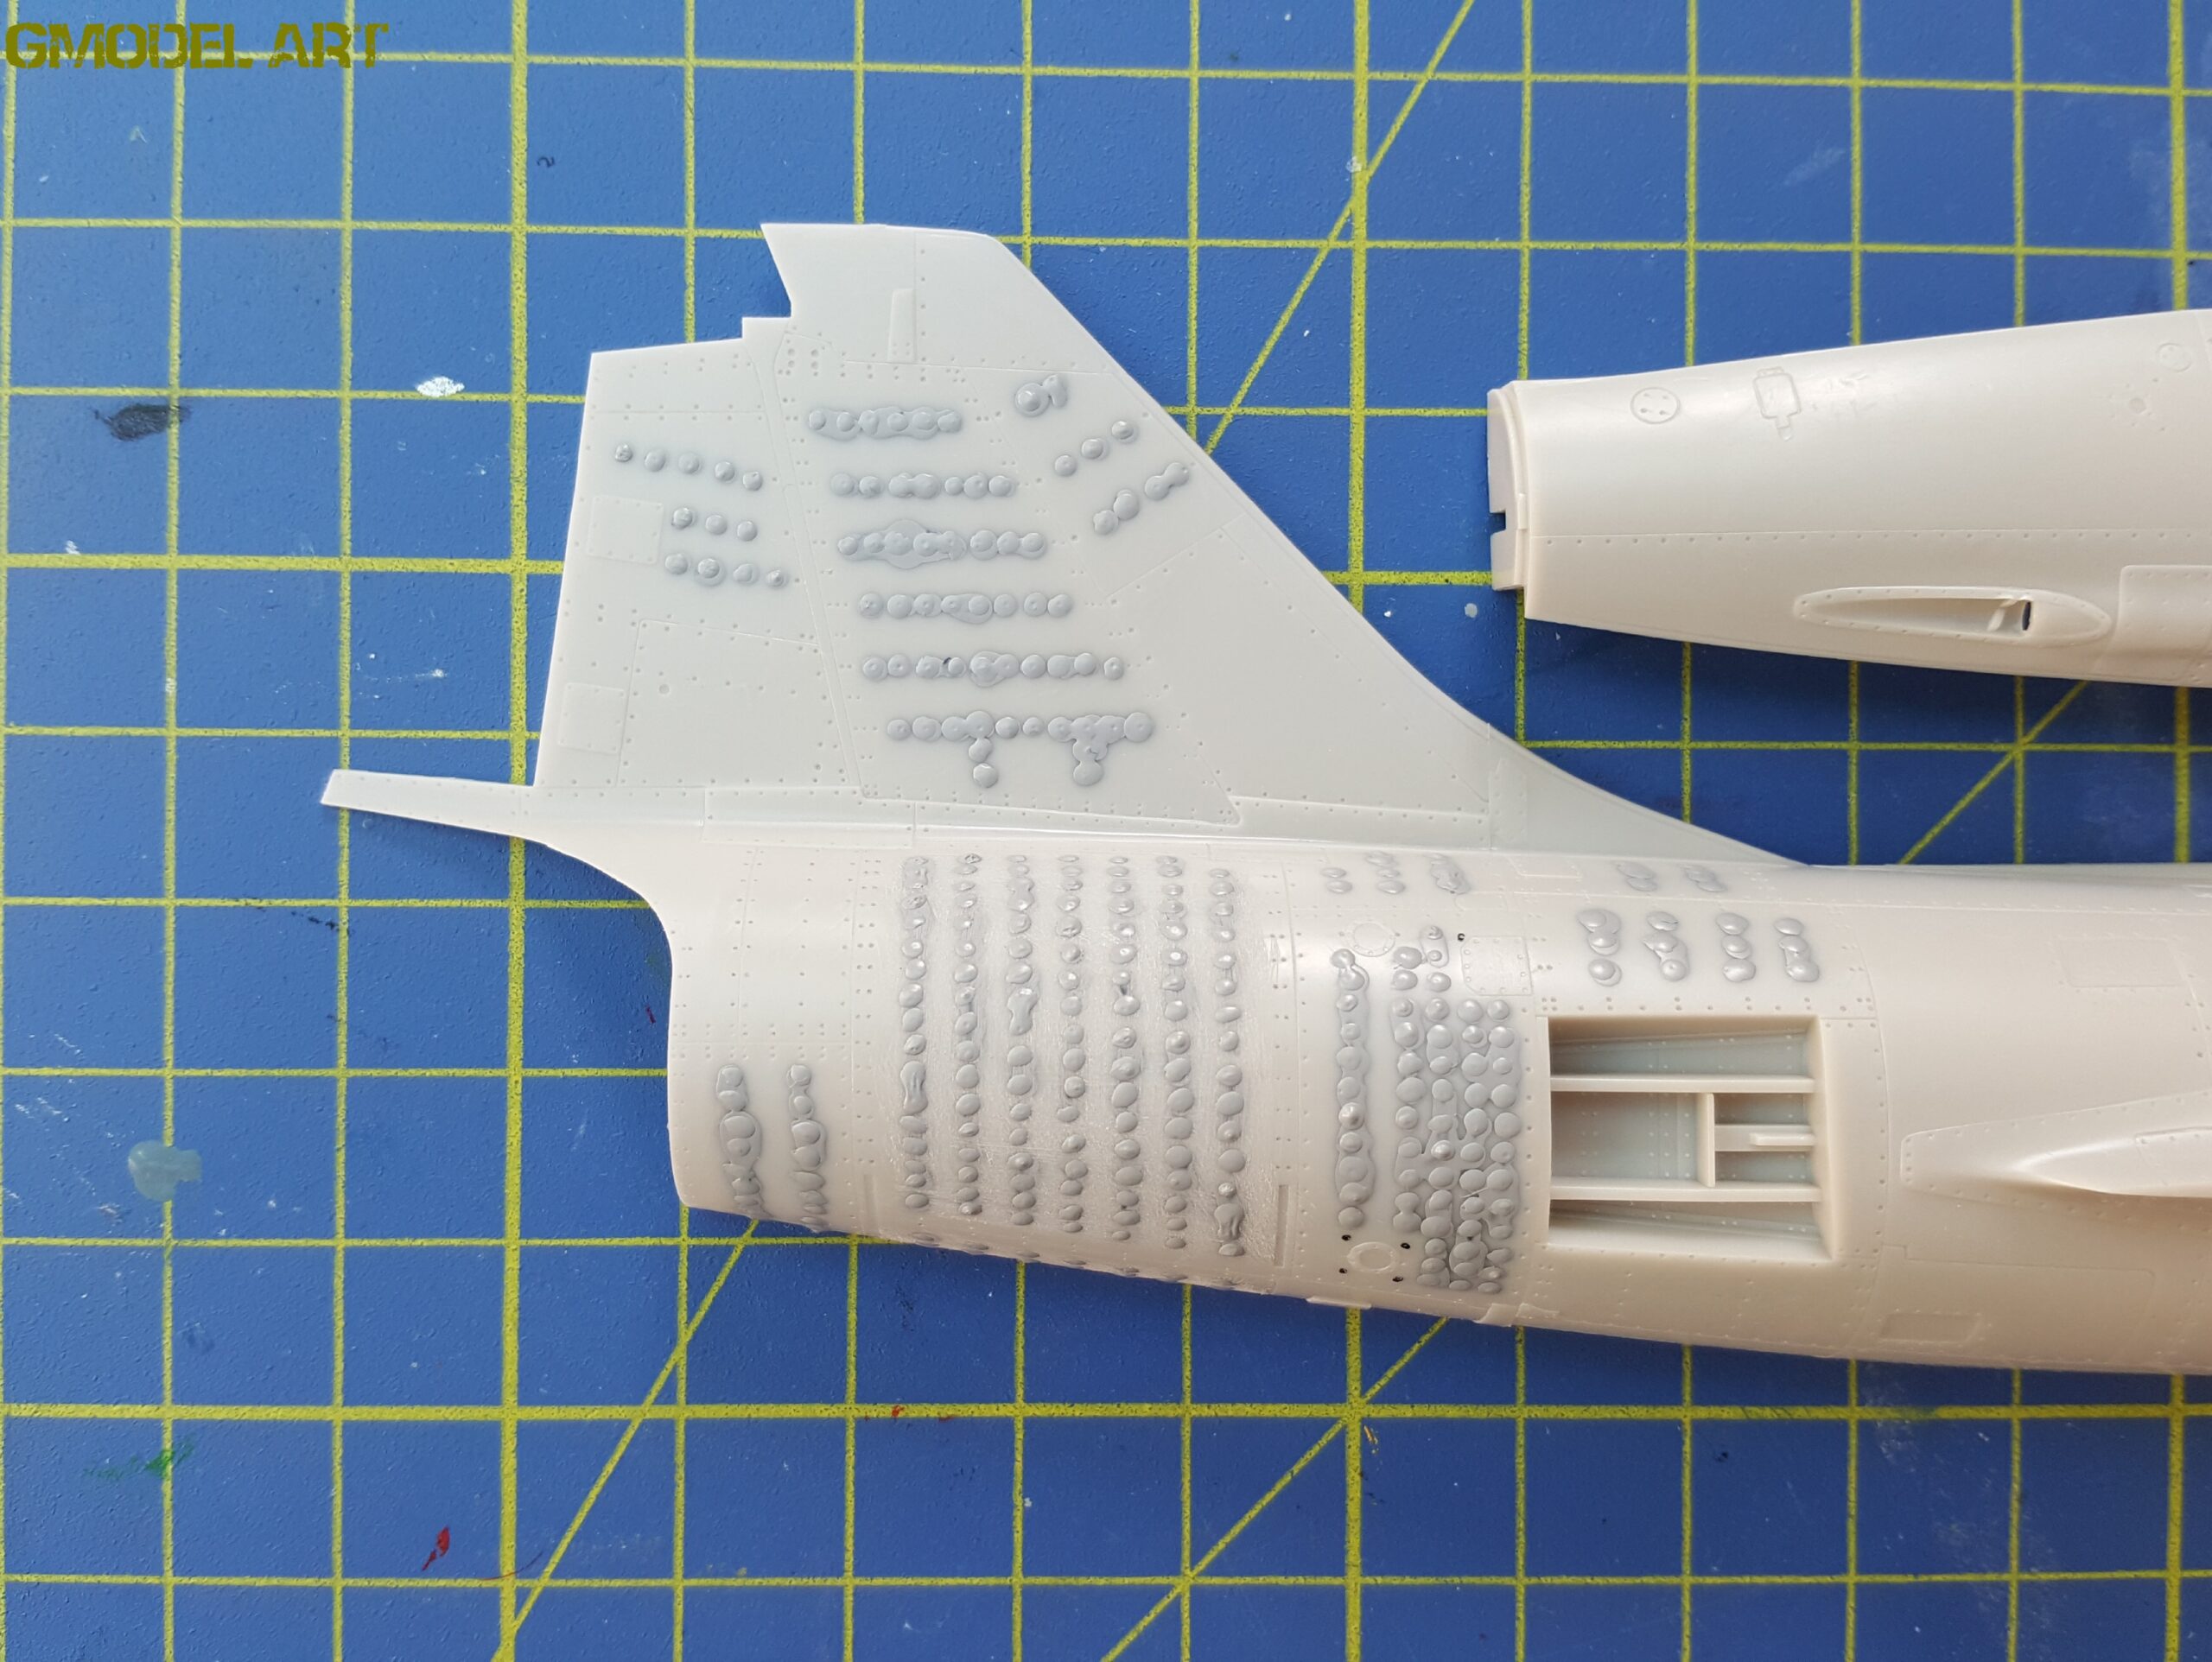
The exhaust nozzle was also upgraded with additional rivet detail.
It was first painted internally and externally with Gunze H12 Flat Black. The exterior was then finished with Alclad ALC-101 Aluminum, followed by selected areas of Alclad ALC-111 Magnesium to reproduce the appearance of heat-affected metal.
Closing the Fuselage
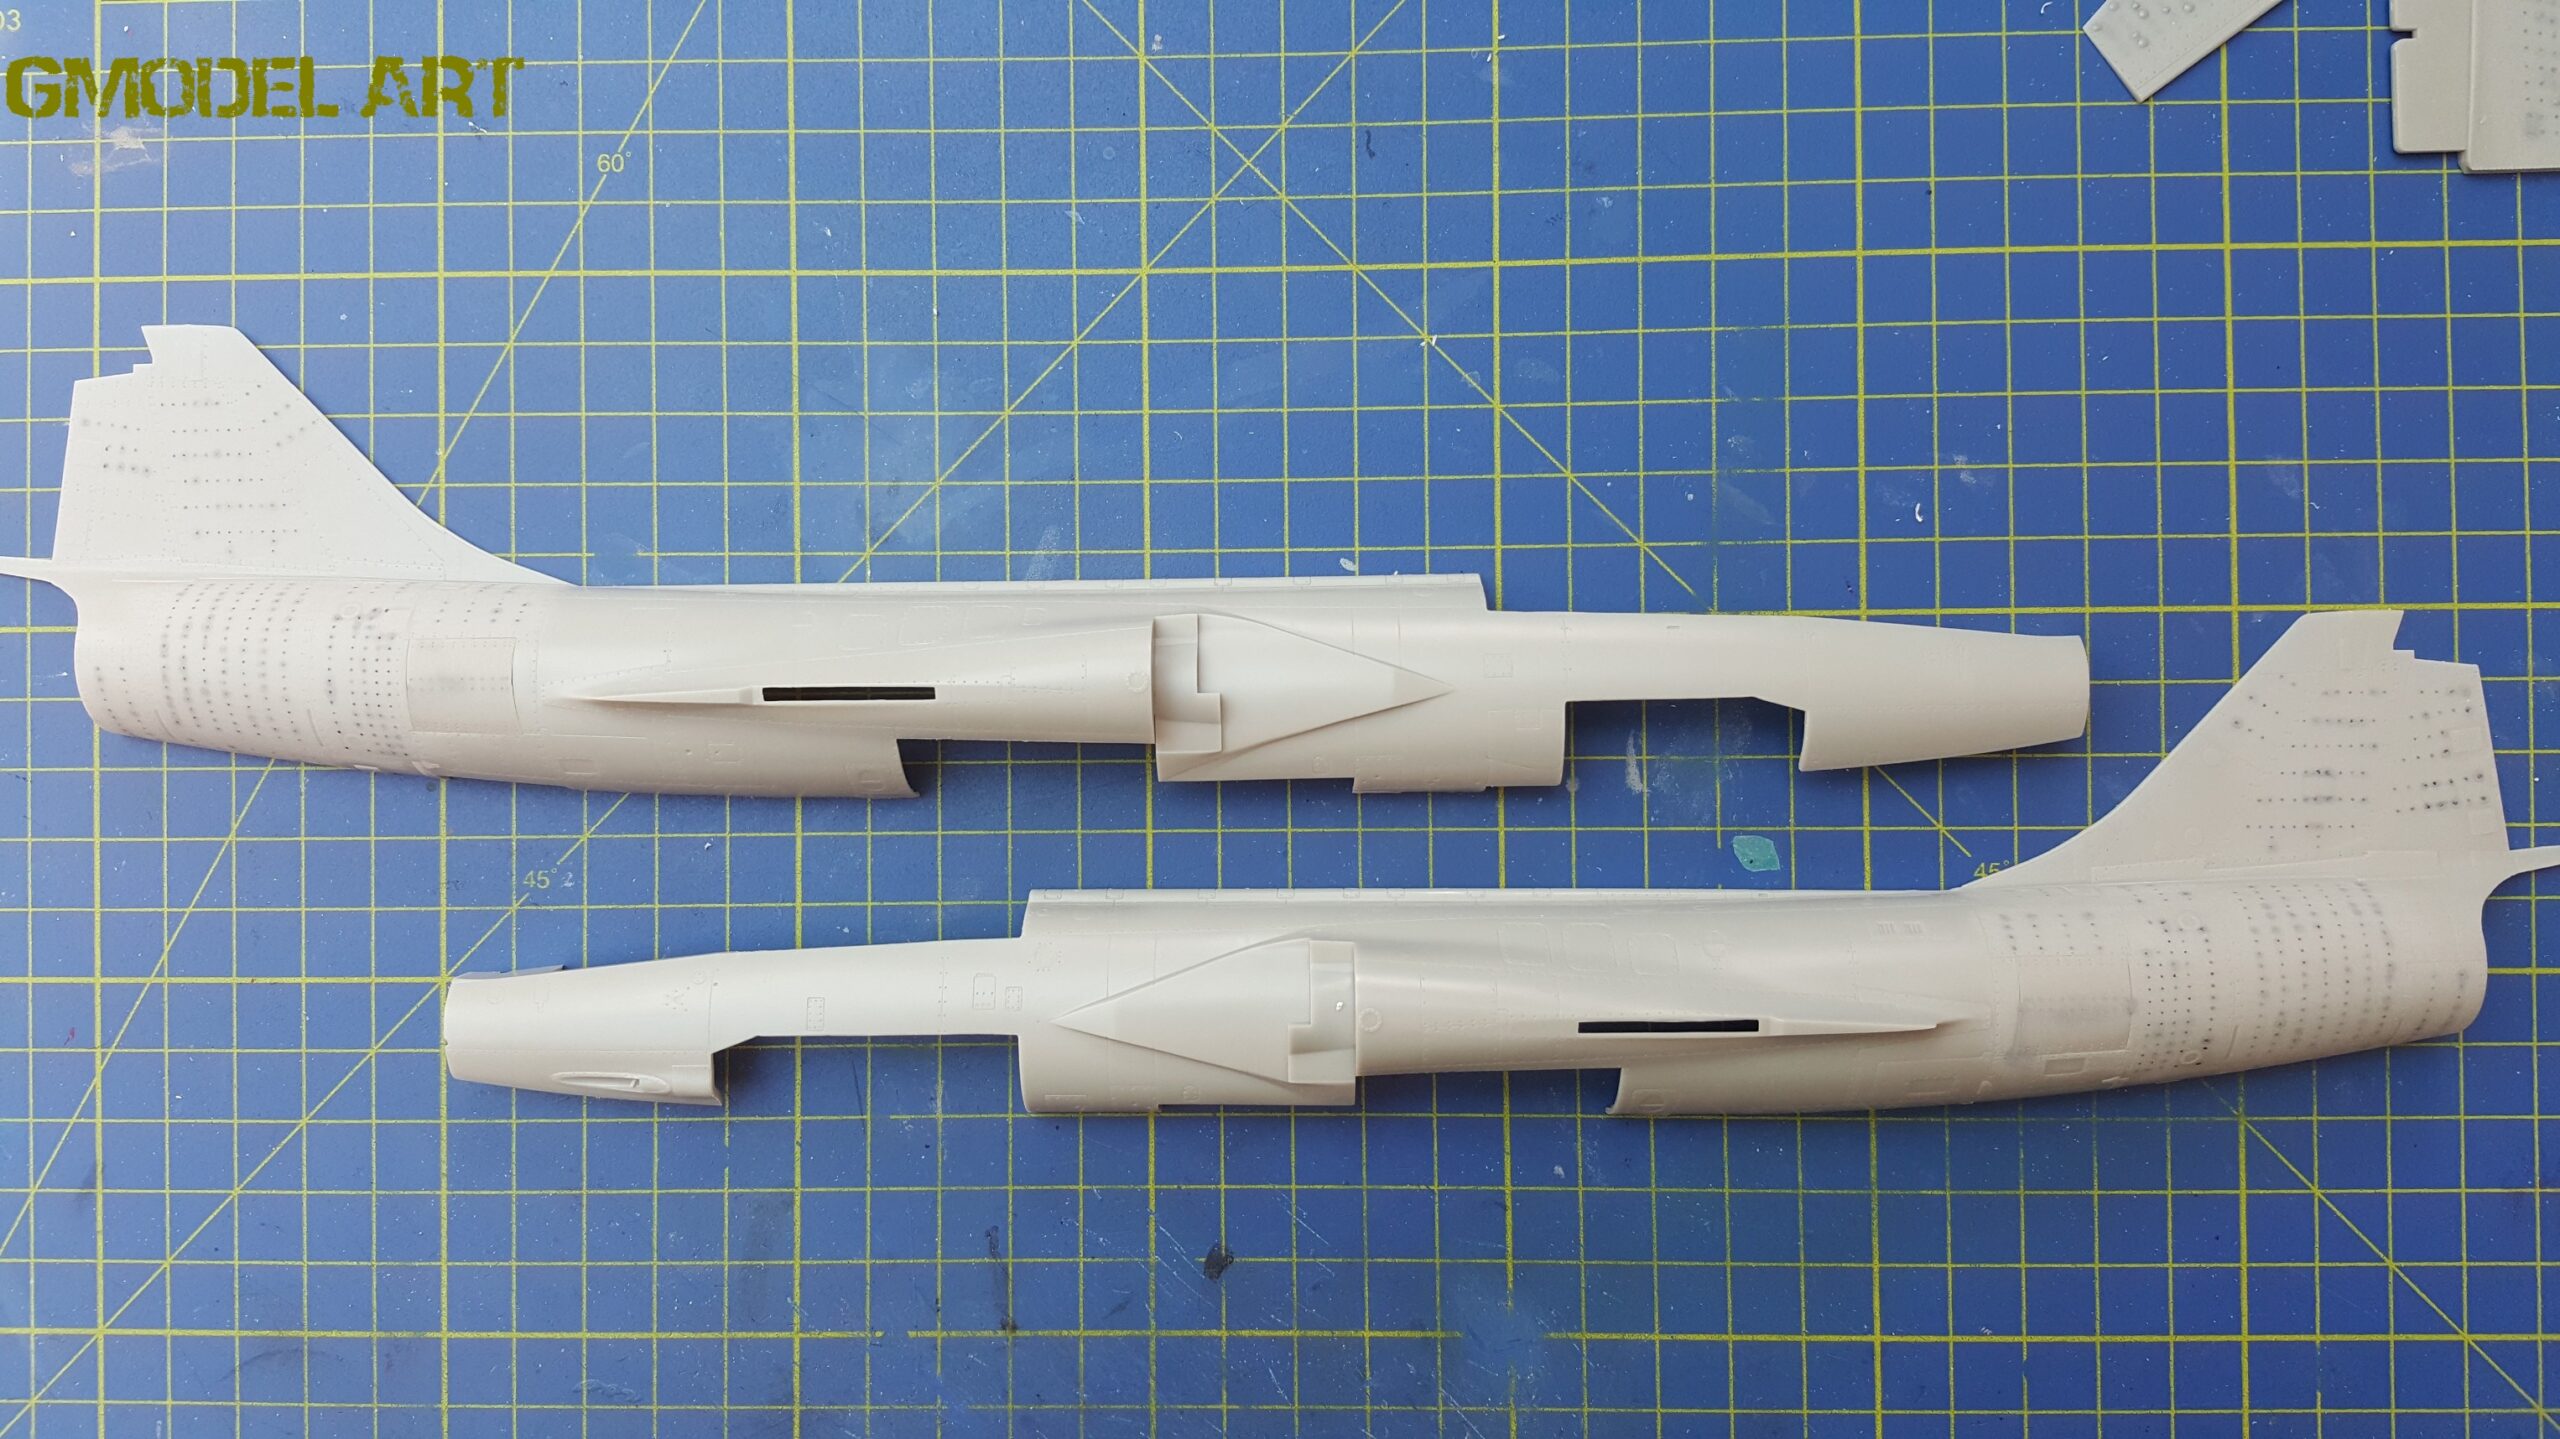
After the internal components had been completed, the two main fuselage sections were joined together.
The wings were then installed. The Hasegawa kit provided very good fit throughout this stage, with the major components coming together without significant problems.
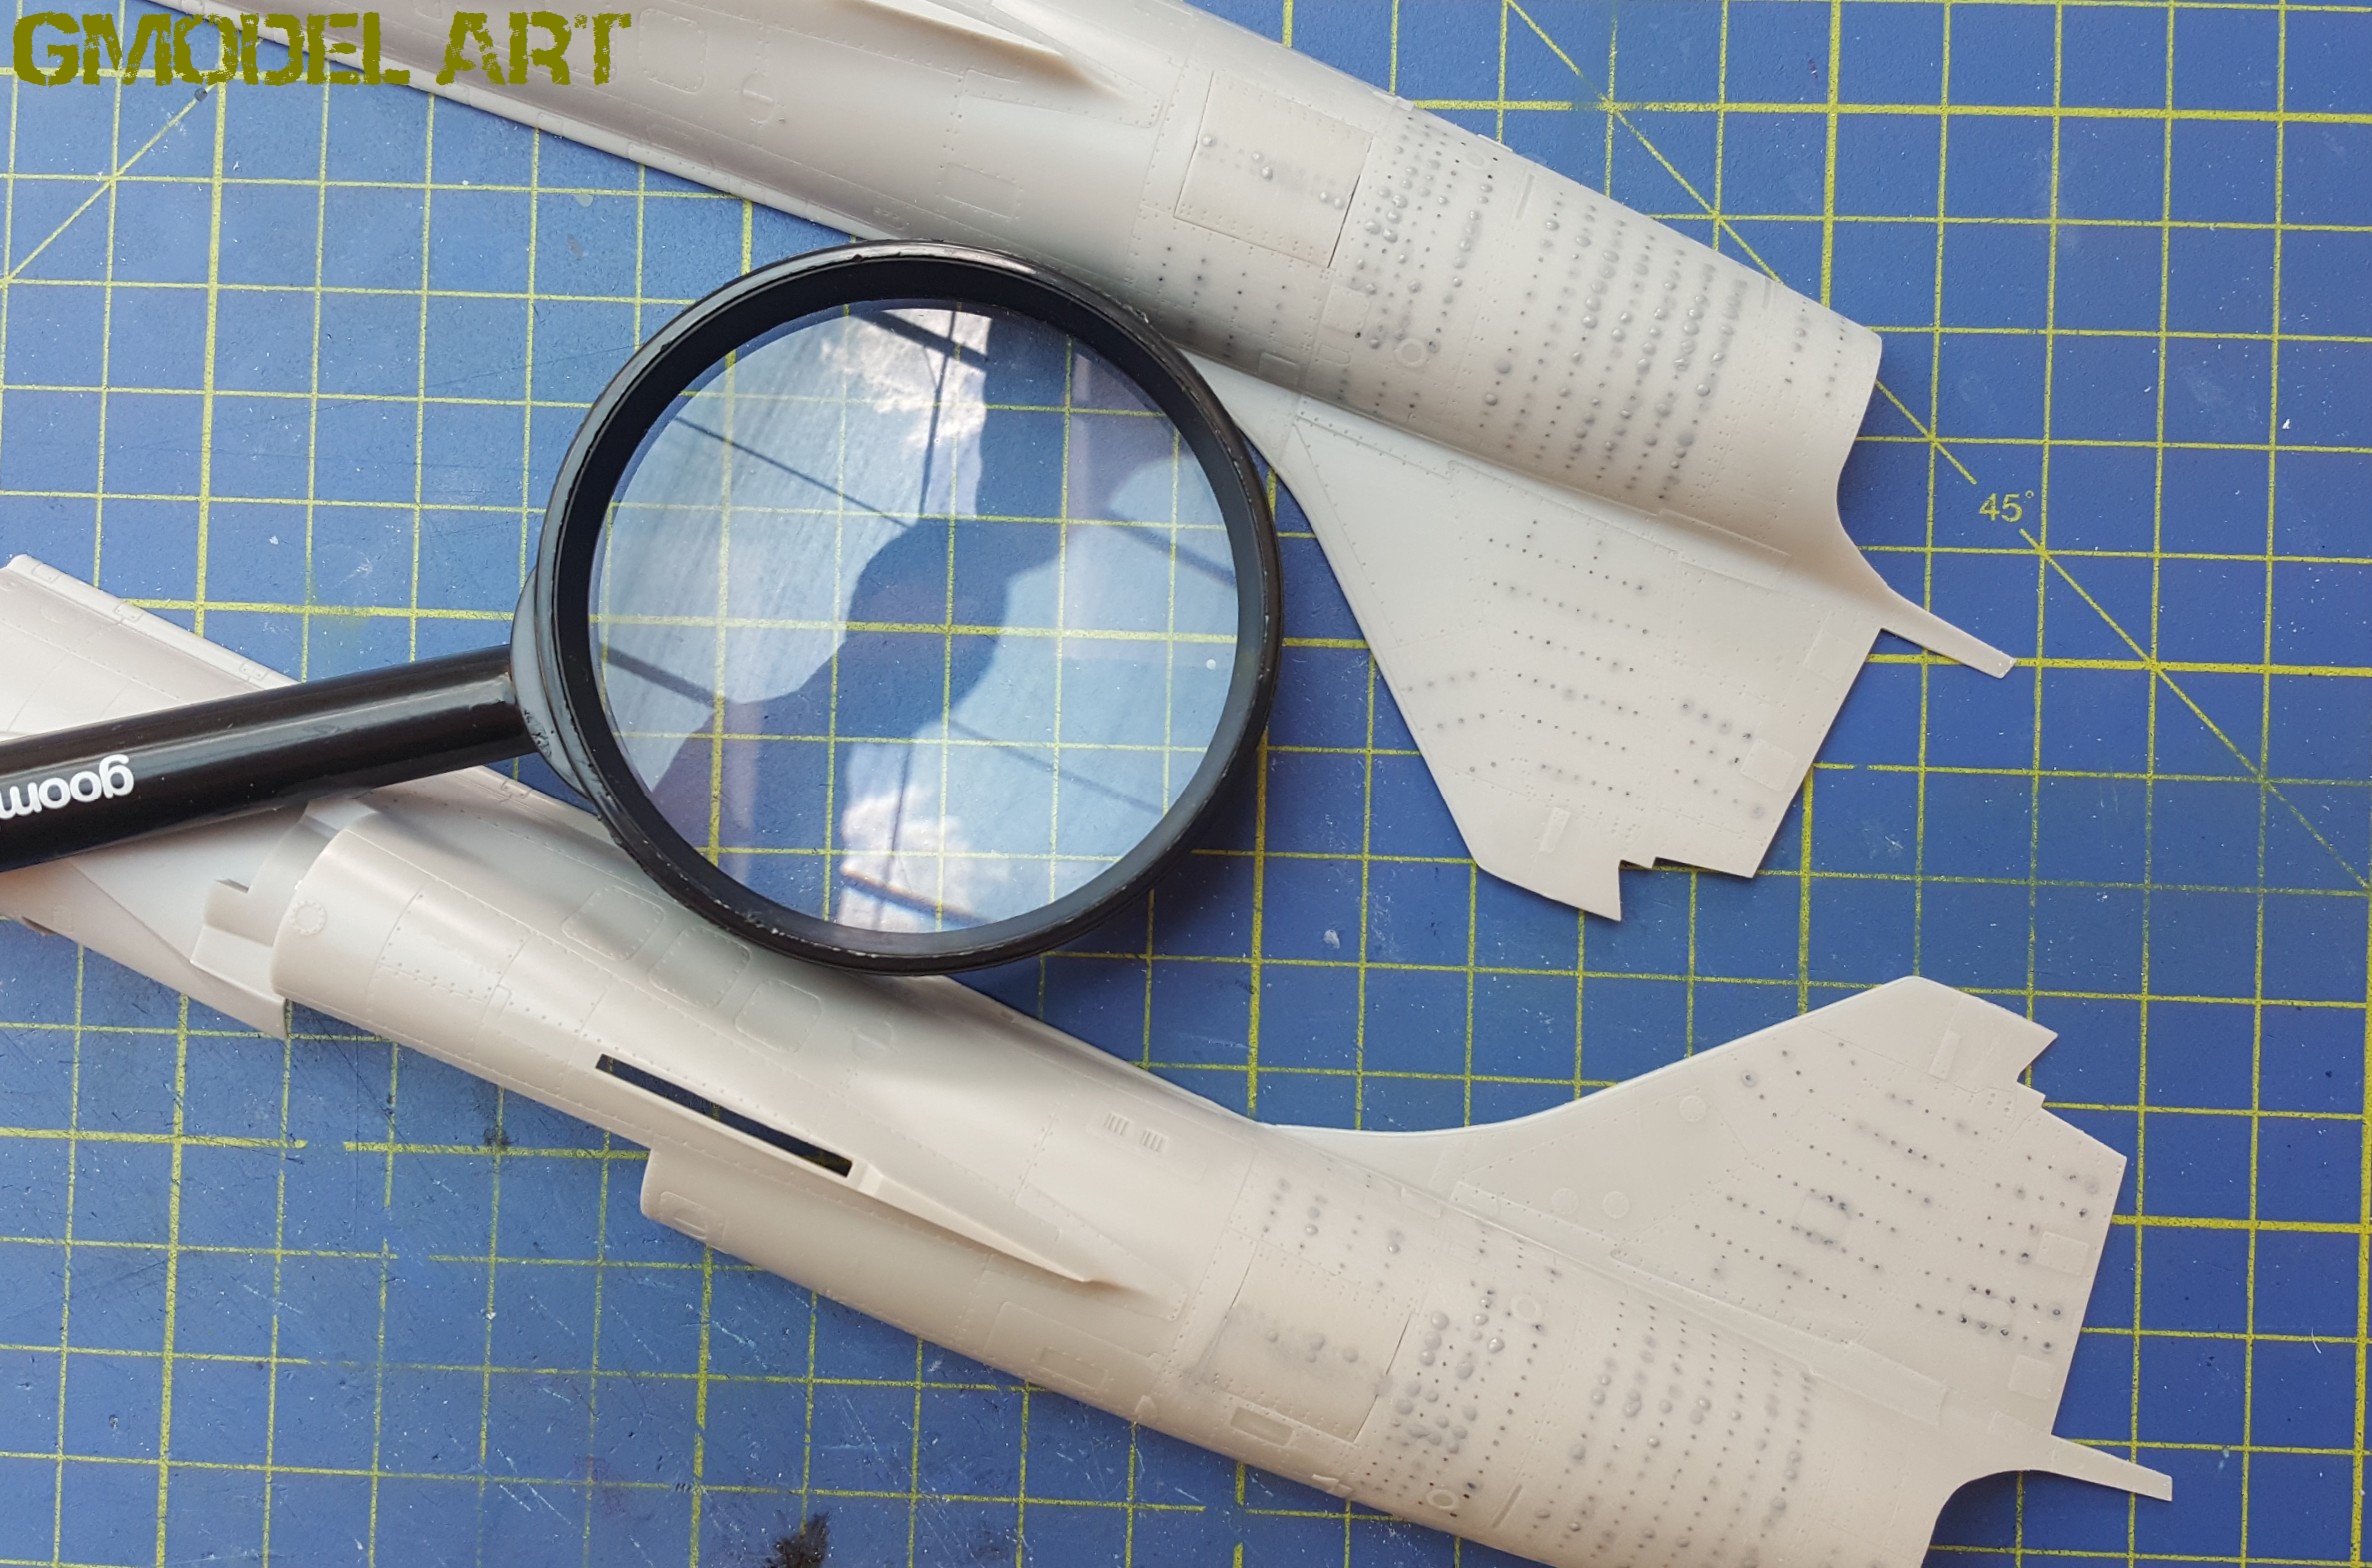
After the main assembly was completed, I used Gunze liquid putty to correct the remaining seams. The affected areas were carefully sanded, followed by another application of filler where necessary.
Once the surface had been restored, the model was ready for the landing gear and final external details.
Landing Gear and Access Doors
The landing gear components and wheel bays were first painted with a black Gunze base coat before receiving Alclad ALC-101 Aluminum.
The access doors on the right and left sides of the fuselage were also prepared at this stage.
Both doors were painted using Gunze H306, while the radar base received the same color.
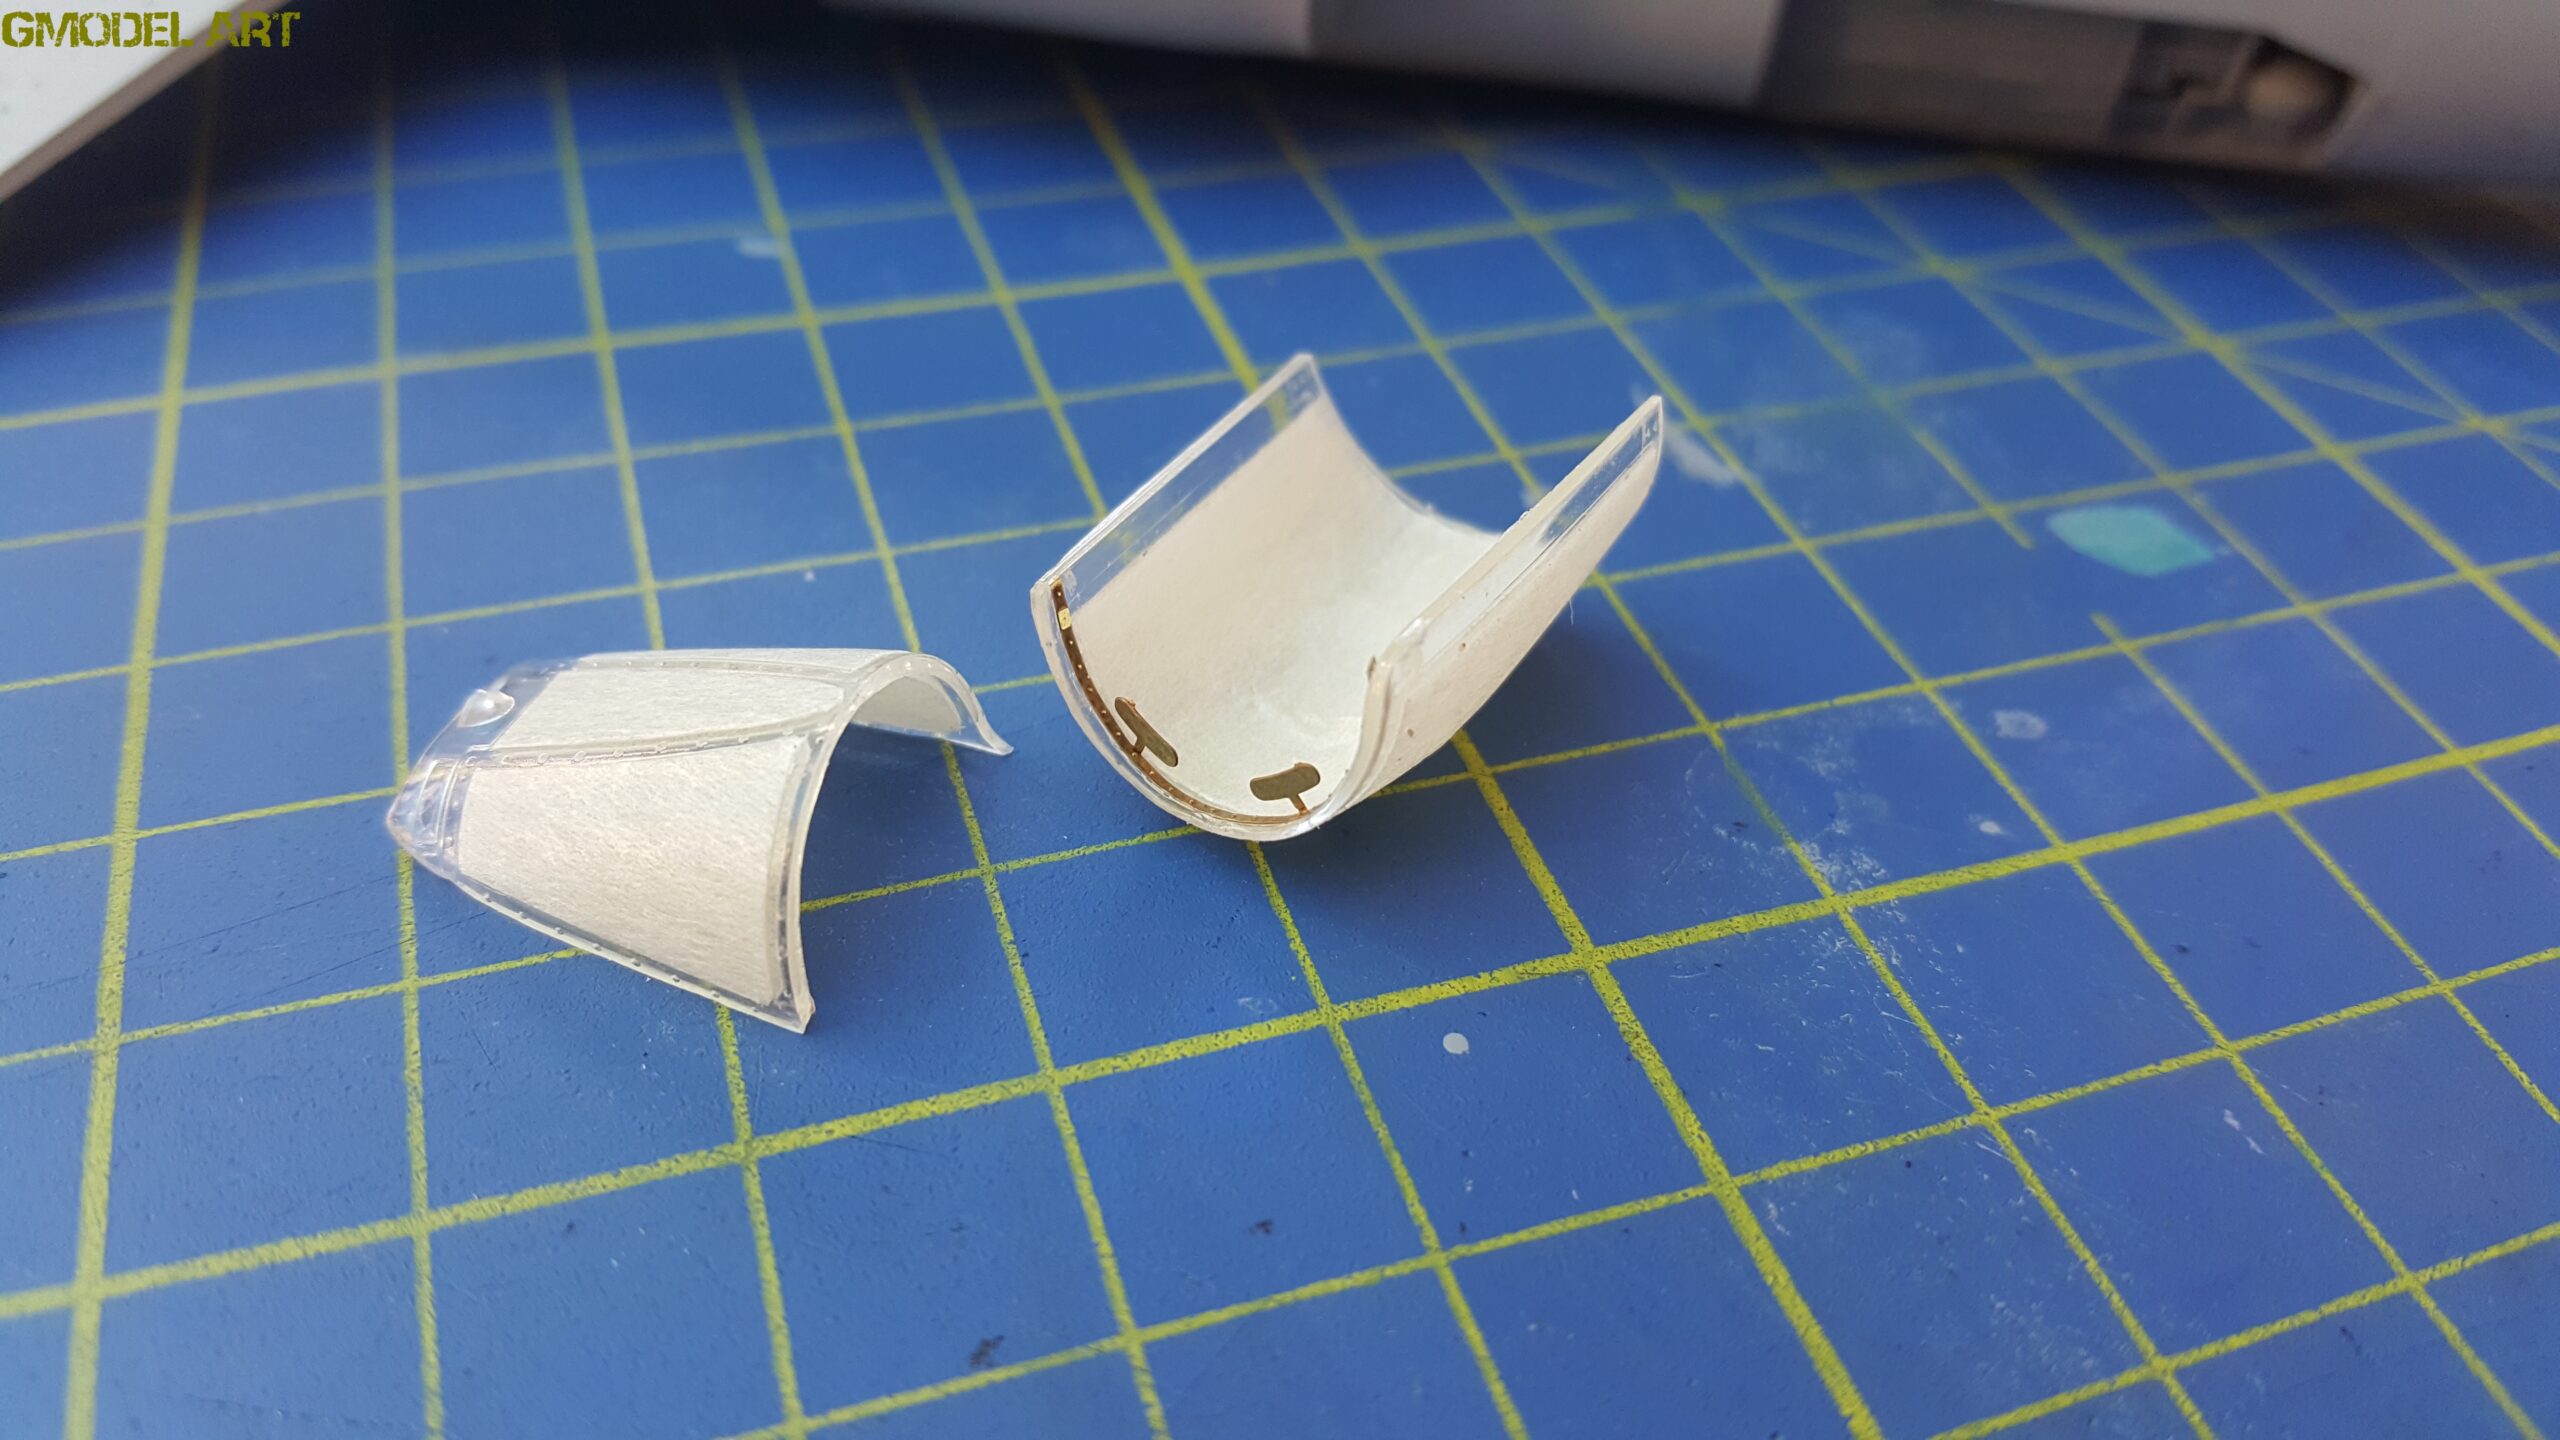
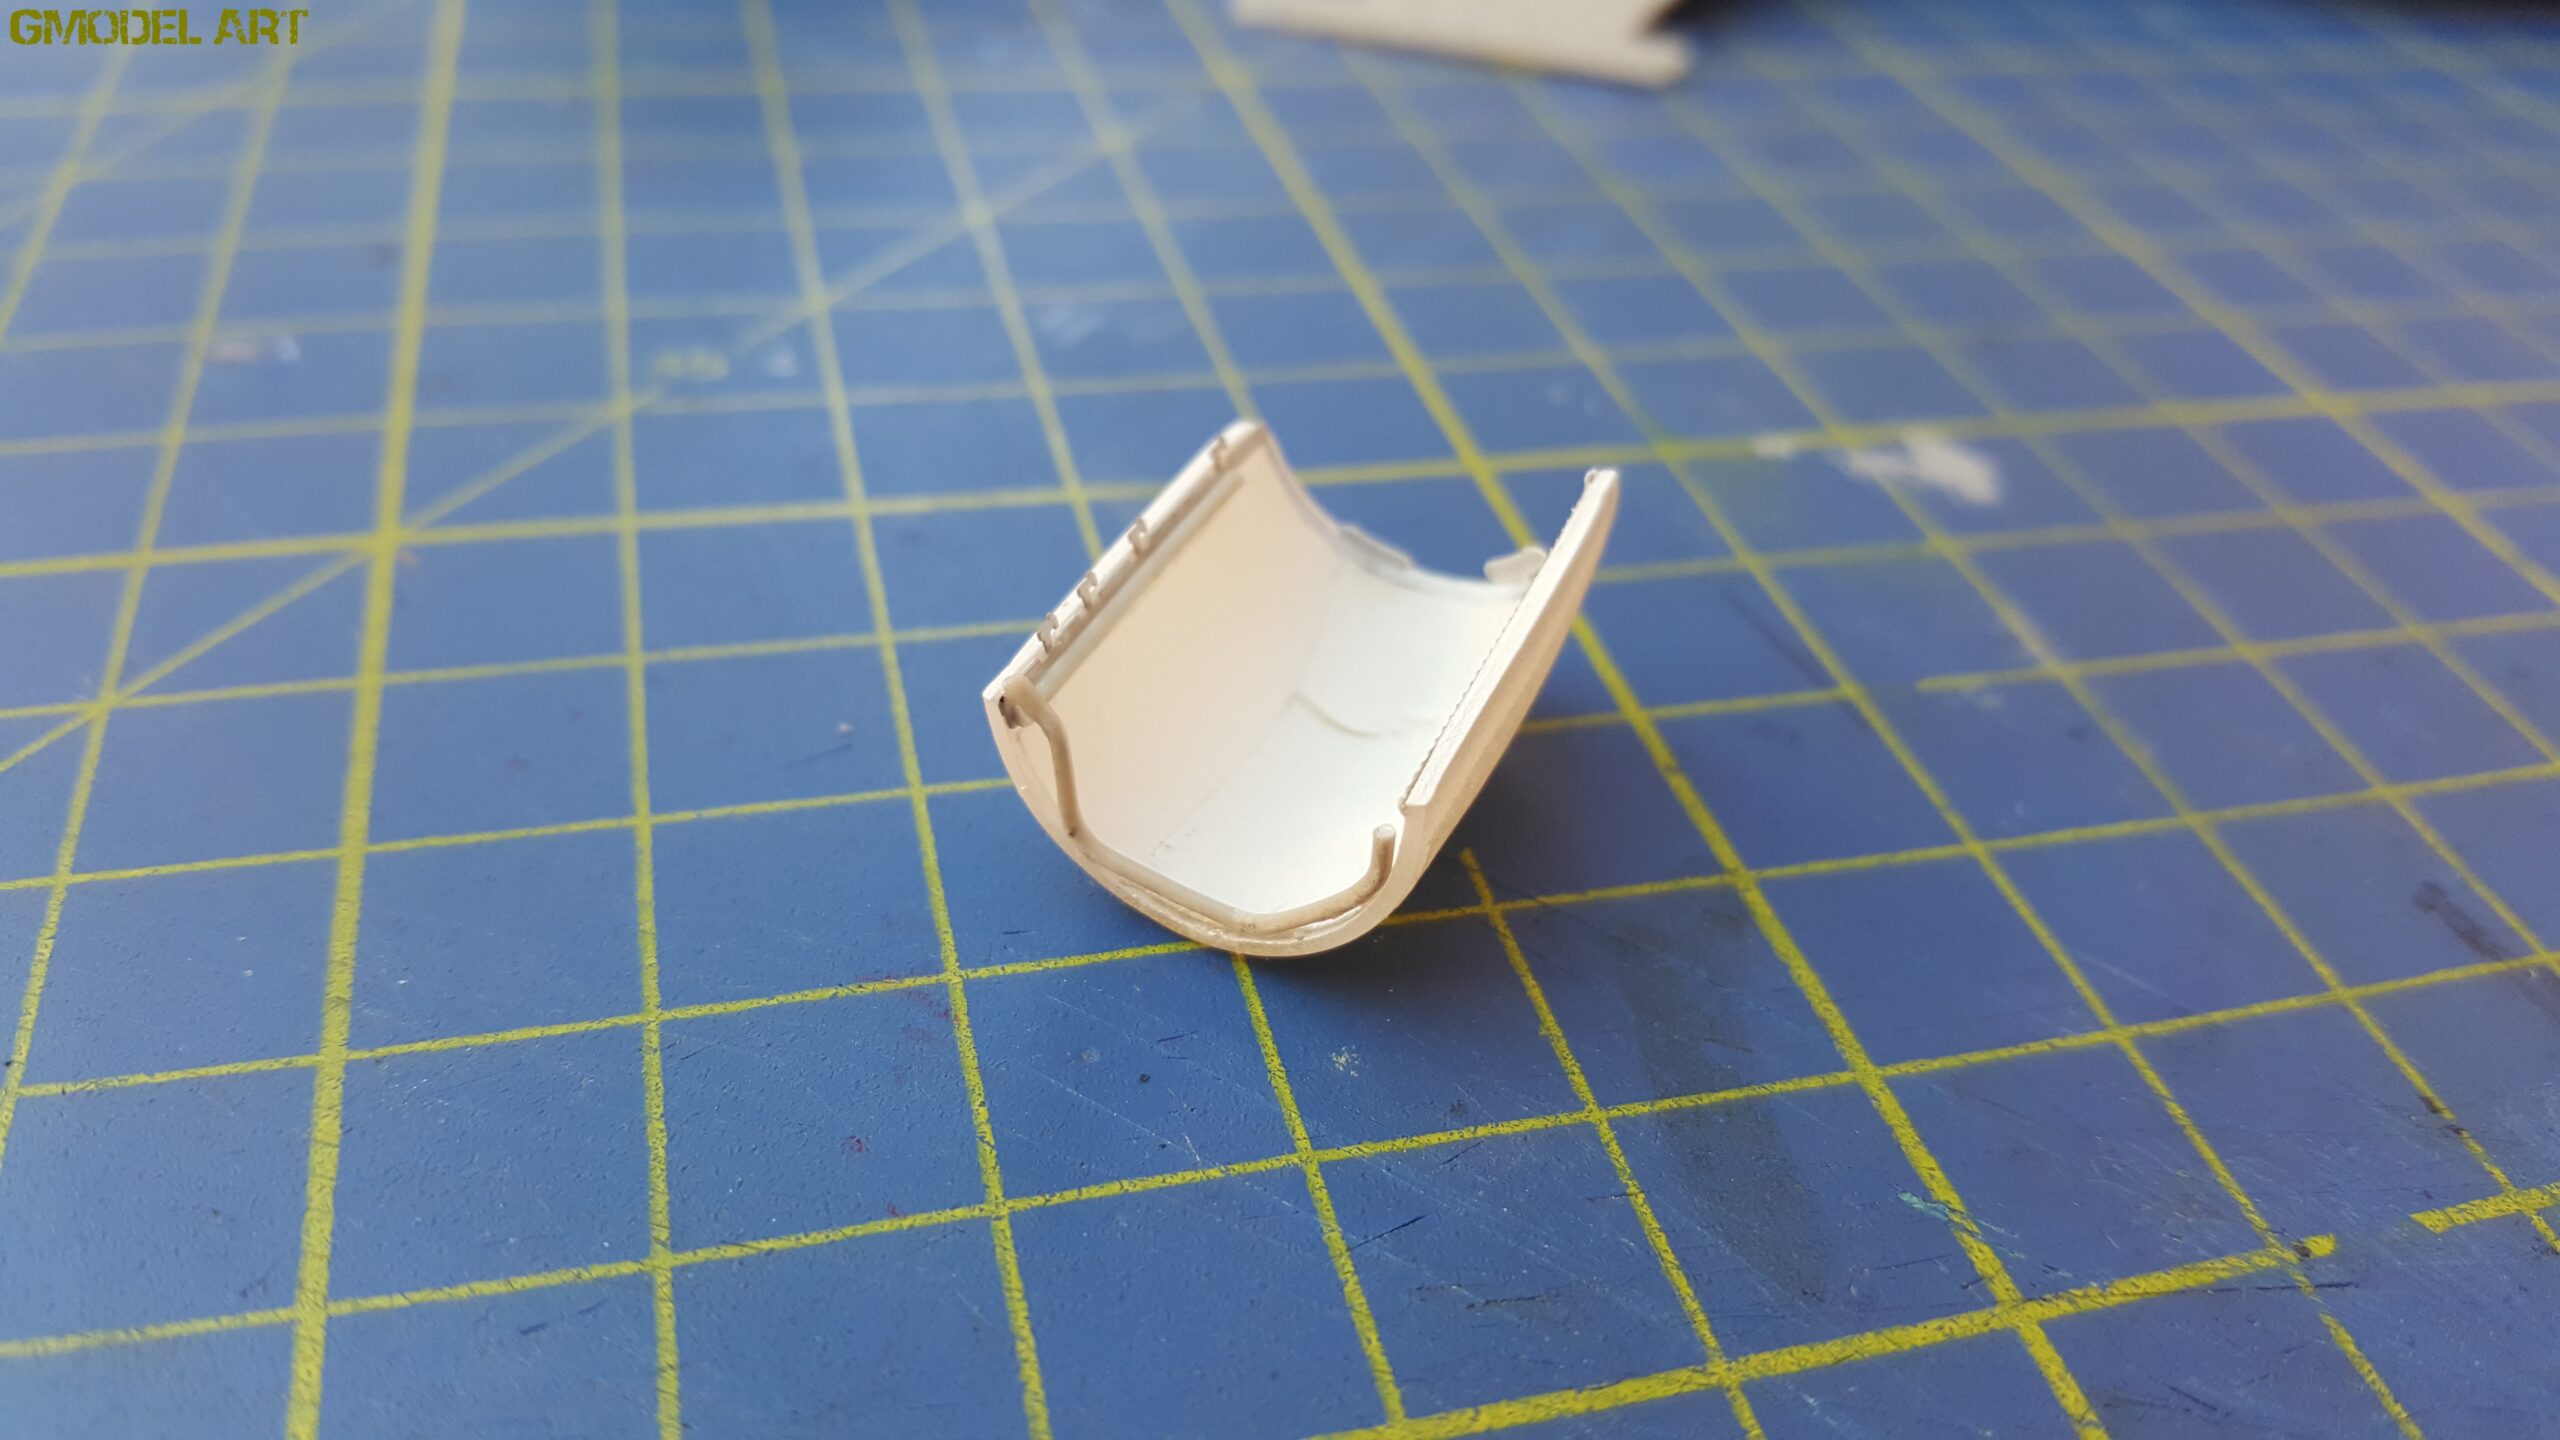
The radar cone itself was carefully sanded and modified. Plastic sheet was added internally to increase the level of detail because the radar assembly would remain open and visible on the finished model.
These small modifications helped make the open panels appear much more convincing when viewed from the outside.
Painting the Hellenic Air Force F-104G
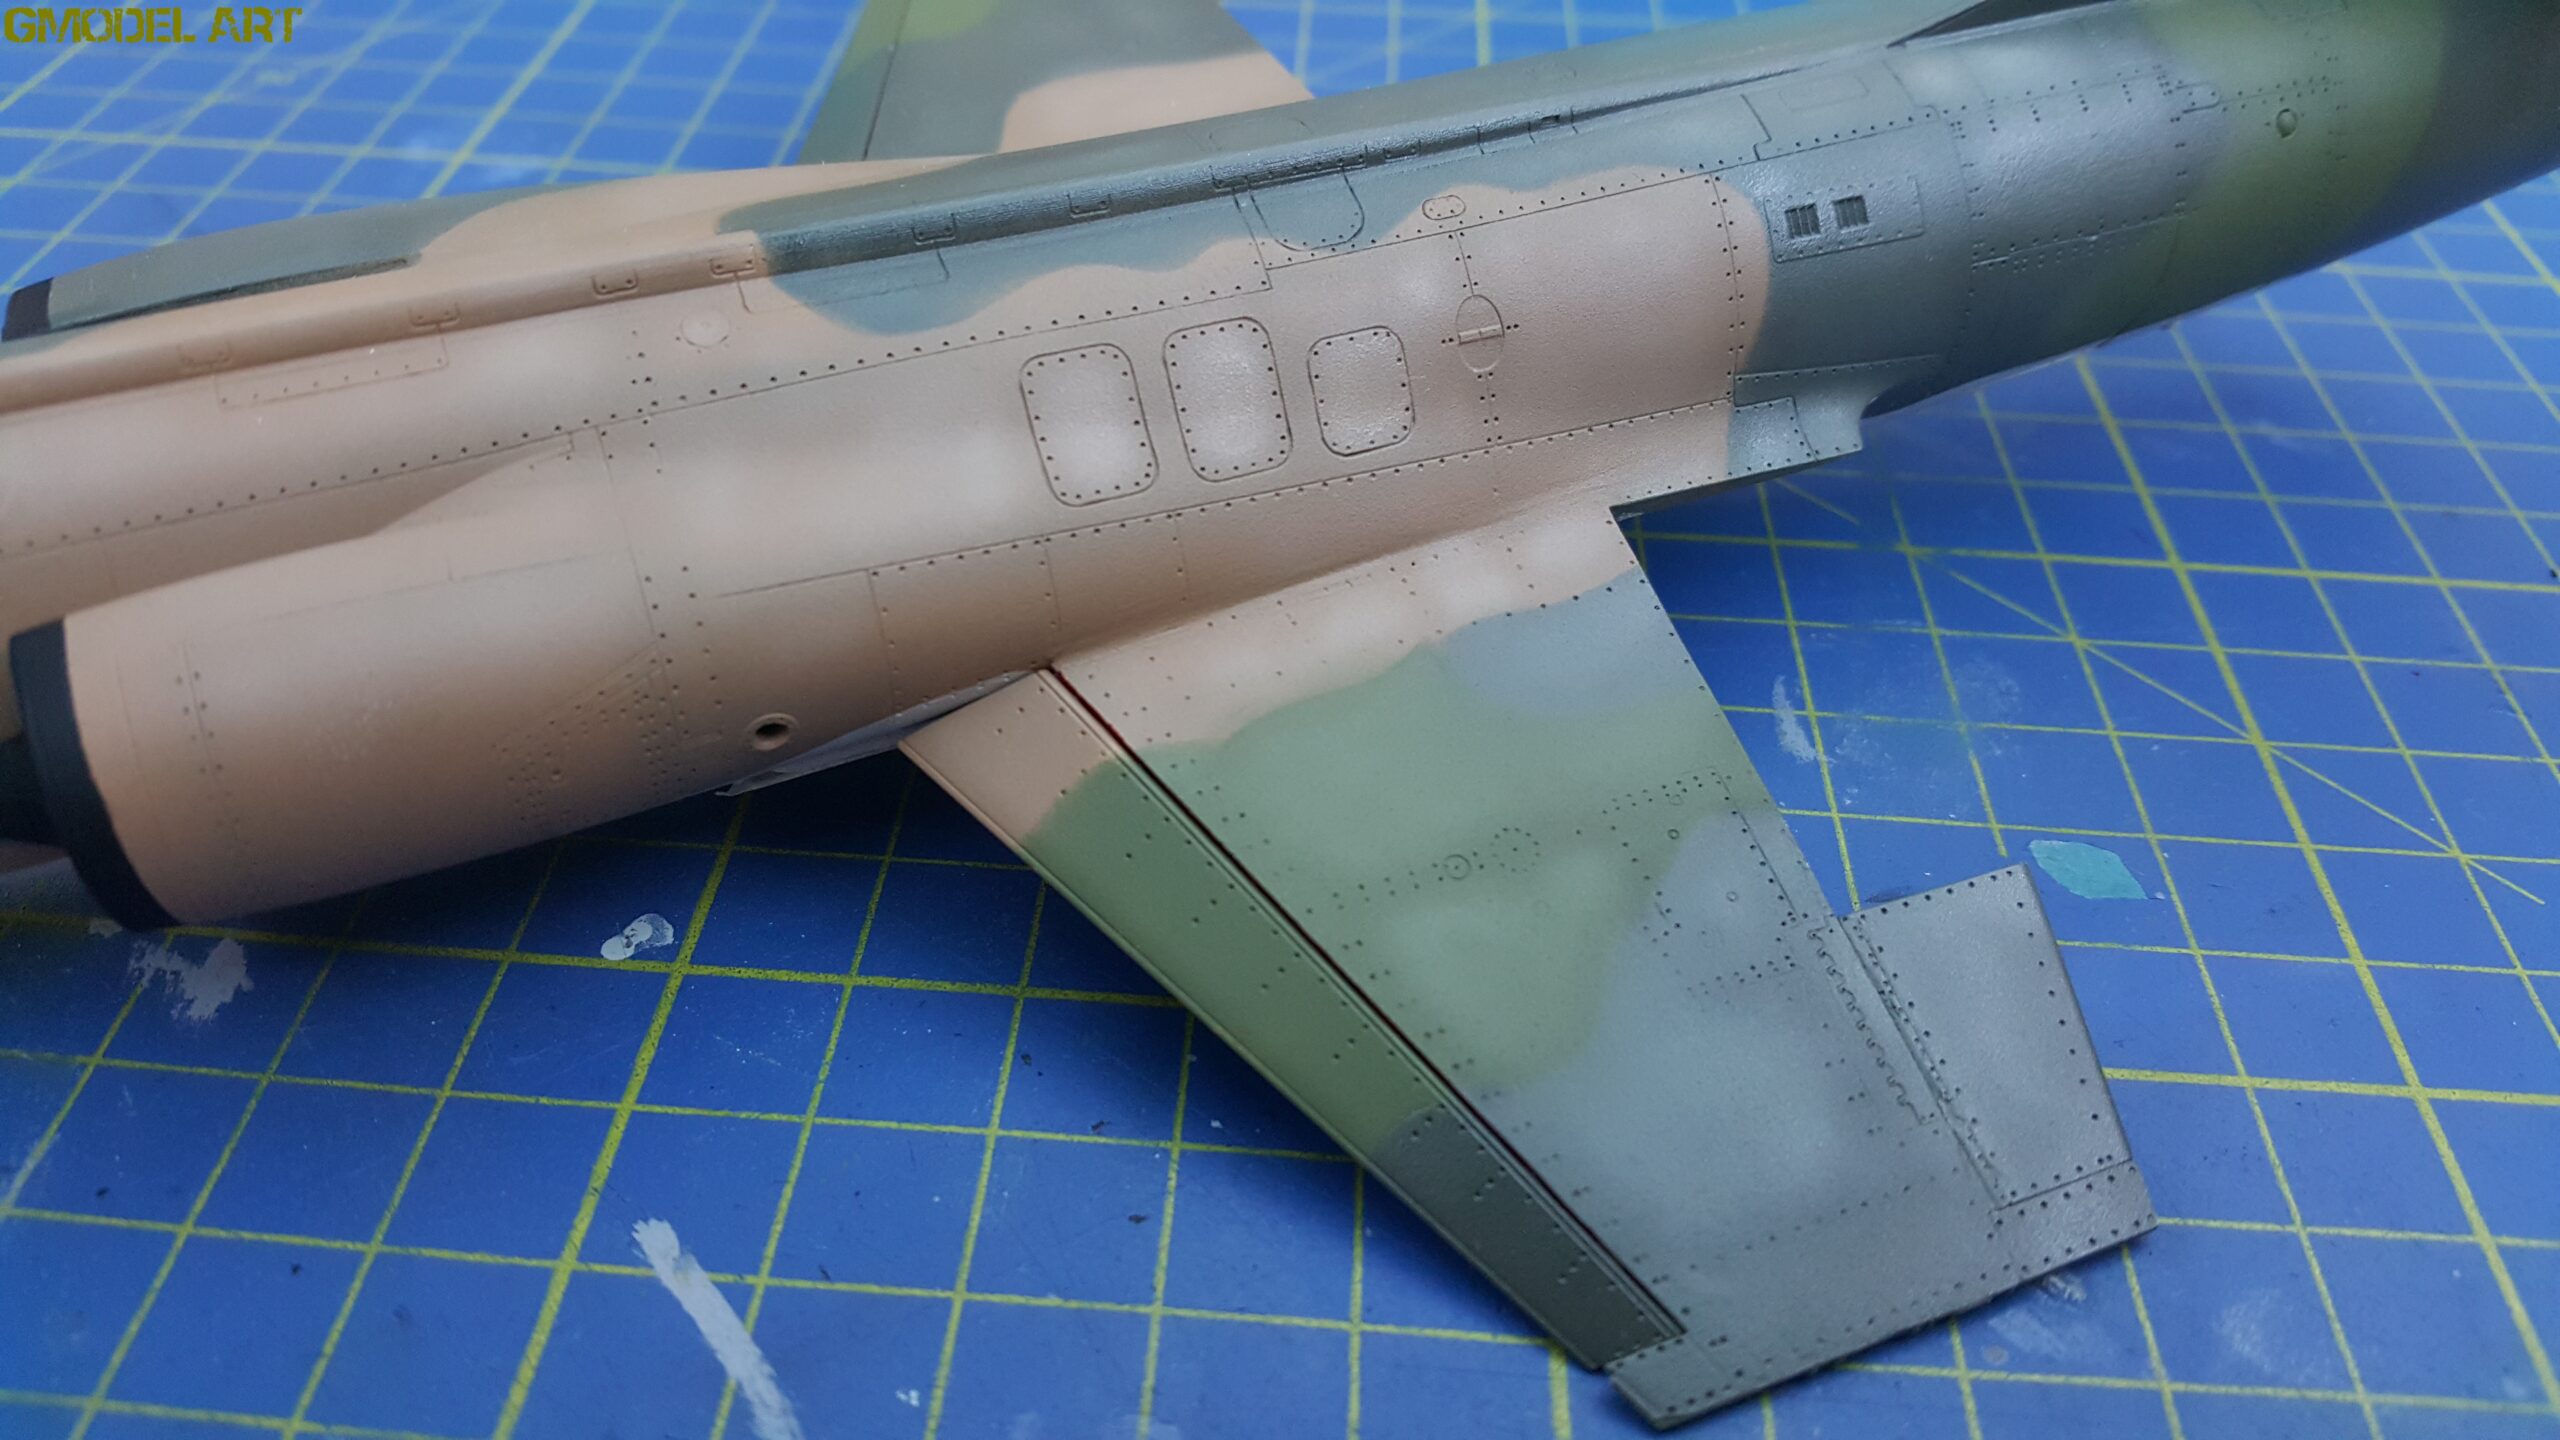
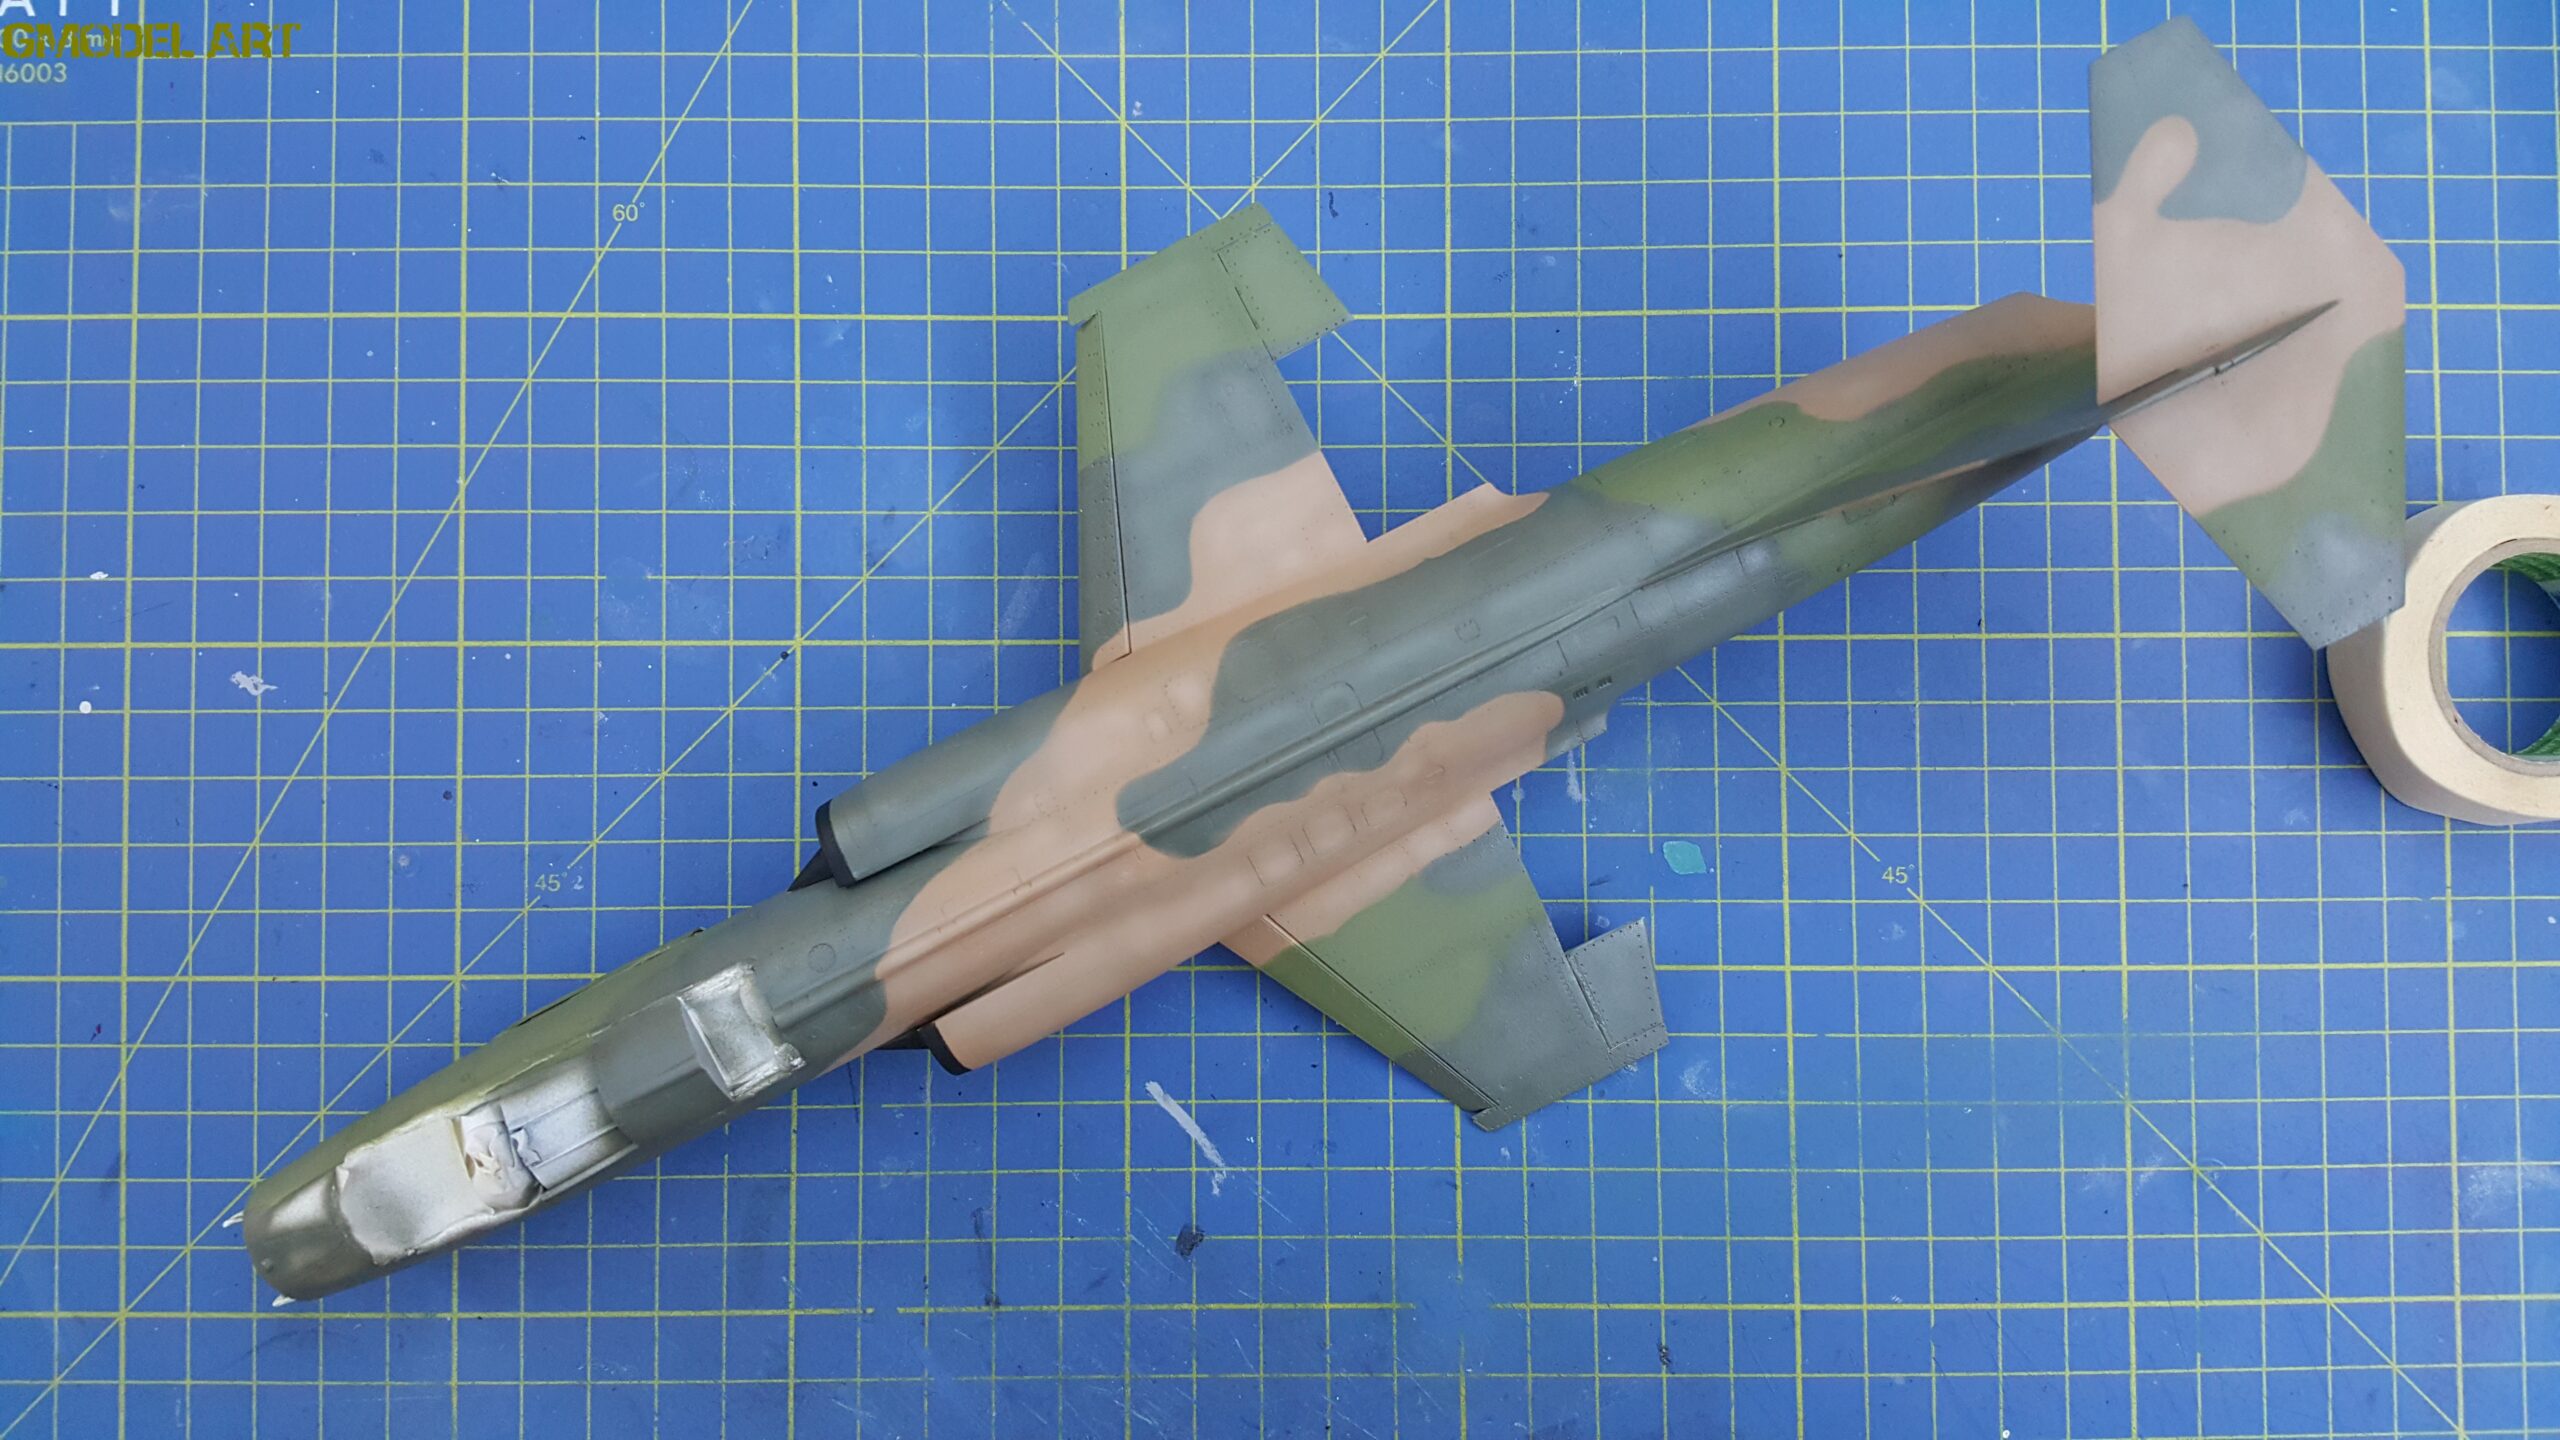
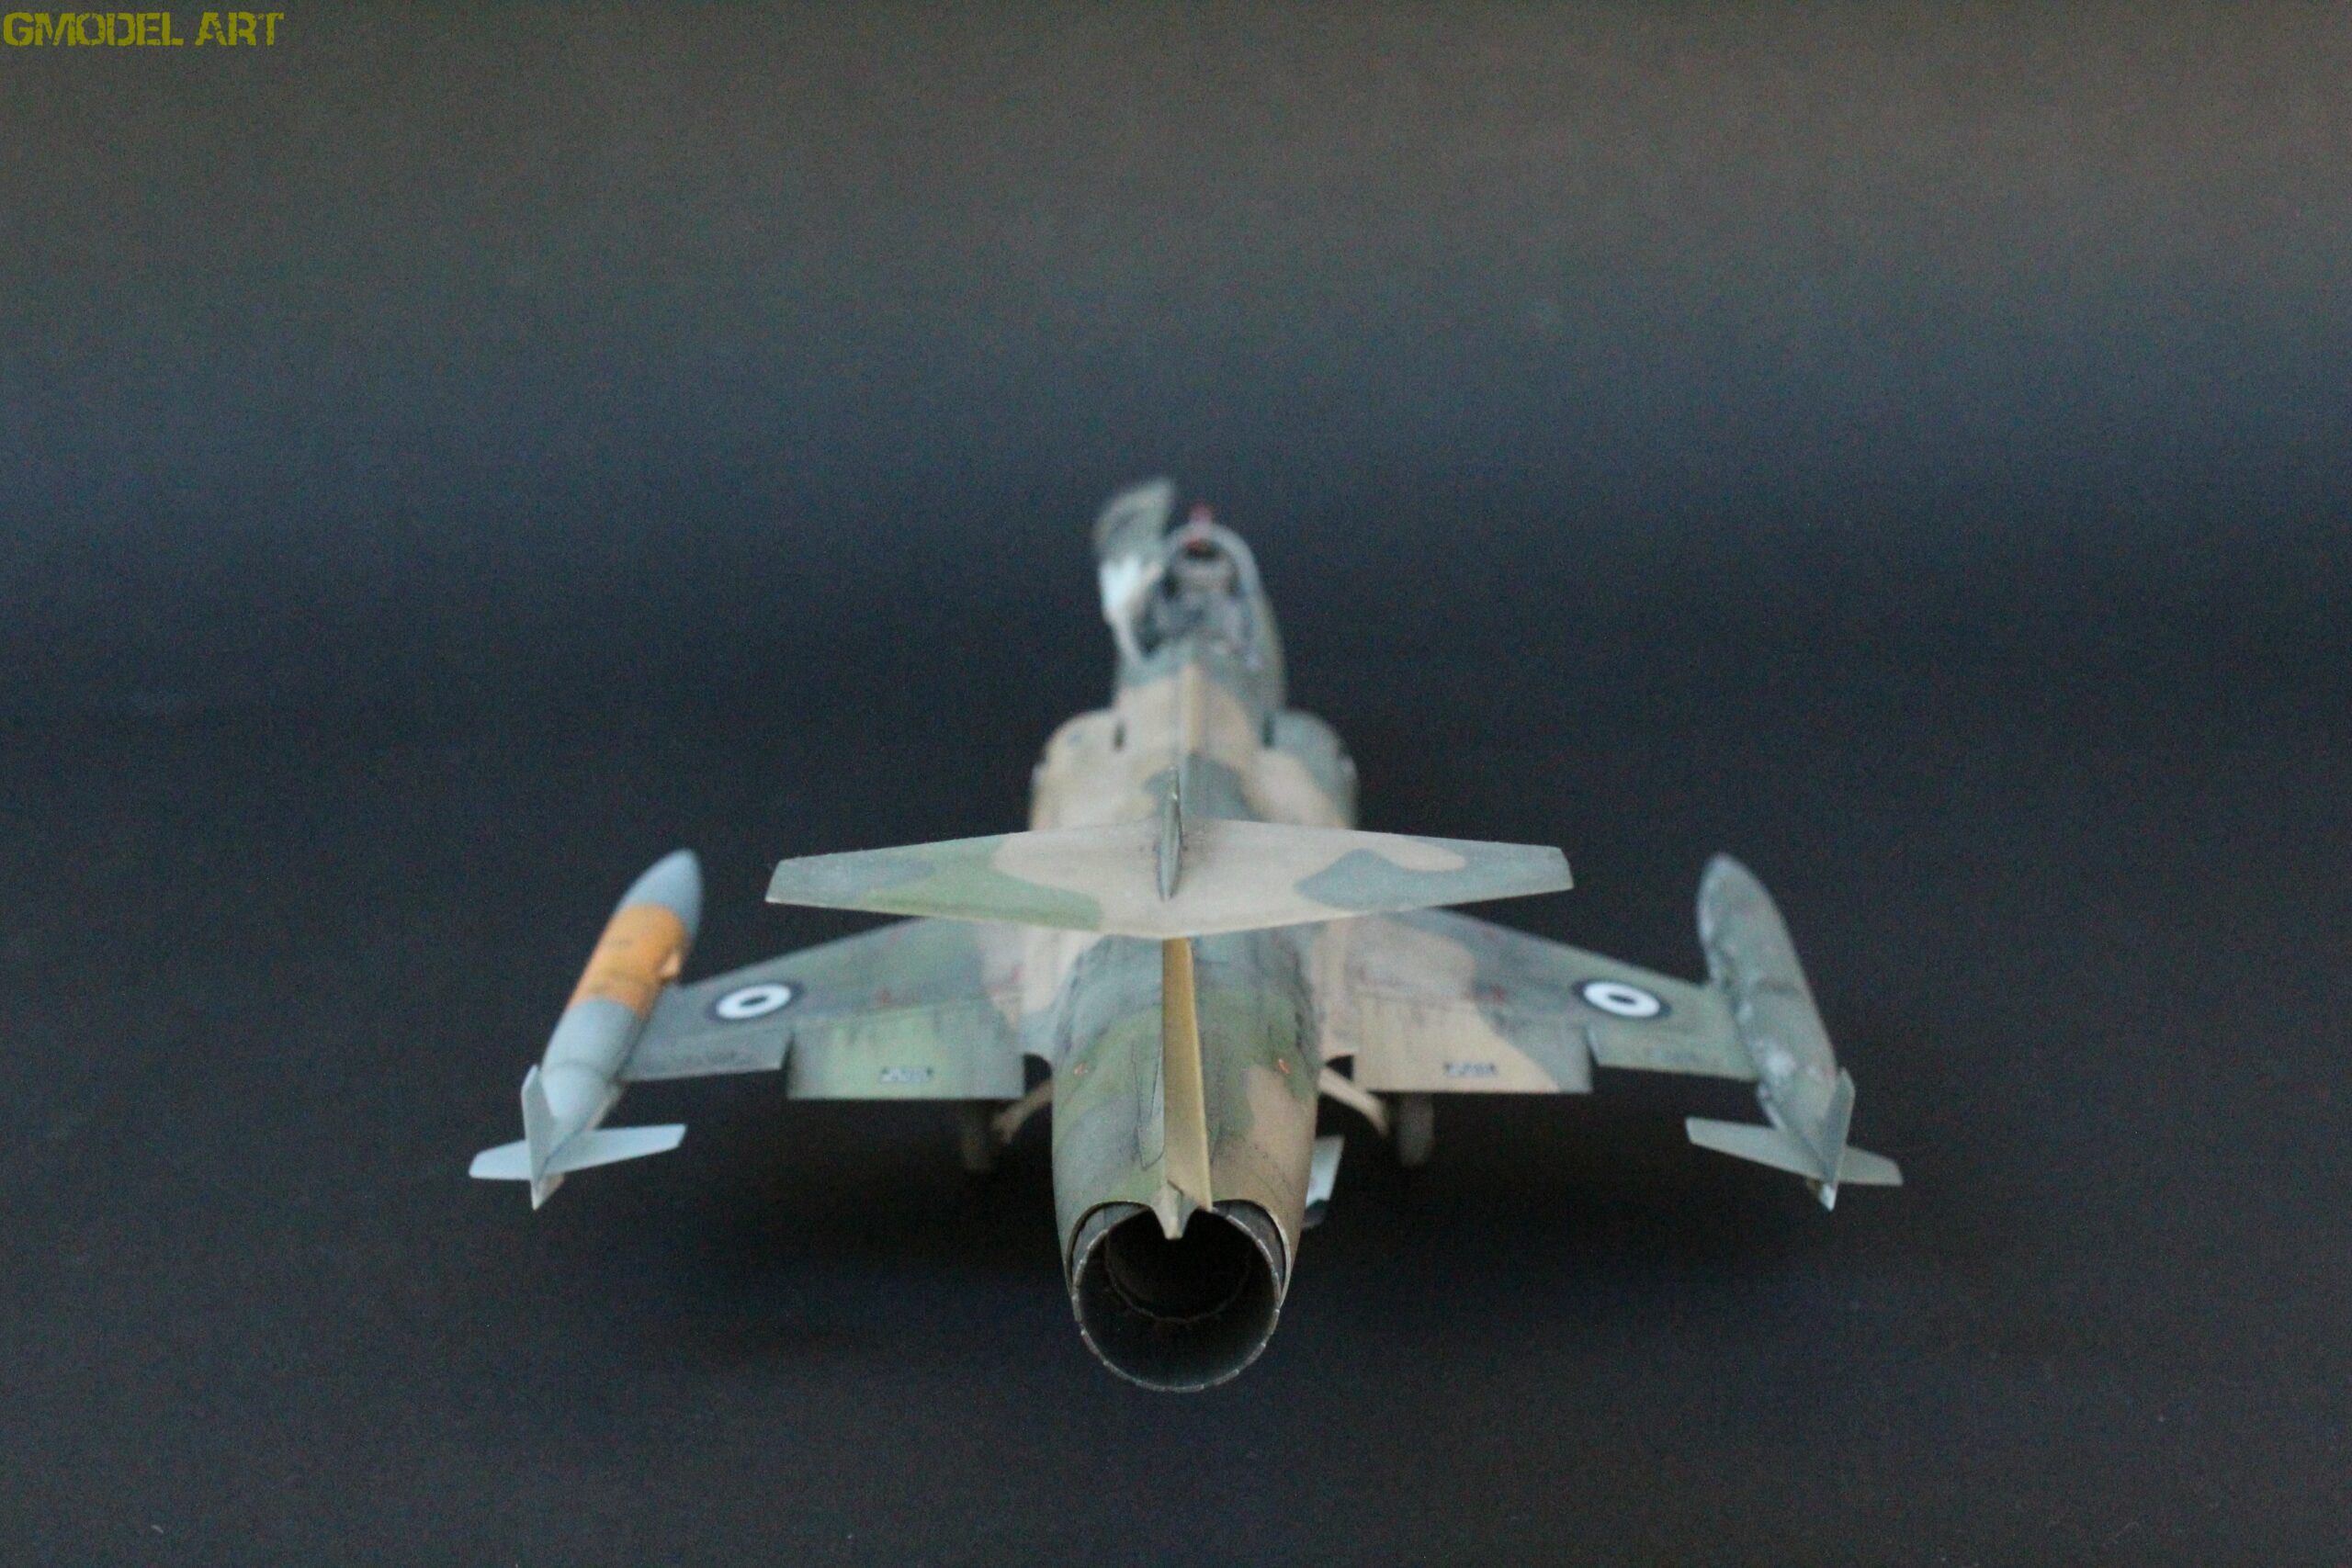
For the camouflage of the F-104G Starfighter HAF s/n 7415, I used Gunze colors.
The main colors were:
| Color | Gunze |
|---|---|
| Lower surfaces | H311 |
| Camouflage color 1 | H310 |
| Camouflage color 2 | H309 |
| Camouflage color 3 | H303 |
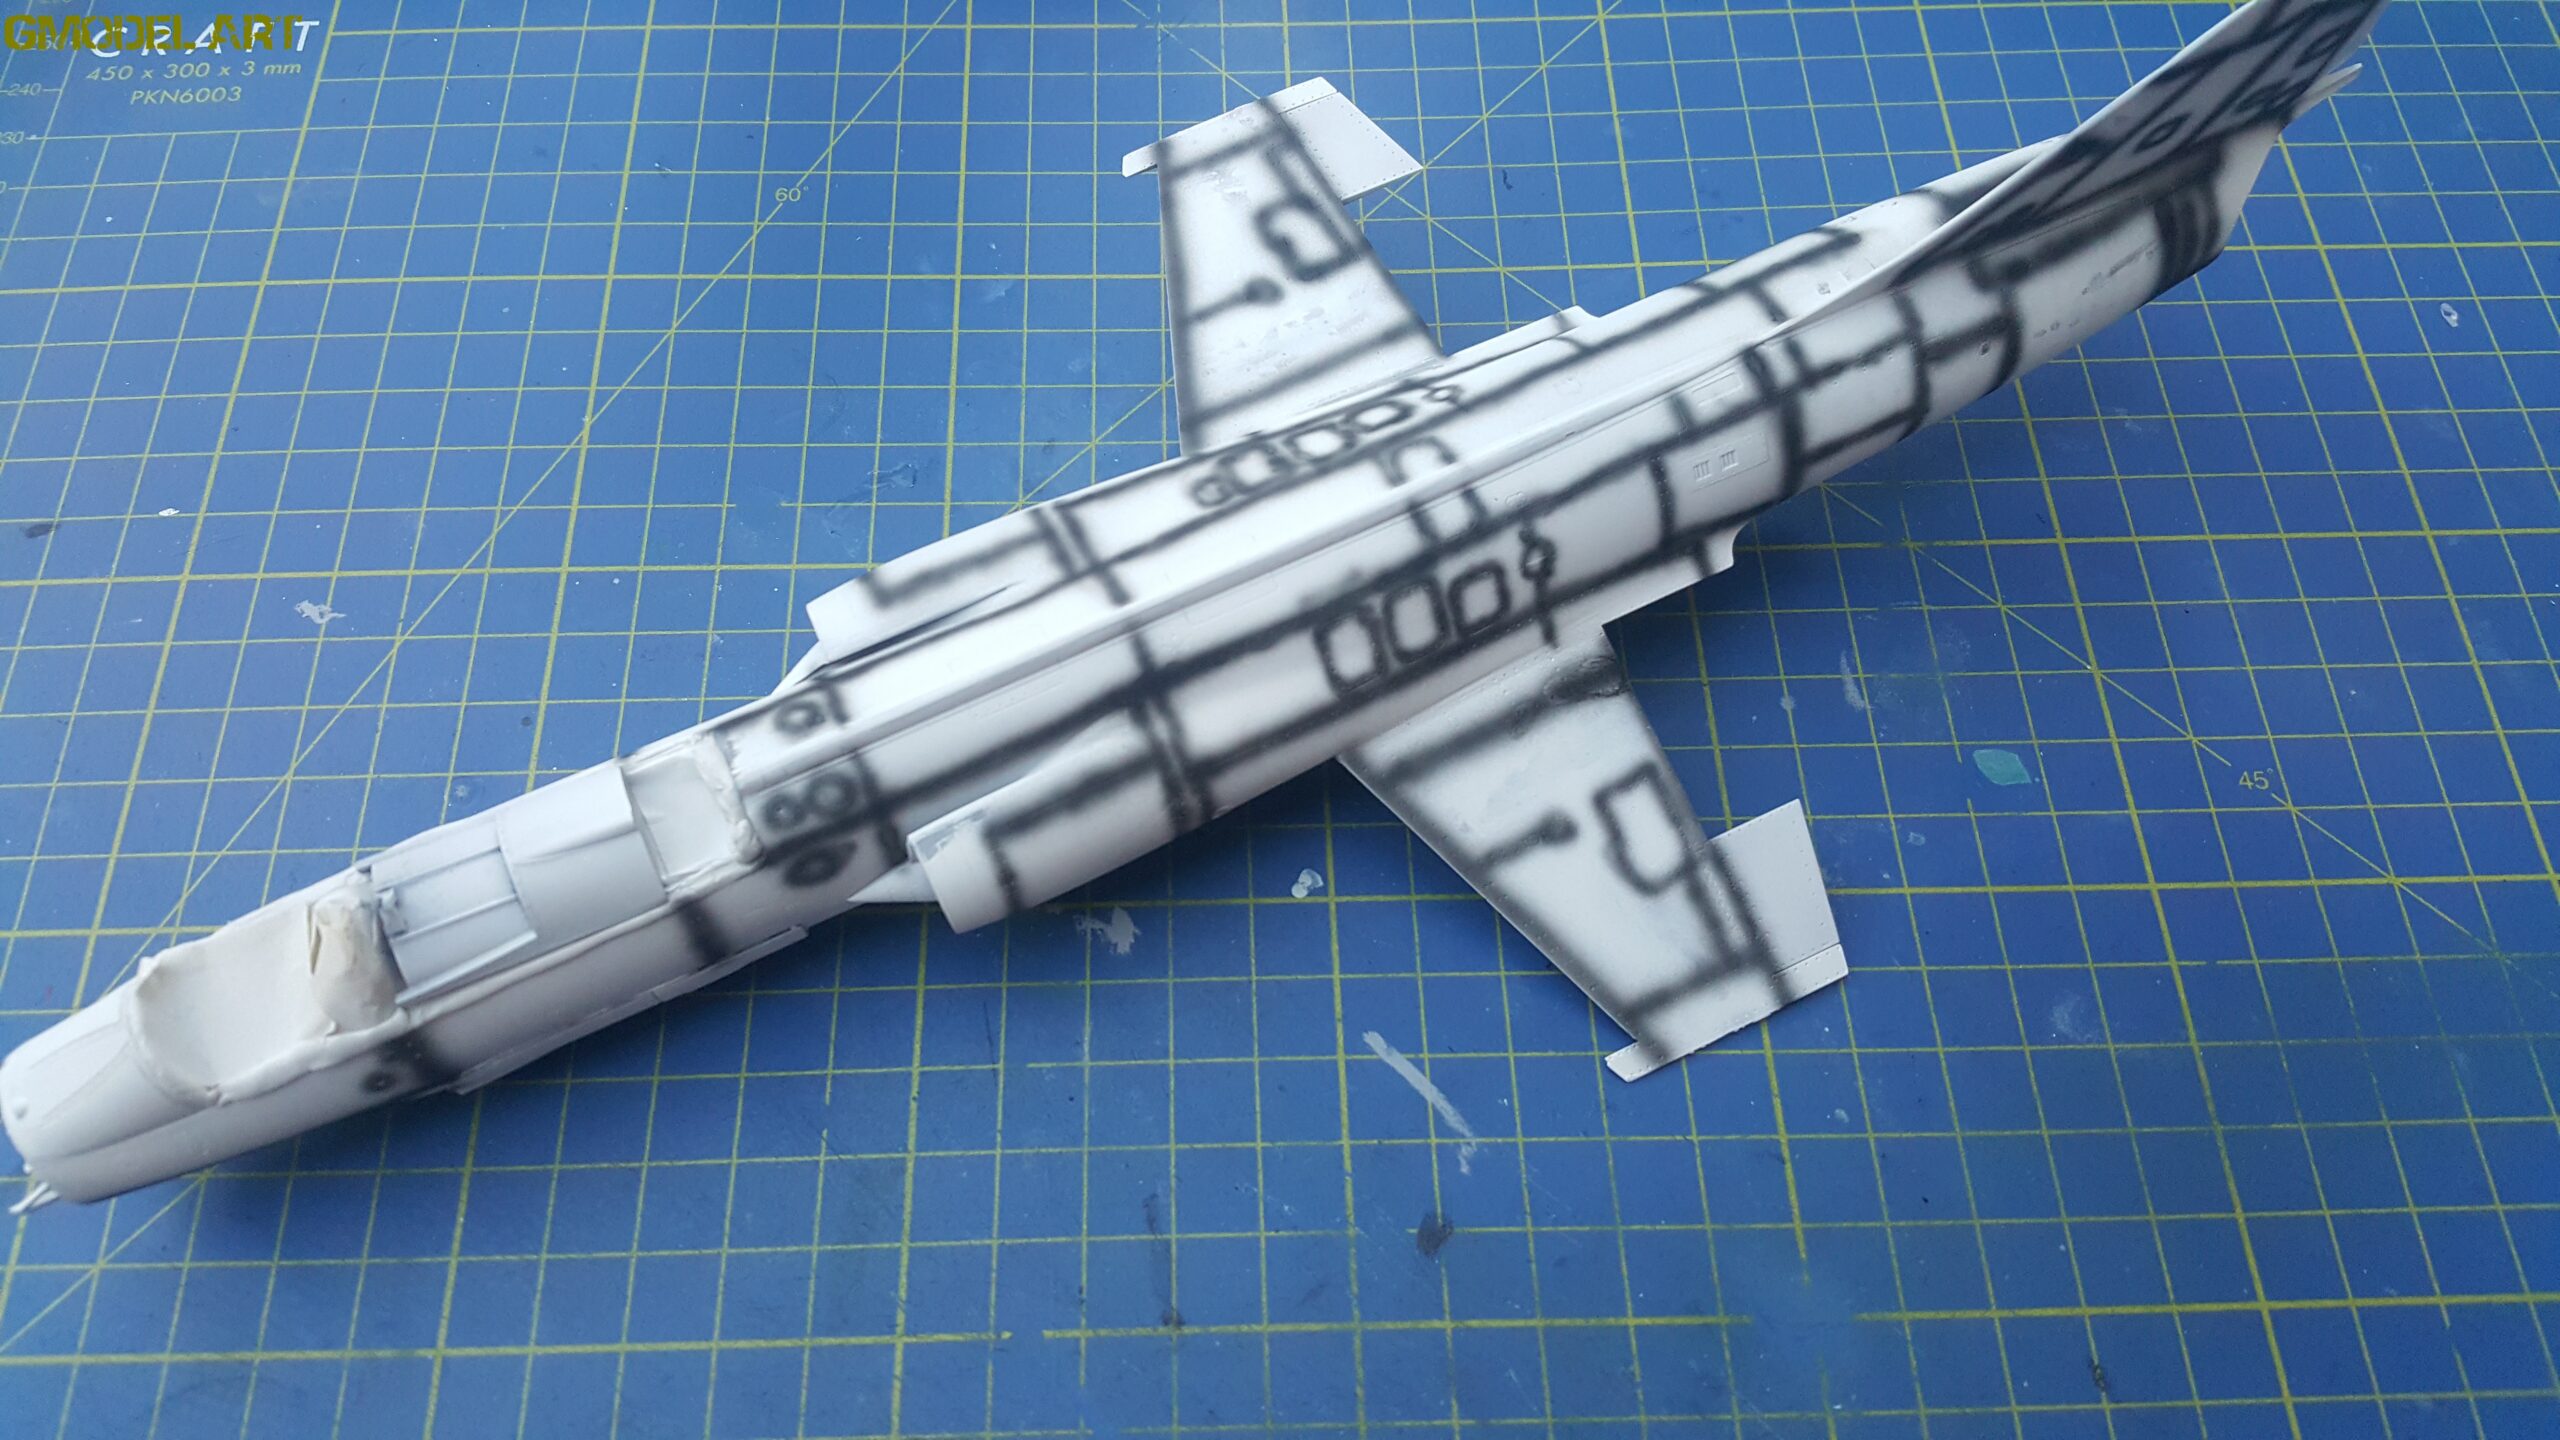
Before painting, the complete model received a Vallejo white primer.
A preshading technique was then applied before the camouflage colors were introduced.
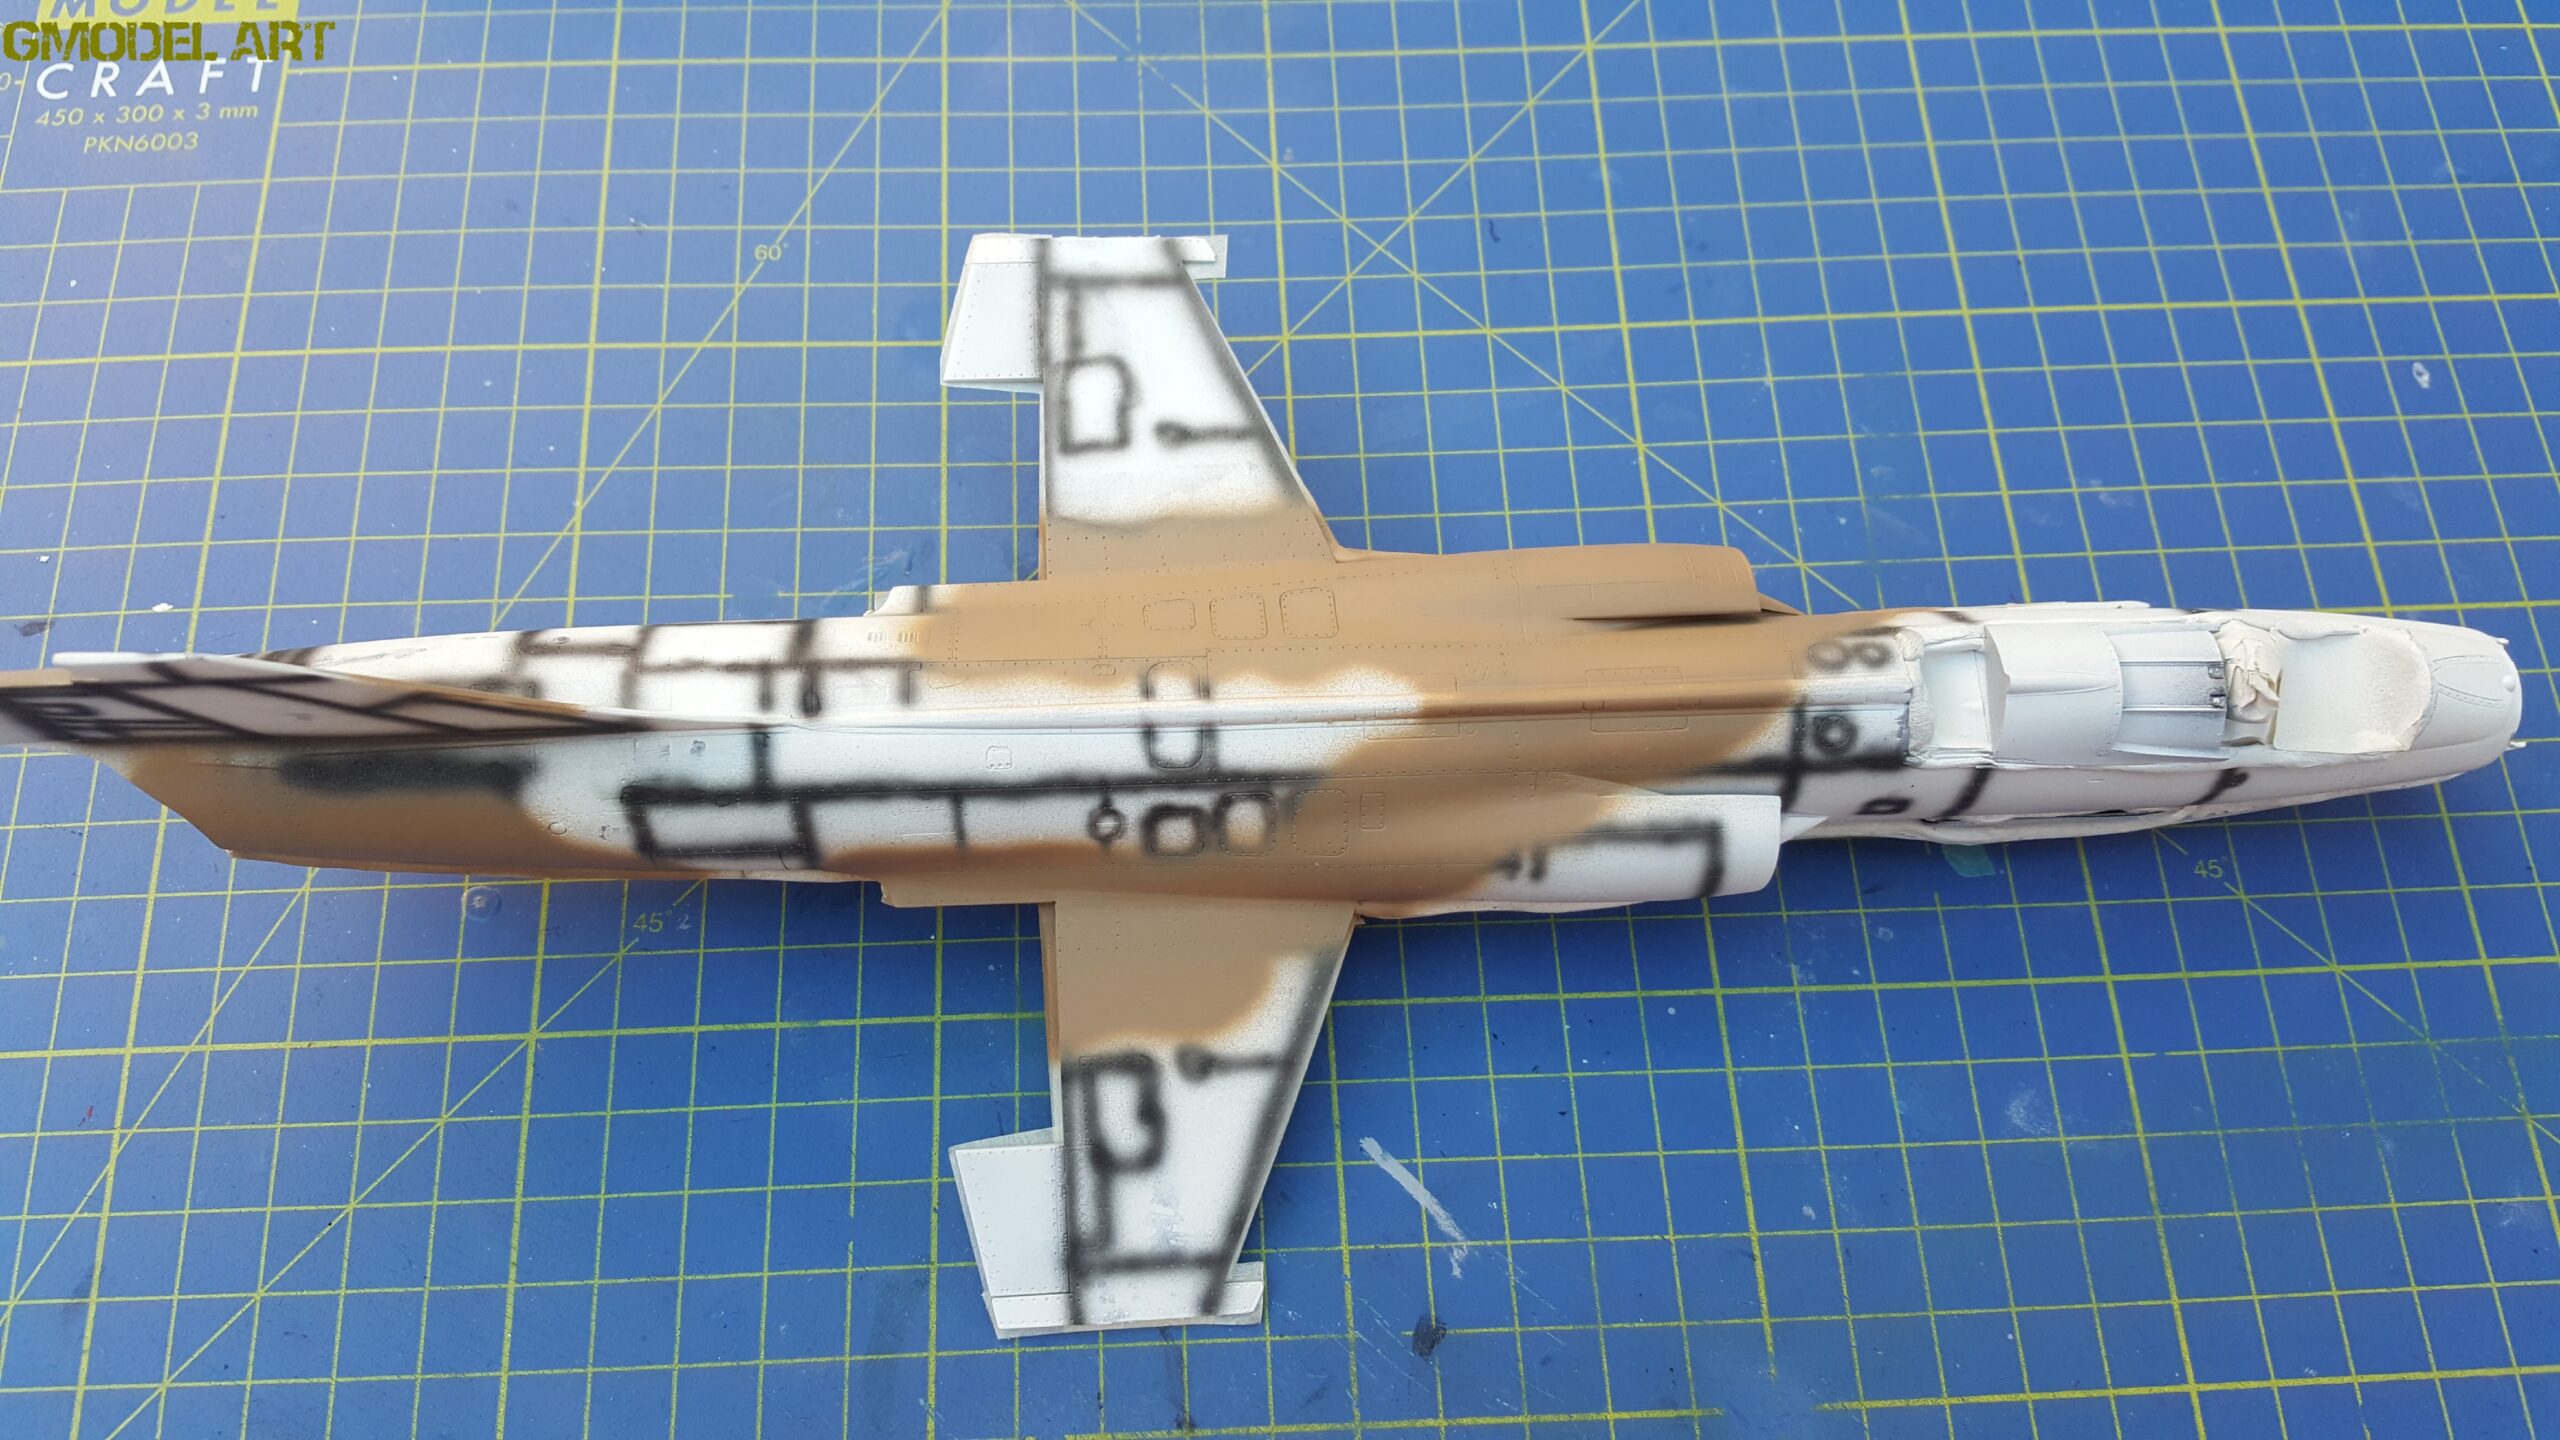
The underside of the aircraft was painted first with Gunze H311.
The first upper camouflage color was then applied using Gunze H310, slightly lightened by approximately 20% with H311. This helped create subtle tonal variation rather than leaving the camouflage completely uniform.
Blu-Tack Camouflage Masking
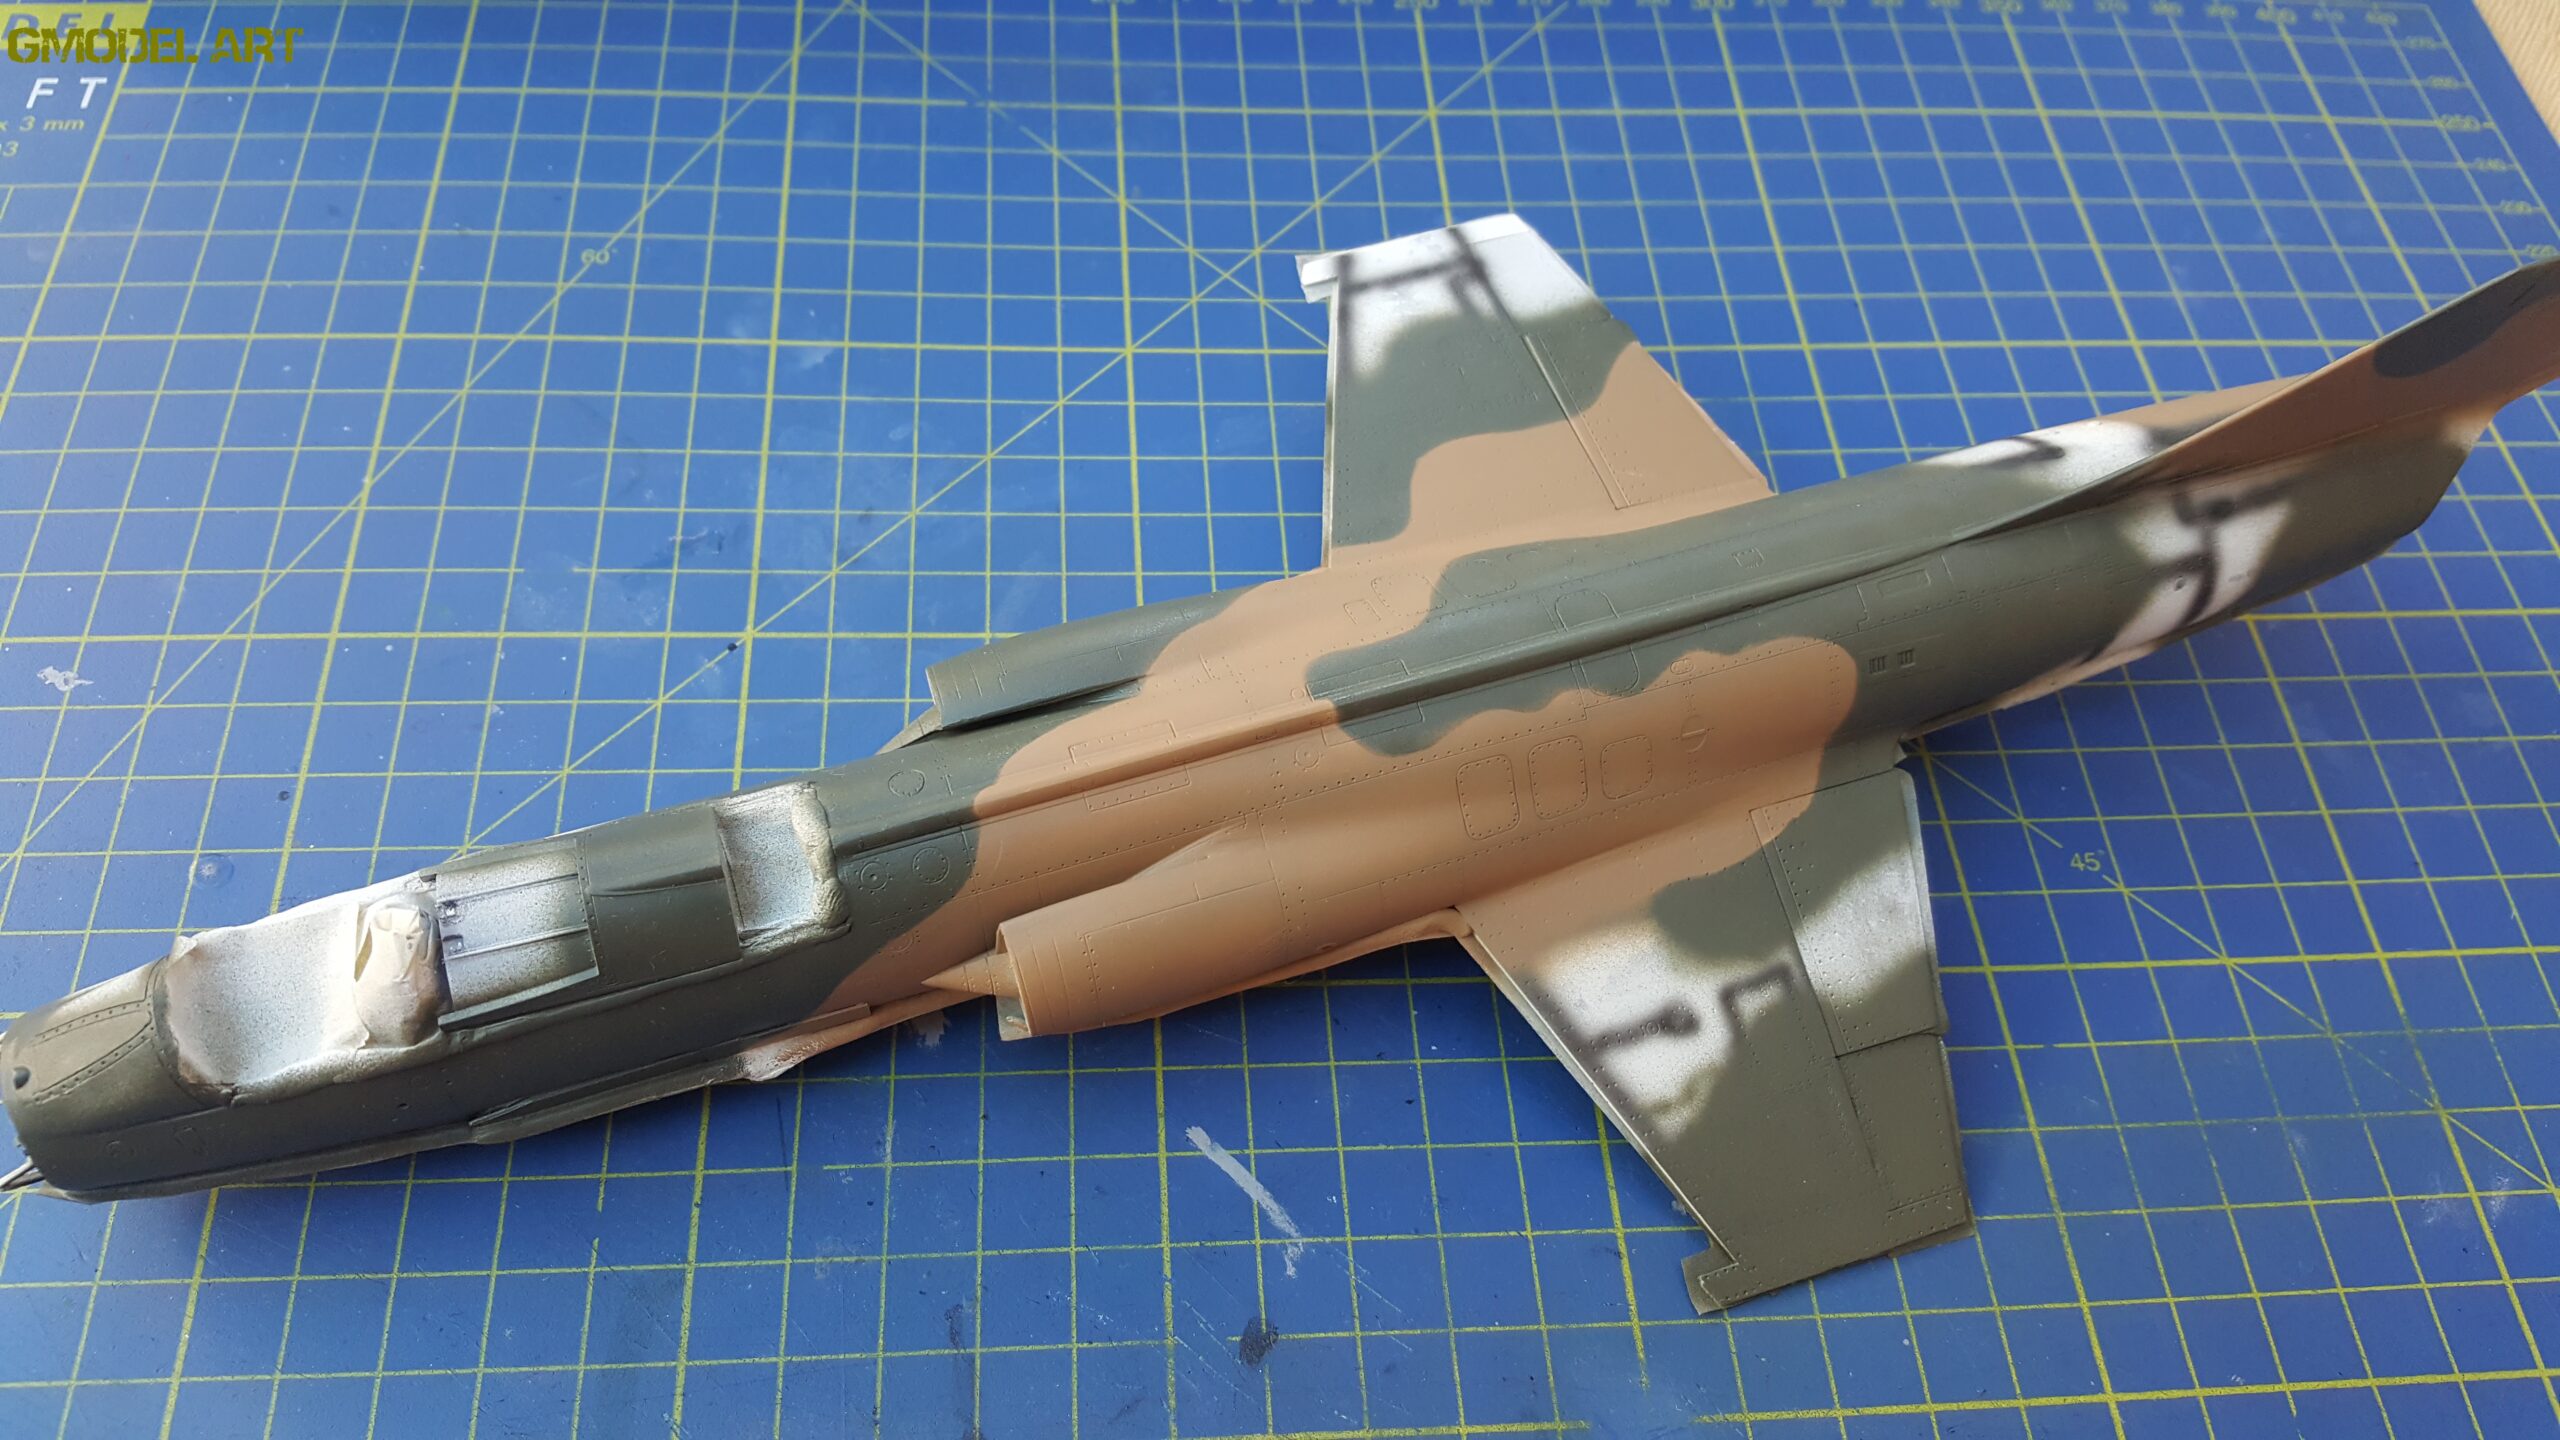
After the first camouflage color had dried, I used Blu-Tack to create the soft-edged camouflage pattern.
The second camouflage color was Gunze H309, again modified by approximately 20% with H311.
The Blu-Tack masking was repeated before applying the final camouflage color, Gunze H303, also modified by approximately 20%.
This method produced the soft transitions required for the camouflage pattern while keeping the boundaries controlled.
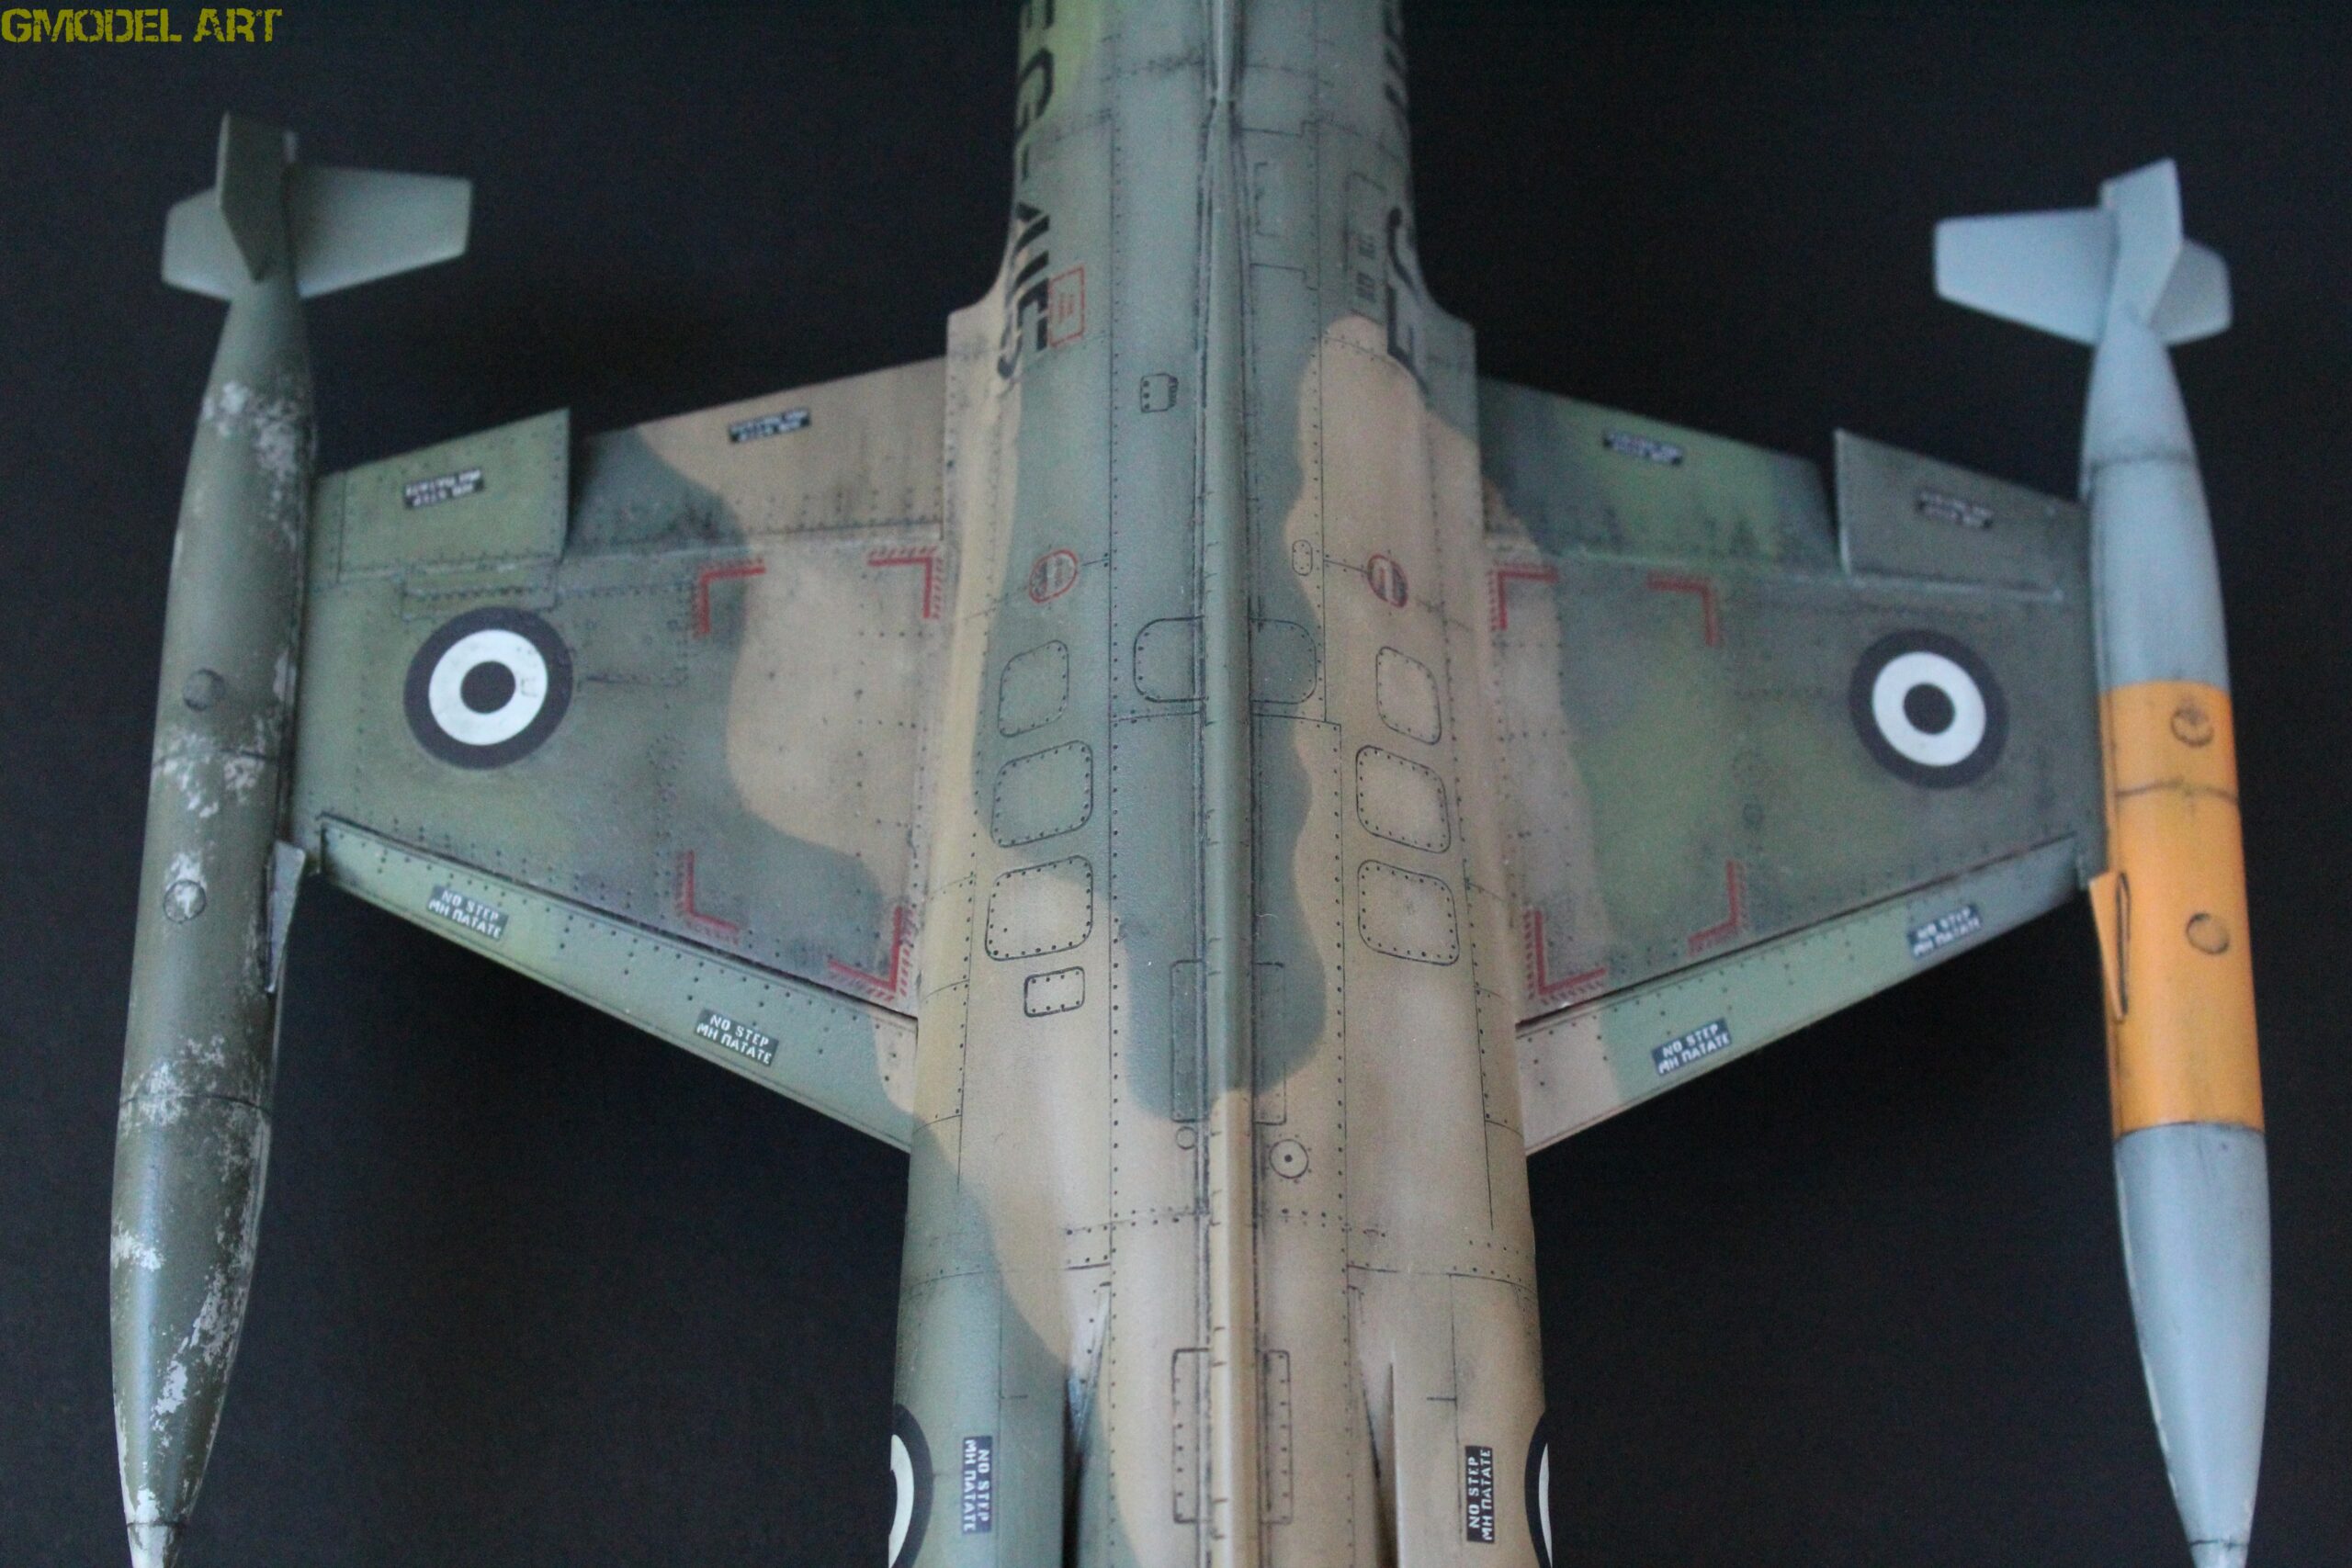
Once the main camouflage was complete, selected areas of the fuselage received additional highlights.
Each camouflage color was sprayed separately, with the paint lightened by approximately 40–50% for the highlights. This helped break up the uniform appearance of the large fuselage surfaces without making the model appear artificially weathered.
Weathering the F-104G Starfighter
The weathering was deliberately built up gradually.
Oil paints were used together with wood-carving techniques to create wear and tonal variation across the aircraft and wings.
The objective was to avoid making the F-104G Starfighter excessively dirty. Instead, the weathering was concentrated on areas where operational use would naturally produce changes in tone, surface variation and accumulated grime.
The combination of subtle highlights, oil effects and surface wear helped give the model a more realistic operational appearance.
Icarus Decals and Final Finish
For the markings, I used Icarus Decals.
After the decals had been applied and the remaining finishing work completed, the model received Gunze varnishes.
The final finish was achieved with a Gunze matt varnish, diluted with pure alcohol.
This provided the final uniform appearance across the painted surfaces while preserving the variations created during the painting and weathering stages.
External Fuel Tanks
The external fuel tanks were treated separately because I wanted to create a different finish from the main aircraft camouflage.
Before painting, the tanks were first sprayed with Alclad ALC-101 Aluminum.
A hairspray technique was then used to create the basis for later paint wear.
The first tank received Gunze H309 as its main color.
The second tank was finished with an orange enamel color based on Humbrol 128, produced using a mixture of:
Humbrol H3 Red
Humbrol H4 Yellow
A small amount of white
The additional variation between the two tanks helped make the model more visually interesting and avoided the impression that every external component had received exactly the same treatment.
Finally, both tanks were carefully brushed with a toothbrush to create additional surface wear and a more realistic finish.
Vietnam Camouflage (TAC SEA Designs 1964–1996) – The Most Iconic Cold War Aircraft Scheme
Final Thoughts
The Hasegawa 1/48 F-104G Starfighter remains a very enjoyable kit to build. Its overall engineering, surface detail and fit are strong, while the simpler landing gear bays provide an excellent opportunity for the modeler to add scratch-built detail.
For this Hellenic Air Force F-104G Starfighter s/n 7415, the combination of CMK resin and photo-etched components, additional wiring, scratch-built details, Gunze and Alclad paints, and Icarus Decals allowed the basic Hasegawa kit to be developed into a much more detailed representation of the aircraft.
The most satisfying part of the project was bringing together the aftermarket components and scratch-built details while maintaining the clean lines that make the Lockheed F-104G Starfighter such a distinctive aircraft.
For me, this build demonstrates once again that a good scale-model project does not necessarily require replacing everything supplied in the box. Careful planning, good references and concentrated detailing in the right areas can make a major difference to the final result.
Gallery